You must be logged in to rate content!
3 minute(s) of a 59 minute read
11-3-2013
The media blasting of the body went well. It did reveal several hidden but luckily small rust problems. Also, the tail if the car looks to have been in an accident and crudely repaired and fixed with a lot of body filler. Overall, not that bad of a starting point. Let the repairs begin...

rust worm in trunk

rough rear end

repair work on rear. The grinder is my best friend...lol

replaced totally rusted out battery box

My daughter and friend seem sealing interior

Fast FWD: After many months of metal work, i was able to smooth out the lumps and bumps with a lot less body filler than was on the car before.

Time for epoxy primer...
The car sure looks a lot nicer with a coat of primer. Hard part was sanding this stuff down. It really gums up the sandpaper.


After sanding down the epoxy primer and fixing more flaws, several coats of high build primer were applied and sanded. Hoping for a laser straight car ![]()

Car goes off to the professional painters. Luckily, the painter is a friend of mine and gave me a few lessons in painting cars. I can say I painted the car as I did the first coat, LOL, but i left the top coats and clear coat to him.
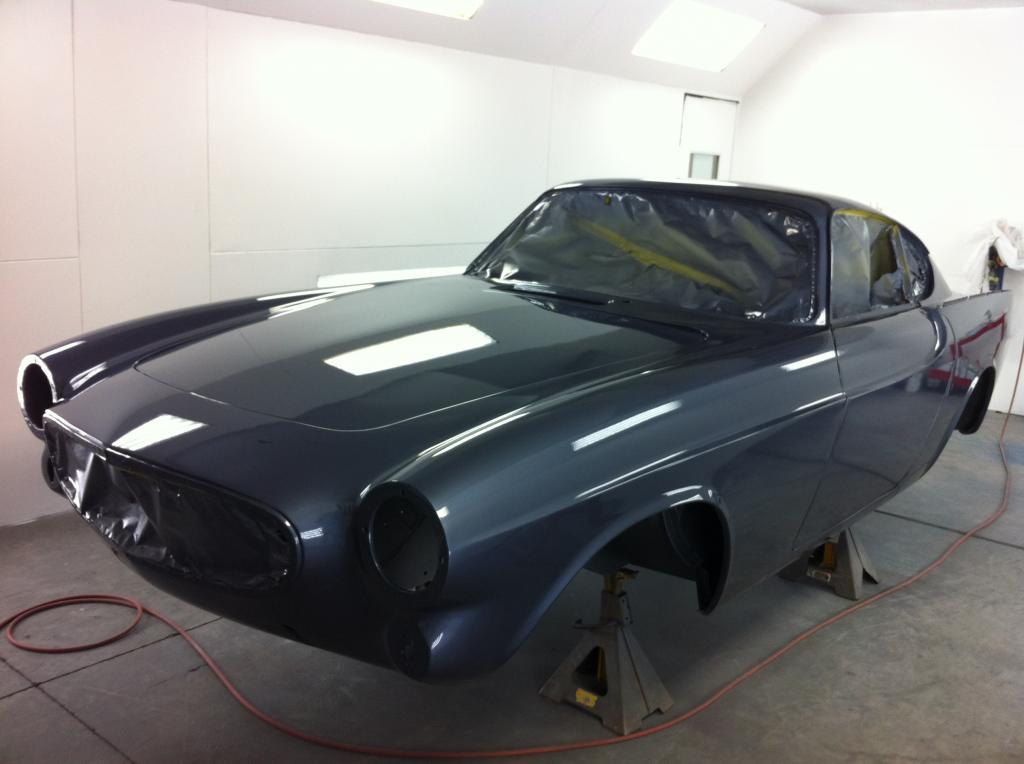
I went with Aston Martin Steal Blue Metallic as the color. What do you think? Pictures look a little darker than it actually is. As you can see from the first post, the car was purple when I got it, but it was originally light blue.
Sealer coat

Color!

Clear coat

Home again, now to buff it out...

Cool car
Posted by Diggymart on 5/26/20 @ 3:37:07 PM