Welcome!
Thanks for visiting! We built DIYauto.com to be easy and fun to use. Watch our videos for a short introduction. Written instructions are located below, enjoy!
Introduction:
Here are the Basics:
Advanced features:
How to Navigate:
Written Instructions:
First - if you haven't yet, create an account. Only registered users can do most of the tasks in this section..
Please register here, log in here or click the arrow on the menu bar.
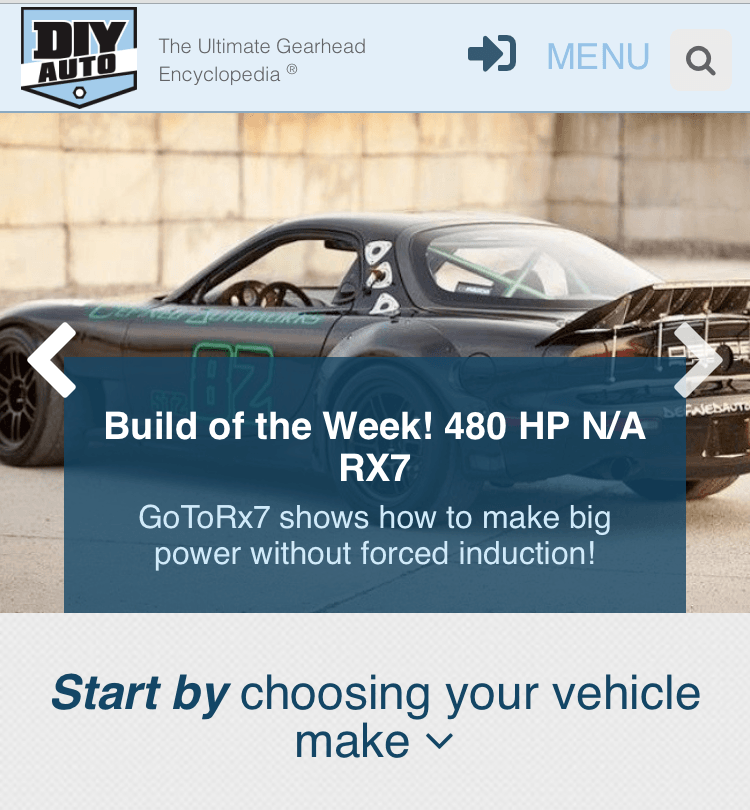
Navigation
- How DIYauto.com Works
- Newsfeed
- How to Post
- How to edit your content
- How to share your content
- Vehicle Page Tour
- My Profile
- Add Resources
- Upload Library items
How DIYauto.com works
DIYauto.com is designed to be easy to navigate. Whether its finding a DIY, piece of data, or sharing your Build, DIYauto.com makes it easy. You can find content specific to a particular vehicle on its vehicle page. Click the Choose Your Vehicle button at the top of the page and select the OEM. Find your vehicle in the timeline or choose it from the dropdown menu.
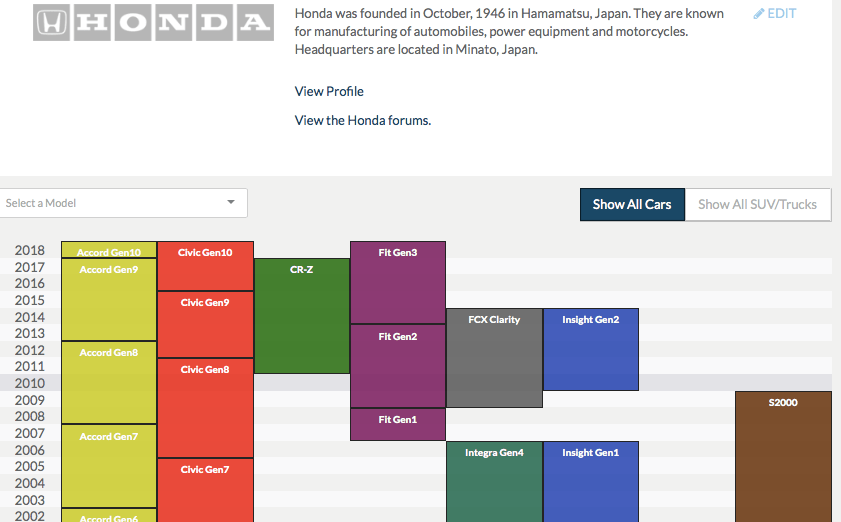
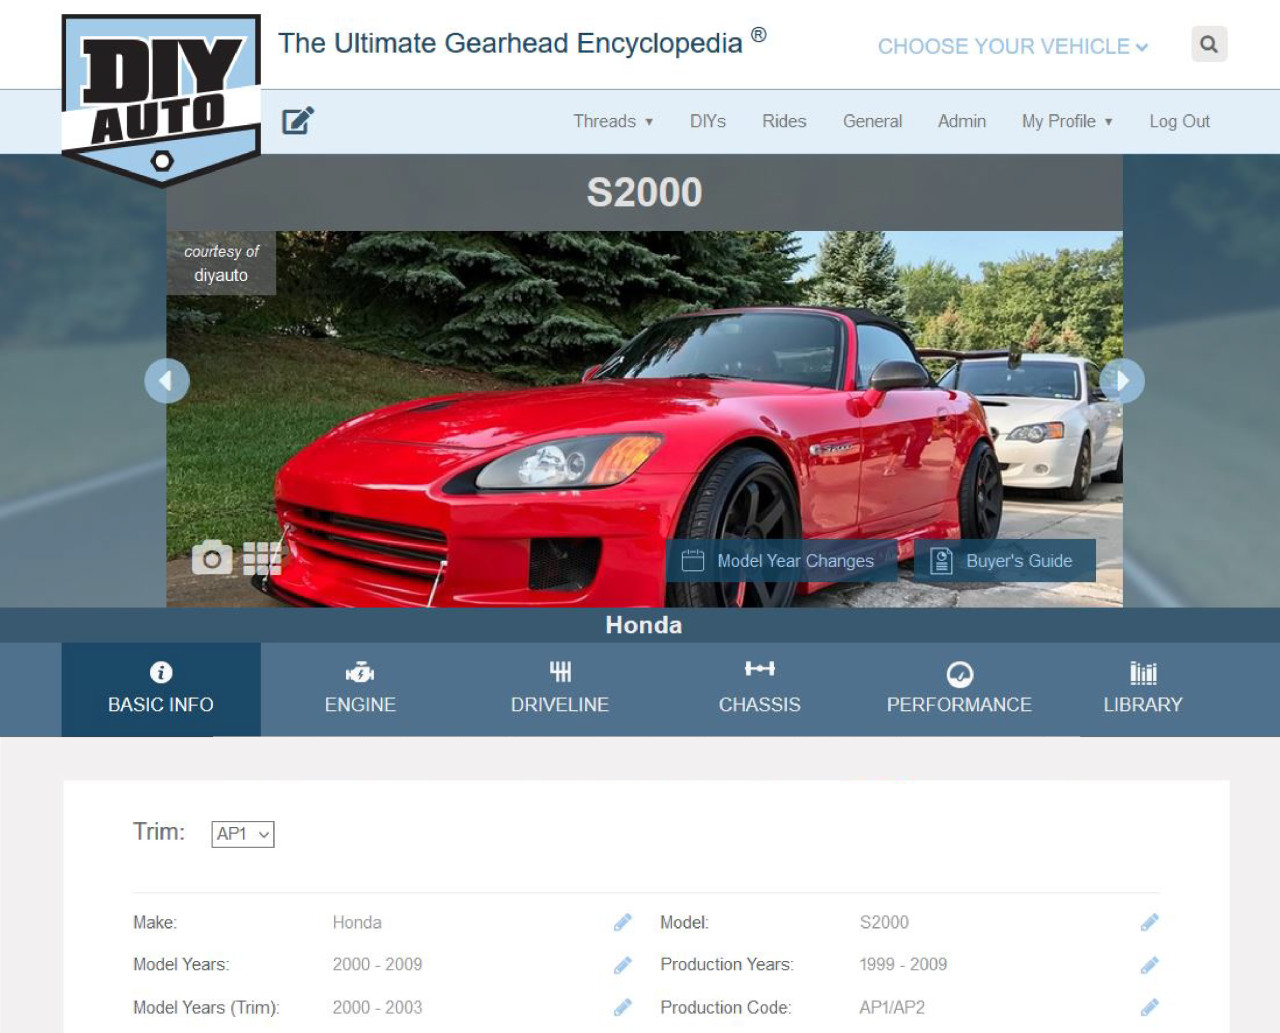
The vehicle page has photos, data, DIYs, builds, videos and more specific to that vehicle. See a tour of the vehicle page further below.
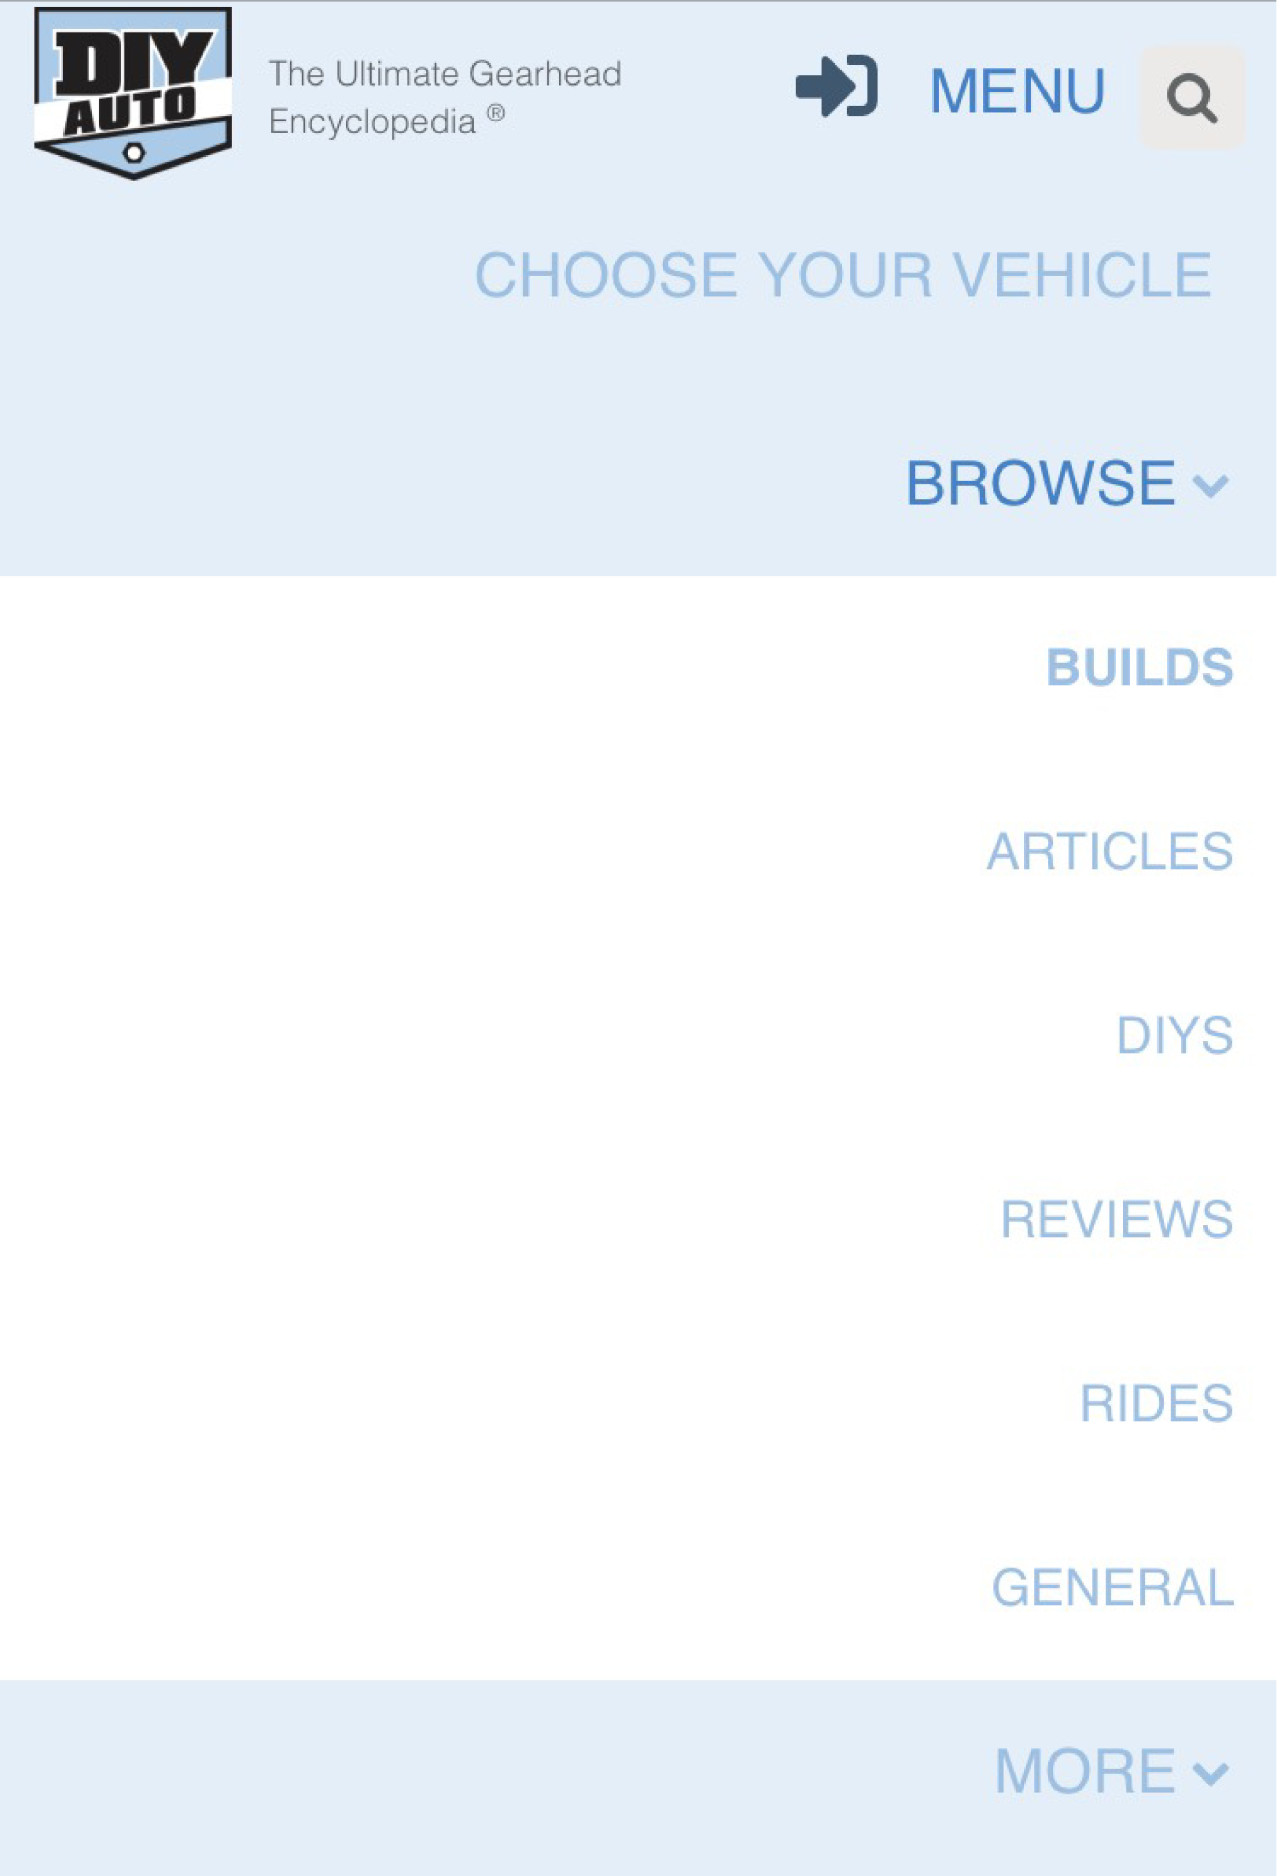
You can also browse content on the site by clicking Menu > Browse on mobile, or from the menu bar on desktop. You can sort content by vehicle, rating, and more.
News feed
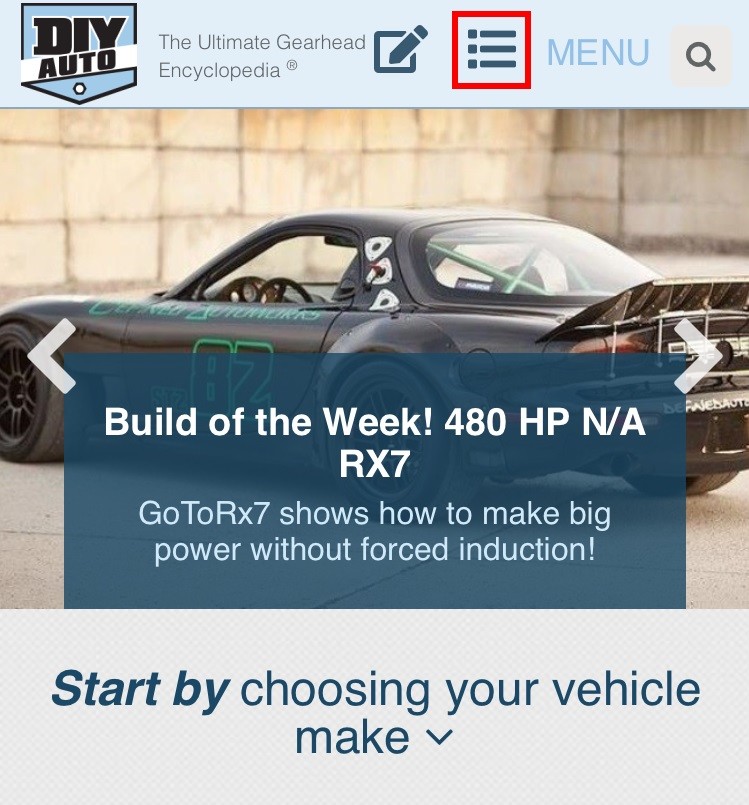
With the news feed you can see all the latest activity on the site. Click "My Profile" on desktop or the news feed icon on mobile.
How to Post
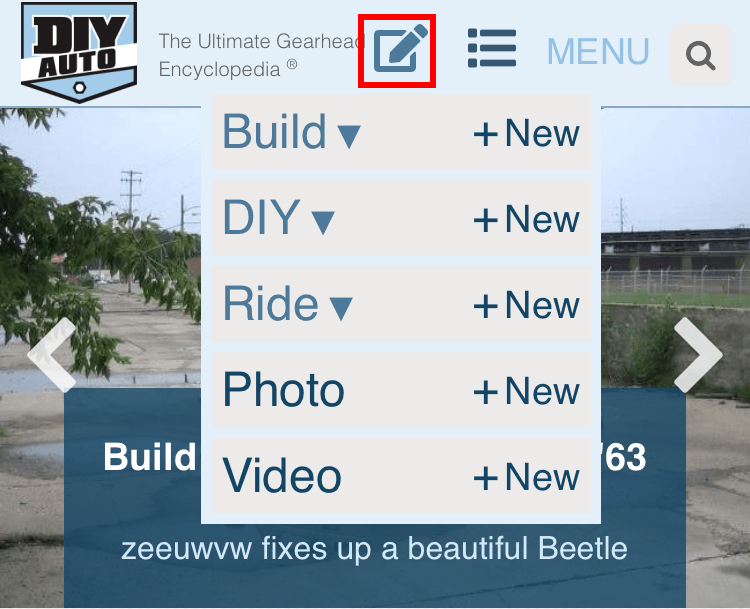
We made posting to the site easy. Click the pencil icon and you will see a drop-down menu of the types of content you can add. Click "+ New" to post!
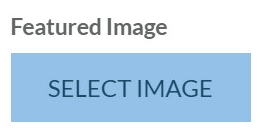
When posting builds or DIYs you can choose the primary image that is displayed on the site. Near the bottom of the page is a button that lets you select this image.
How to edit your content
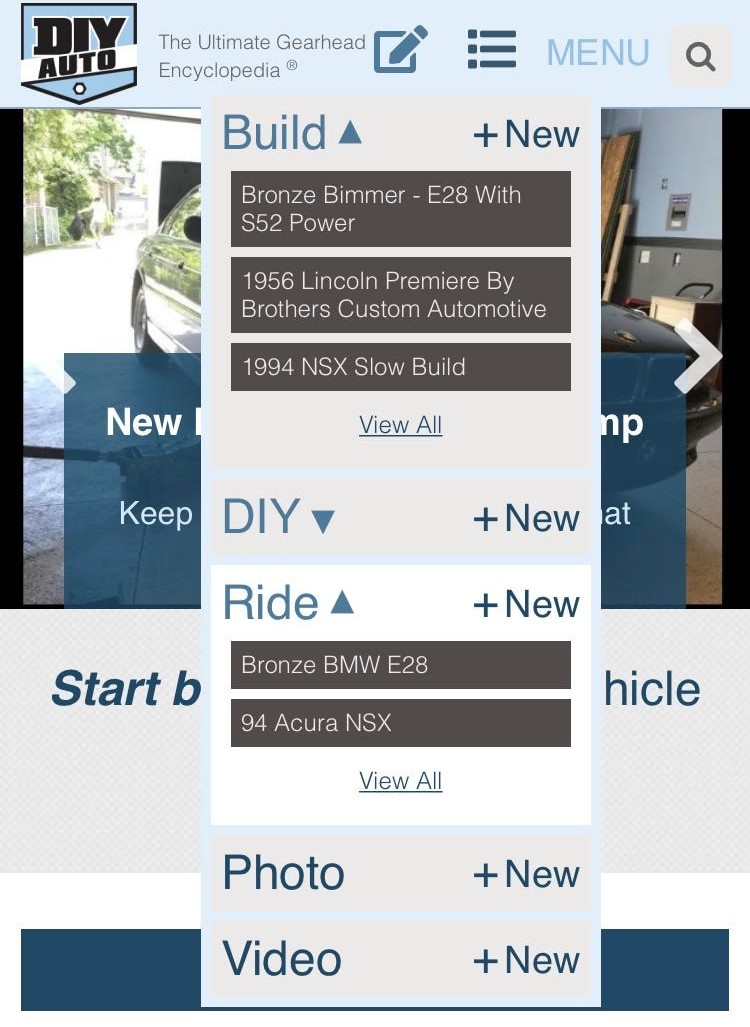
If you want to update your build thread or add photos to your ride we made it simple. Click the pencil "post" button and click the arrows by the content you want to edit. You will see a list of your content. Click to edit.
For build threads, if you are editing something you wrote in the past, click "edit". If you are adding an update to the thread, click "append". Clicking append will add your new post to the end of your build thread with a date, so it is easy to update your build as it progresses.
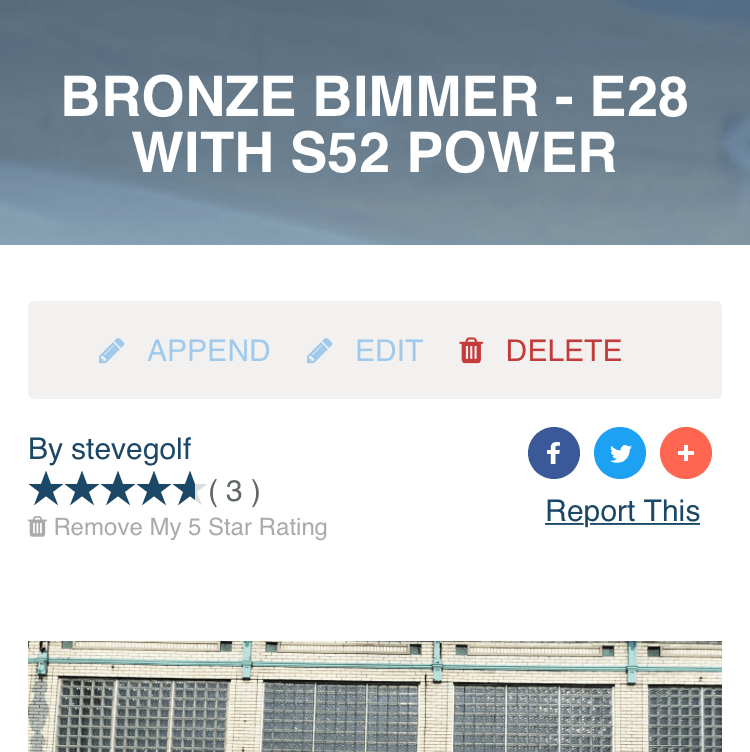
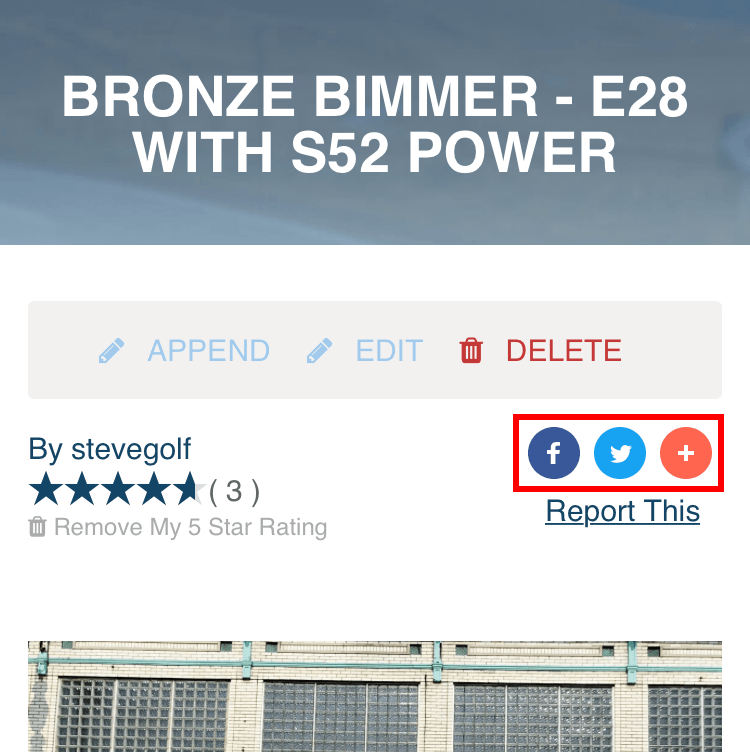
How to share your content
At the top of every article are buttons that allow you to share content to Facebook, Twitter, Reddit and countless other places. Show off your build!
Vehicle Page Tour
Vehicle pages are the heart of DIYauto.com. They are the sections in our Ultimate Gearhead Encyclopedia where important content like DIYs, Builds, reviews, and more are organized and preserved. After dozens of time consuming searches for that particular DIY or build thread, we structured DIYauto.com so that valuable information can be found fast!
Because of our mission, gearheads have donated thousands of their threads, and more is being added every day! Lets take a tour of a vehicle page. You get to the vehicle pages by clicking "Choose Your Vehicle" and then selecting the manufacturer of the vehicle you are interested in.
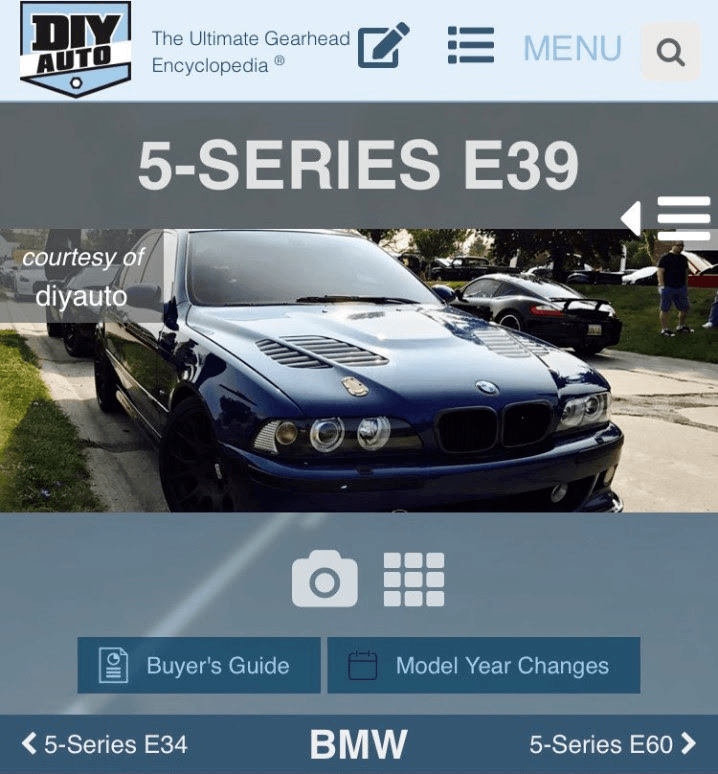
The top of every vehicle page has a photo gallery, and editable pages where users can input "Buyer's Guide" and "Model Year Change" information. Below that is a navigation bar where you can click through the generations of a particular car, or go back to the OEM's page. When you post photos to the site, they get stored to their vehicle's page so they are easy to find.
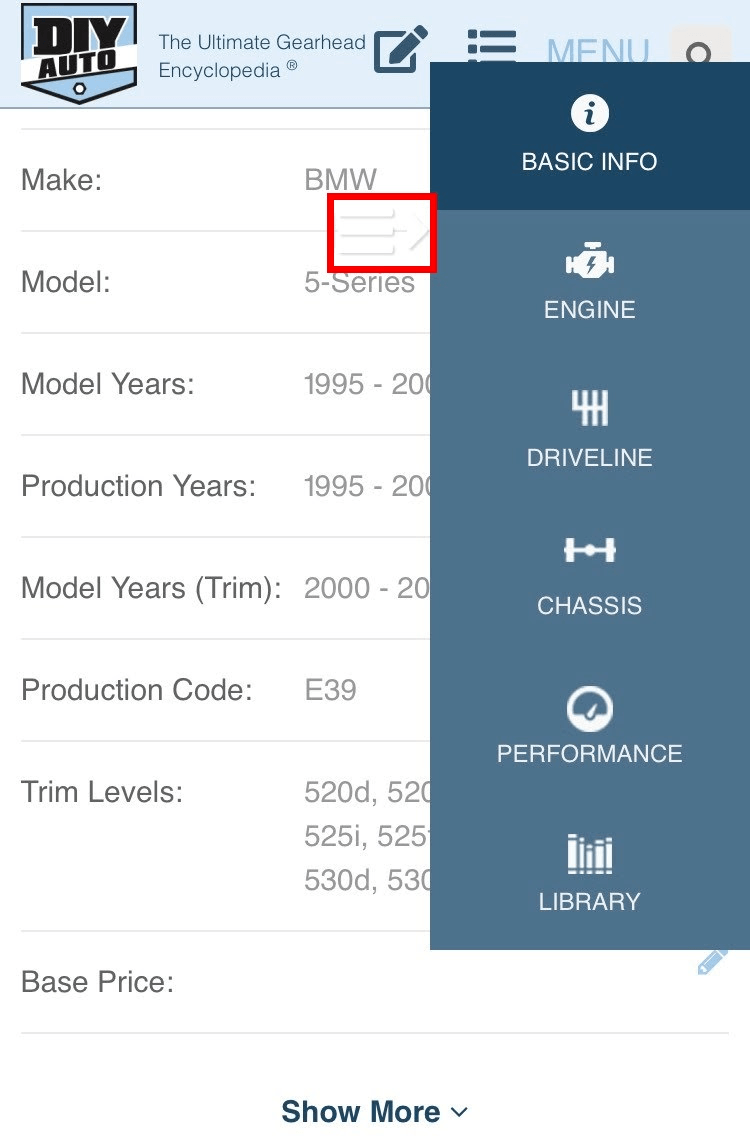
As you scroll down you will find extensive data tables. On mobile view, clicking on the floating icon circled in red above will let you see the different categories. The data is all indexed by trim, engine, and transmission. If you see data that is missing that you know, add it by clicking the pencil icon. It helps the community and gives you points!
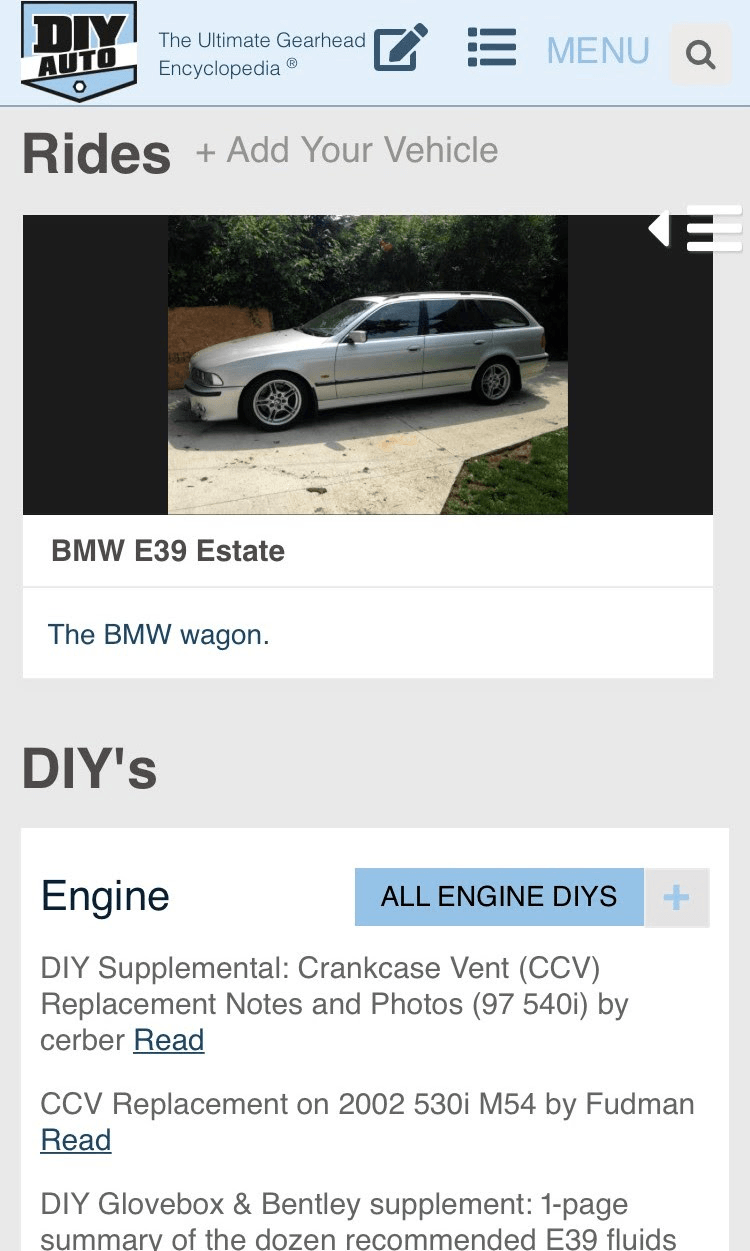
The next section shows user's rides and all the DIYs organized by type. This is the heart of the vehicle page and where most of the information is stored. If you want to add a DIY you can click the pencil icon in the header, or click the blue plus in the upper right hand of the DIY category you'd like to add. The photos for all DIYs and Builds are re-hosted to the DIYauto.com servers, so no more broken thread links!
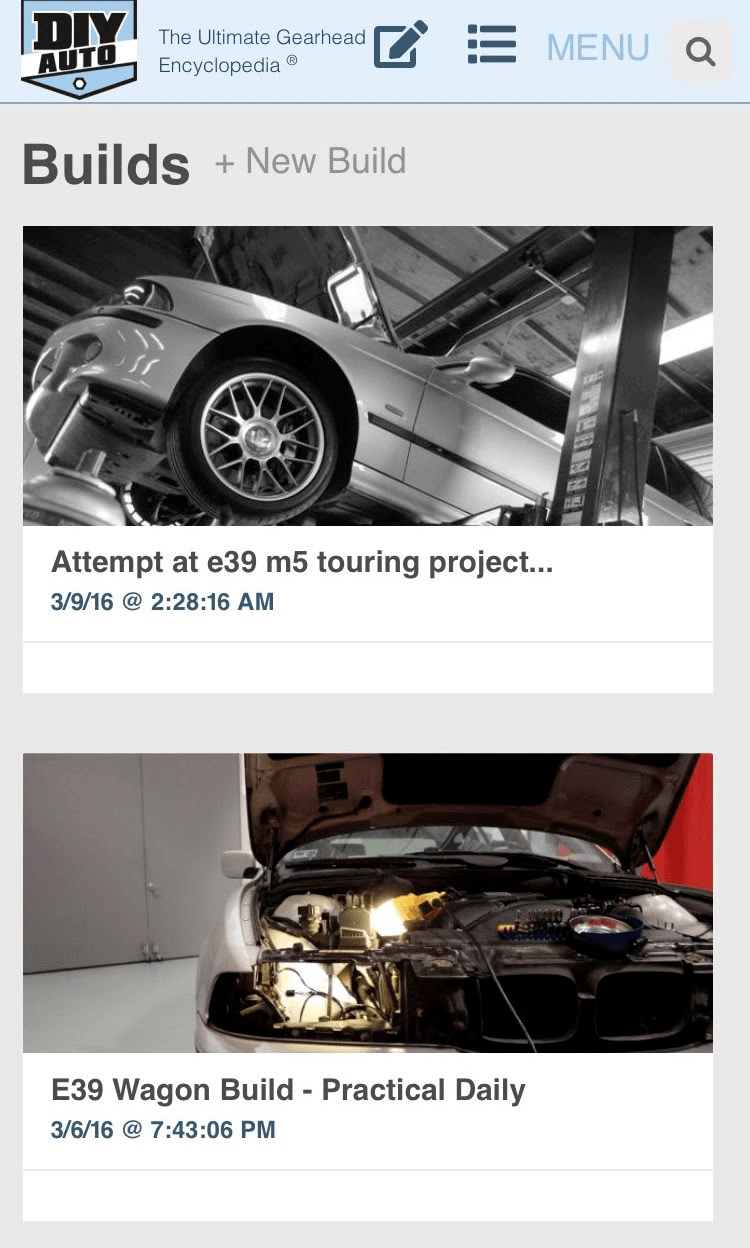
Next is the Build section. Need I say more? DIYauto.com has hundreds of incredible builds and this is where they are stored. You can view them in the vehicle pages, or browse all builds by clicking "Menu" then "Browse" on the top menu bar. If you'd like to add a build, click "+ New Build" on the vehicle page, or use the pencil icon on the top menu bar.
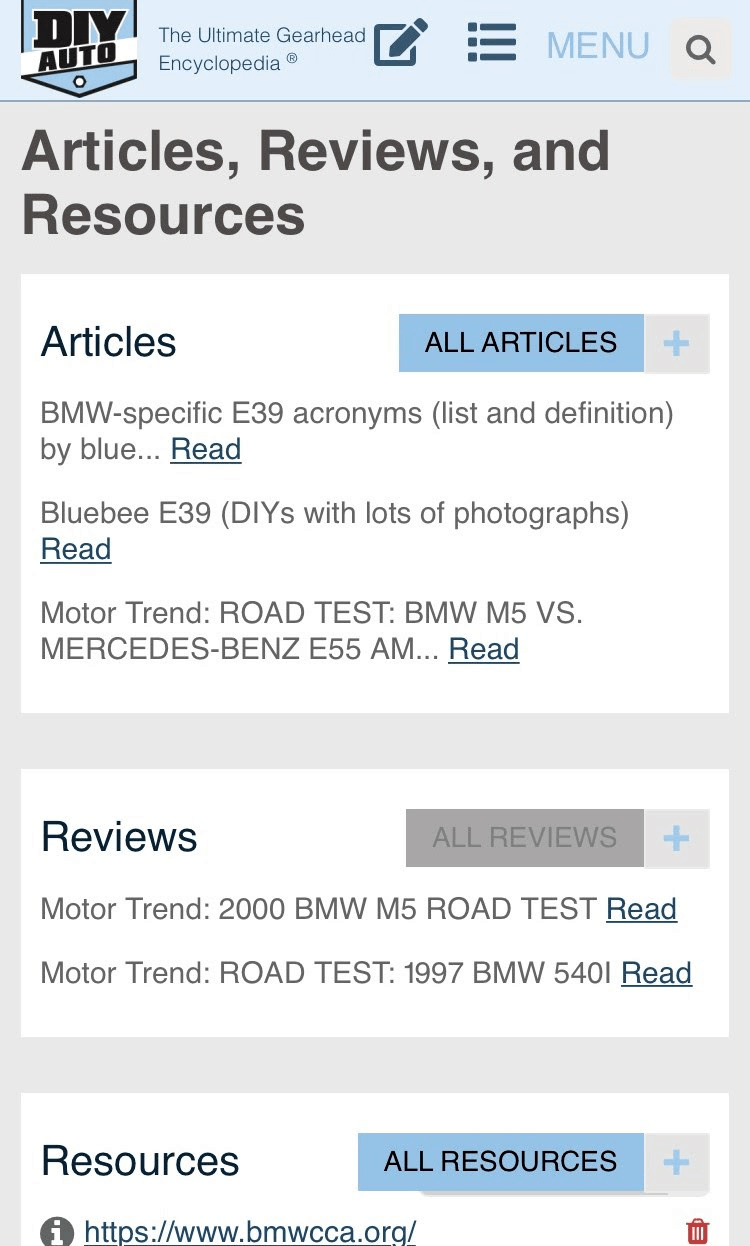
The Articles, Reviews, and Resources section is where everything else goes. Know a good website related to your favorite car? Post it in the resources. Wrote an article about the history of the Corvette? Post it in the Corvette article section!
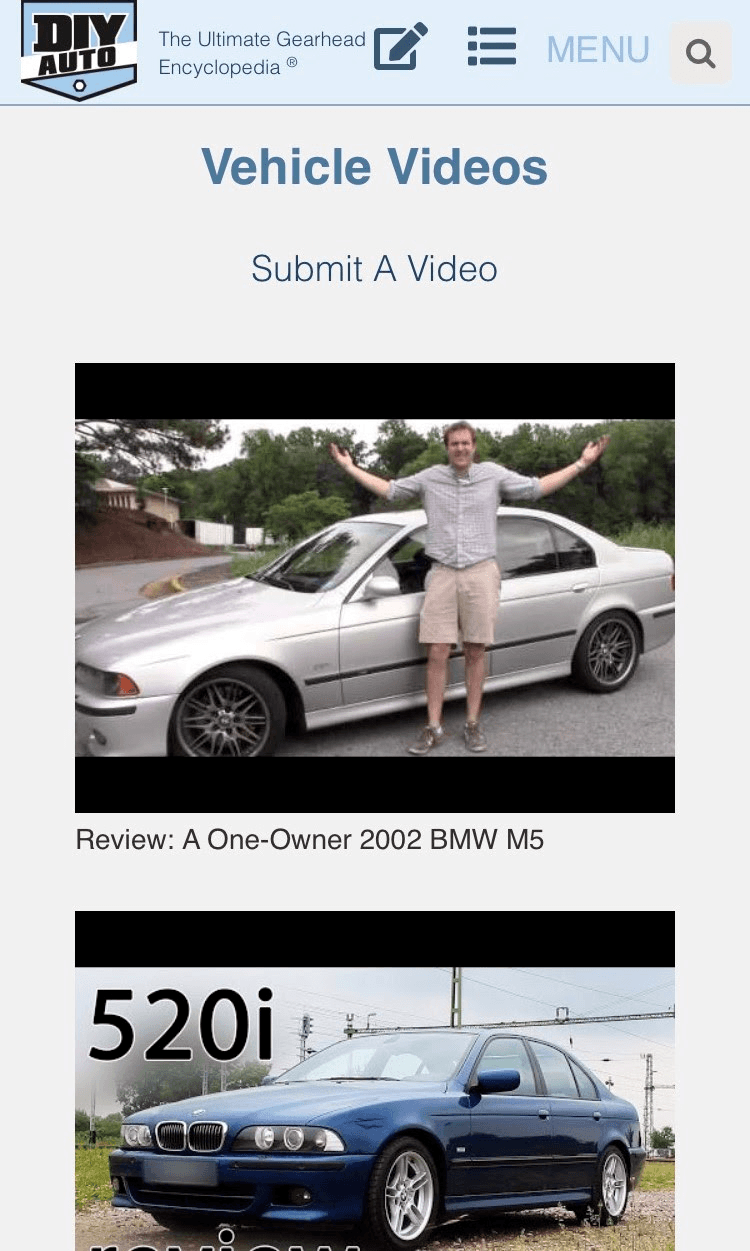
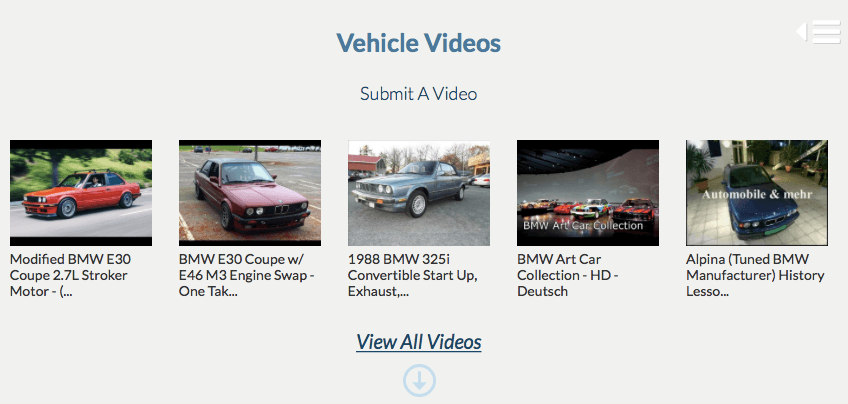
Last but not least is the video section. This is where the best videos related to that car lives. Do you have a favorite video about your car? Add it to the video section! You can spend lots of time browsing around YouTube, or find the communities favorite videos right in the video section.
We hope you enjoyed our vehicle page tour. DIYauto.com has over 2000 vehicle pages for over 45 manufacturers! If you'd like to contribute, you can post right to the vehicle's page, or use the pencil "post" icon in the upper menu bar to post from anywhere on the site.
How to edit My Profile
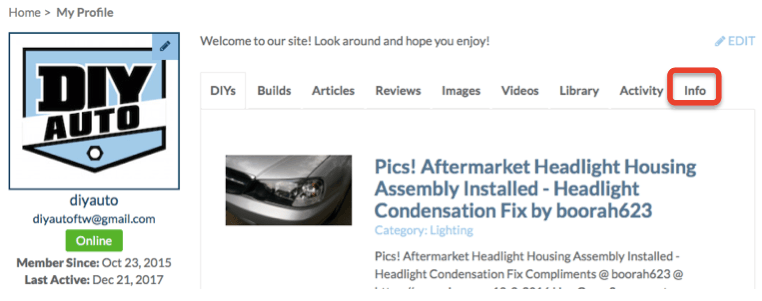
Click the "My Profile" tab on the top of the page. For tablet and mobile, click "Menu" at the top and navigate to "My Profile." Click the "Info" tab to then adjust your personal information. Once complete, click the submit button to save.
If your article was originally posted on another site or forum and you want to give credit, paste the url into the "Source URL" box.

Next hit submit and you are done!
How to add information to the data tables
All vehicle pages have data tables so people can find the info they need quickly. We designed the site so users can add information and edit the data tables so the community can have a complete and accurate source for information.
First -Only registered users can add articles and edit the data tables.
On the vehicle page choose the data category you want to add by selecting the corresponding tab (Engine, Transmission, Performance, etc)
For mobile, click the tab to expand the selection choice.
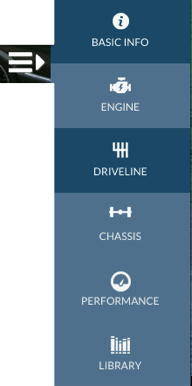
Make sure the correct Trim, Transmission, and/or Engine is selected from the drop down menu. Otherwise your info will go to the wrong place!
Click the pencil next to the data field you want to edit, and a text box will appear where you can enter your data.
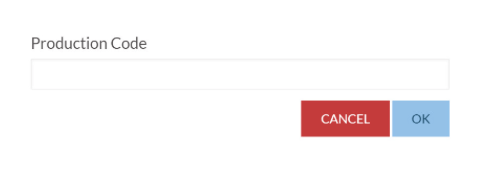
If you are attempting to modify or add data to a field already has data inputted, a change request will be sent to an admin. This is to protect the data that has already been added to the database and prevent unwanted changes. An admin will review the new information before it is stored.
You are done! Thanks for helping us improve the library!
How to add Photos/Videos
Adding Photos/Videos is a breeze! Visit the vehicles page, at the top is where the the Photos are located. Click the "camera" icon (located in red box), upload a photo, add some specs/info, submit and your set.
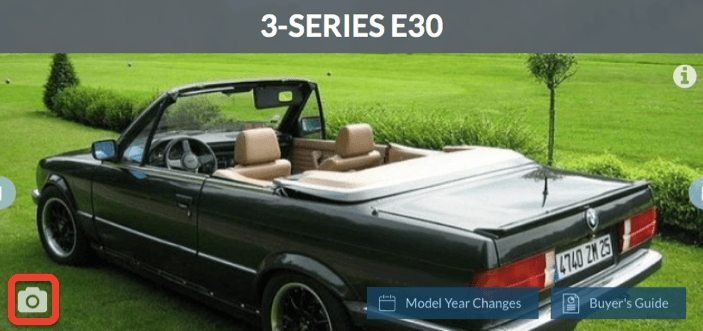
For Videos, scroll to the bottom of the page and add your Youtube URL.
How to add Resources
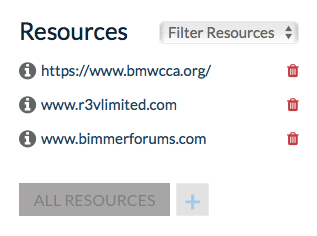
Find a great site that can helps others related to a specific vehicle? Please place these links here!
Resources are broken down into Information and Parts sections. Click the "add" button, add link url, title and link type and you are set!
How to add to the Library
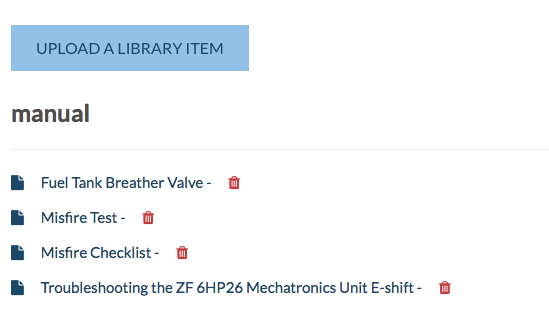
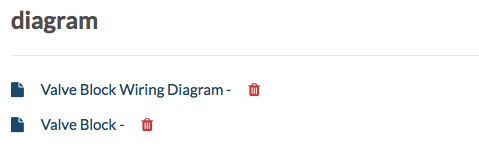
The Library consists of unique items that add value to the related vehicle's page. These items can consist of: Ads, CAD models, Diagrams, Dyno Charts, Manuals, and others. Click the "Upload a Library Item," add a title, description, and choose relevant section. The item will then be displayed under its selected category.
Login/Registration Issues
We apologize if you are having issues logging in or registering. If you are having problems please Contact us. Thank you for your patience!
If you are having any problems with the website, feel free to contact us via the "Contact us" link at the bottom of the page. Thanks!