You must be logged in to rate content!
11 minute(s) of a 720 minute read
7-26-2011
Well, I flipped all the bolts over except the crossbrace bolts. I sawed them off,.. I reinstalled the bolts with blue LocTite on them & torqued tham all to 35lb.
Then I painted the bolt heads & nuts with Rustoleum Semi-Gloss Black. Looks mich better & I have 1/4" more ground clearance this way.
I also added a silver IPD decal for a little extra coolness. Pics below: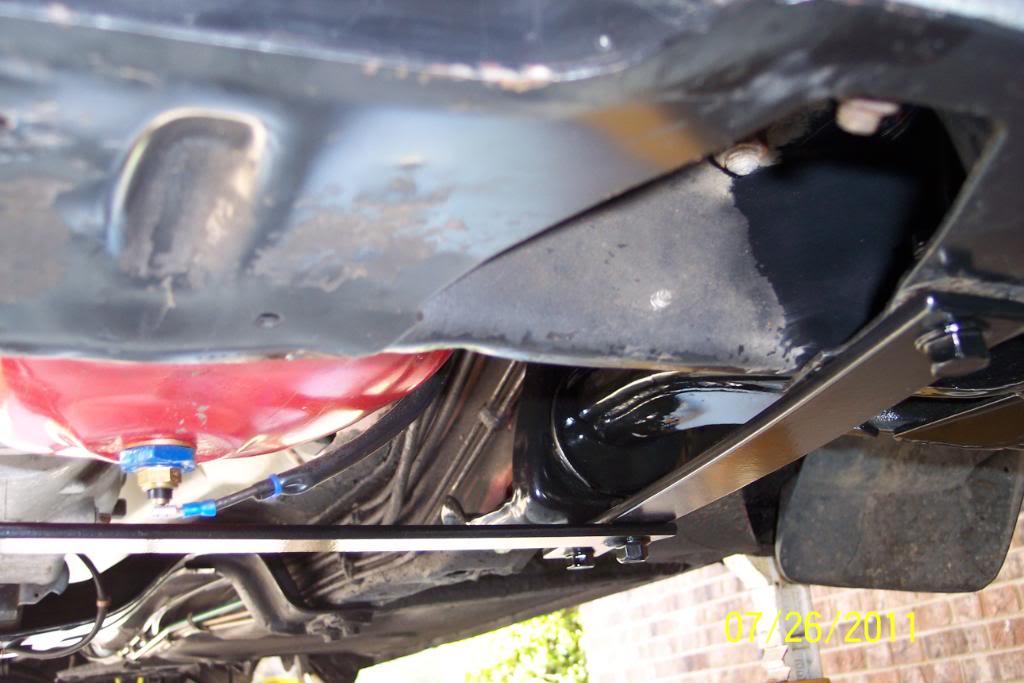
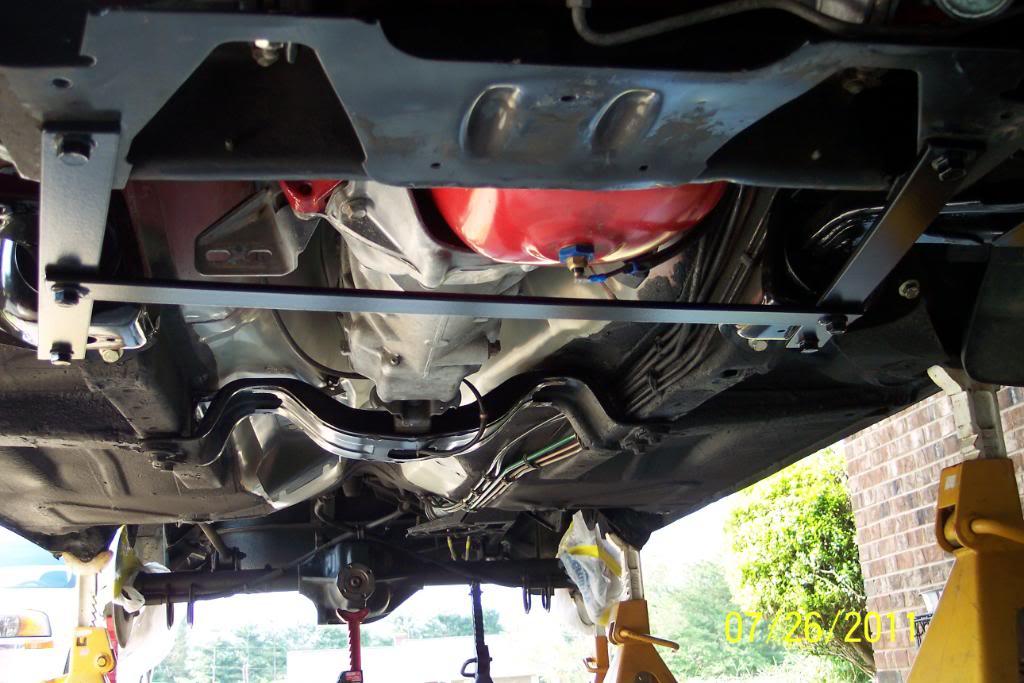
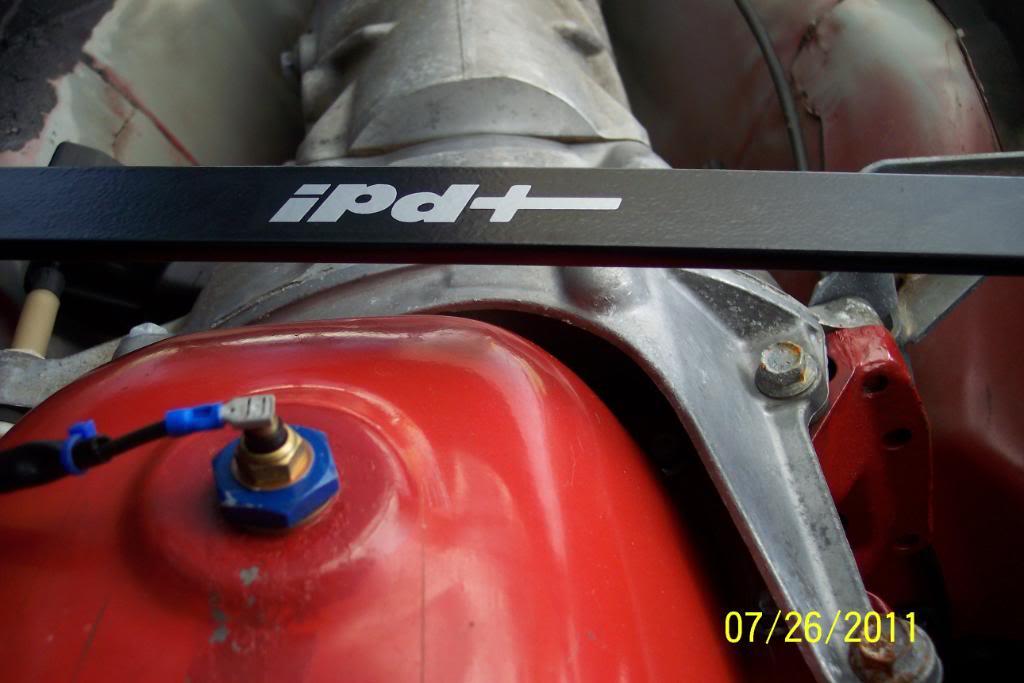
I installed the LTAs small end Super Pro Poly bushing in early this morning (read 3:00AM), after installing the IPD Lower Chassis Brace up front.
Masked off the small end polys, and undercoated both LTAs with 3M professional Grade Rubberized Undercoating. Again using the STIR method on the small end of LTAs, but a nice even, run free coat everywhere else.
I'll have to let the LTAs set up/dry /cure for a day or two now. In the meantime, I'll install the LTA's large bushings in diff brackets. Then take care of mowing the damn yard again.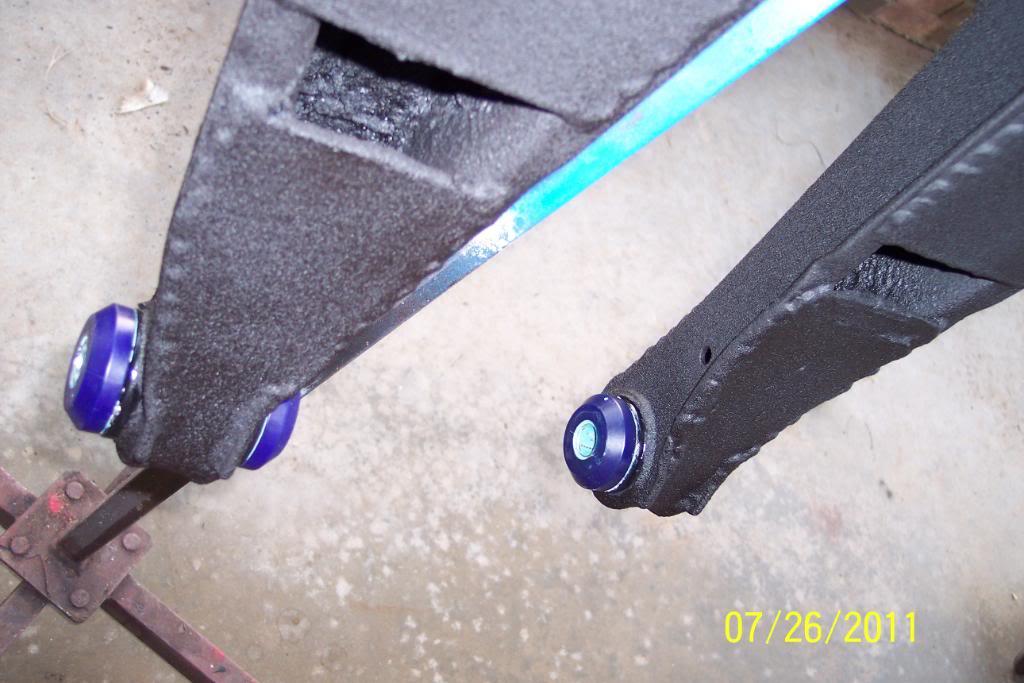
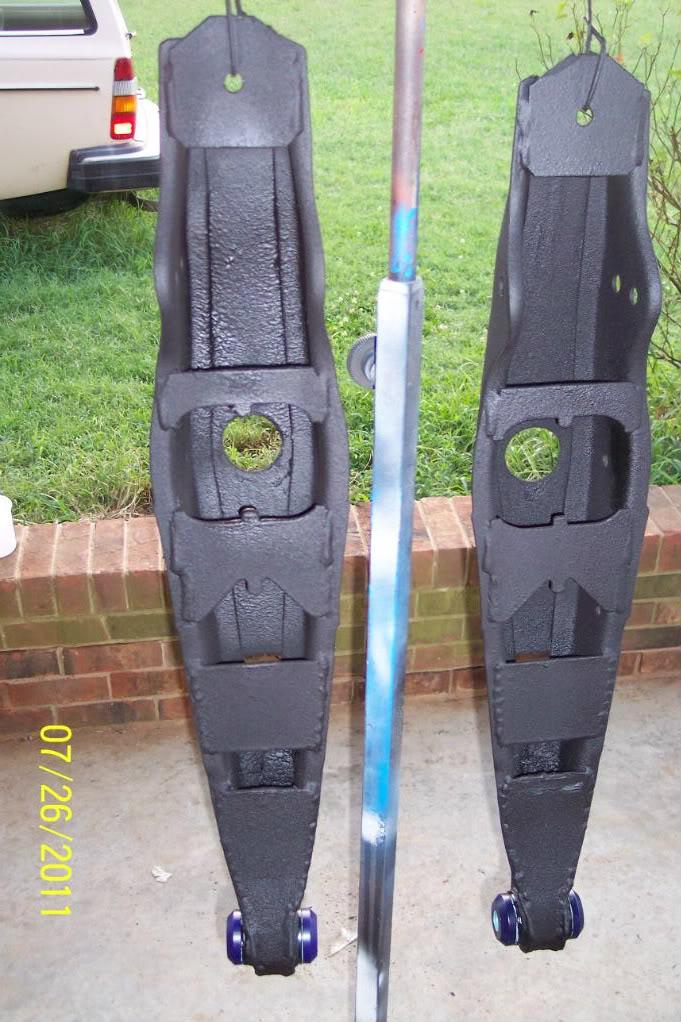
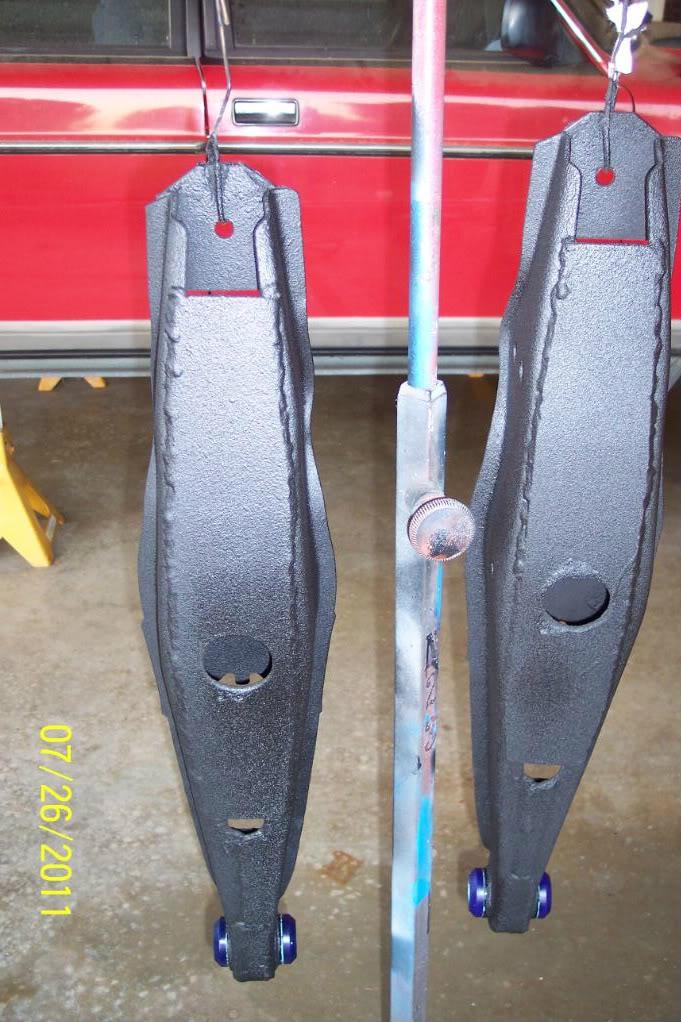
7/27/11
Volvo Porn....My Tool In Action....... otherwise known as LTA/Diff bushing Installation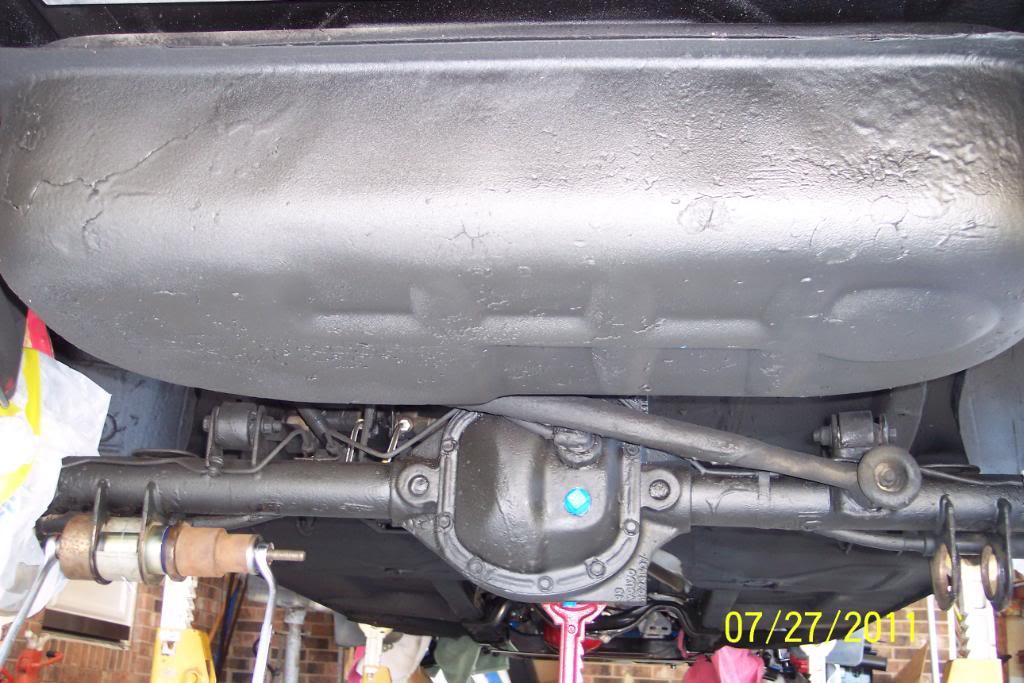
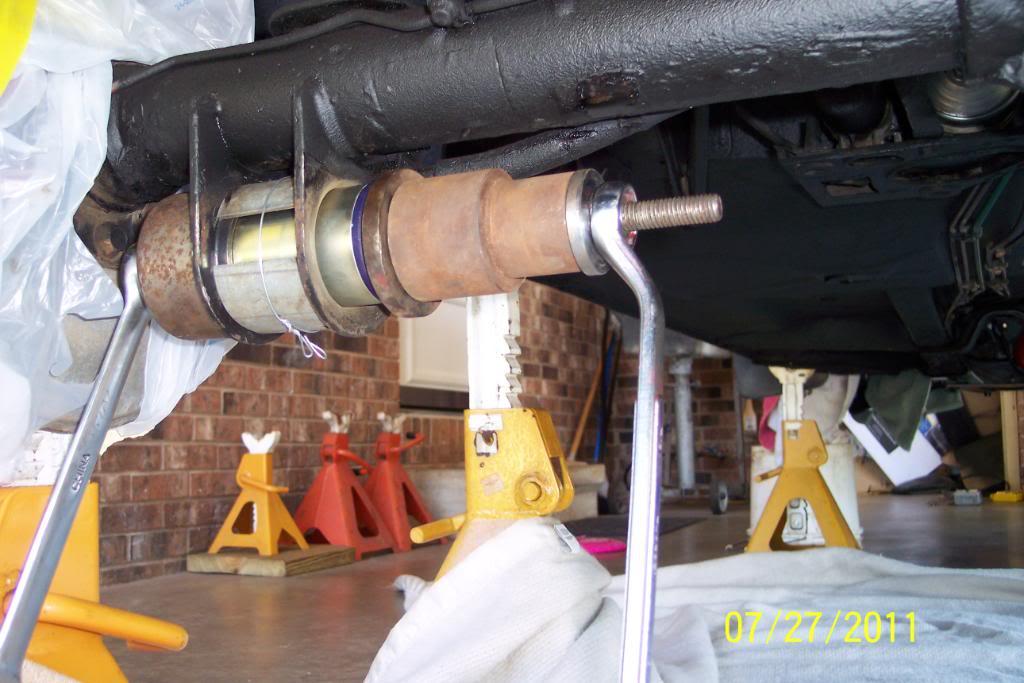
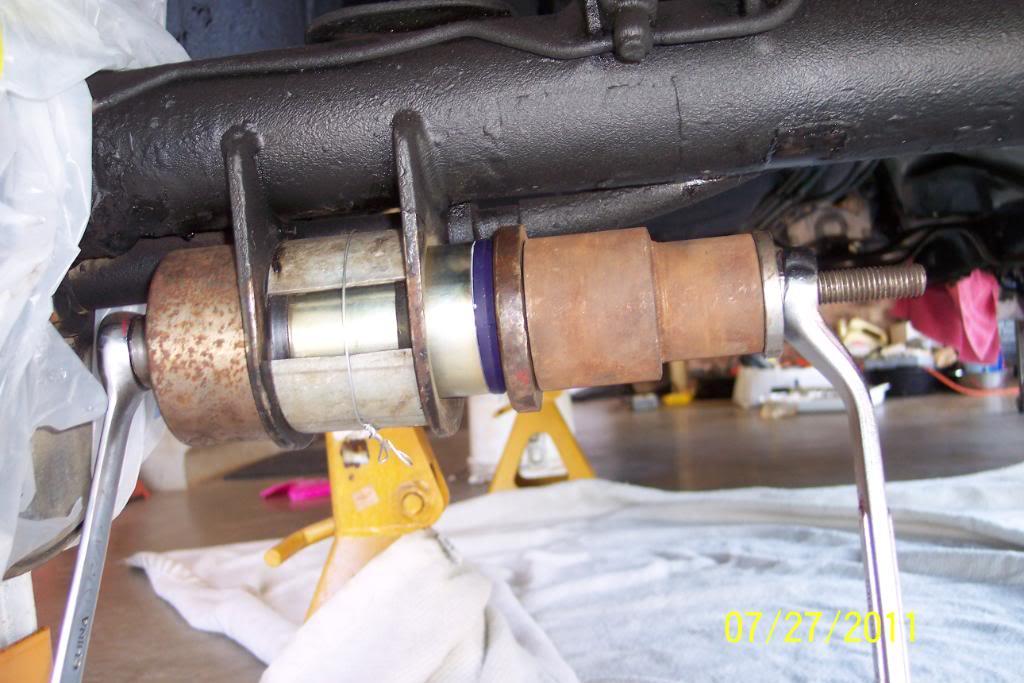
7/29/11
Since I'm waiting on FCPG to ship my big LTA bushes, After I installed another steering wheel( I have a few), as the one that's been in it was actually out of my 79 245.
Cleaned/washed new wheel. Then I thought I'd go ahead with the lacing/install of the
new Wheelskins Black Leather Steering Wheel Cover I got from IPD .
Instructions say 1 hour install time...Big Lie. Took me around 4 hours with ciggie breaks.But I took my time so I could do it right. FWIW, it's not hard to do just an aggravating, time consuming, repititious job requiring patience, or as in my case, a lot of ciggie breaks.
It fits very well & looks waaaay better than the 13 year old one that was well worn & was originally on my 79 245's steering wheel that's been in this car. Then Armor All-ed the Interior a bit.
I do love the way the Wheelskins Black Leather cover makes the steering wheel's rim diameter larger, as it fits my hands much better & I find it much more comfortable.Pics.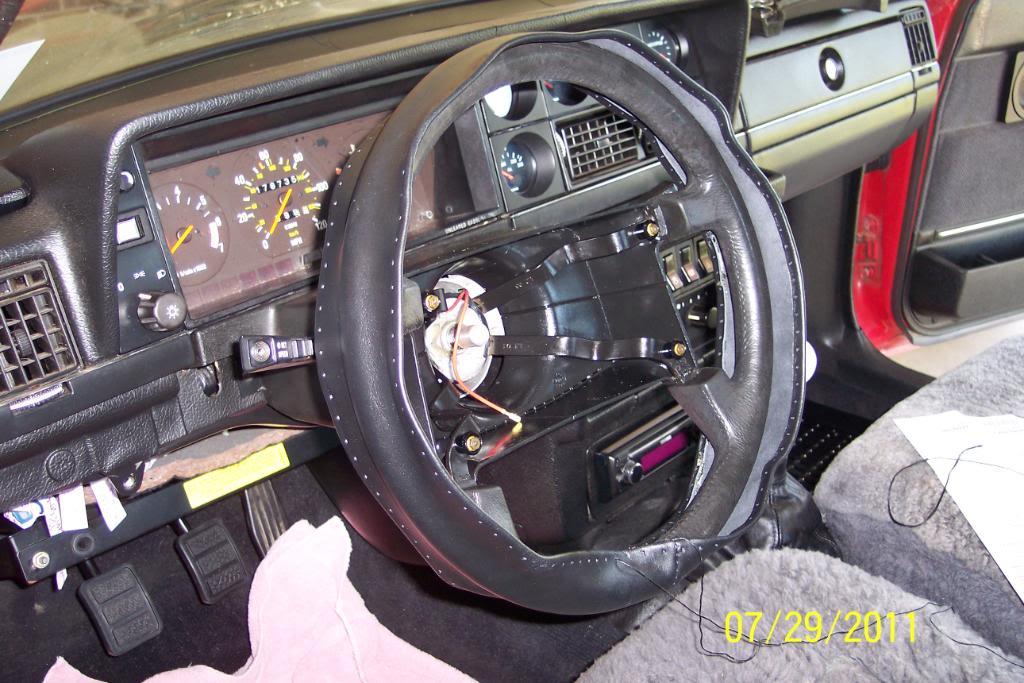
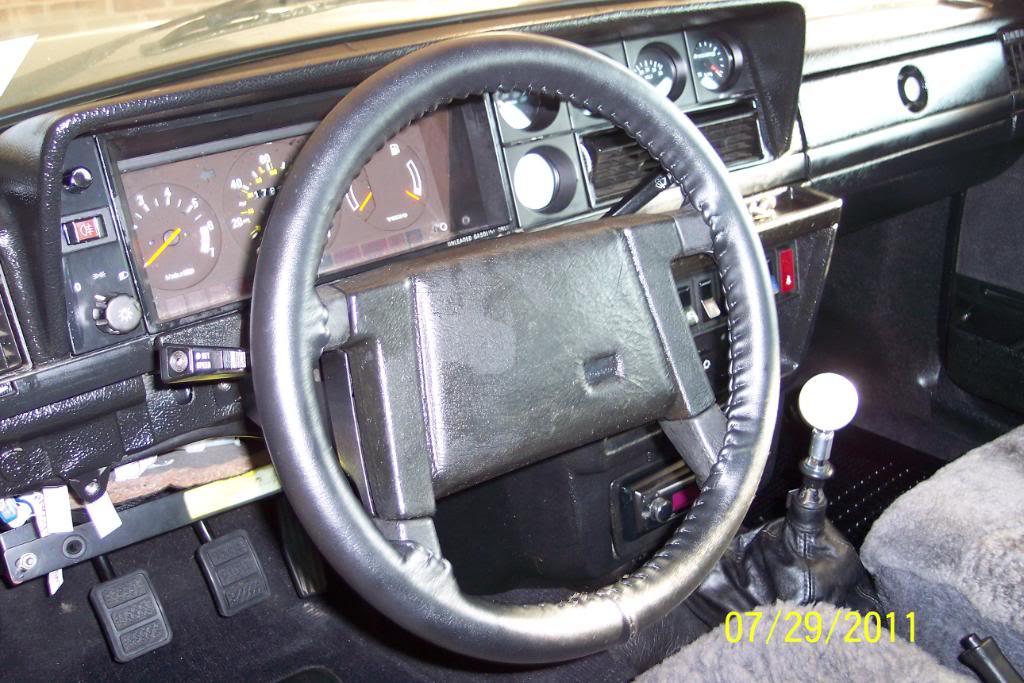
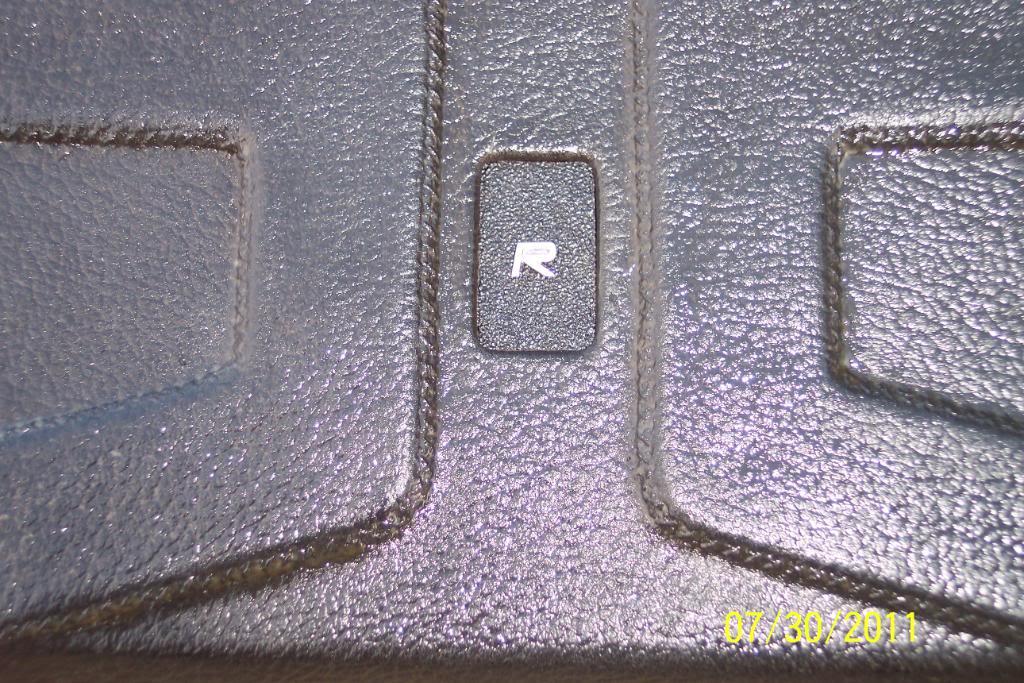
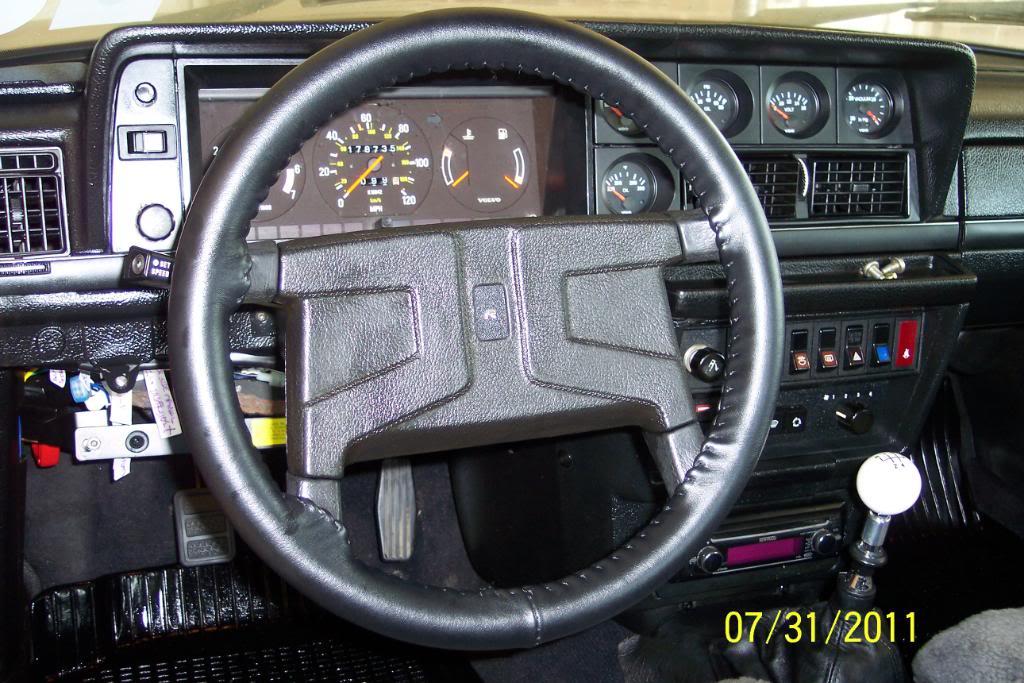
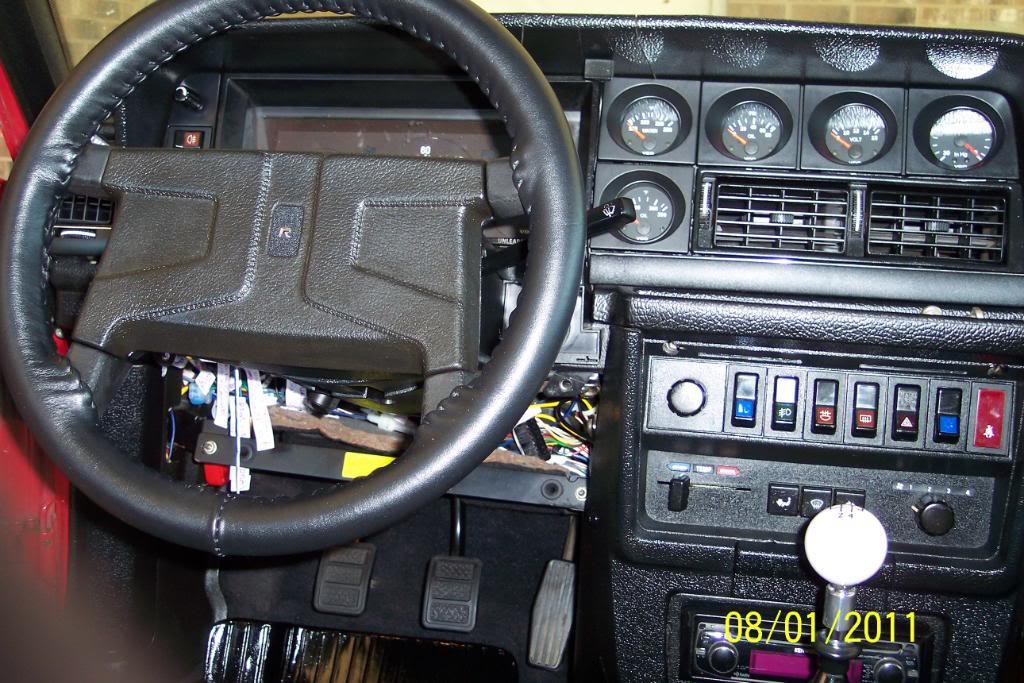
I wanted something different from the run of the mill/everybody's got one plain jane 82-89 OEM 240 horn pad . Yet I haven't made enough money yet,to buy a MOMO or similar, 3 spoke race type steering wheel
While I like the '78 242 GT horn pad's "simulated spoke pattern" , I still disliked the orange/red GT emblem in the center a great deal ,because it doesn't go well with my 240's interior.
I just spent the better part of today modding my 1978 242GT steering wheel pad. It's something I've been thinking about for over a year. I have been looking high & low, for an appropriate way to do away with the old, faded, and unbecoming to my 240, red "GT" emblem in center of the 1978 242GT steering wheel center pad I have.
I wanted to mod it in such a way, so as to make it appear as if it was possibly an OEM Volvo option. Yet,I wanted something inexpensive I could use to mod the GT horn pad.
Also.. I wanted it to be a more modern,a more unique, but still understated, yet still classy & exquistly tasteful appearance, than what the '78 242 GT horn pad already had. And it would have to be something no one else has ever done/ had.
So....... I already had some stereo shop grained black ABS sheet plastic left over, that I thought would lend itself perfectly for replacing the original red GT background in the GT horn pad. But I still need something to use for an emblem. So, I only had to look as far as all the Volvo hat pins & lapel pins I have, (quite a few) and decided on the one in the pics because..........
Since my last name begins with "R".....
Since I like the Volvo 240 R Sport look/ tried to mimick the R Sport Rally car look by mounting my Hella 500FFs on top of the front bumper......
Since my suspension is modded to somewhat of an R Sport spec equivilent..
Since I bought this attractive little R Sport emblem from IPD about 1 year ago, that is a simply beautiful chromed "R" in a perfect size....
And lastly because I'm a "Detail Freak from Hell".......
I chose to do this........ And I think it came out simply fantastic too...... I can't seem to quite catch it's true appearance. It's under the car port, and can't roll it in sunlight. But here's daytime pics....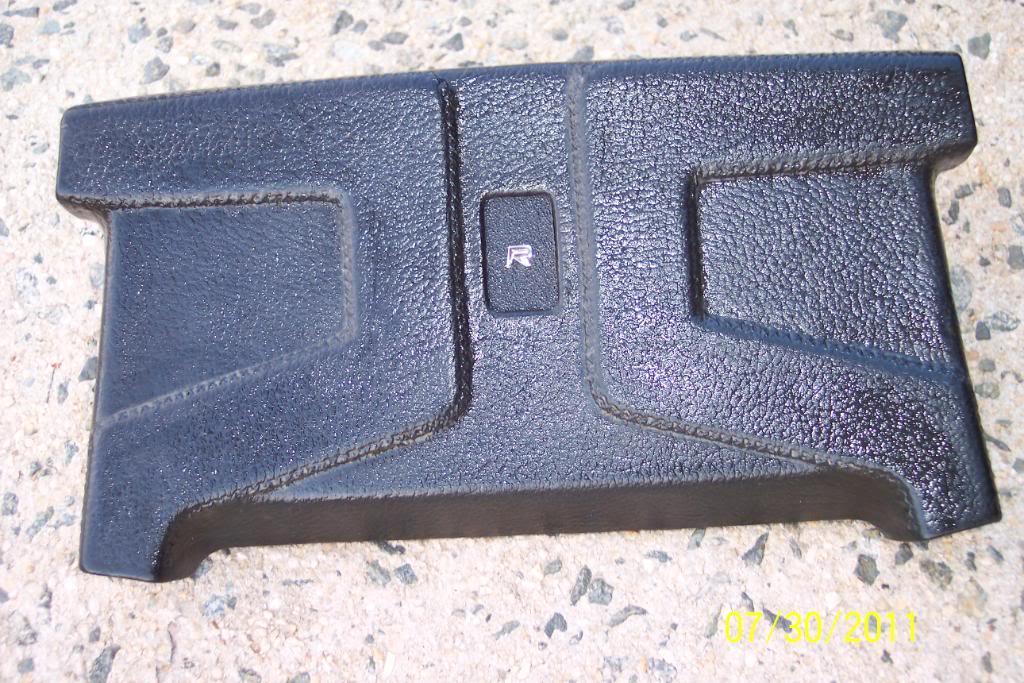
7/30/11
Don't know how many have ever noticed that on a 1991 240 sedan(and wagons I presume..), that the blue colored "Hi Beam lights are on" indicator, doesn't tone down the white light behind it very much. Or maybe mine was faded badly.
Anyway..It has always blinded me a little & bothered the hell out of me. On older 240s with M46 , the OD light is same way.
I took a spare IC I had, pulled the backside off of it, removed the colored warning lights strip and cut the blue hi beam indicator off the colored strip. I left the hole where it fits on the peg that locates it on IC.
I placed it behind the one already on there. Muuuuch better. I can tell hi beams are on, yet it's not too bright & no longer blinds me. A big plus for nighttime driving IMO. I've done the same deal , in the past, on my 1979 245's OD indicator light.
Sure.. it's a silly small detail. But it's agravated & blinded me for over 4 years now...ah ah.. no more!
Here's a good pic of it.........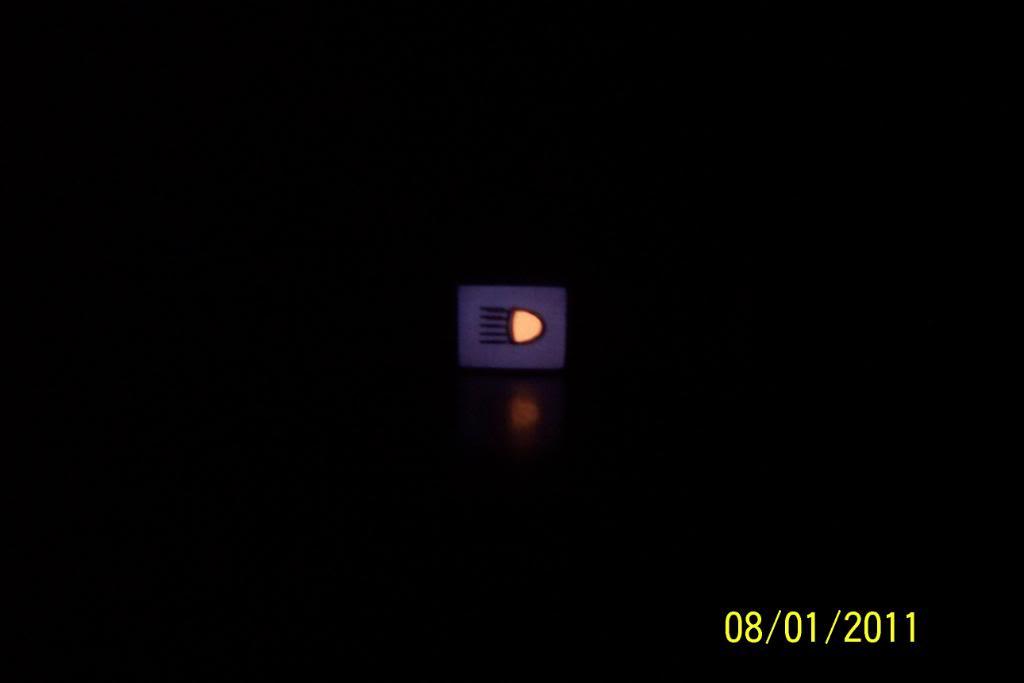
8/3/11
So I have the FEBI/BILSTEIN LTA bushings in, now. The poly just did not suit me for this big end applicaton.
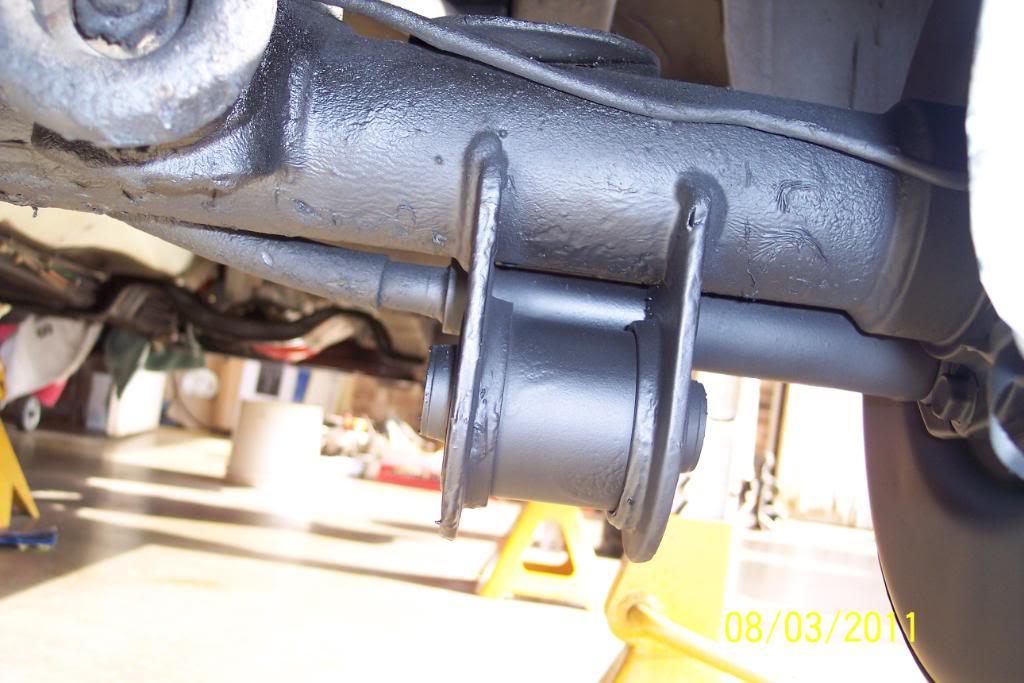
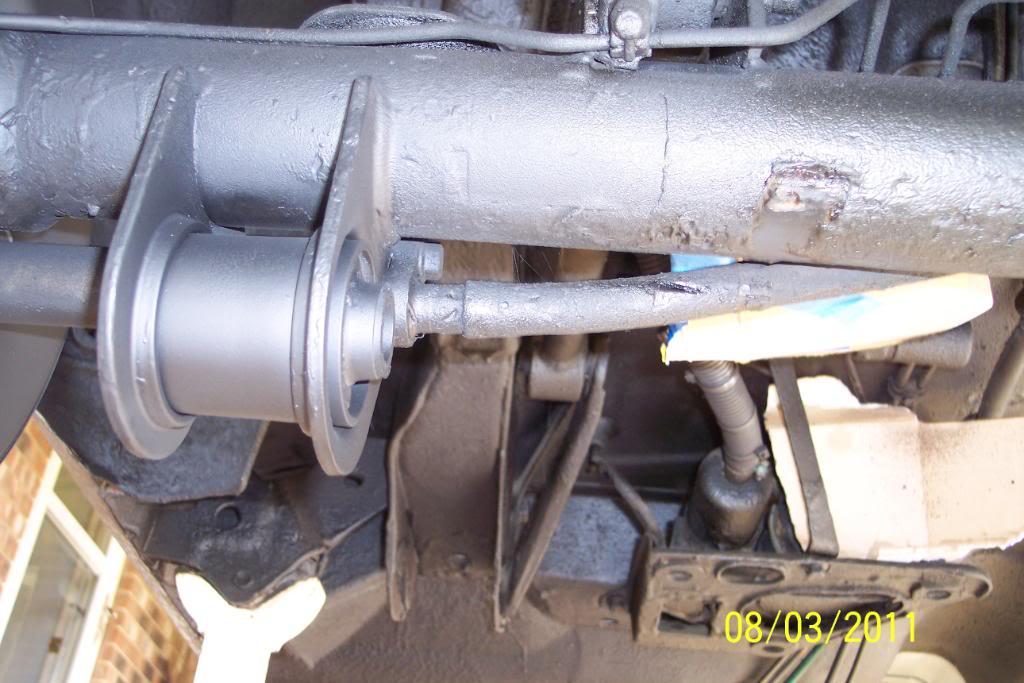
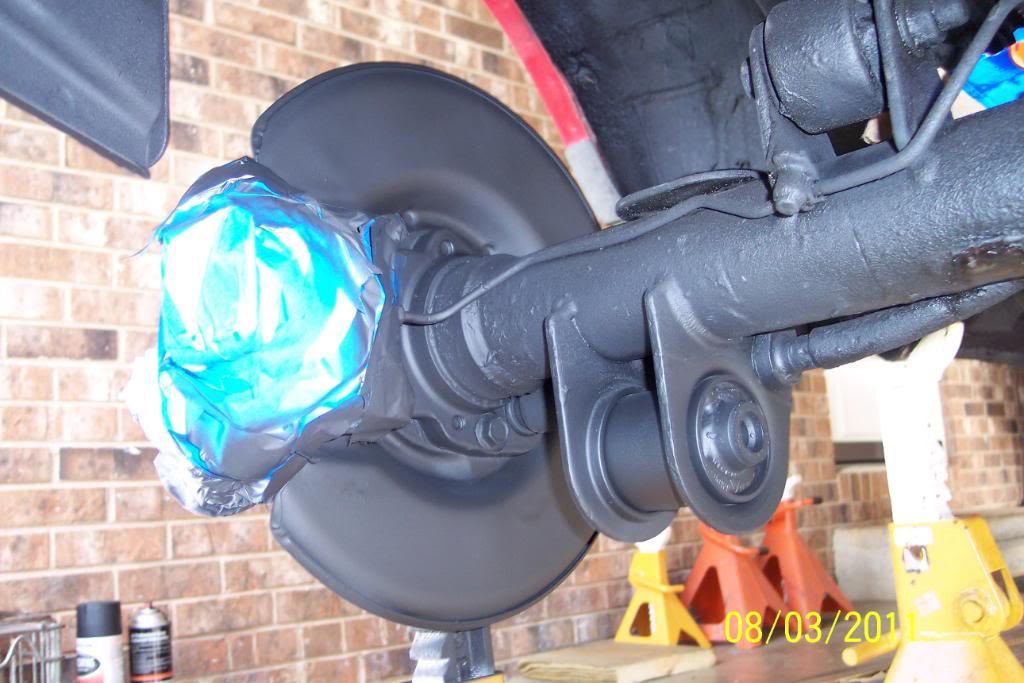
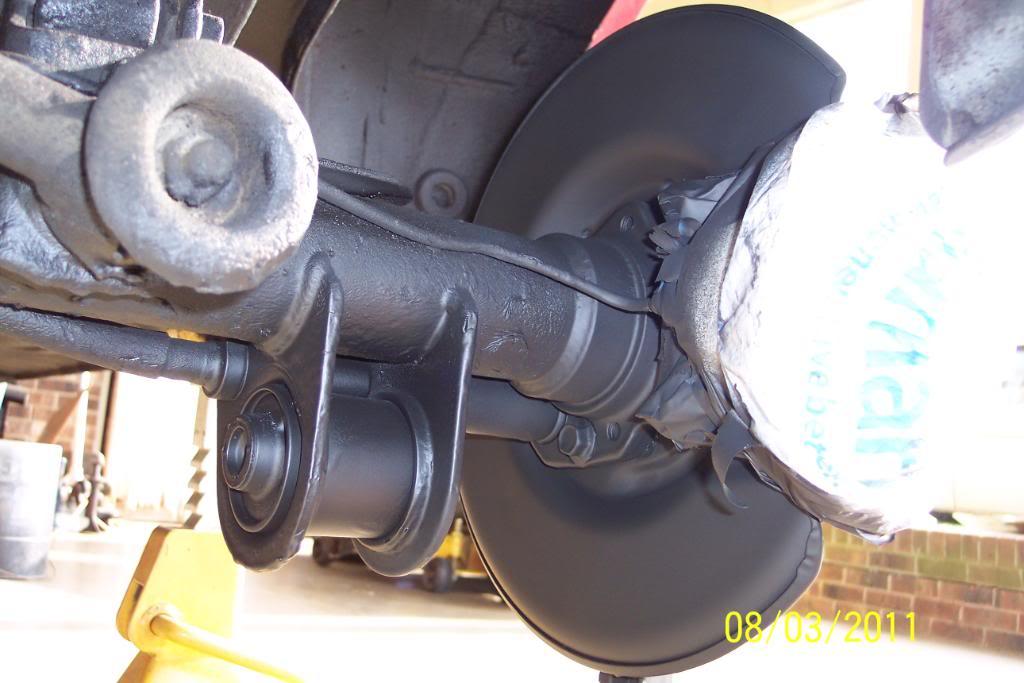
I painted the exposed parts of the LTA bushings to keep them from rusting, as well as the brackets.
Now....I'm looking under the car,& everything is just so damn clean.......wait.....except the little part of floorpan between the muffler heat shield & rear bumper. which I undercoated promptly.
Then I happen to gaze at & see the end of the diff's rear axle housings & the flange on the end, as well as the disc brake backing plate/shields, were sorta unsightly looking . So I masked off the brake calipers, and commenced to painting those said parts.
Now... anything & everything, on the bottom of the car is spotlessly/ you can eat off of it clean. Literally! WORD.
I'm beginning to wonder how I'll ever get the courage to drive it in the rain & snow now.
Pics below.............
8/5/11
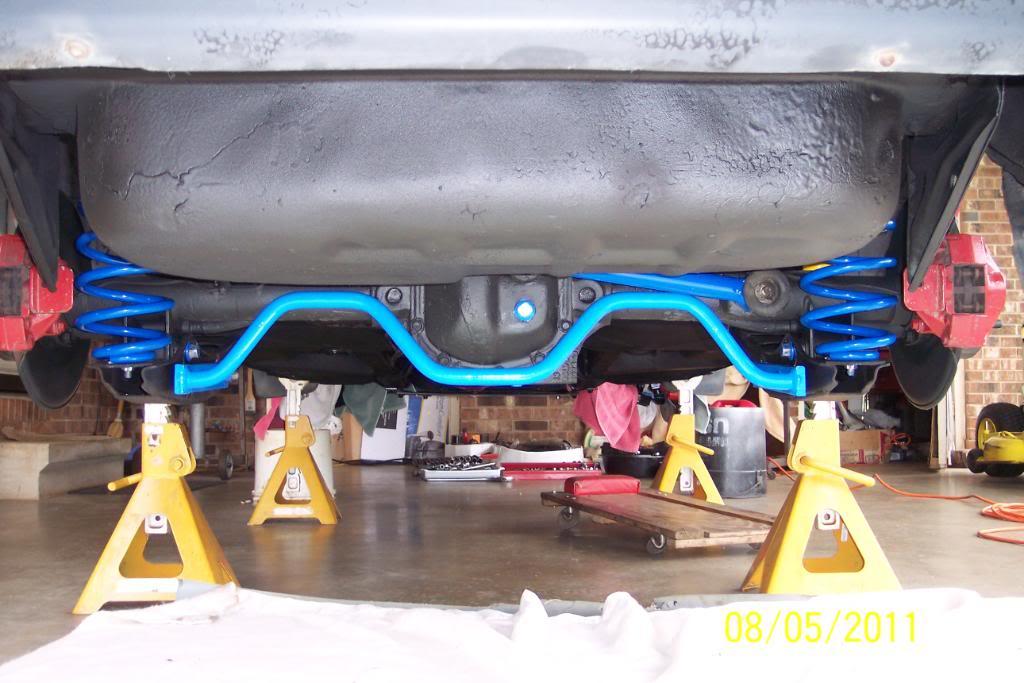
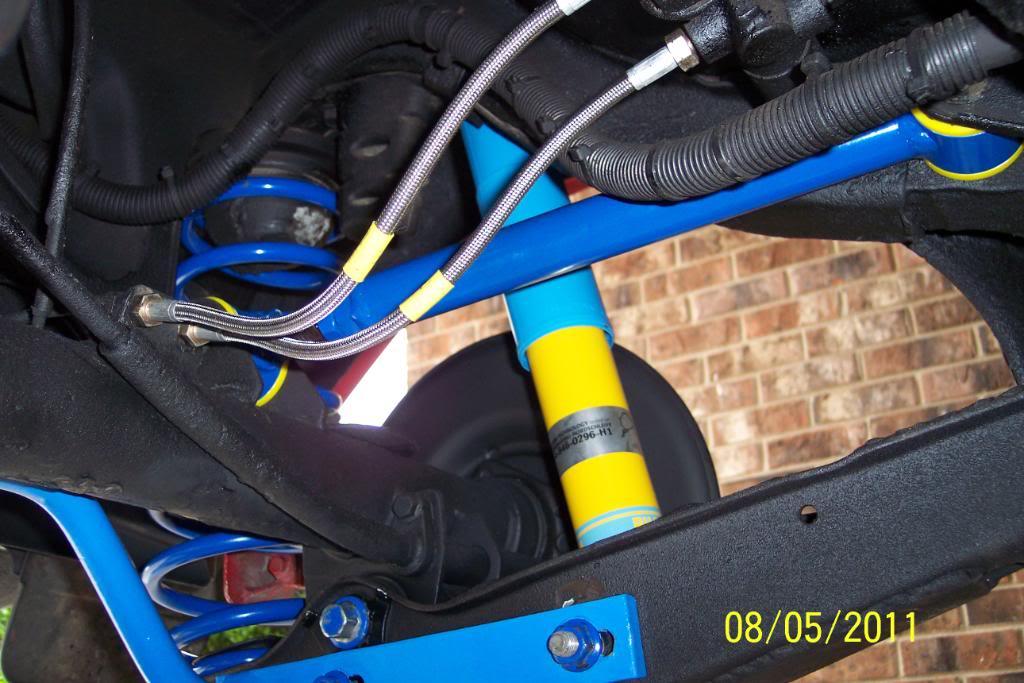
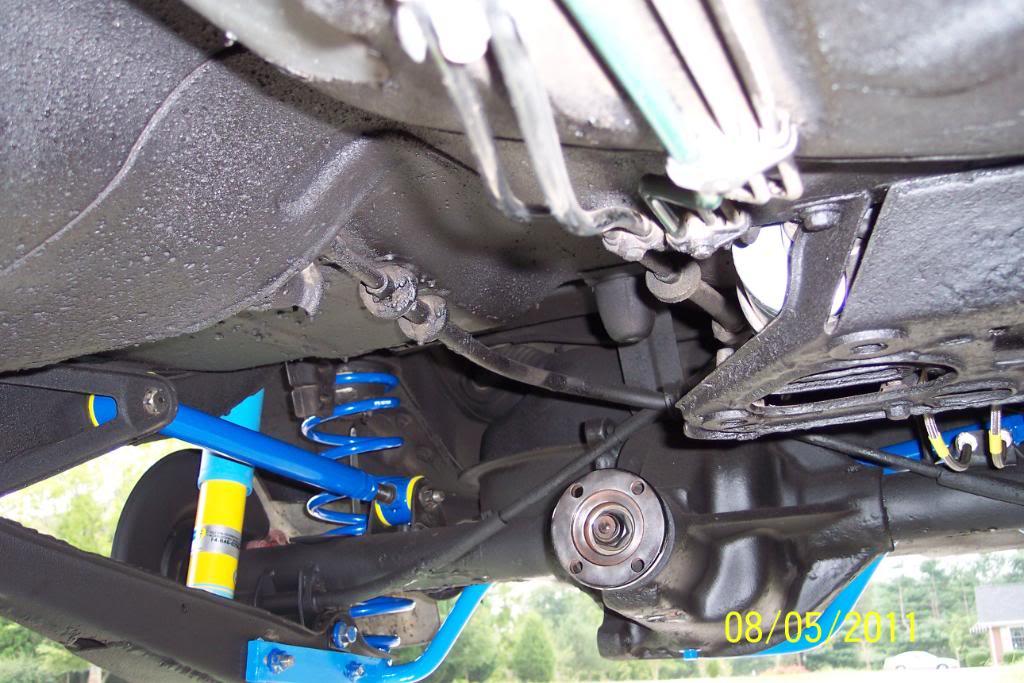
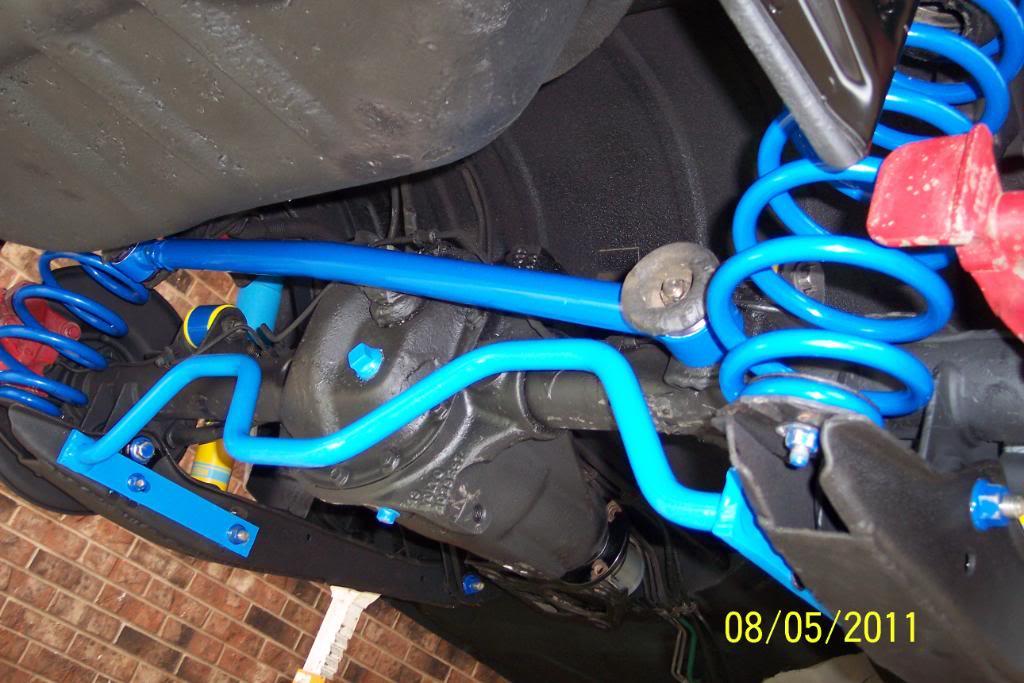
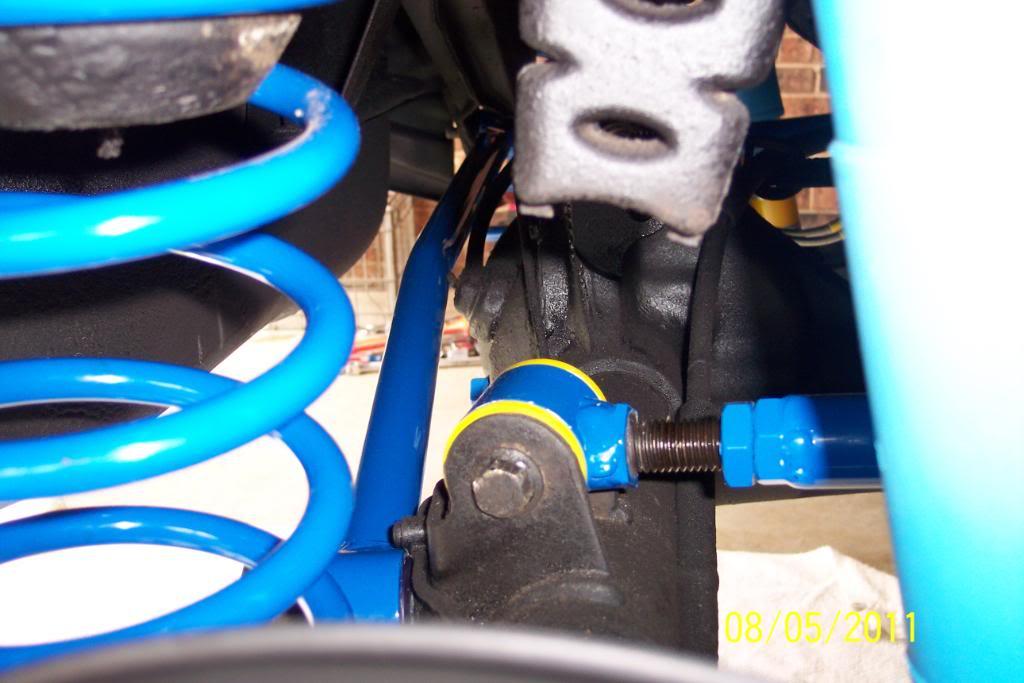
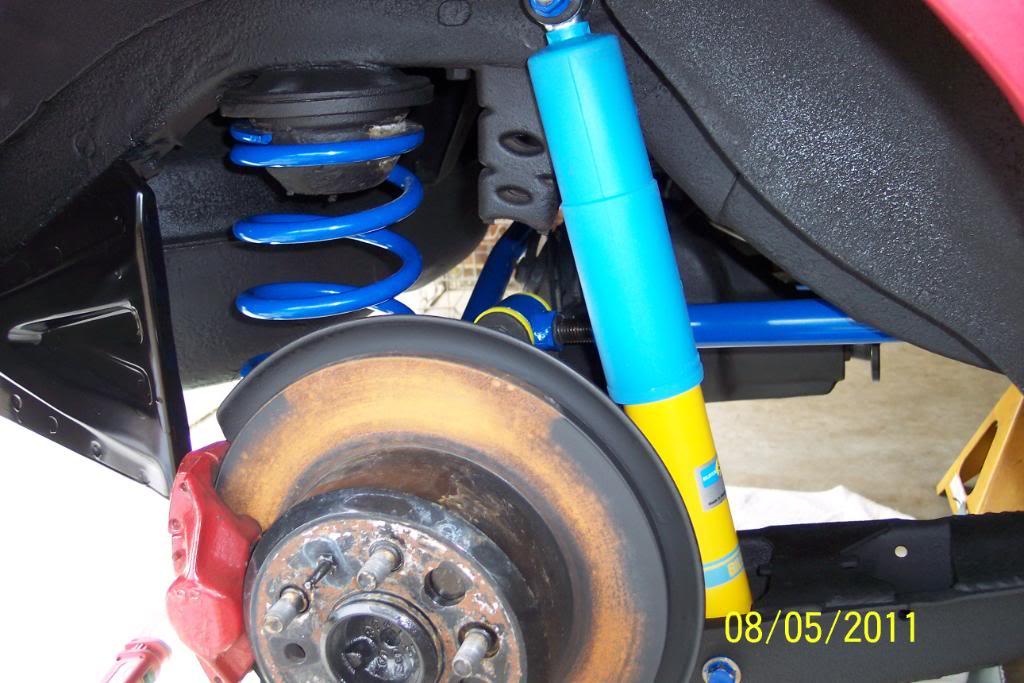
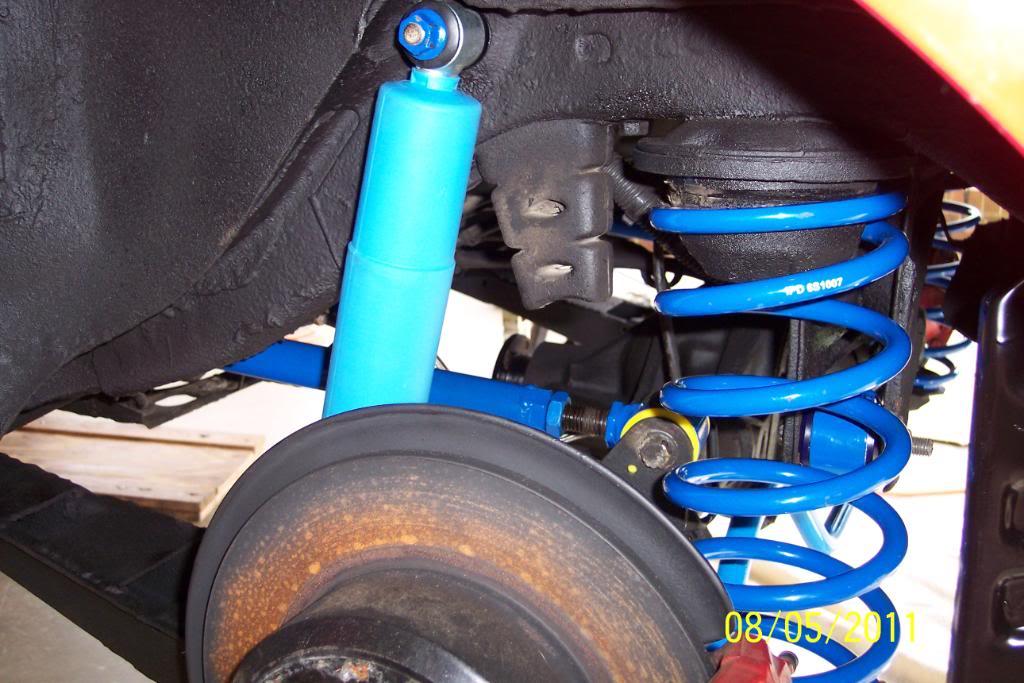
Hot diggity dog! I now have the rear suspension parts installed. I still need to check & torque all the bolts to Volvo's specs, but it's all there & bolted on or in , as the case my be.
And I need to touch up a few spots of the undercoating, and "spot spray" undercoating on a few bolt & nut heads, and possibly paint a few bolt heads & a few nuts with a modeler's brush and paint . I'm going to have to mask carefully for this touch up.
For the Record.....
This includes the following:
Braced,Primed ,Painted,& Undercoated OEM Volvo Lower Trailing Arms
IPD Adj Torque Rods/w/ blue poly bushes
IPD Adj Panhard Rod/w/ yellow poly bushes
IPD Rear Lowering /Sport Springs
IPD 23mm Rear Sway Bar
Bilstein HD Rear Shock Absorbers
Next thing to do, is , possibly give the rear ATE Brake calipers an uplifting additional quick coat of red Dupli-Color Caliper Paint, then, install the new rear Brembo Brake Rotors & install the EBC Green Stuff Brake Pads with shiny, new anchor pins & clips.
Then I will install a new Fenco Brand Brake Master Cylinder, and then, purge the entire brake system of it's old brake fluid, by bleeding the entire system with ATE Super Blue Racing Brake Fluid.
I have a plan in order, to keep all the bled brake fluid off of all my pretty, newly installed painted parts.
It involves clear hose, a few rags and plenty of tin foil.....and I'll cover that scenario with pics, when I begin it. It worked well with installing the IPD SS Brake Lines on the front of the car.
Pics...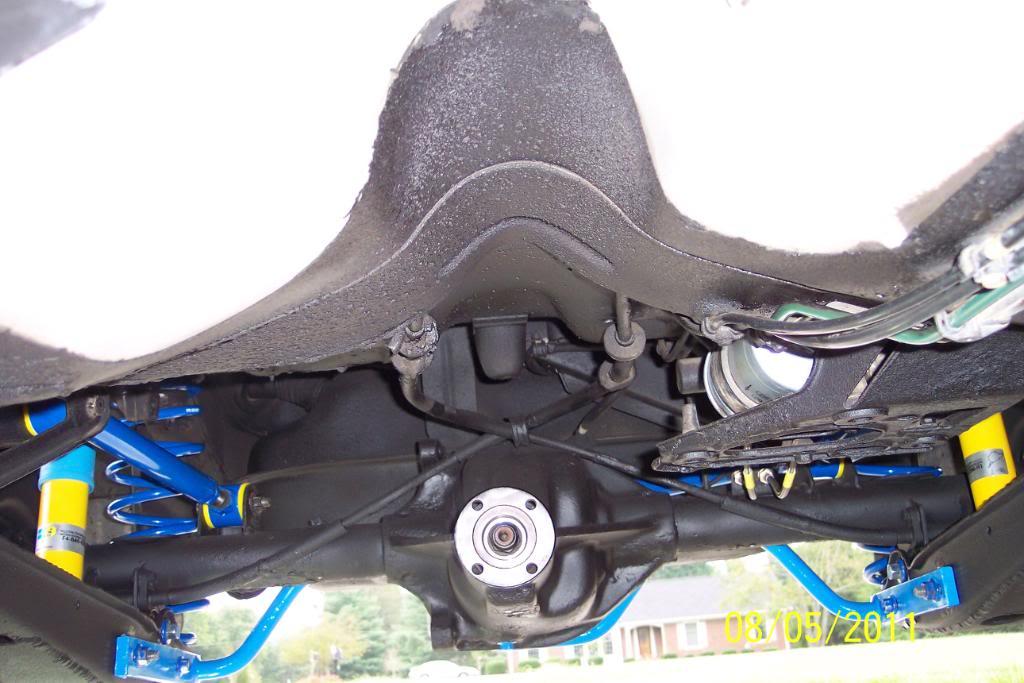

Nice build!
Posted by Diggymart on 3/30/20 @ 2:45:08 PM