You must be logged in to rate content!
8 minute(s) of a 720 minute read
12-8-2012
I found the items to make the adjustable "leg" tody, you guessed it, at Lowes. Also picked up some 5/16 x 1 1/4" stainless steel fender washers and SS 5/16-18 nuts to help support the leg to the wood better too.
Also picked up a couple 5/16-18 Acorn nuts, and several items to use to make the adjustable leg, and some Soft Touch Brand 1.5" diameter "Grippers" (for bottom of furniture legs) to use as a pad on the trunk floor and on the bottom of the "adjustable leg" for added vibration insulation. Sometimes it's just amazing what cool items one can find at Lowes for various car mods.

Assembled adjustable leg....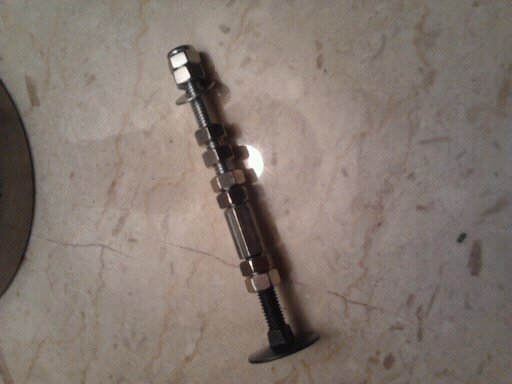
I then pulled back the driver's side trunk carpet that covers the wires going to in tank fuel pump. I slightly re-routed them, and taped them to the trunk floor, to make sure the adjustable leg is not sitting on top of the wires.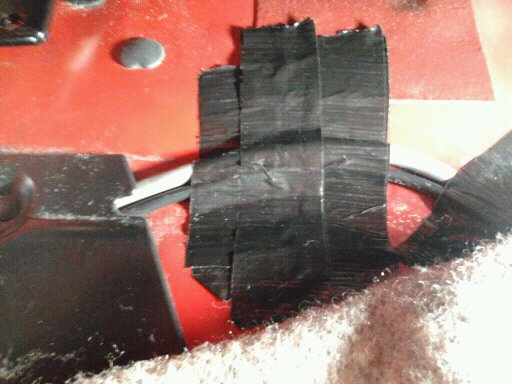
The adjustable leg will sit where the indentation is .
And how it'll fit,and support, when bolted to the wood

This makes it much sturdier too.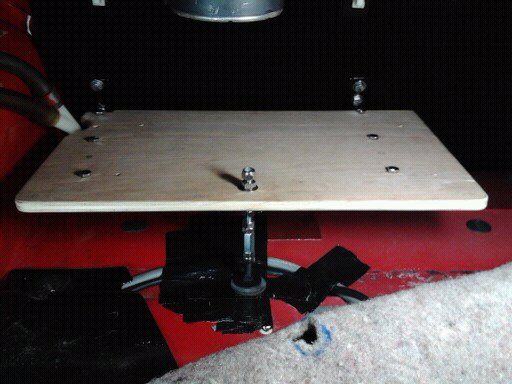
Now the next step is applying black indoor/outdoor carpet to the wood, and punching through the carpet where the holes are in the wood. I've added the leg hole to my original template to help make that much easier.
12-10-2012
I decided to make one last mod the the NOS mounting board.
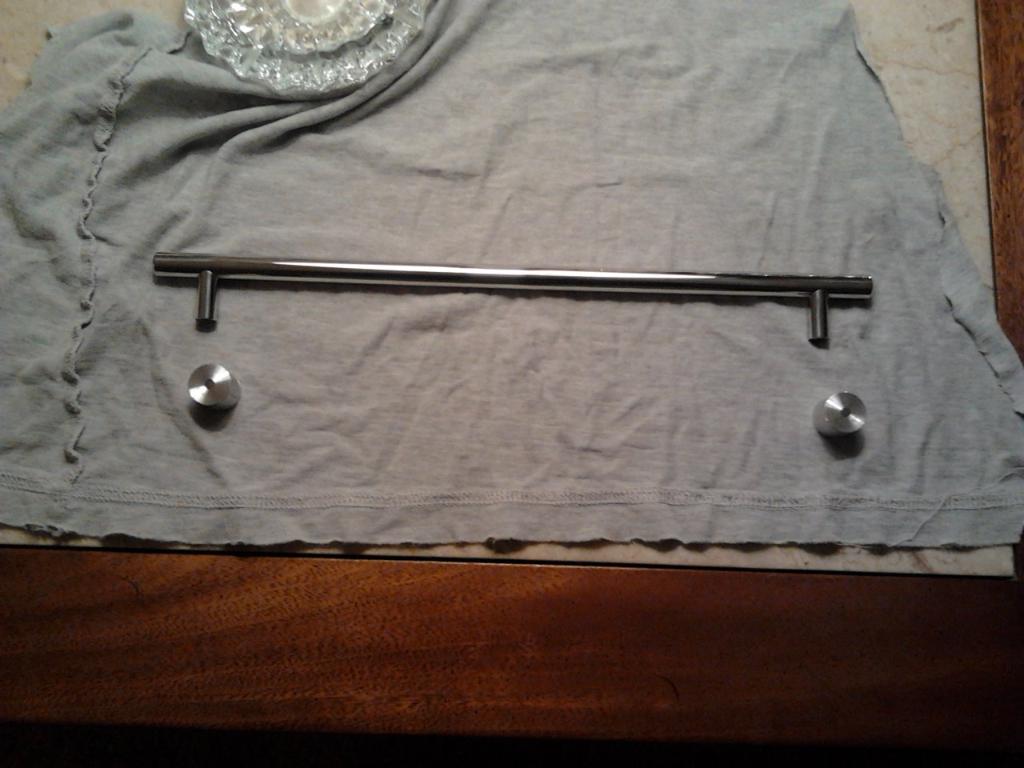
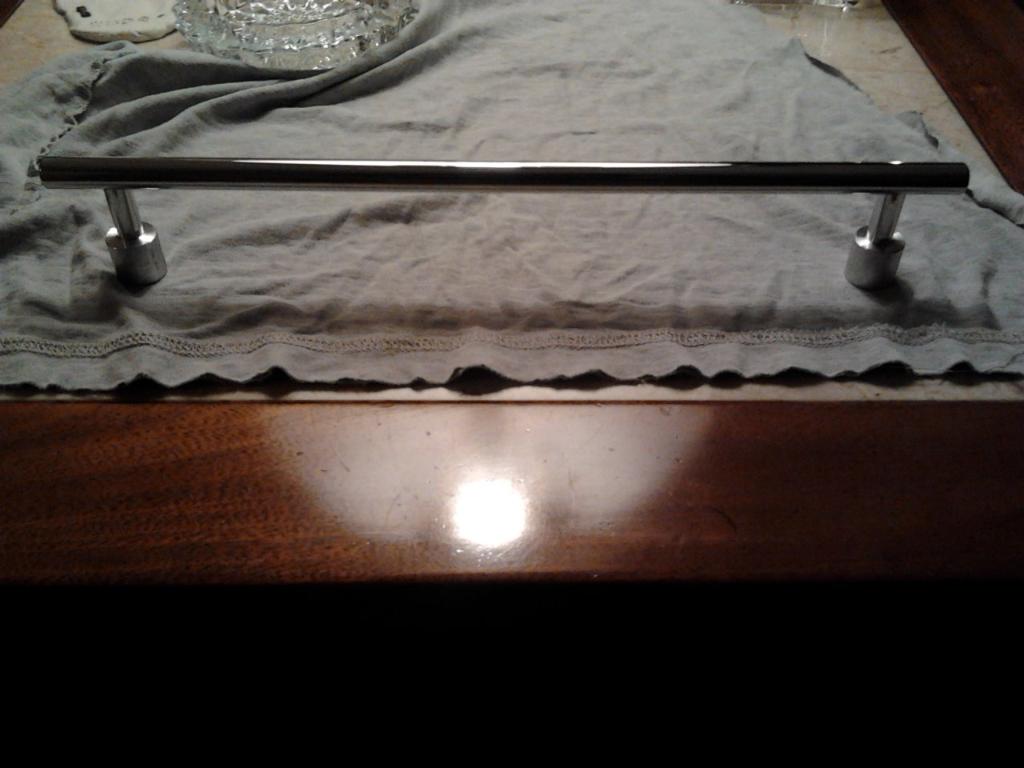
I made two more spacers, and bought a long brushed stainless steel drawer handle, and polished it to a chrome like finish. The polished SS drawer handle will sit on the spacers and will act as a "guard rail" of sorts, as well as add a little class & pizzaz to appearances.
I then measured the board, and centered the "gaurd rail". Then I drilled two holes in the board by which to mount the rail. Then layed my template over the board, and transferred the holes to the template.
This will make it easier to find and punch the holes through the carpet I intend to cover the board with later.
Now it's time to paint all the spacers, and cover the board with black automotive/indoor/outdoor carpeting.
Almost forgot to mention...............
I tried the new prism material for the dome light reflector. I found the mirror reflector dispersed the light better & illuminated more of the interior.
I've got 4 more mirror type reflectors on the way. Two for each of my two trunk lights. It should should help the trunk light illumination too.
12-12-2012
I realized a had forgotten to buff a few pieces of the stainless steel mounting hardware. So I did some more buffing.
And now, I finally have it all buffed to a mirror like luster..........here's a pic of all of the freshly buffed stainless steel mounting hardware, with a few extra one just in case....and the six un-polished fender washers will go on bottom of brackets, so I didn't polish those.
IMO, these polished SS bolts, washers and nuts should look quite good, against the black carpeting I'll apply to the board.
And applying the carpet to the board, and painting the 6 spacers is the next step.
12-12-2012
On another note,............
Today I received a package from Dave Barton via USPS.
Remember my used OEM Volvo cigarette lighter knob to a new aftermarket/illuminated ciggie lighter mod?
Also remember I got a OEM Volvo NOS Cigarette Lighter off ebay ?.......
Dave made some primo lighter logo decals from the NOS lighter knob's logo. So now,all my modded lighters knobs, which the logo was worn off of, will look new again.
He also sent me 4 more dome light mirror reflectors for my dual trunk lights. I'll install those tomorrow. BTW, Dave makes some killer stuff! They look great, much better than in my much to be desired bad cell phone pics.
THANKS DAVE!
Pics below:
BEFORE....Notice my modded lighter on the left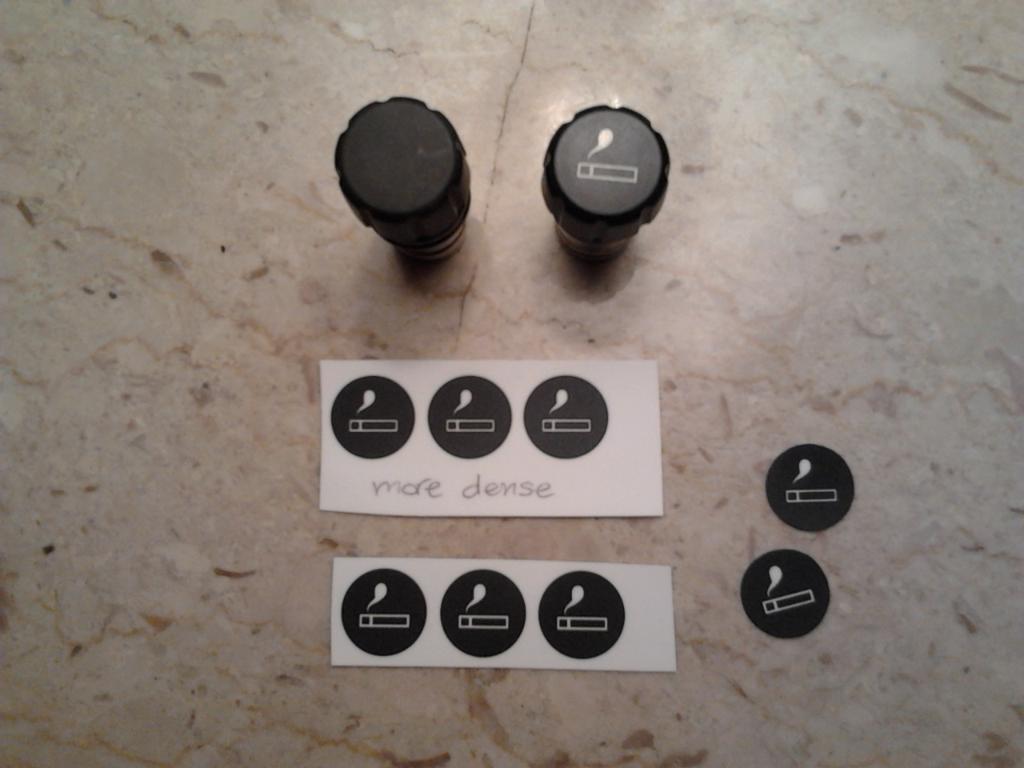
AFTER.....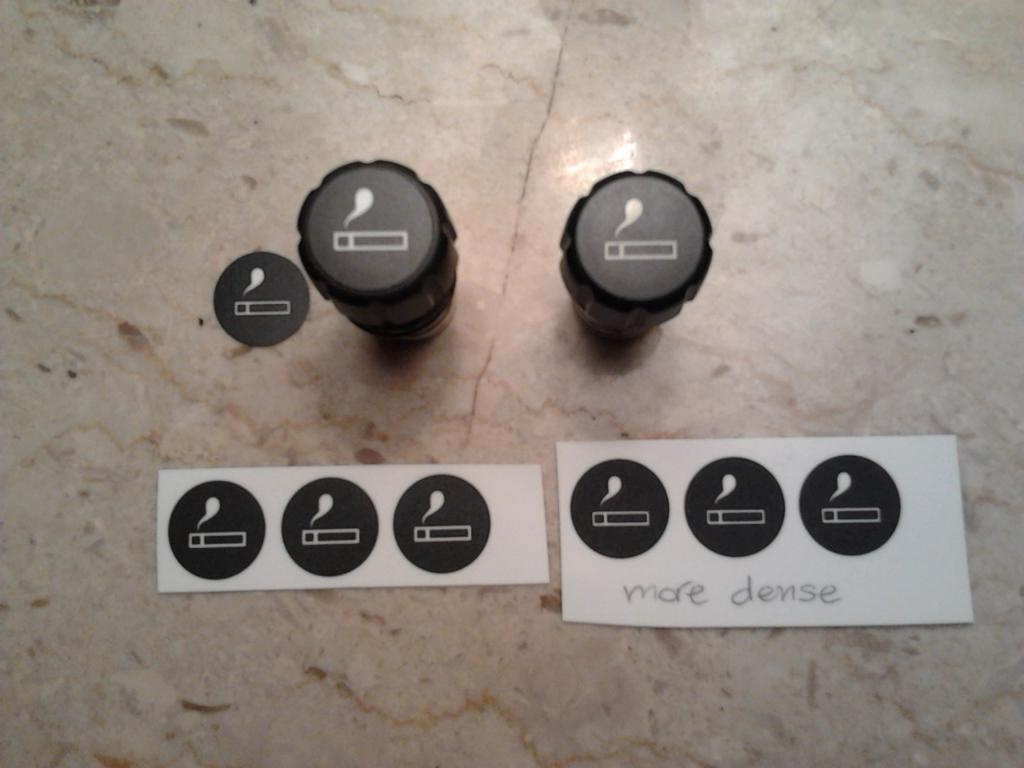
12-14-2012
Got some work done ........
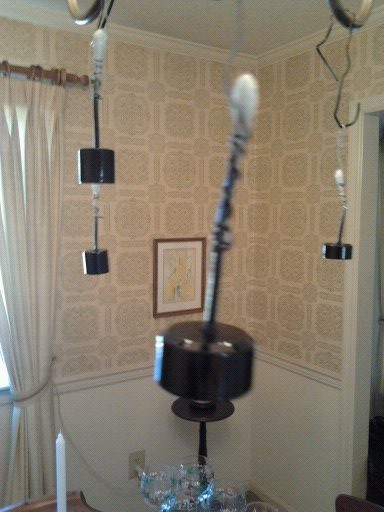
I finally thought of a way to "fixture" the spacers so I could paint the tops, bottoms and circumference all at one time, and then hang to dry. A few Q Tips and some mechanics wire did the trick. (See the pics)
I sprayed them gloss black, let begin to dry for a few hours, then hung them inside the oven set on broil but on "warm" for around 6 hours to hasten the drying time.
While the spacers bake dried in the oven...................
I covered the board, with "automotive carpet" I bought at........................ Auto Zone for 10 bux (thought I was gonna say Lowes didn't ya? LOL)
It is black, very short knap and very thin, and *very easy to work with* when covering objects. While I do not profess to be an upholsterer, I do think it came out AOK.
I used LOCTITE SPRAY ADHESIVE PROFESSIONAL PERFORMANCE *HEAVY WEIGHT BONDING* glue, liberally, on both wood and carpet back.
After it dried a little while, I used the template and 3 sharp scribes/ice pick, to find/locate the holes through the carpet.
Then I used 1/4", 5/16 and a #8 machine screw respective to hole size needed, held by vice grips & then heated the fastener/s with a propane torch , to burn through & "cauterize" the holes into the carpet. So no "runs" happen later on, and it worked like a champ.
I covered both sides fully, although had to piece in the bottom in 2 or 3 very small spots. But it came out looking very good and is built to last
It'll be all down hill from here...........I hope. As it has been quite a lot of work to build this NOS platform.
Ingenious huh?  Hey it worked...
If I'd painted them red & green they would make very nice Christmas Ornaments. LOL
Cold Weather Workbench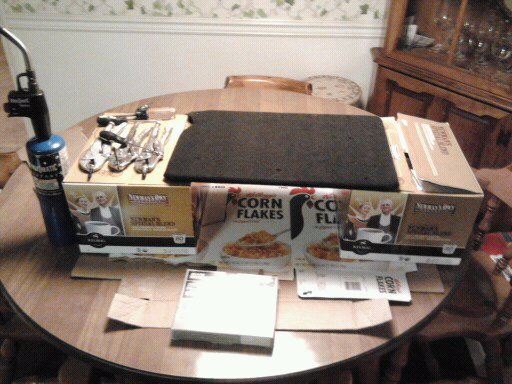
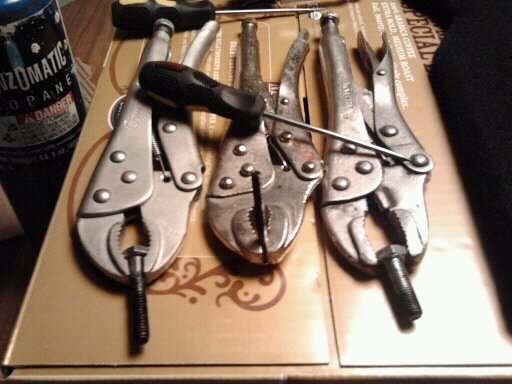
The finished product.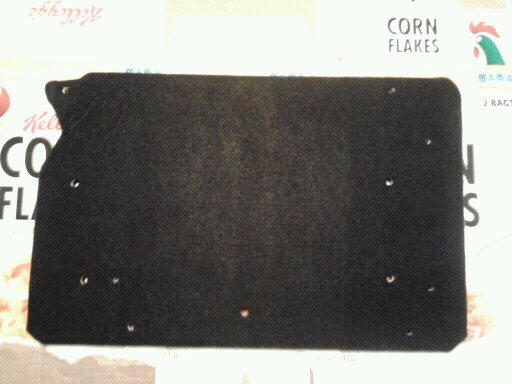
Heavy Metal ? LOL
I mounted the Guard Rail on it's spacers to the board today. And also mounted the adjustable third support.
I'll do the final test mounting it to the car, either, tomorrow or Sunday.
Doesn't look bad if I do say so myself.............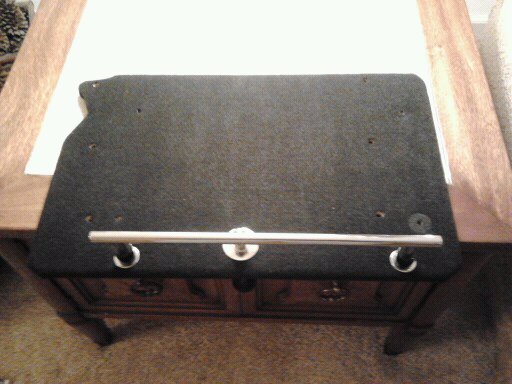


Nice build!
Posted by Diggymart on 3/30/20 @ 2:45:08 PM