You must be logged in to rate content!
7 minute(s) of a 720 minute read
12-1-2012
FWIW, All materials for this project was purchased at LOWES, my favorite Volvo mod store. Except for the round stock billet aluminum for the spacers, which I already had
Starting to make some noticeable progress now..........finally.
Pics tell the story..........


Trial fit proved it'll work AOK and be plenty sturdy.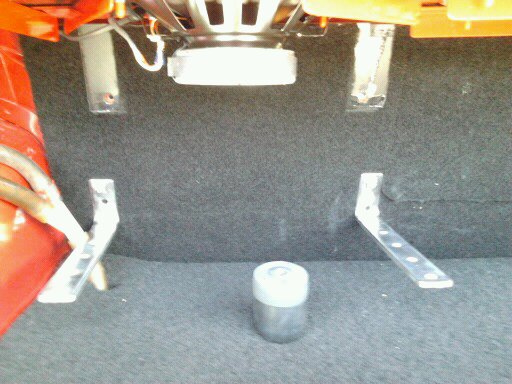
Improved the interior side's partition panel bracing a little today also...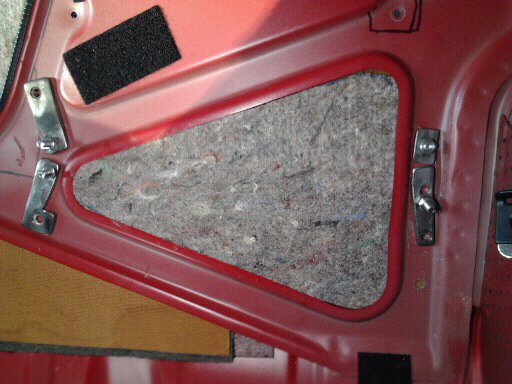
Then I disassembled it all for painting.....with Rustoleum (my favorite spray paint). Semi Gloss Black and Gloss Red
Stay tuned, more to come...........
12-2-2012
Picked up some Stainlss Steel fasteners for the project. Along with a few non stainless ones.
I'm off to the garage to buff/polish select/certain ones to a much higher luster........................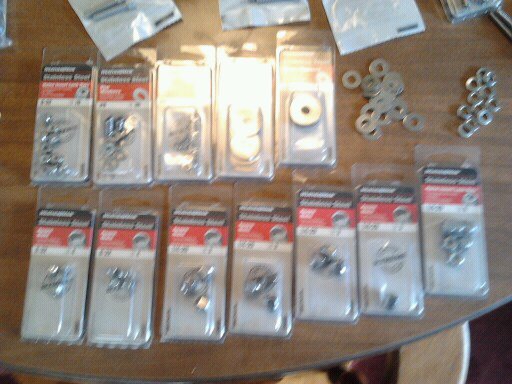
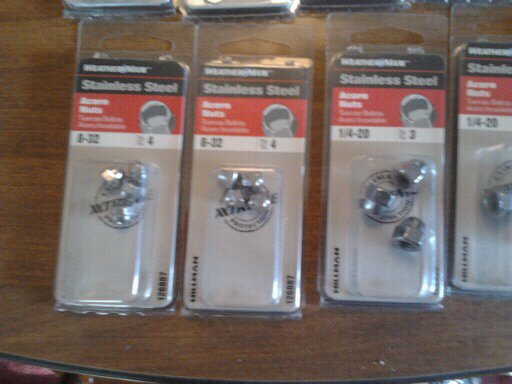


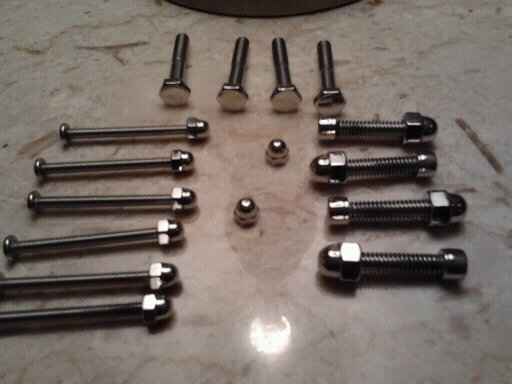
FWIW, the mounting bolts and screws are 1/4-20 bolts and 8-32 machine screws, and 8-32 studs. I'm unsure which 8-32 hardware I'll actually be using at this time, so I'll have to wait & see.
I now have most, if not all the stainless steel hardware I'll be using, polished to a show quality mirror finish............
Notice the before & after comparison in the 1st three pics.....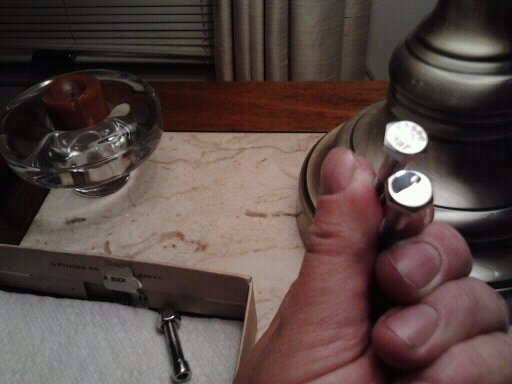


12-3-2012
Bolted on the Semi Gloss Black Brackets today, for the *last time*. I've installed, trial fitted, then removed these brackets in the neighborhood of 15 times total, to get this far.
Nice to know they are now a *permanent fixture of the car*, so to speak.
I then cut a piece of flat cardboad box, and held it in place, while I punched the holes in the brackets, into the cardboard. Putting in a 1/4-20 bolt after punching each and every hole through the cardboard.
Then layed the fixture to be mounted on top of the now bolted down to the brackets cardboard , and punched holes into the cardboard for said fixture to be mounted to the cardboard.
Now I have a *perfect template* to cut, shape & drill the shelf/platform out of. Yep.
Pics below:

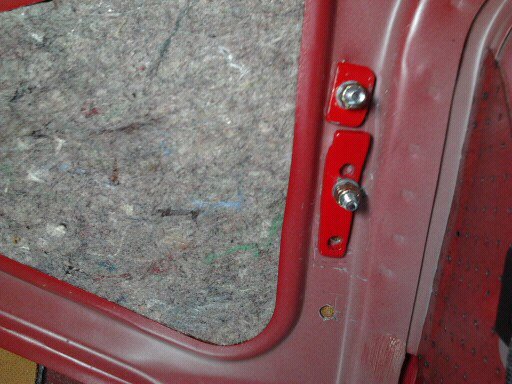

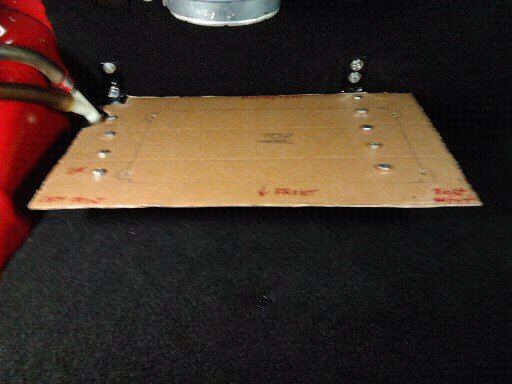
Allowed plenty of clearance for Sunroof drain pipes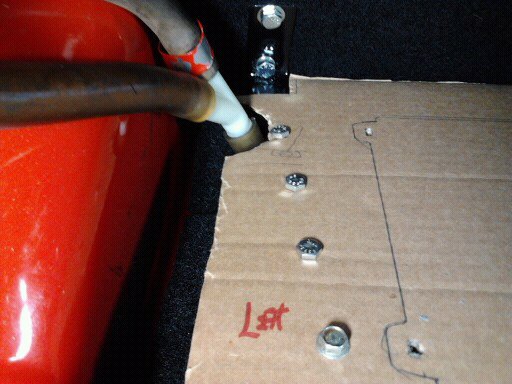
12-5-2012
I received the "hard to find in good condition parts" I found & ordered on ebay today. I now have a 100% perfect set of Left/Driver's Side & Right/Passenger 240 Sedan Inner Tail Light Covers, *plus* two spare right/pass side covers.
Maybe I'll get lucky, & find two left side covers to make a total of three full sets later on. Always nice to have spares....
All have both upper "hinges","plastic nut fastener", and all look exceptionally well in appearance. Not a crack in any of the four covers.
Only took me @ 5 years, maybe more, to find these perfect 240 sedan taillight covers.............
Pic of all four....
The matched set.....
And I also cut out the oak wood board, then drilled out the mounting holes in the board, using the template I made yesterday.
But I have a little more work to do to the mounting board, before it's ready to fasten to the metal L brackets.
12-6-2012
Today I trial fitted the board I cut, (again) bolted it down. Needed more clearance , so I shaved about 1/4" off the rear of it for clearance between it & the interior/trunk area partition board.
I shortened the aluminum billet spacers by a little more than half of their original length. Then cleaned them up using scotchbrite while spiining them on a 3/16" x 2" machine screw, locked in place by a ny-loc nut.
Trying to decide if I should leave them in this natural brushed look with clear on them, or just paint them Gloss Black, or maybe Semi Glosss black. I'll figure that out later.
I finished cutting out and drilling the oak board. This is the finished shape. And I've got ll th holes drilled, including a hole in the front, center, to mount an adjustable set up so I can "scotch" it up with, for added mounting strength, against vibration/shaking while driving.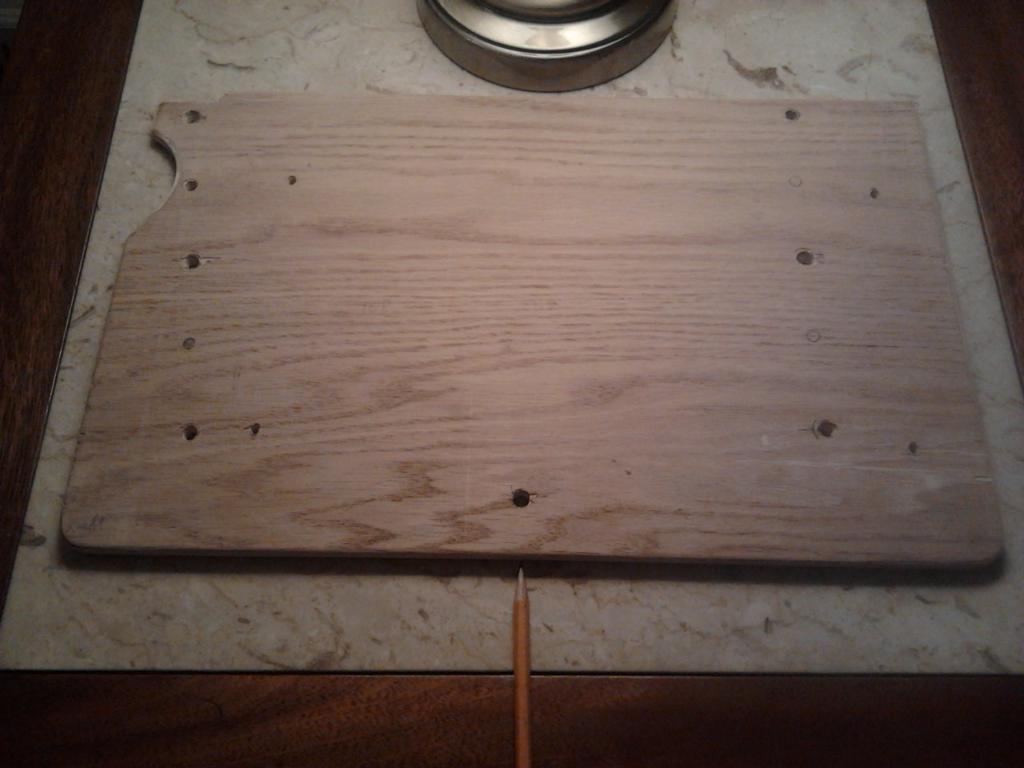
I have also decided to insulate the oak board from the metal brackets by using rubber washers I found at Lowes. These will also allow me to "shim" up the board to make it level, if needed.
Unsure if I'll use just one for each mtg hole or use two. I'll decide after I apply the carpet to the oak board, and go to mount it. They are 1 & 1/4 " diamter with a 1/4" center hole, and fit the purpose nicely.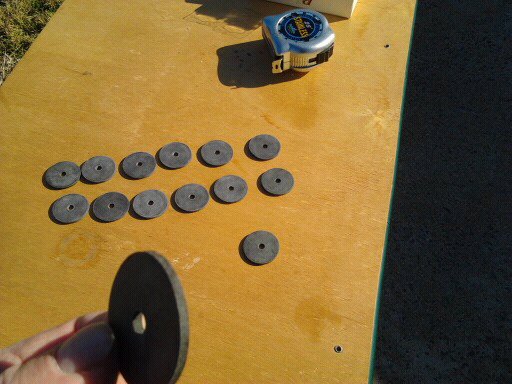

Nice build!
Posted by Diggymart on 3/30/20 @ 2:45:08 PM