You must be logged in to rate content!
11 minute(s) of a 720 minute read
1-30-2012
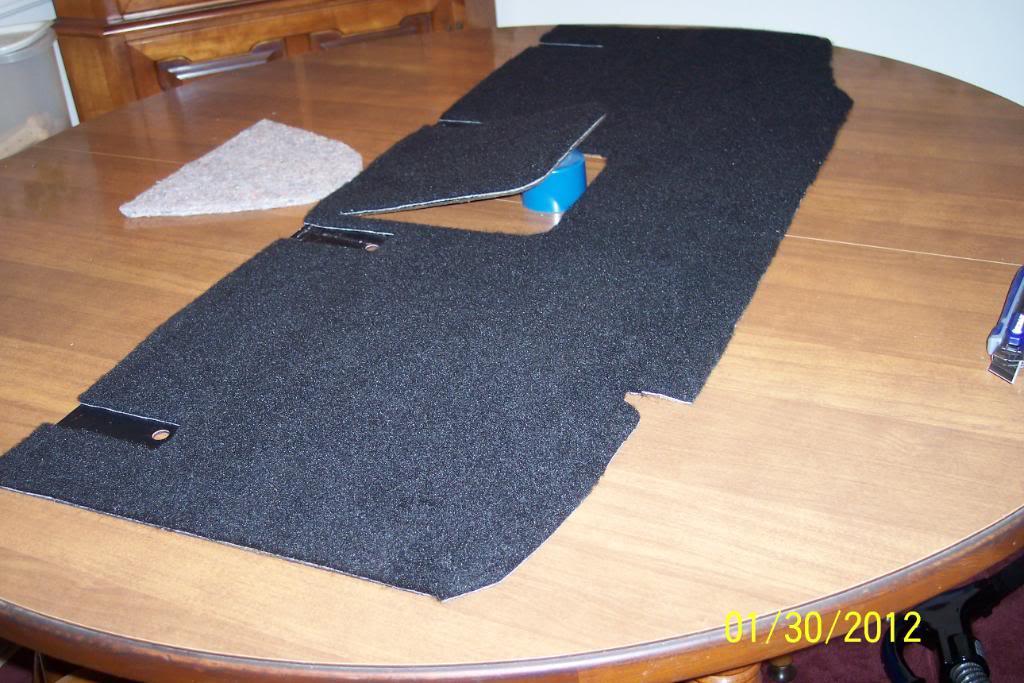
Finished the partition panel...the triangular piece of grey padding goes on after panel is installed for further sound deadening.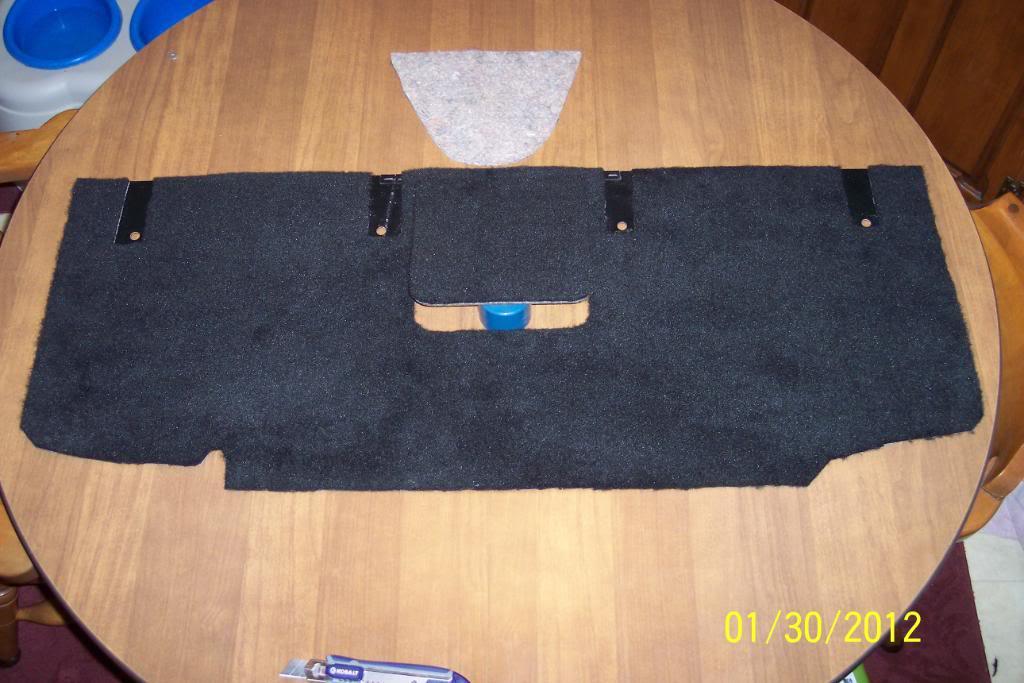
Cut & fitted the grey felt padding for insulation for sound deadening. Hopefully will help a lot. Have to weigh it too.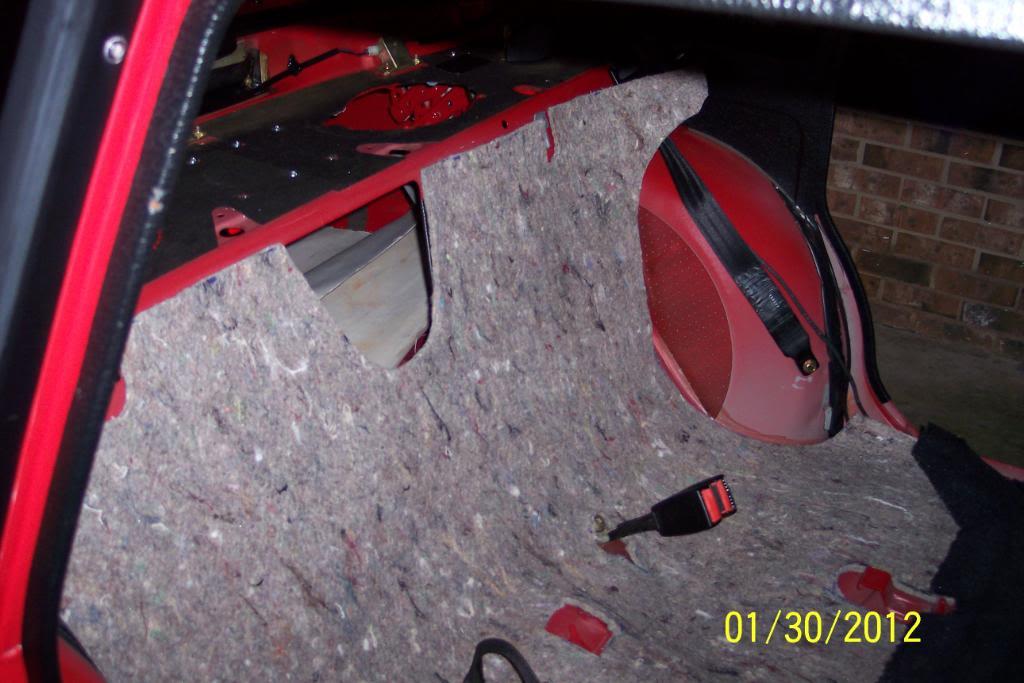
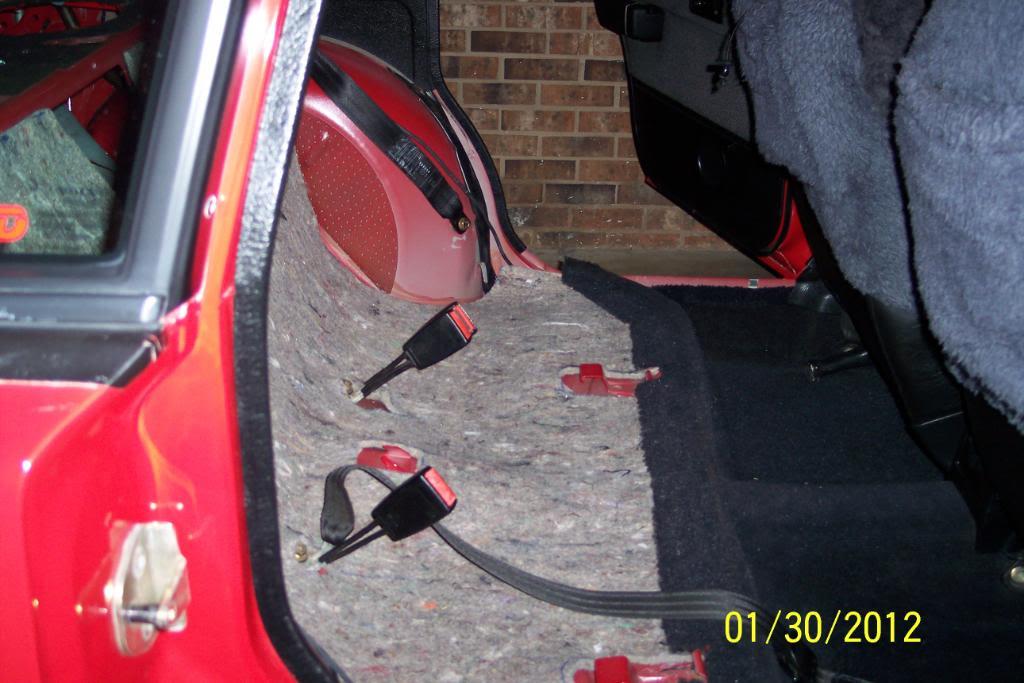
I need to think about how to fasten/mount the padding to the floor & cross brace. I'd prefer it did not slide about while trying to re-install the seats.
I thought about using plastic push pin fasteners. But the carpeted pressboard partition panel fits flush/flat up against the backside of the metal X Brace. And that leaves no room for the fasteners.
Also thought about using thin fender washers on the studs that protrude through the X Brace, to the interior side, that holds the rear passenger headrest brackets to the partition panel & X Bracing. I really prefer not to glue it, but may have to.
I'm a'thinkin' Pappy, I'm a'thinkin'......Hmmm.
1/31/12
I already had the rear seat removed... I could add a second trunk light on the passenger side of the trunk lid.
The the rectangular hole is already there. I just needed to drill a 9/64 hole for the OEM screw I already had in my stash I already had 3 trunk lites, so chose & used the nicest looking one I had.
Nothing to it, but to do it, so I got busy on it, like a Fat Boy eating a muffin
So....... I just ran wire and marked the hole's spot using the light in place to go by.
Then drilled a 9/64th hole for the ground screw, and flipped the mercury switch in the lamp. Notice how the lamp is mounted. This is a must for the mercury switch to work properly.
I got my parts & tools together...
Yep, hole is there...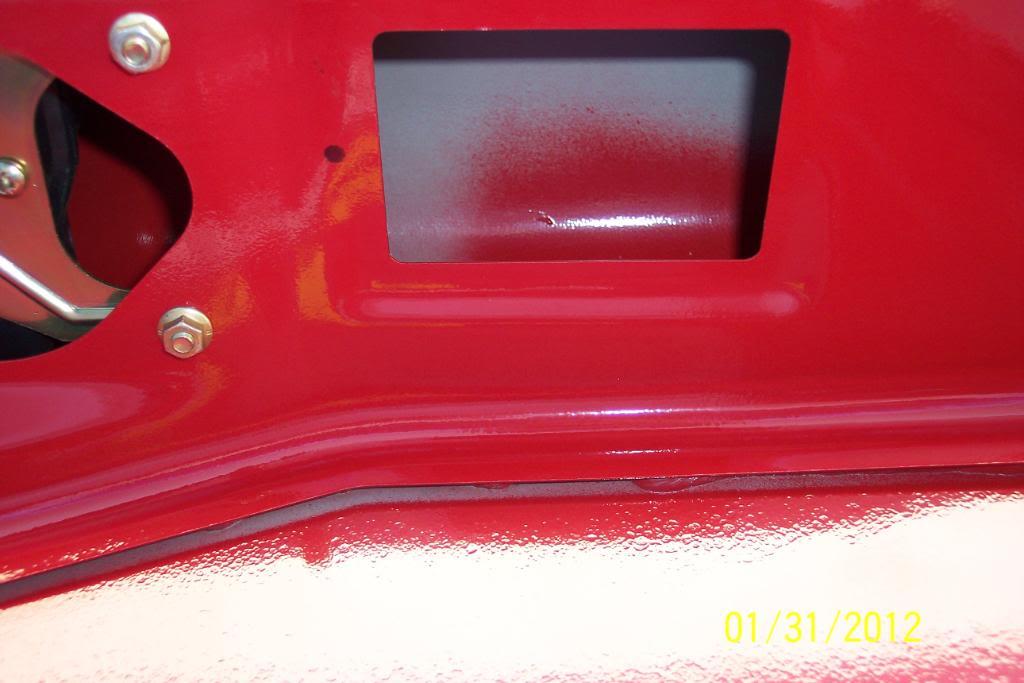
Ran wire from #8 fuse to light(sorry, fuse #1 isn't in the pic)...along DS rocker panel up to hole where other wires go to trunk.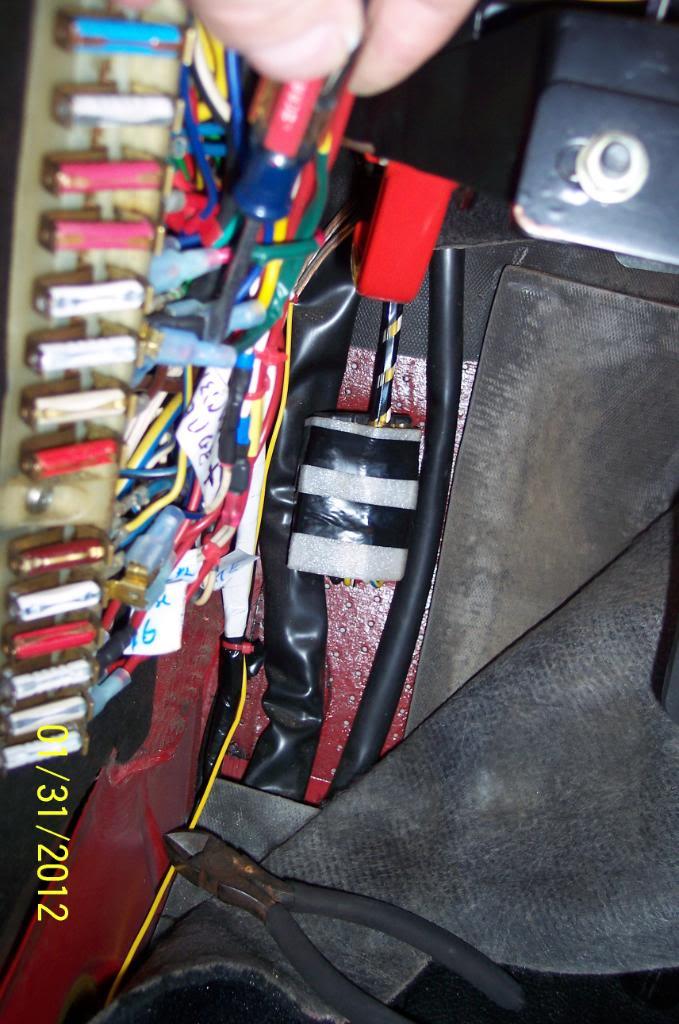
Came out here..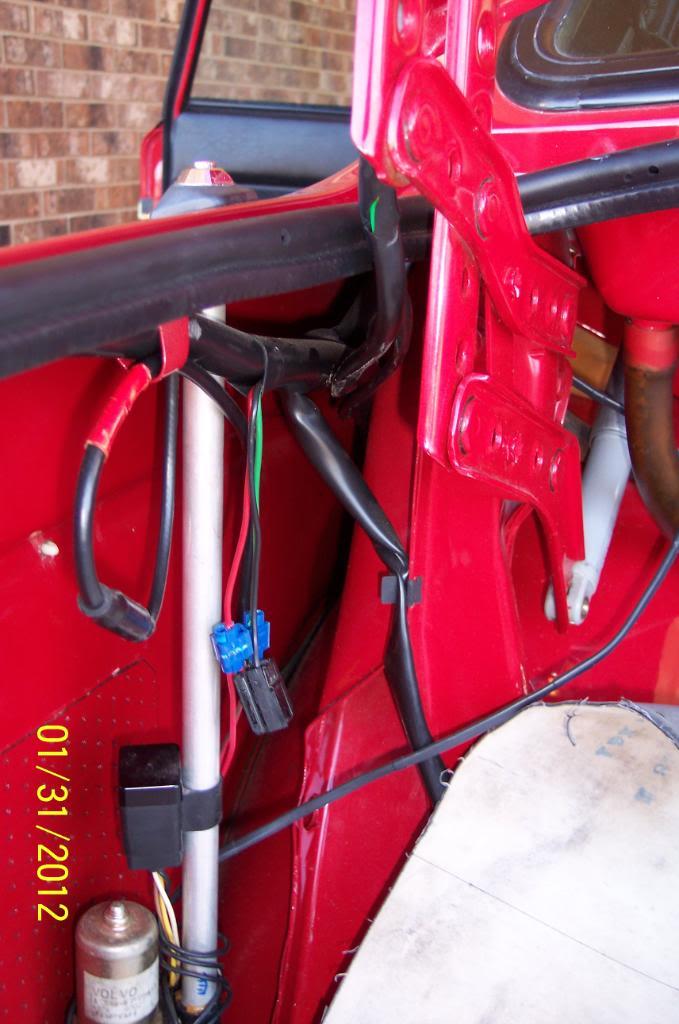
Ran the wire in Volvo sheathing I had. I also had an OEM green wire I ran across the width of trunk lid and covered it with heat shrink tubing to make it not show, and protect it, too.
It looks OEM,NOS, NIB and Rare, but has no 88 date stamp..
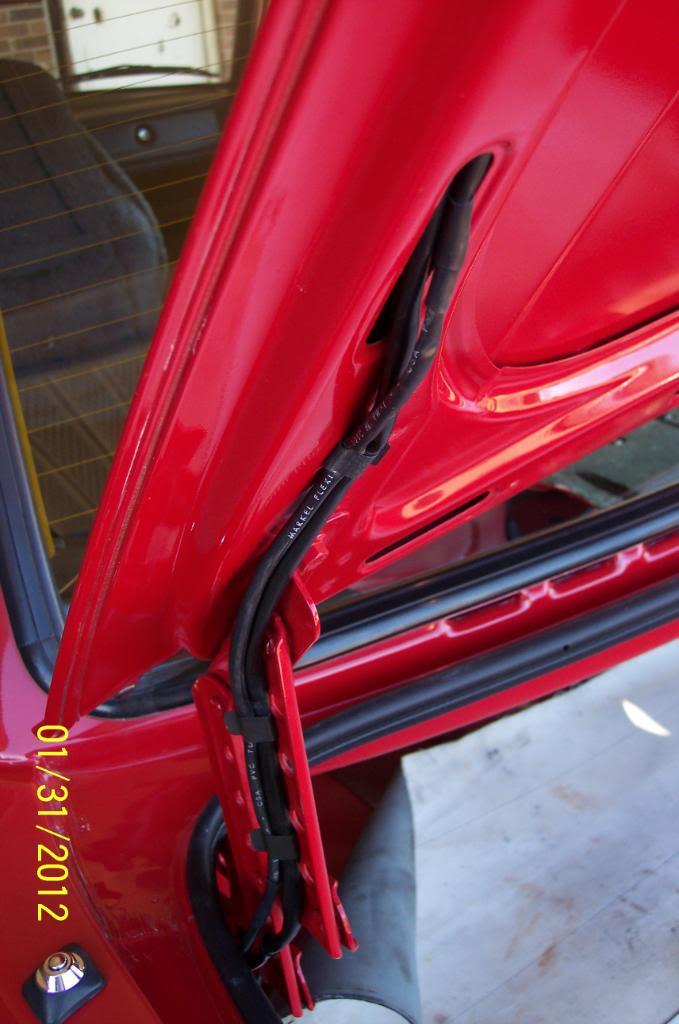
OFF..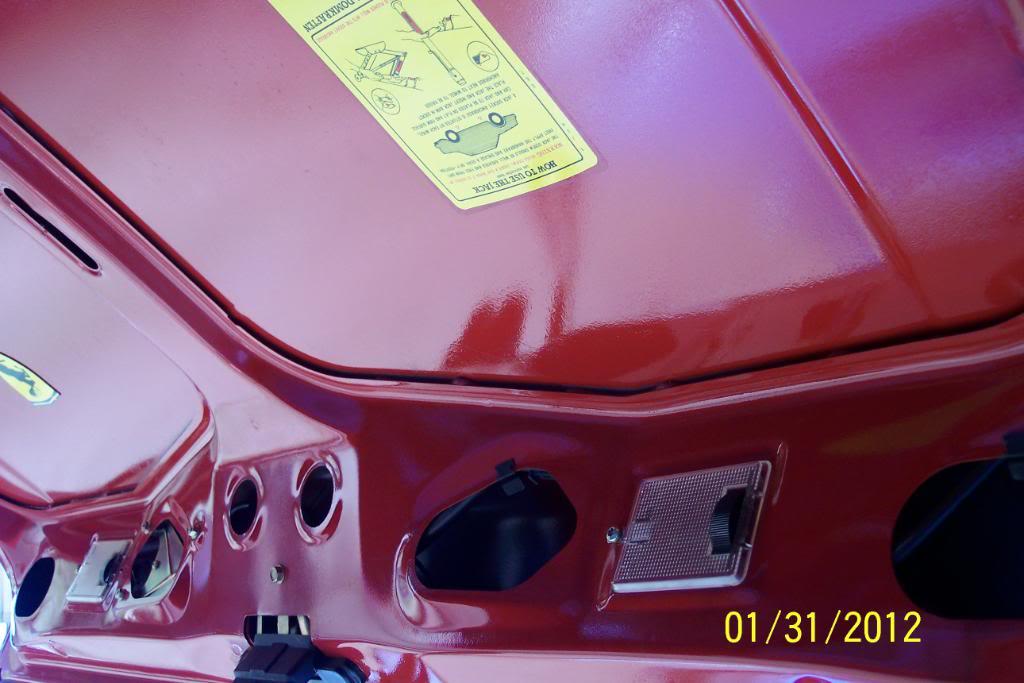
ON...Done................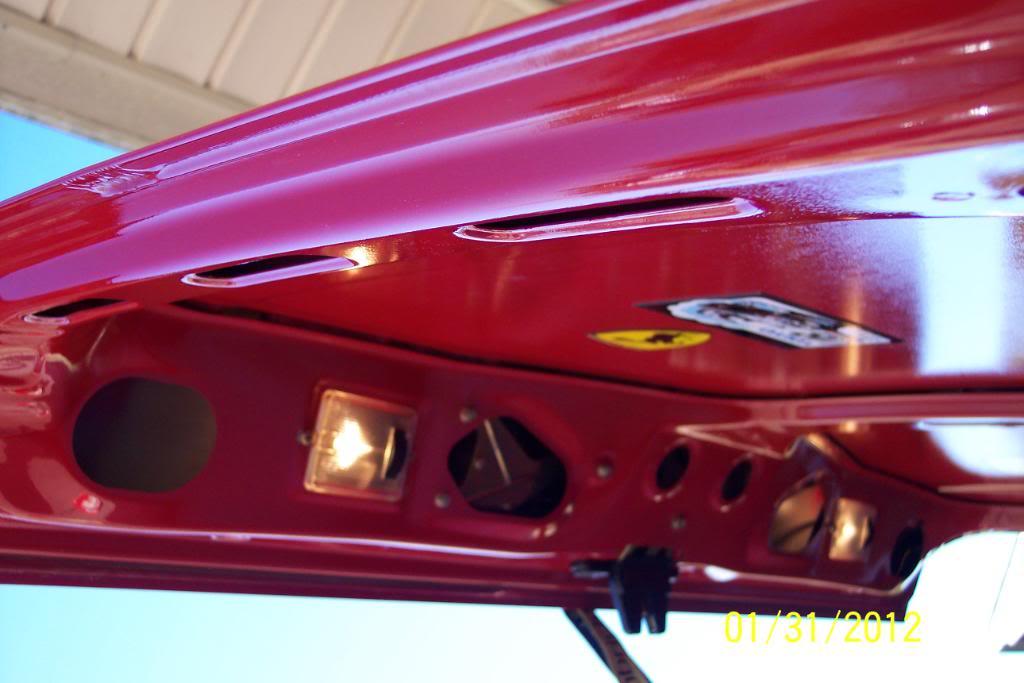
I now have the carpeted partition panel re-installed. The grey padding insulation is cut to fit, and I'll install it next.
I'm hoping it will still allow both halves of the rear seat to fit properly. I beleive it most likely will. But will have to try it to be sure.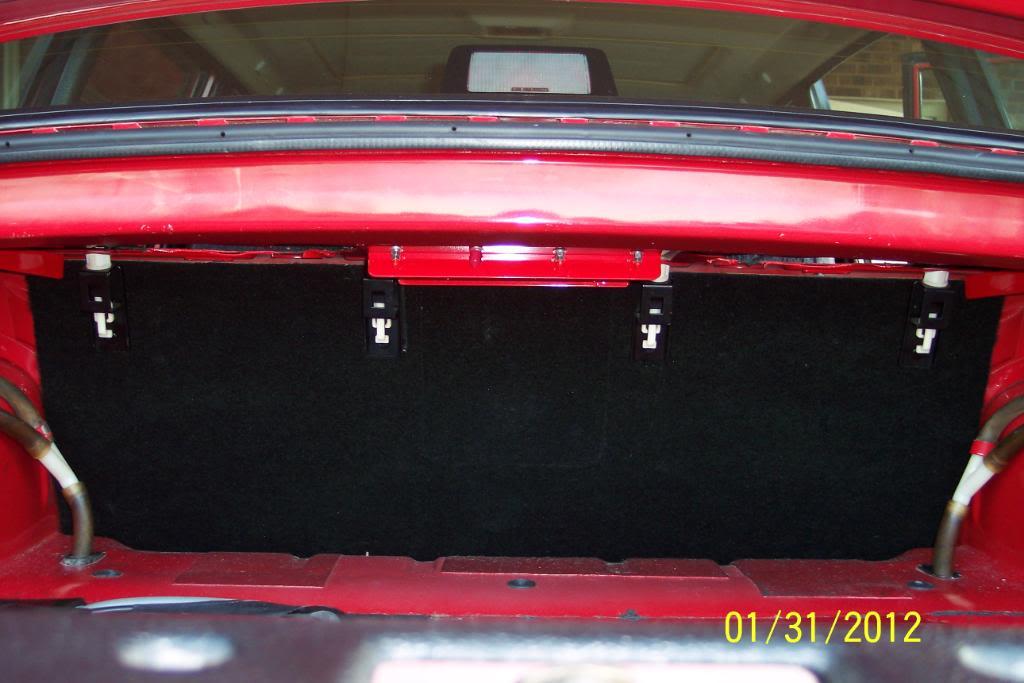
Thought this might help sound insulation just a tad more. Insulated the trap door,(still opens though), and the two triagular open areas, glued it to backside of partition panel.
Thought about doing the lowest area, but think it may make removal of panel at a later date impossible. It's a pretty darn tight fit now, what with the carpet & the 3 insulation panels already.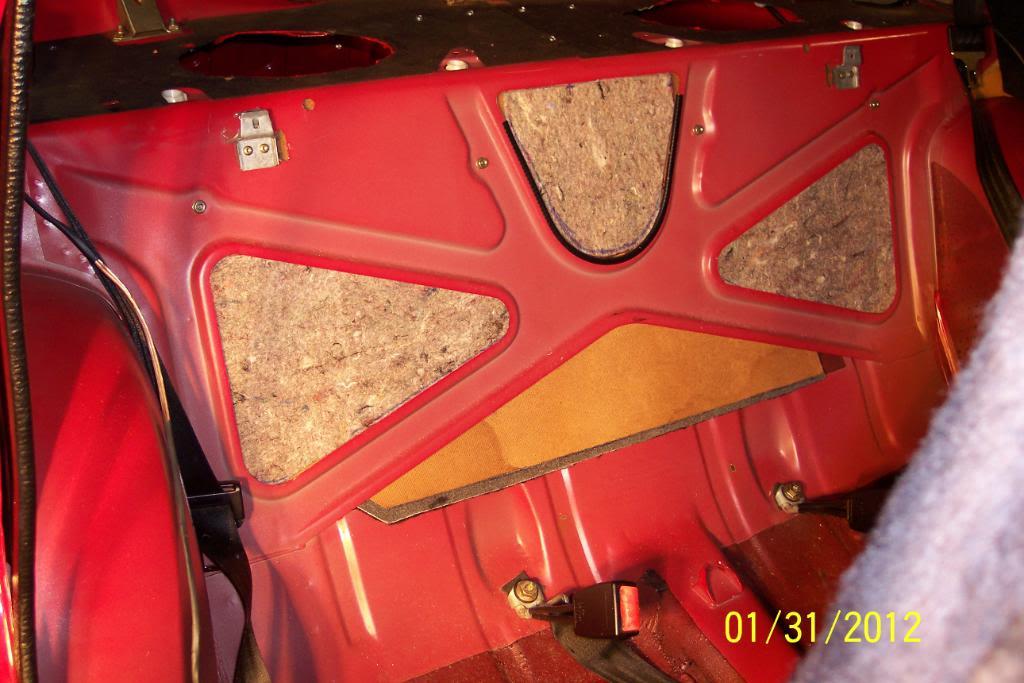
Next is the greyish felt padding to insulate trunk noise & temps, from the interior even more.
This piece is the one I'm wondering/worried about. Hopefully it'll let the seat fit like it should. Guess I'll find out tomorrow......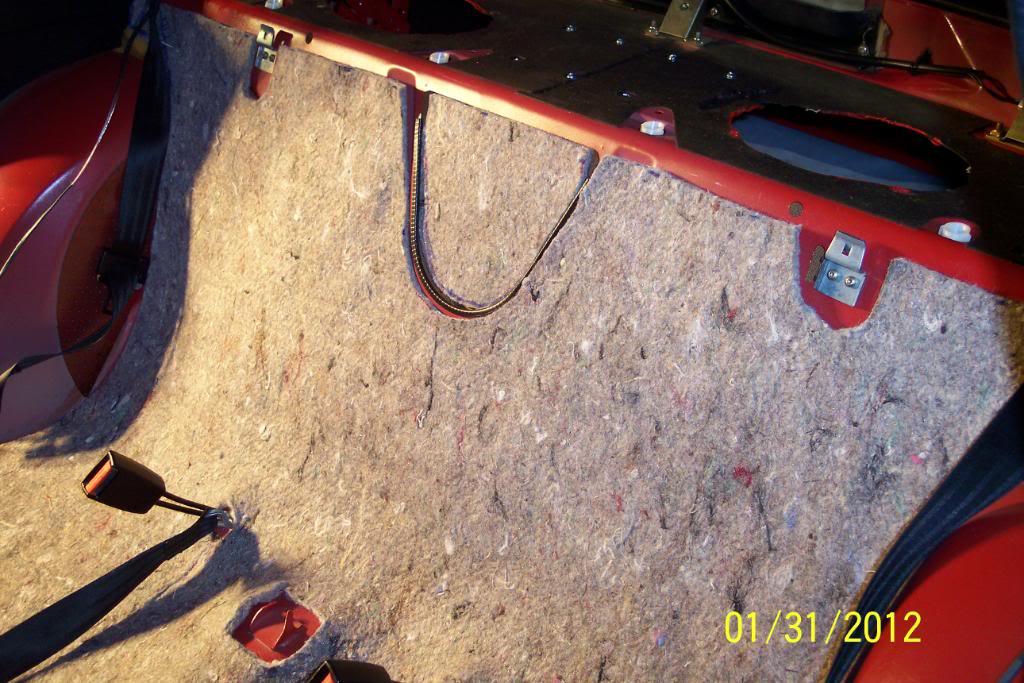
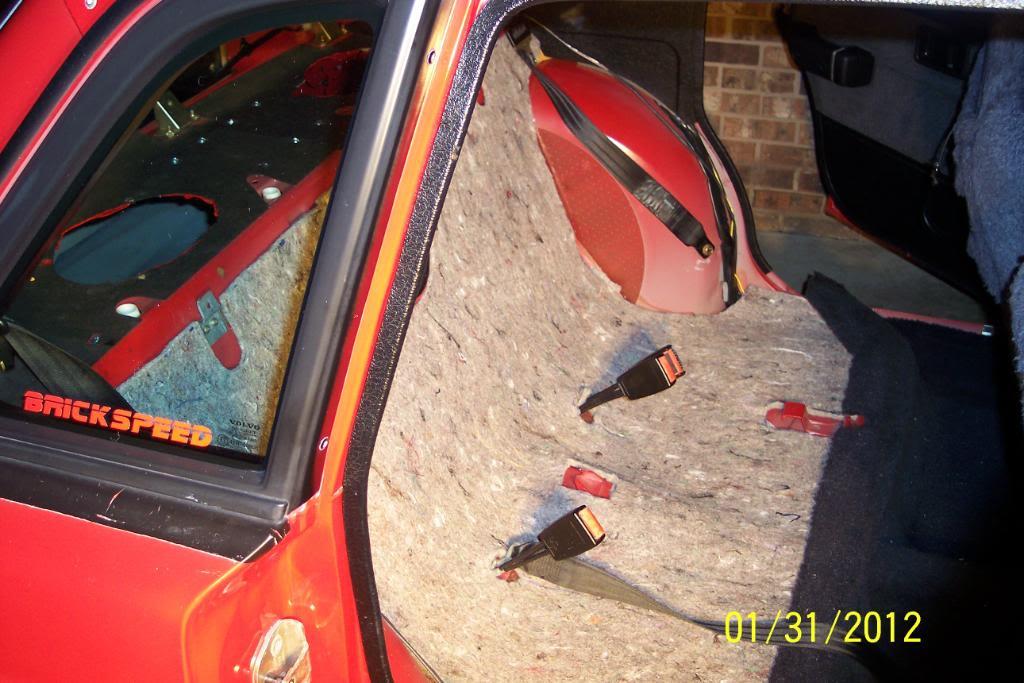
2/1/12
Ok, while at Auto Zone yesterday, I found yet another type of black in/out carpet. A/Z's was much thinner and has no real "backing" to it.
A 3 ft x 6ft roll cost me $9.99. So, I figured I'd try it for the next trunk/carpet mod........................
Well looky there Pappy!....the area 'tween the tailights, inside of the trunk ,is just plain nekked. Well we can't have that now can we? NooooSirrr!
I got me an idea Pappy....let's stretch carpet across that there, and we'll let it be held by some of that there new fangled Industrial Strength Sticky Back Velcro thingamagigs & let the TL overs & trunk edge trim, hold the edges. We'll be ******* in high cotton then huh Pappy?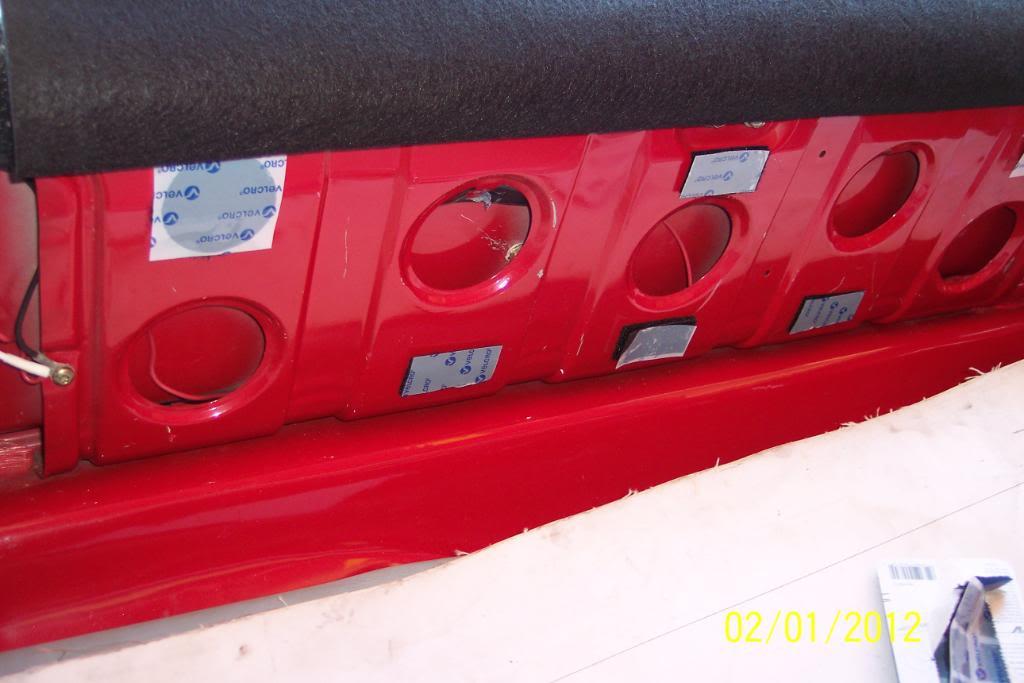
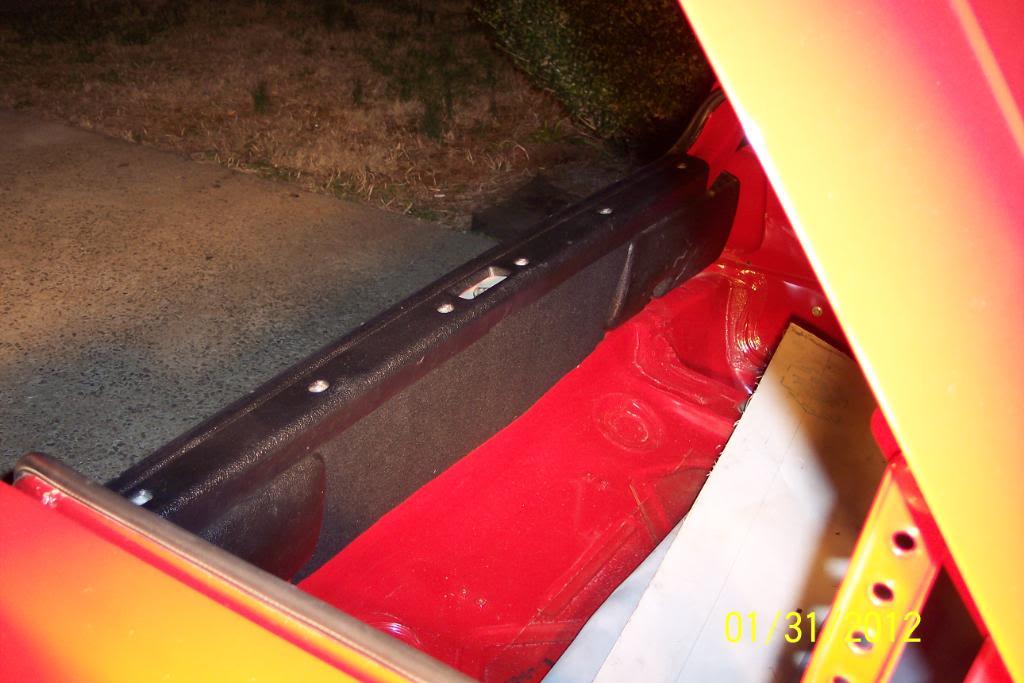
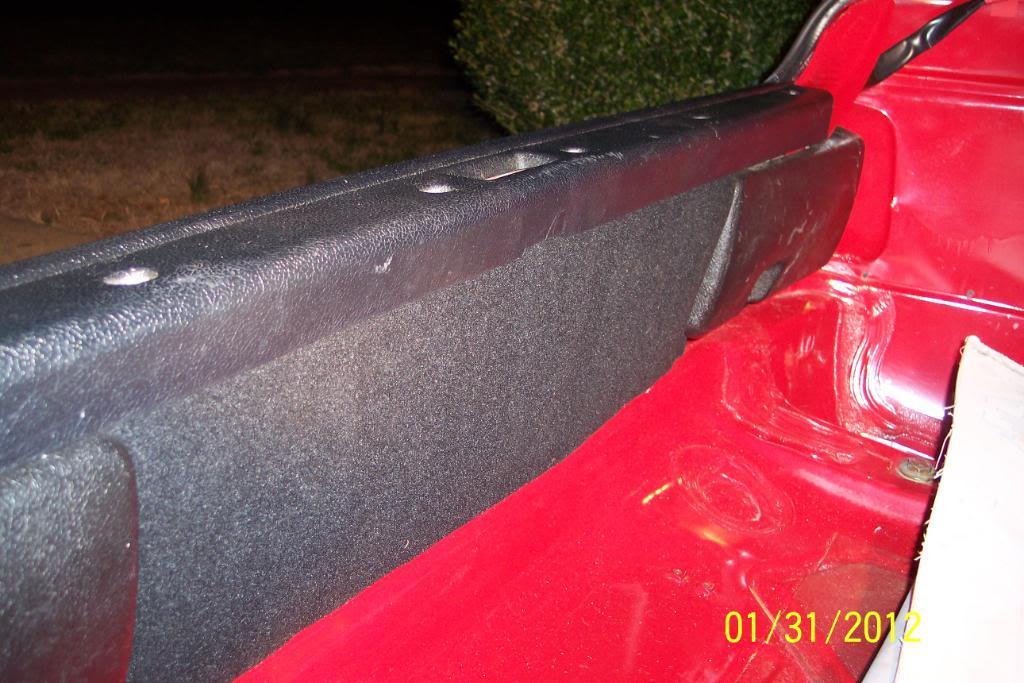
Almost forgot to post this quickie mod.
I have the Hella 500FF Driving Lights. Bright ones they are. 1800 ft beams.
BTW, I've been meaning to do this mod for quite some time. Now's a good time, huh?
They come with with nice white Hella Lense Covers, but when you put them on, and try to remove them, they tend to try to pull the glass lamp loose from the hsg a tad. Hmmmm. Can't have that.....
I used my trusty Kobalt Razor knife, and trimmed the 3 "catches" on each Lense Cover, to a much smaller size.. Now I can remove them with one hand, and they don't try to pull the lamp out.
Now I can run them during the daytime, to protect the lenses from rocks, road debis, bugs & pitting.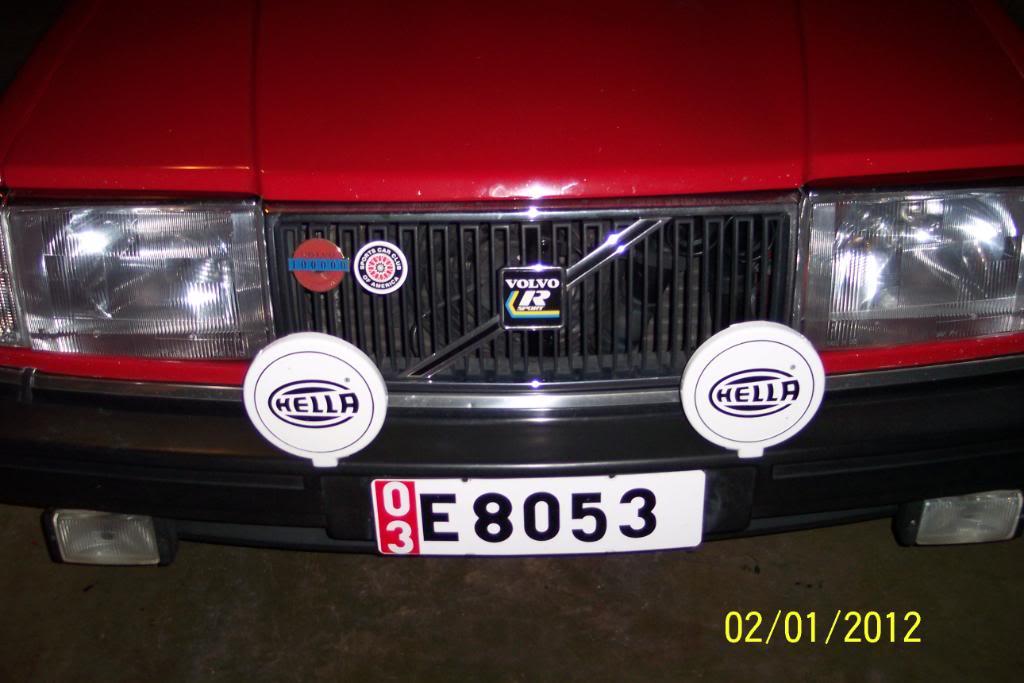
The finished Mod....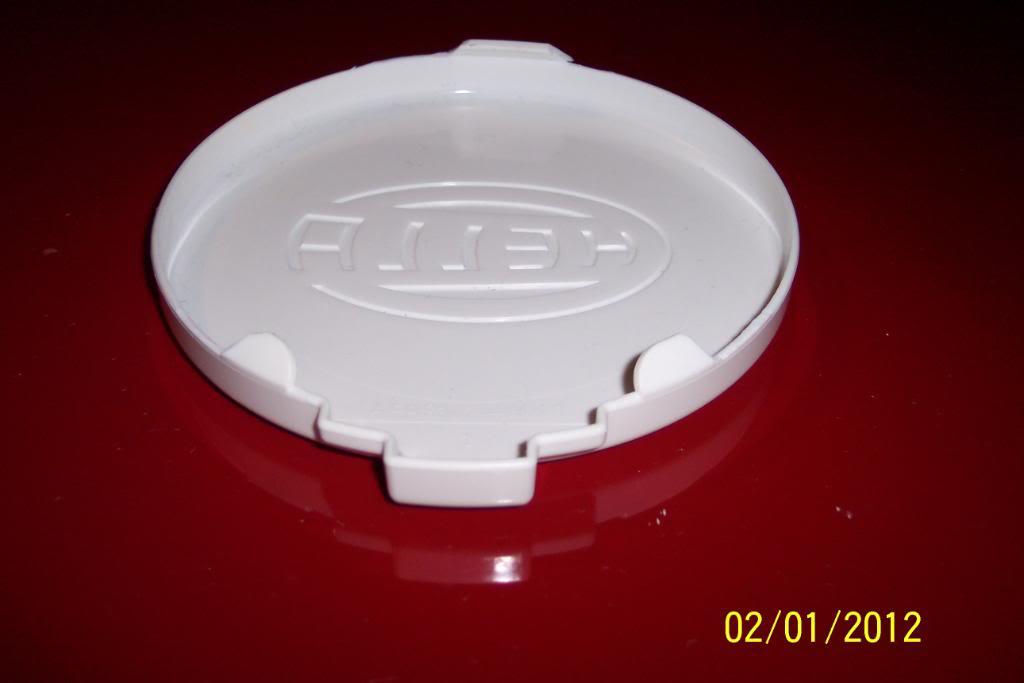
A self explanatory pic.........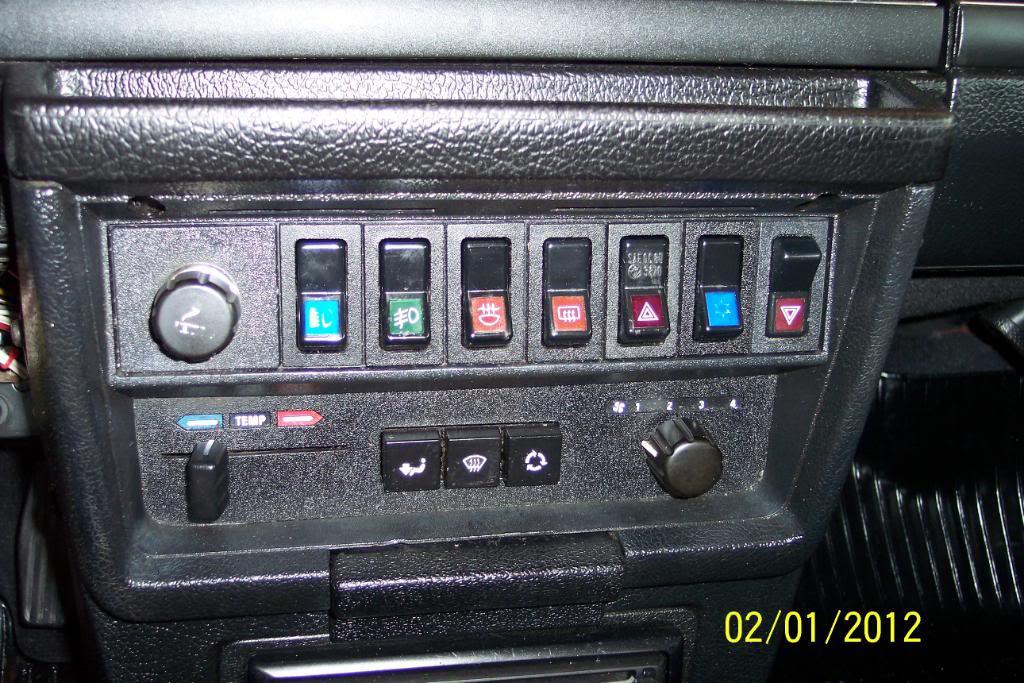
In case some of you were wondering.....
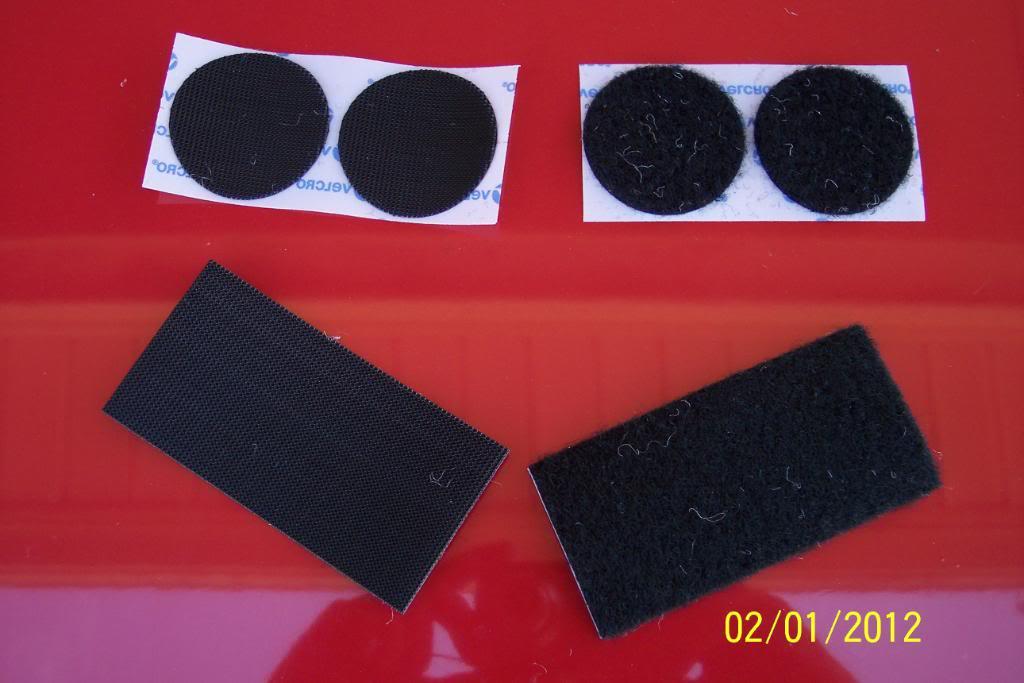
I decided on using these to affix the grey felt padding insulation to the X brace. Seems to be large & strong enough IMO.
I also used some of these cut down/into to a smaller size for the 'tween the TLs carpet too.
Round ones for smaller places, and the big ones for highly stressed areas near the seat mounts.
FWIW, They are not exactly cheap, and ya only get two per pack on the rectangular ones. But they hold a helluva lot better than the 1" square ones do.
And here's a few pics of what I used, in case ya want to try it yourself....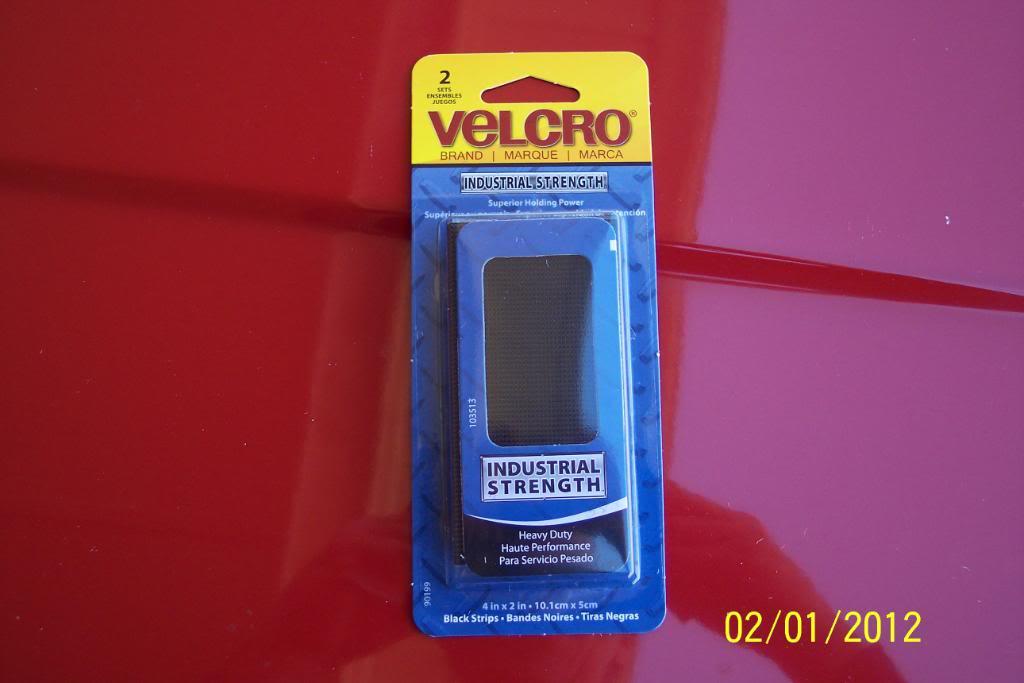
Look in this previous pic of dvrs side of trunk. See that red behind the spare tire cover? I've decided to make that red disappear like a VooDoo victim..........wait & see.....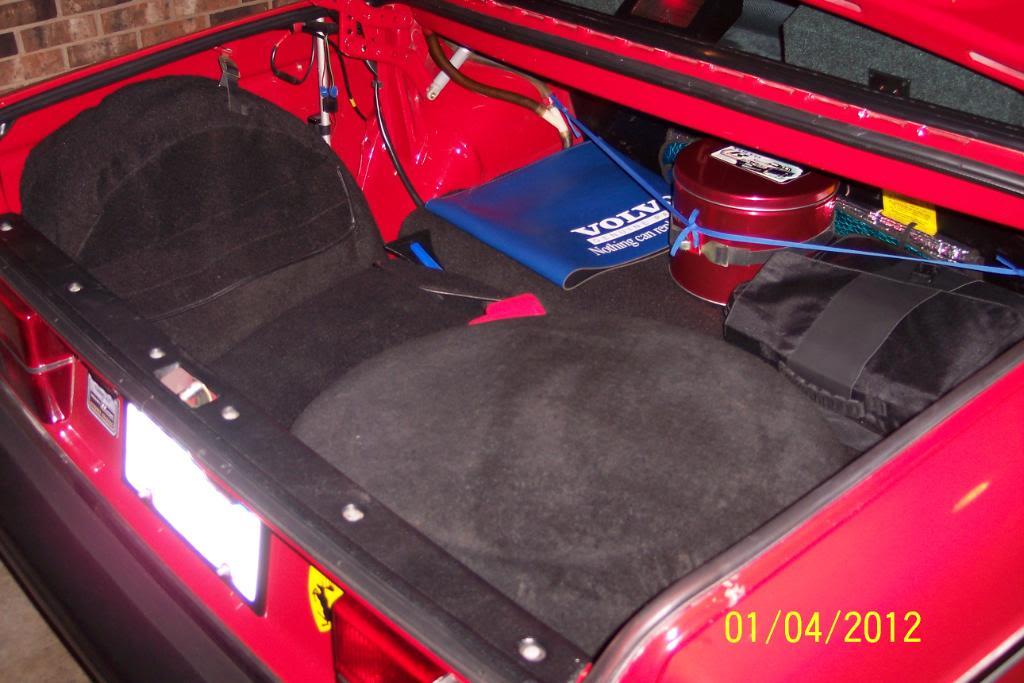
2/2/12
OK, for a finished look I need to paint the fixed hook for the spare tire's retaining strap, and two straps that hold the TL wiring harness up. So I 'amsked everything real good...........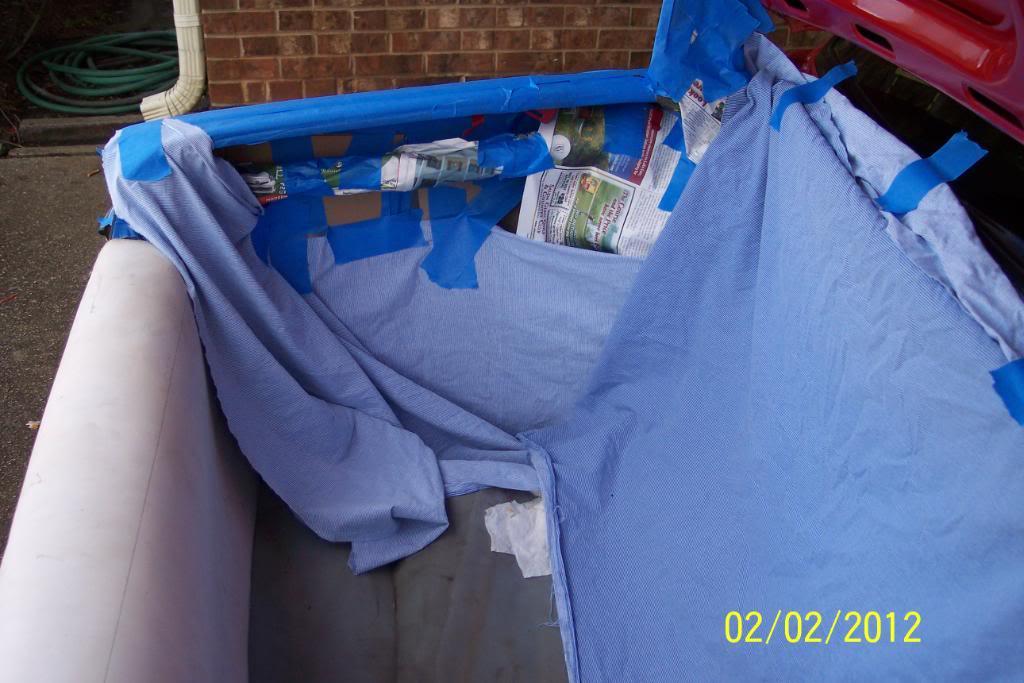
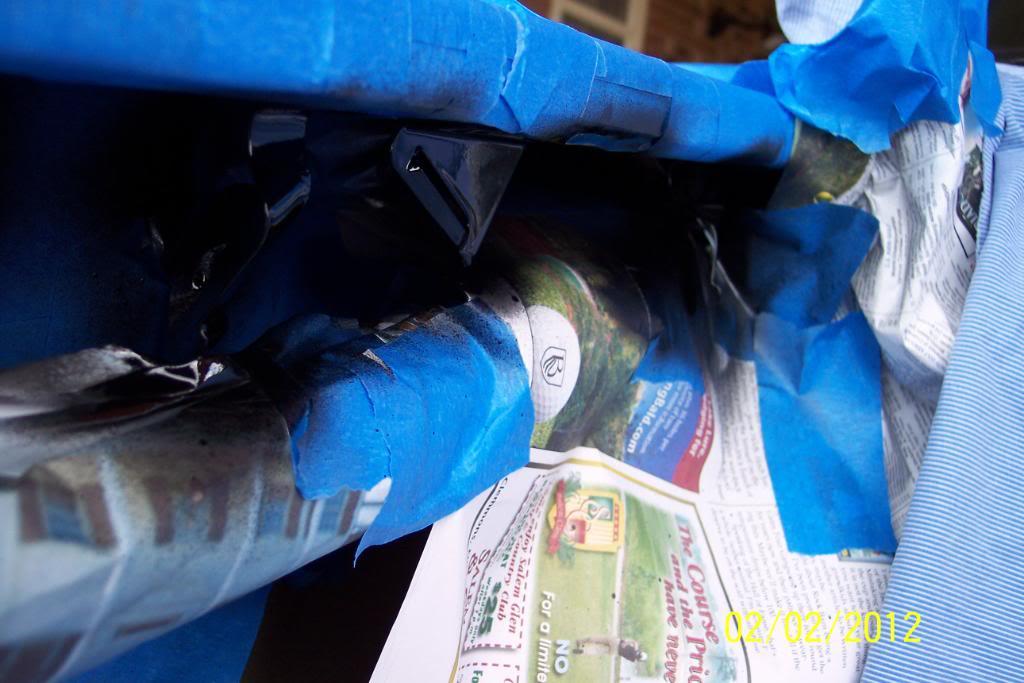
Done...next to mount the carpet piece.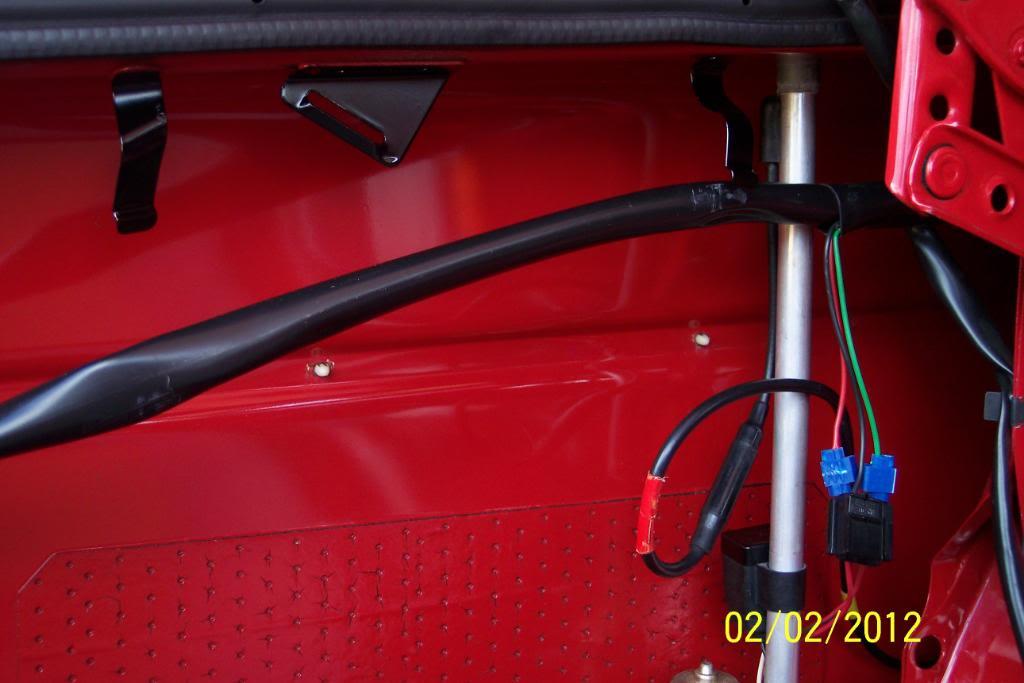
And I have the velcro on. I found a box of 4 foot length ISHD Velcro, and it took two of them. Much cheaper in 4 foot lengths.
4 ft box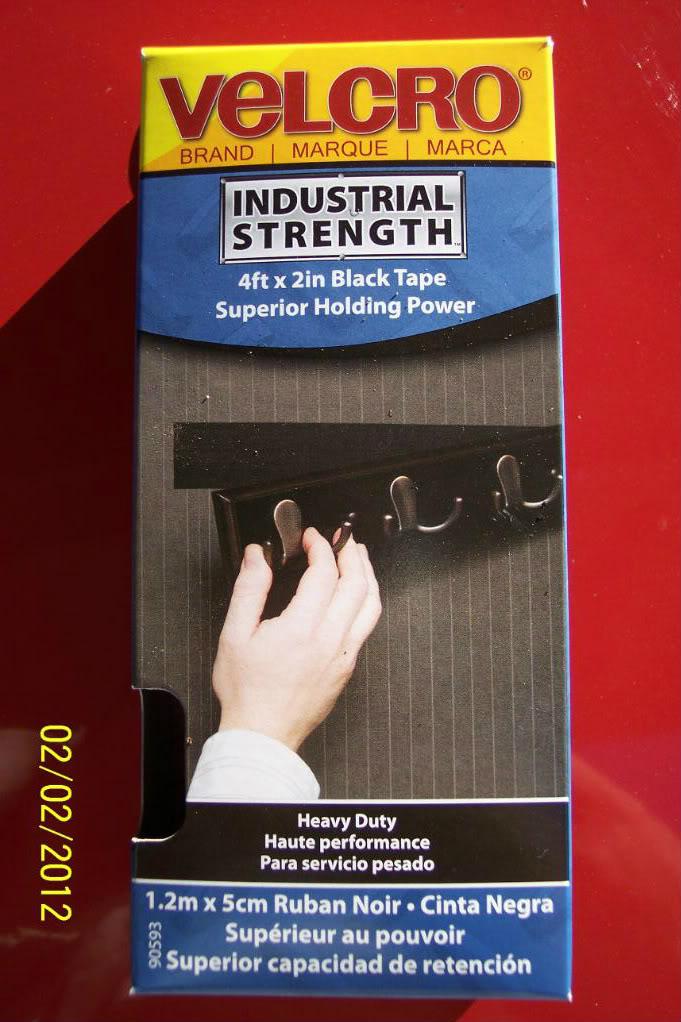
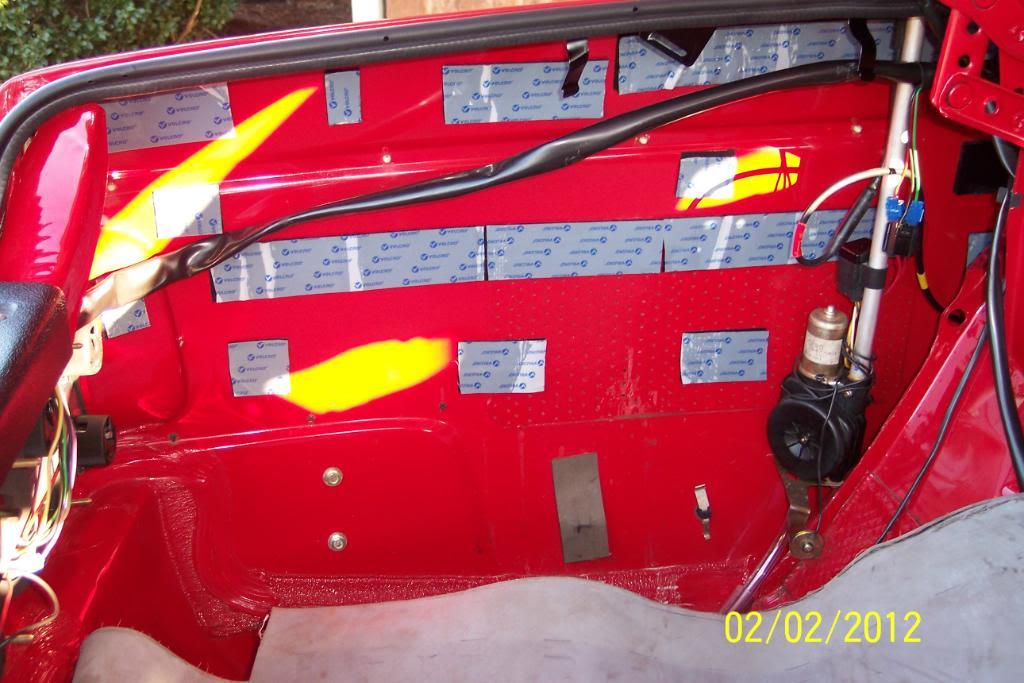
In rear corner...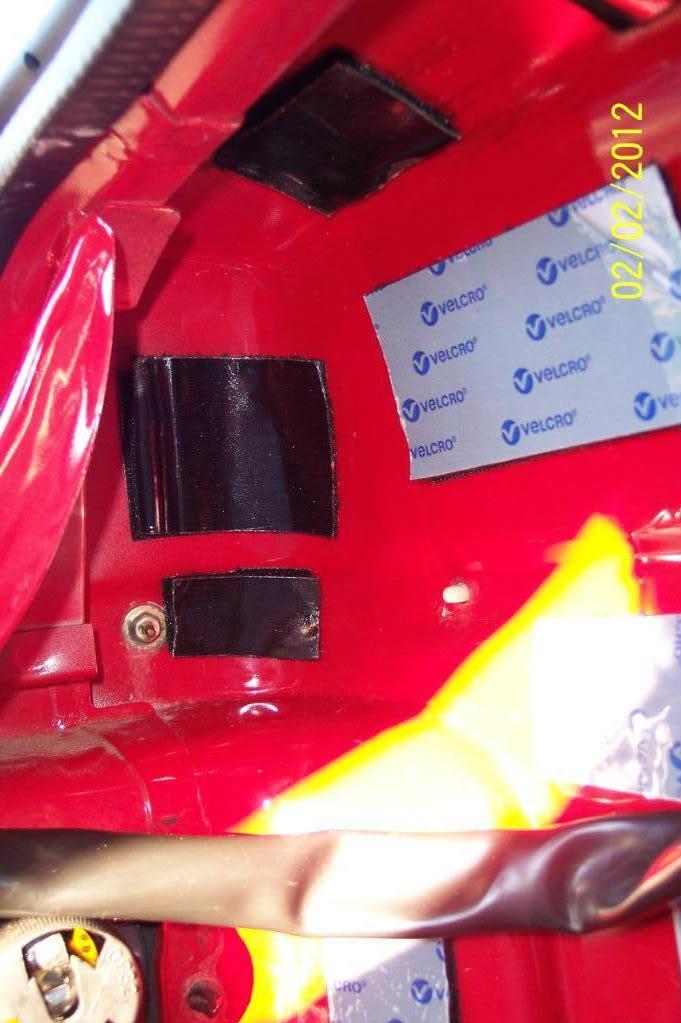
Looking on the bottom ide, of top 1/4 panel...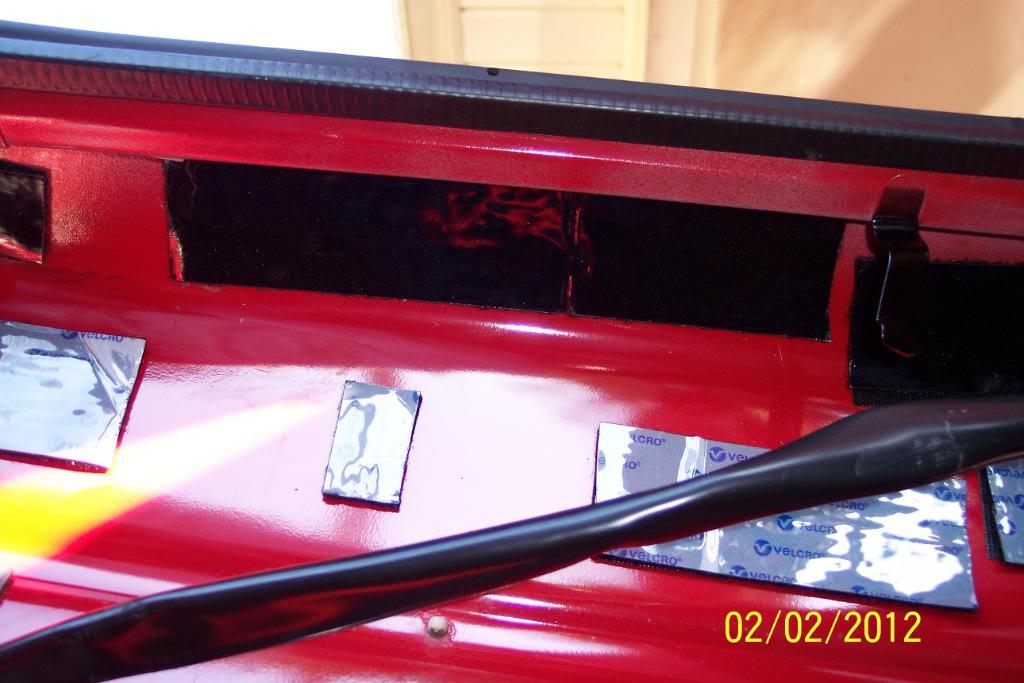
1/4 panel up towards the wheel well....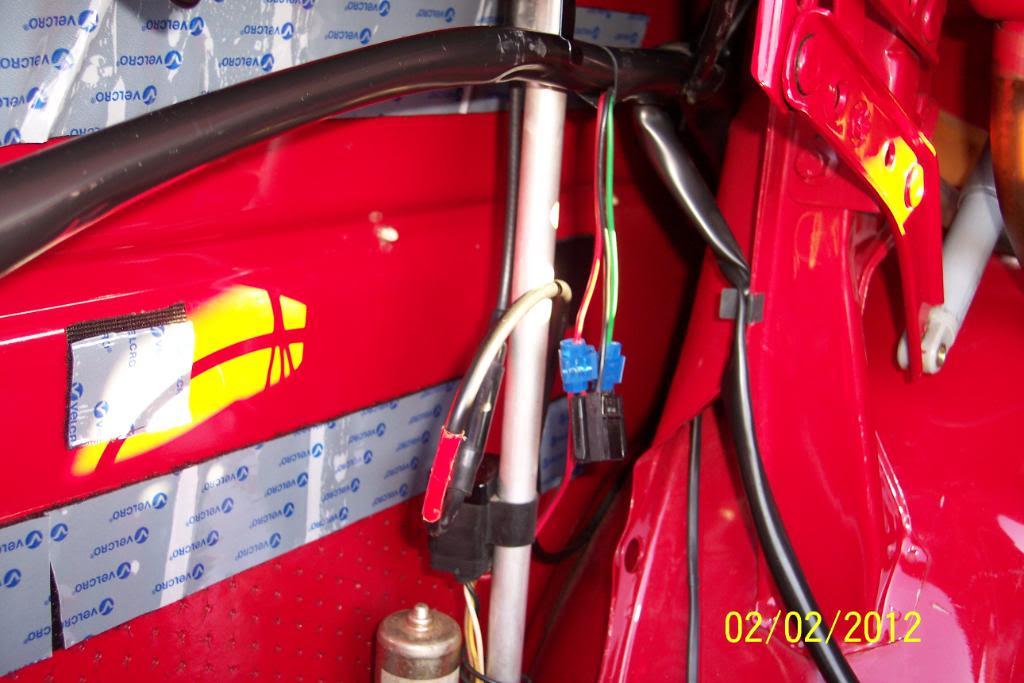
And the finished mod, the red has disappeared just like a VooDoo Victim........
It should really look nice when I re-install all the OEM carpet back in the trunk, after I install the seat & then install the package tray's newly carpeted pressboard panel & toss the speakers in their holes. All that is next of course....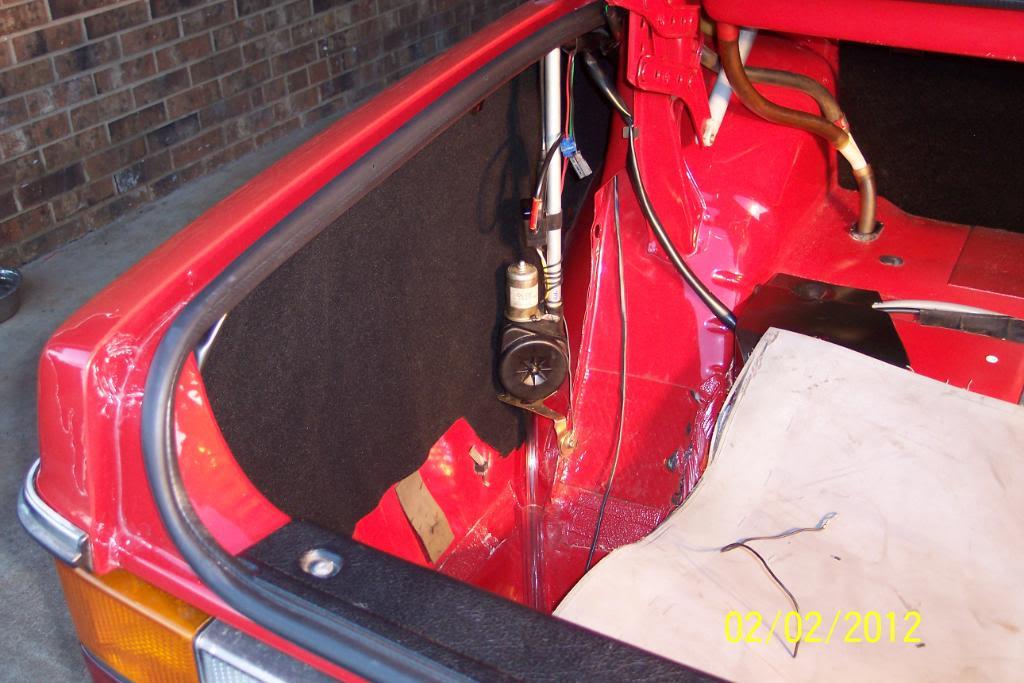
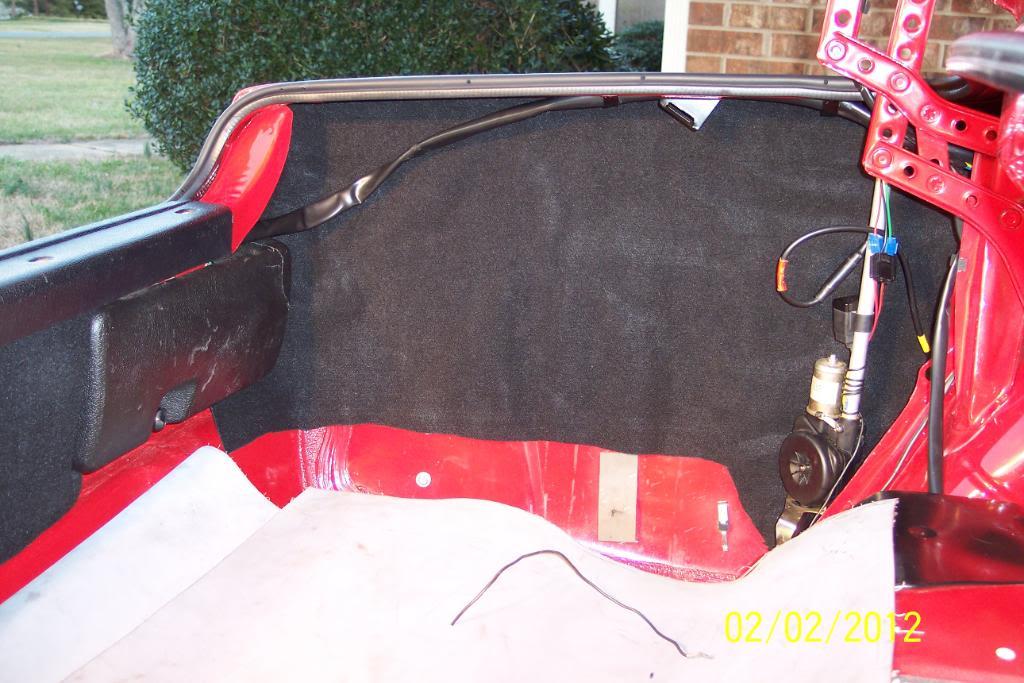
While I was right there at it, I trimmed @ 1 foot of wire off the Power Antenna's ground wire, but still left some wrapped around the mast hsg., in case I need to replace the round closed end wire connector in years to come...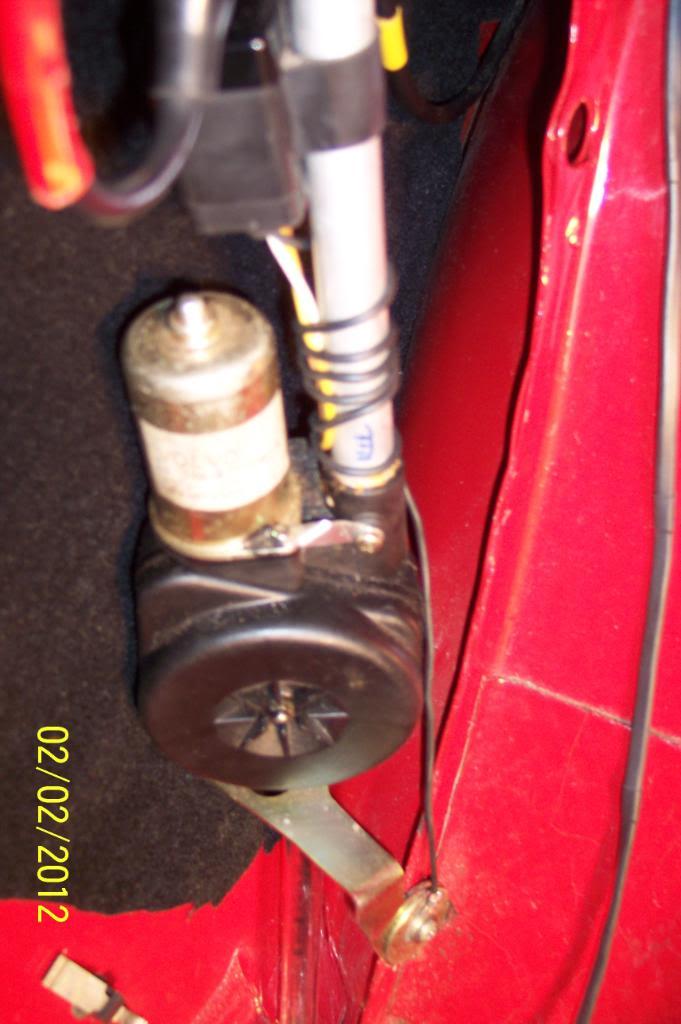
Hey Pappy!! Doncha see the tailight wirin' harness a'hangin' down?
What we gonna do 'bout that?
Pappy says.... This right 'ere........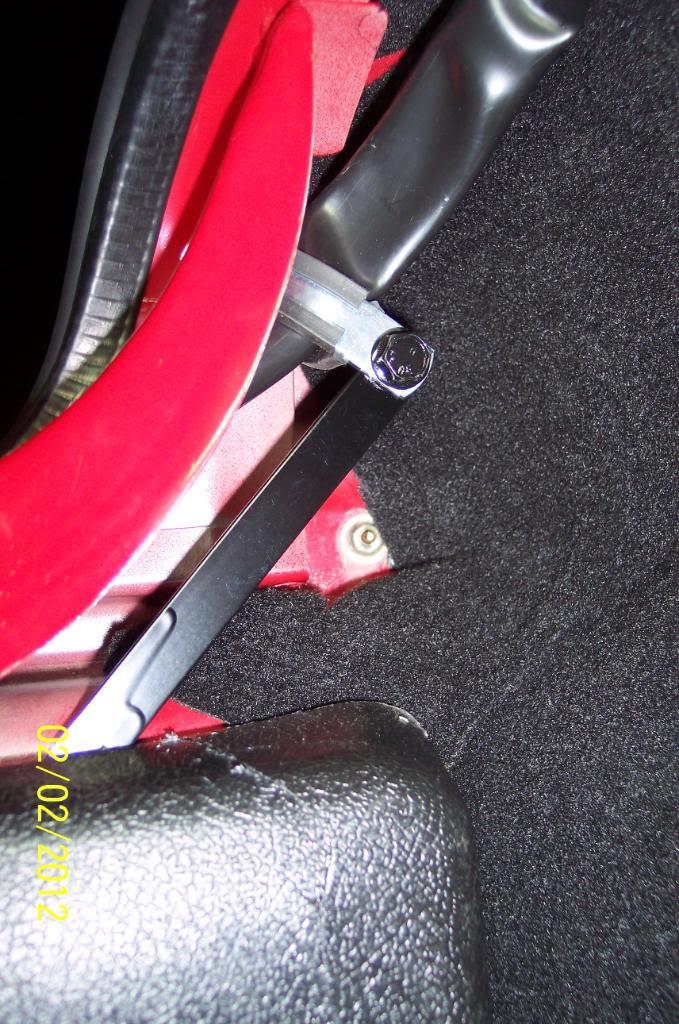
Yep, looks right peachy now, huh?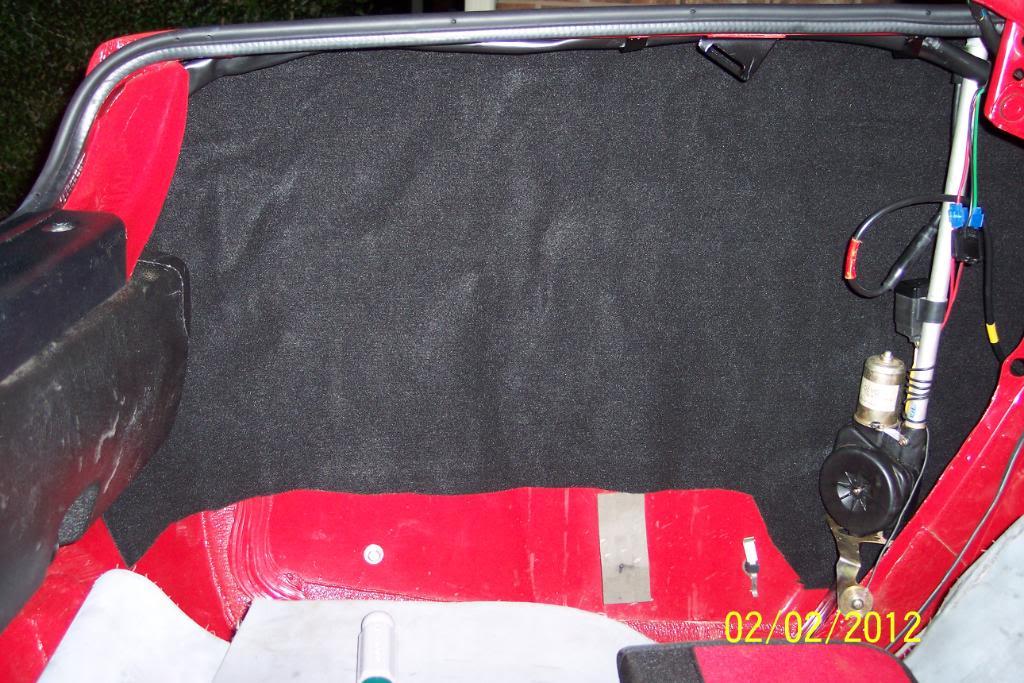
Not much I can do about. not easily anyway.
Next up, gonna fix something that's been worrying the ish outta me for some time. See how the underdash pad hangs down by the gas & brake pedals?
It just doesn't look right IMO. I'm going to fix that with a couple of the 3 free gifts from Lowes, that I got today..........
It says: "Do you have it all covered?" They're jokin' , right? LOL! pics below:
got 3 of these for free today...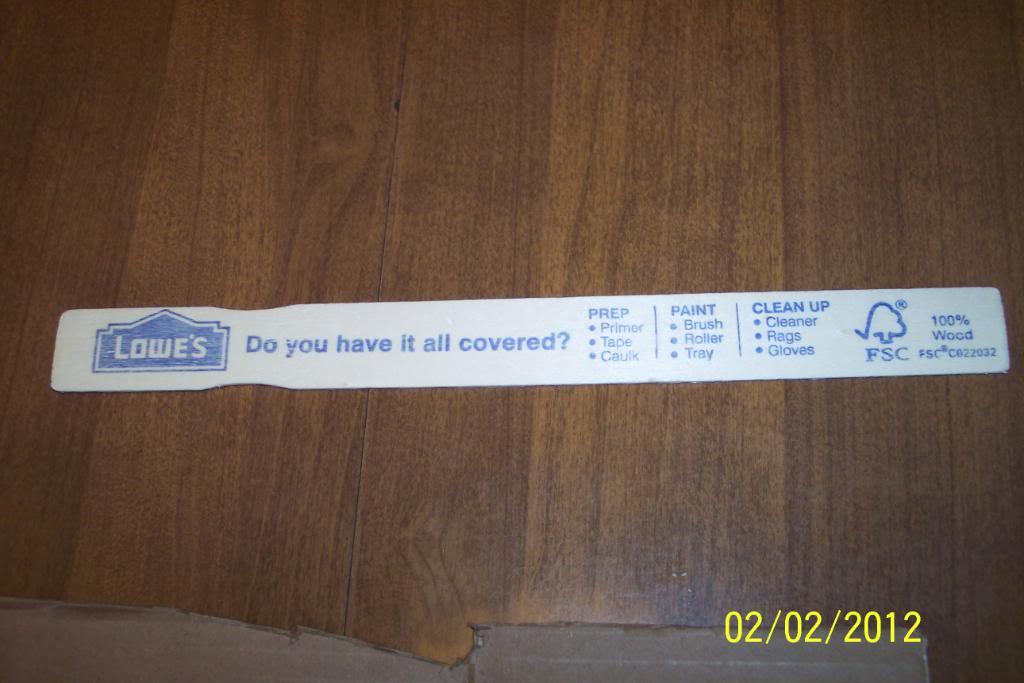
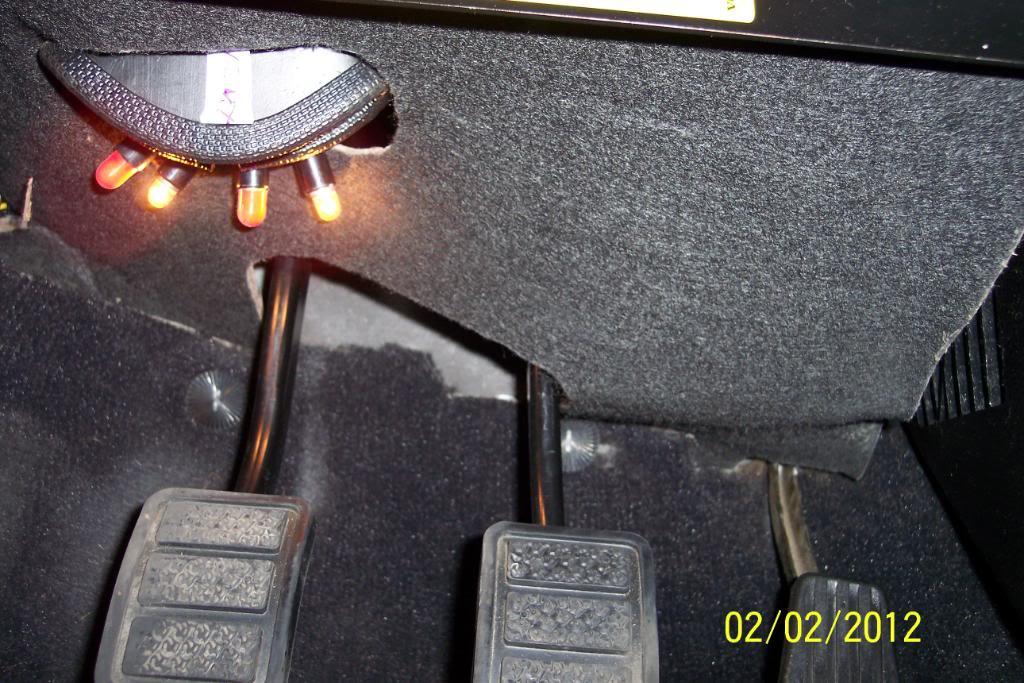
Fixed.........I think...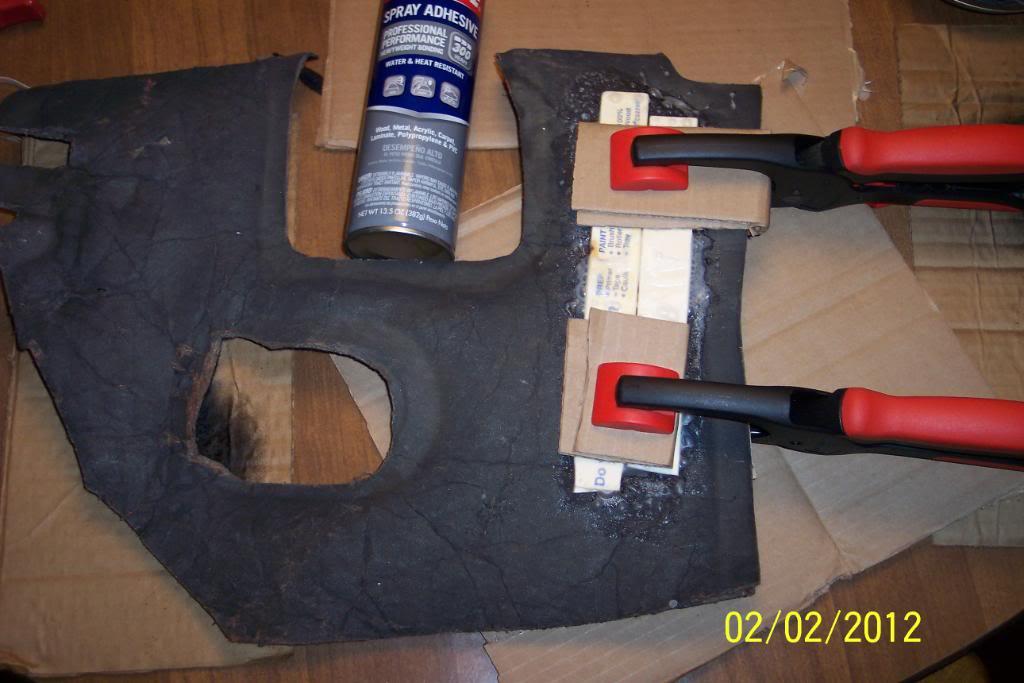

Nice build!
Posted by Diggymart on 3/30/20 @ 2:45:08 PM