You must be logged in to rate content!
3 minute(s) of a 214 minute read
1-12-2021
More updates...
I didn't think it would be this much work, but I guess its worth it for saving a Mk1 here in the north east...
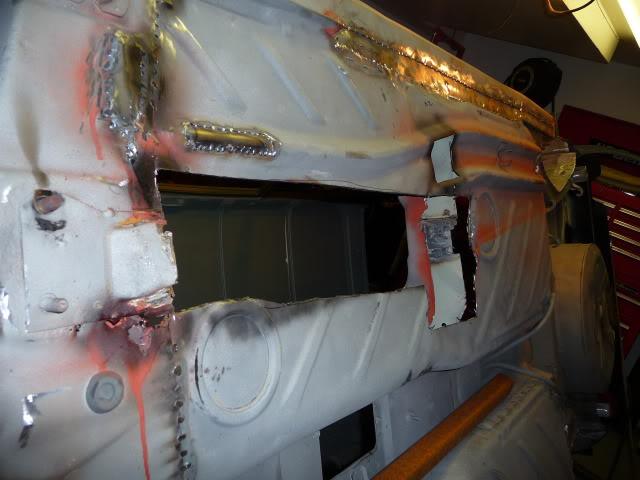
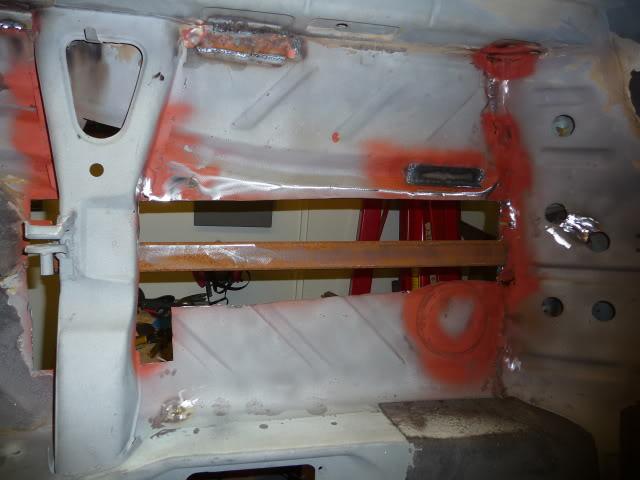
The more I was hammering to shape the different plates, the drivers side floor pan, showed signs of bad repair... Rust would trinkle through the seams around the bear metal. So I chopped it up!
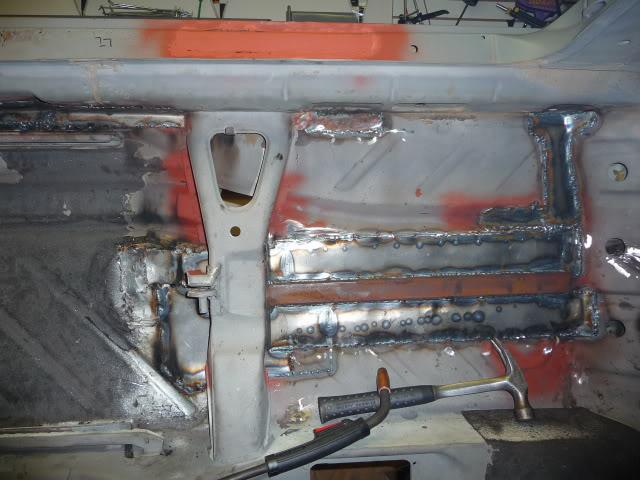
I wanted to reinforce the front control arm as I did for the other side, by doubling up the sheetmetal channel going up until the front seat support.
But on this side, all was rotten.
So I decide to pout a 1-1/2" square tubing in there, and do the sheet metal floor welded to it.
Works good, and except for the small difference in width I like the "stockish look"
Tomorrow, I really would like to finish this, but I still have 10-15 plates to do in the front, ie;
strut tower reinforcement, front wheel well patching, and fender angle mounting points on both sides to change completely.
At least I know this car will REALLY be rust free !
On with a few pics...
11-10-09
A few updates:
Got my OEM rear axle bushings (Ouch on the cost!!!)
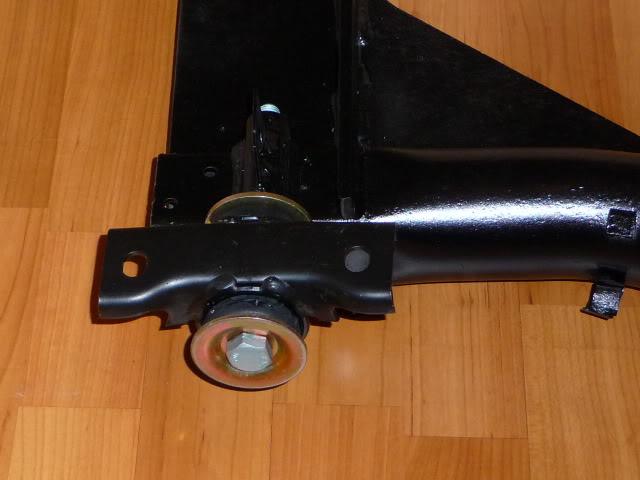
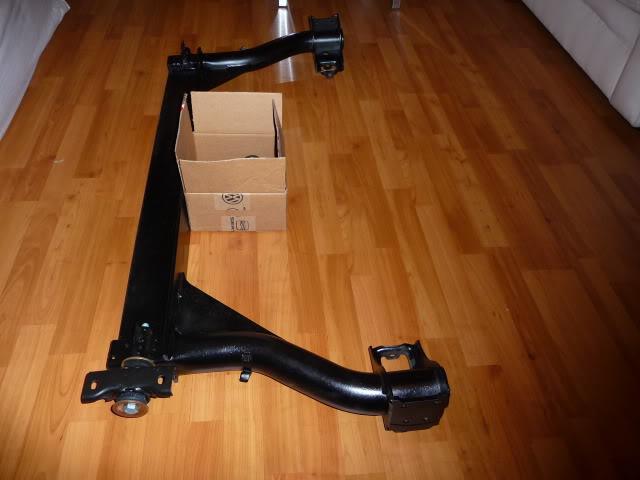
Some more work on the chassis:
New fender mounting strip (compound angle)
Some seam welding
Engine compartment too...
I say I have about 10-15 hours of welding / fabricating left.
Then its sanding down all the welds
Acetone and Marine Wash cleaning of bear metal
2 coats of POR15 underneath the car and on the floors
Seam sealer over the welds
3M #08883 undercoating
And then its off to the painter...
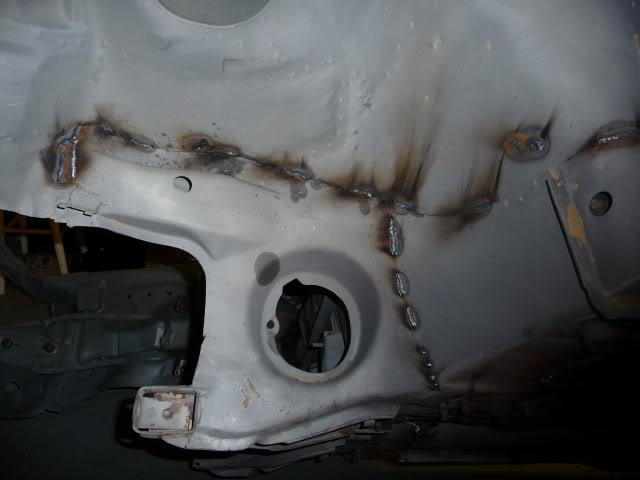
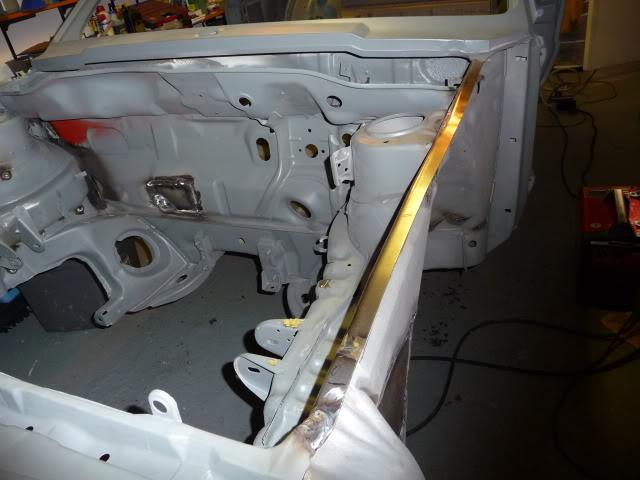
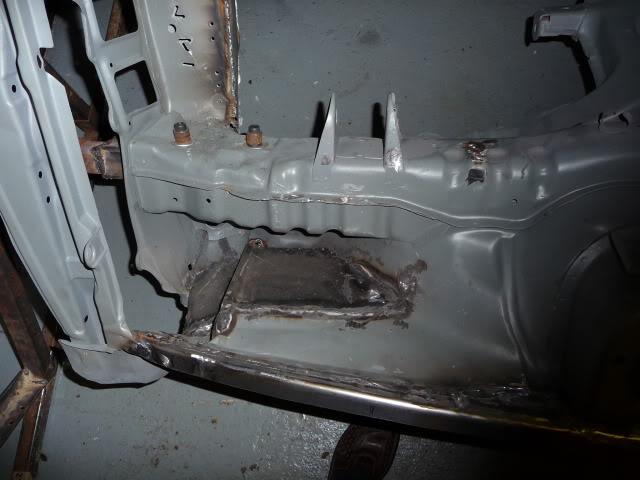
Beautiful car!
Posted by MPower on 11/25/20 @ 10:38:10 PM