You must be logged in to rate content!
61 minute(s) of a 134 minute read
2-4-2021
MKV Build Thread
Compliments of dustinwark @ www.vwvortex.com
6/29/10
Well I think it is about time I hopped on the build thread bandwagon. I am mostly just going to post photos copied from my build thread on my local forums until the most recent updates.
My goal for this car is mainly: simple and classy.
As always comments/criticism/ideas are all welcome.
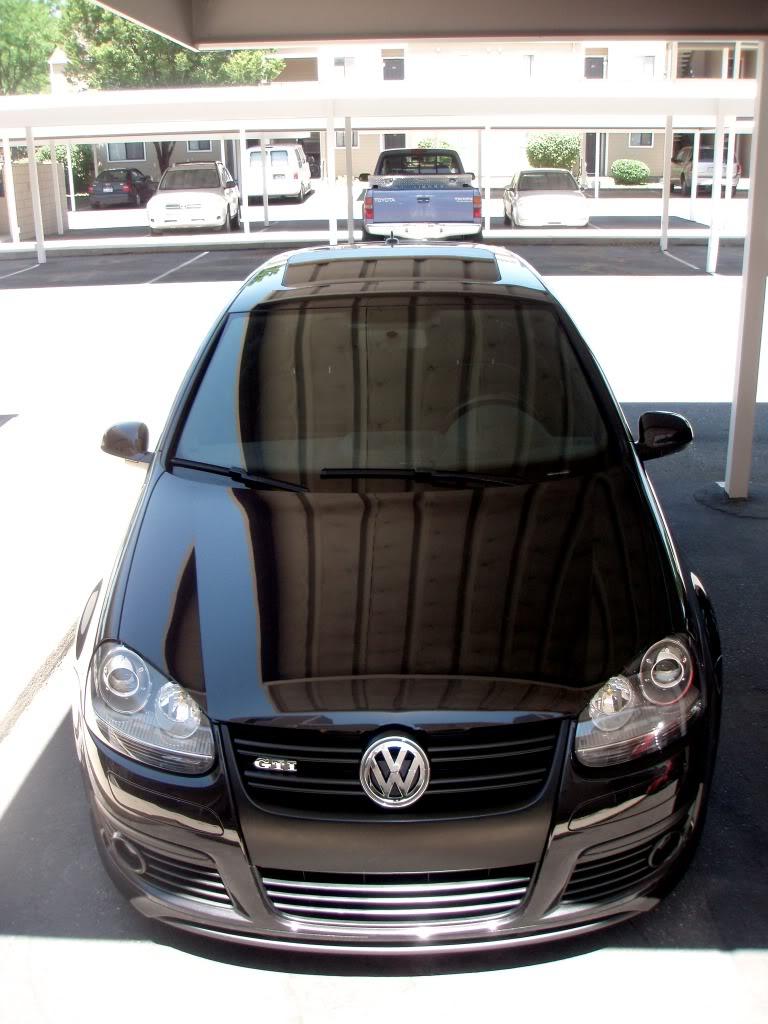
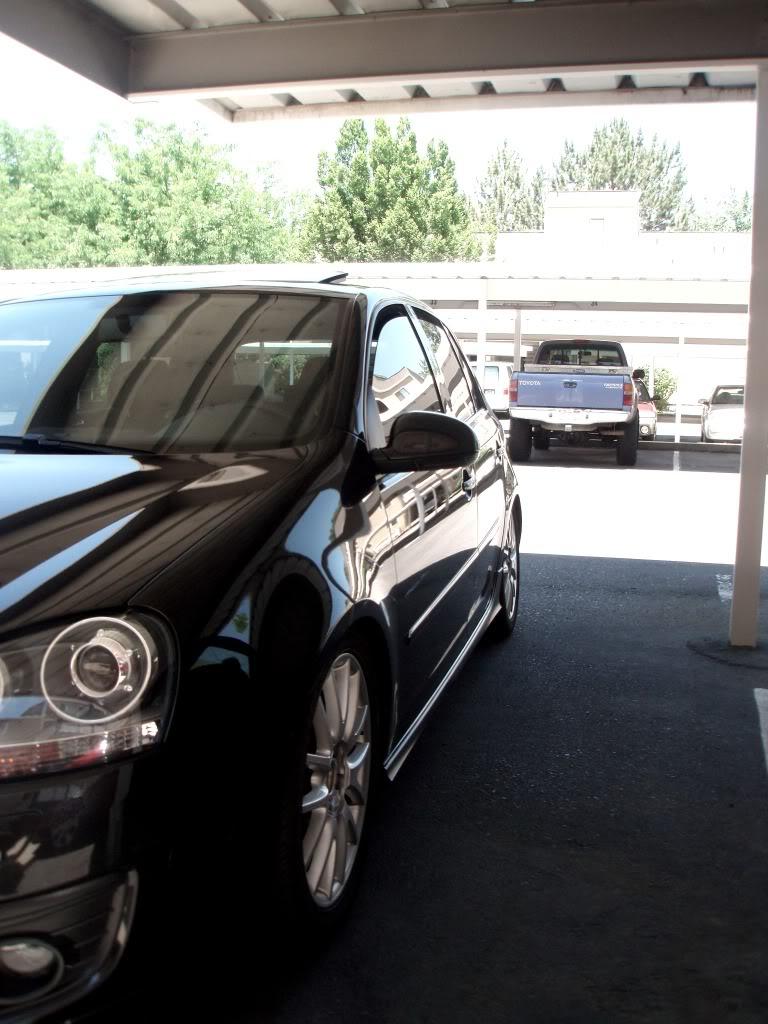
Arrived via truck from Illinois March of 08 with approx. 13,000 miles.
Searching on the internet it was the only one with exactly what i wanted:
2007 (slightly used, cheaper)
Black Magic Pearl
5 doors
DSG (was going to go 6 speed manuel, but a faster-than-human computerized dual-clutch transmission was too tempting)
Moon roof
Interlagos Plaid interior
Classix wheels

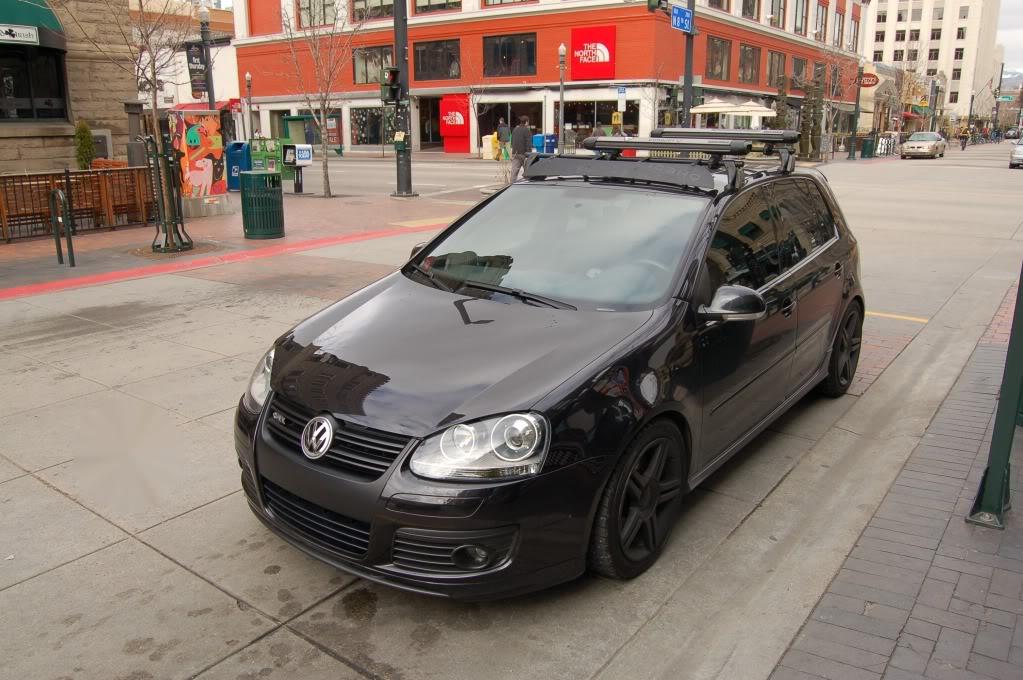
Tinted the windows, threw a yakima roof rack on, also some r-line fog grilles

plasti-dipped the roof rack fairing, color-matched my side markers (DIY), and got my A4 wheels on for winter.


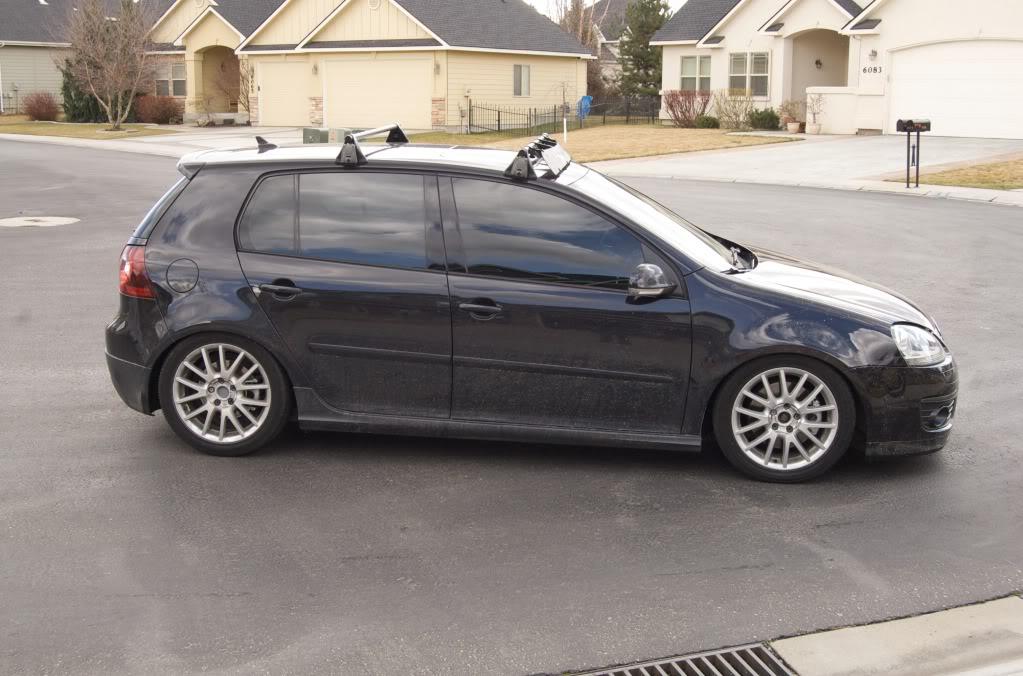
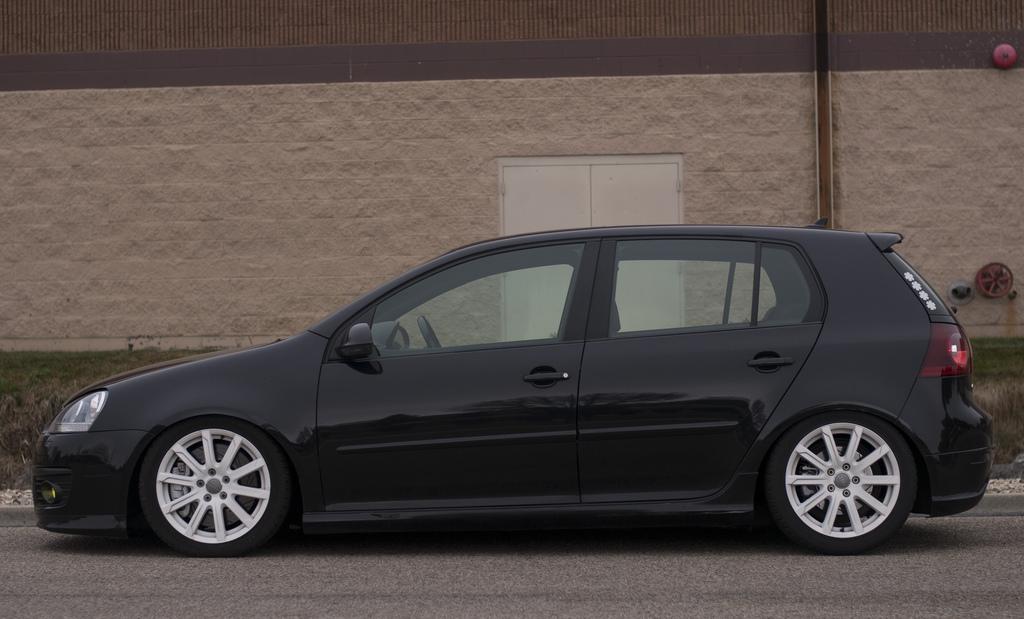
looking at the side profile you can probably guess what the next mod was
Neuspeed sport springs:

Upgraded my ski attachment to a fat cat 6, bought ECEtuning color-matched side markers to replace my ****ty DIY ones, and ditched the R-line fogs for OE open ones

Bought a used Neuspeed P-flo and race extension.
I did a few small, cosmetic changes along the way, so small I don't remember when or what order so I will just list them off.
Sold my CAI race extension, noticed improved throttle response as the air had less space to travel.
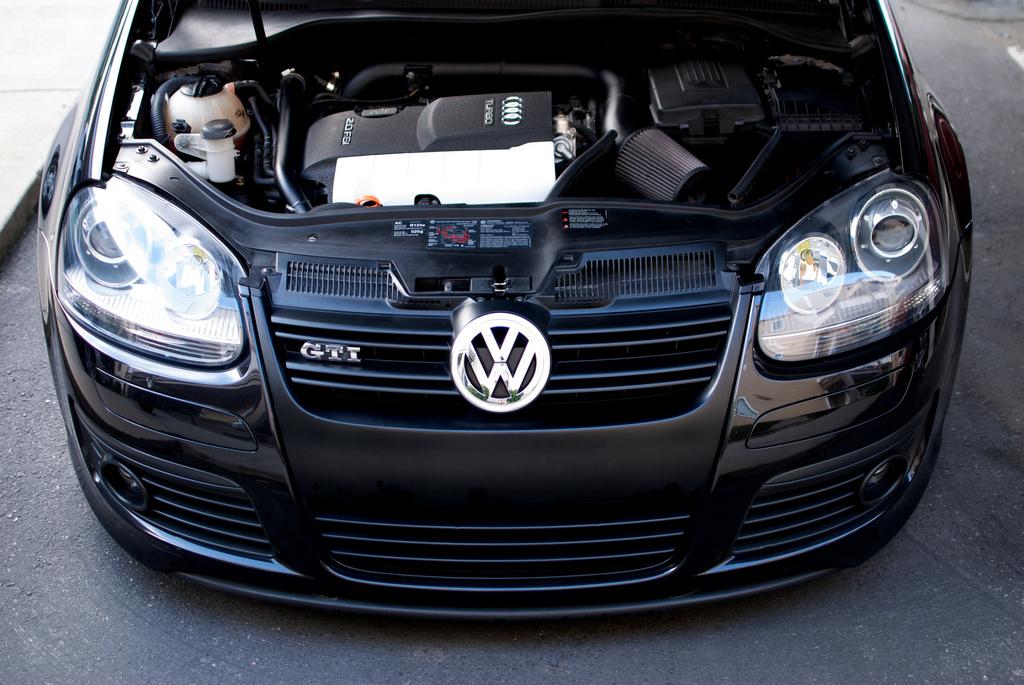
Cut the OE engine cover to fit with the aftermarket intake and painted the center to match the paint of the car itself.


Installed OE projector fogs in place of the factory reflector housings.
Installed 3000K bulbs in the FTP housing and the fogs.
Painted the red "smile" white along with plasti-dipping my front shield.
Cut the bars on my roof rack shorter.
Took off my OE engine cover and replaced it with OE Audi cover for same engine.


Next up was my first taste of BSH! Went with their street can which at the time was still called a stage II PCV fix


also decided to take care of my DV while I was at it, EJ to the rescue. (this sat in my closet for a long time before I finally installed it.


euro switch

more BSH goodness:
Stage 1 block-off plate for my PCV
When it gets really cold I like to remove my catch-can due to freezing. This allows me to have an upgraded PCV without the catch-can, all I have to do is unscrew two screws to swap. (above picture)
Updated Catch-can
Larger capacity, billet fittings (old where plastic), better screen, better drain, and dip stick to check gunk level. New can is on bottom, old is on top w/ bracket still mounted.


Next a plast-dipped my A4 wheels


replaced cam follower at 40k

oem votex lip from Bud


Another package from BSH, included:
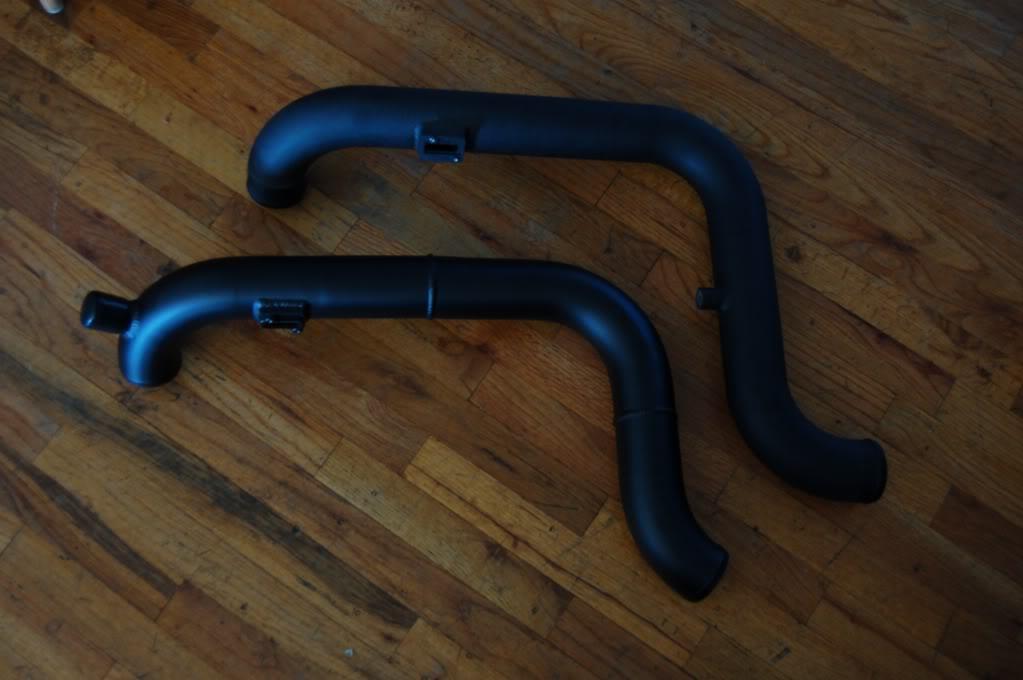
*BSH true seal intake (need for my EJ DV relocate)
*BSH boost tap
*New lines for my catch-can
So i put the new intake on, the other stuff will go on later........

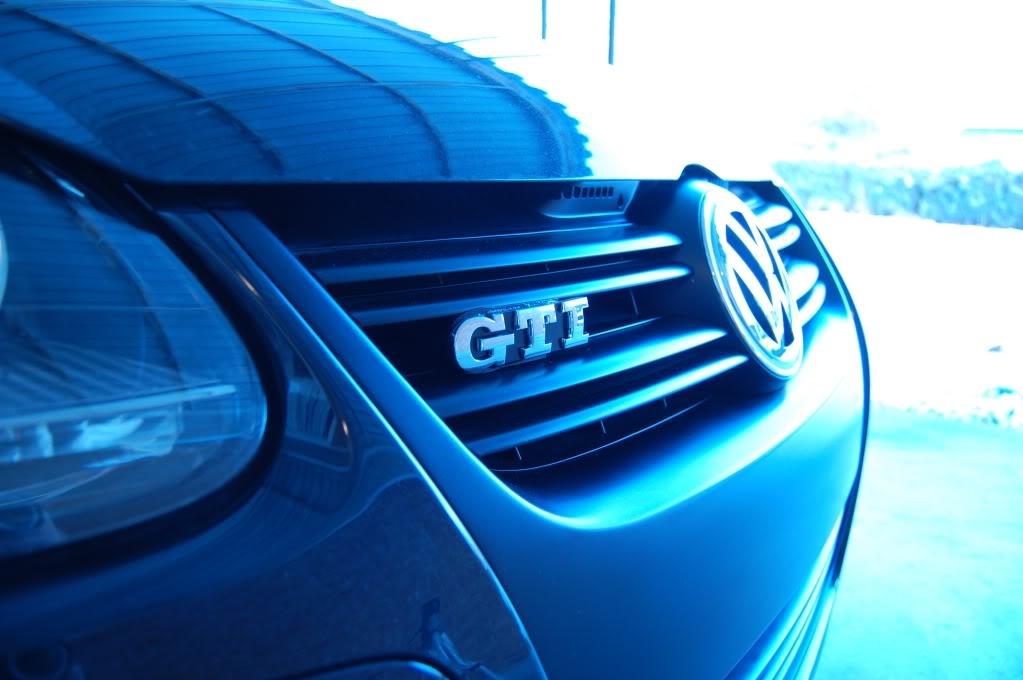
Early xmas gift! OEM Euro Golf GT grills are here!!!!!!!!!!!
I am a little disappointed that there are four holes drilled for a stupid "euro plate" I say **** that noise! So tomorrow morning when I drop by the body shop to see if they can paint it matte black for me if they can also fill the holes.


more BSH!

got the grill back from paint, matte black with the holes filled:
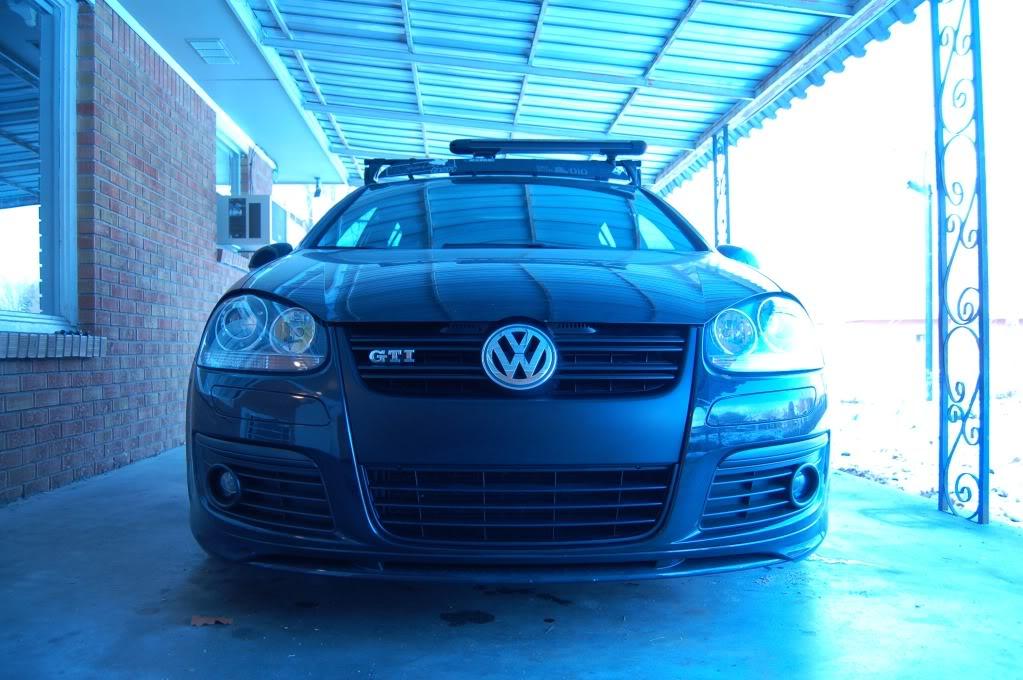
mounts in!
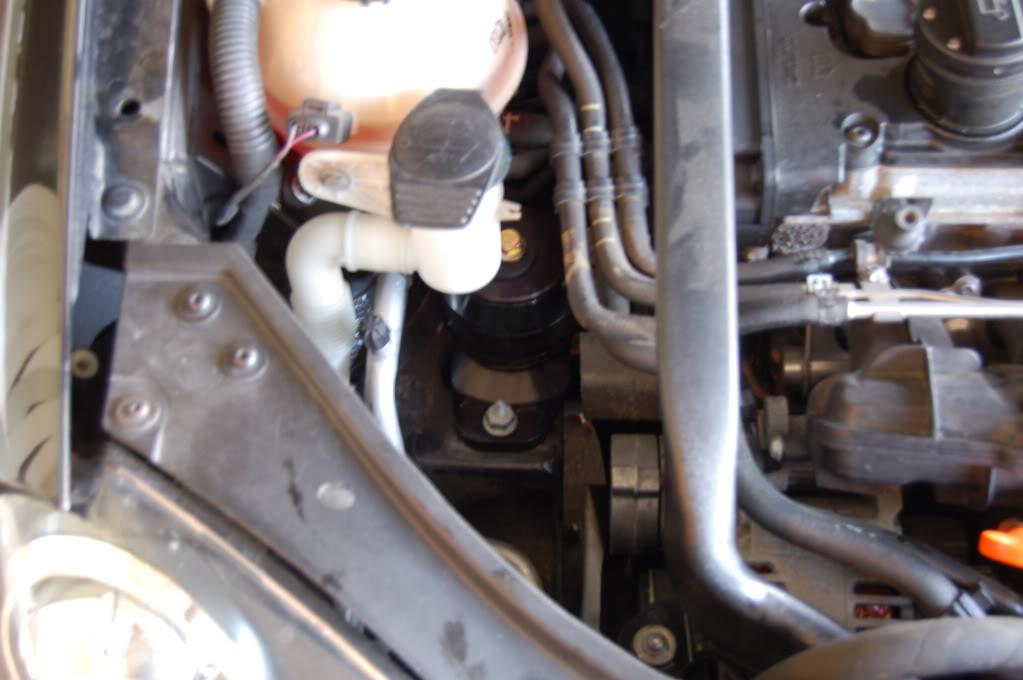
and plasti-dipped the front part of my votex lip
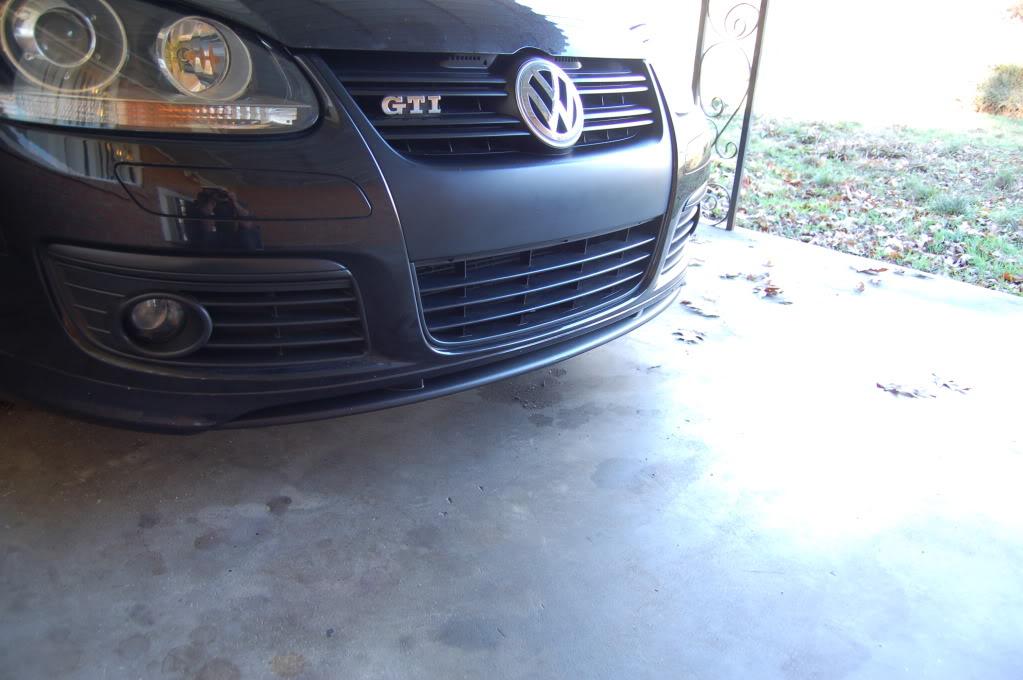
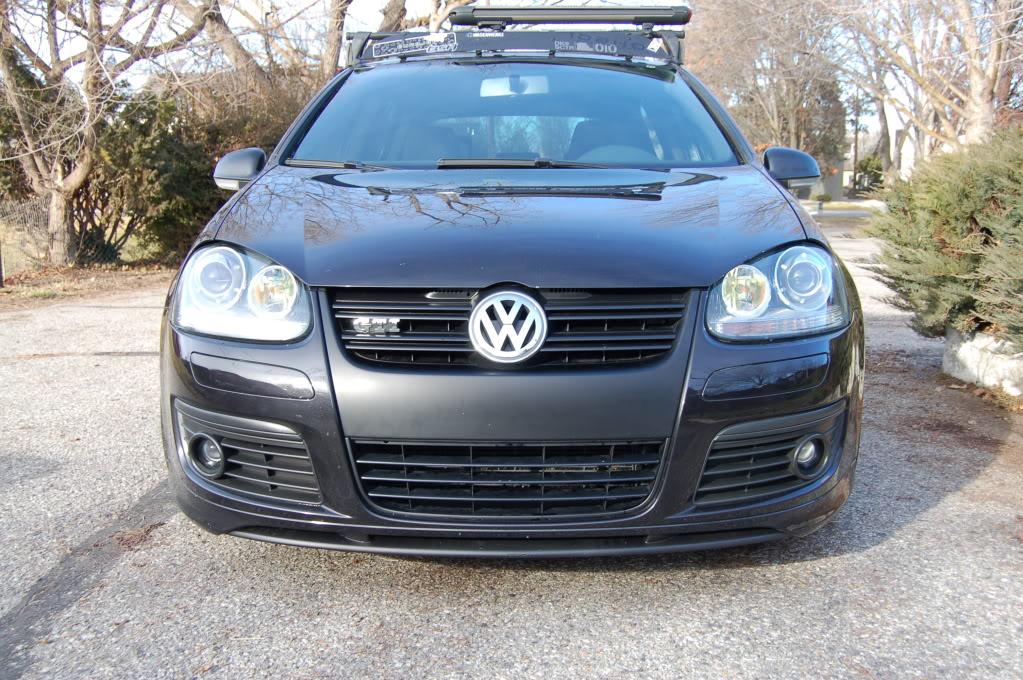
spray painted my calipers silver to clean up the look.


R32 tinted tails (us-spec)




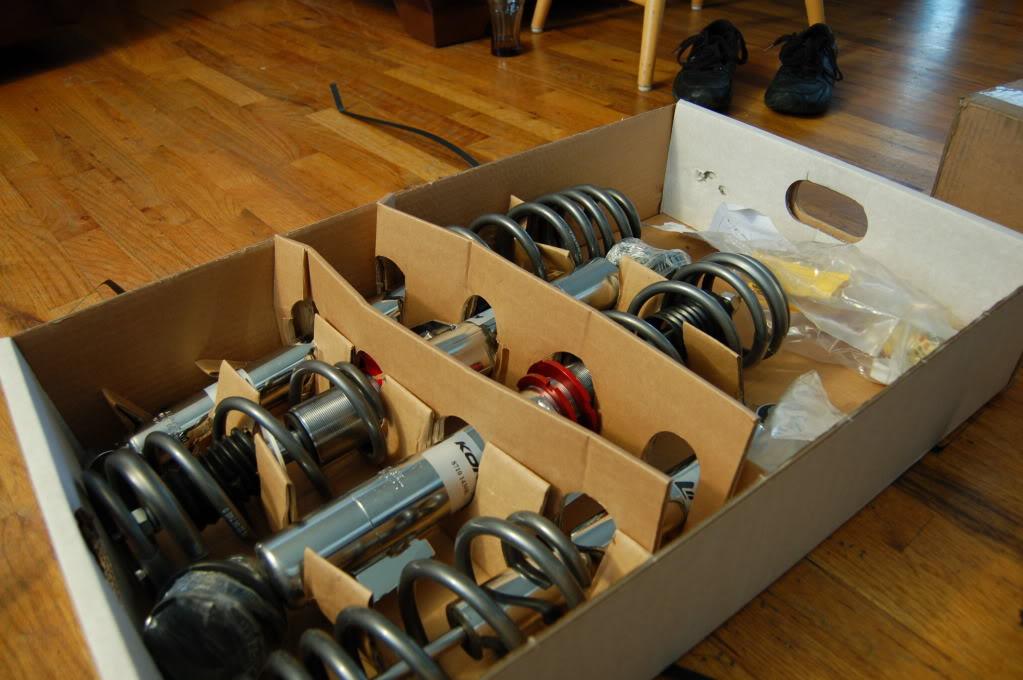
KONI coils thanks to DBC!

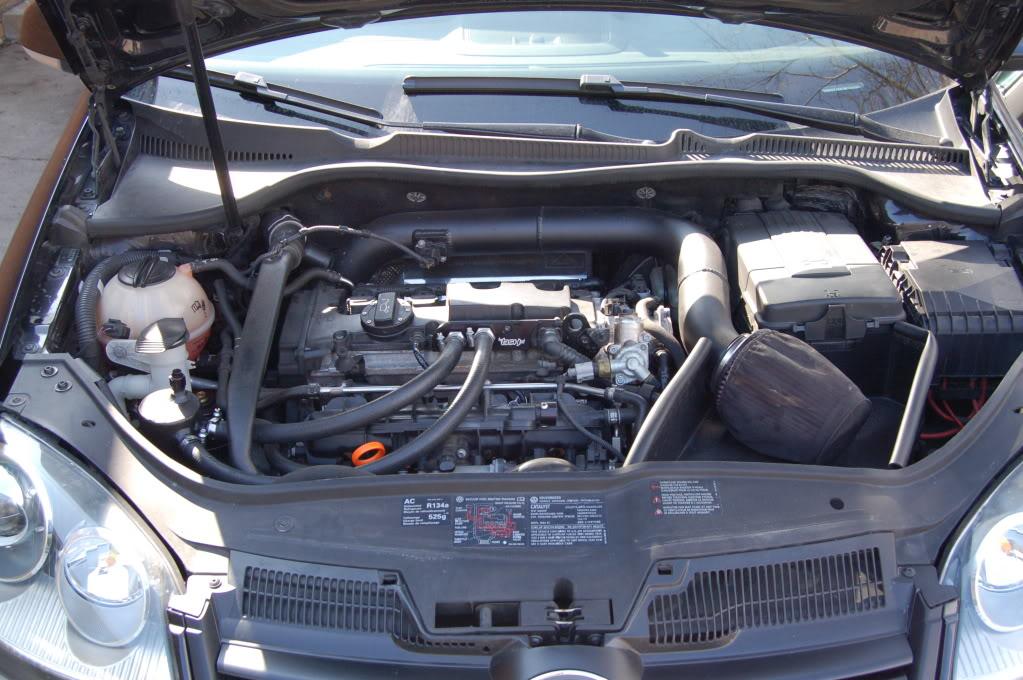
Finally got my upgraded BSH catch-can put on. I had their old version then bought the revision and was just too lazy to put it on. I had my stage one block-off plate on there all winter so no catch-can at all. Feels good to have one back on to keep my engine fresh. I attempted to put it on around December, but it was too cold and the hoses did not want to bend.

FINALLY put in my EJ DV kit


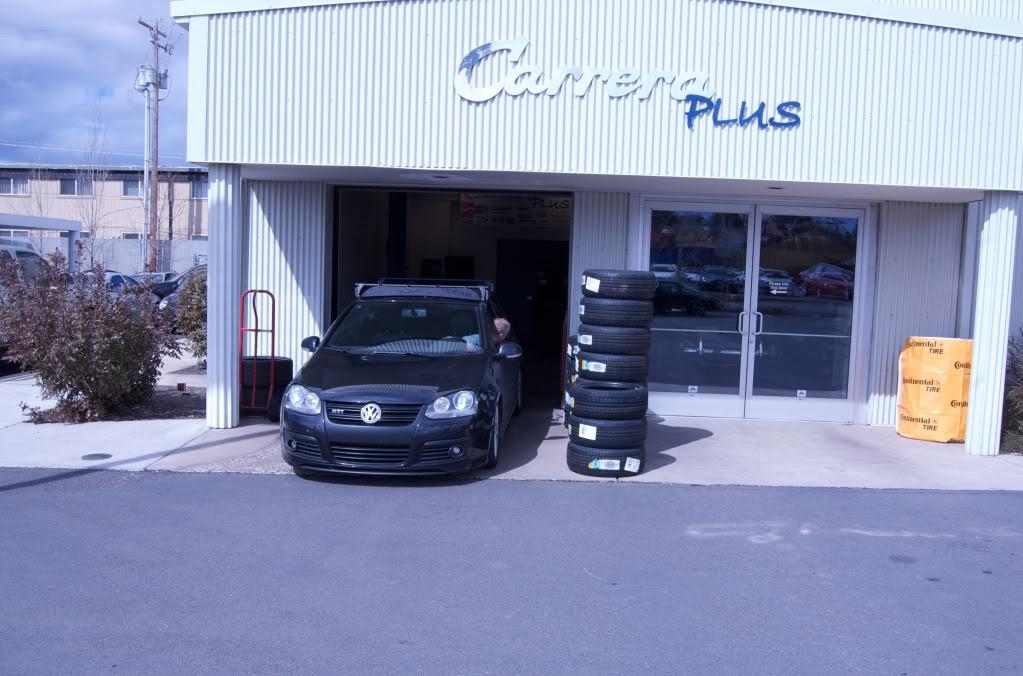
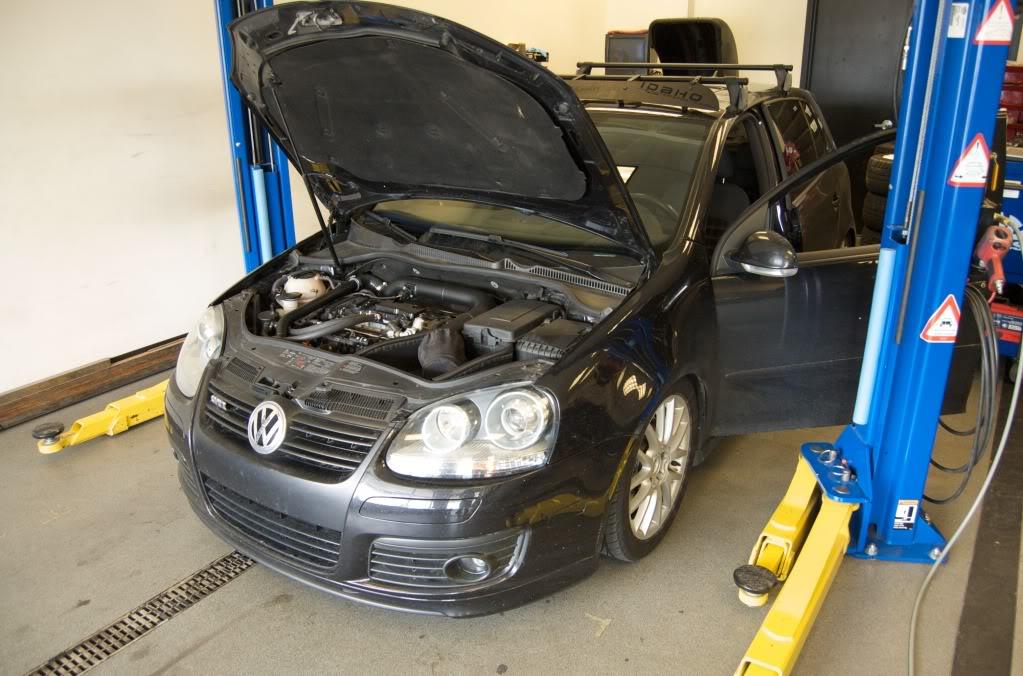
road trip to Bend, OR to get APR tuned:
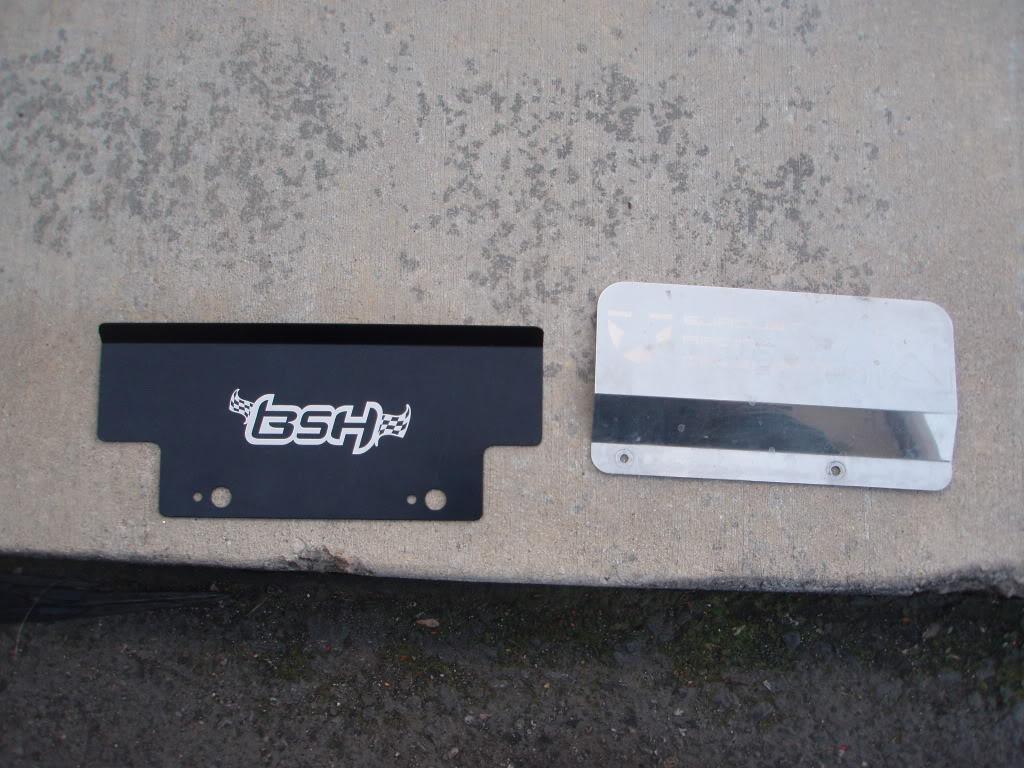
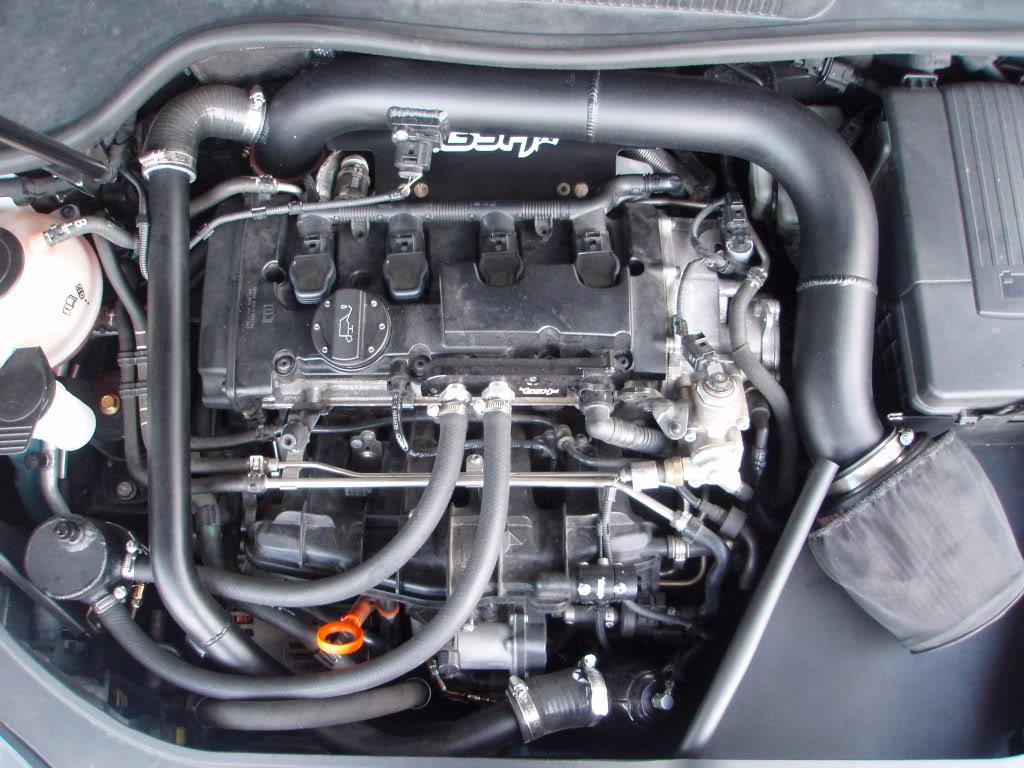
fancy BSH heat shield
I was able to snag some "smoked" mirror signal housings for next to nothing. I was debating getting them and decided against spending $80+ for such a small change. About a week ago a used set came up for sale and I snagged them. $10 shipped....why not?
Anyway they are described as "smoked" by the company that makes them and people who sell them. I figured it just had a tint to the lens. However it is actually a black housing with a clear lens. Either way I am happy with my purchase, I think that it cleans up some of the lines on my car.
Also just for ****s and giggles I took off my roof rack, I figure that it will be a nice change of pace and improved mpg.
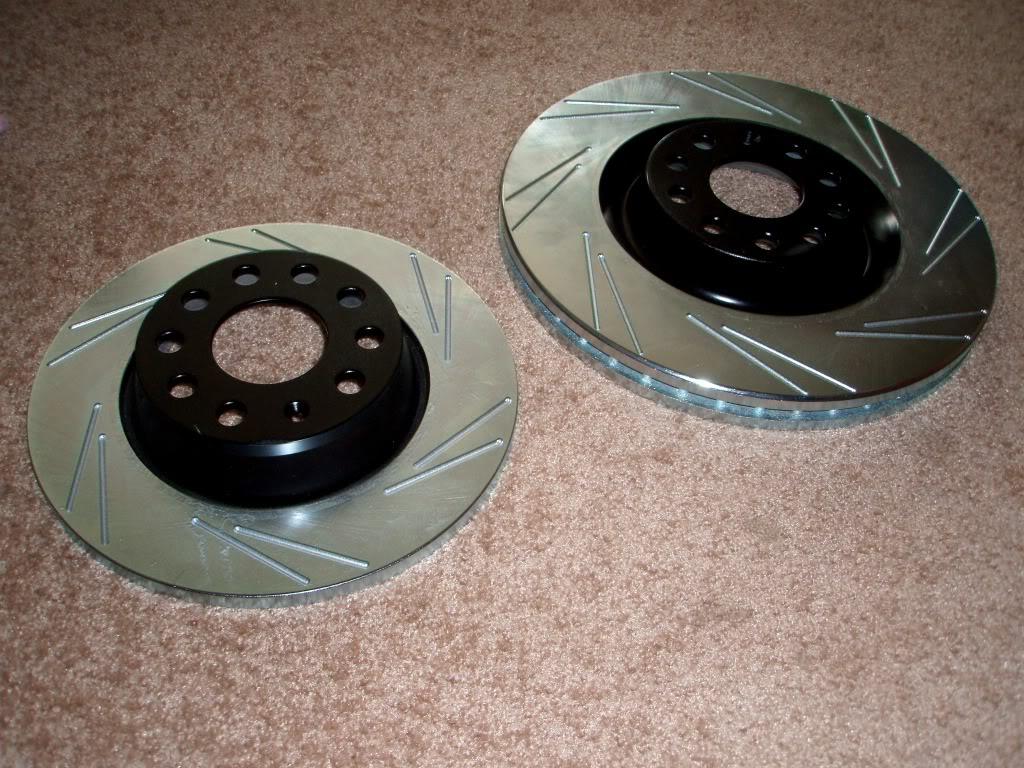
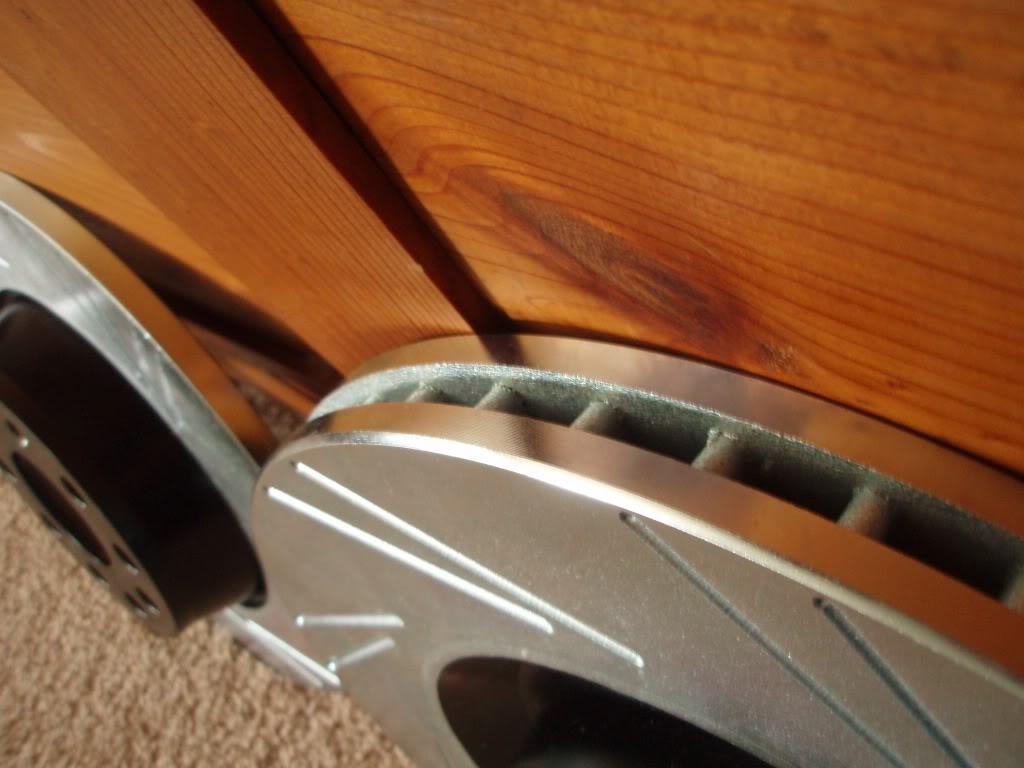
Well I will be able to very will soon. Hopefully by this weekend the rest of the parts will be here. For now here is a picture of what came from the fine people at DBCperformance (thanks Berk) and Adam's Rotors. This is the first two packages of four total for this update. these came USPS, then next two are coming UPS and Fedex, that how awesome this update is.
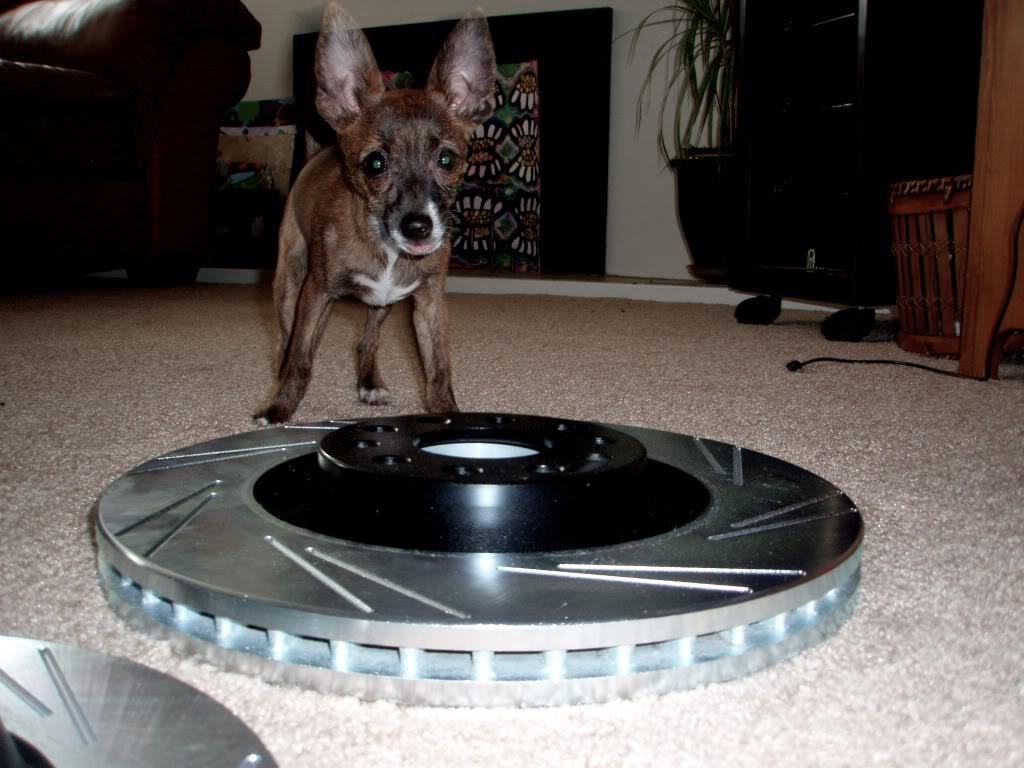
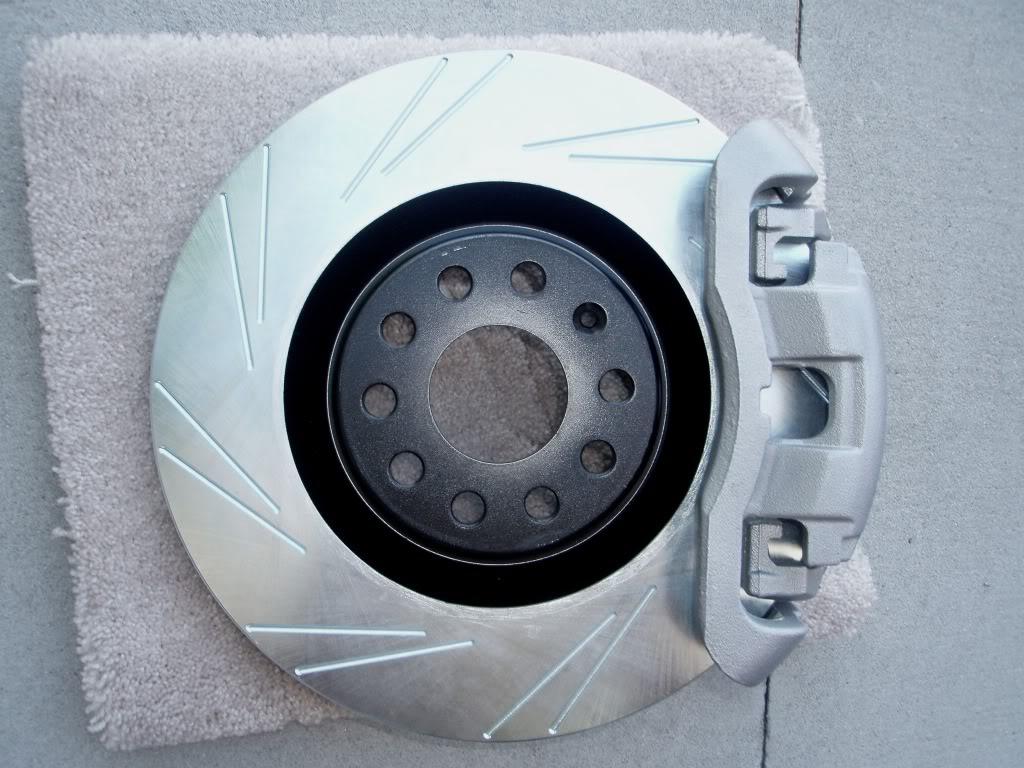
Anyway my standard GTI rear rotors and 345mm vented front rotors showed up. These beauties are made by Adam's Rotors and are custom made with silver zinc coating, black rotor hats, and their "race" or double slotted pattern.

7/1/10
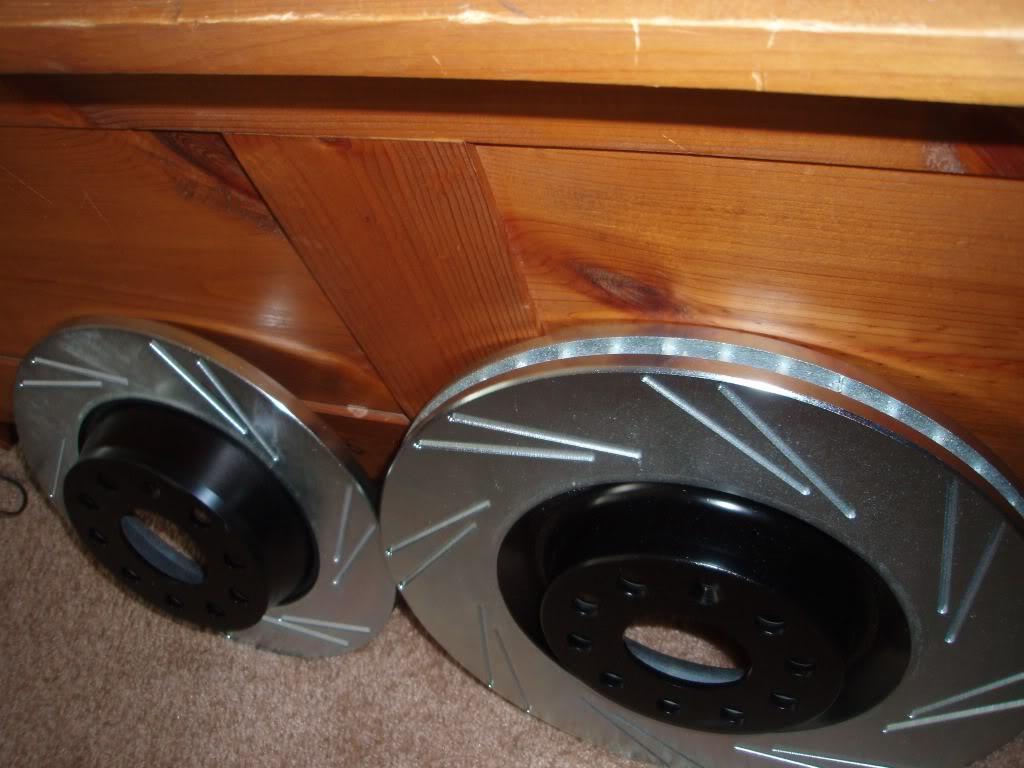
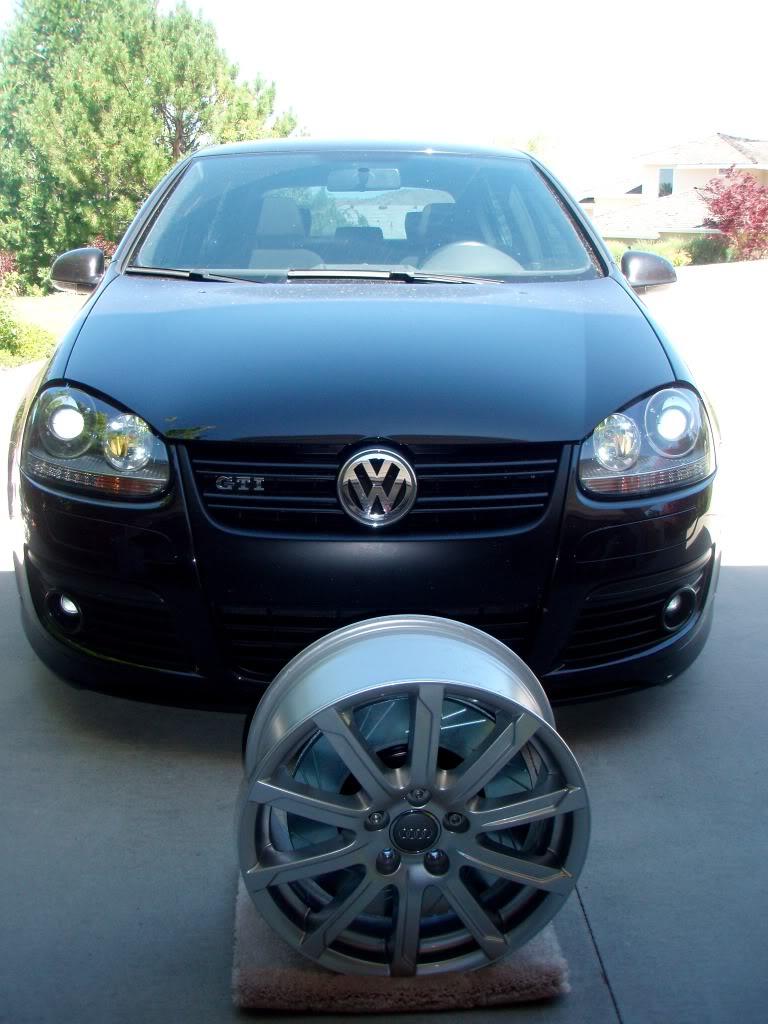
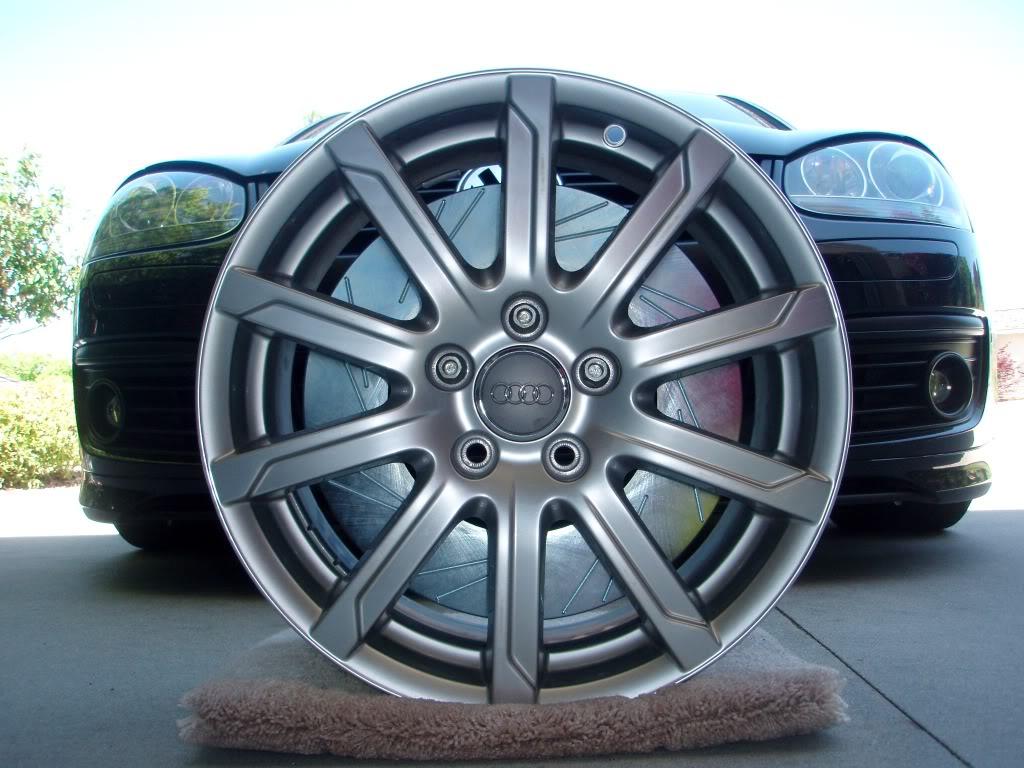
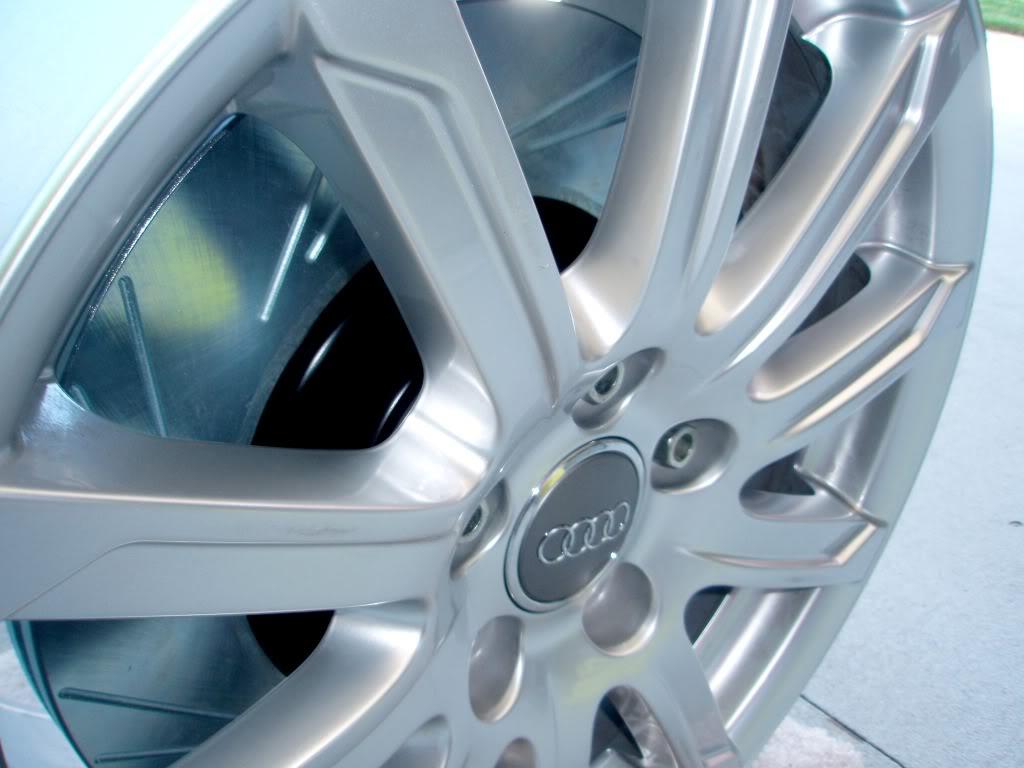
Well UPS decided to change the delivery date from Today (7/1/10) to next tuesday (7/6/10) for NO reason. Still says "on schedule for delivery date". To add to that good news I missed the Fedex delivery today and won't get that until tomorrow. So it looks like it will be another week before this stuff goes on. I figured I would post to vent and throw up a few new pictures. It shows of how massive the new rotors really are and a sneak peak at what my winter setup might be looking like.
7/2/10
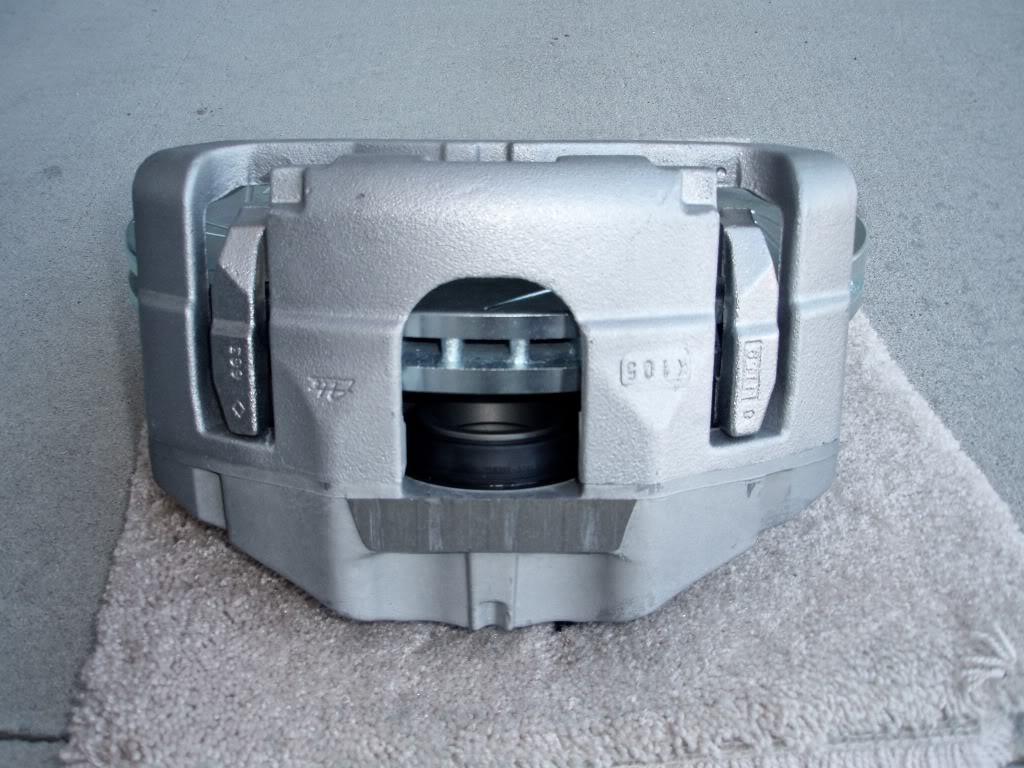
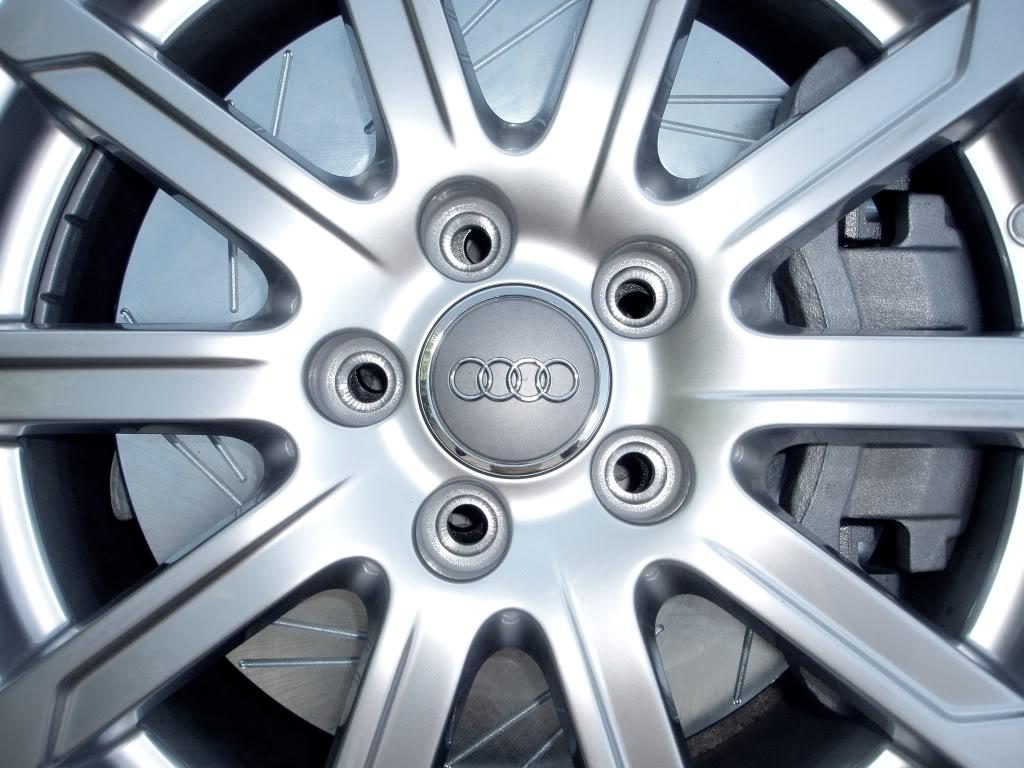
Well package 3/4 came today (I actually was here to sign for it) and it is the calipers and assorted hardware to install everything. I am still missing a few bits, mainly the Hawk pads. I decided to do a test fit to tide me over until they are actually on. This will be the last update until mid-next week when everything else arrives.

7/12/10
Brakes are on the car after A REALLY REALLY LONG ASS TIME. I can't thanks David enough for spending probably close to 20+ hours of his personal time to help me with all of this and James for letting me use his garage again (this time for two whole days!). Also to Berk at DBC for coming though with the best customer service I have come across. Everything went very smooth aside from two problems that arose.
We started on the fronts as there was more work to do on them (not just replacing rotors/pads, but the entire caliper assembly). We got the old rotors and calipers off and the new ones one very quickly. We then went to attach the lines and they had a male end (banjo) as did the brake pipe that came off of the caliper. Uh oh. So I give Berk a call and after talking with him (oem lines were supposed to work) he gave me a deal on some SS lines that he could overnight to me. Not the best situation, but I would be getting SS lines and I really had no other choice.
There was nothing else on the front we could do at this point until the lines got here so we decided to do the rears in the mean time. All that had to be done was replace the rotors and pads. Easy right? WRONG! There are two bolts on each side that hold on the caliper carrier. These bolts require an M14 triple square bit to remove. Yeah not really something that is easy to find at a hardware store. I spent the better part of a day driving around the city to find one with no luck. The solution was to use a hex bit (6 of the 12 points would match). Although it was a pain the driver's side came off without too much of a fight. Switched out the rotor and pads and went to the passenger side. After the first bolt on the passenger side was removed is when things went downhill. It took the last 4 hours of day 1 before we gave up on trying to remove that damn bolt. We literally tried everything short of cutting it off. Which just so happens to be what we tried the next morning.
Next morning I decided it would be a good idea to find a replacement bolt before we cut off the old one. David and I drove around for a while with no luck. Great more bad luck. We stop by Jeff's (Indy VW shop) and he tells us to check the salvage yard down the street. We head over and are told the only newer VW in the lot is a New Beetle. The guy at the counter assured us that the rear caliper assembly is there. We walk out to it to find that the ENTIRE rear of the car has been sawzalled off. Sweet. As we are thinking of what to do we look around the car to see if there are any other bolts that might work. In the engine bay, sitting on an engine mount, is a bolt that will work perfect! We then walk around to find about 100 bolts in the passenger foot well. We grab 4 in hopes to replace all 4 triple square bolts with normal ones.
On the way back to the garage we stop at my place and find the SS lines from DBC! Awesome things are actually going my way! Make it back to the garage and cut the bolt off, put the rotors/pads on, and get the SS lines on all four corners. Bleed/flushed the fluid with some ATE Super Blue Racing fluid and cleaned James' place. Took it for a test drive. Two things that I expected form my new brake stuff was noise/pedal feel from the slots and the brakes to be really touchy from all the additional power. After the pads have been bedded I can happily say that neither are true. The brakes are COMPLETELY quiet, even more so than my OE setup. The first inch or so of brake pedal travel feels just like the stock ones, then it hits. After decelerating from 60 or so I can say these brakes can make my teeth hurt they stop so fast! Not only do they work well, but the look great.
9/11/10
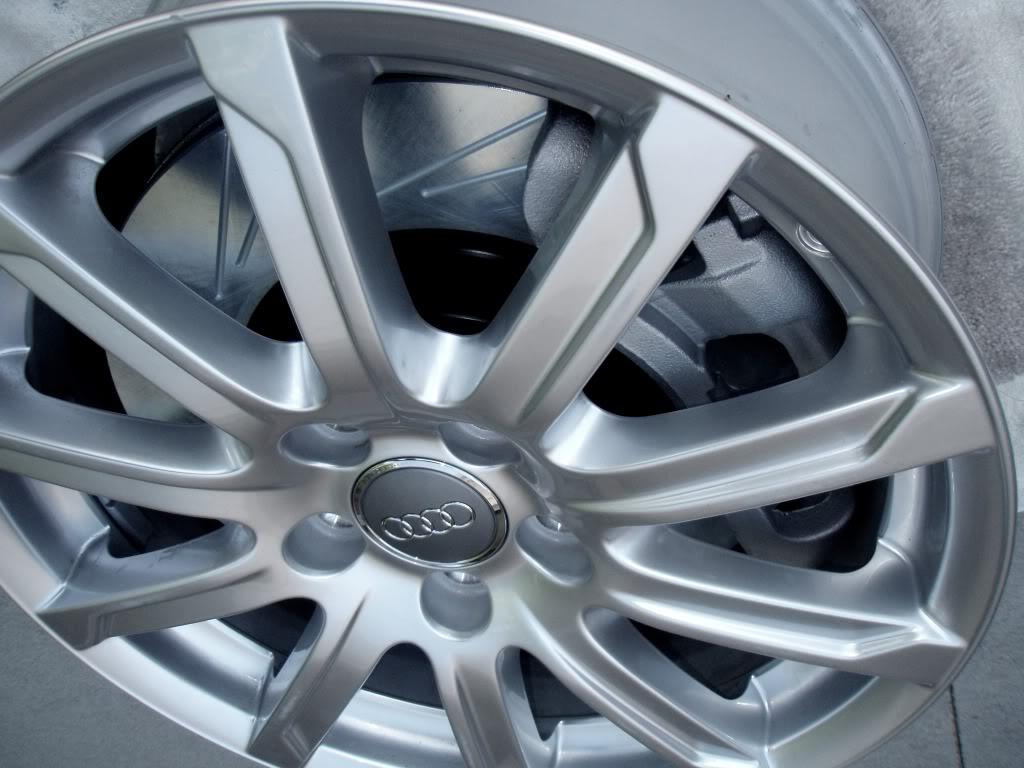
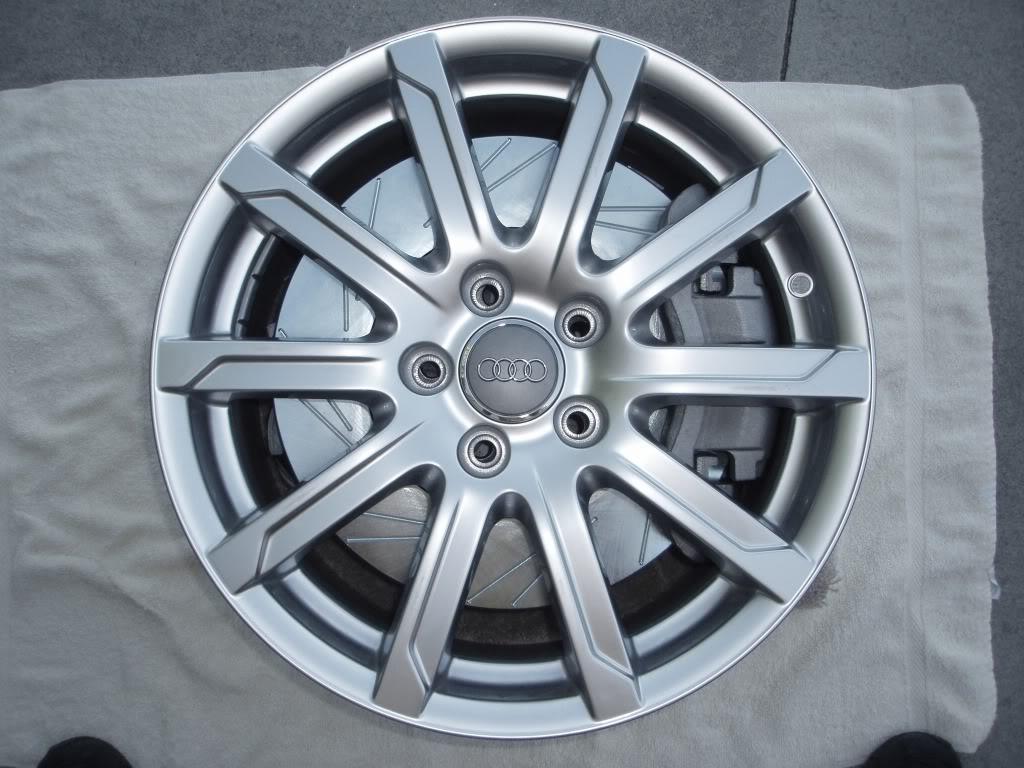
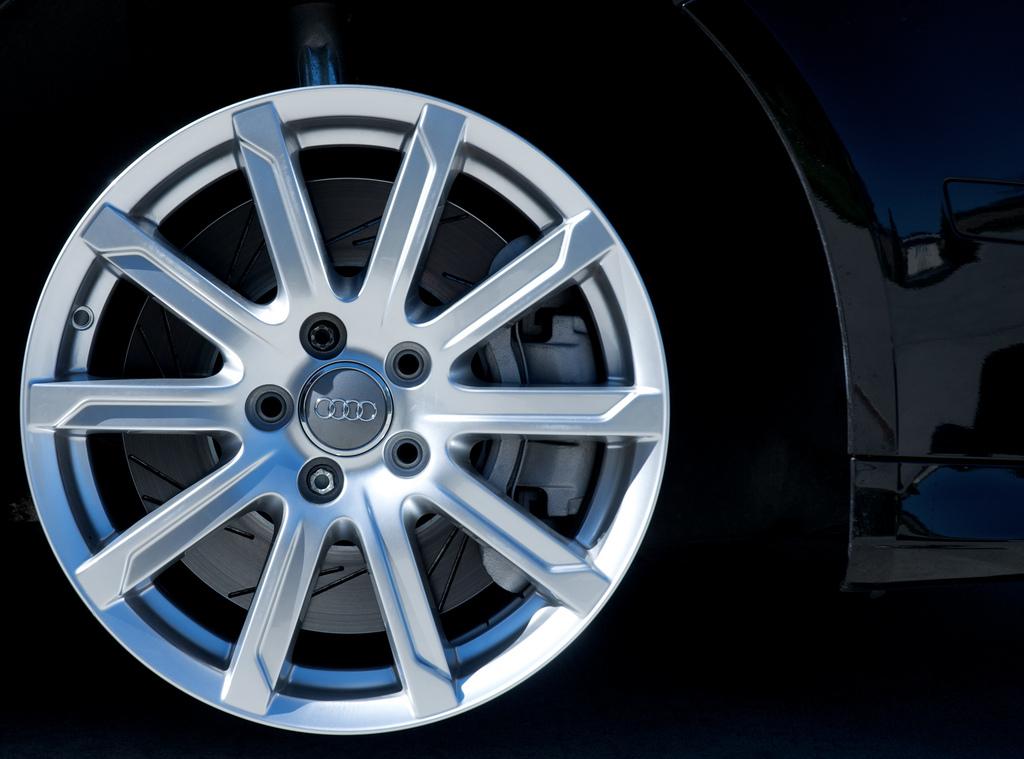
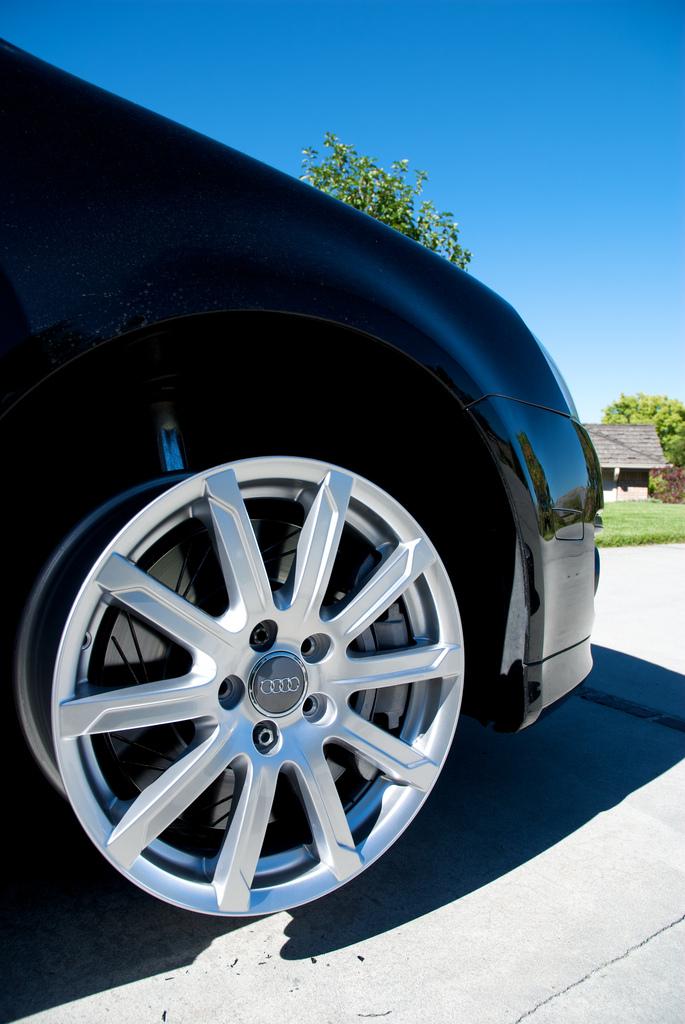
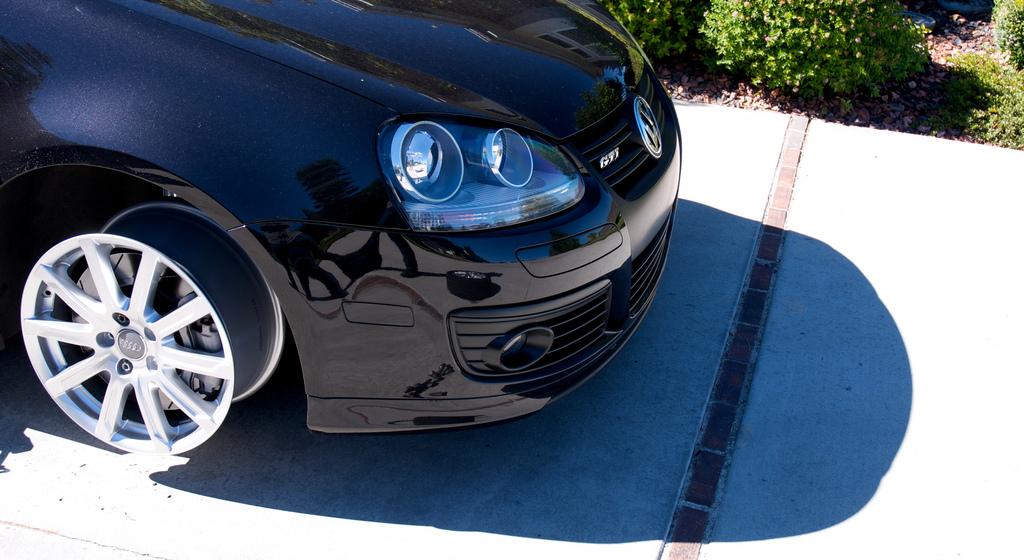
Well not a real update I suppose, but I am getting anxious for my new wheels so I threw on my winter wheels to get an idea of how they will look. I think they would look pretty clean with small tires and spacers, however I will not be running spacers and they will have clunky snow tires on. Pretty much all of the updates for the next while will all be wheel related.
9/24/10
The next project for this car is one of the most drastic changes to its appearance, wheels. This is something I have LONG debated on what kind, size, and finish. I did know that I wanted to lower the car (to an acceptable height) and to fill in the void behind the wheel with nice big brakes before switching to a nice set of wheels. Well those two things are checked of the list so it was time to search for the perfect set of wheels.
It seems like I change my mind every week. I love the look of simple, but nice OEM wheels which led me to look at manyts and Charlestons. That lead me into looking at other flat face non-lipped wheels like CH. I began to drift from my favorite style of wheel (net) which I had always told myself I would get and started looking at wheels I normally wouldn't like Audi flat fives. I then returned to my original intention of getting a net-style pattern wheel, but I had decided I wanted a nice polished lip. I began to daydream about CCW classics and BBS LM. I also had a hard time deciding on a finish. I love matte black wheels, but hate them on black cars, silver looks best, but it is boring. I had told myself my budget was $1000 for wheels. So I turned to replica wheels.
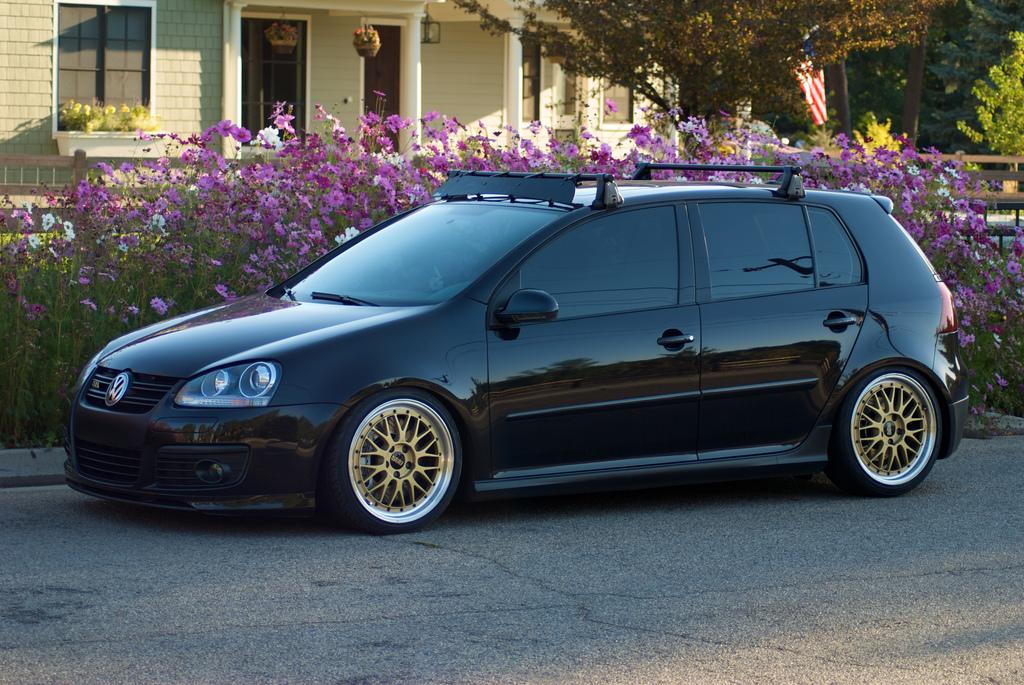
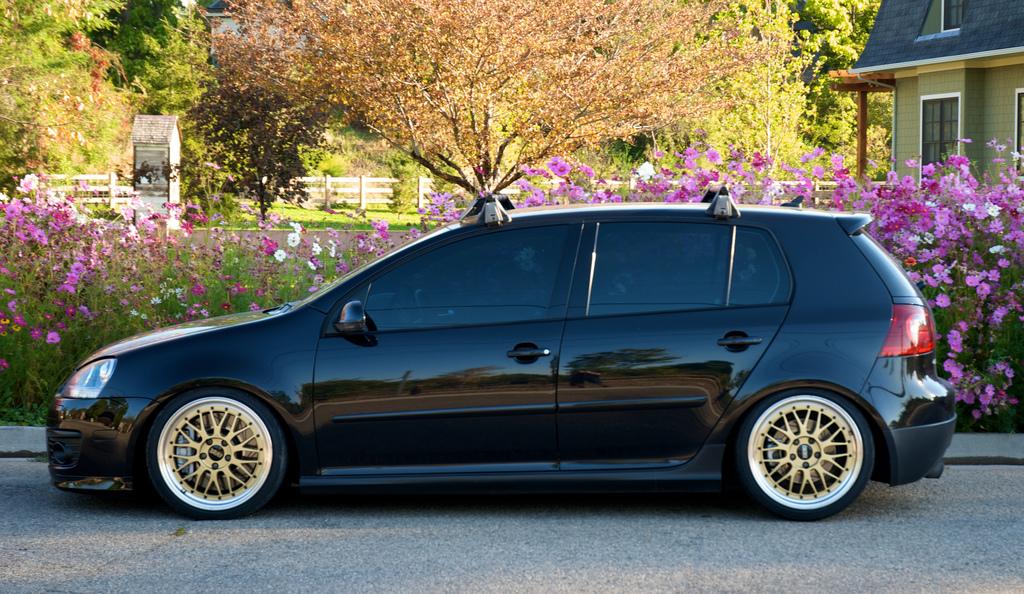
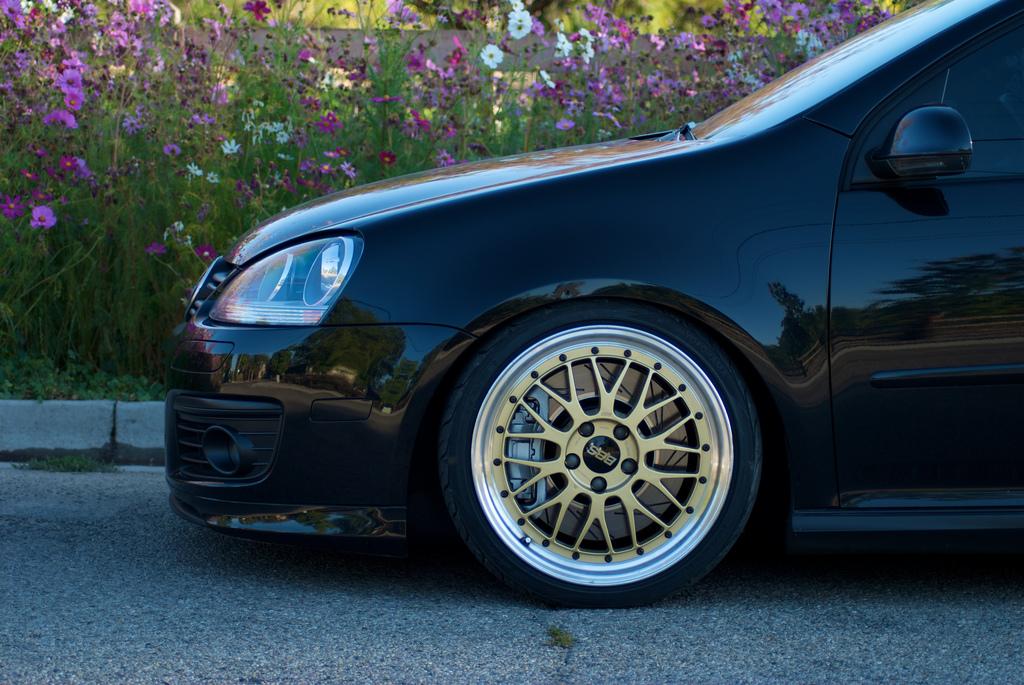
After many heated threads (not mine) I had decided against going the cheap and easy way out. From the beginning of this build I told myself I would cut no corners and do it right. With Phil and Mark's help I came to my relationship with VRWheels. I found a set of LMs that were out of my old budget, but I felt were a reasonable price and would be a sort of investment. I like the idea of getting a used set that I could fix and make my own. The set was 18x8 +40 5x114.3. After talking to Phil I had decided to go ahead and have them redrilled. This way I can run spacers if need be and it would open up the market if I ever sell them to a different community of enthusiasts.
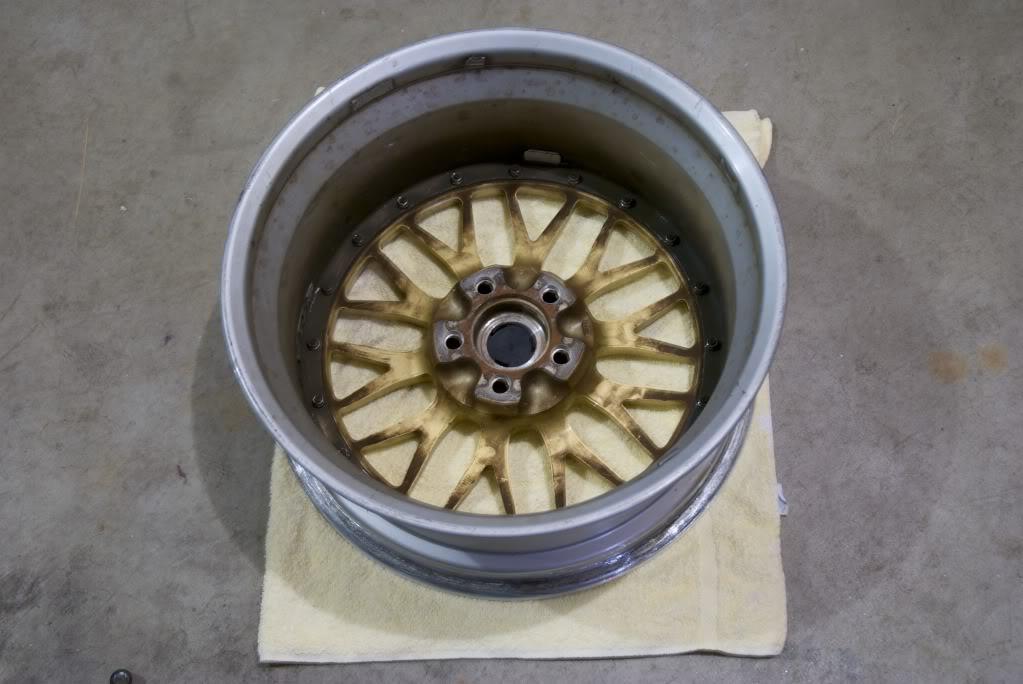
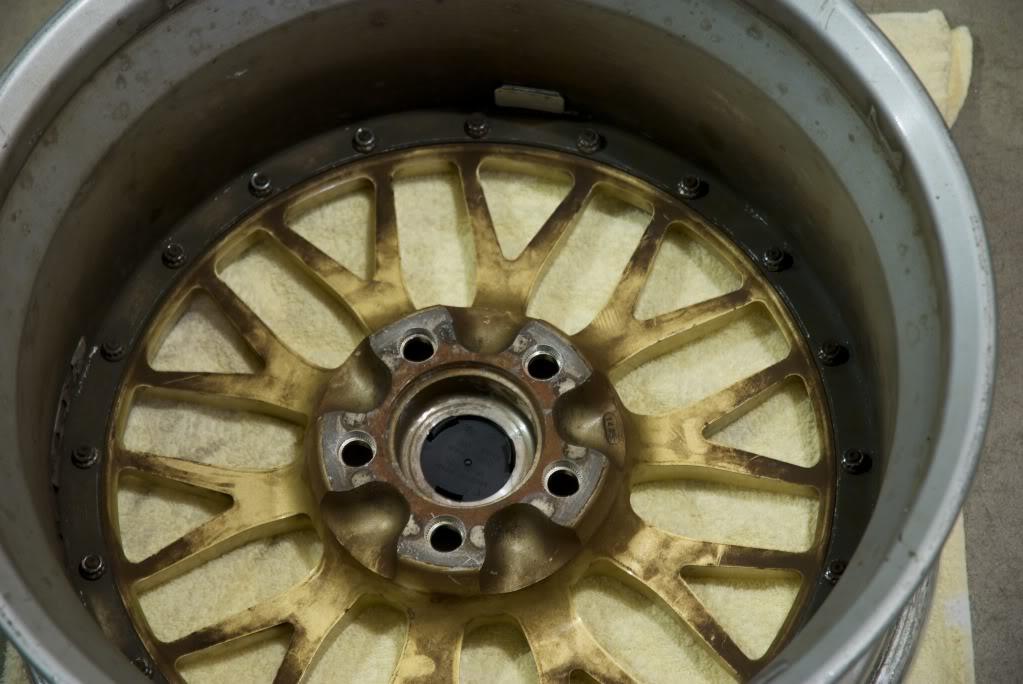
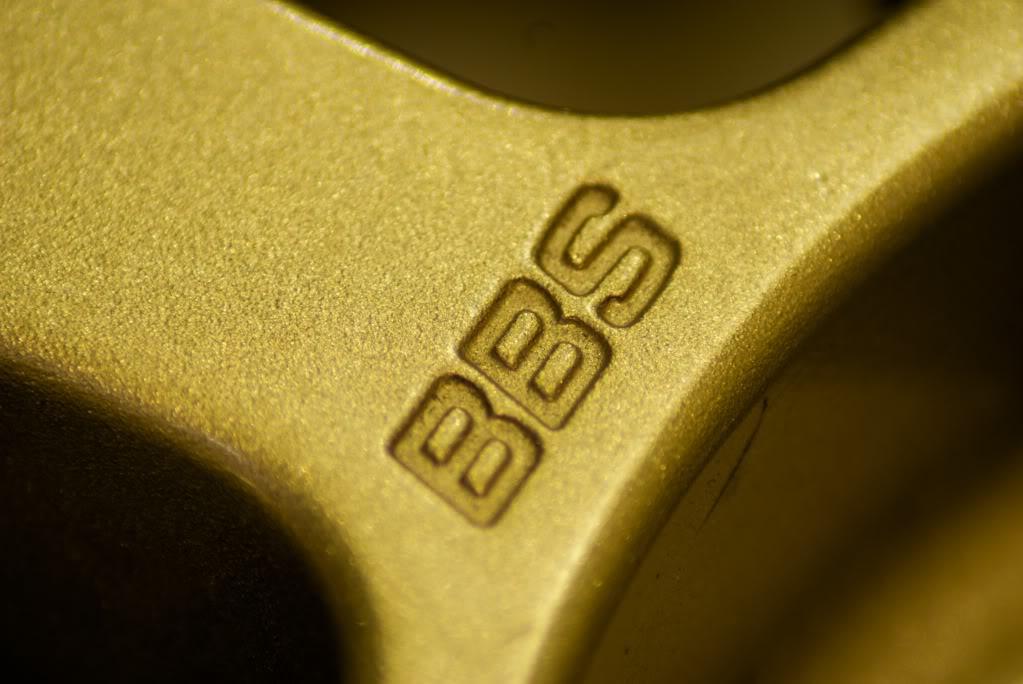
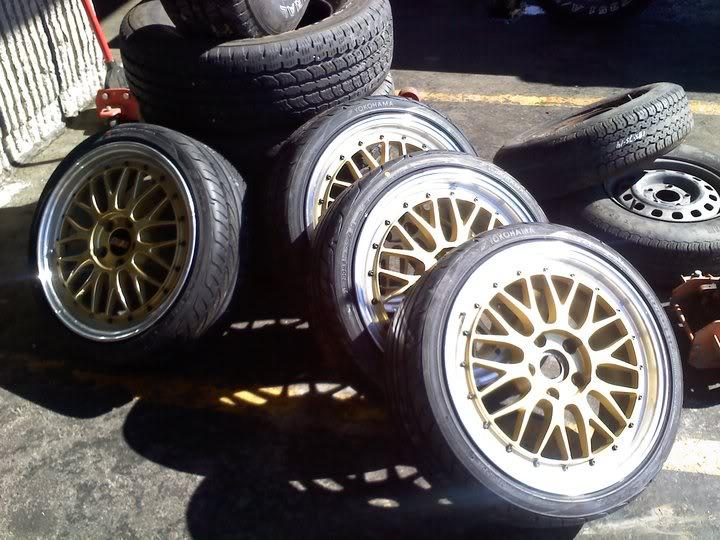
Money sent, wheels shipped, and now they are here, this time 5x112. The plan for them at the time being is to purchase some 205/40/18 yokohama s-drives and put them on ASAP so I can run these wheels for a couple of week before winter. I like the gold finish more than I though I would so it will be a nice change of pace. However gold is just not my taste. Mid-October the wheels will be taken off for my winter project of refinishing them.
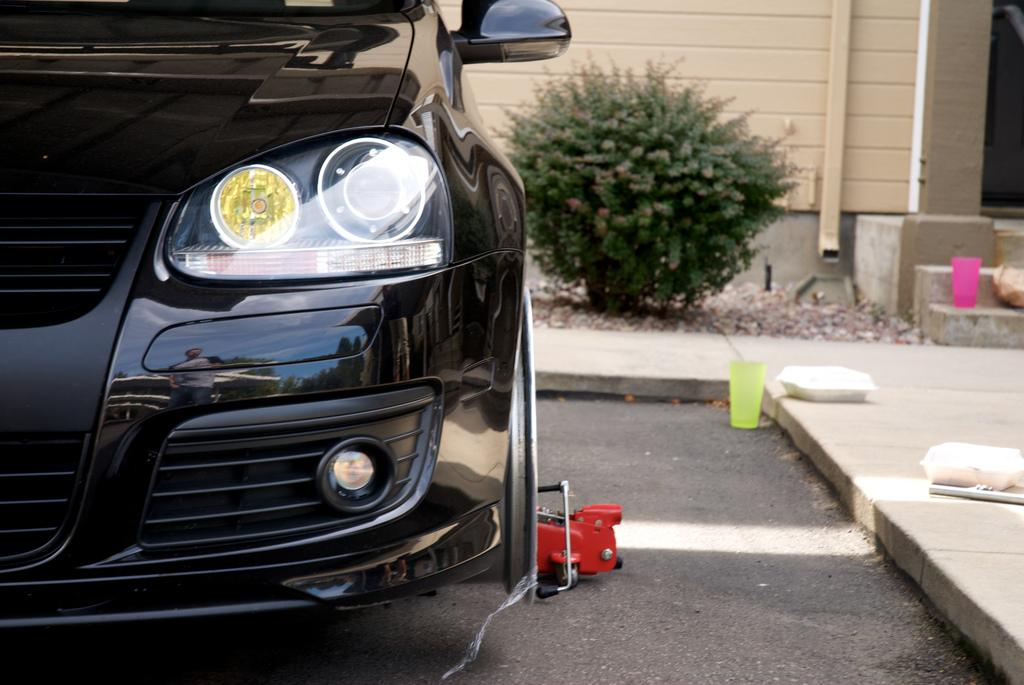
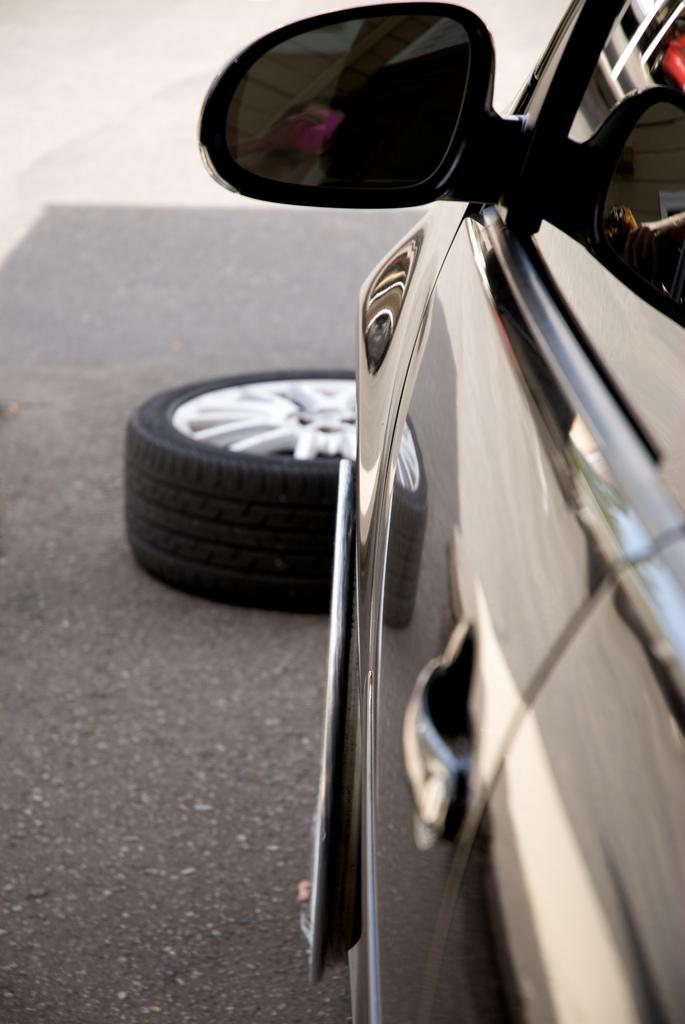
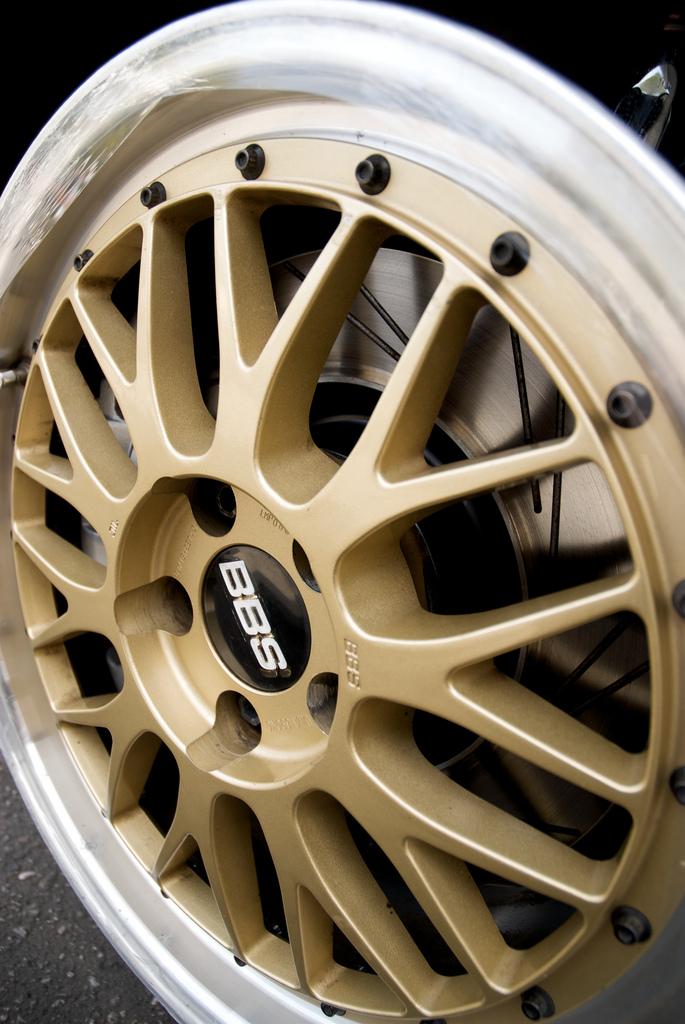
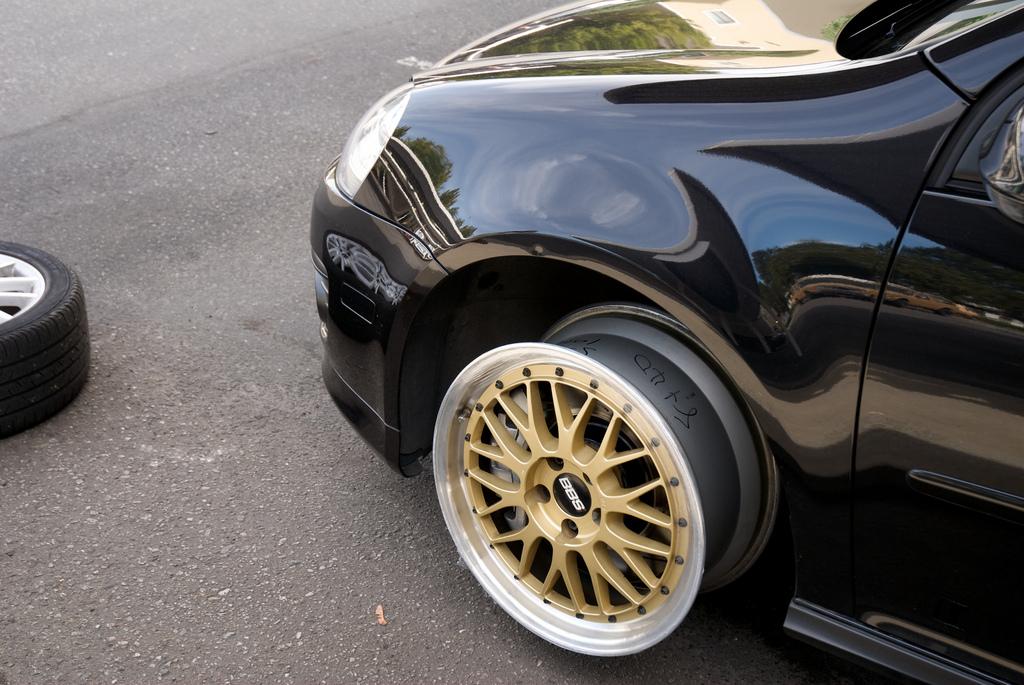
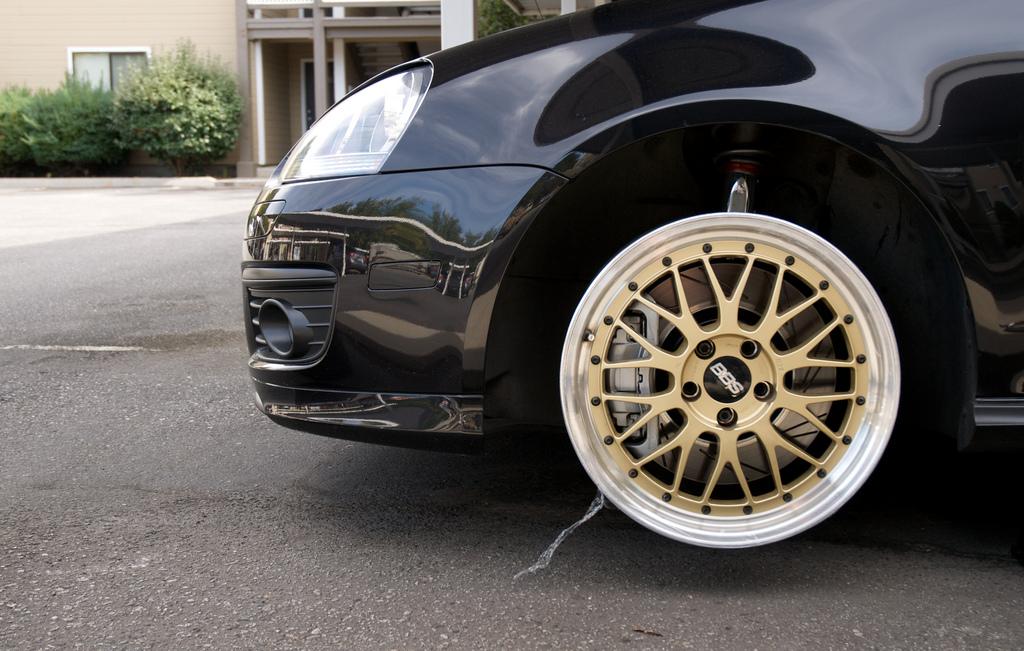
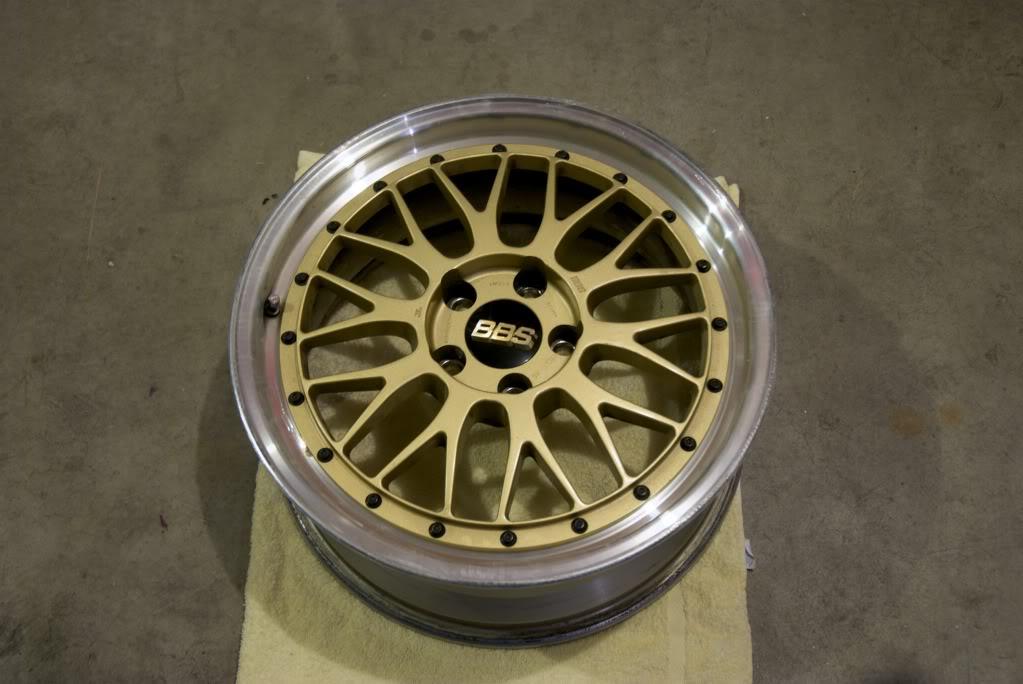
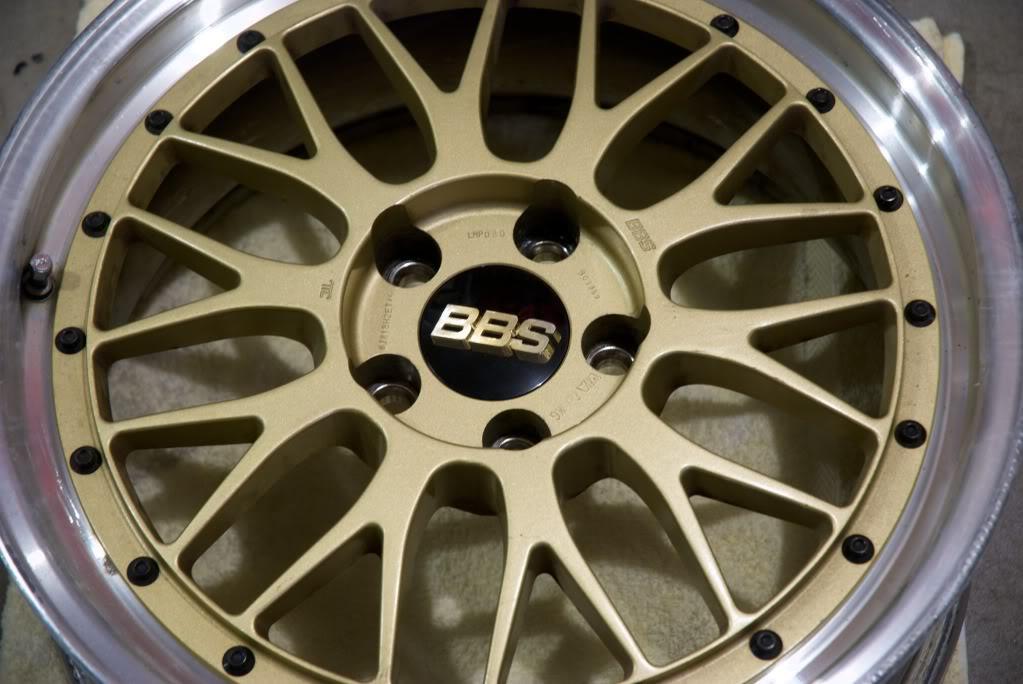
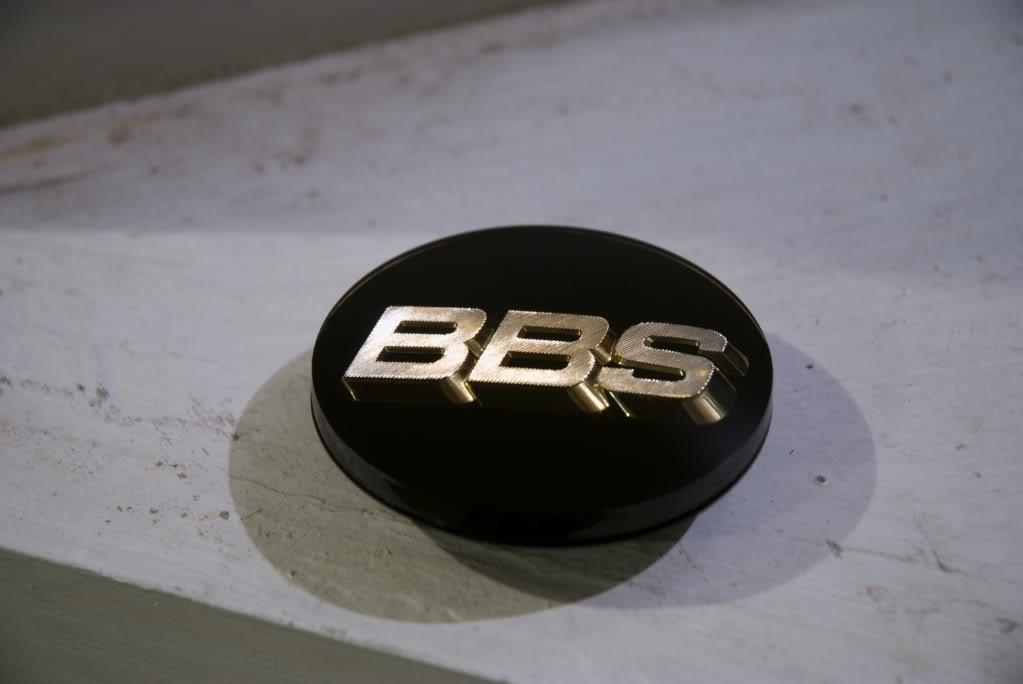
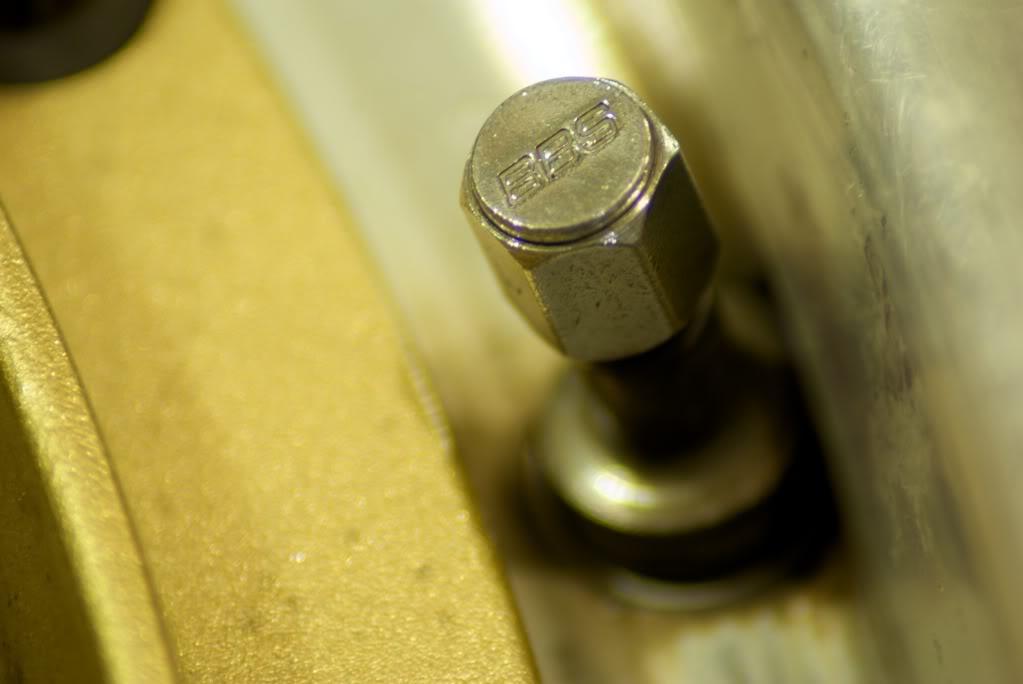
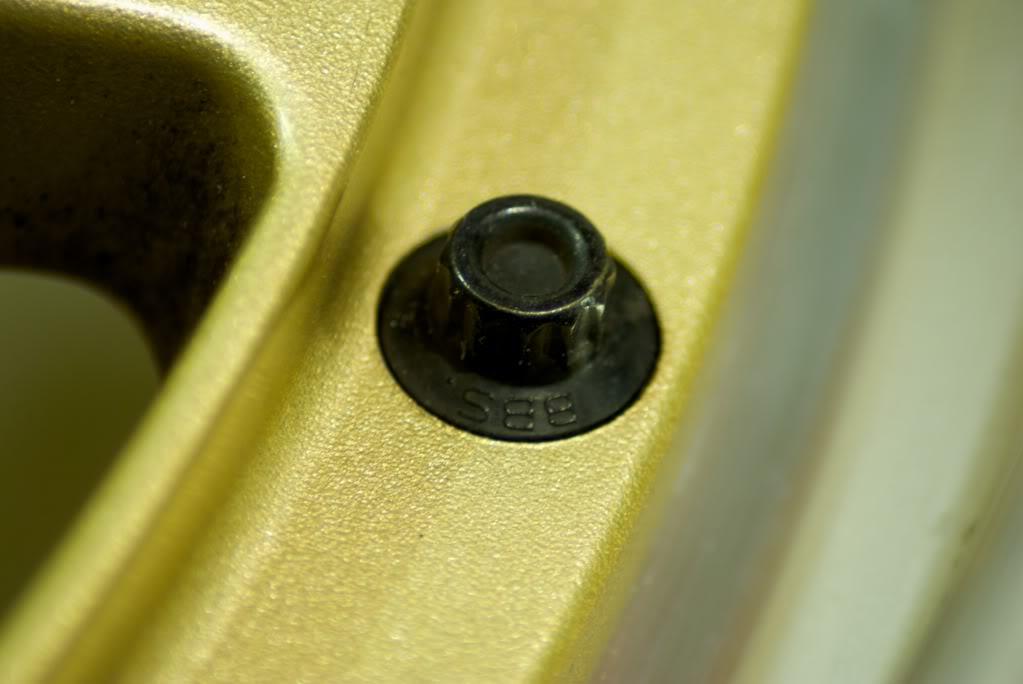
First thing will be to remove the faces and send them off to Kevin (goblin) for a unique matte wrinkle grey finish. I will be ordering new wheel bolts (polished-look) and new center caps (polished-look). I will be doing a high polish on the lips. I am not sure at this point what I am going to do with the barrels. I am not going to polish them as they will be filthy within a week and I don't feel it would be worth the effort. I will either just clean them really well or have the p/c'd matte black. I might be flipping the faces depending how the wheels sit with tires on.
Here are some picture of how they sit now, pretty dirty, lots of work to do!
9/30/10
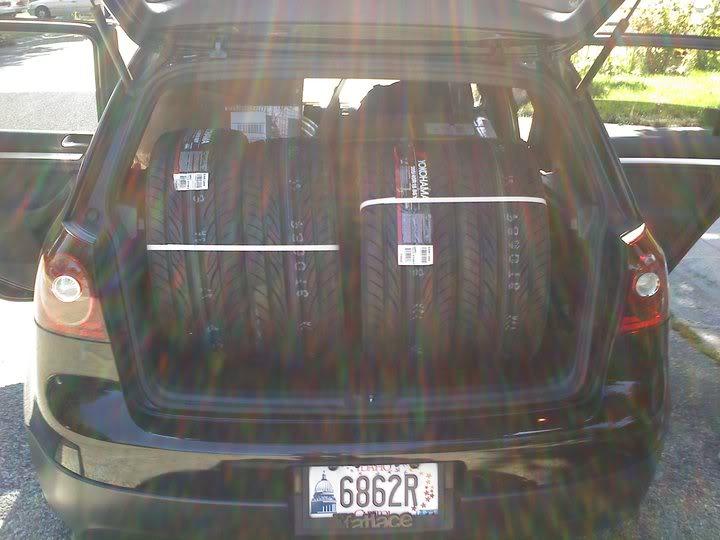
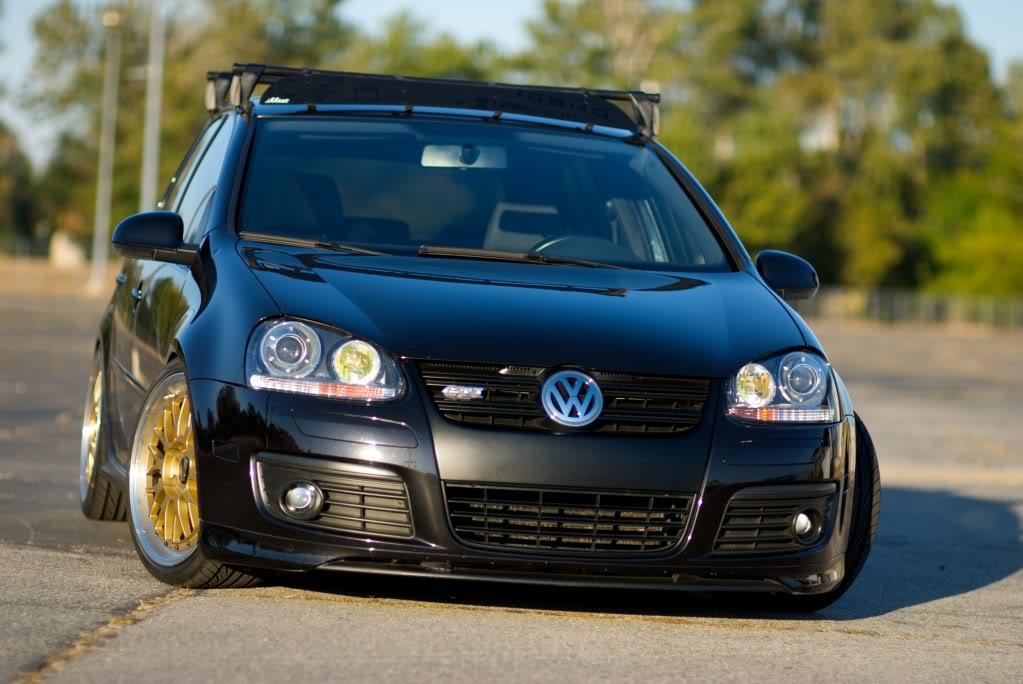
Tires came in today, mounted and on the car. Pictures on the car will come very soon. Only thing to report so far is one wheel/tire is not holding air for long :/
sorry for the picture quality, only had my cell
10/1/10
11/28/10
Well it has been a while since my last update and I am not sure how long it will be until the next one. The LMs are currently on base as the project to work on, but honestly I cannot decide on what to do with them. I was so sure on the color and finish, but I just can't decide on one thing anymore. I suppose I will take apart the wheels and start polishing the barrels before I make any decisions. The next thing I was and still am planning on getting is an R32 rear bumper, but again I can't decide whether I want to buy a rear defuser to run the stock exhaust or buy an exhaust to fit the R32 rear diffuser. There has also been talk of an air-ride build, but that is not 100% at this point. Don't lose faith in my build; I am just having a hard time making a damn decision. I will try to start the wheels soon and take some pictures. In the mean time here is two pictures I was looking at that really show how far my car has come, amazes me. The first is just a few months after I got the car and the second is from this fall.
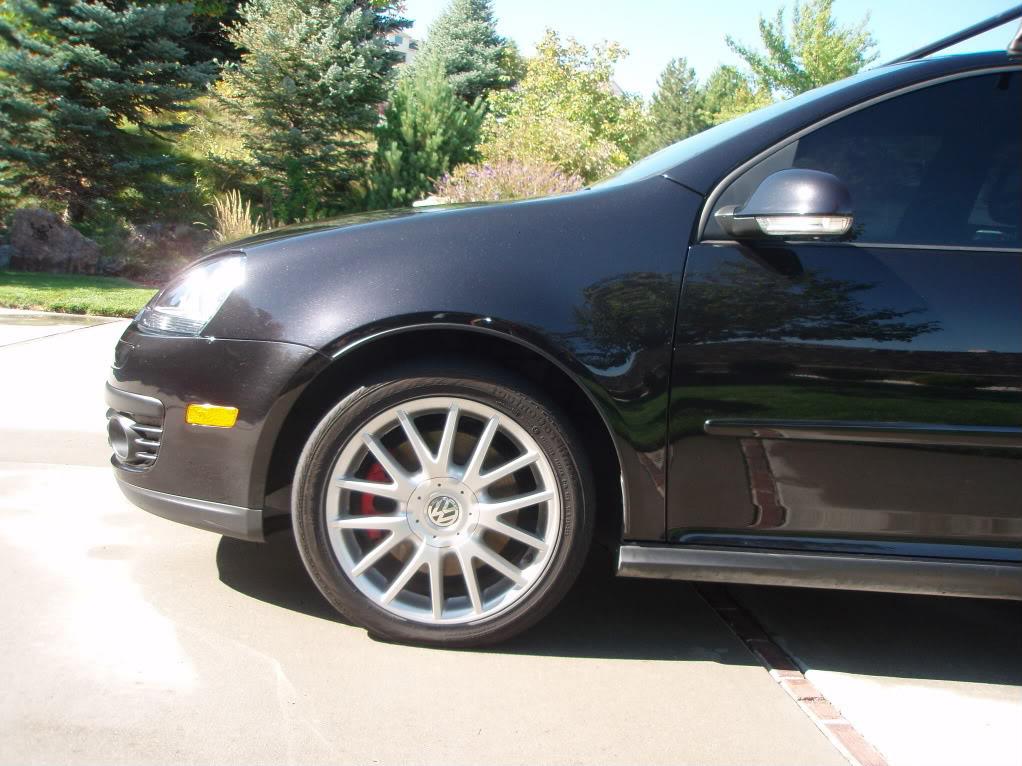

I also wanted to dump a few pictures from my winter setup this year as I haven't posted them in here yet.
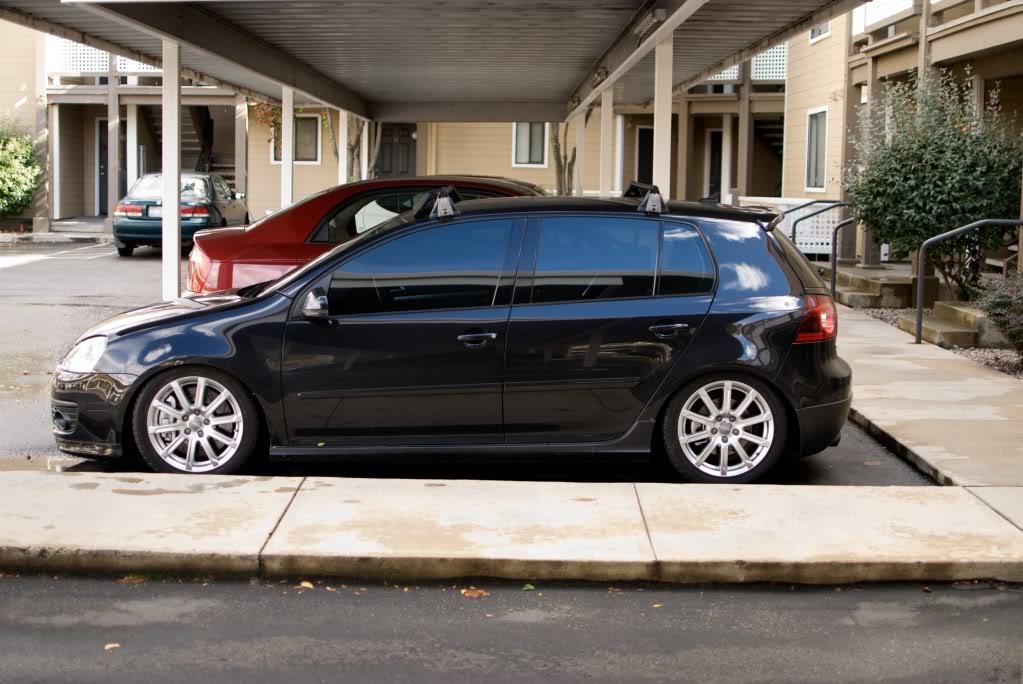


1/13/11
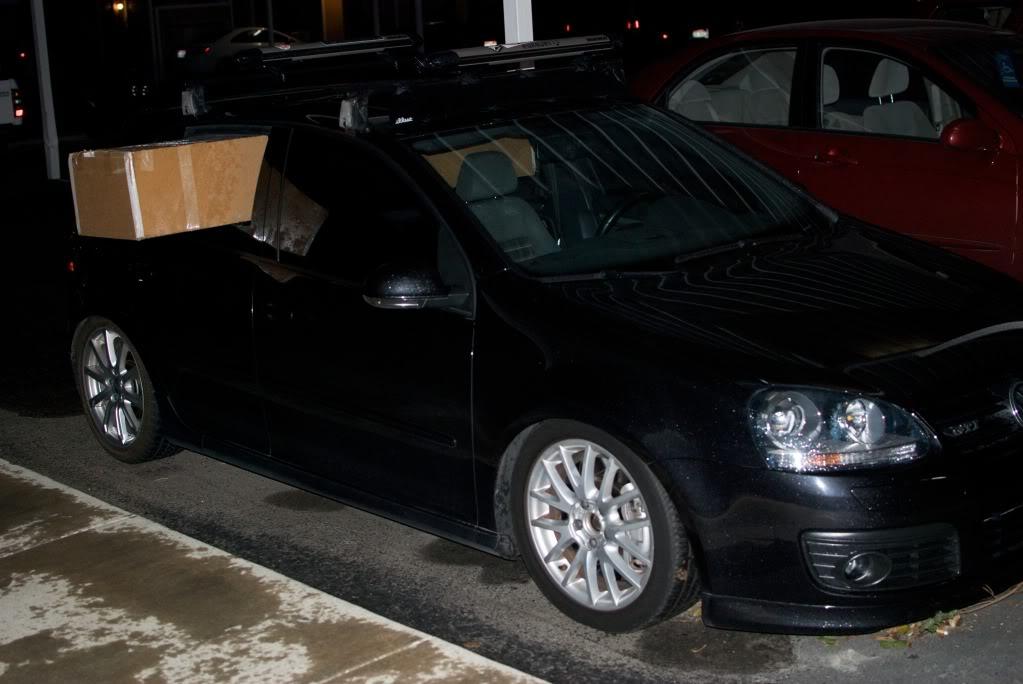
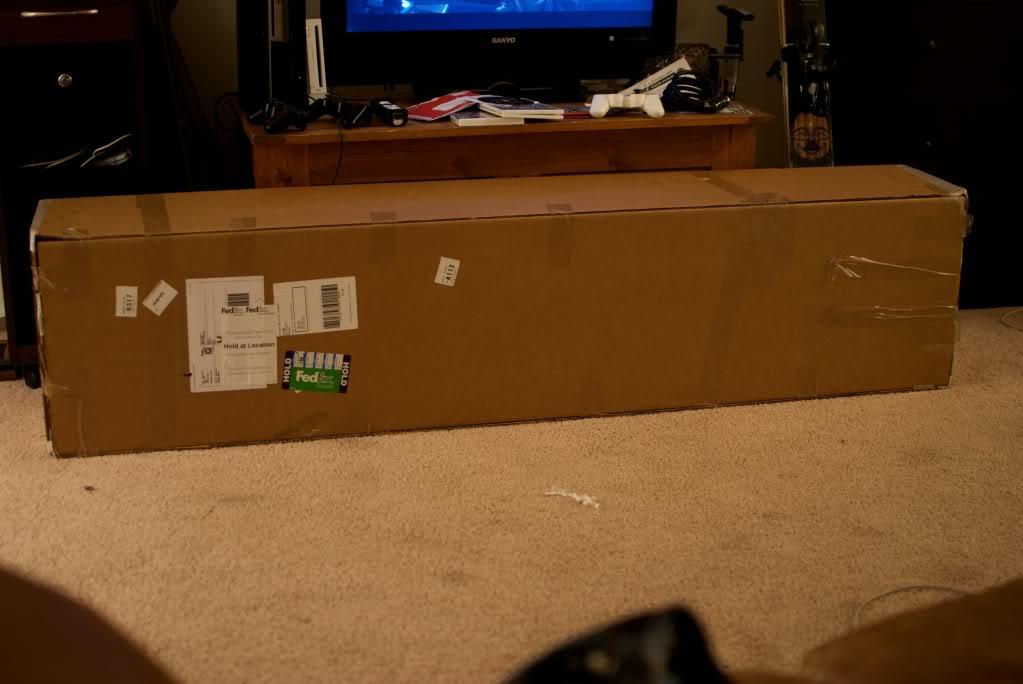
FINALLY an actual update on my car! It isn't about my wheels either (I haven't even started on them yet). A huge thanks to Warren (absence) for my beautiful OEM .:R32 rear bumper painted BMP with tinted side-markers. The paint is flawless and actually looks better than the paint on my current bumper, so it might look a little silly once on. I am going to put it on tomorrow first thing and take it to an exhaust shop to have some new tips welded on to fit. The box was HUGE and I had some trouble fitting it in my car, so I ended up putting it through both rear windows and drove it home like that in the rain. On to pictures.....


1/13/11
The rear bumper is installed, not too hard at all, that's why I LOVE OEM parts, too easy. The paint on the bumper Warren sent me is much nicer than the other paint on my stock bumper haha. The only issue I ran into was once I was putting the new bumper on I forgot to replug the license plate light wire back in.
The old bumper and taillights are out:

side by side comparison of the old one and new one:

and installed:
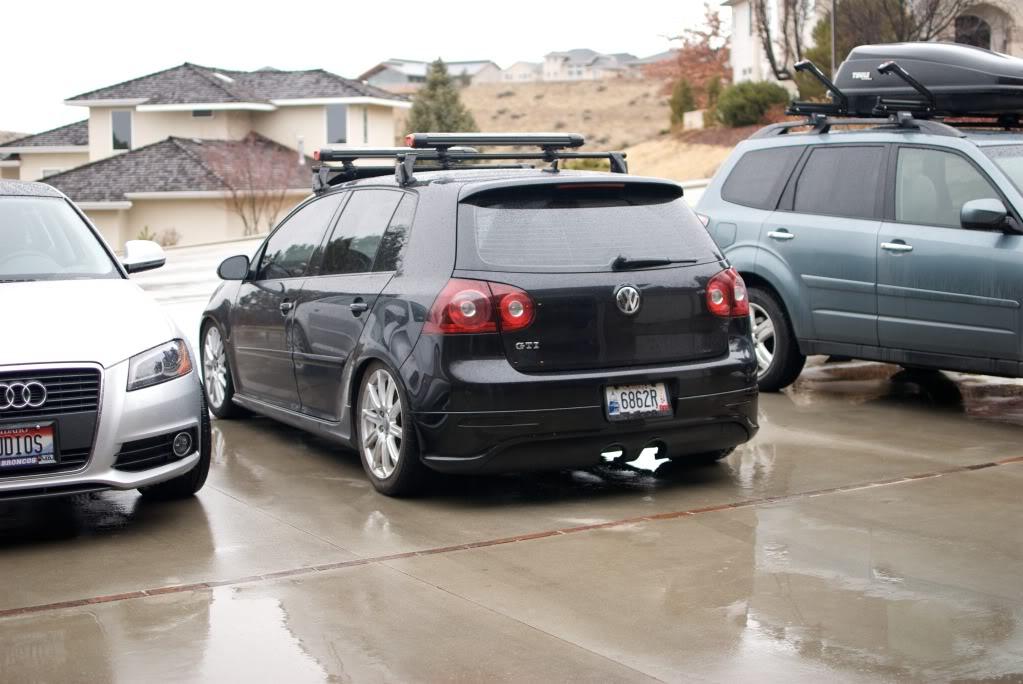
I had a Menieke cut off the old suitcase muffler and weld on some cheap tips I found, I am not 100% happy with how the exhaust is sitting so I haven't taken pictures of it yet. I am going to try and have it fixed before pictures of that. I might even wait until I find some nice looking tips online before pictures.
1/14/11
Here is what the exhaust looks like right now:
BLEH

1/26/11
Got my new tips in! I am going in to have them put on and the exhaust fixed hopefully within the next week.


1/31/11
Got the new tips put on by Boise Muffler and wow it looks great. I am still not 100% happy with how it sounds on the inside, but it sounds pretty good outside of the car. They didn't have any short resonators in stock so none were put in.
Old underneath:

new underneath:


2/2/11
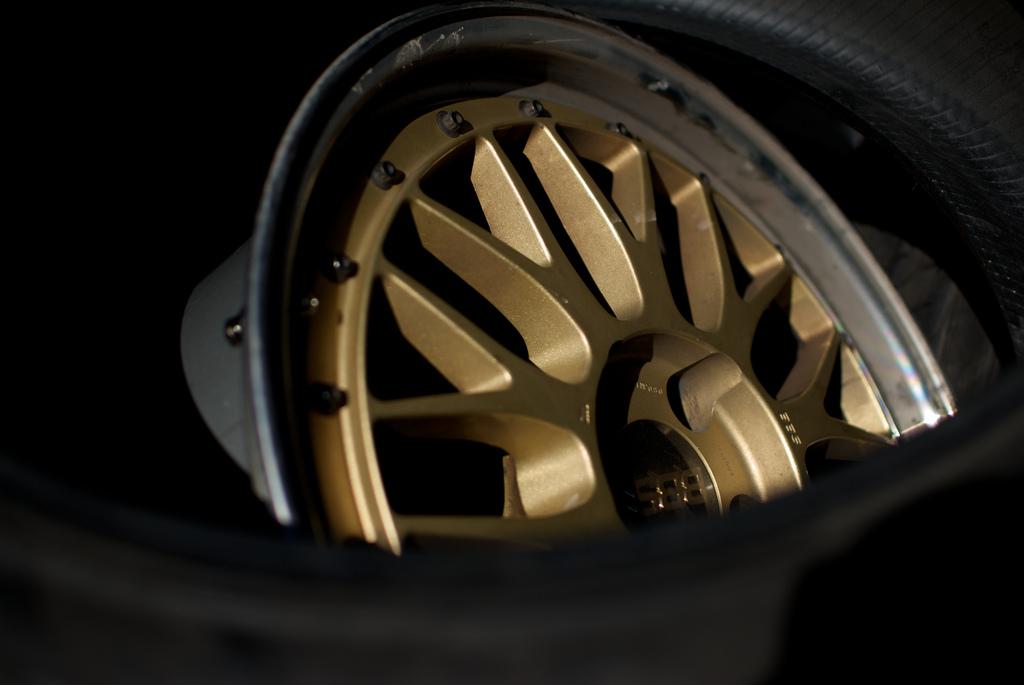
Say goodbye to the gold! I know a lot of people said to keep the gold, but it is going. Some might not like the new finish on the faces, but I do! I dropped the wheels off today at Moda Metals (Deeda). I am not going to say exactly what the finish is until it gets closer to happening, I will tell you that it is NOT powder-coating. The inner barrels are going to be p/c'd in a matte grey while the lips are going to get a mirror polish thanks to Brandon (EM1_Si). Polished caps and bolts will be ordered soon.
Byebye gold:

2/9/11
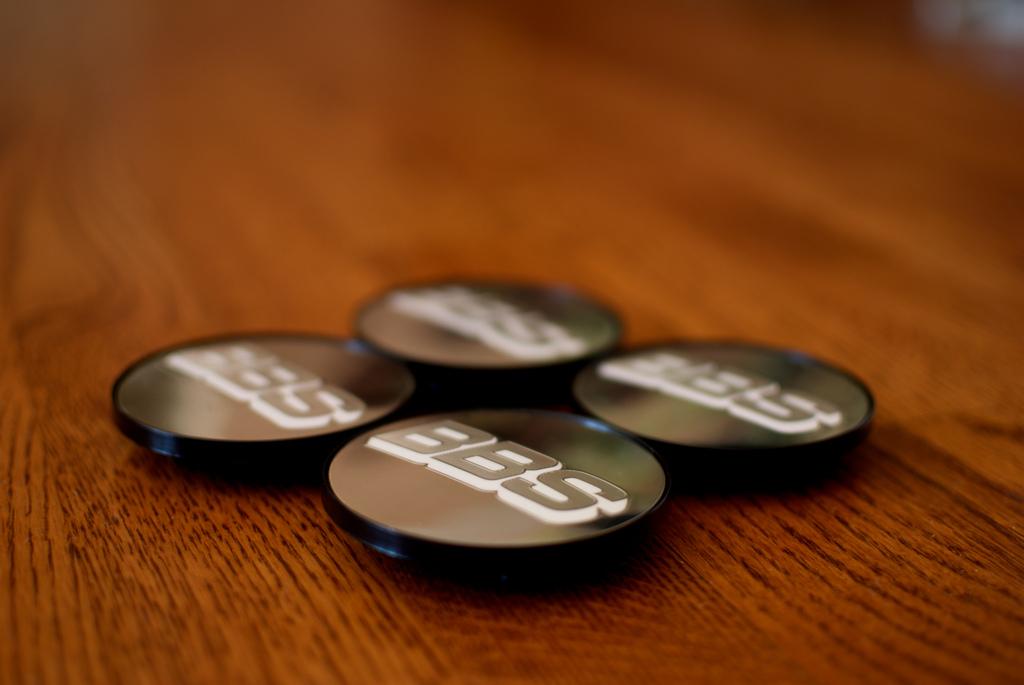
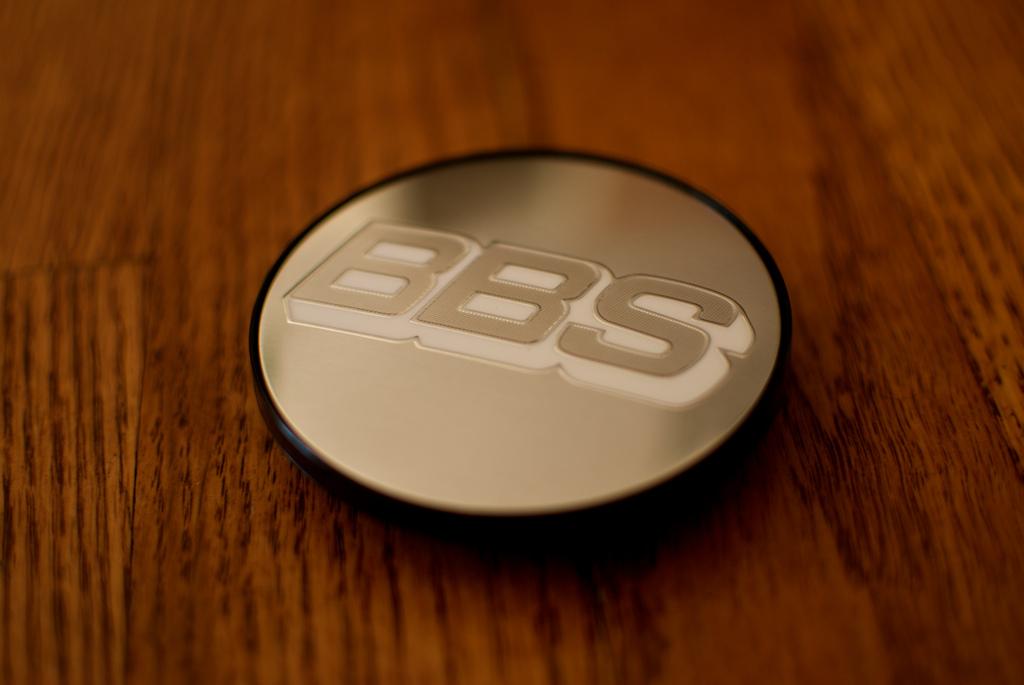
New center caps for the LMs came in today.

2/20/11
Faces have been clean, stripped, and media-blasted. The gold is all gone. The final finish on them will go on this week, I am going to take pictures, but I am not going to post them until the wheels are done and back together. Barrels should have an update by the end of the week. BTW this is the last picture of the faces until it is done so enjoy: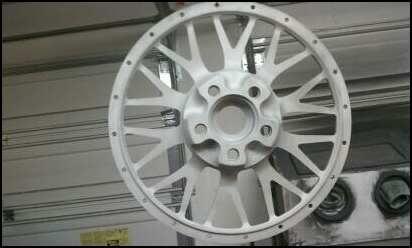
3/8/11
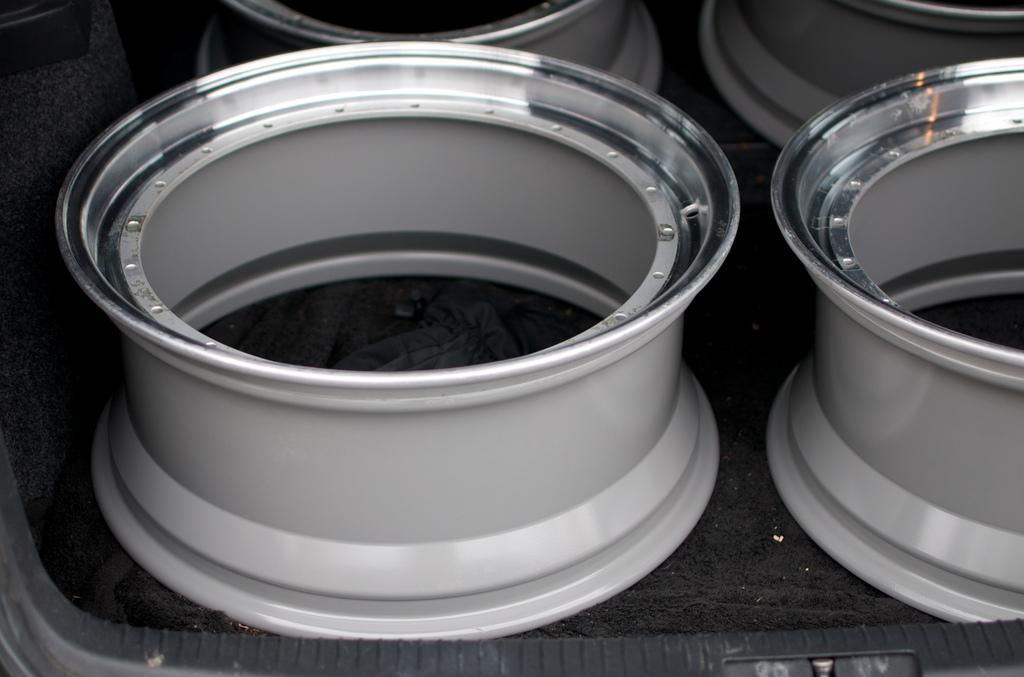
Barrels have been powder-coated and dropped off at the polisher today!!!!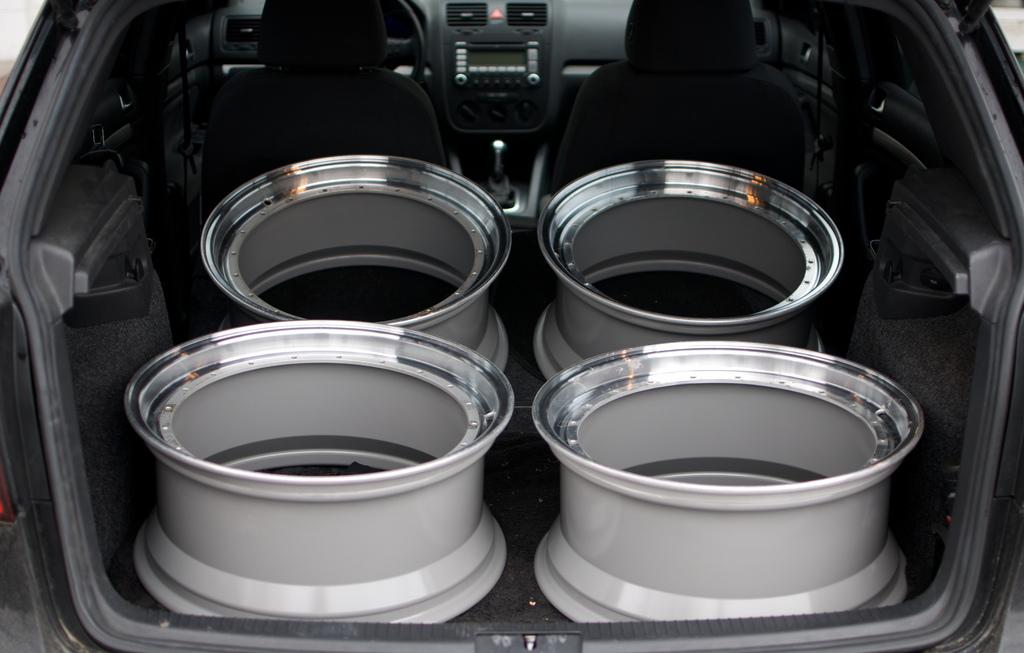
Also here is a picture of my stock plugs I replaced at 50k miles, misfires? Yeah....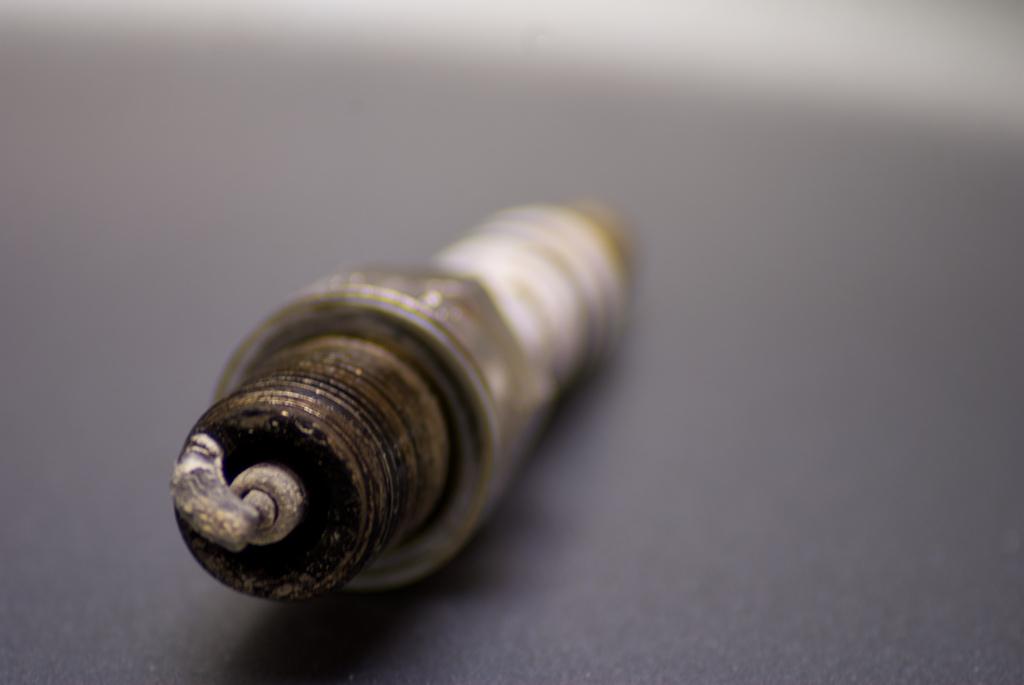
3/9/11
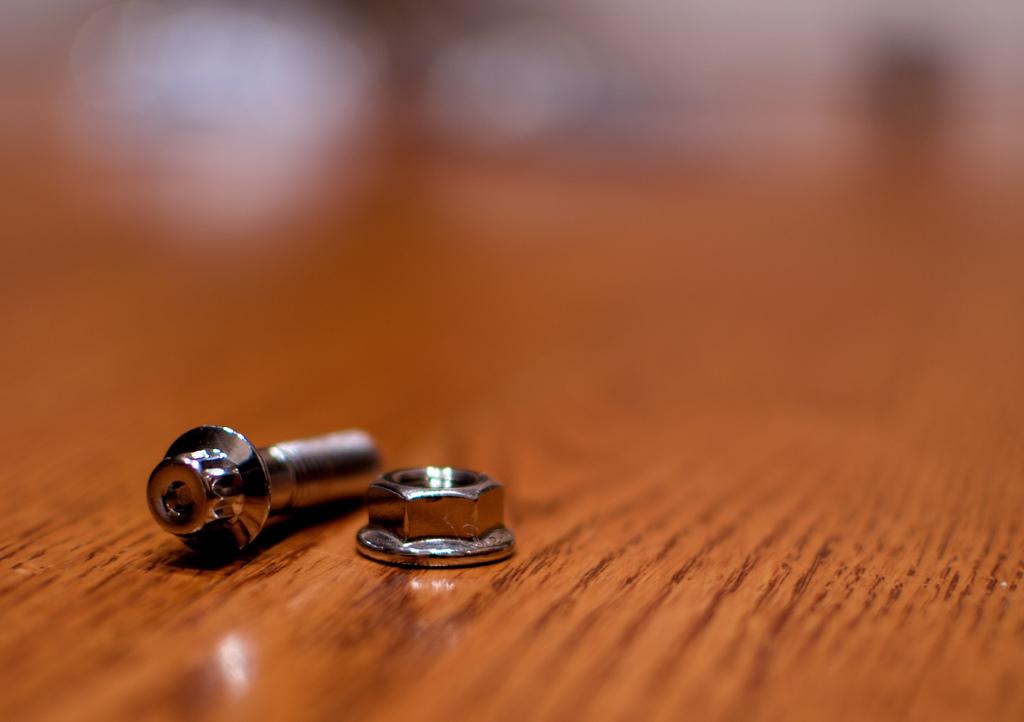
Hardware came in today, very pleased with where I ordered from (good price, fast shipping, good communications, and the product looks great) the company is downstarinc.com and they are located in the US, highly recommend them.
Anyway, onto the pictures, they are a little longer than the old BBS ones, hopefully they fit with no problems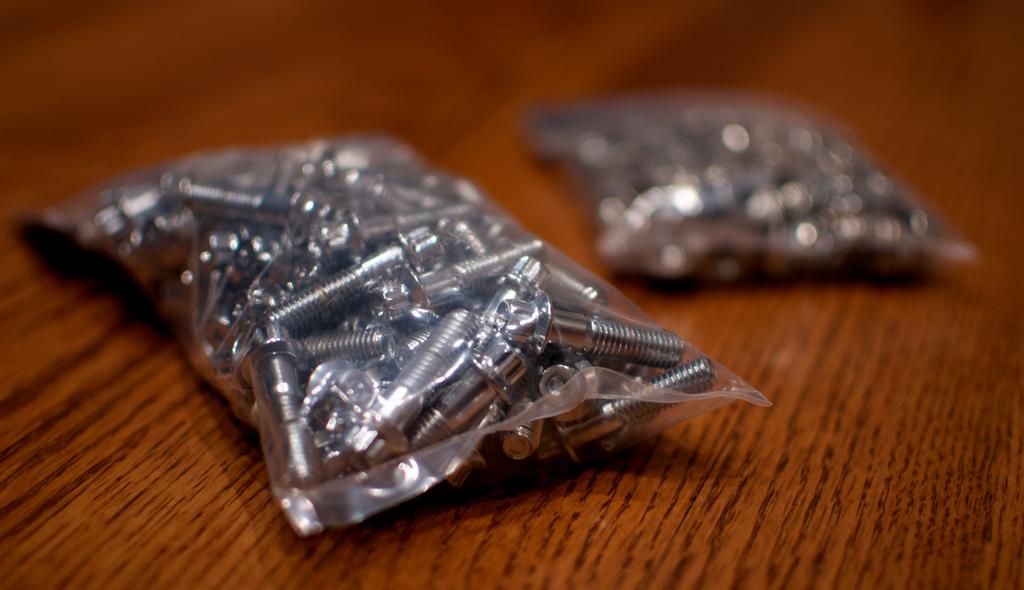
3/12/11
Well good news and bad news. I will start with the good; Brandon was nice enough to completely polish one of the barrels and drop it off at my house to keep me occupied until the rest are done. He does truly amazing work, not only that but he is fast too (this is only one day of work).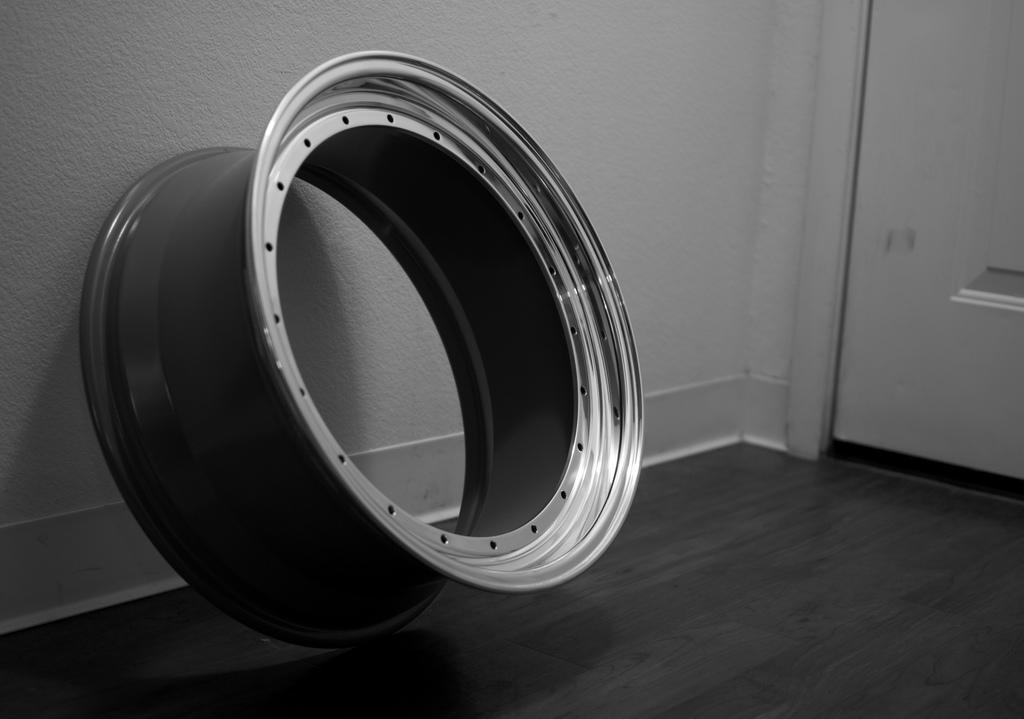
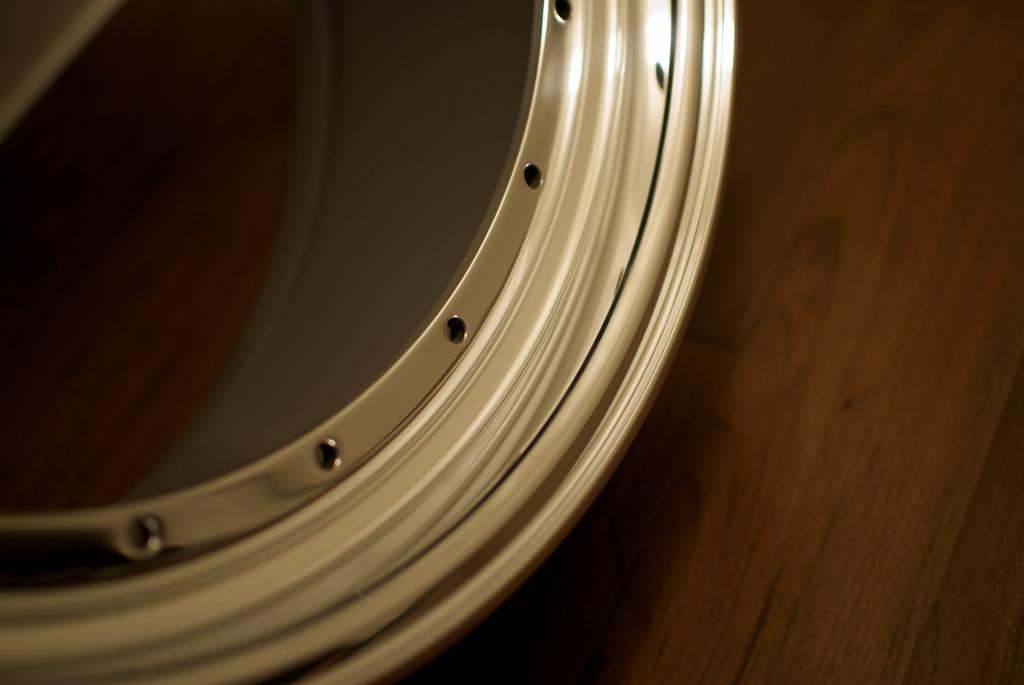
.....Beautiful, really amazing work.
....and the bad news... The bolts I ordered do NOT fit, they are too fat. This is no fault of the place I ordered from, all my fault.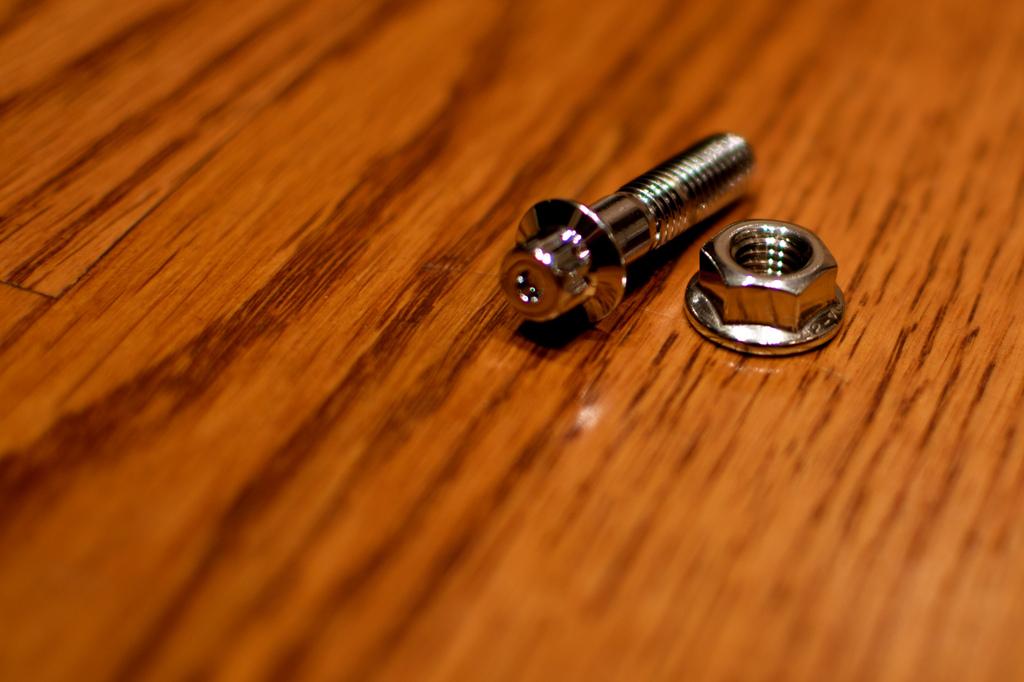
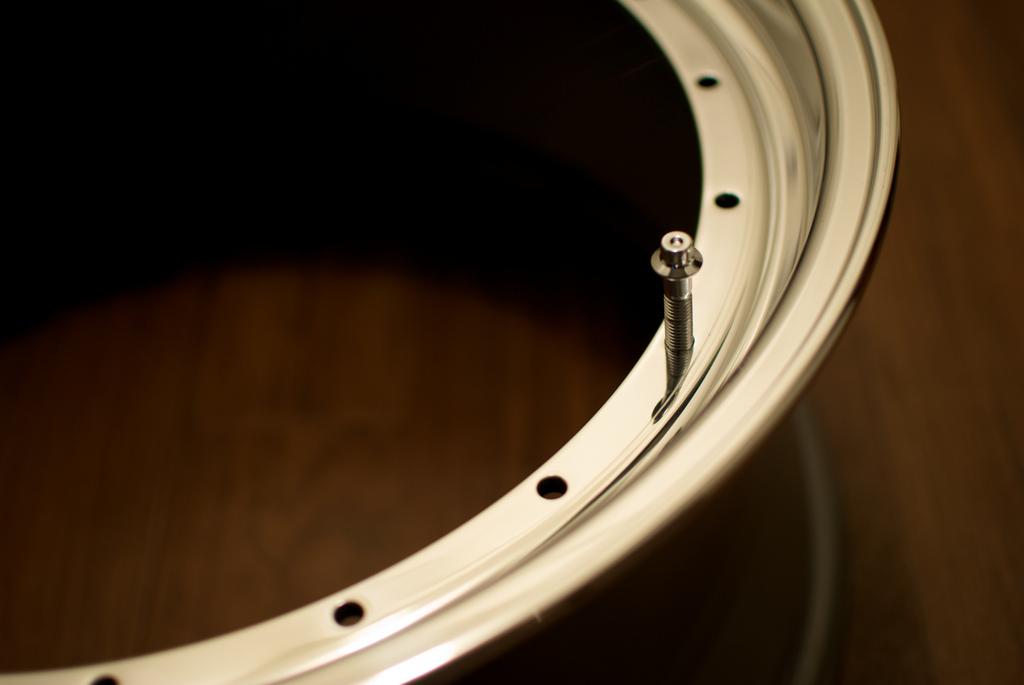
3/23/11
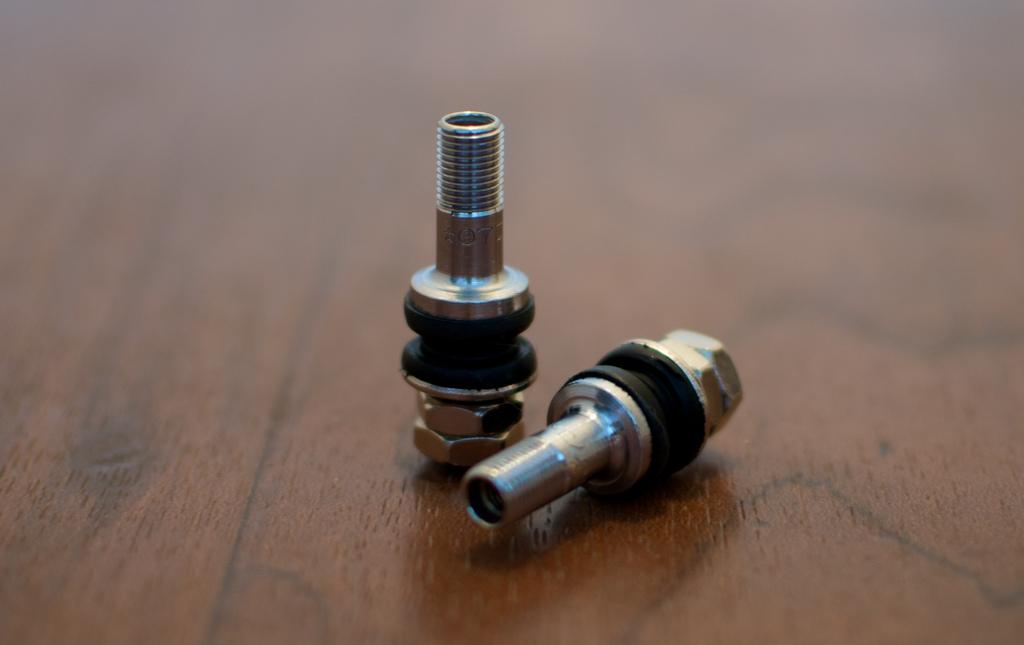
Well I now have all four barrels in my possession, powder-coated and fully polished lips. I received an email from Black Forest Industries that they got the chrome plated M7x1 24mm bolts in stock (should have just waited this whole time). Placed my order for 85 of them (5 extra just in case) and they are suppose to be at my door step this upcoming Monday. Also had Brandon clean up my valve stems to make sure every piece of my wheels are looking their best. Faces will hopefully be done this week so that by tuesday I should be able to rebuild the wheels, mount the tires, and through them on my car. This is more than an estimate, it is my goal, wheels back together and on the car by Tuesday.
Valve stems (caps are going to match the centers)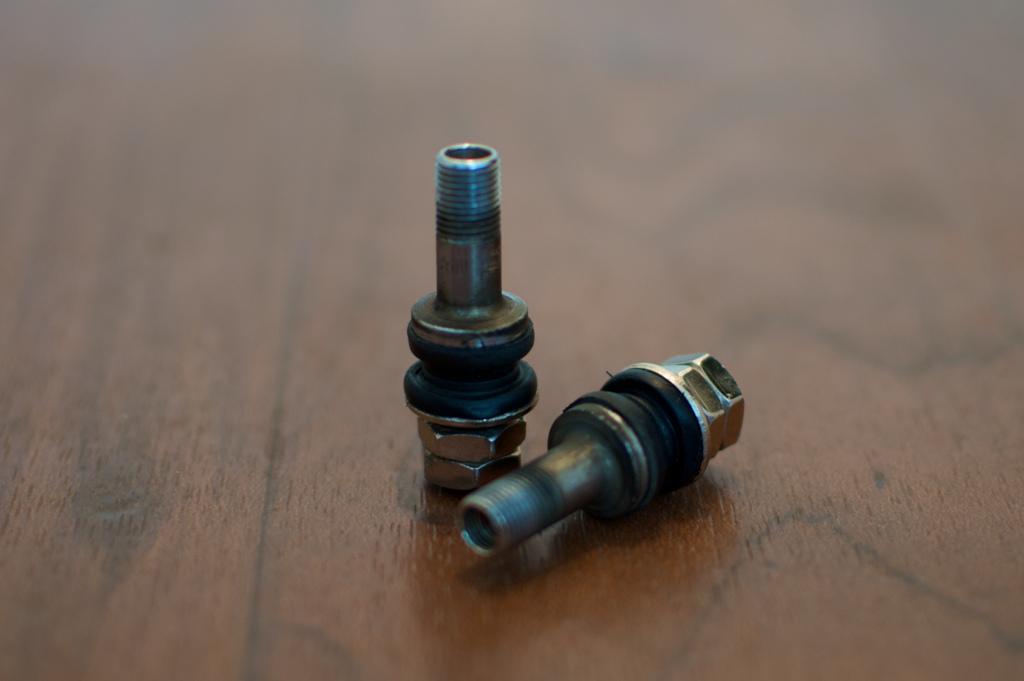
all the barrels back next to each other, but ready to go: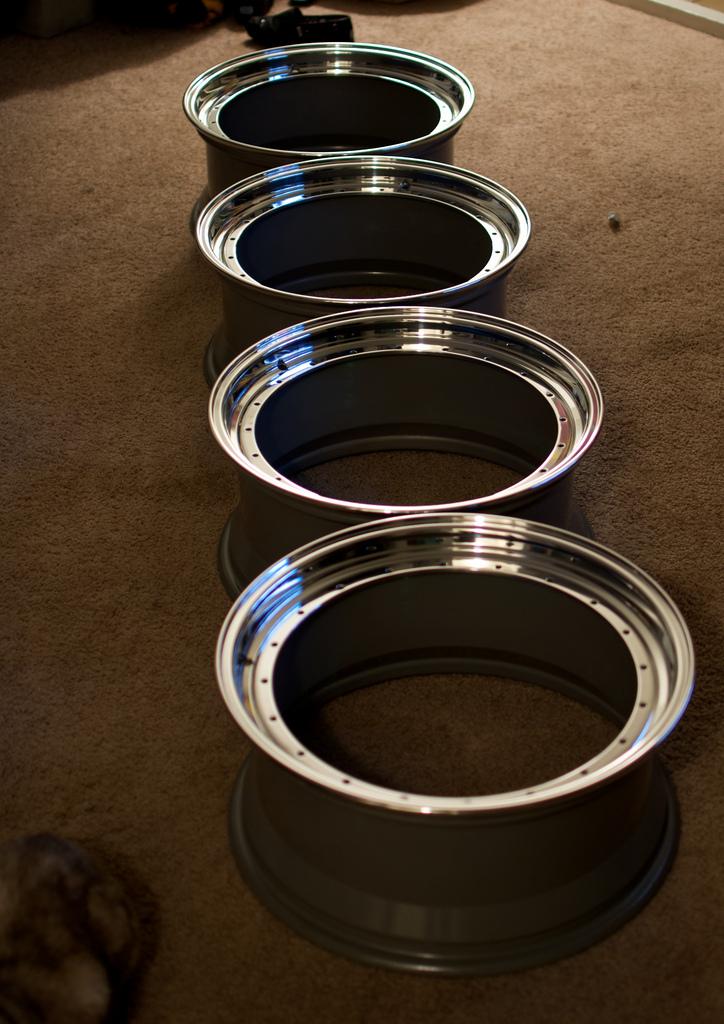
and on a semi-related side note, I ran into a landscaping rock and ****ed up my car. I was parked along side a street, had to turn around, went to pull into a driveway from where I was parked. The rock was right next to my car, but low enough I couldn't see it form my window. Side skirt is toast, door sill is bent and has flaking paint, and the lower door edge has some chipped paint. Really sucks, but it could have been much worse (door could have been hit or a more visible area). Plan is to fix it and have my side skirts painted to match the car.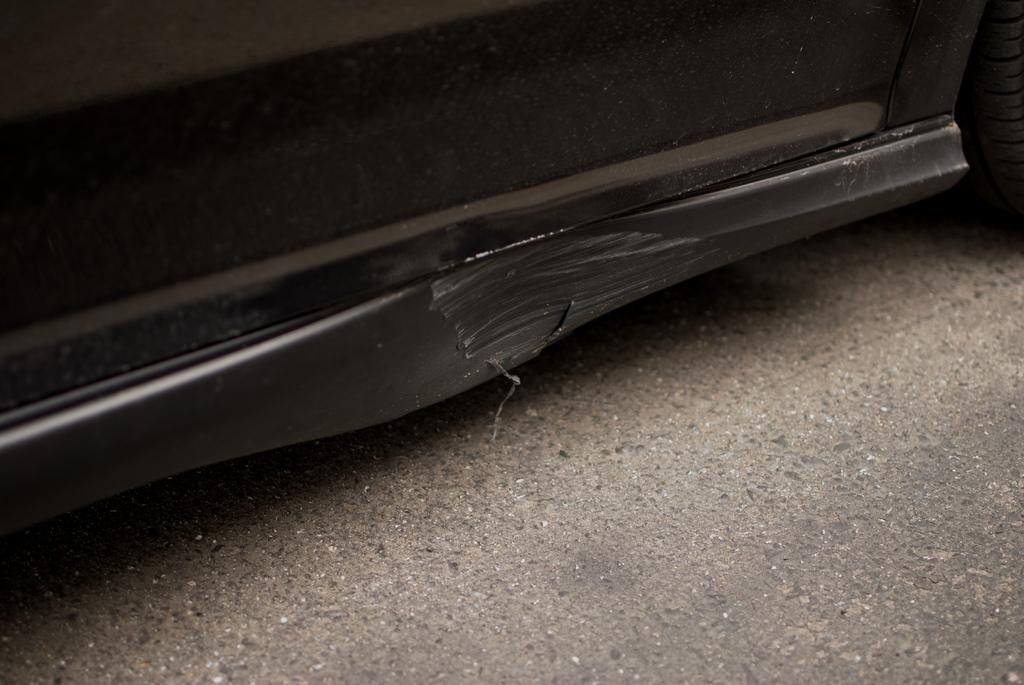
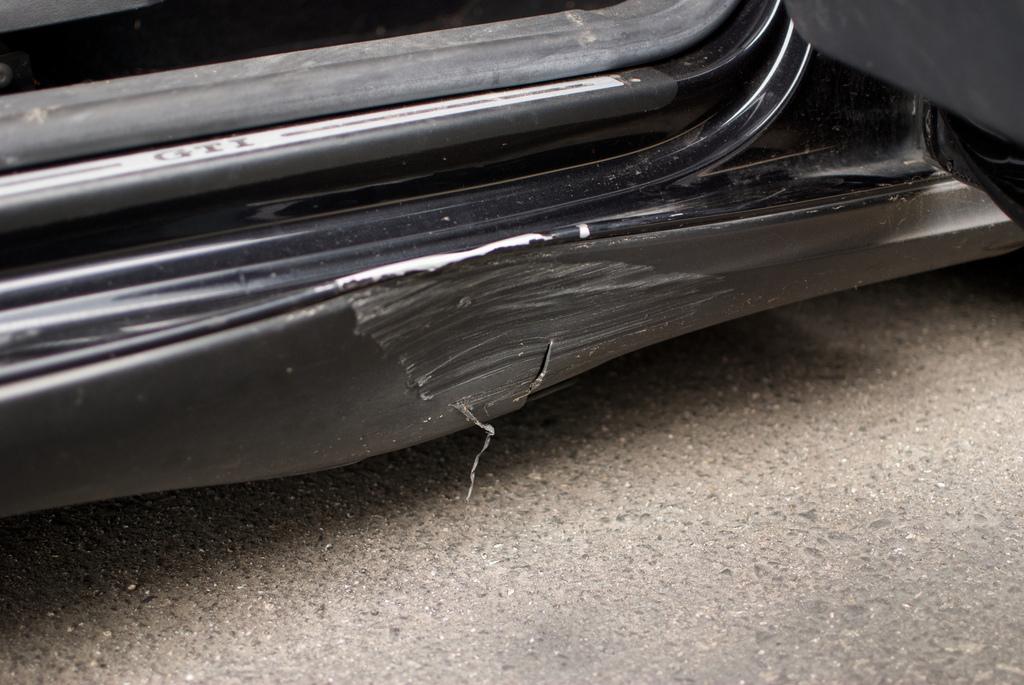
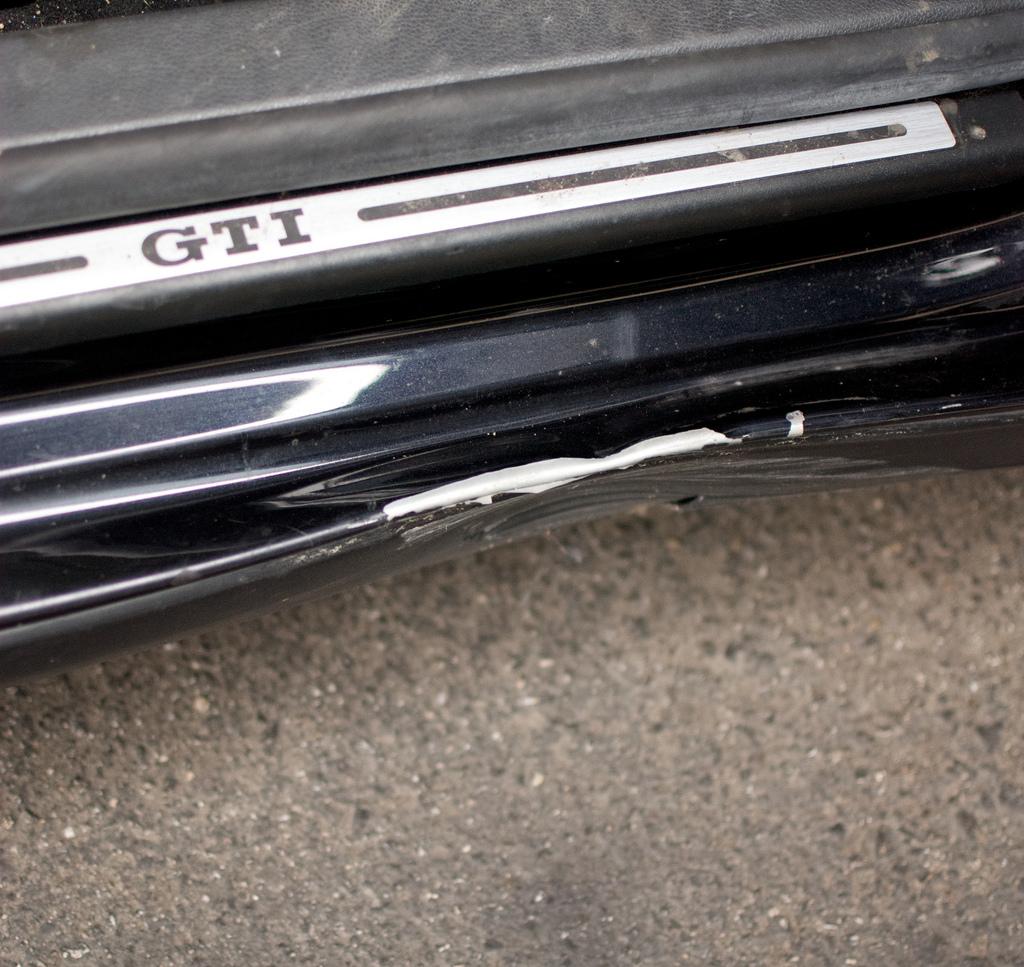
3/25/11
Tires mounted! They made the lips all dirty, so I decided I should buy a large pack of micro-fiber towels and some Mothers Aluminum Polish as I know I will be using them a lot soon.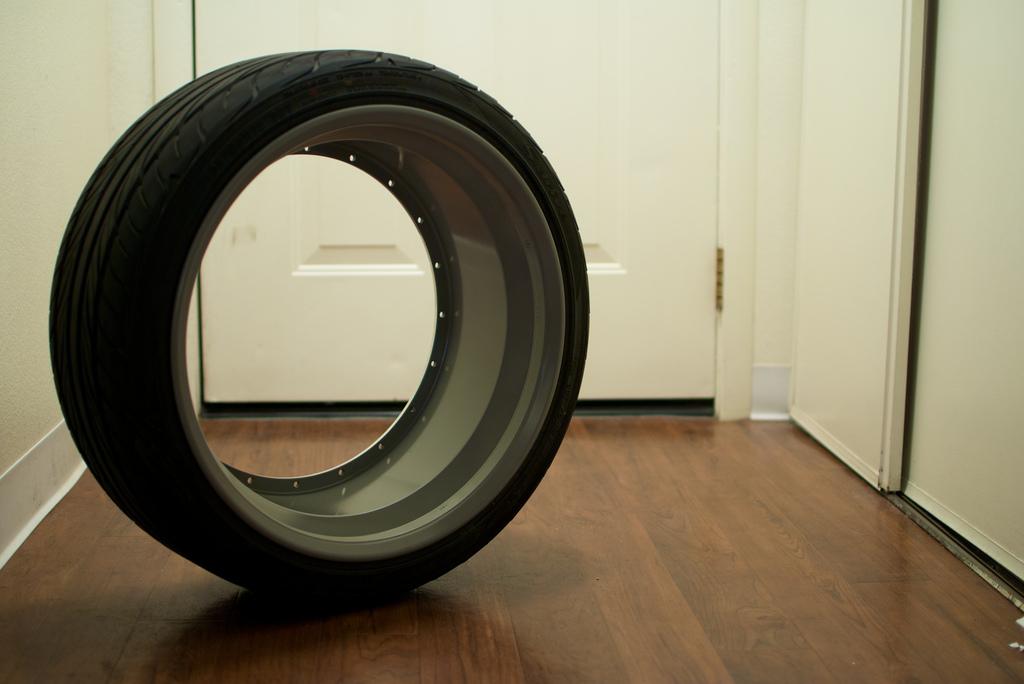
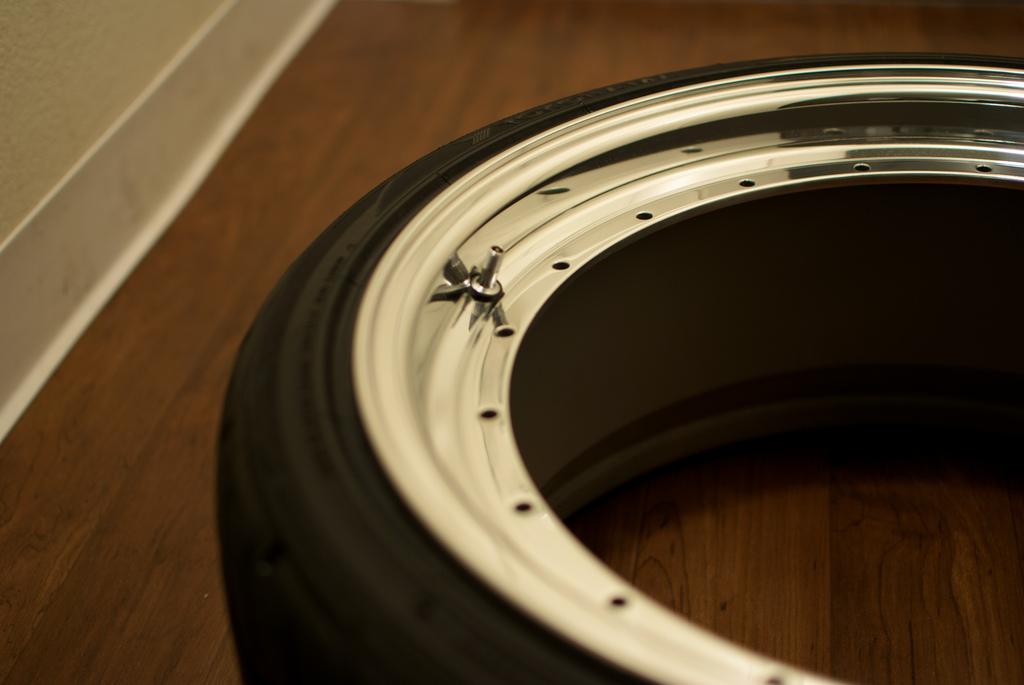
3/28/11
Bolts from BFI got here today and...........they fit!!!!!!!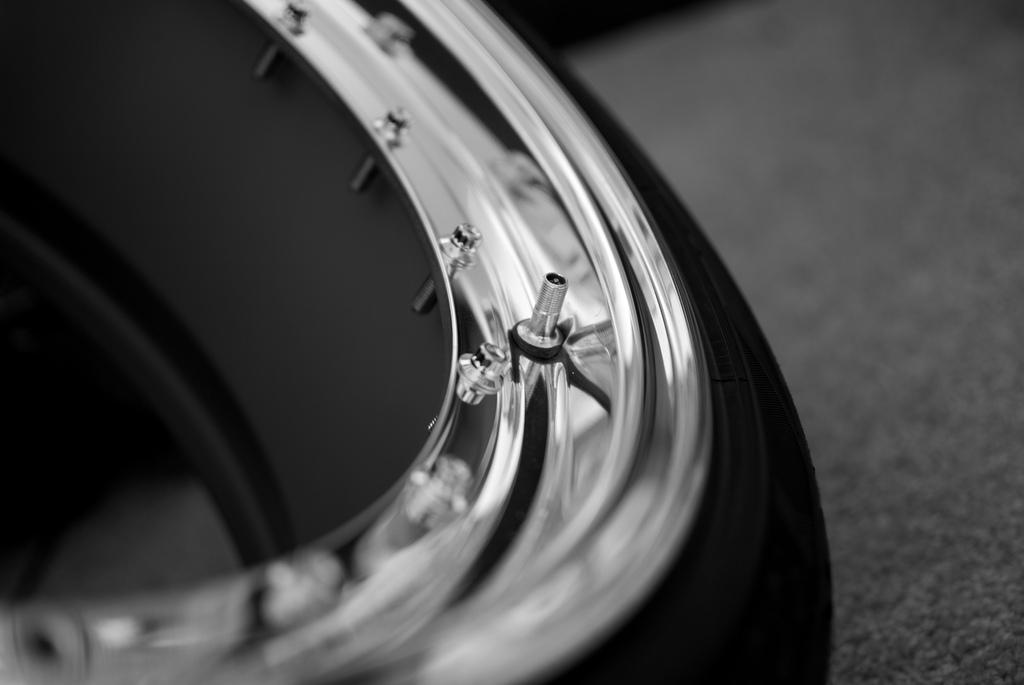
3/30/11
Went to the place doing the faces and snapped a picture so you guys will know what I am doing to them (the name gives it away)
shoot, looks like it focused wrong
4/14/11
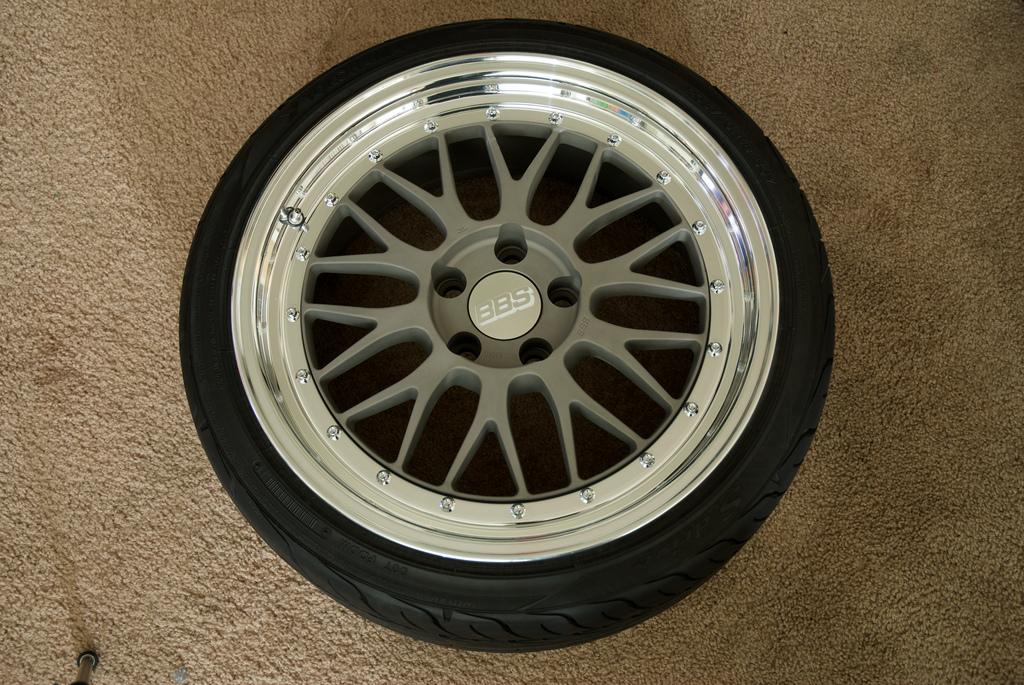
Alright the update I have been waiting for! The anodizing place kept pushing the date which is why these took so long. The finish is raw media-blasted aluminum with a clear anodize over it. I love how the rough textured aluminum faces contrast the smooth polished aluminum lips. Again I am sure some will prefer the gold, but IDGAF! They came out perfect imo. Here is a few pictures, LOTS more to come. Wheels won't be on the car until tomorrow as they still need to be balanced. 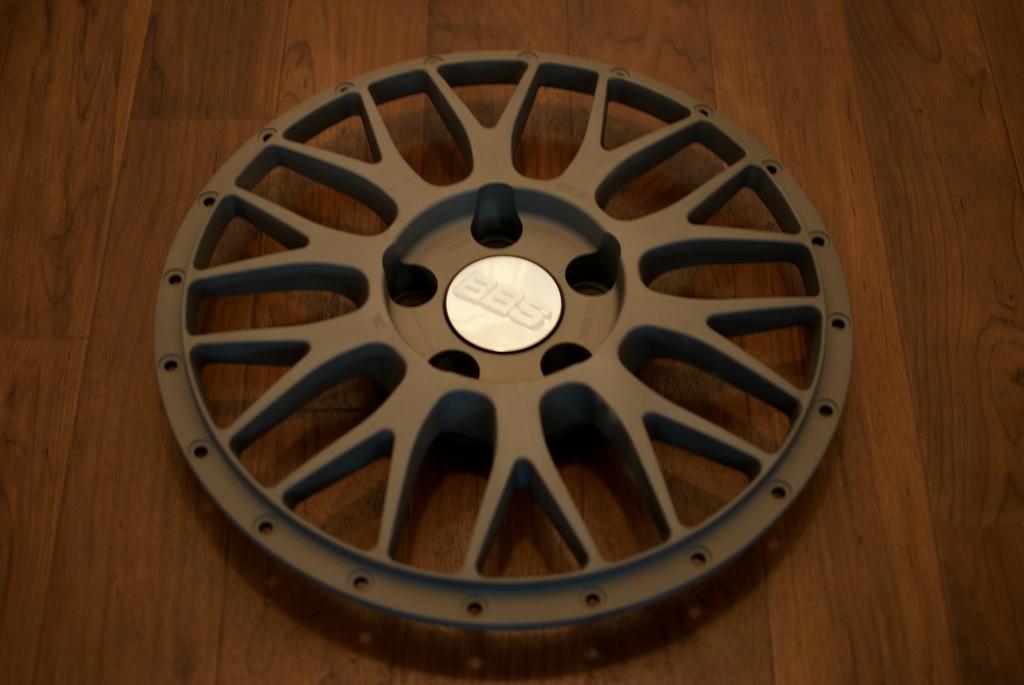

4/15/11
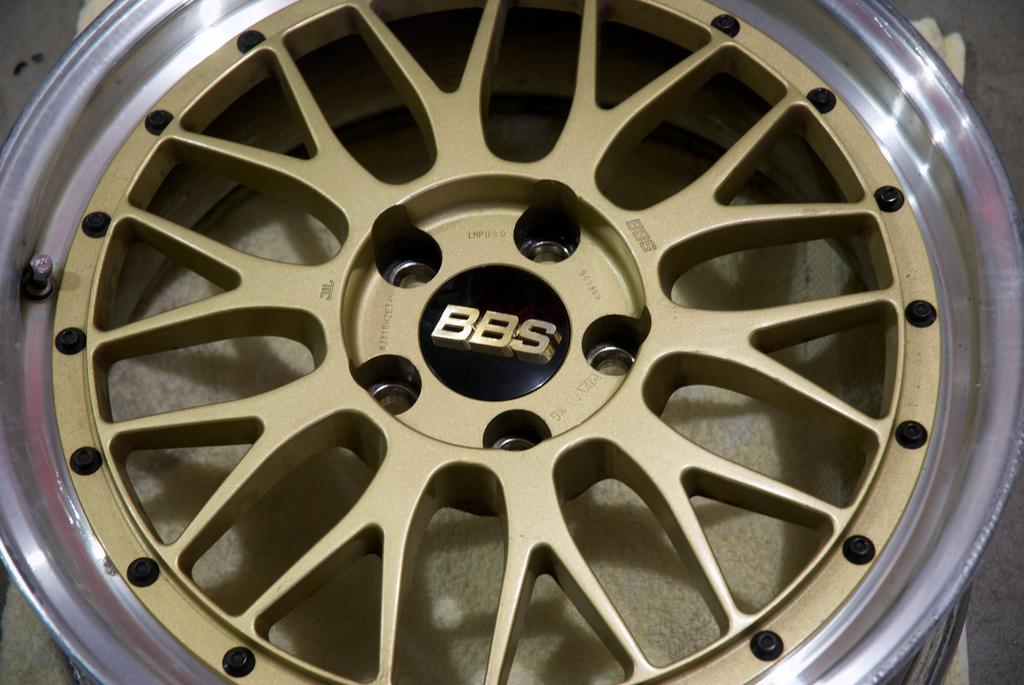
Okay I took some detail pictures when I first got the wheels and tried to recreate them now they are refinished.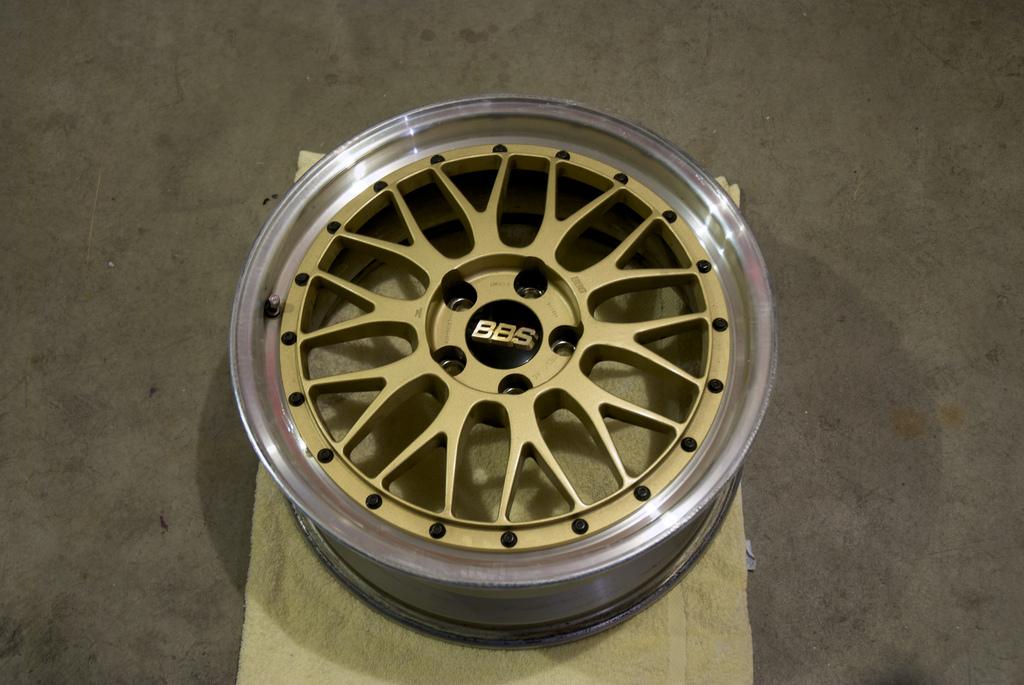
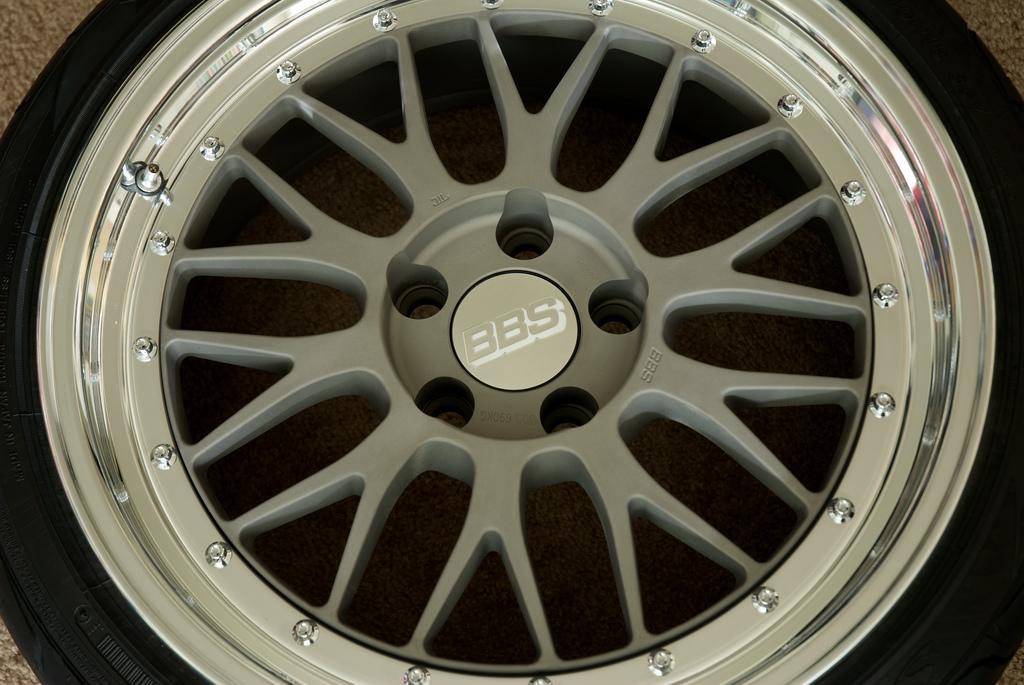
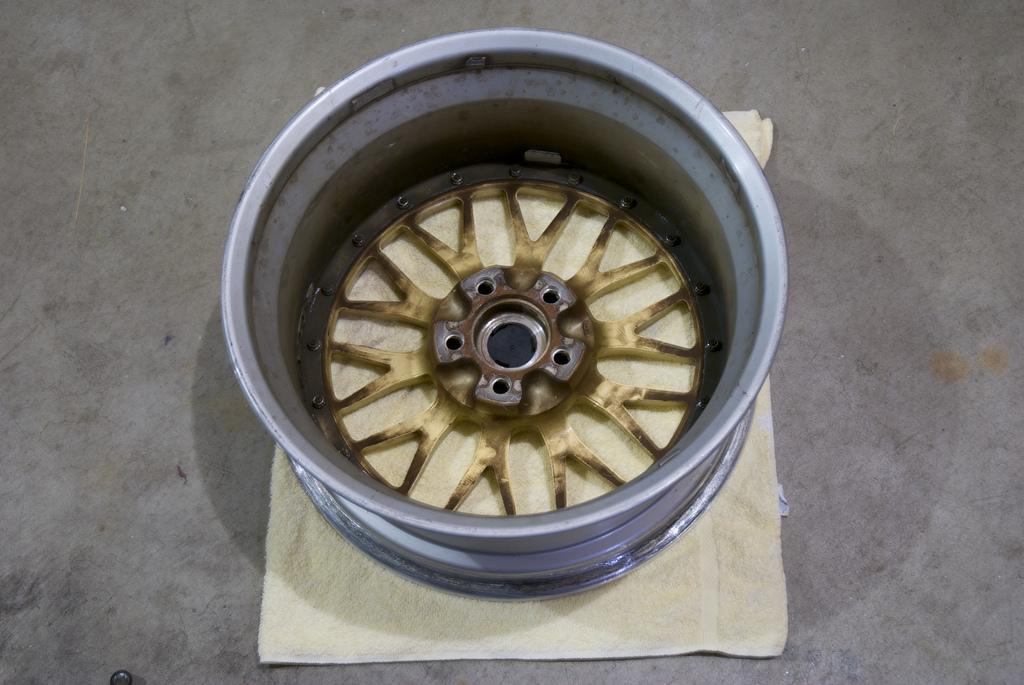
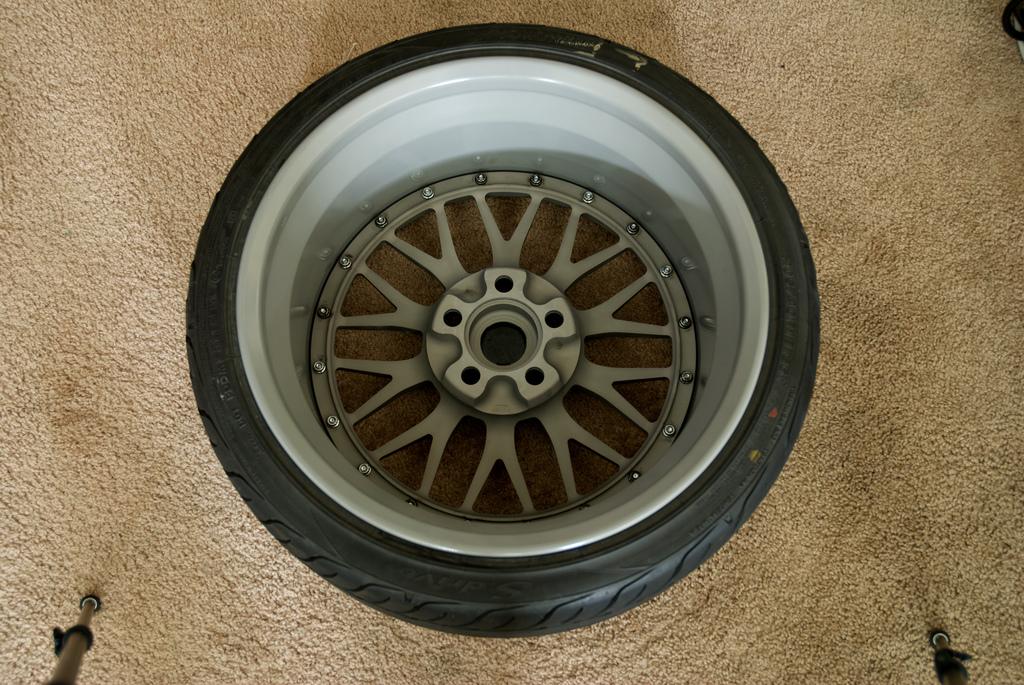
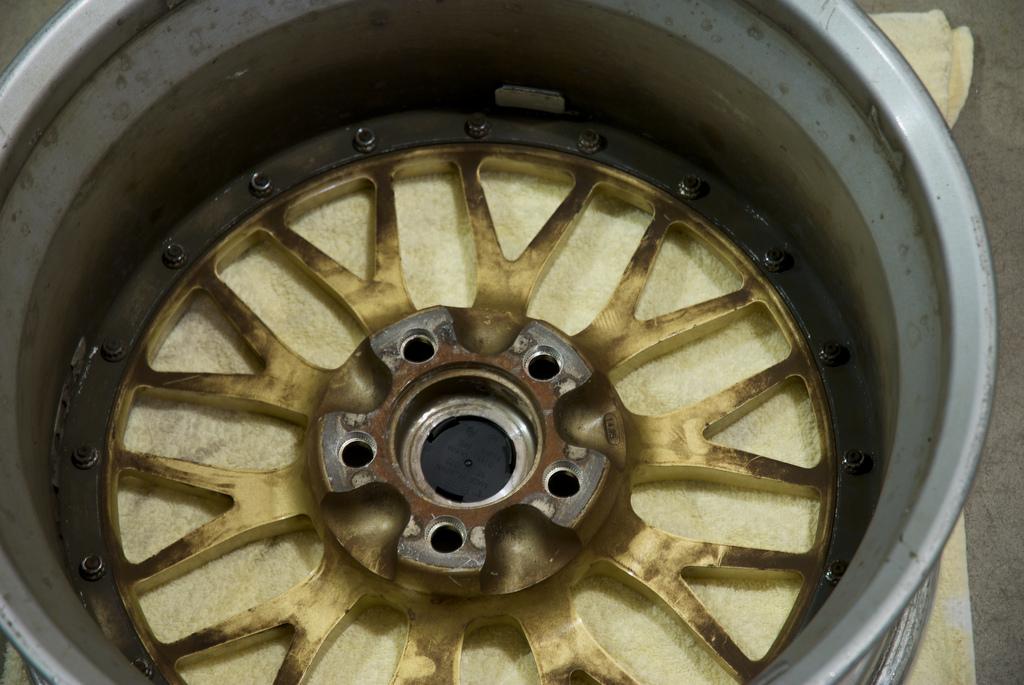

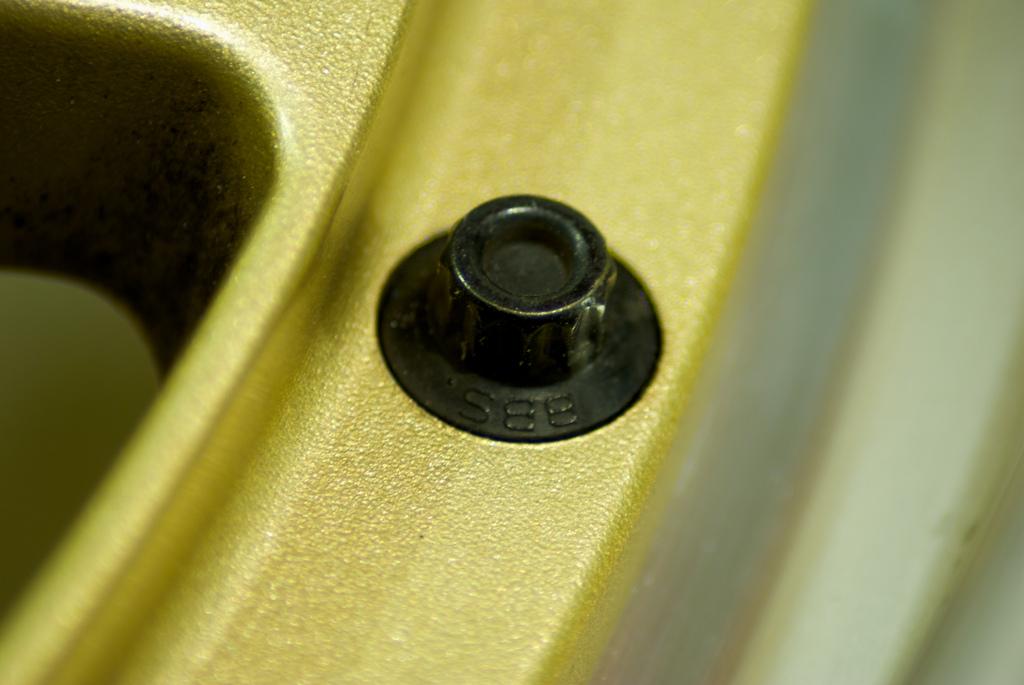
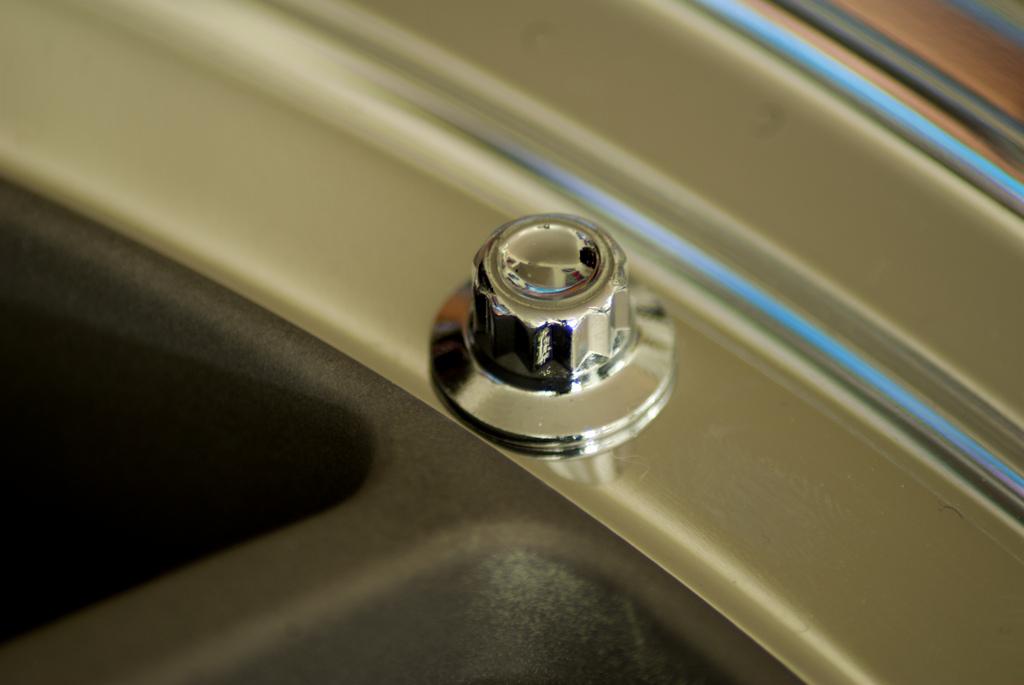
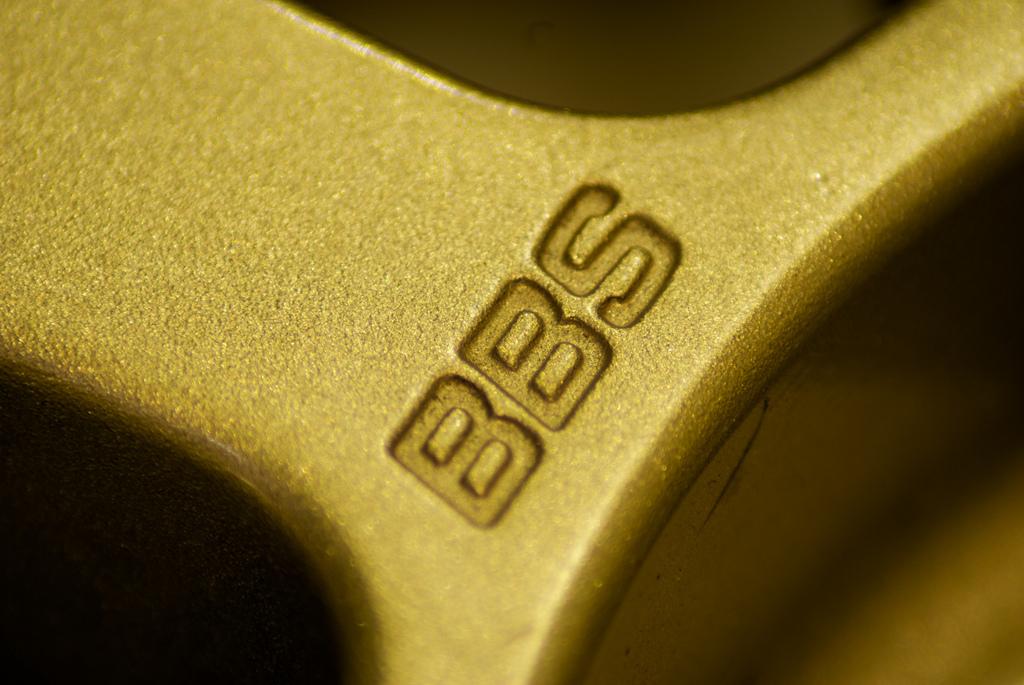
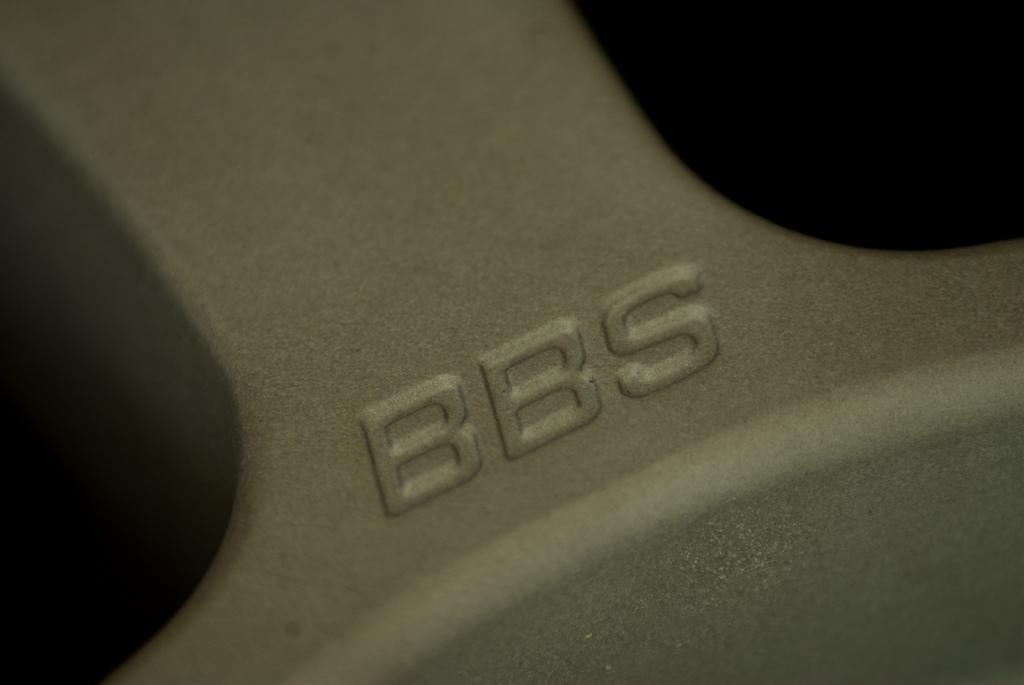
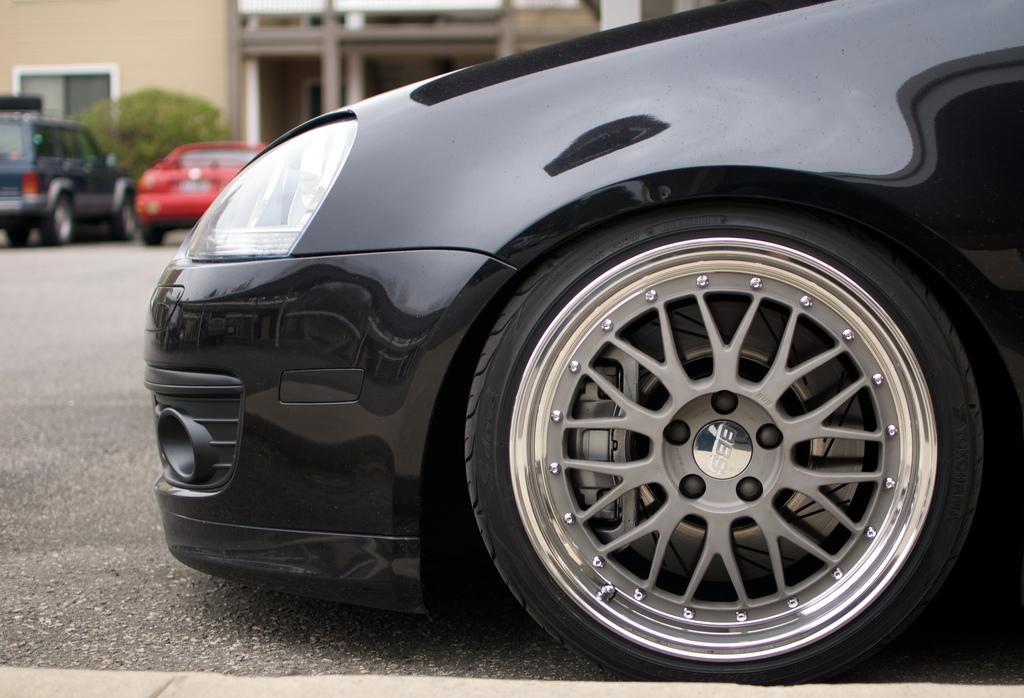
Okay I need some help deciding. The fronts are too aggressive, I don't like how it looks and they will destroy my fenders (roll coming soon regardless). Should I mount the faces on front like they were before on the front and leave the rears reverse mounted? The rear is perfect imo. It is sorta hard to tell, but the front fenders are sitting on the tread of the tire and holding the car up.
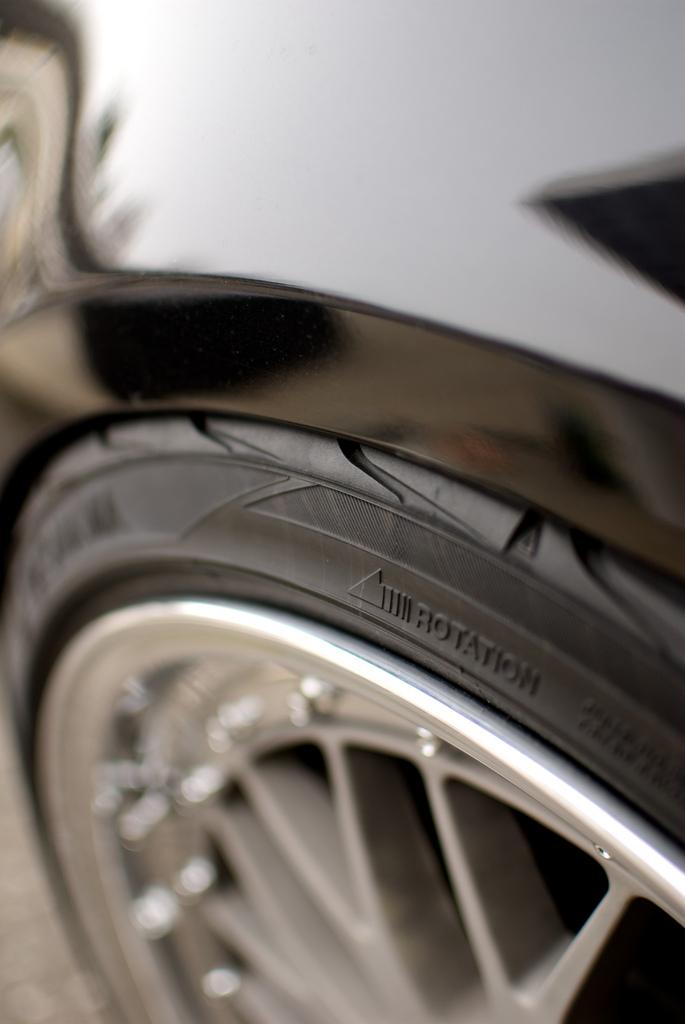

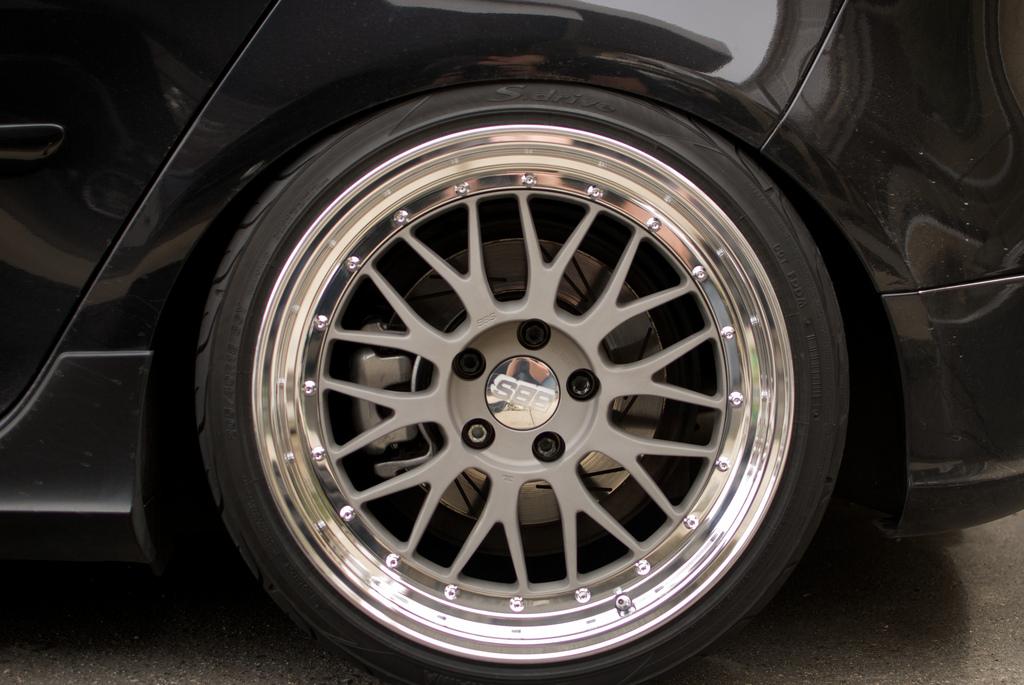
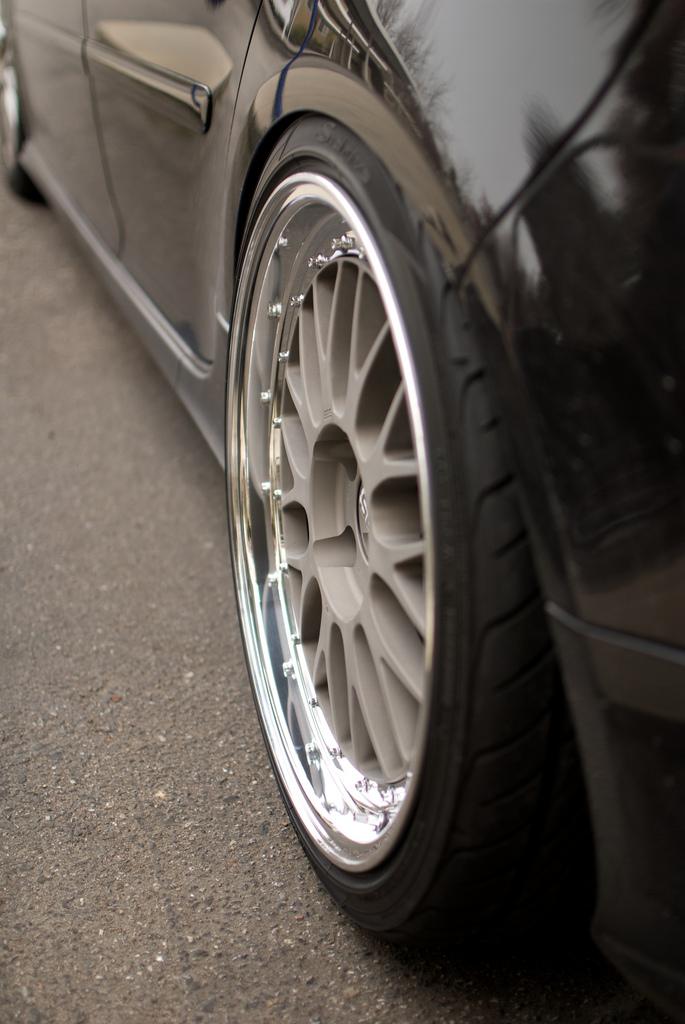
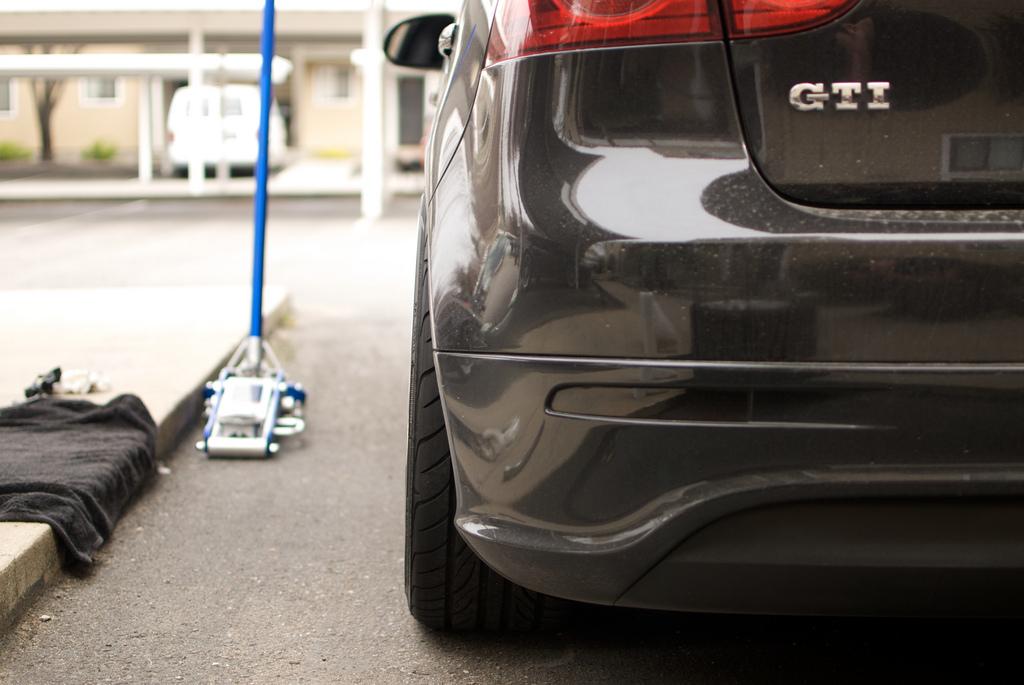
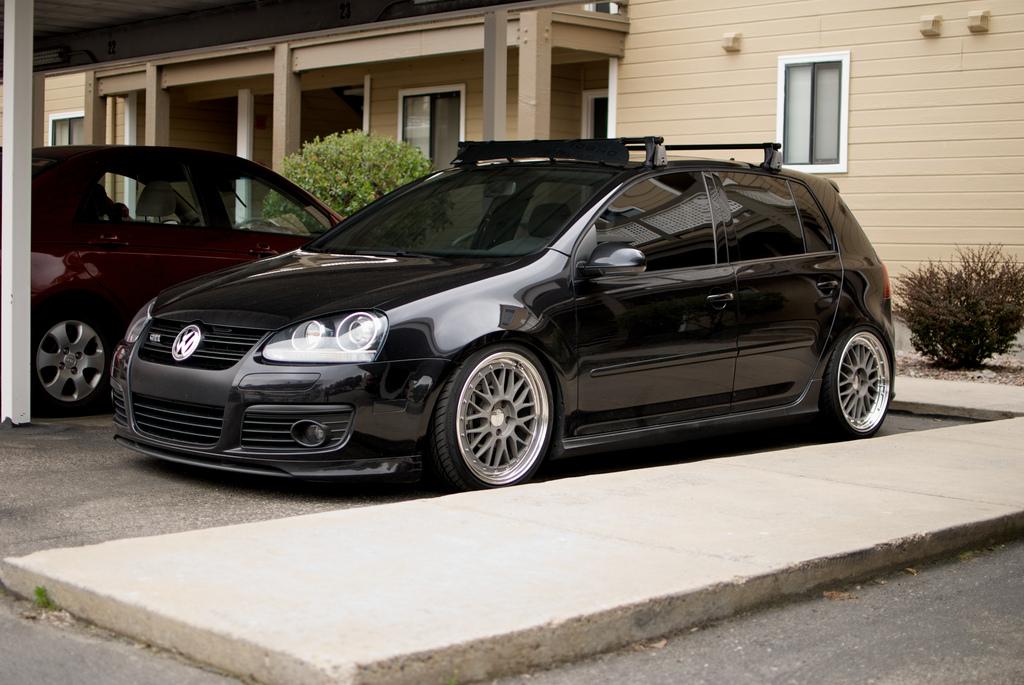
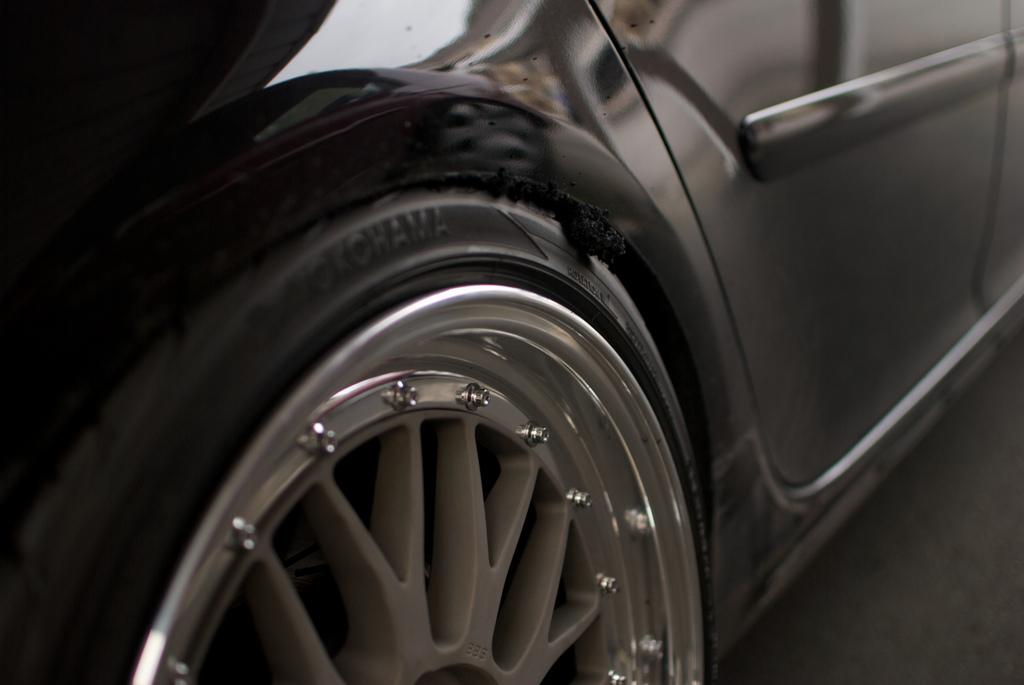
Okay here are some pictures of how it is sitting, I think it looks pretty good! Rear passenger side is rubbing bad....melting the tire bad haha. I am thinking 5mm spacer up front?

4/27/11
I guess I never updated this thread, bumped the rear camber up to -4*, no more constant rubbing, still rubs over bumps, fenders burnt. I need to do some serious fender work to get the fronts to work, plan on a big pull and some camber up front either through TT control arms or camber plates.
UPDATE:
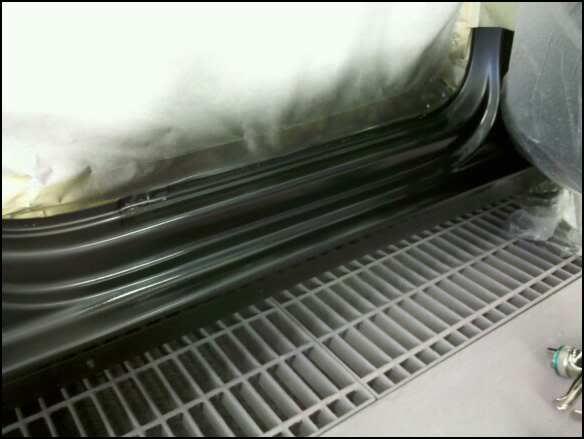
Car is in the body shop right now getting the damage to the side skirt/rocker panel/door from the landscaping rock repair. Also having a large dent in my fender repaired and my side skirts painted to match the car. Here are just a couple of pictures I was sent via text message. Hopefully everything will be done and back to me this Friday.

4/28/11
Got my car back from the body shop today! Damage on the side skirt/door jamb and the fender is fixed. My side skirts are also now color-matched!
Better pictures when it is rainy and ****ty out and I can clean my car.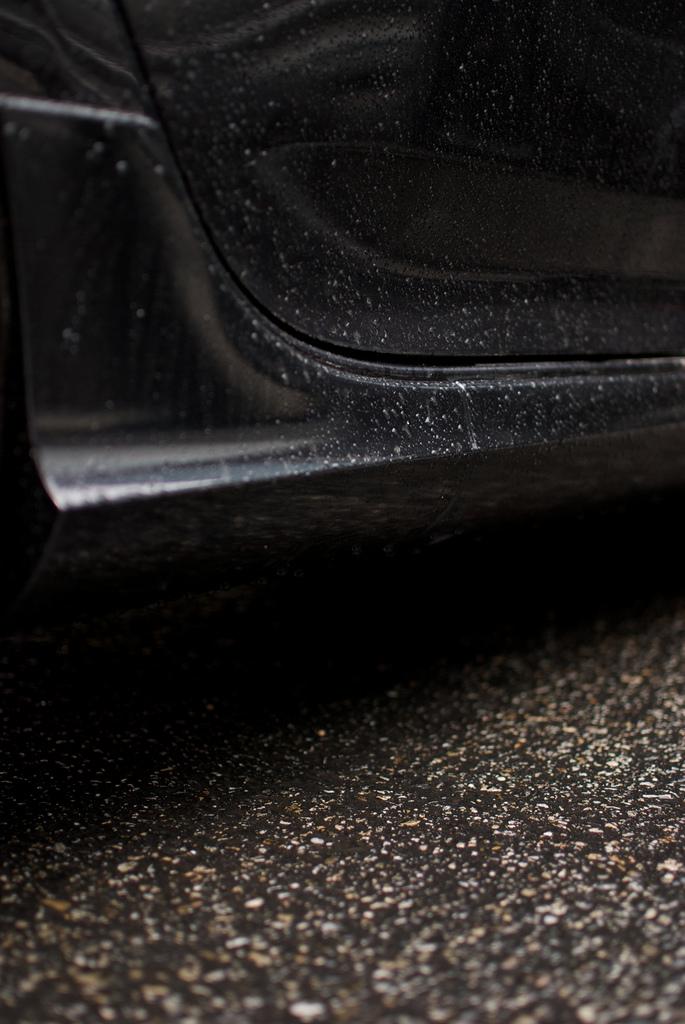

6/28/11
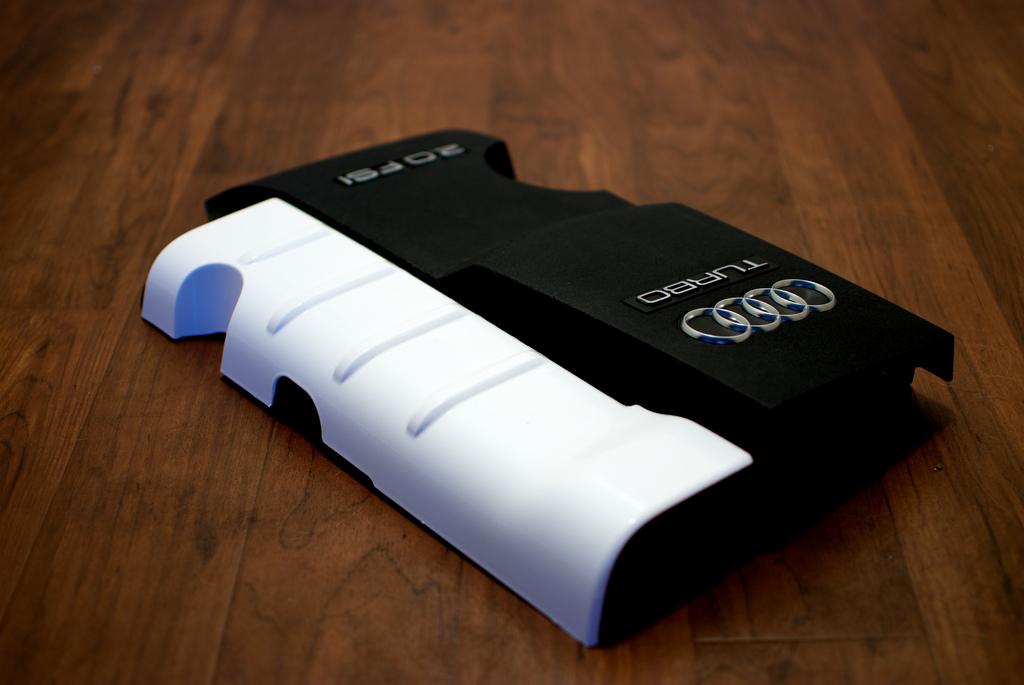
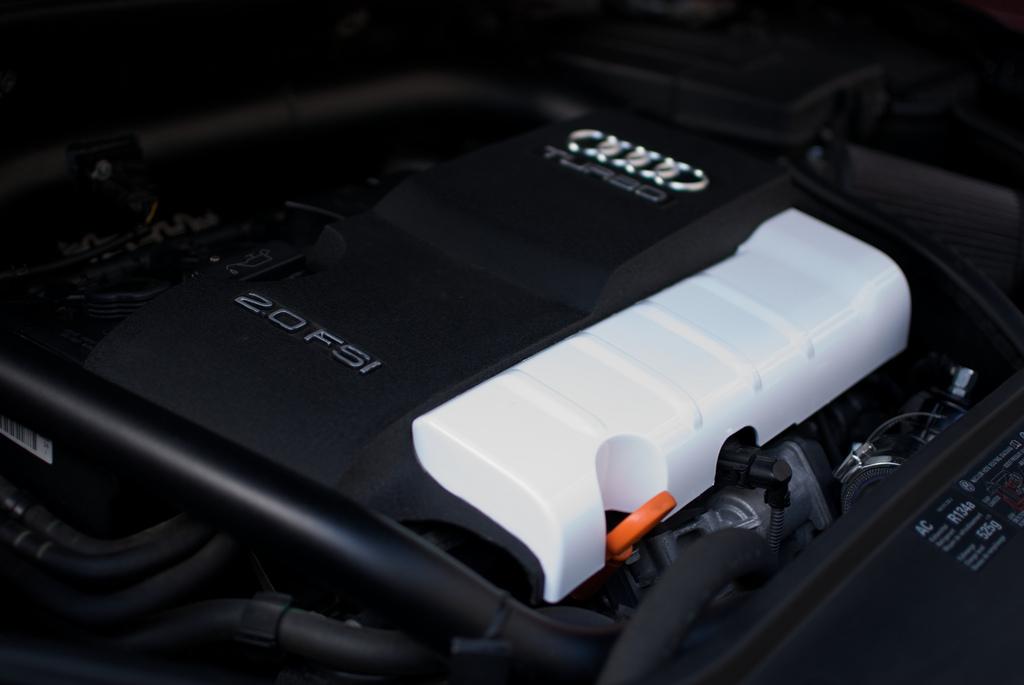
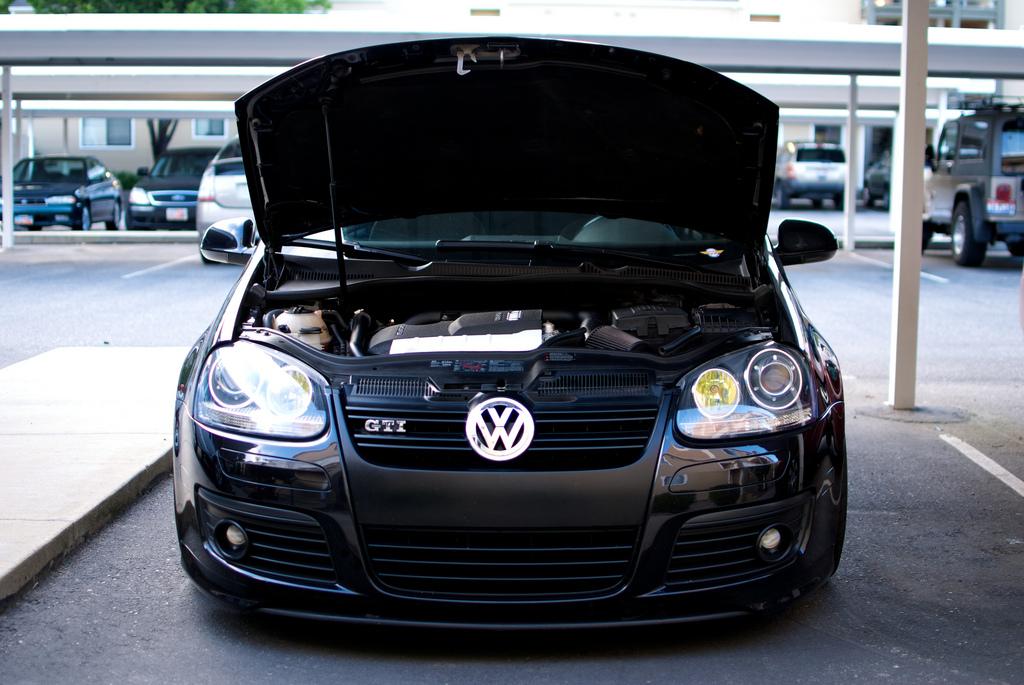
I decided to pull out the old Audi engine cover I had and put it back on. Had a friend paint it for me. He painted a section white and touched up the silver on the lettering. 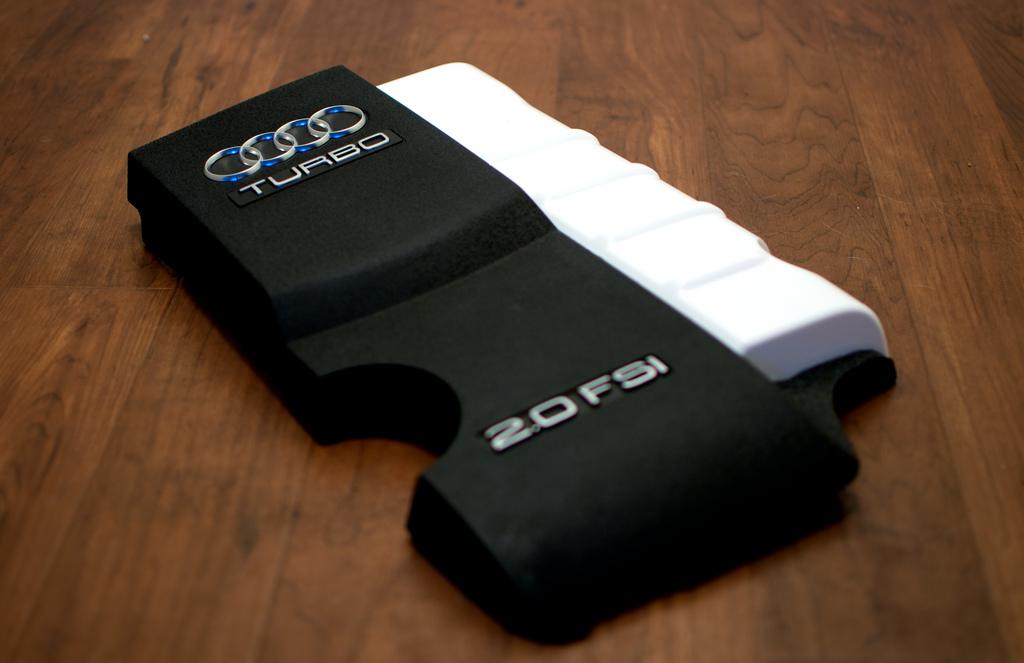

7/25/11
Another small, pointless, but free change I made today. I decided to rid the glowing orange dip stick in my engine bay to further clean it up, a little plasti-dip took care of it and it is the first time I have used this product for its original purpose (creating rubberized handles). I think it turned out well.
Before...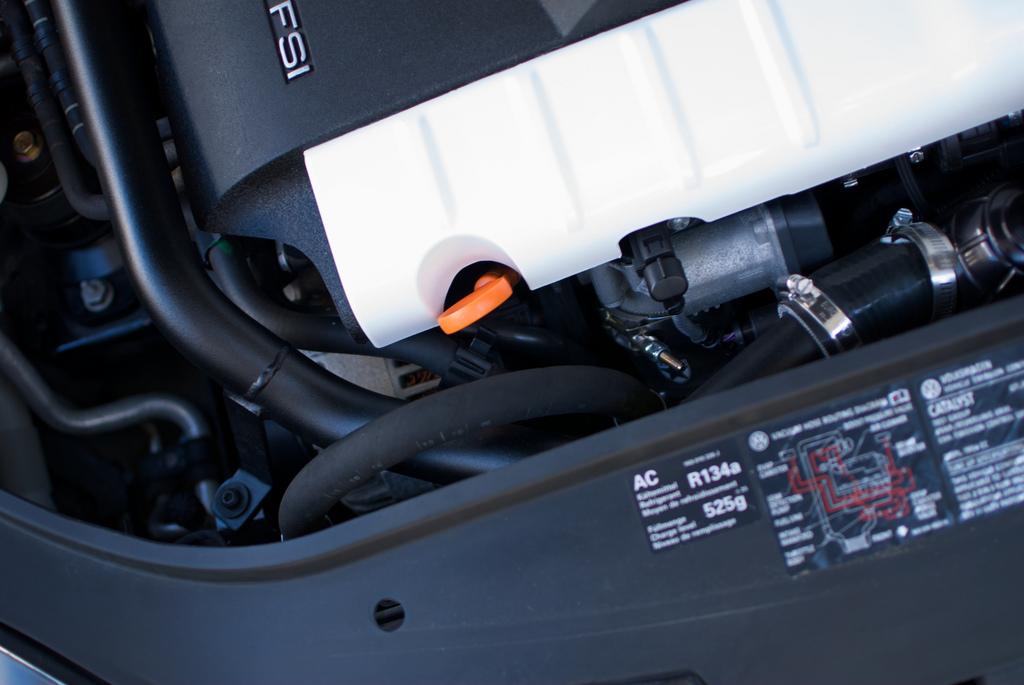

during.....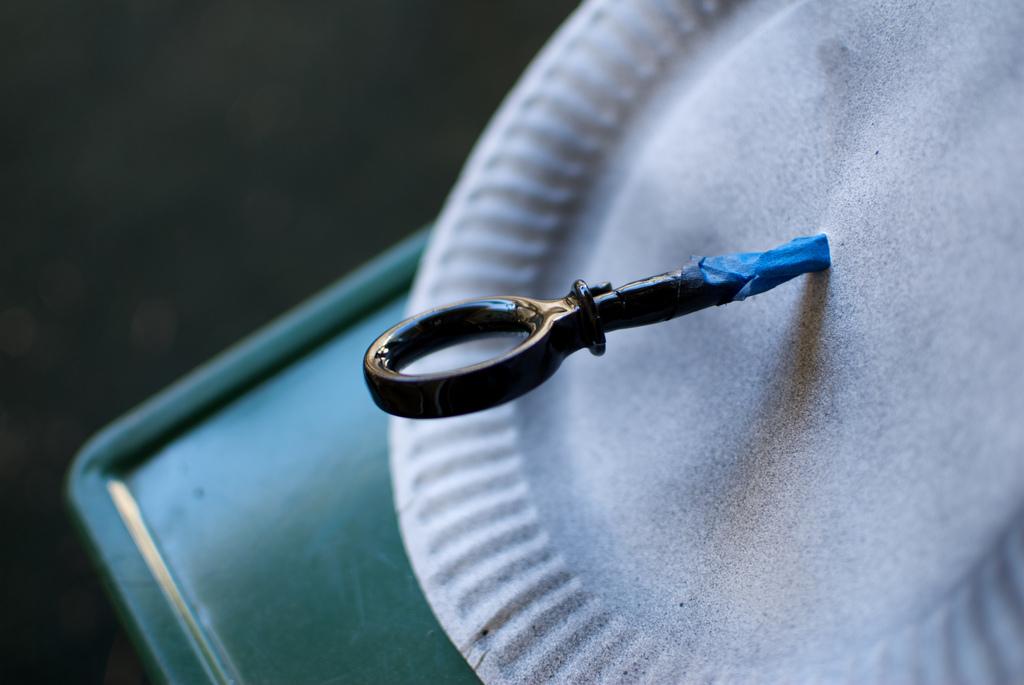
and after...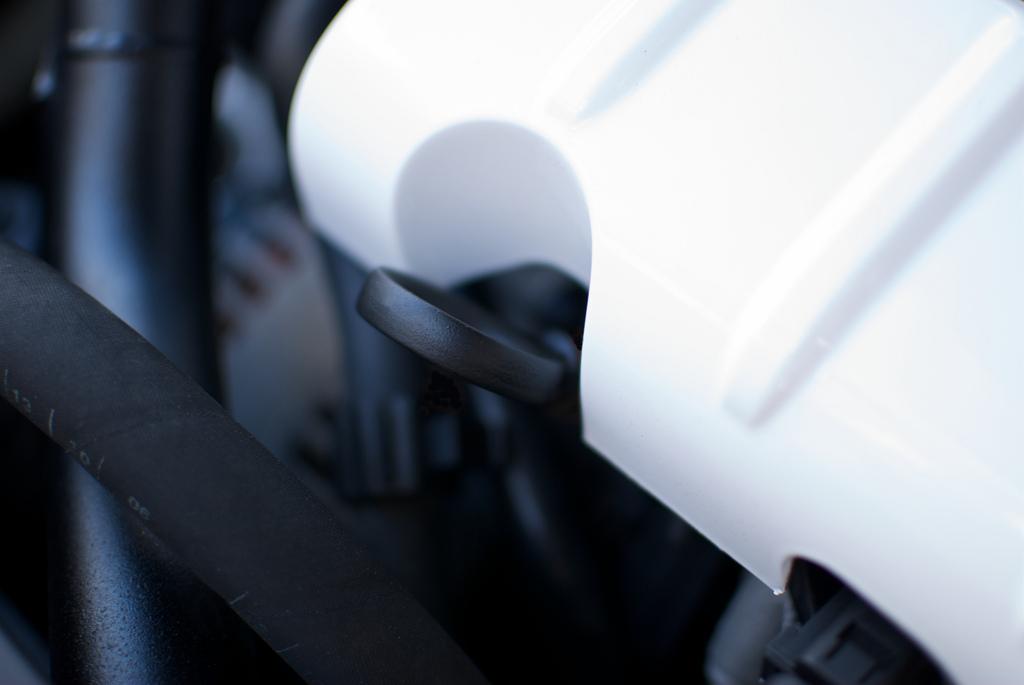
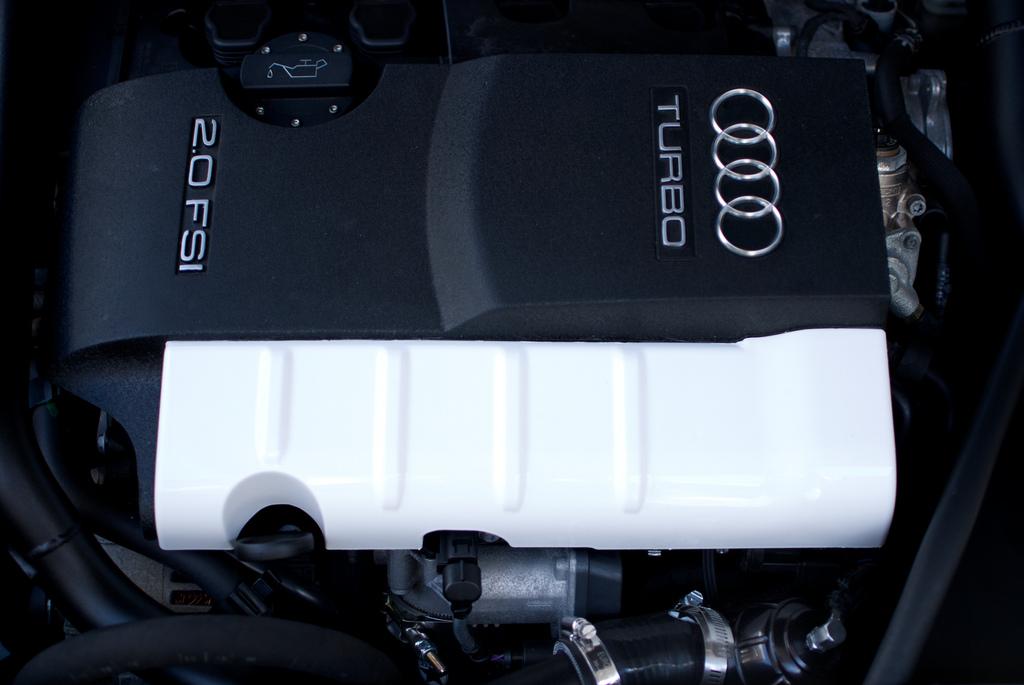
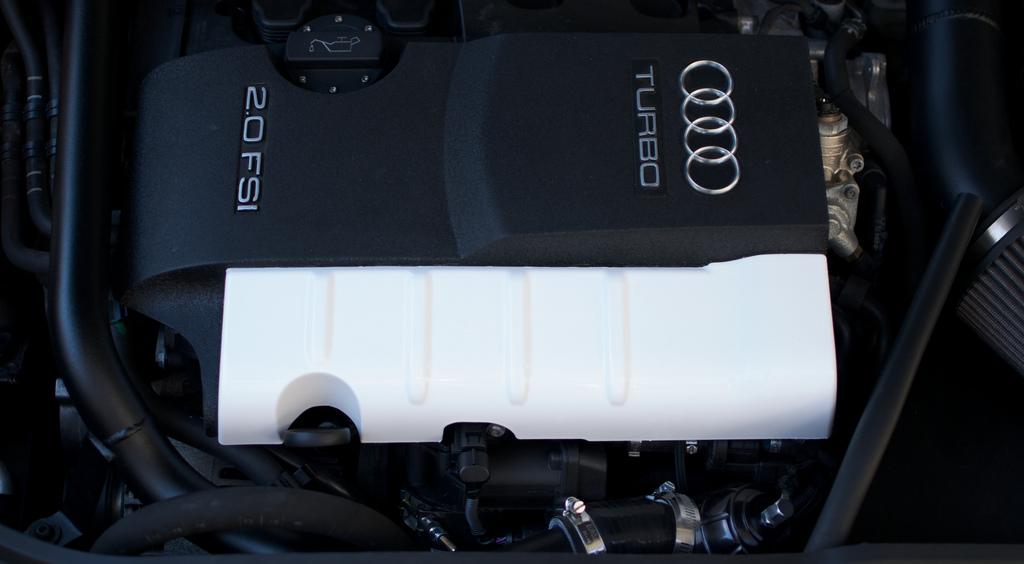
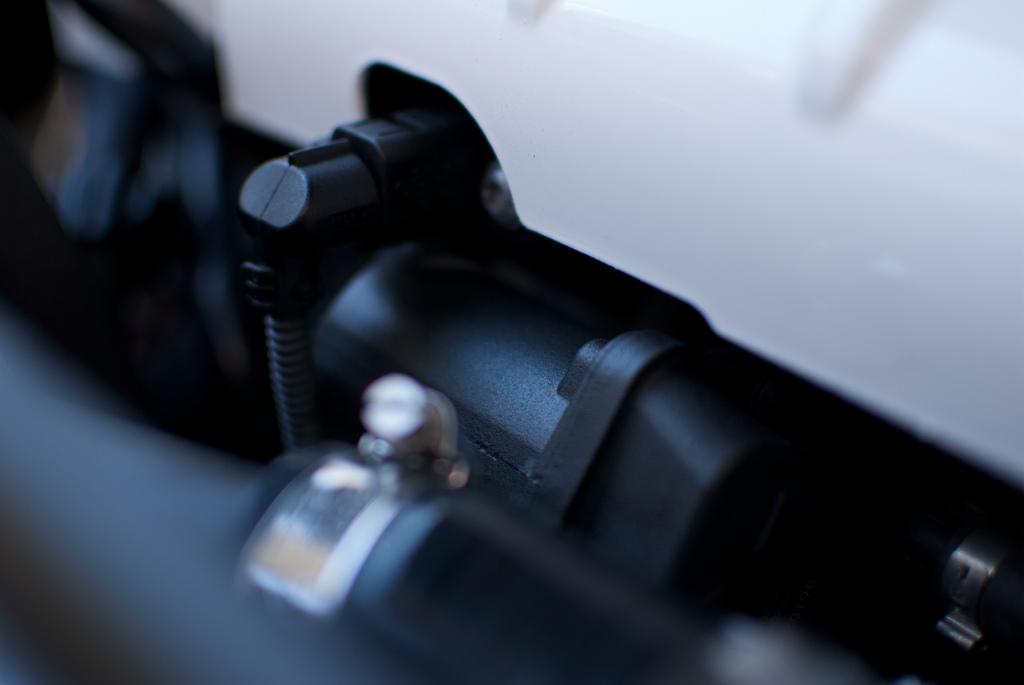
I did my throttle body (little piece of oxidized piece of metal in front of the engine cover) as well, really cleaned things up quite a bit.
Before (if you missed the picture I just posted) followed by after:
9/9/11
Well this is the "pre-update" where I tease and post pictures before any changes


9/10/11
Fenders rolled and pulled! Faces on my front LMs are in the process of being flipped. I needed to repolish where the face was sitting and remove the wheel weights as they were in the way.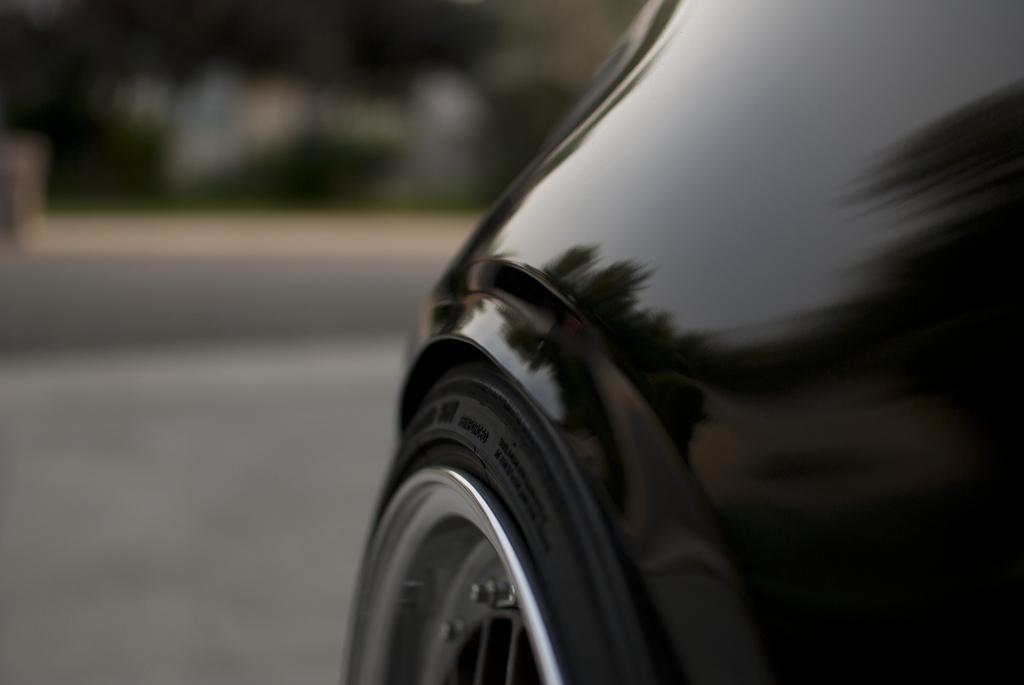
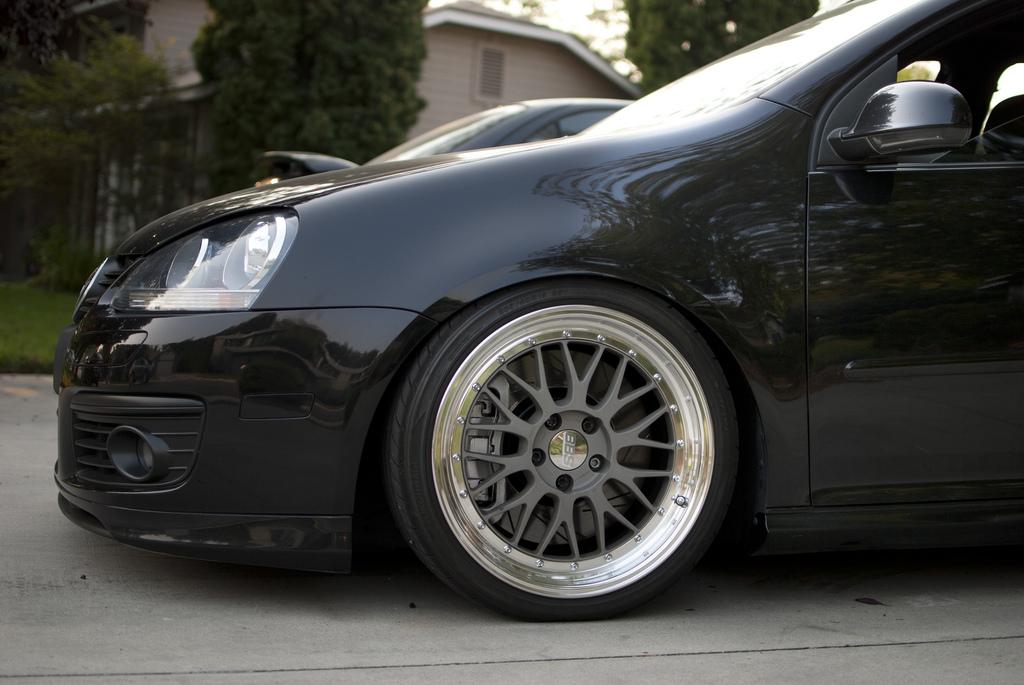
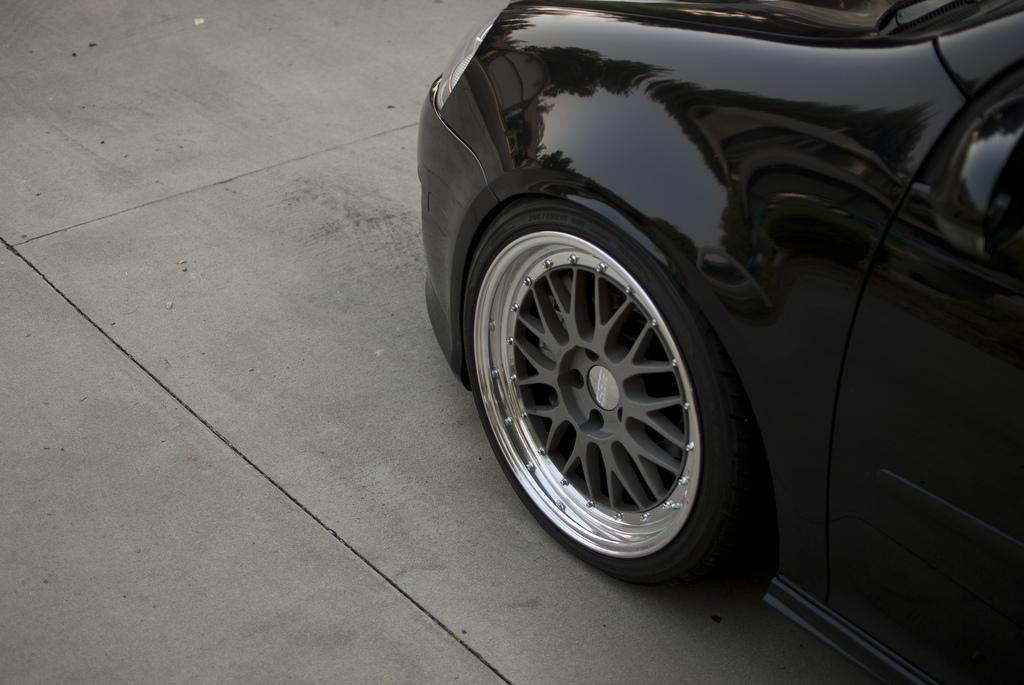

and some pictures of the wheels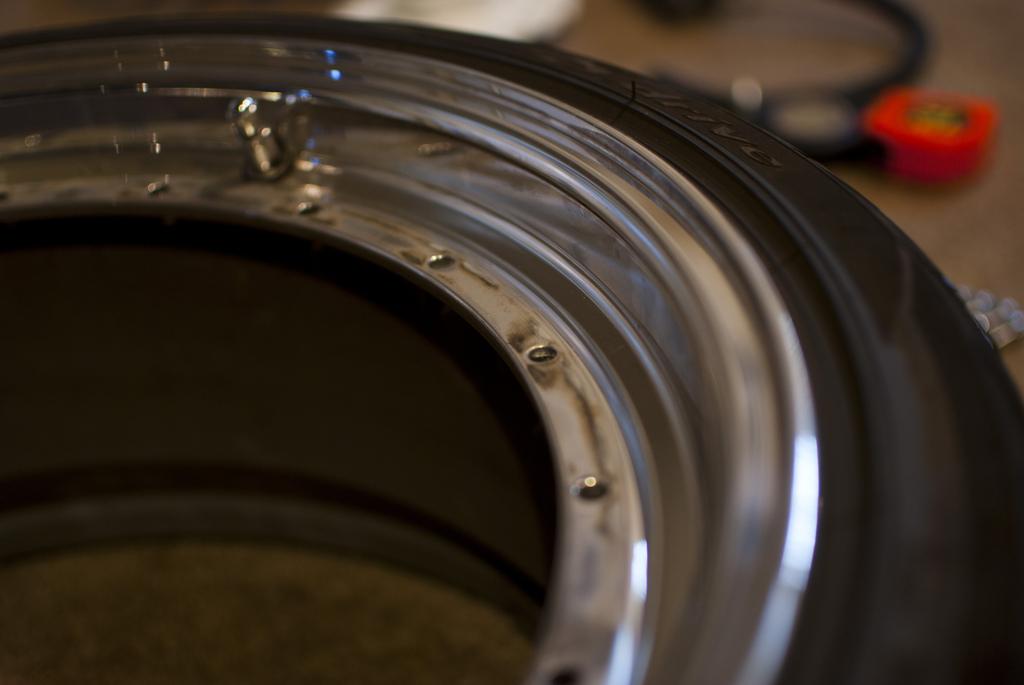
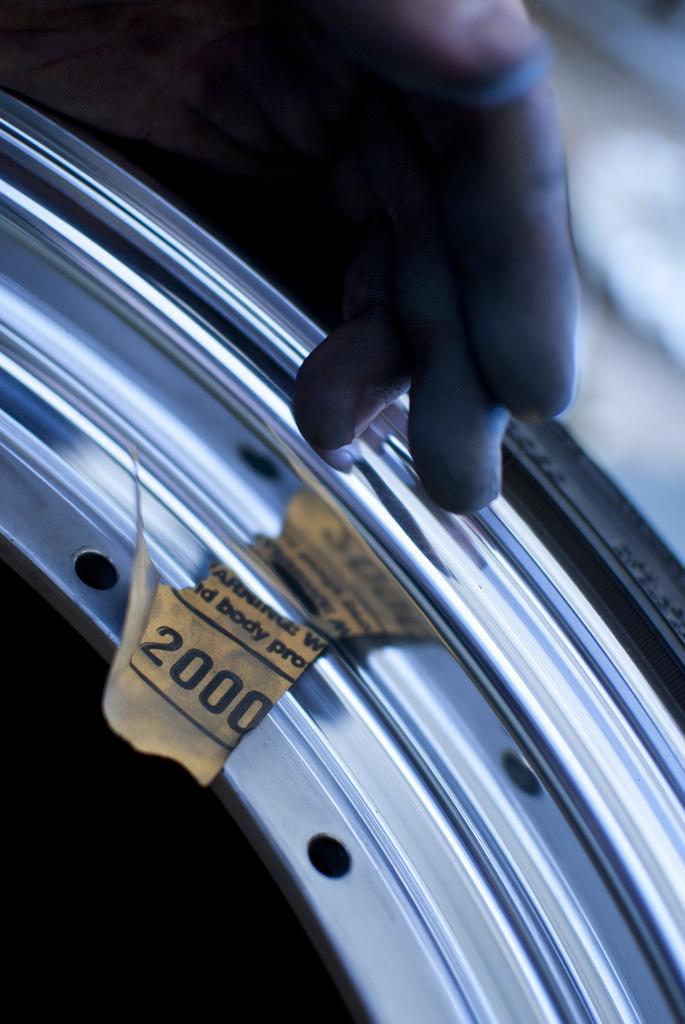
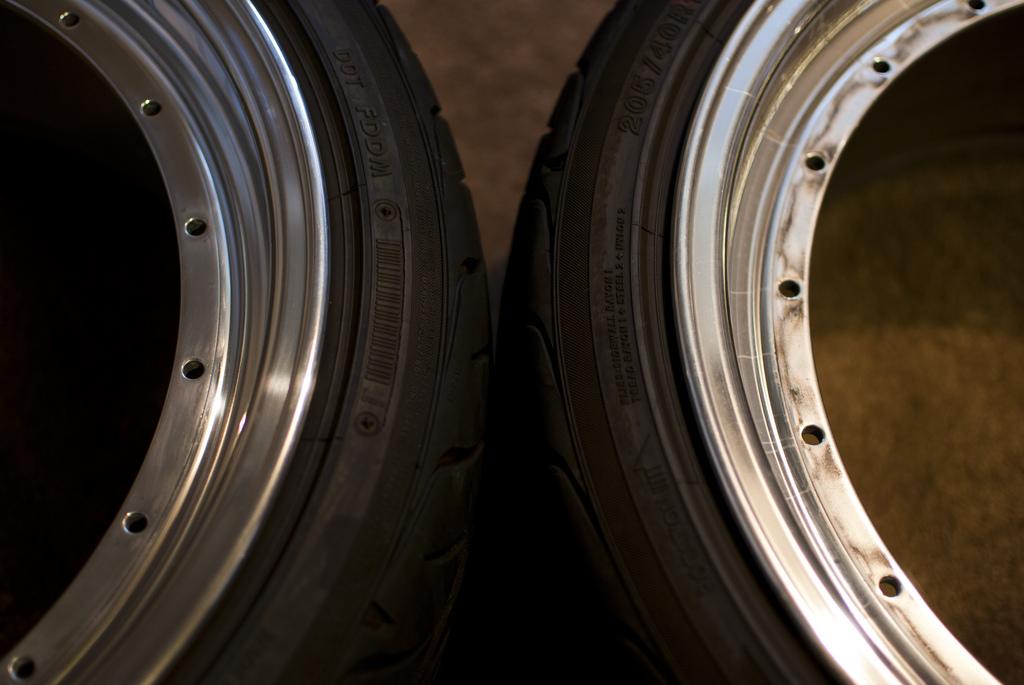

I will post more pictures once I get all four wheels back on and the car cleaned up.
Couple more now that I have all four wheels on! More to follow...

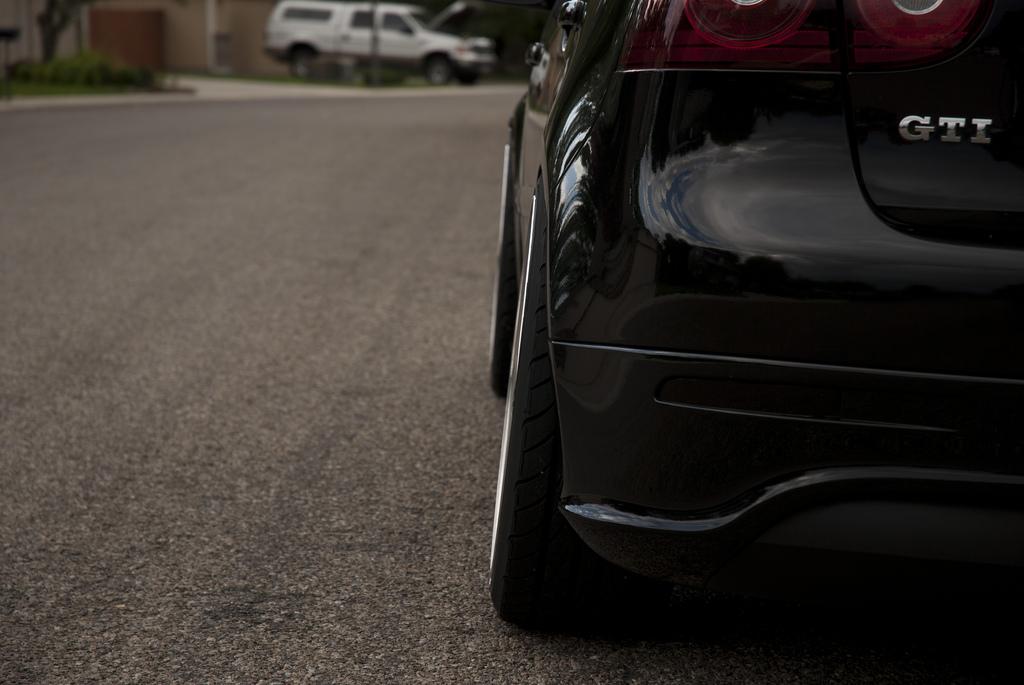
9/12/11
More!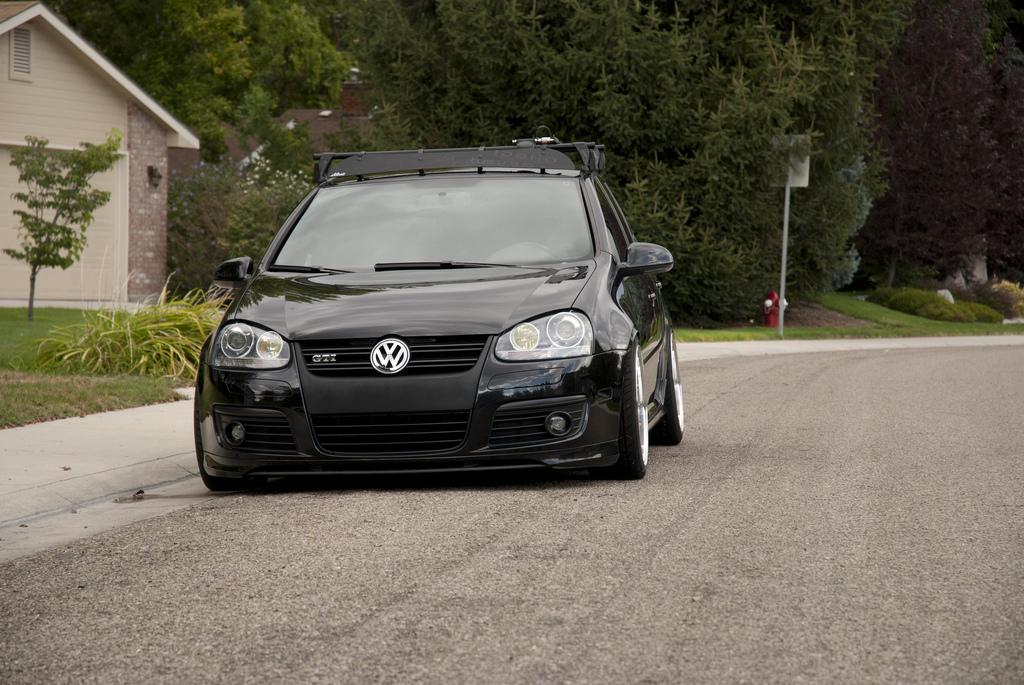
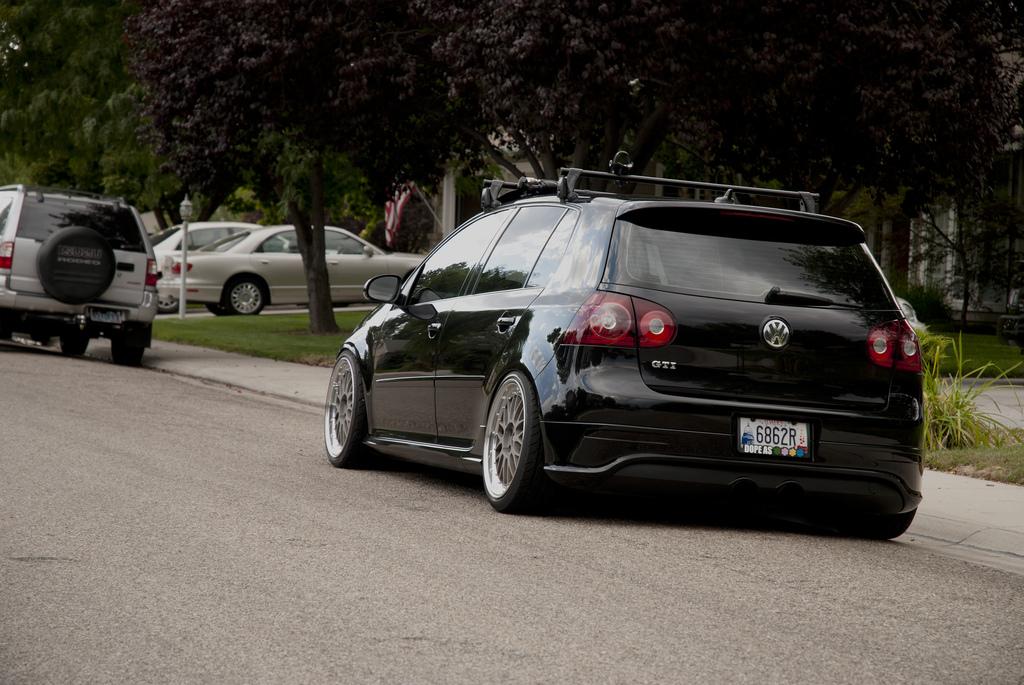
1/20/12
They're done....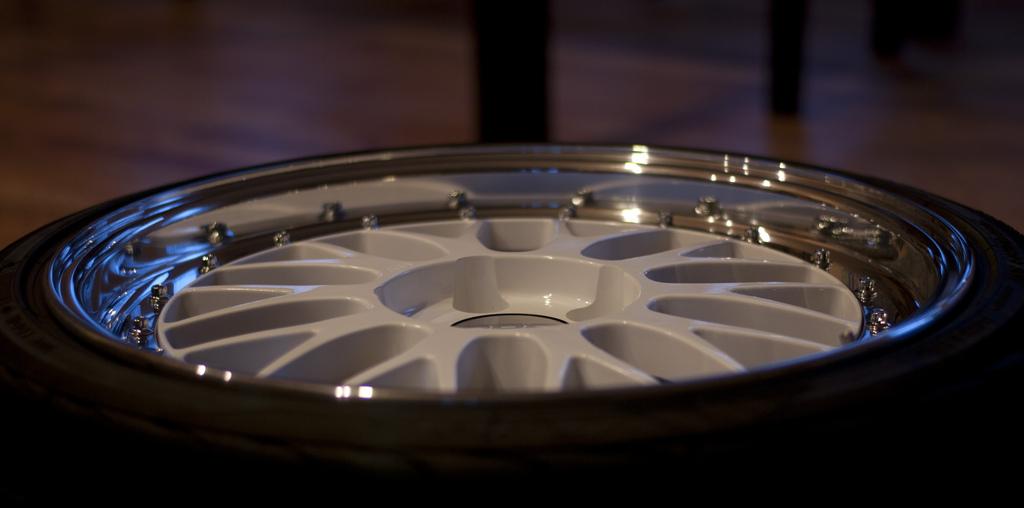
well almost, tires need to be rotated, lips are due for a touch-up polish, bolts need to be cleaned and actually put on. More pictures soon.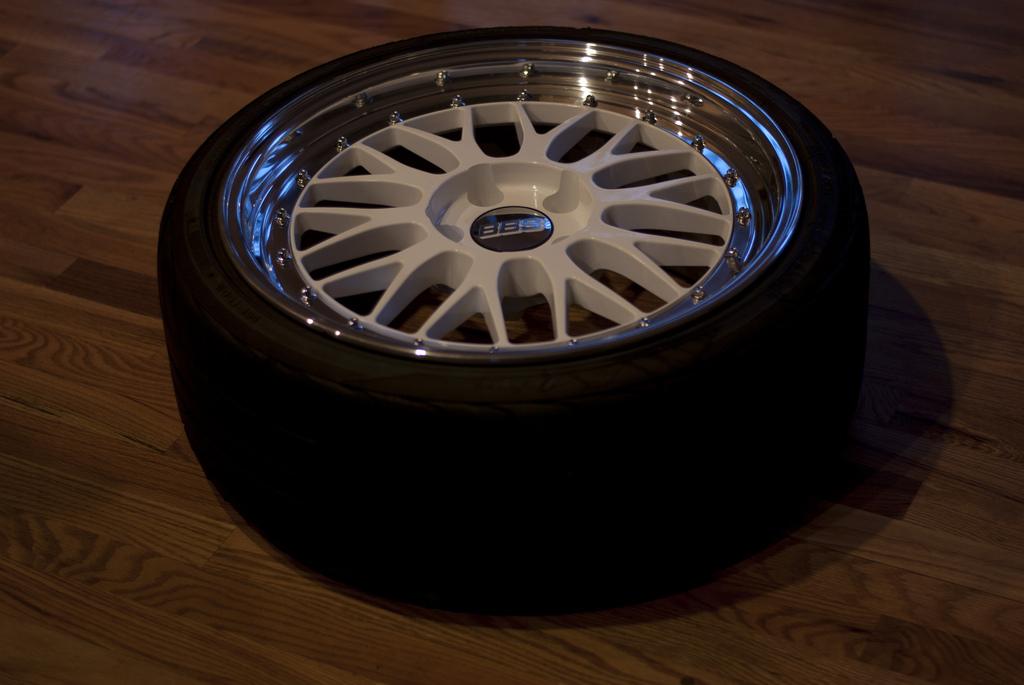
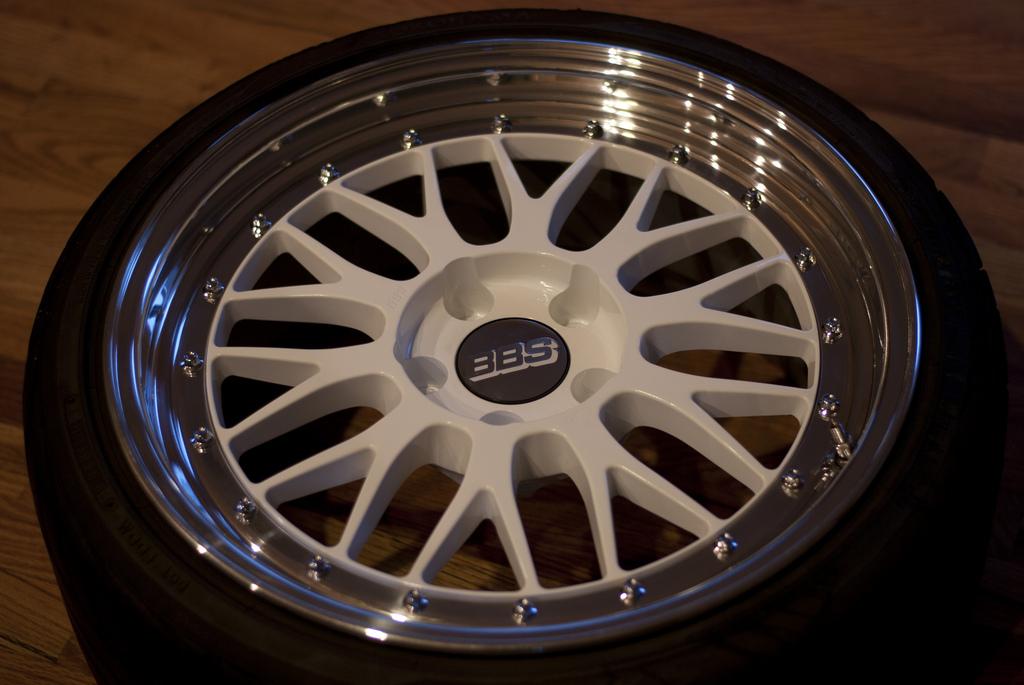
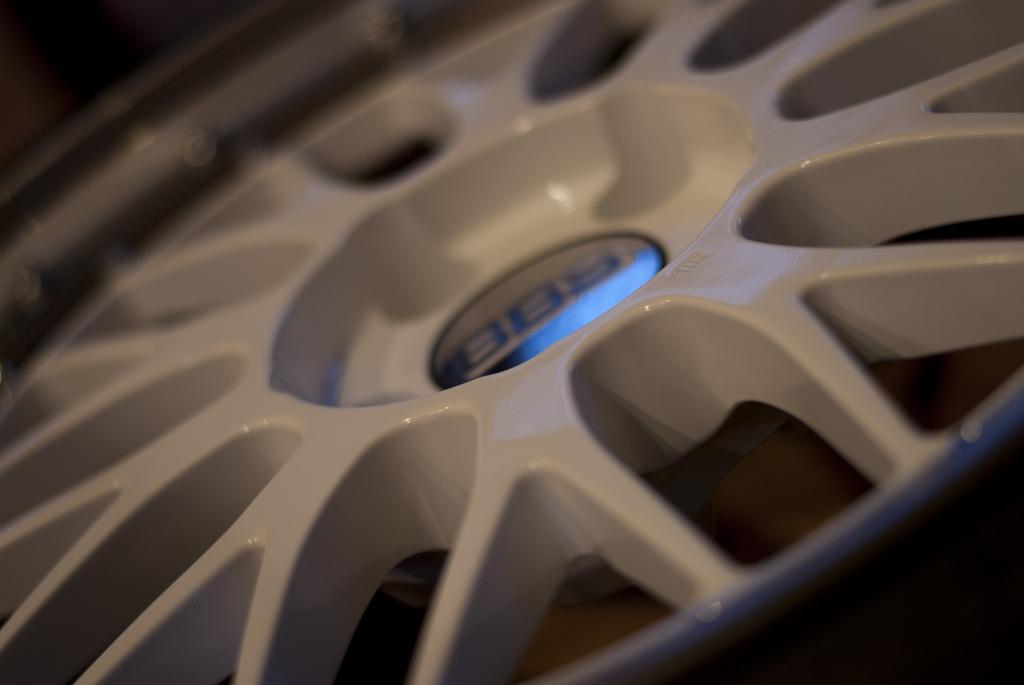
2/13/12
Bolts all cleaned up from a year of use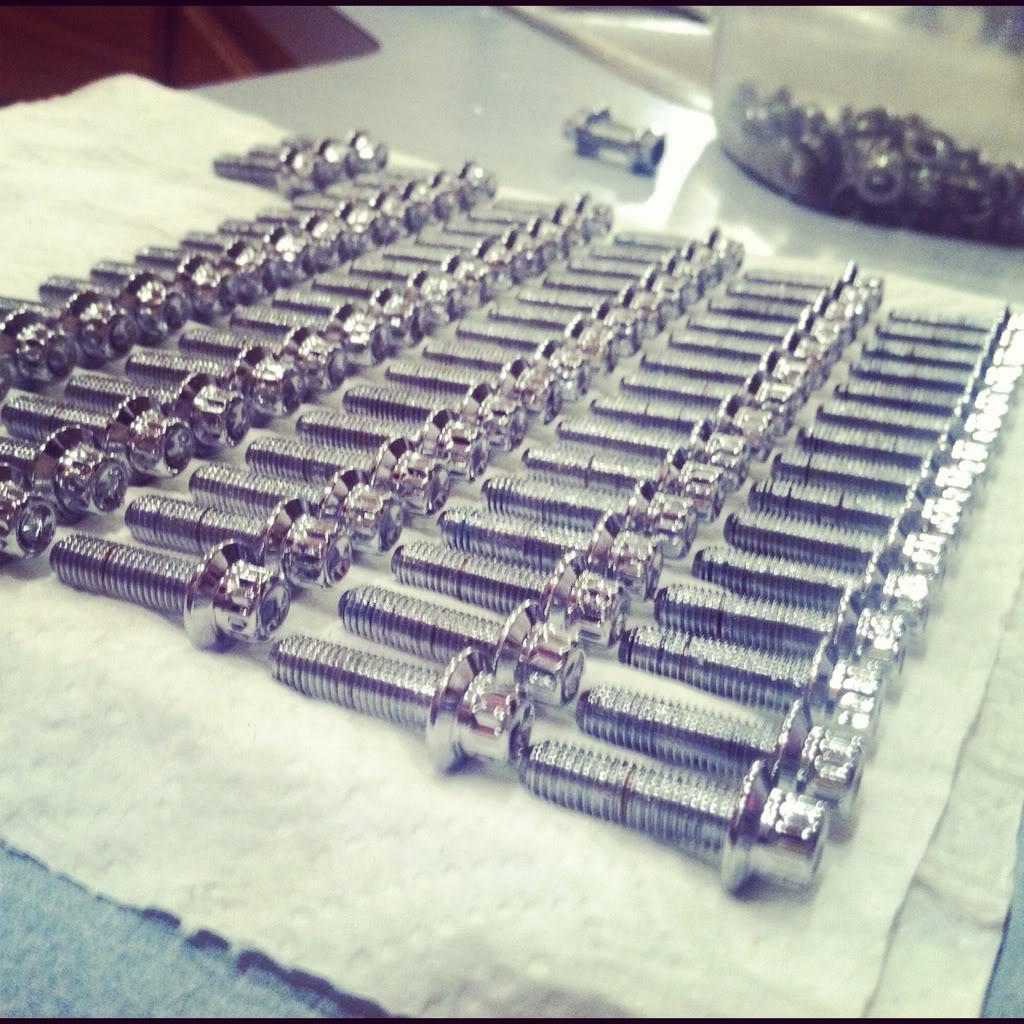

After the lips received some TLC the wheels were reassembled:
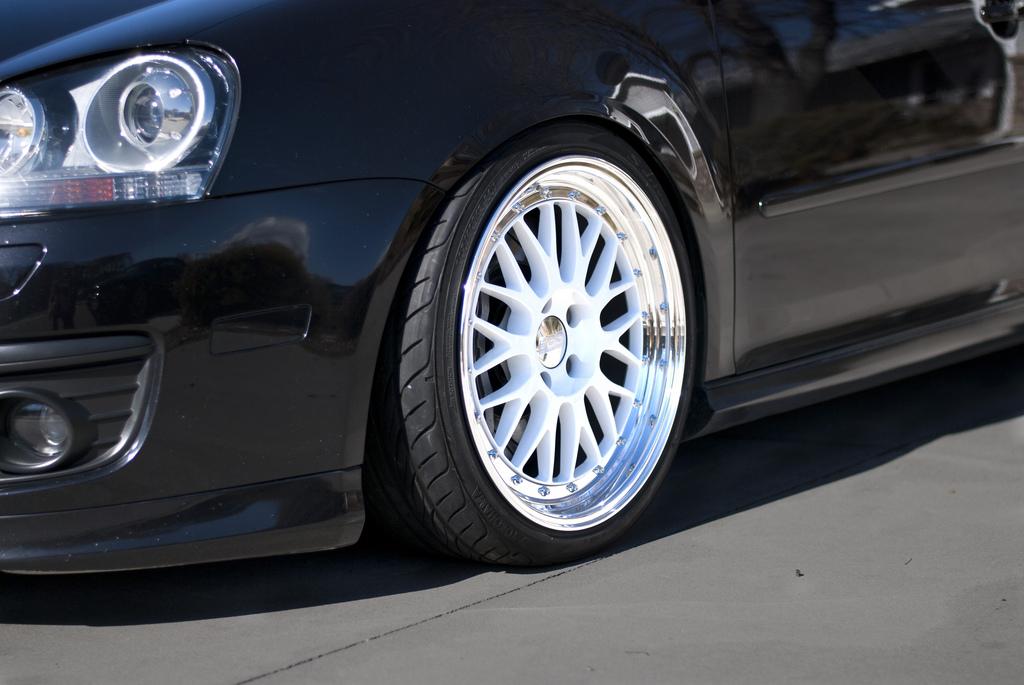
I threw them on the car, well the fronts are on.....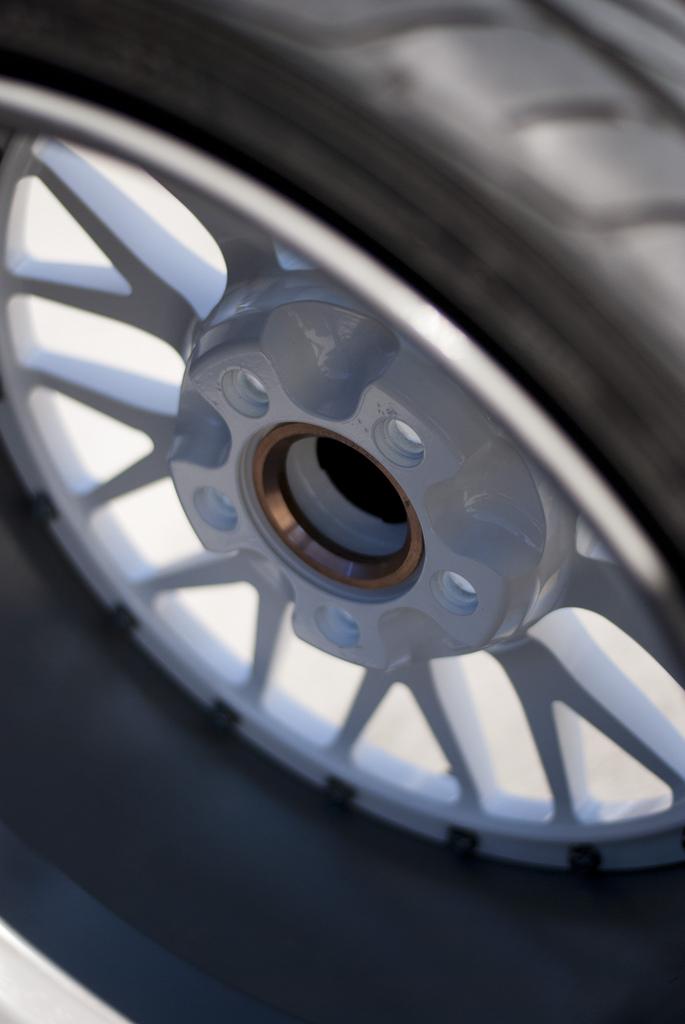

3/26/12
Finally replaced the nasty generic flat-head screws holding my liens plate on with something more suitable. 
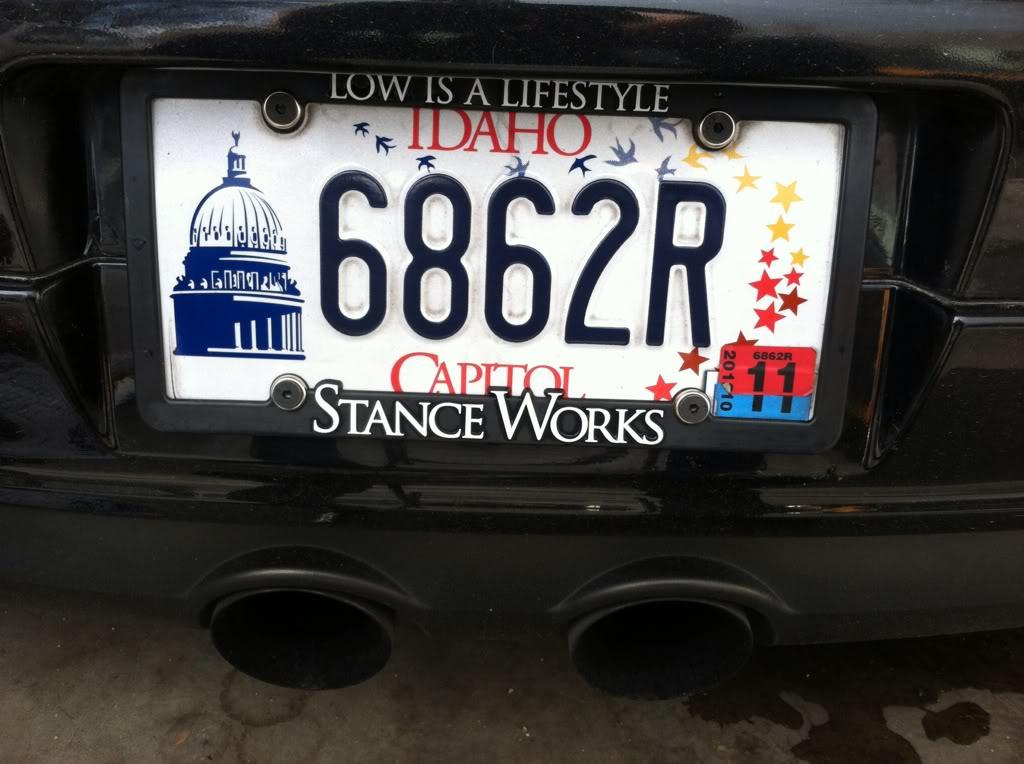
and placed an order for the next update: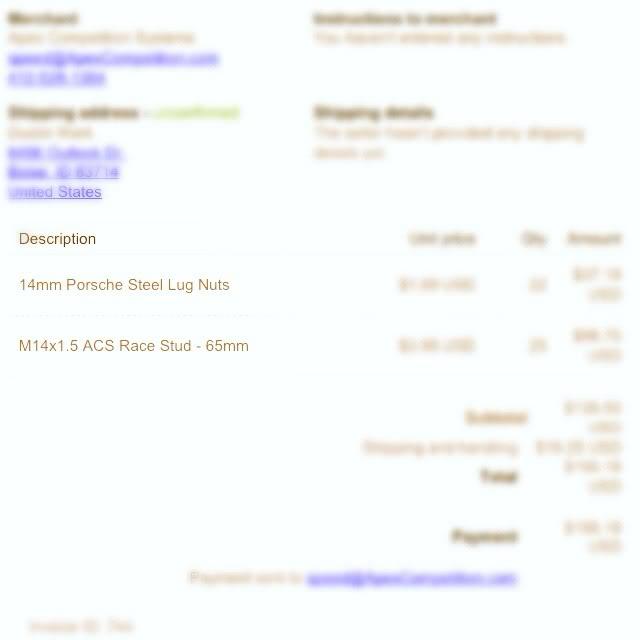
3/31/12
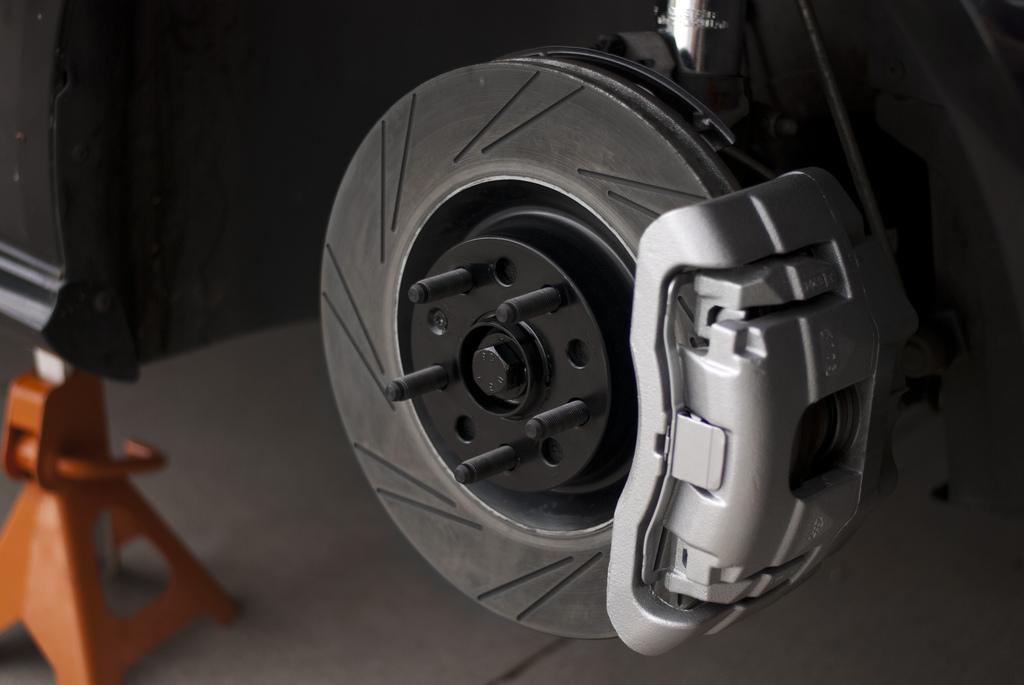
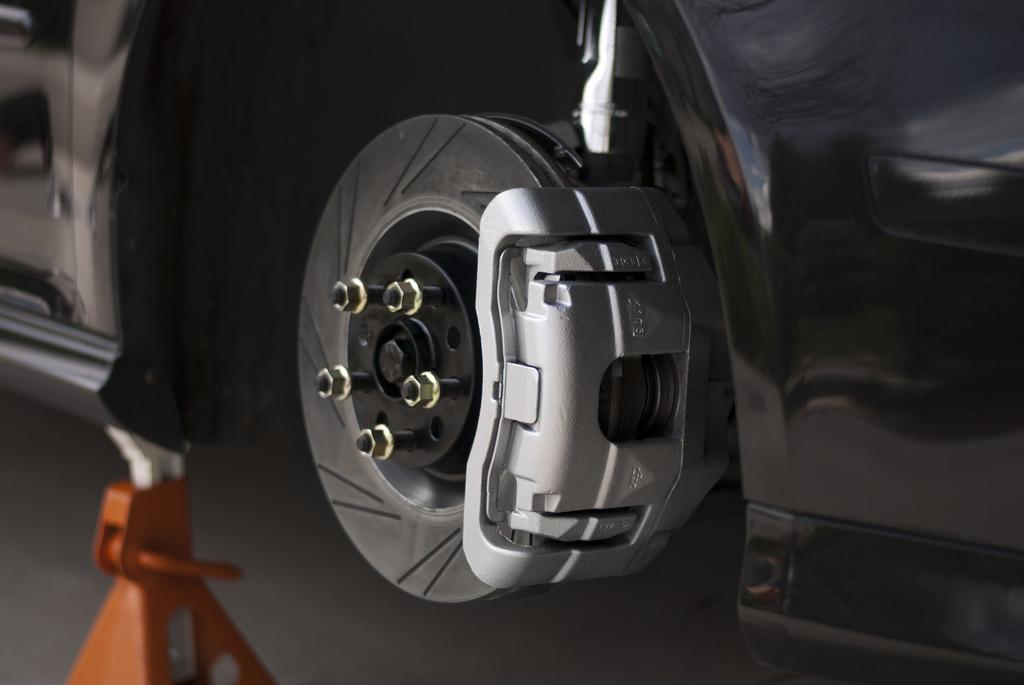
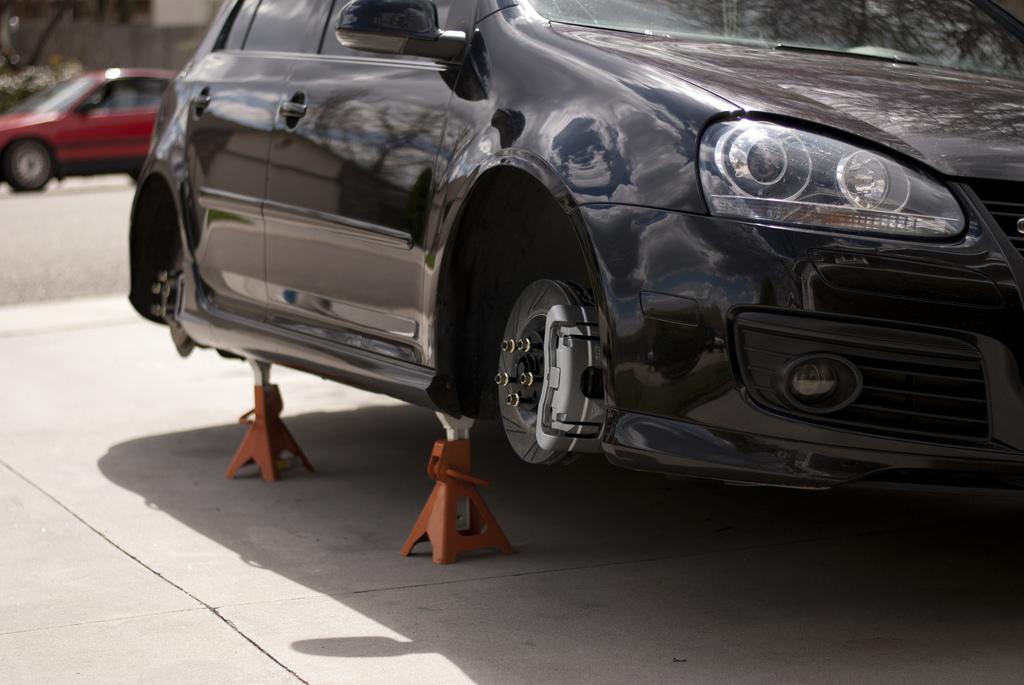
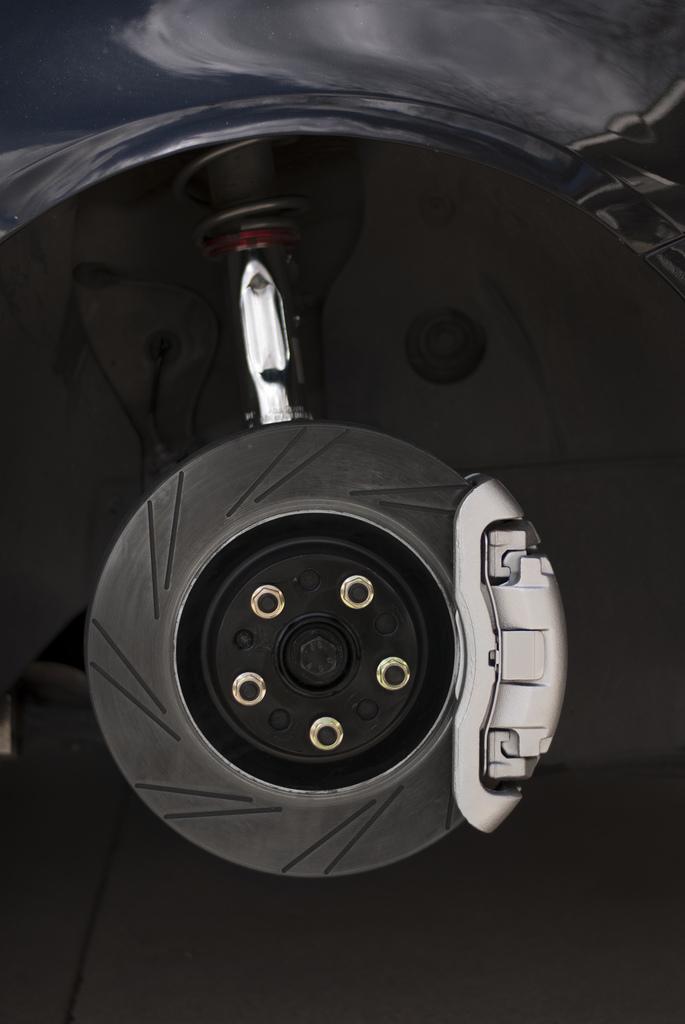
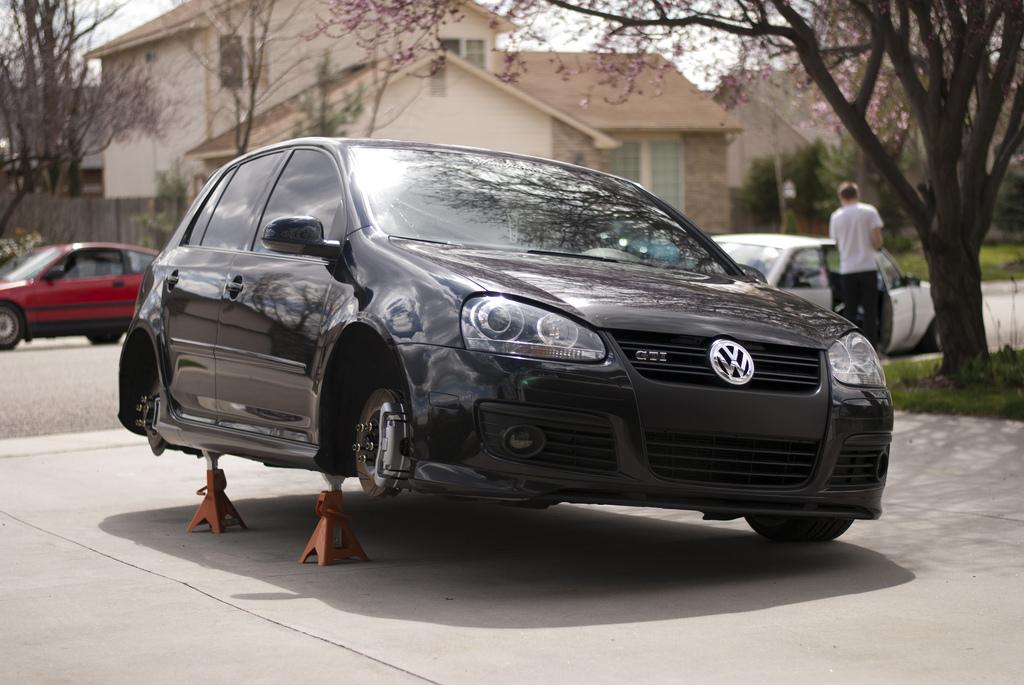
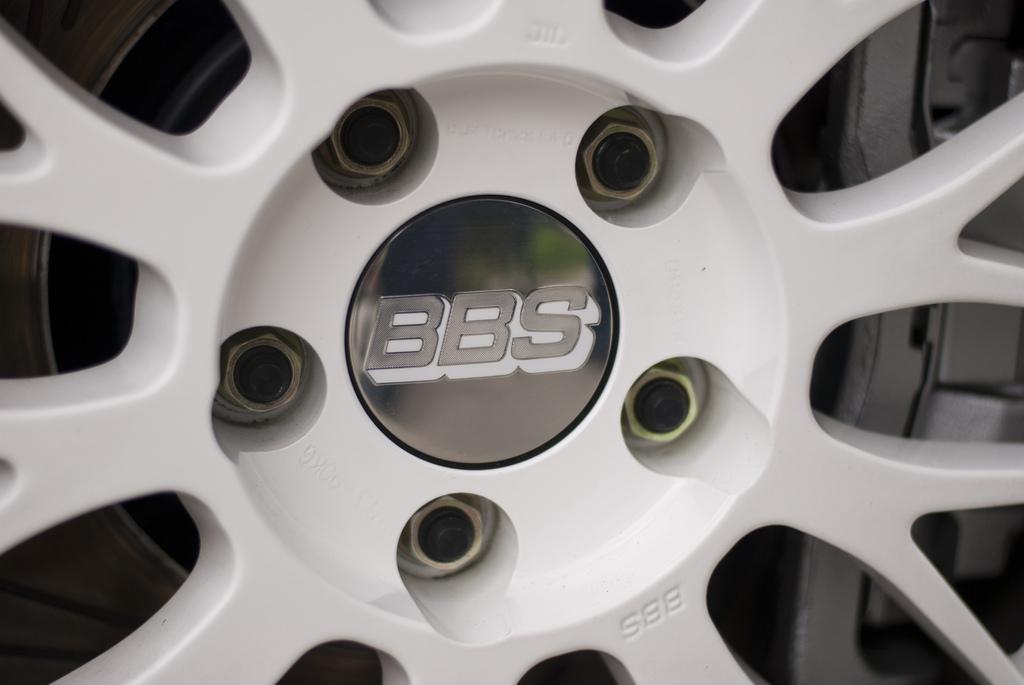
Had a fun day of car stuff today, which included installing my stud conversion! I had a stripped/cross-threaded lug bolt so this was necessary. Went with 65mm M14 1.5 studs with a "mini-bullet nose" and yellow zinc Porsche lug nuts. Didn't run into any issues, even retapping the stripped out hole went smoothly. Glad to report putting my wheels back on was MUCH easier. Anyway, here are some pictures...


4/3/12
Yesterday I received two small OEM+ parts from http://www.vwvenison.com
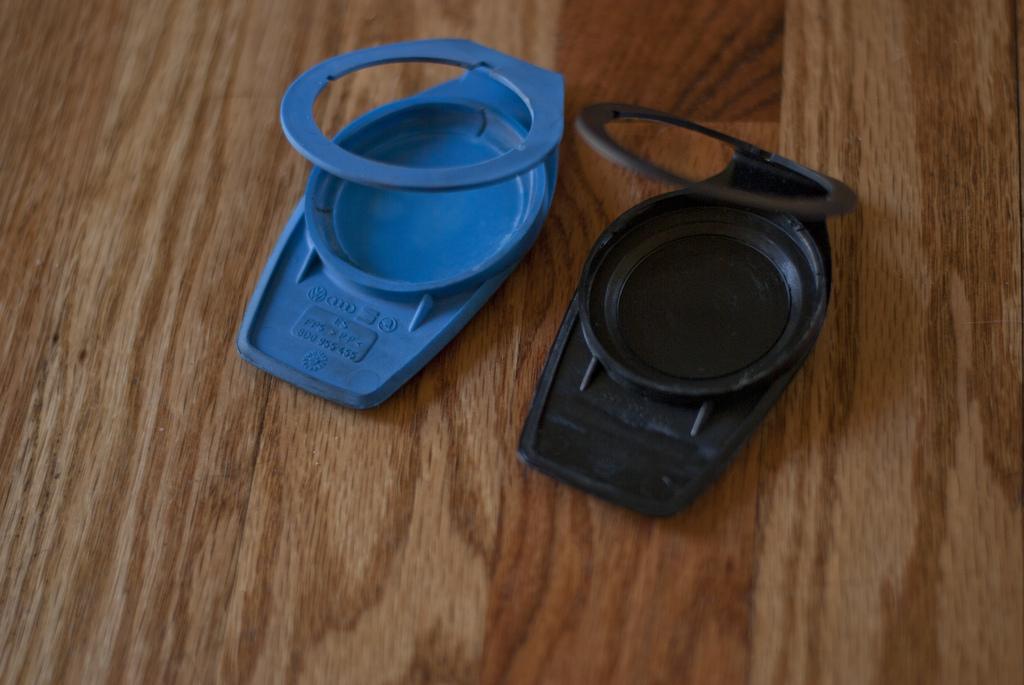
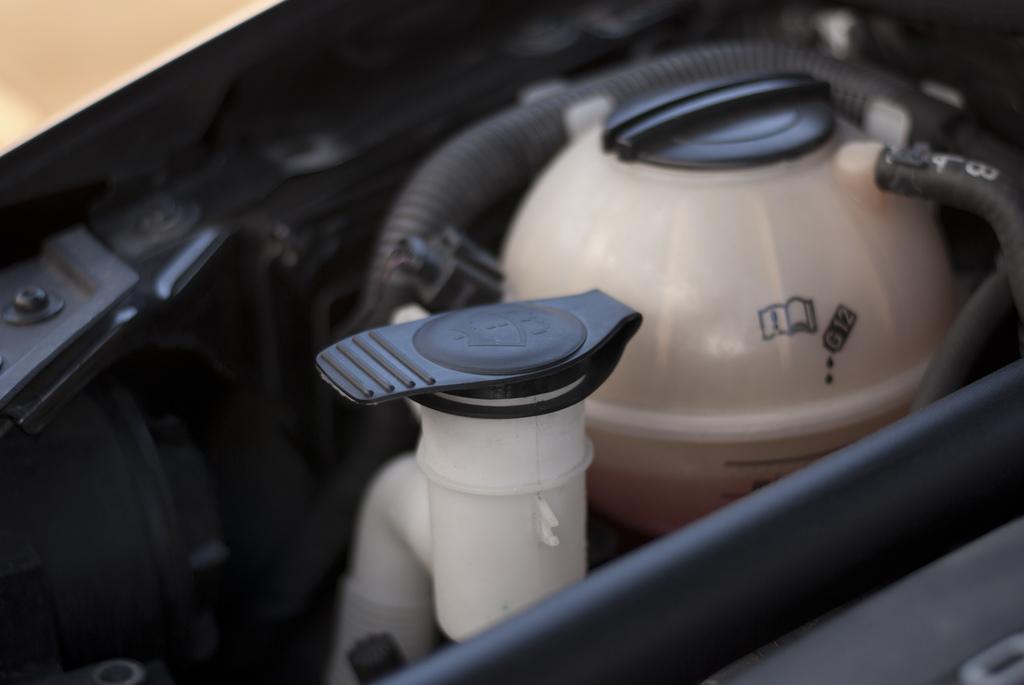
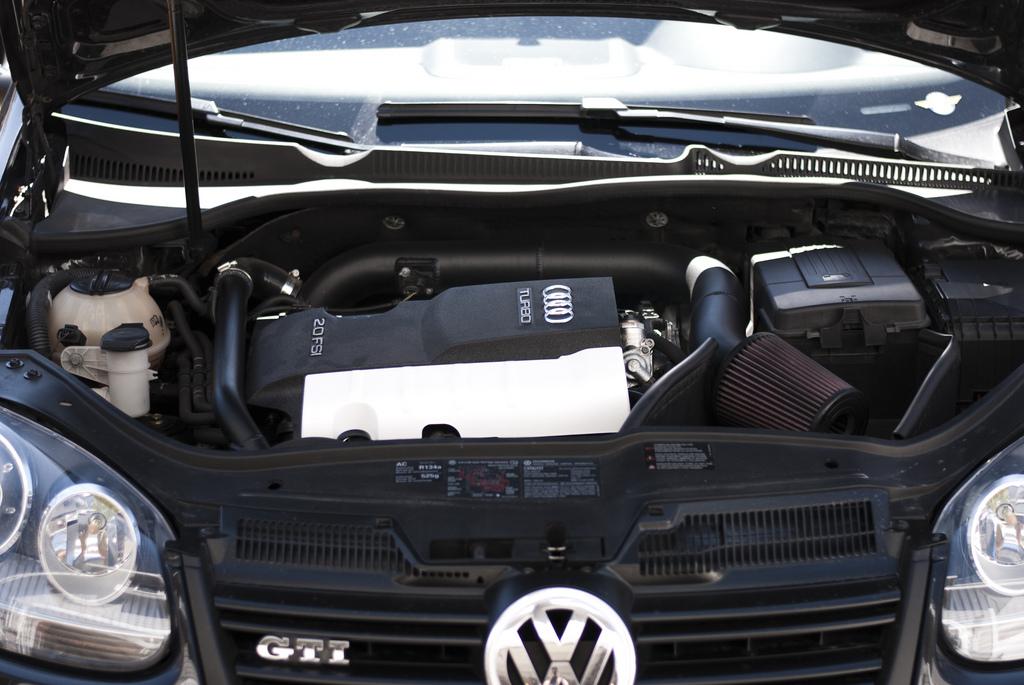
The first was an OEM replacement black washer fluid reservoir cap to replace the ugly blue one. Install was stupid easy as one would expect, remove old, put the new one on.
The next piece I got was a black OEM replacement for the hazard switch. 
For being such a small little piece of plastic it was a bitch to install. To be fair, it was a simple install, but removing some stubborn pieces sucked.
This is the red hazard switch/button that is going to be replaced
The first step is to pry off the center vent. I used two small flat head screw drivers toward the windshield, stuck them between the vent and trim, pulled, it popped right out. Next remove the screw in the center close the the windshield (white arrow).
After the single screw is removed the vent assembly should pull out (it is clipped in so just give it a pull).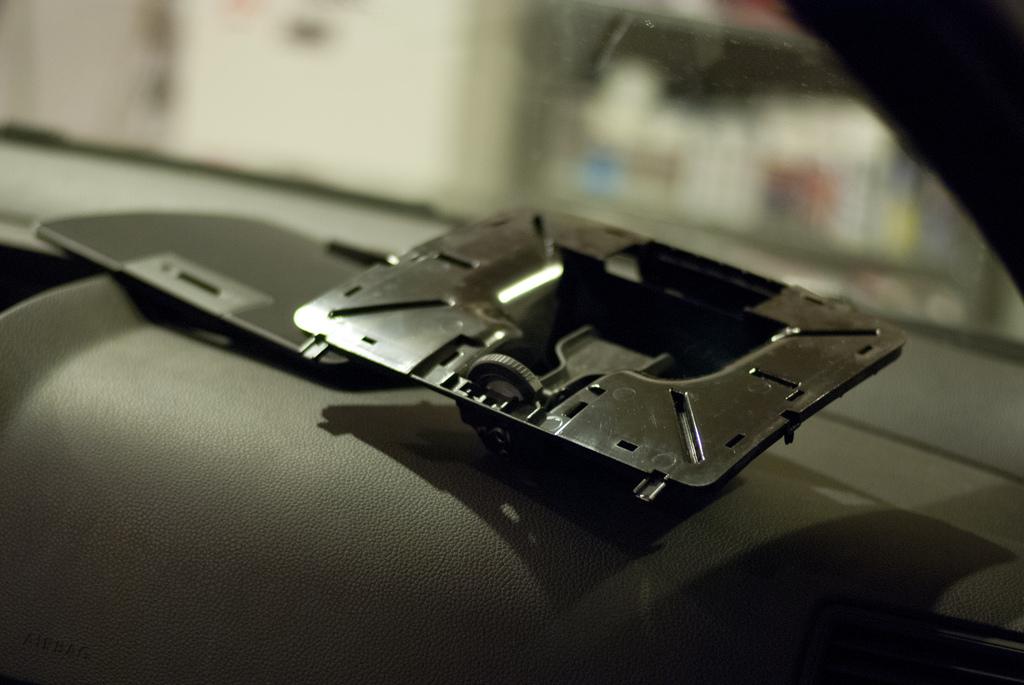
Now there should be two screws holding in the upper trim piece (that contains the hazard switch). Remove these two screws (white arrows). This is where is gets frustrating. After the two screws are removed you need to pull the trim out, it is clipped in and mine did NOT want to come out. After a long period of time of pulling it finally came out. Remember to unplug the Passenger Airbag light and Hazard light.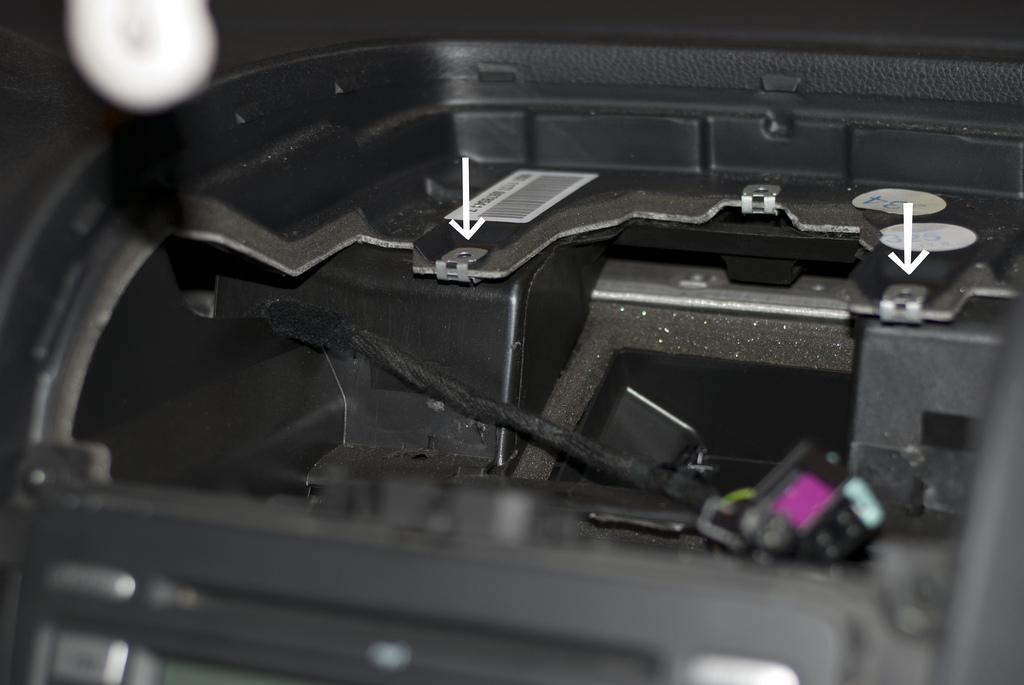
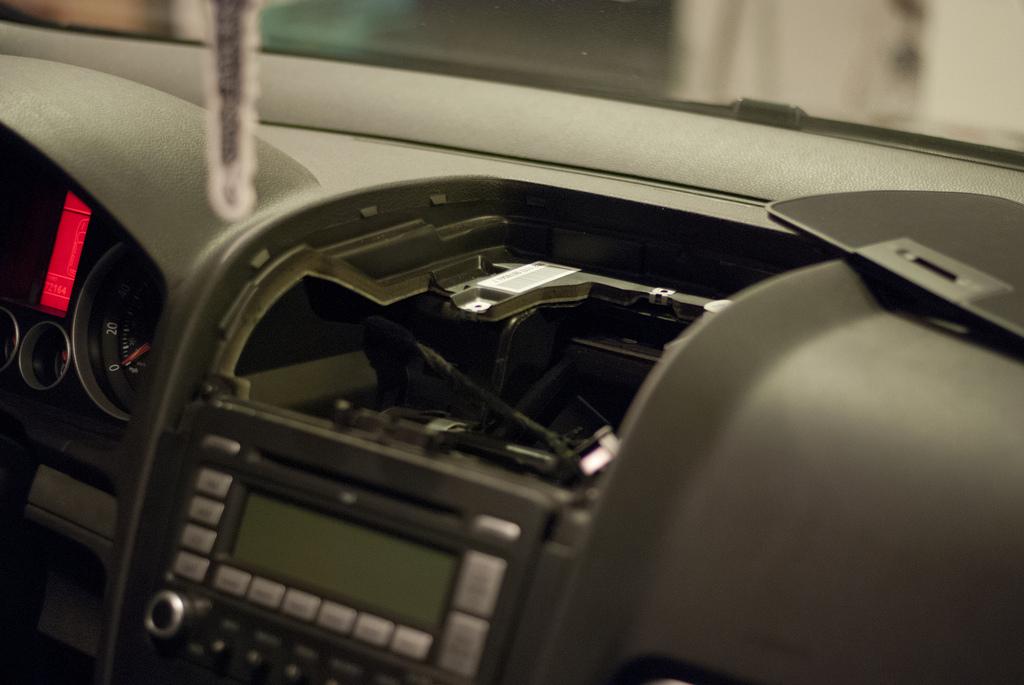
Next step is to remove the hazard button assembly. It is held on on the back by two clips, one on top and one on bottom (bottom shown with white arrow). Undo clips, push from front, and it comes out effortlessly.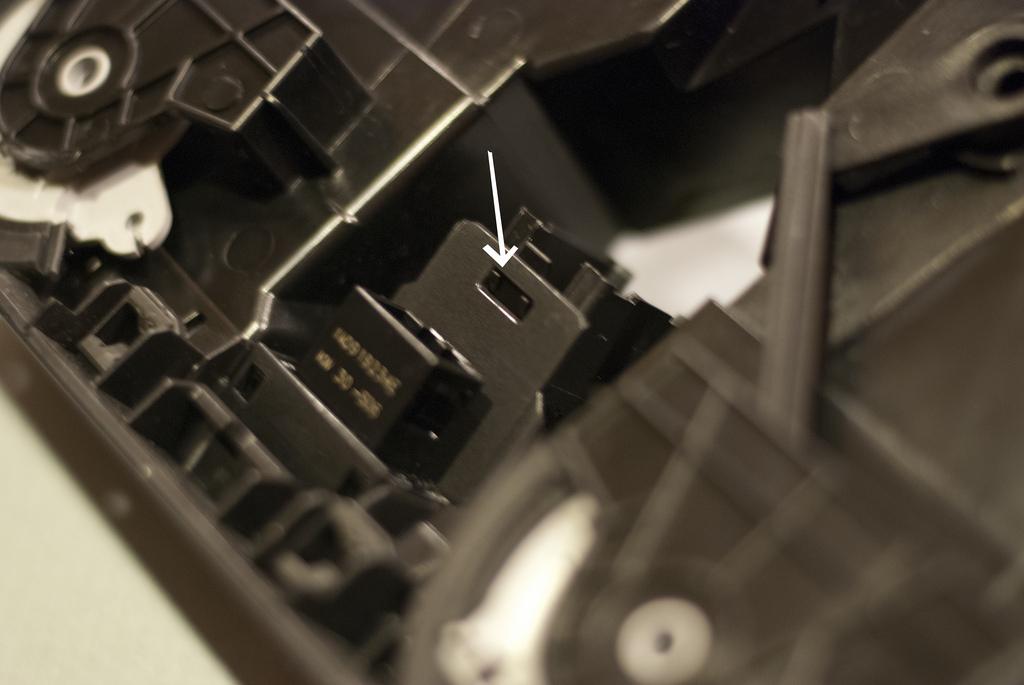
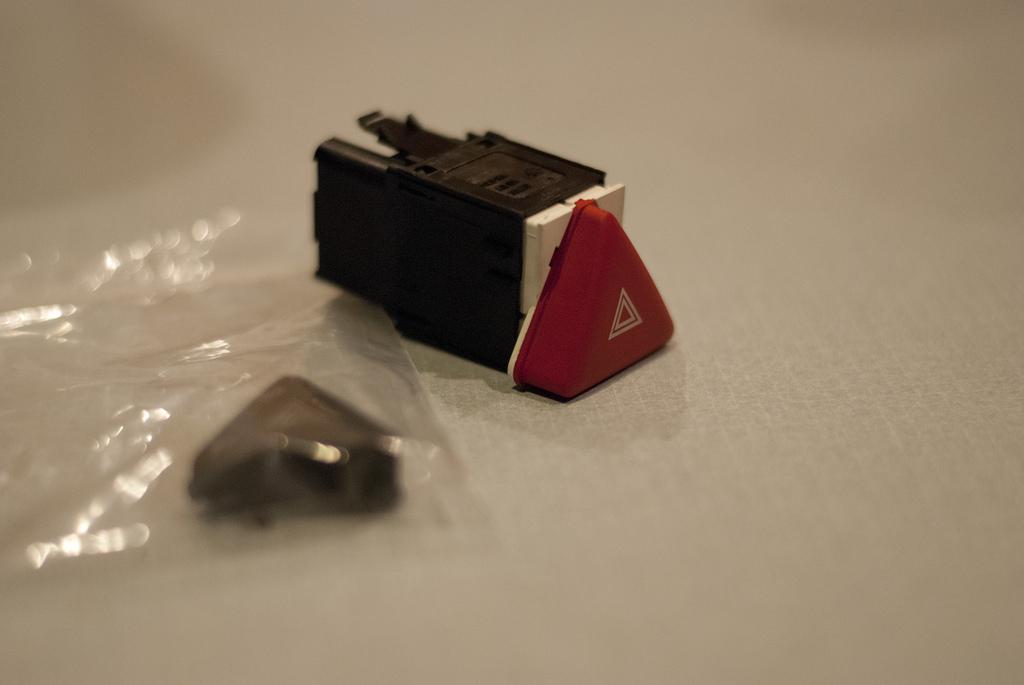
Next you have to pull of the red cover (it is clipped in by two clips towards the top). I applied force, slowly pulled and wiggled, until it popped off. Black one clipped right into its place. 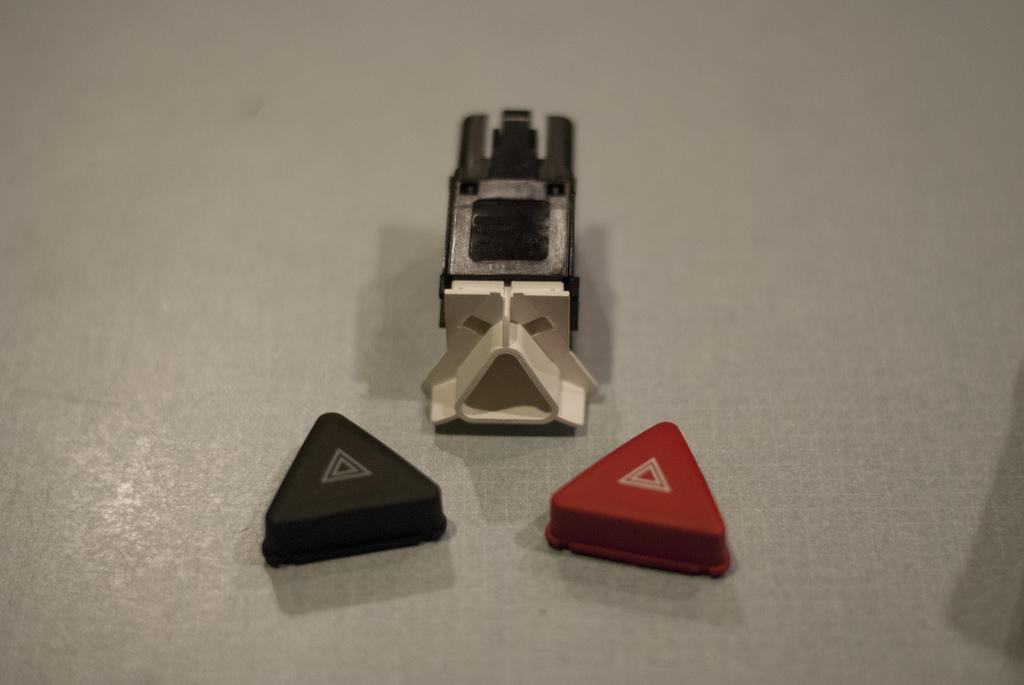

After that is all just putting everything back where it goes. (don't forget to plug the lights back in!!!)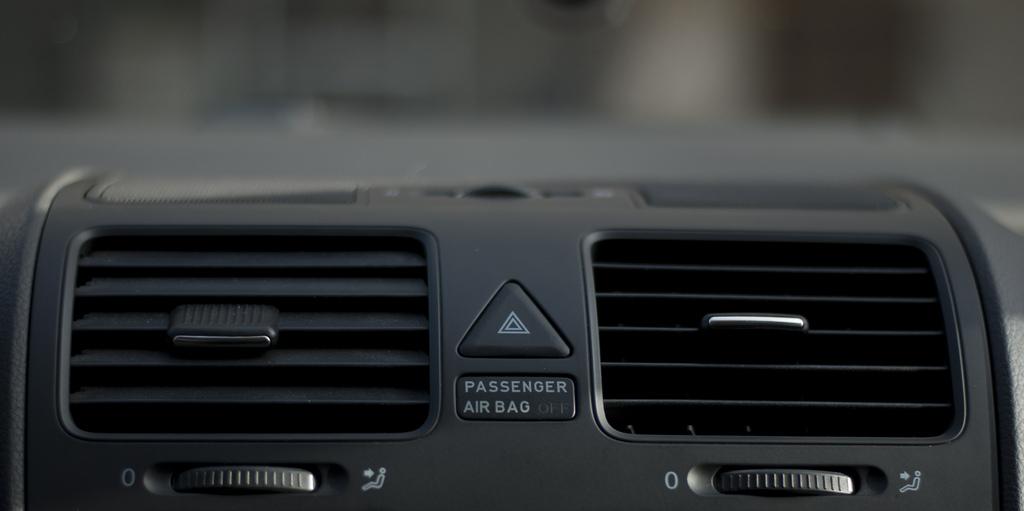
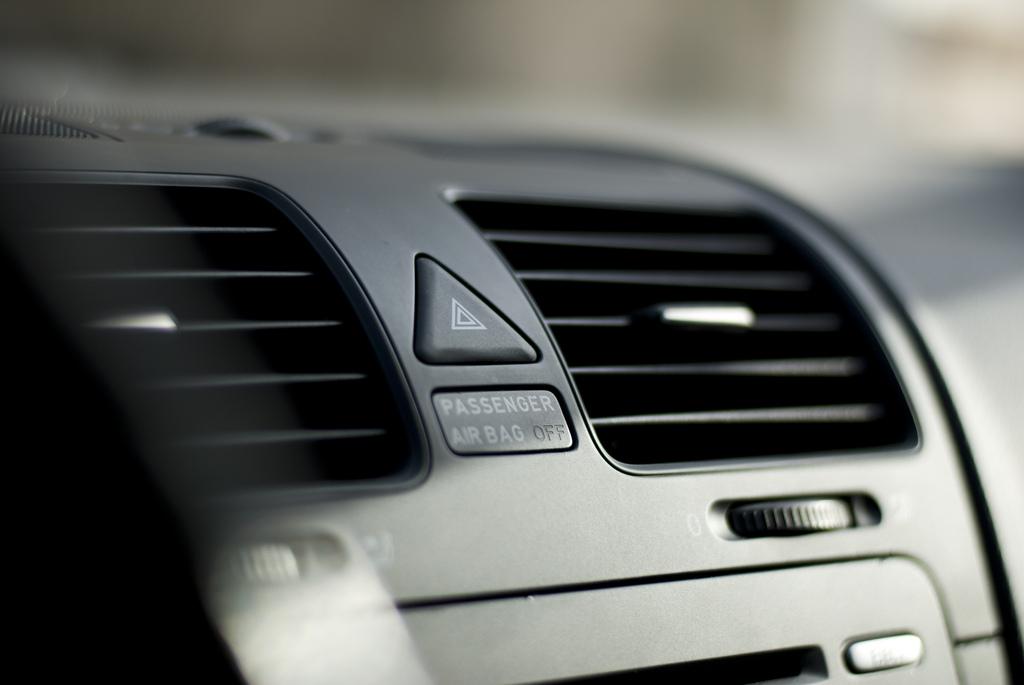
Last thing I wanted to share was a picture with my old lug bolts next to the new studs. Shows the length difference. 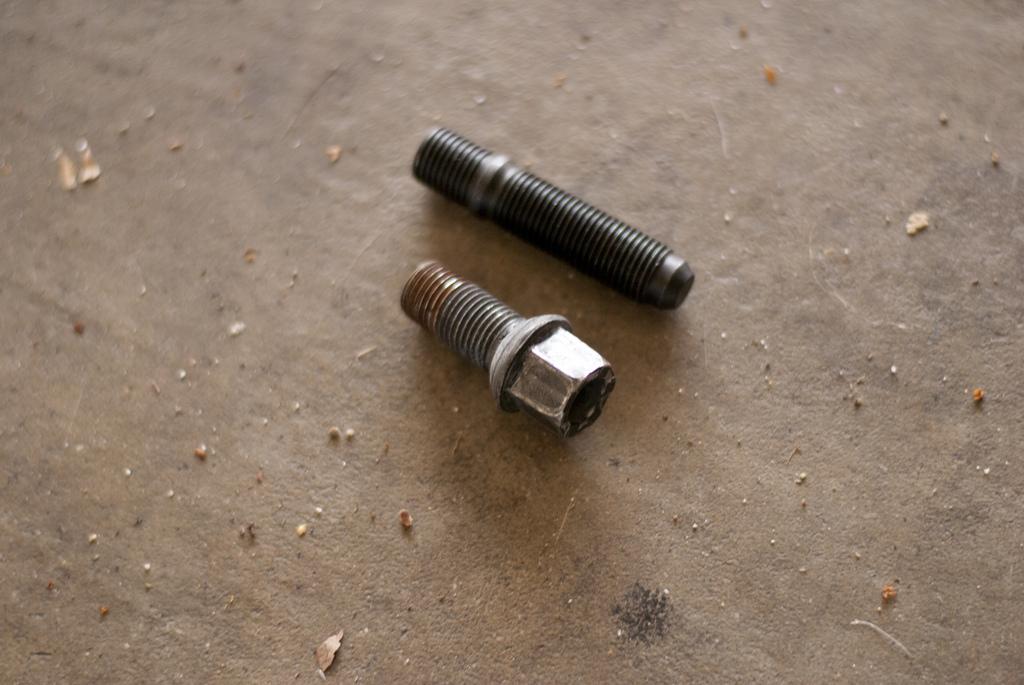
7/14/12
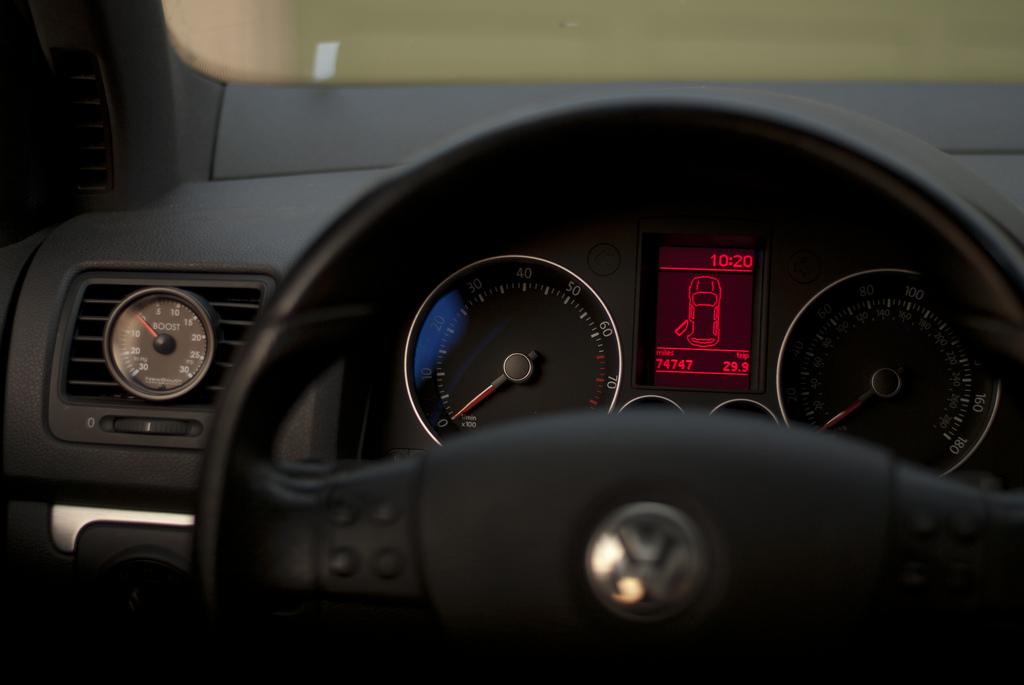
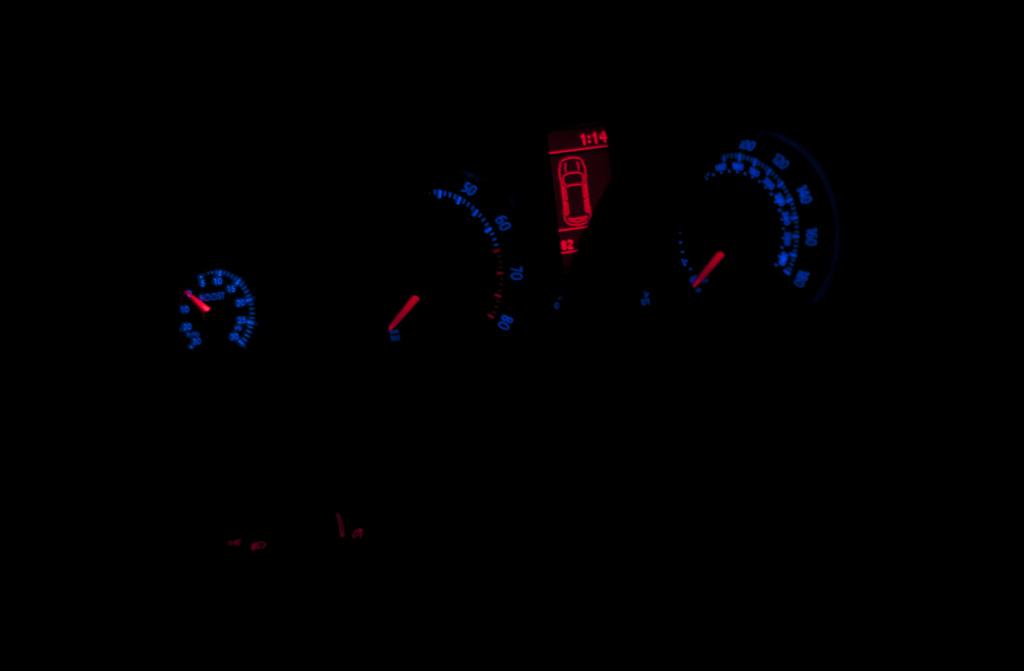
Another small detail for my interior as it seems my interior is pretty boring and stock. This will also of course help me monitor my boost levels. Install wasn't too bad except for the stupid vampire clips which did not work. I didn't have my camera on me so I don't have a lot of nice pictures of the install, but I did have this new fancy thing called a Phocus for my iPhone which allows you to use lens attachments on the phone's camera (Will be posting more about this later).
Here are a few pictures from the install I was able to grab: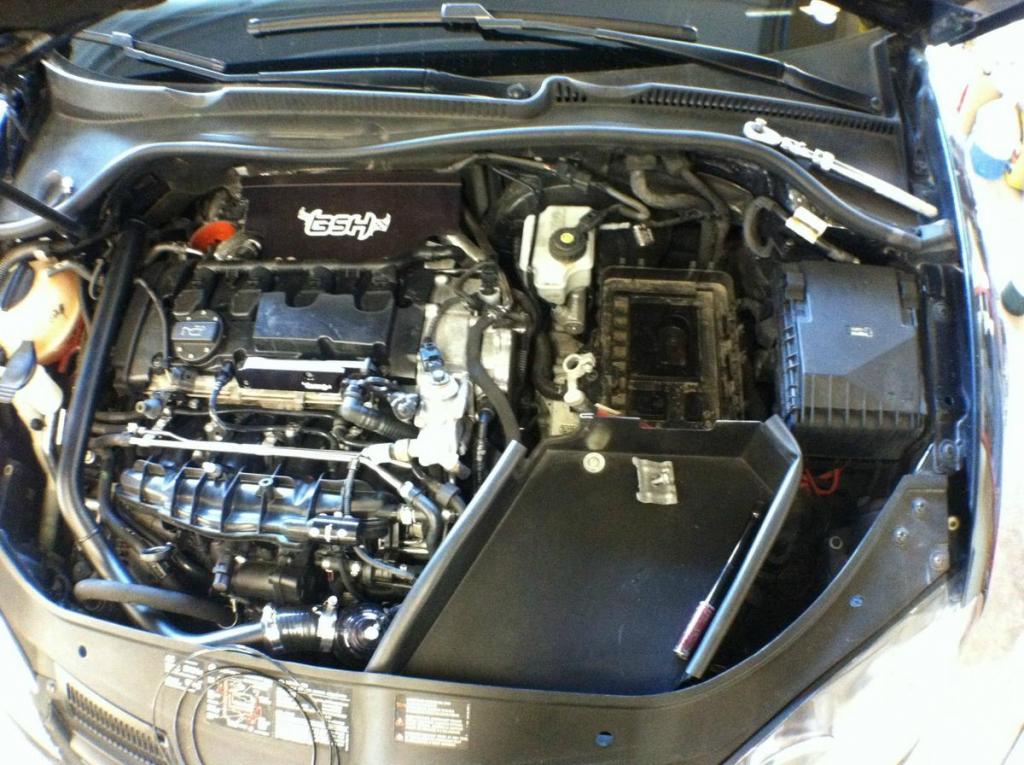
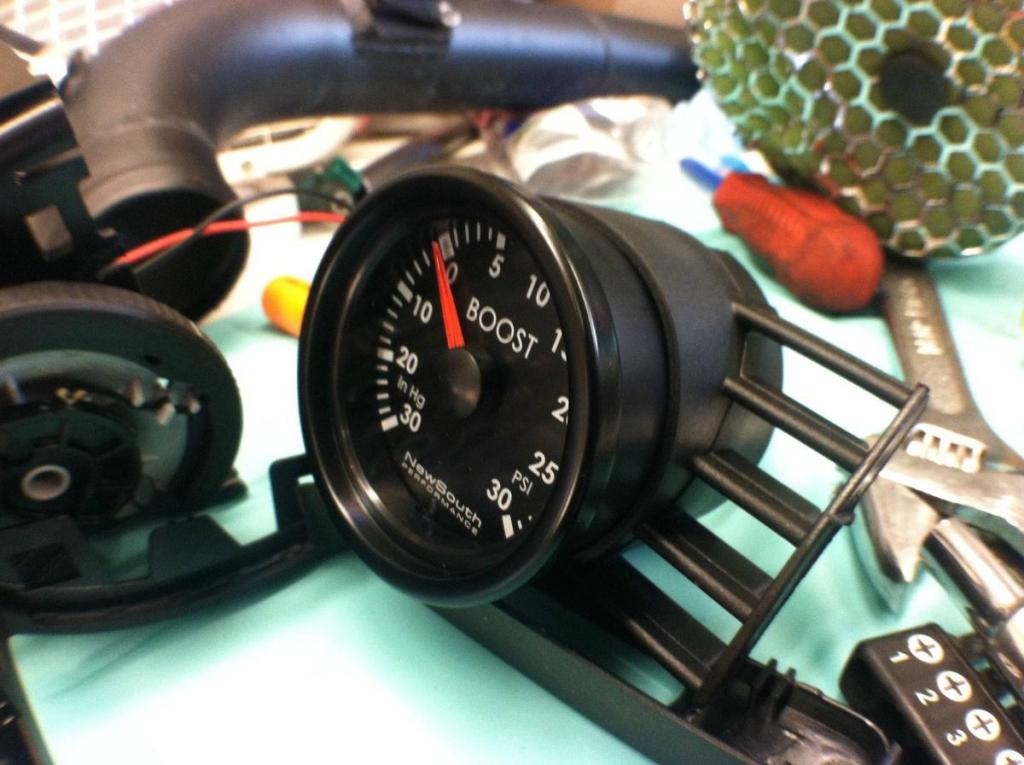
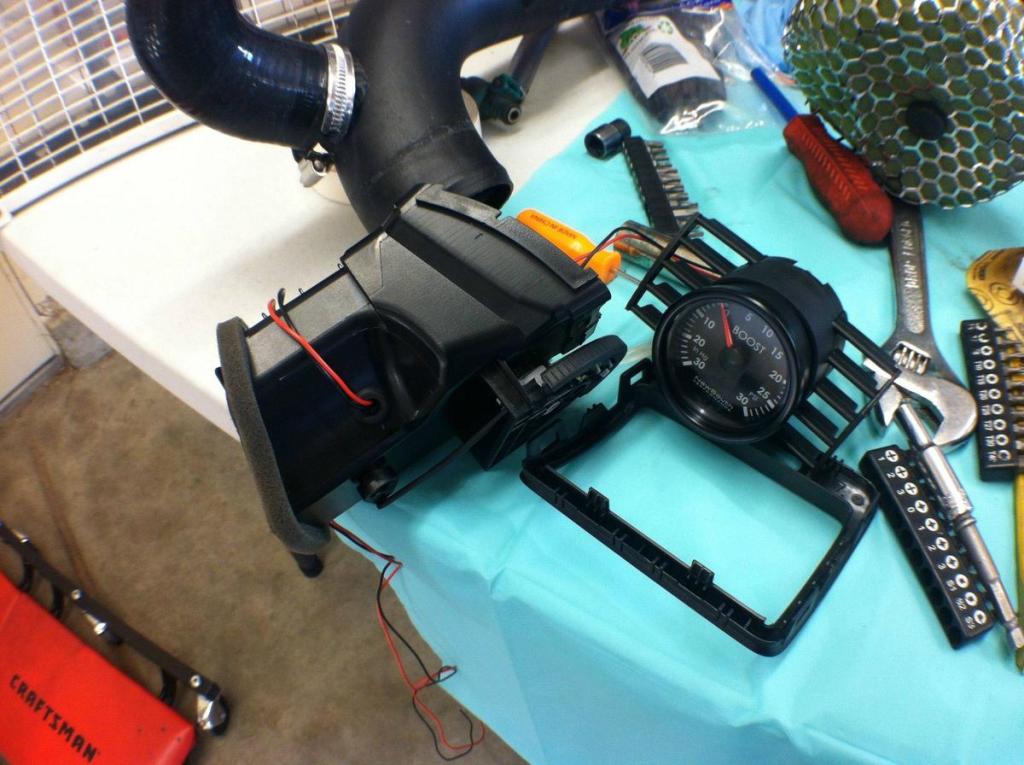
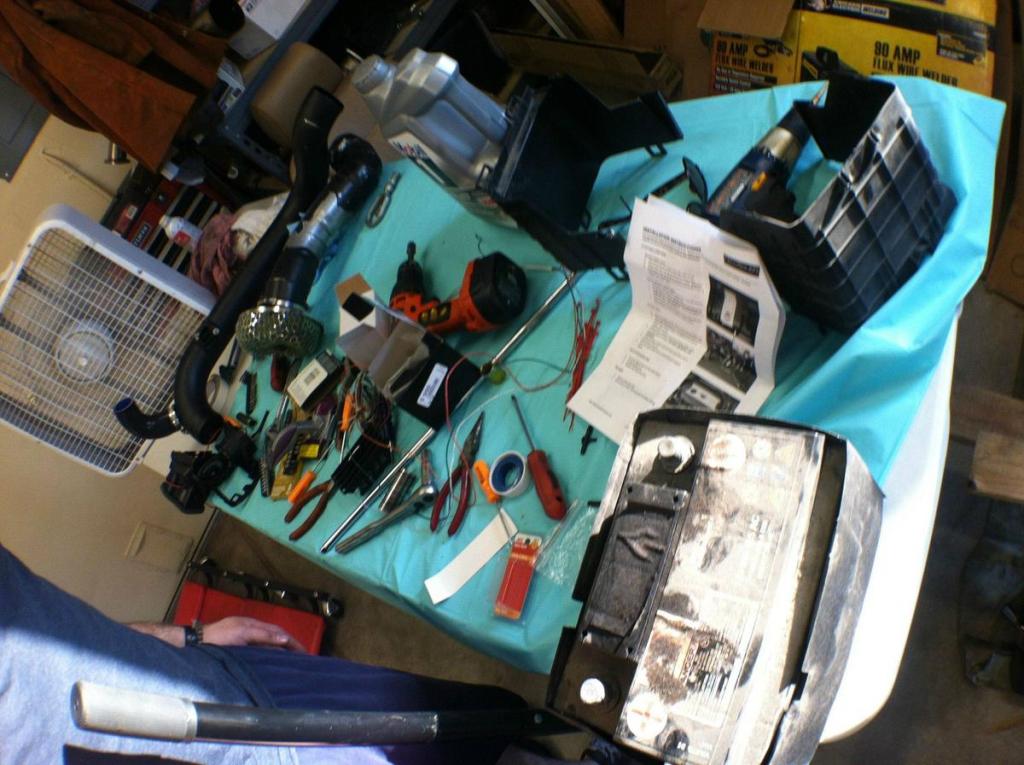
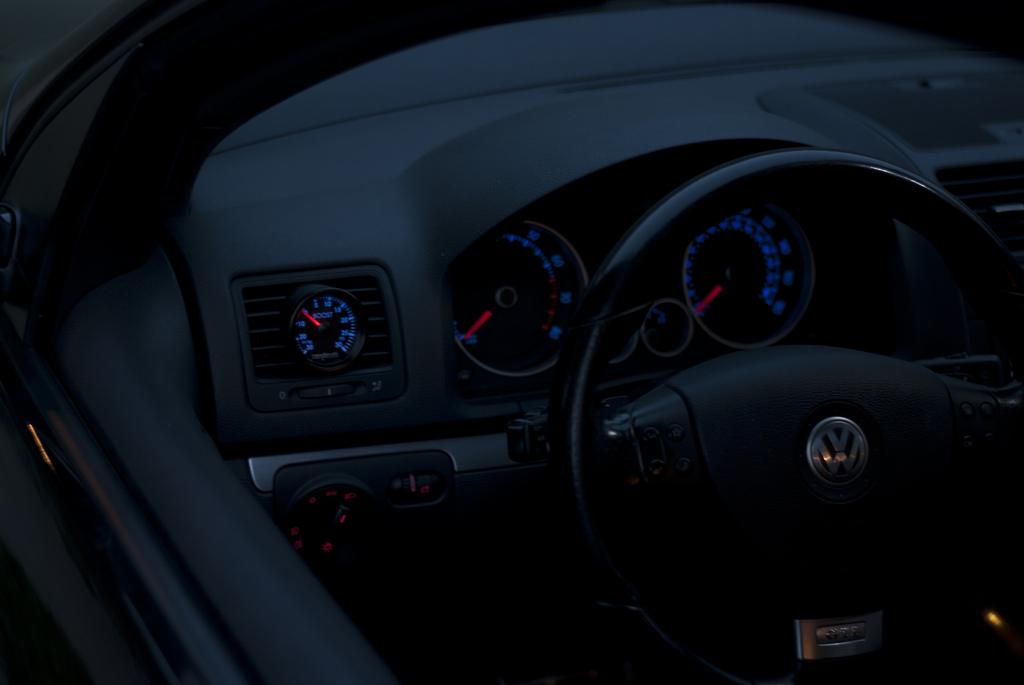
I am very happy with the end result, the match is spot on and is a nice little touch to spruce things up. I was able to hit ~20psi so it seems to work properly and I don't have a leaks. Looks really nice in the light...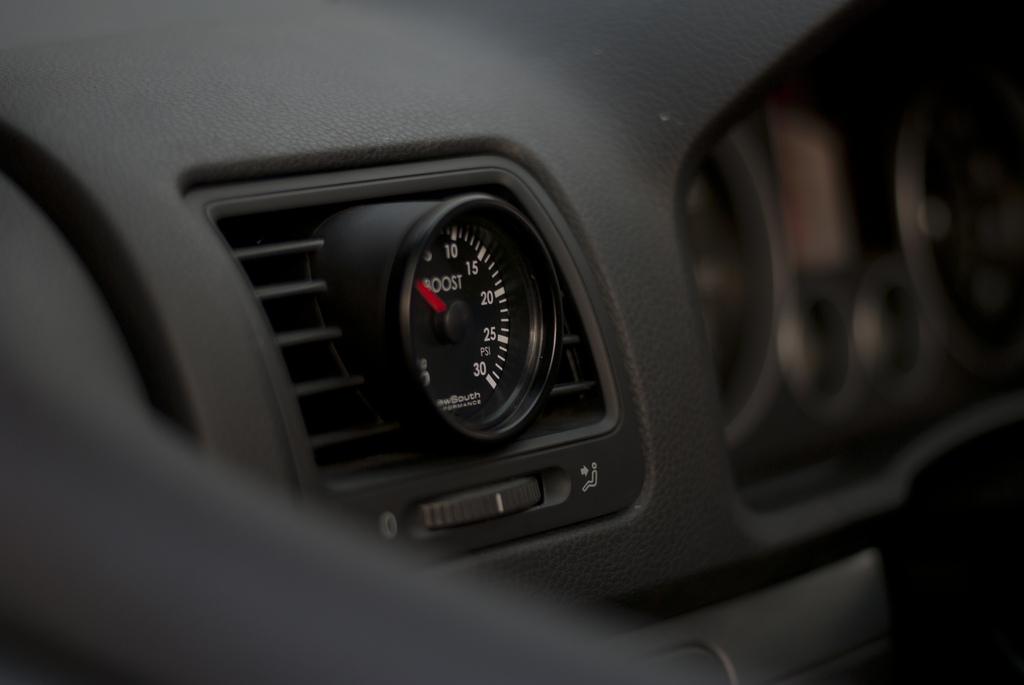
and at night/dusk....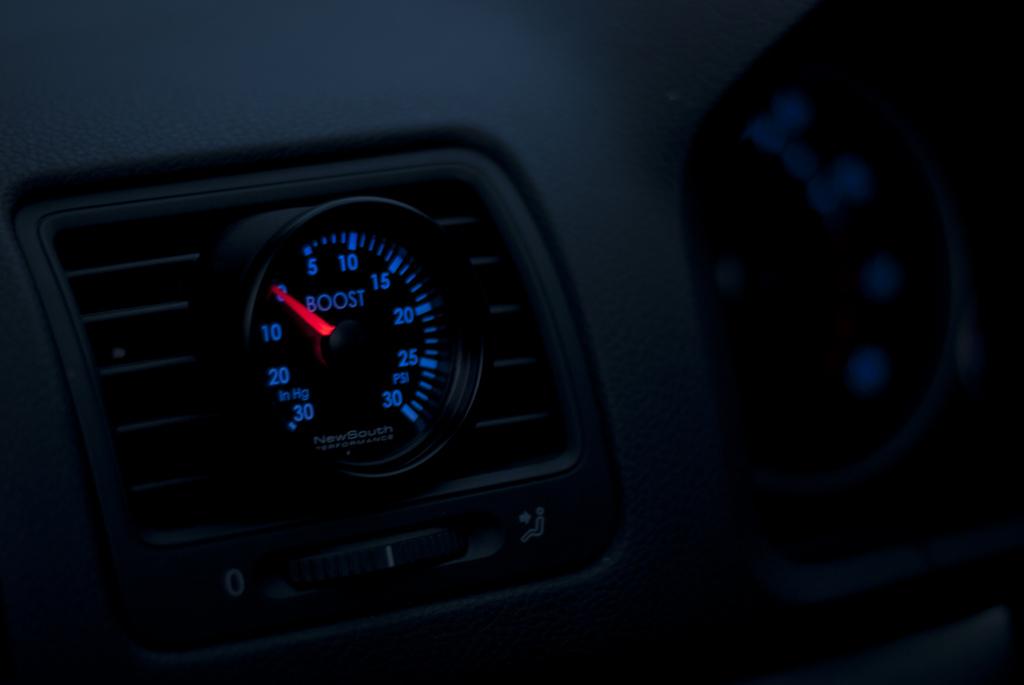

12/18/12
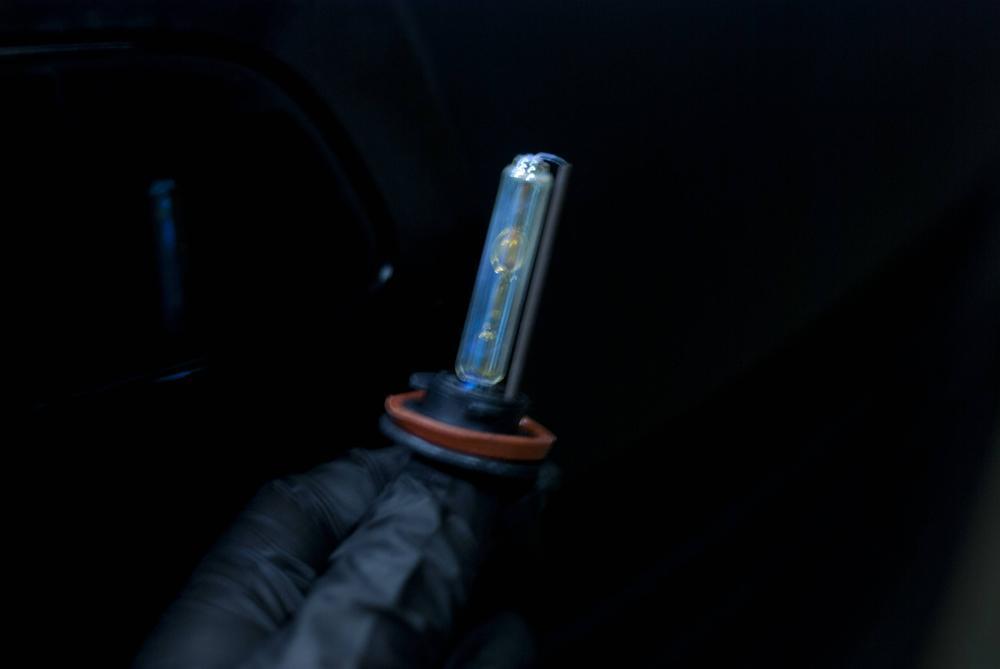
Decided to splurge a little recently and purchased a 3000k HID conversion for my fogs along with some 15mm spacers from 42DD to help with the lack of offset with my winter wheels. HID conversion came in today and I threw it on!
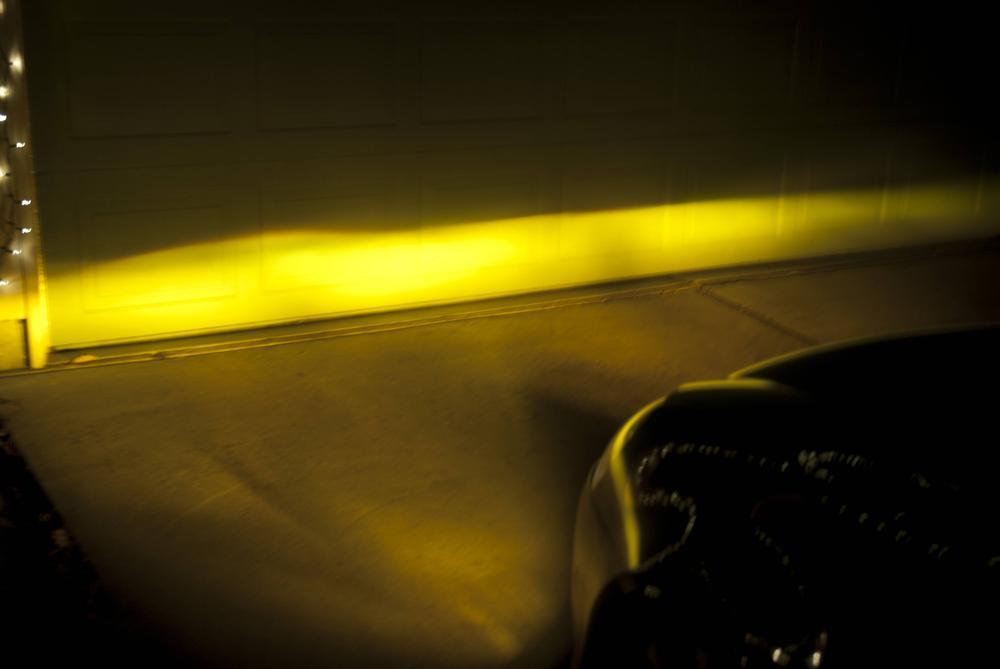
Before pictures with standard yellow Nokia halogen bulbs and OE projector fogs: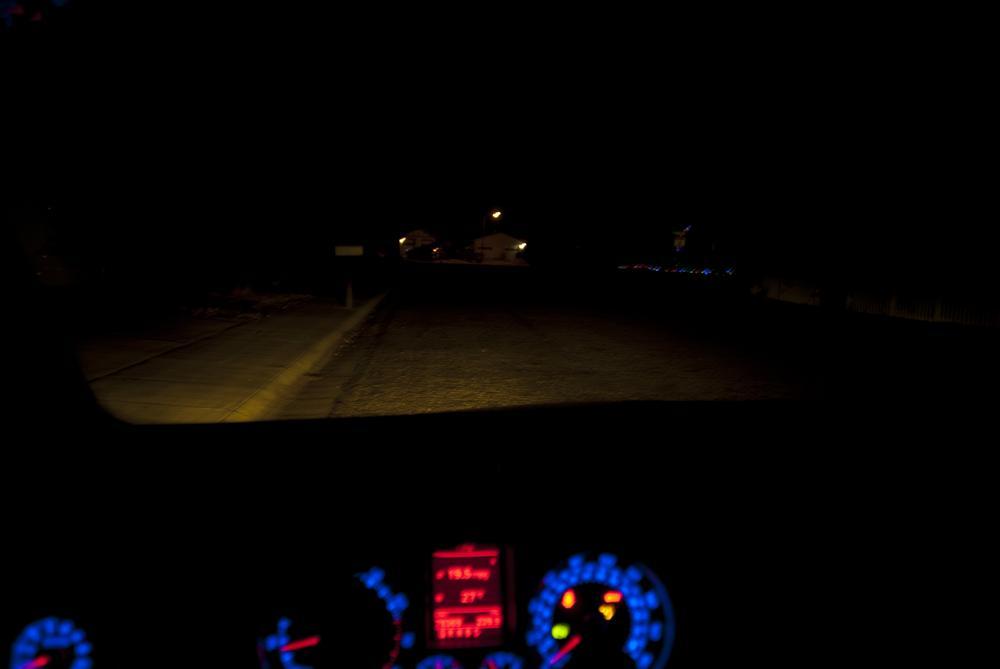
and this is the kit I bought from Ebay for $30!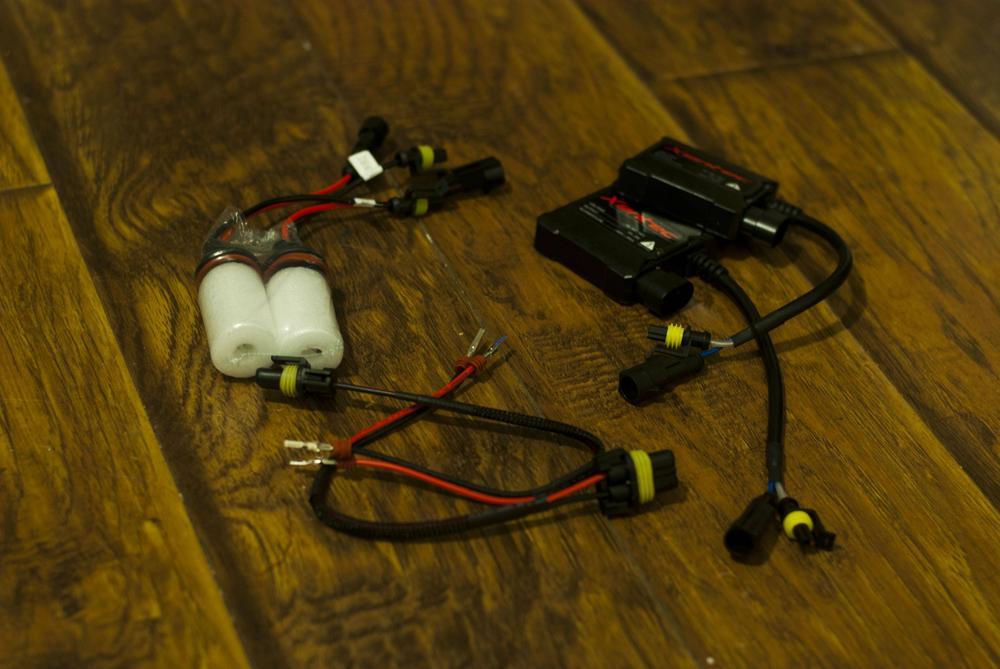
and this is a side by side (Xenon passenger side, Halogen driver's side)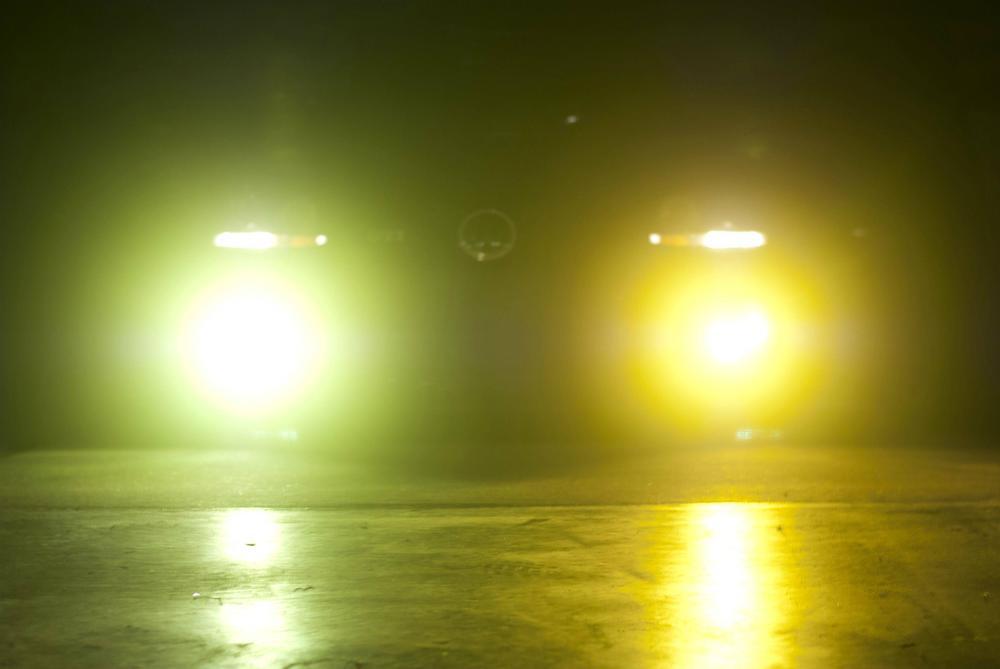
All installed pictures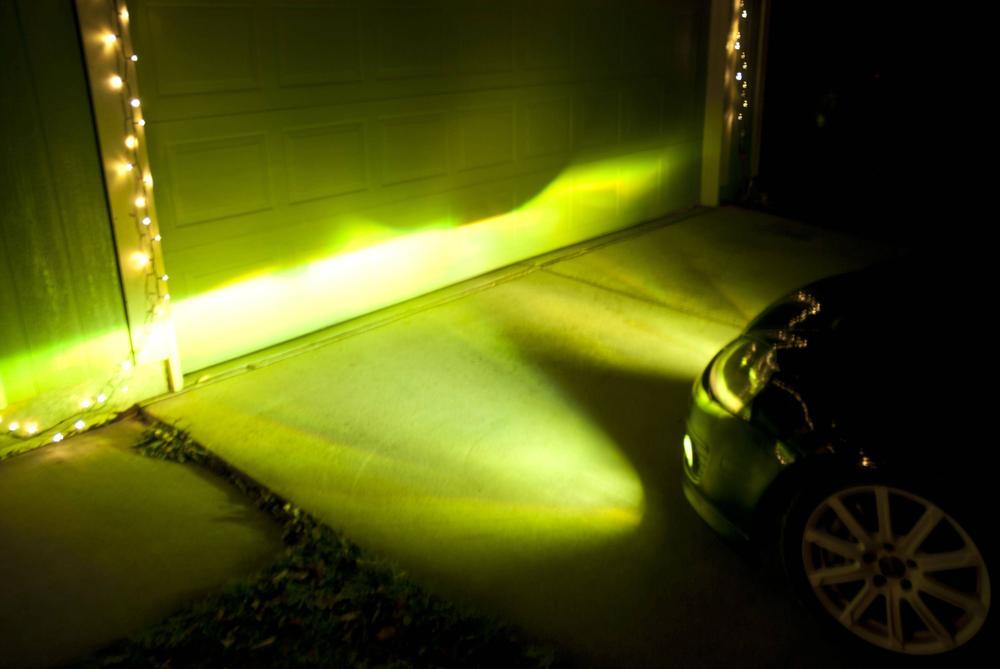
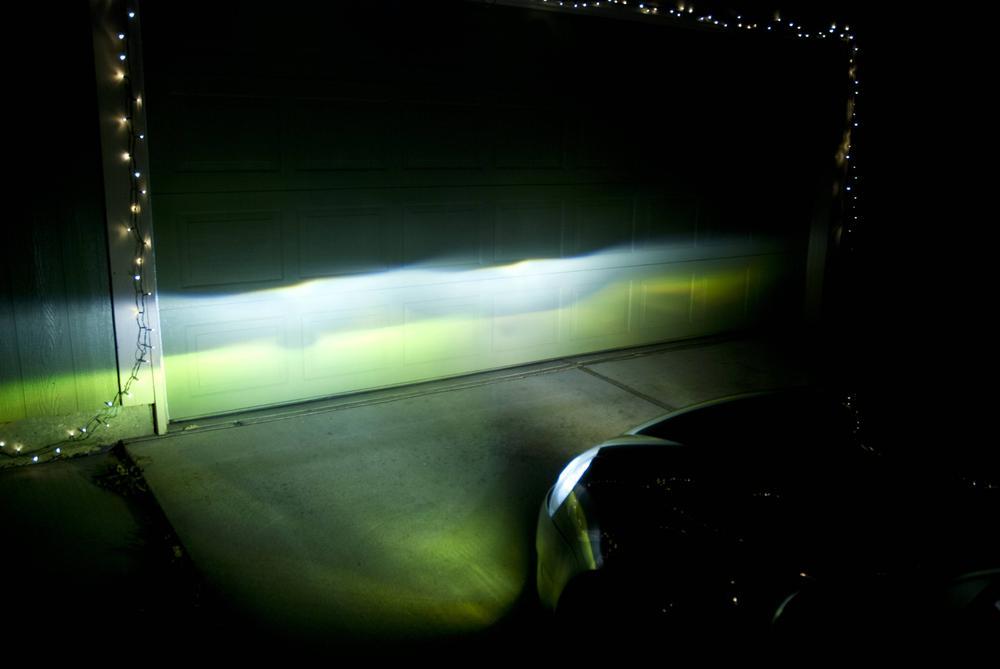
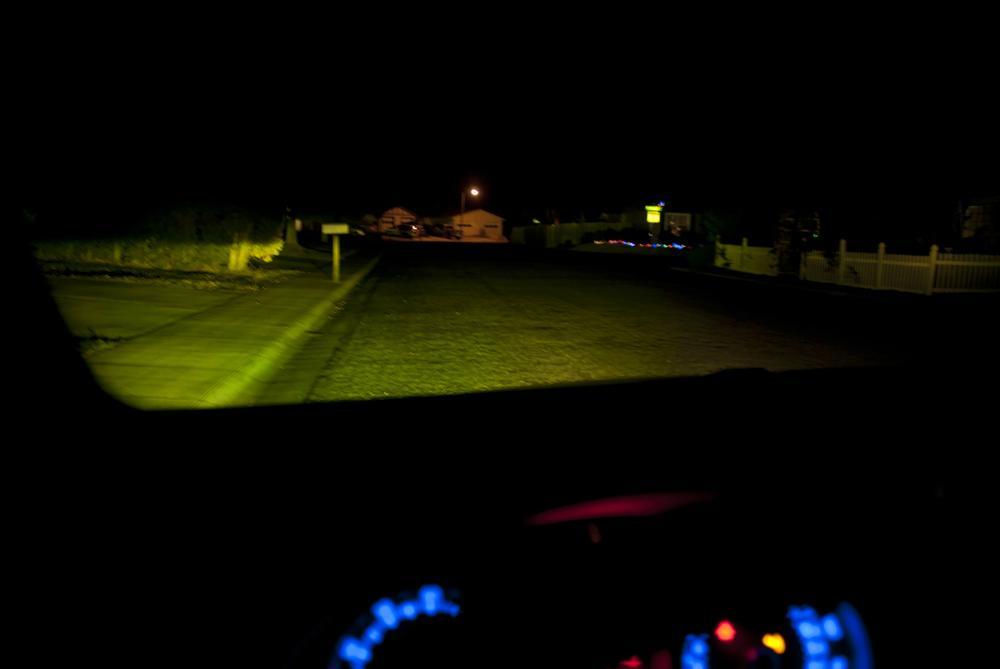
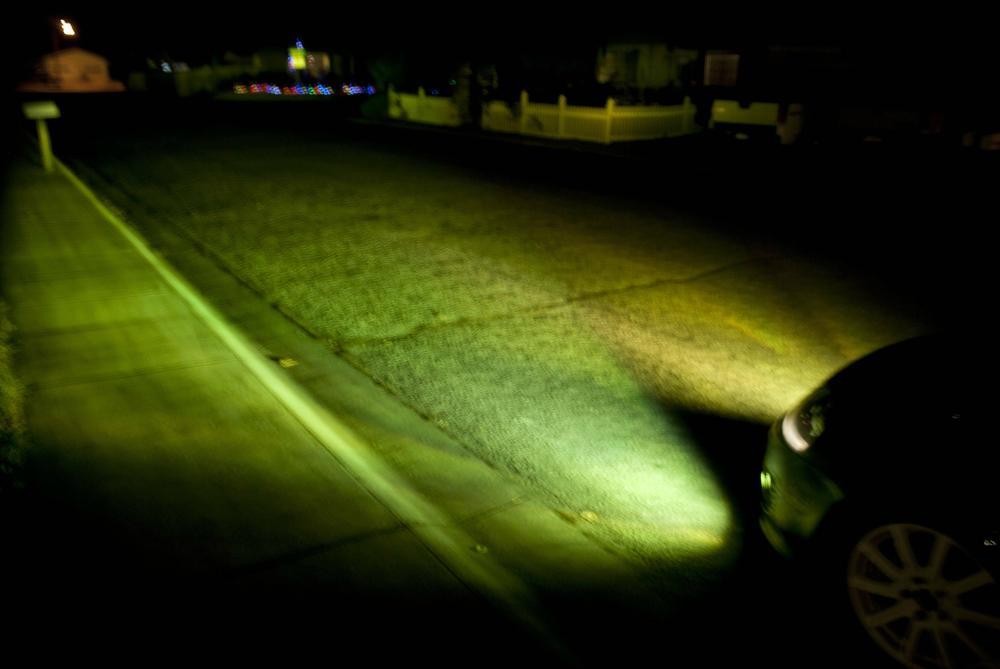
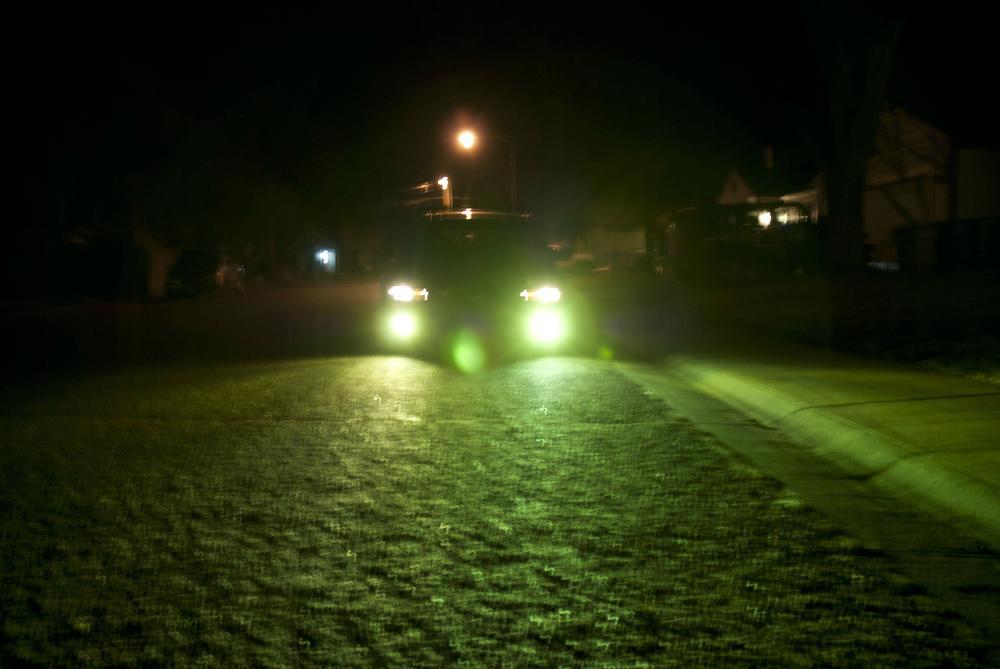
They are BRIGHT as **** and do the cool warm up like my headlights. The are very green on initial startup and warm to a nice yellow with a blue/green hint (not a green looking as the pictures. Passenger side has a bit of a wonky cutoff and the color is noticeably different form the other side. I think I may have gotten a bad bulb. I am going to contact the seller about replacement. Went for a drive and could not be happier with the light output though, stellar. Also might be removing my tint this week....
12/23/12
42DD spacers came in and my tint came off!
If anyone could make a spacer look beautiful, 42DD is the company. Too bad no one will ever see them...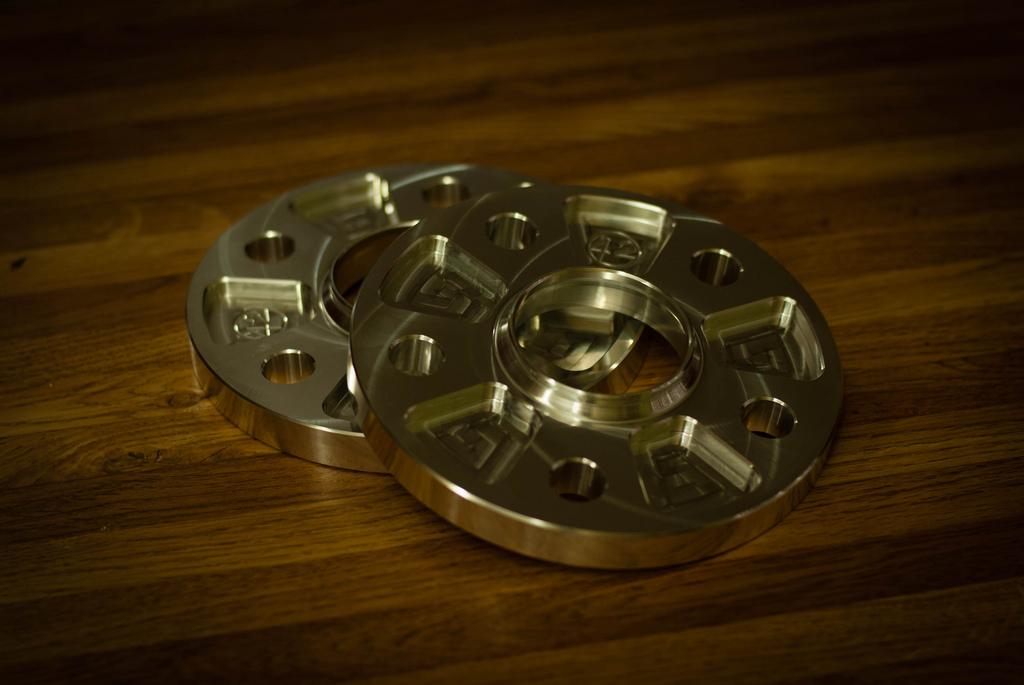
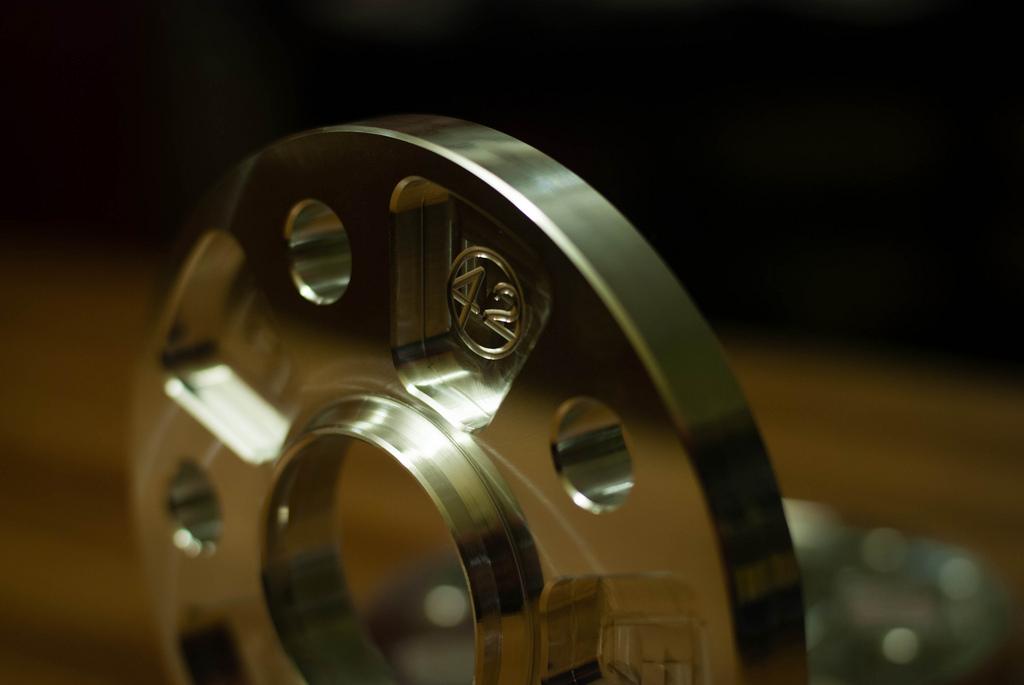
and a few pictures few all three changes (fogs, spacers, and fishbowl)
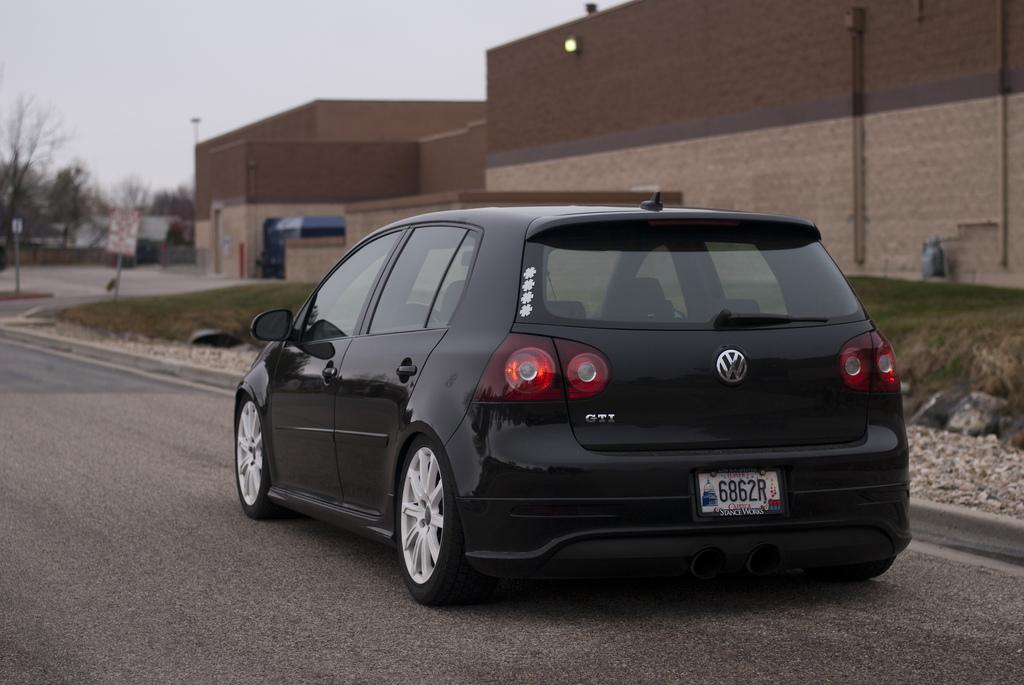
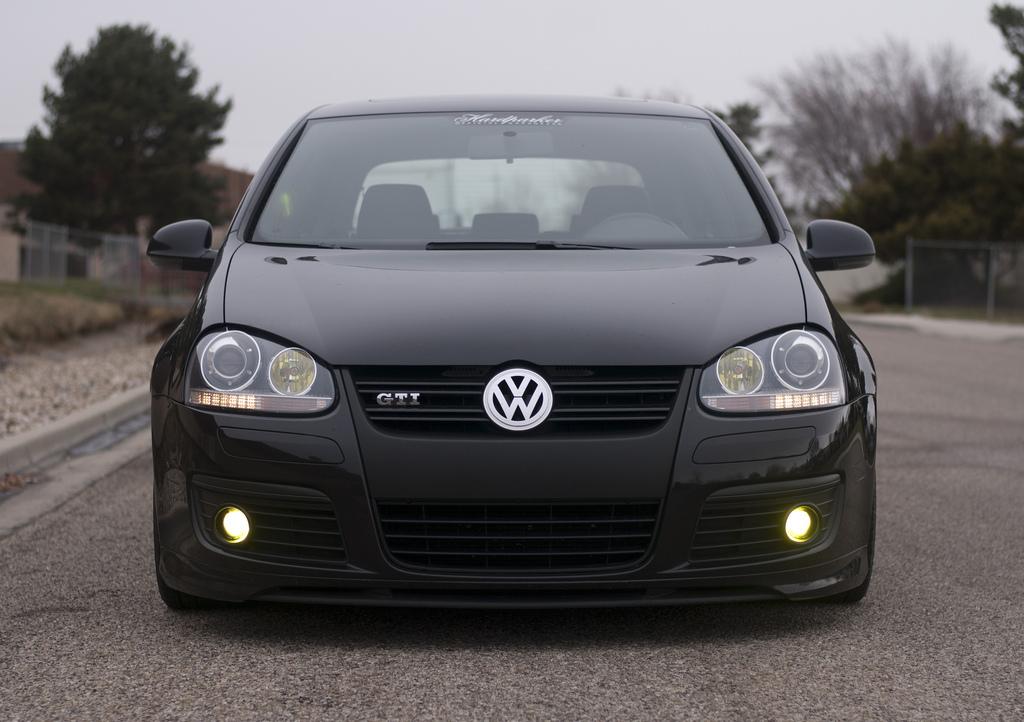
1/11/13
Treated myself to some 18x9 BBS LM barrels to replace my rear 18x8 ones. I haven't measured offset yet, but will do so very soon. Here are they before pictures: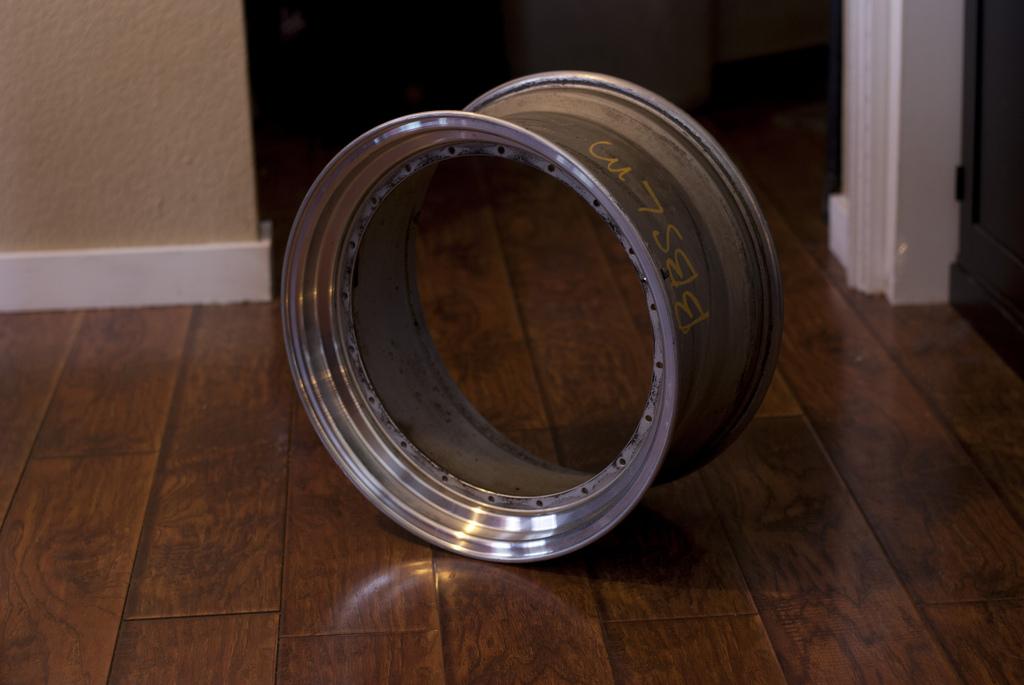
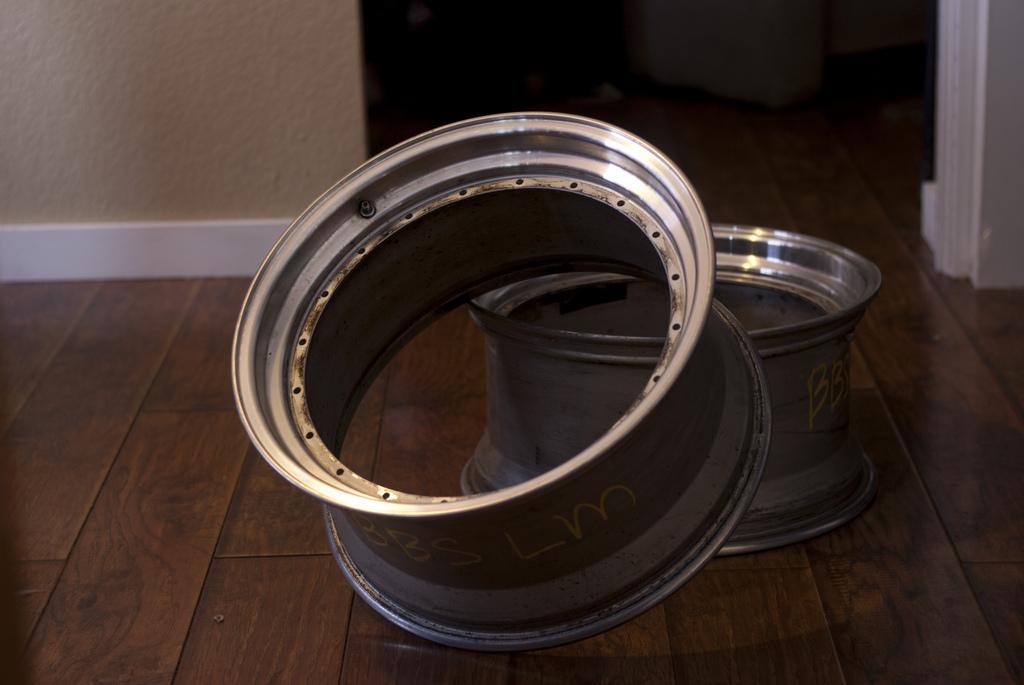
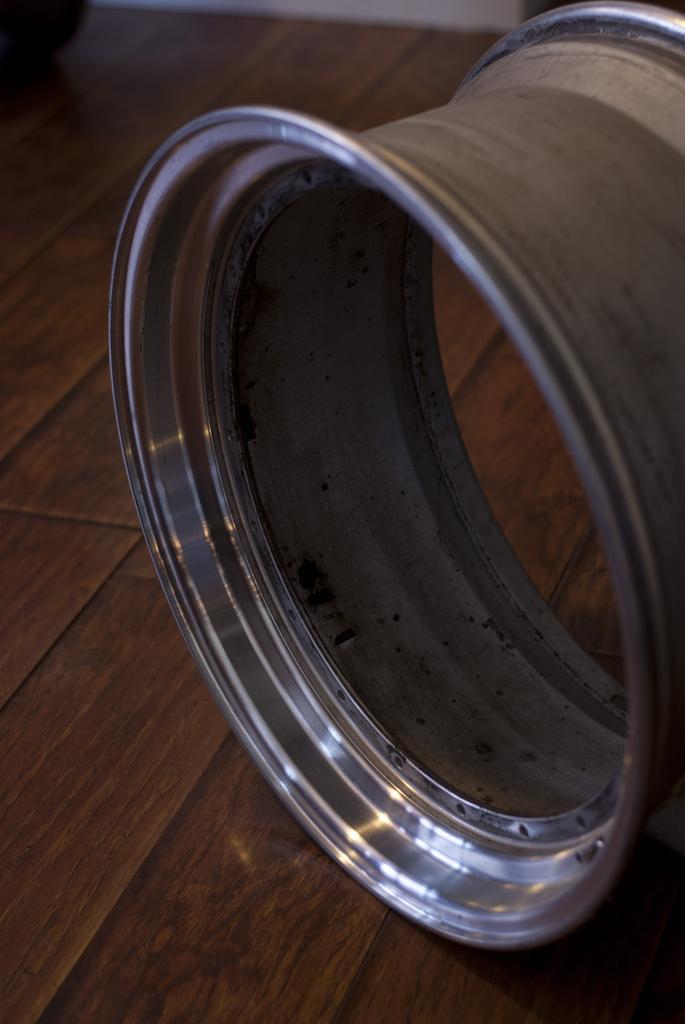
Picked up some aircraft stripper to strip the lips, made an appointment to have the barrels powder coated, then it will be time to polish..
1/13/13
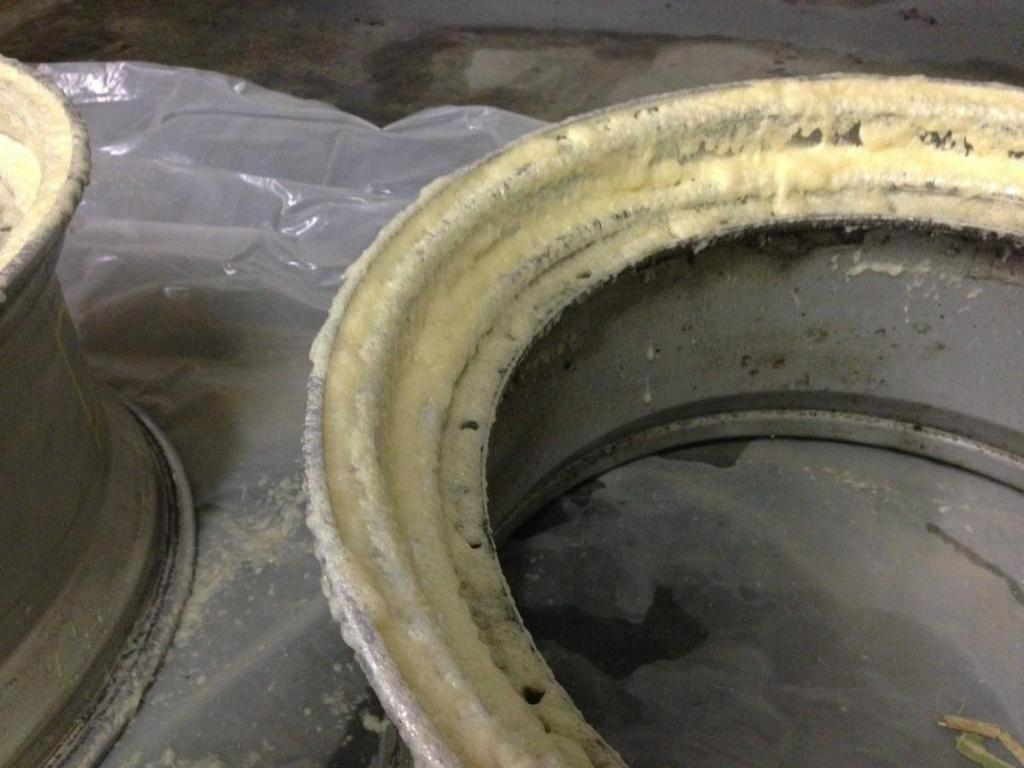
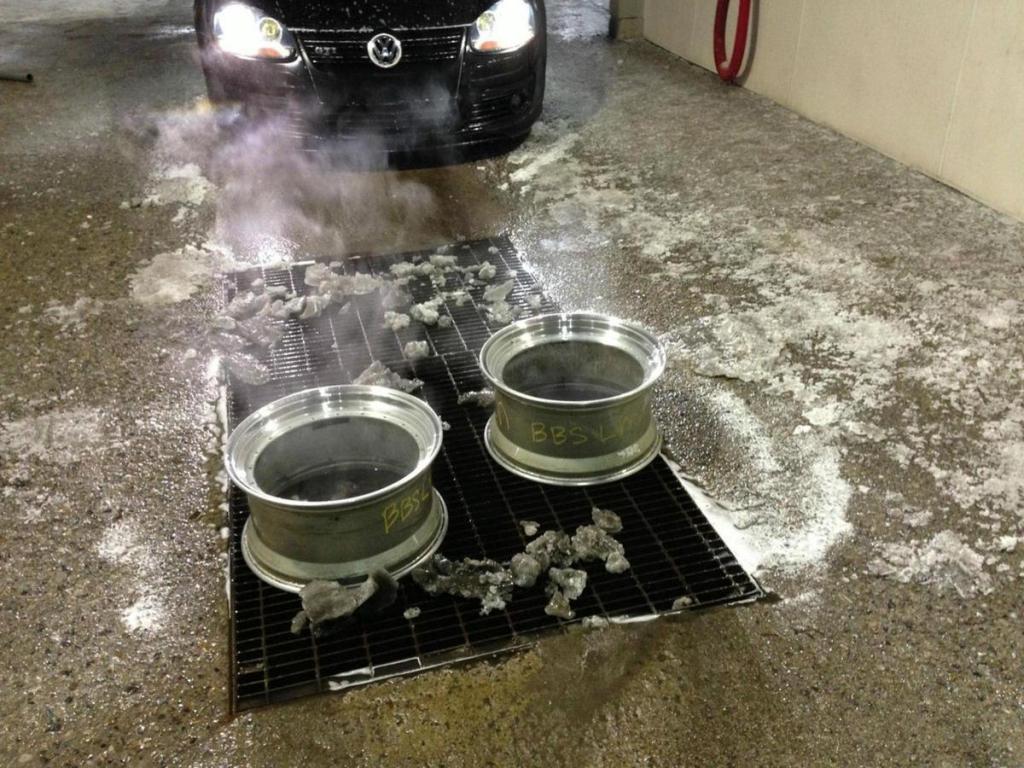
Threw some Aircraft Stripper on the lips to remove the clear on them. After letting them sit for a while and then taking them to a car wash to hose them down I was VERY impressed with how they looked with no polishing yet. 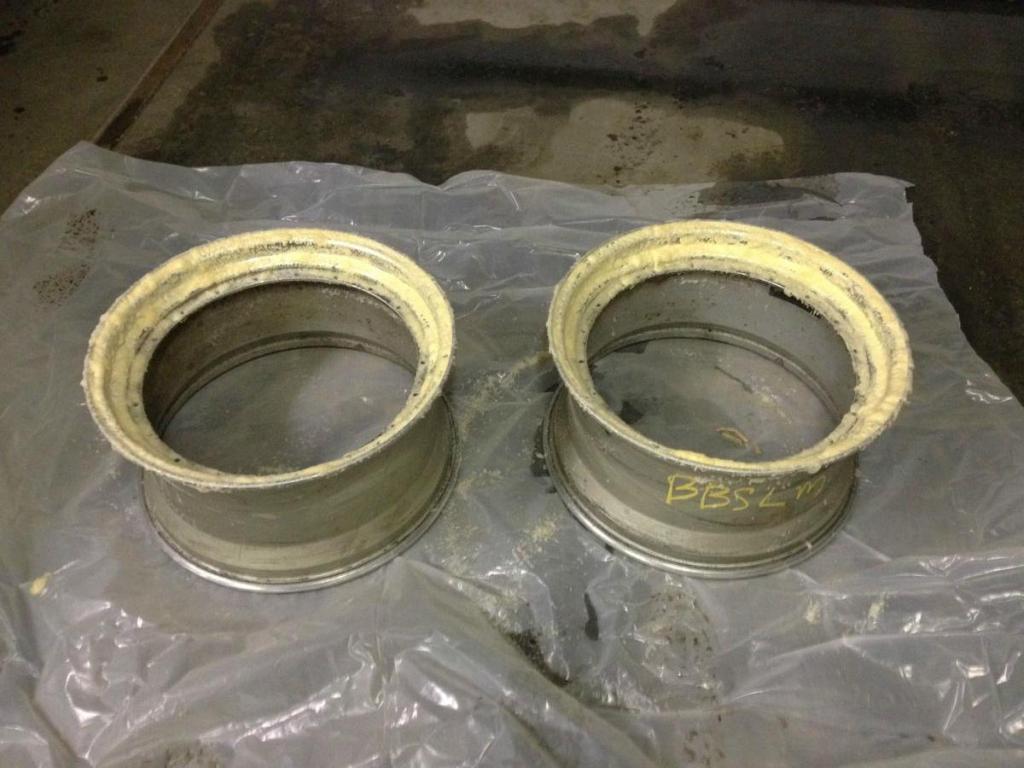
1/25/13
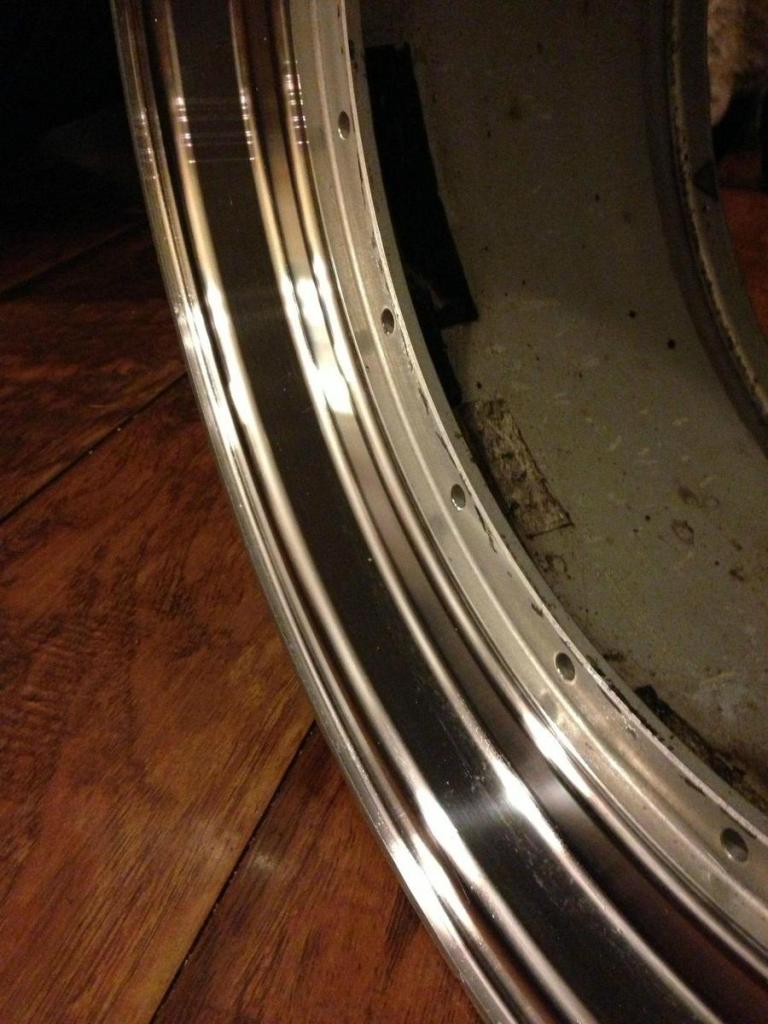
Primo Powder Coating came through once again with an awesome job! Got the barrels back this morning, spent a few hours polishing before I went to work, and some more when I got off. Finished polishing and decided to mount the face so one wheel was complete and ready to go. I cannot wait for warmer weather. 
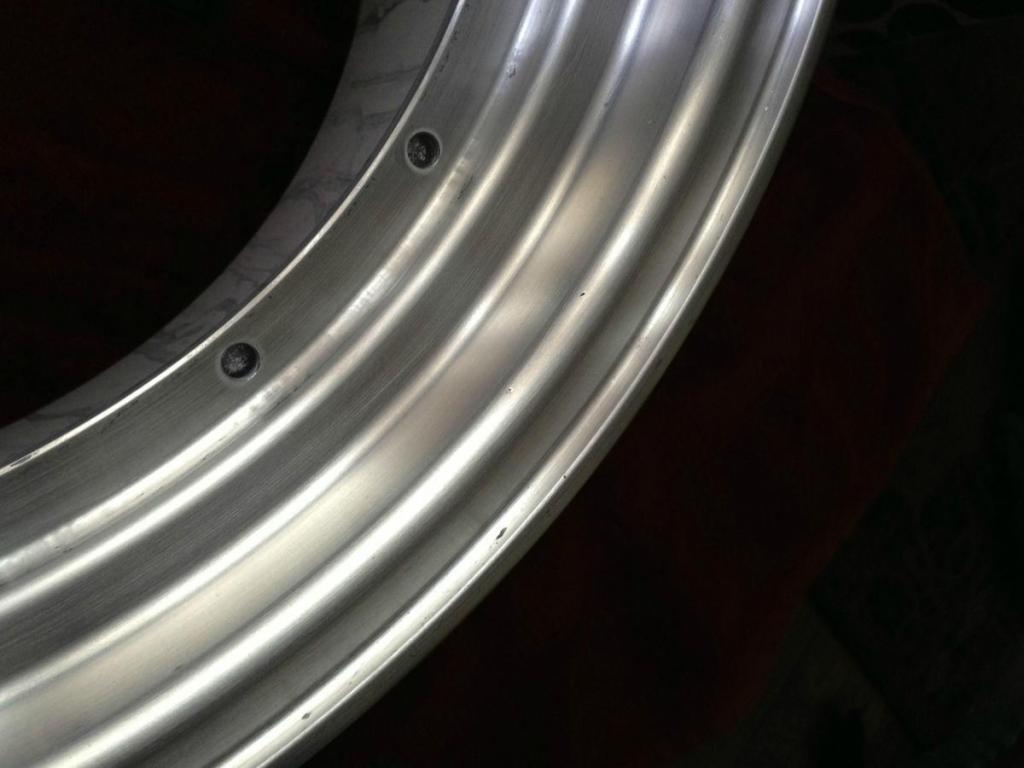
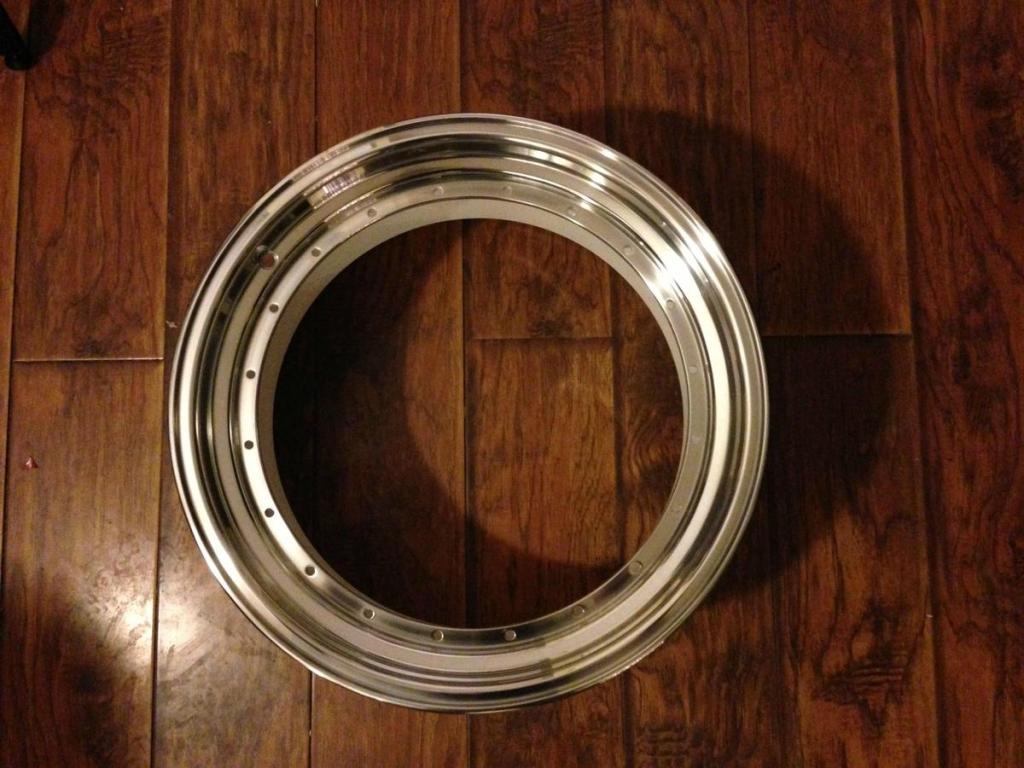
drum roll.......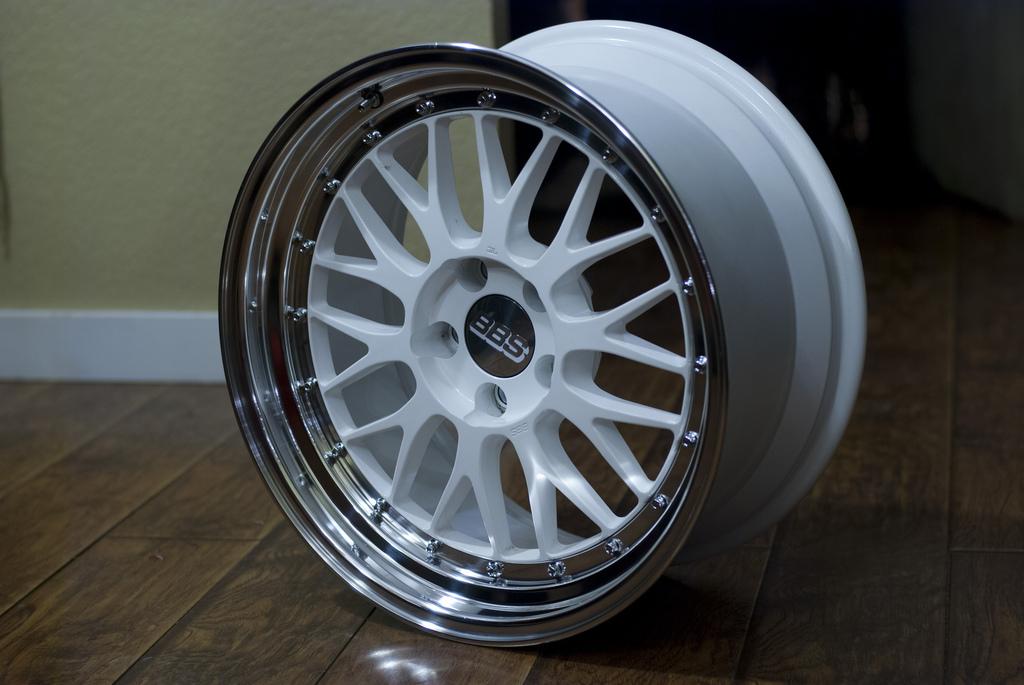
Took one outside and got this pretty cool shot: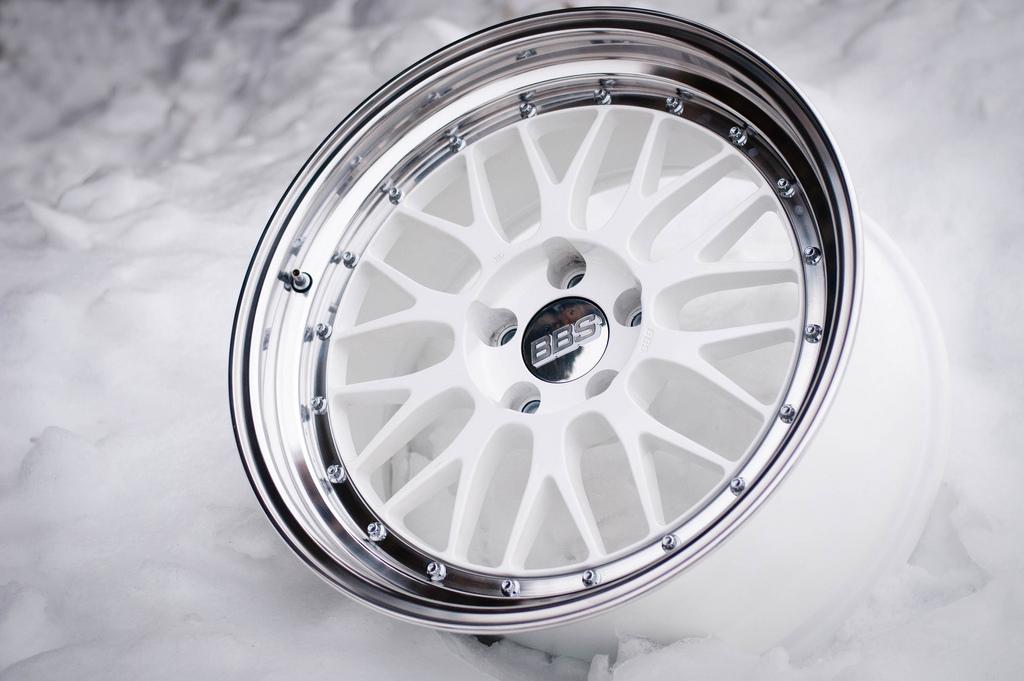
1/26/13
Tires mounted and test fit tonight. I'll let the pictures speak for themselves......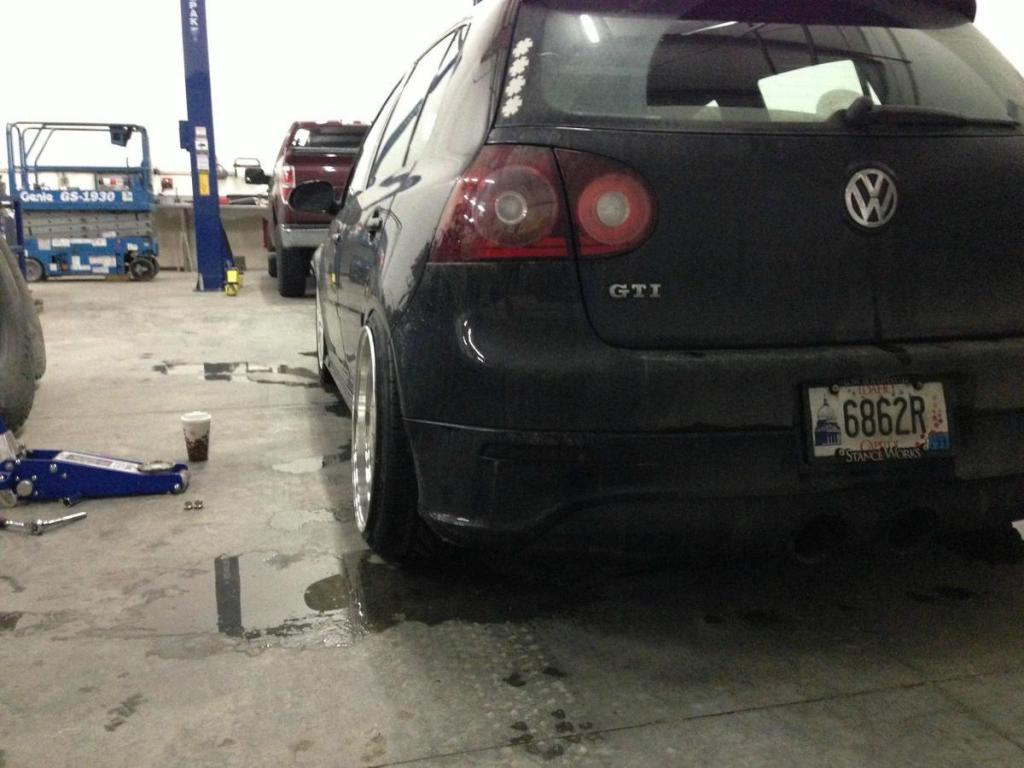
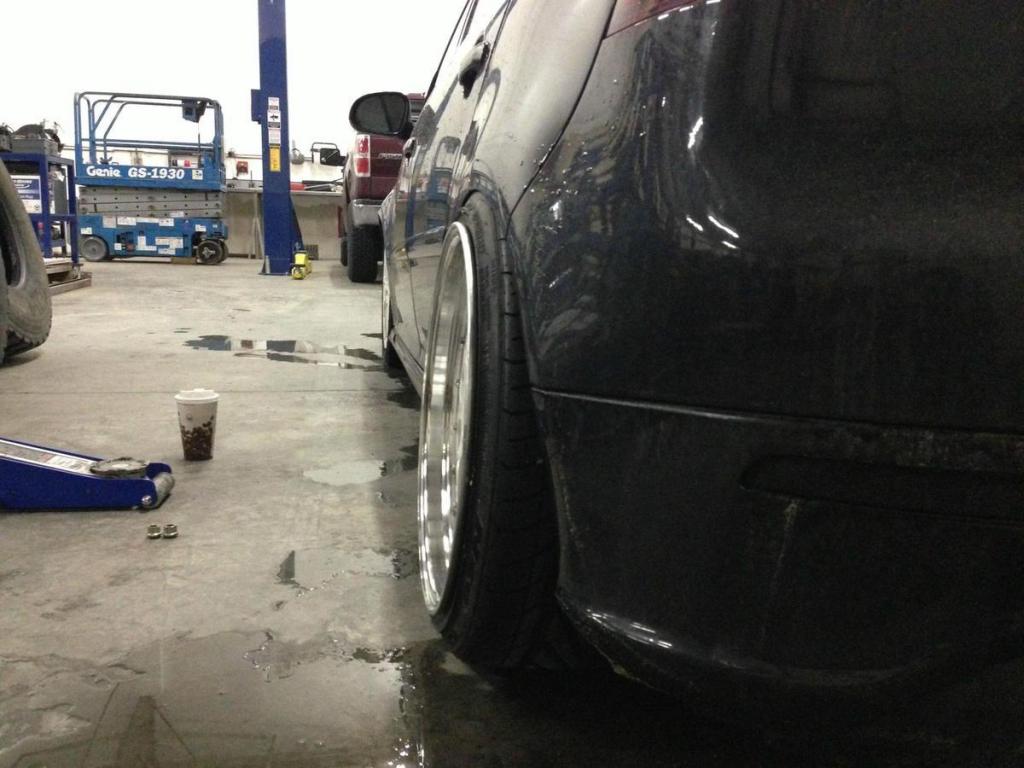
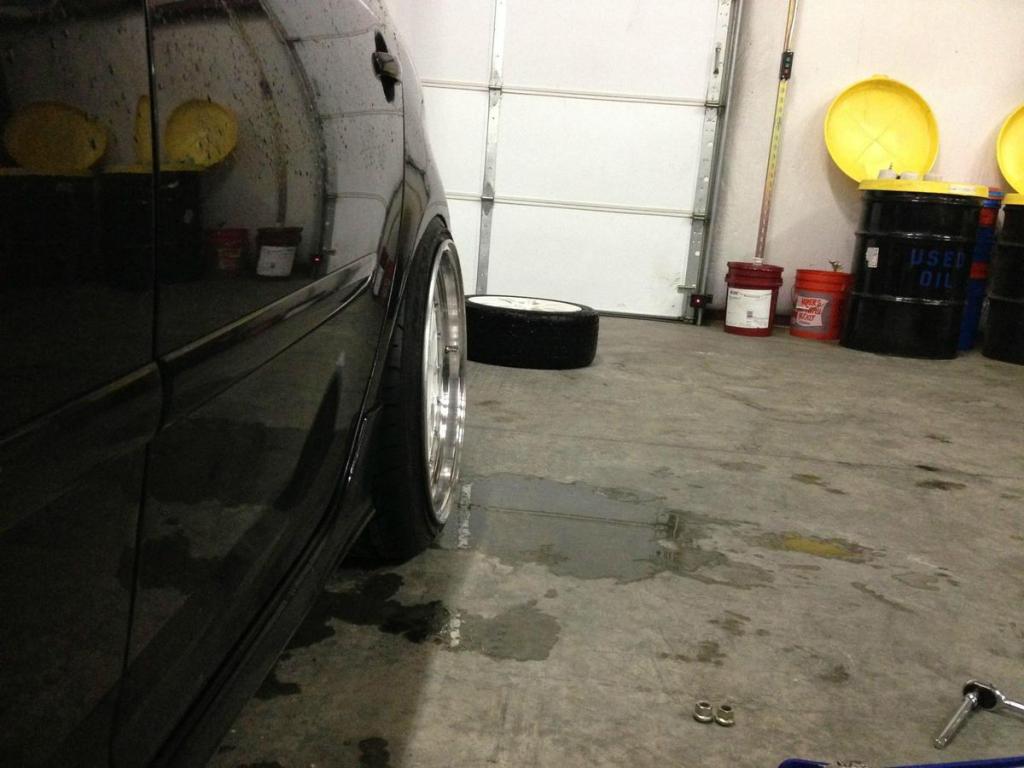
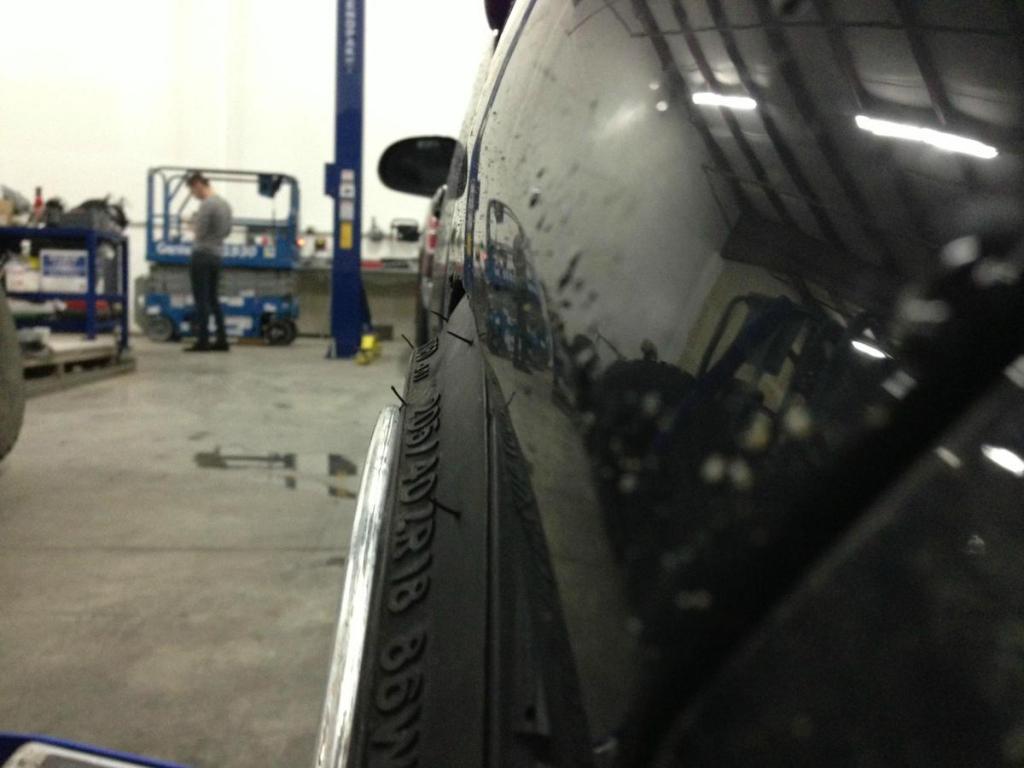
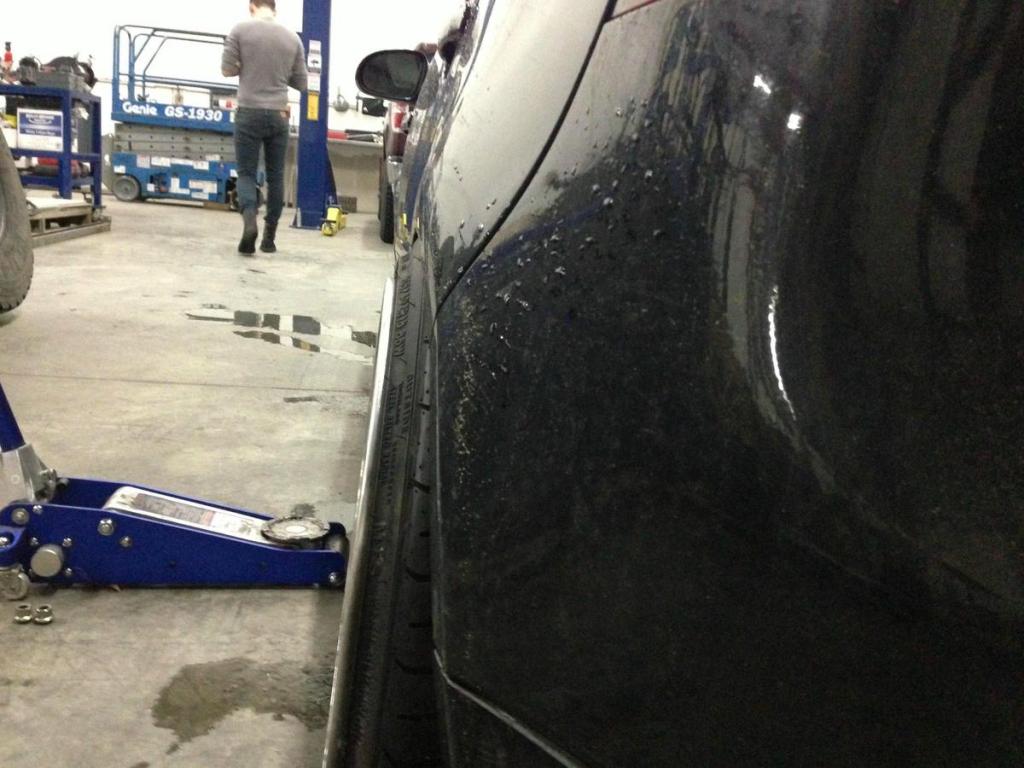
They look really awesome, just some minor camber adjustments need to be made before they are on for good.
2/8/13
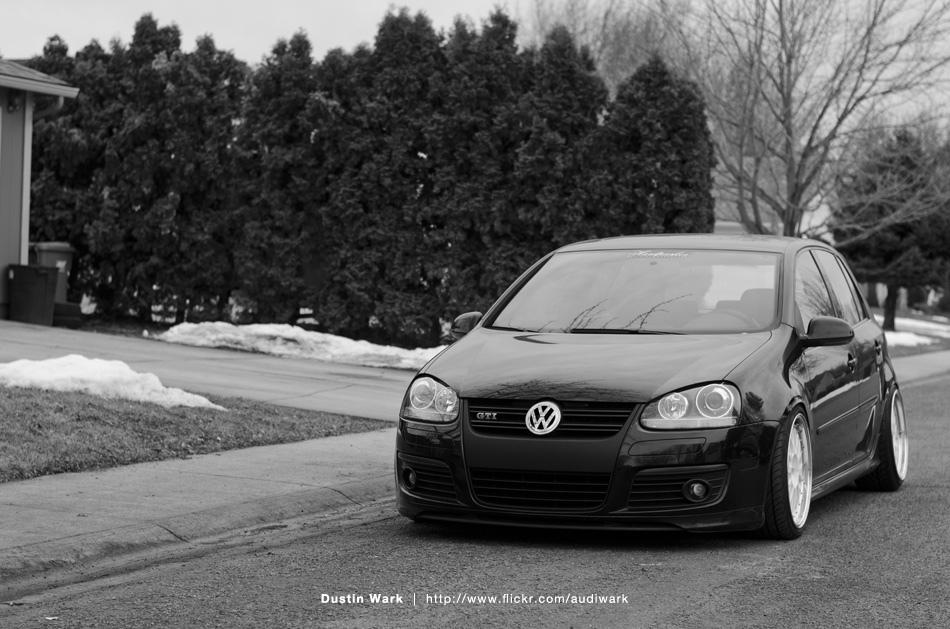
Well it has been a few days now so I figured I should post up. I decided to say "**** it" and mount the wheels even though it is still winter (and it snowed last night). Also had to do a mild pull on the rear fenders to make everything gravy. Pictures!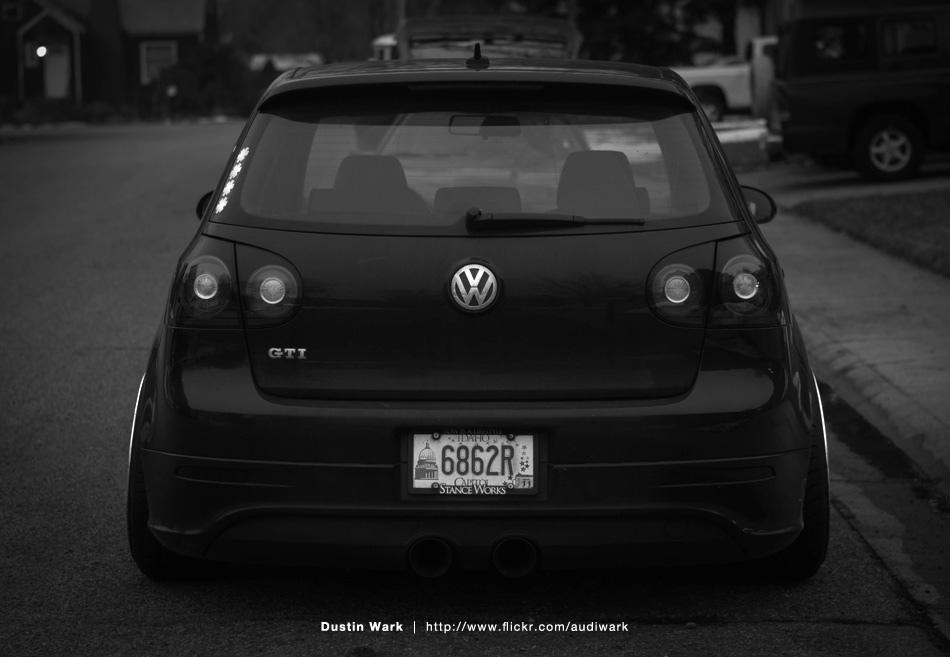
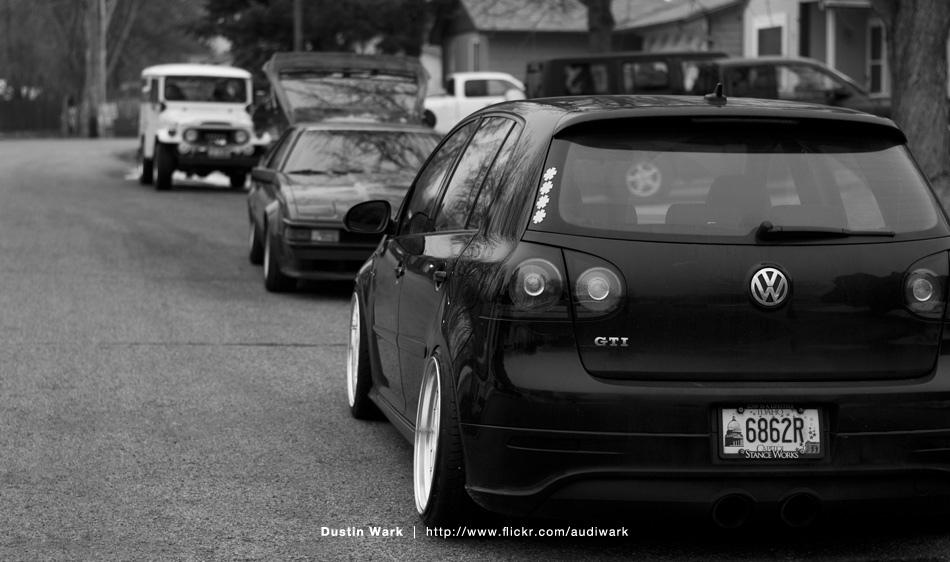
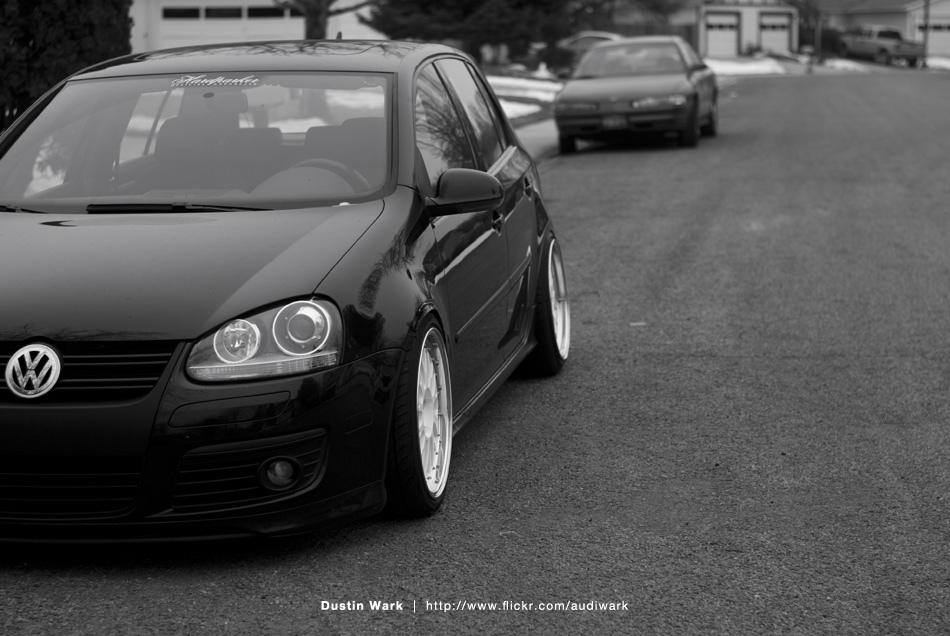
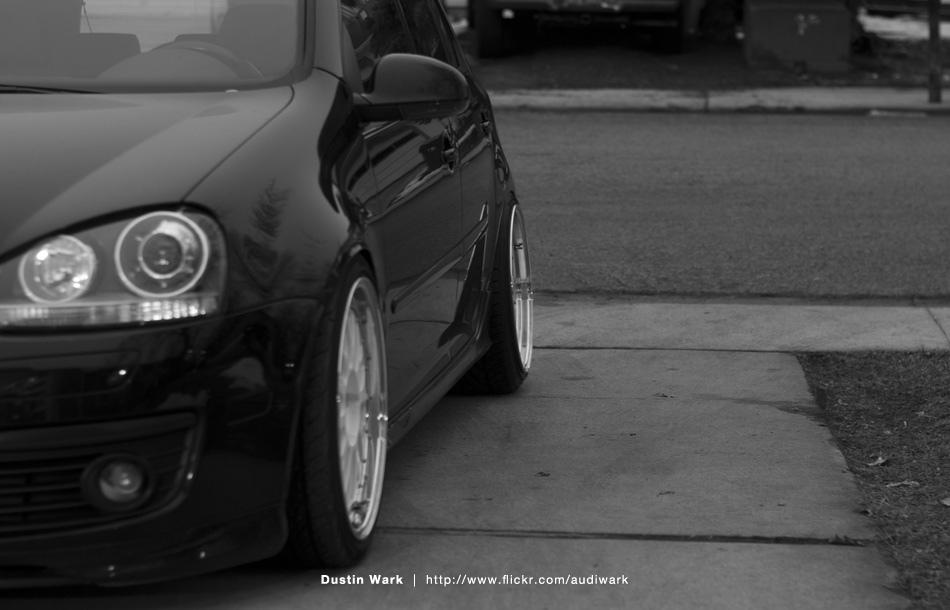
3/29/13
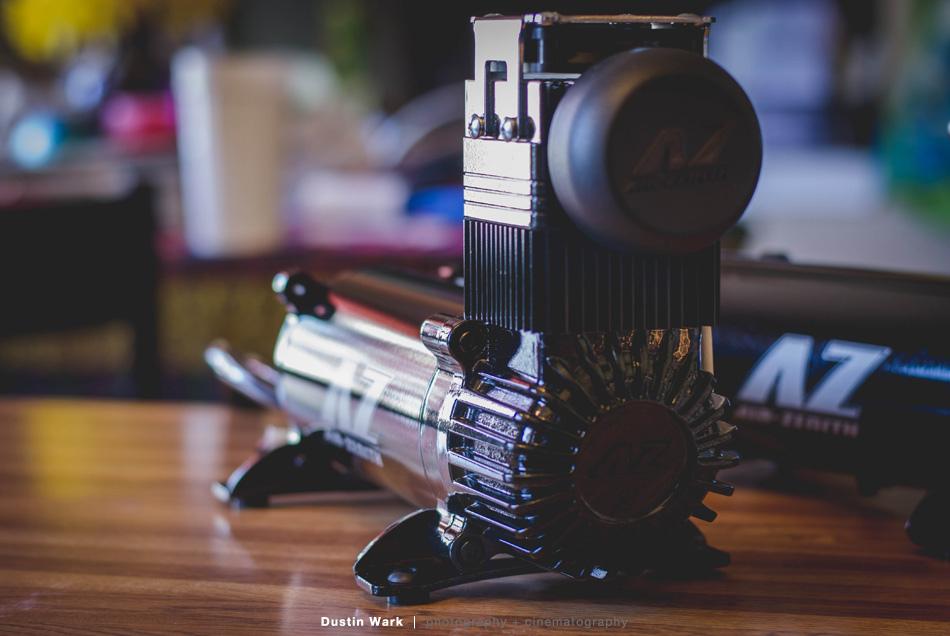
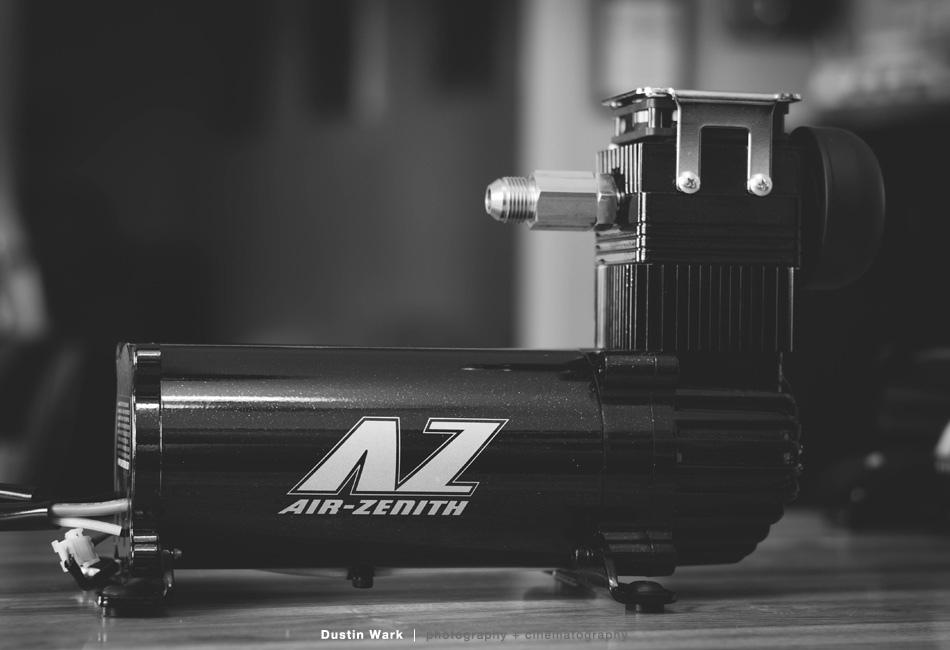
First parts have arrived! Two big, beautiful, black Air Zenith OB2 compressors showed up on my door step. I have nothing to say other than these things are huge and awesome! I wanted the white ones (they were discontinued) and wasn't really thrilled about the boring black, but when they arrived I realized the black has a metallic flake and matches the OEM paint on my car pretty close. I will only be running one of these until I can figure out something with my alternator. 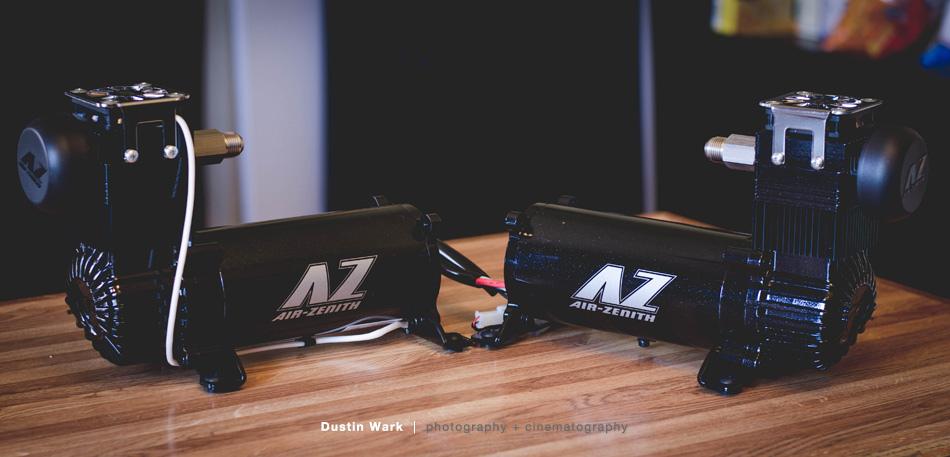
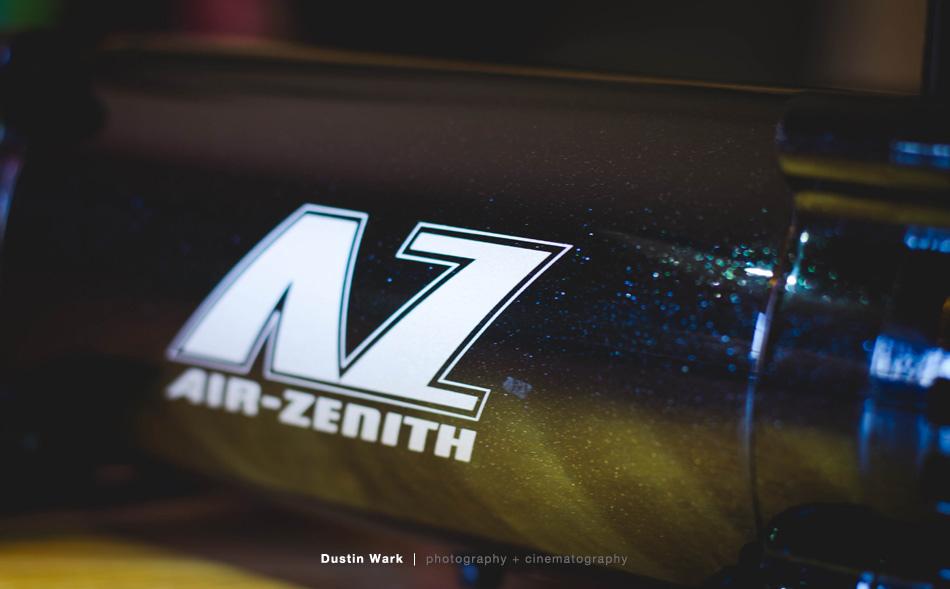
4/2/13
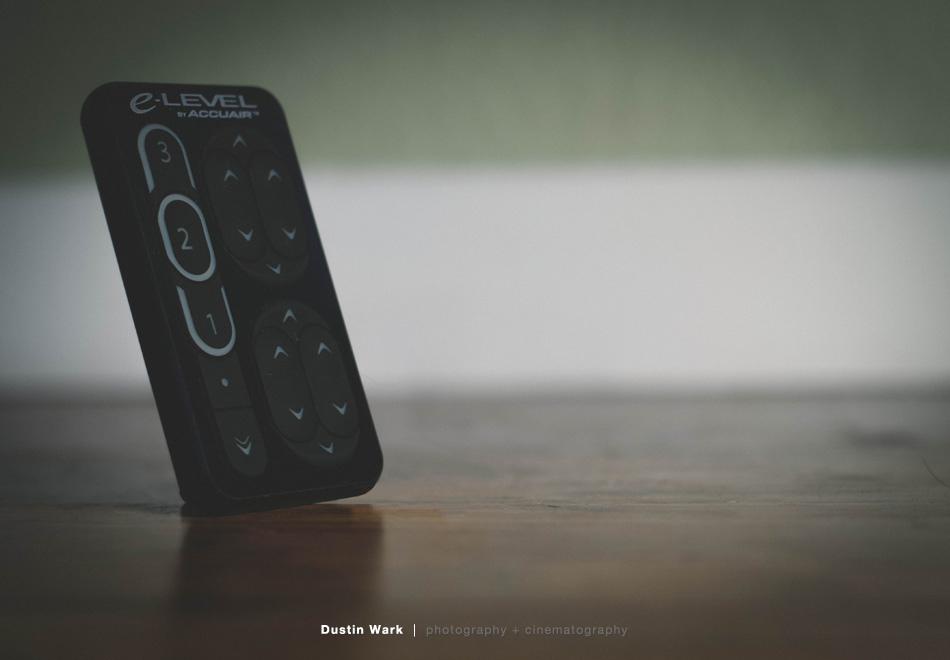
More parts have arrived (I am only missing the tank now and I believe it gets here tomorrow)!!!! I am completely overwhelmed by all of these nice parts. The wife might have to share the bed with some extra stuff tonight....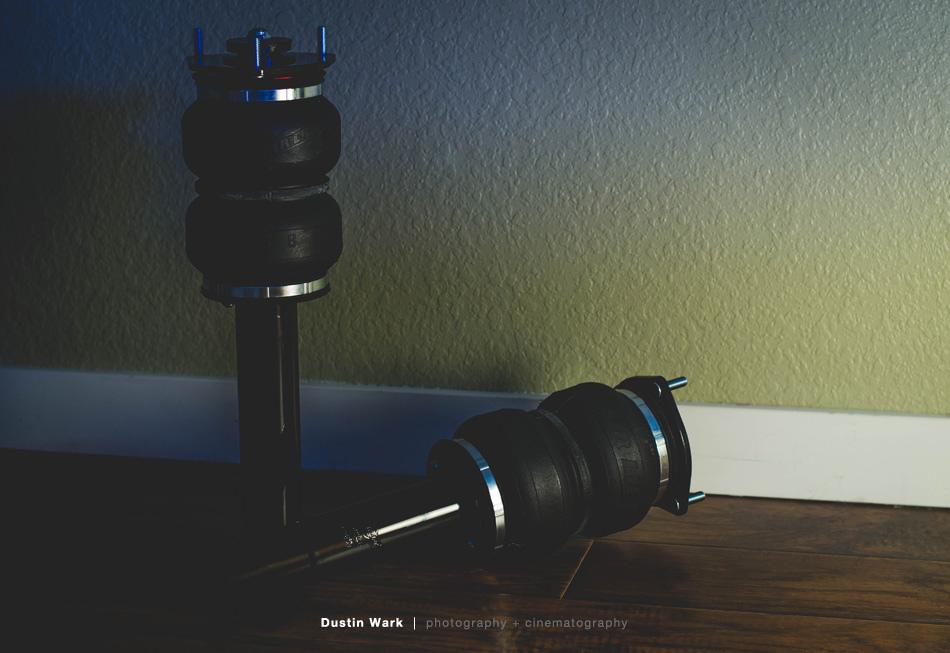
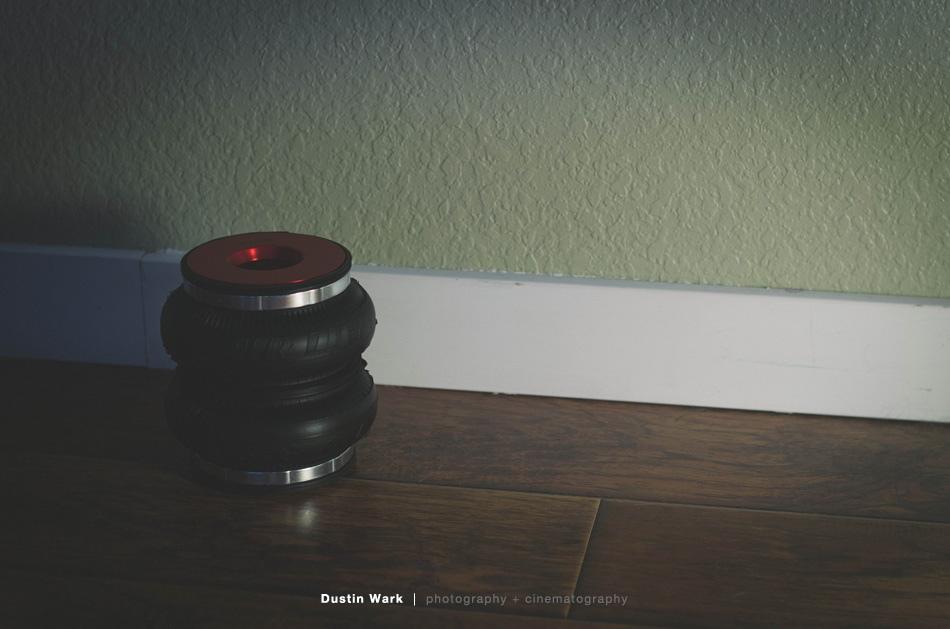
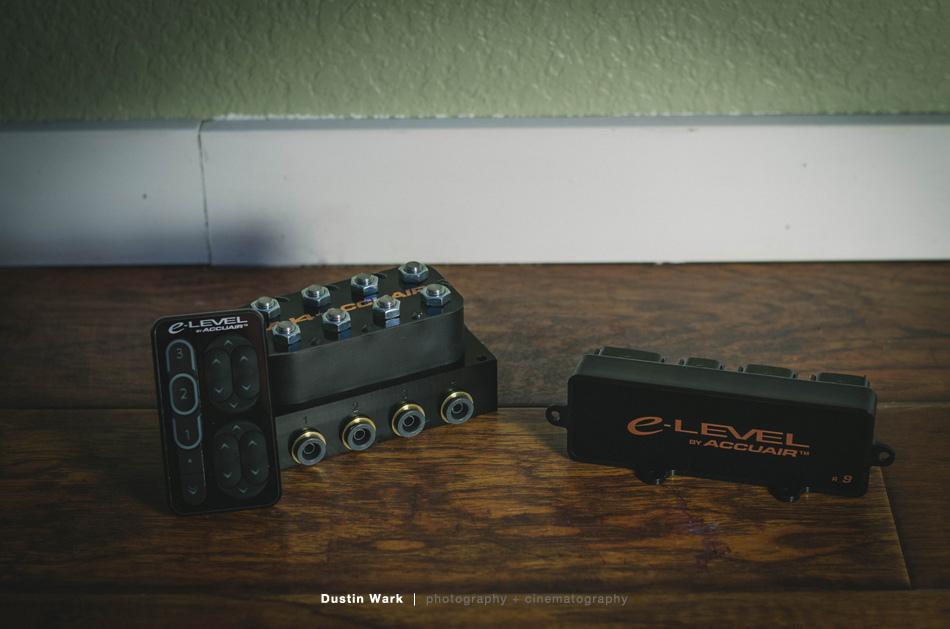
4/4/13
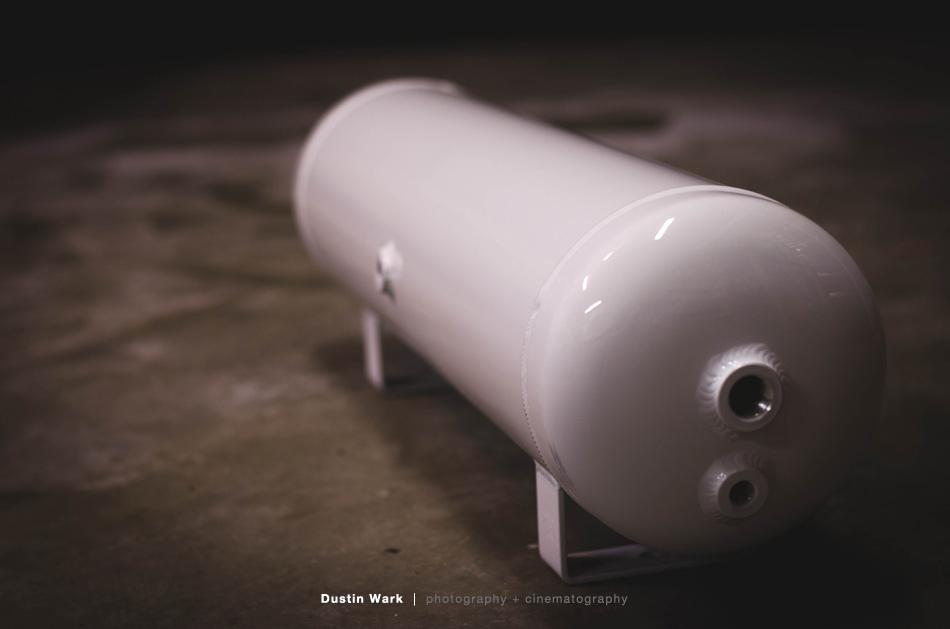
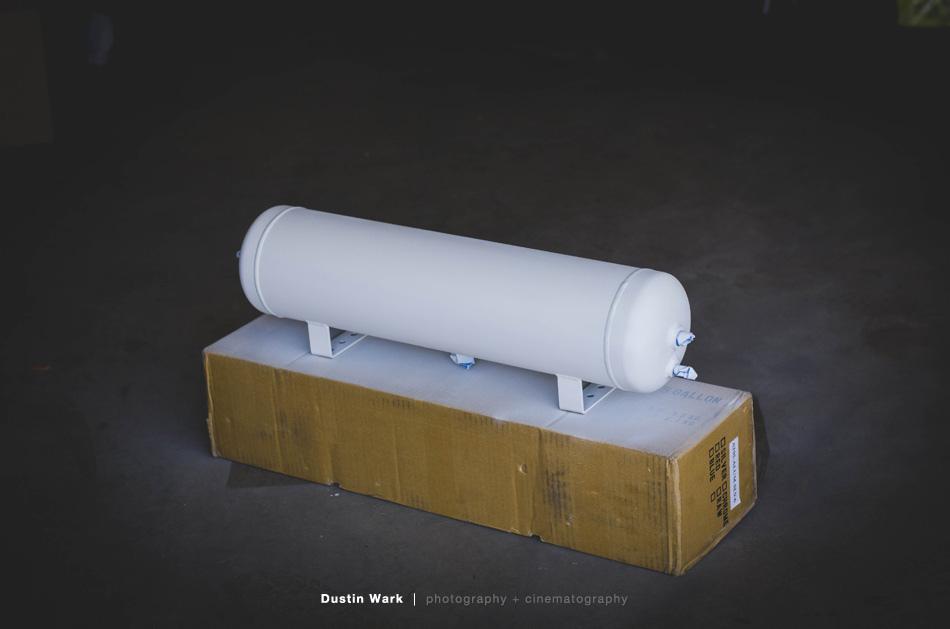
Tank arrived today, the final piece of the puzzle, and I dove right in. Sanded, primed, bondo'd, and sanded again. I will do some more sanding before a final coat of primer. 
4/7/13
Tank is pretty much done, might give it a good wet sand and polish. Not terrible for a rattlecan job in my garage. It will work until I get it powder coated sometime in the future. Next I think will be building a frame for the trunk setup. I have decided to do the install the last weekend in April so that is when the big update will be. Until then it will be smaller updates getting everything ready. 