You must be logged in to rate content!
8 minute(s) of a 278 minute read
11-8-2007
Here are a couple of pics from what I was describing above.
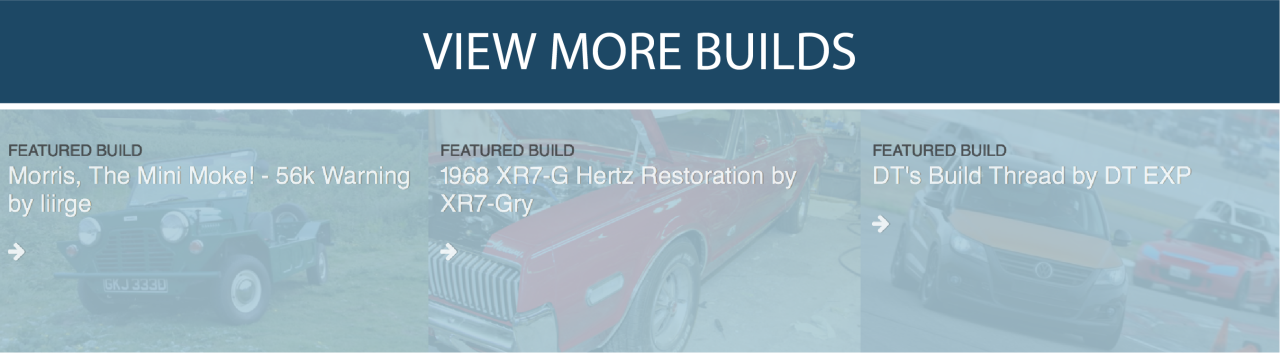
Stock 02m 240mm Dual mass flywheel (26lbs)
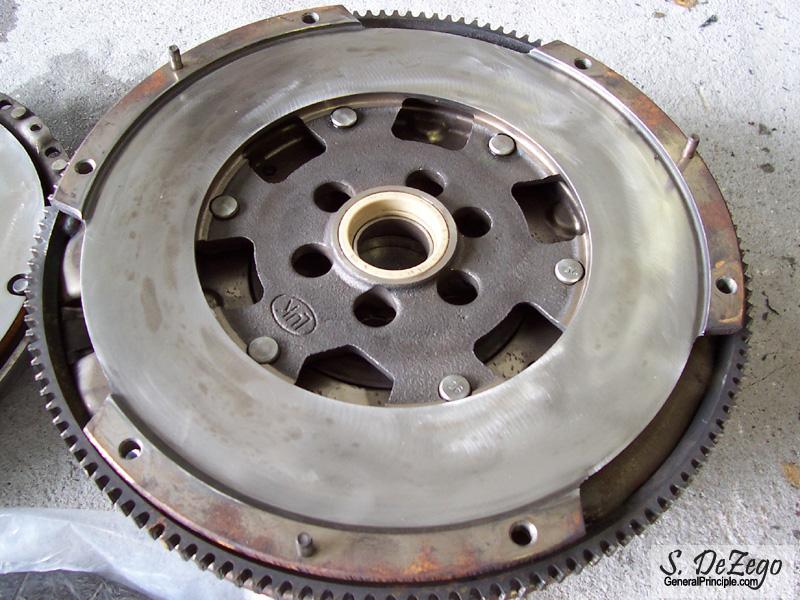
Stock 02m setup vs SPEC 240mm custom 16lb billet steel flywheel with ClutchNet PP. The measured specs on the whole setup are precise. The SPEC FW is a very nice piece. I do not like Aluminum flywheels for a number of reasons. AL transmits harmonics very easily and the Steel friction plate can warp. Plus, most of them are too light for my liking.
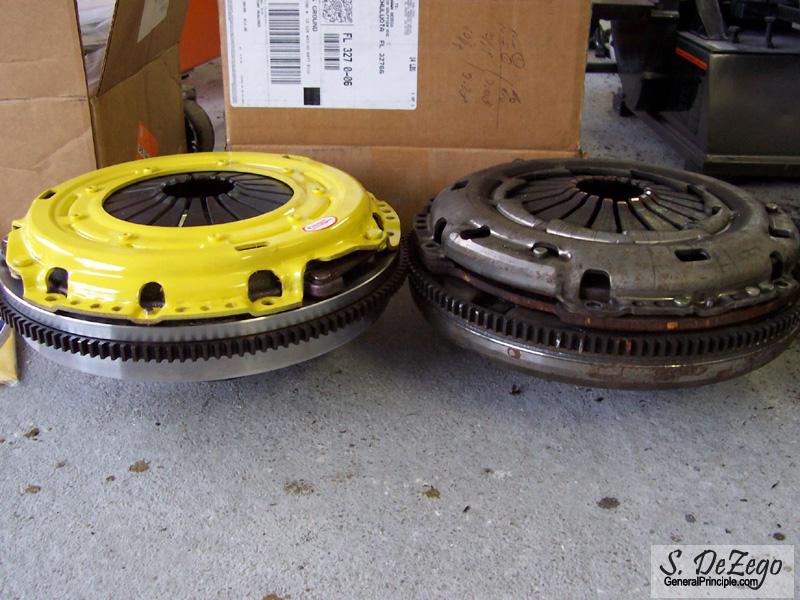
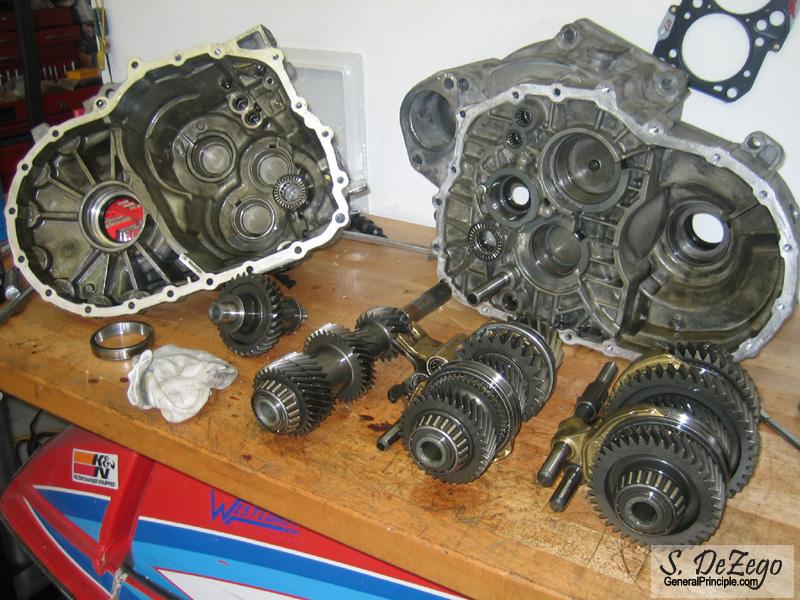
Installing the Peloquin.
With the 02m, you can actually just remove only the case bolts and split the cases leaving all gears and shafts in the Trans side case. Otherwise you need to remove the shift tower and such like you would with the 02a.
However, I wanted to inspect all gears, syncros and shift forks (even though the trans only has 39k), so I removed everything in the end.
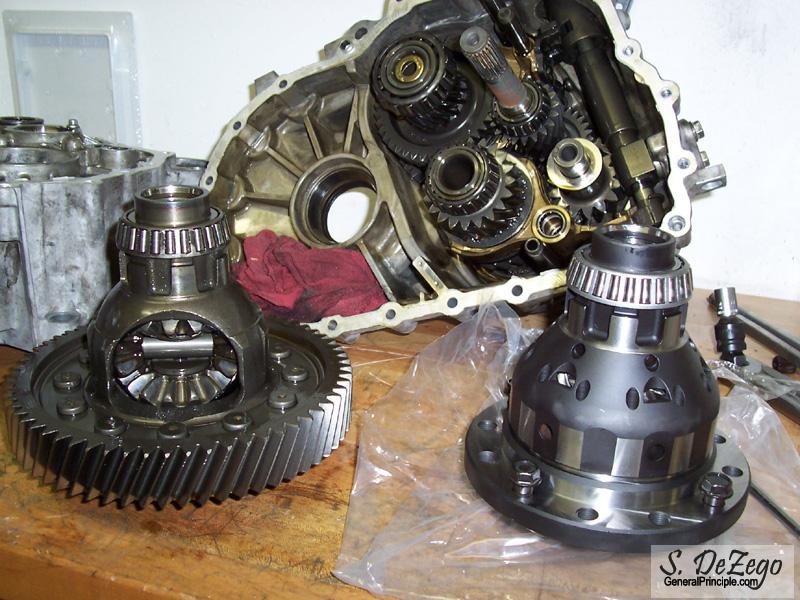
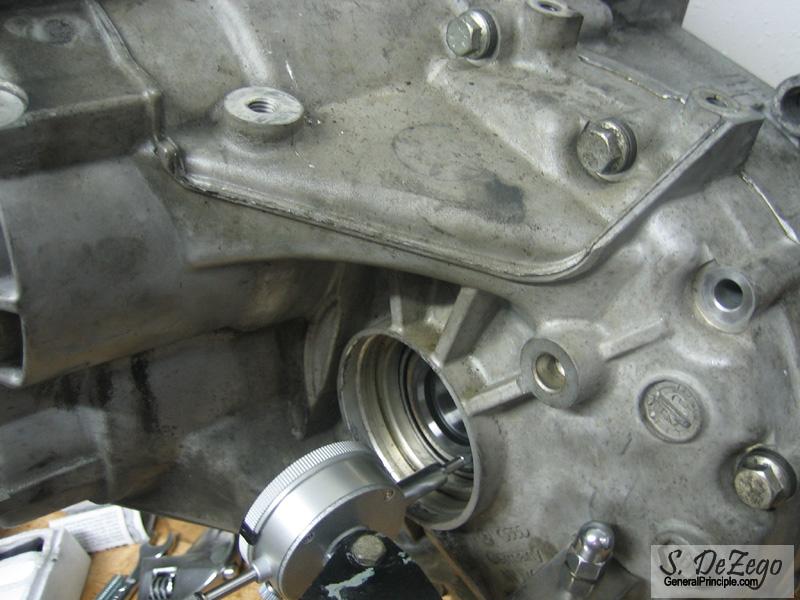
Removing the Ring Gear
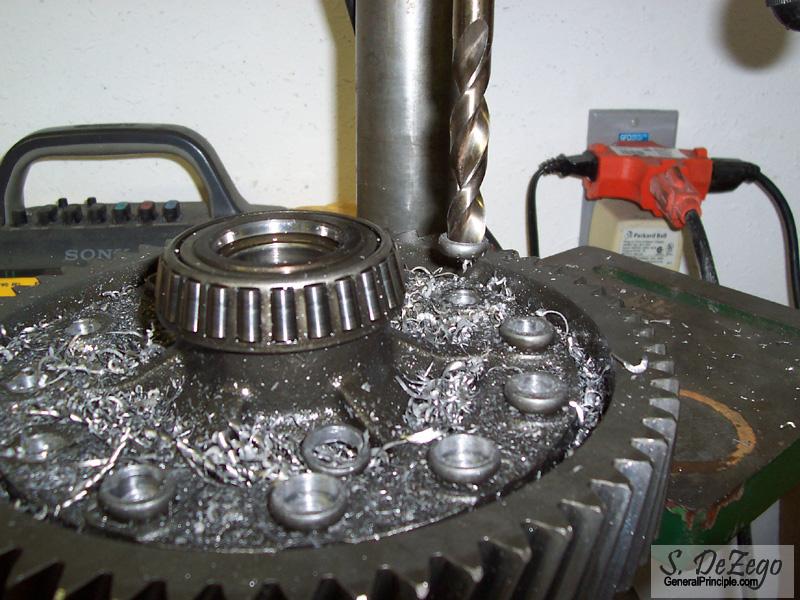
I find it easier just to press the remaining rivets out

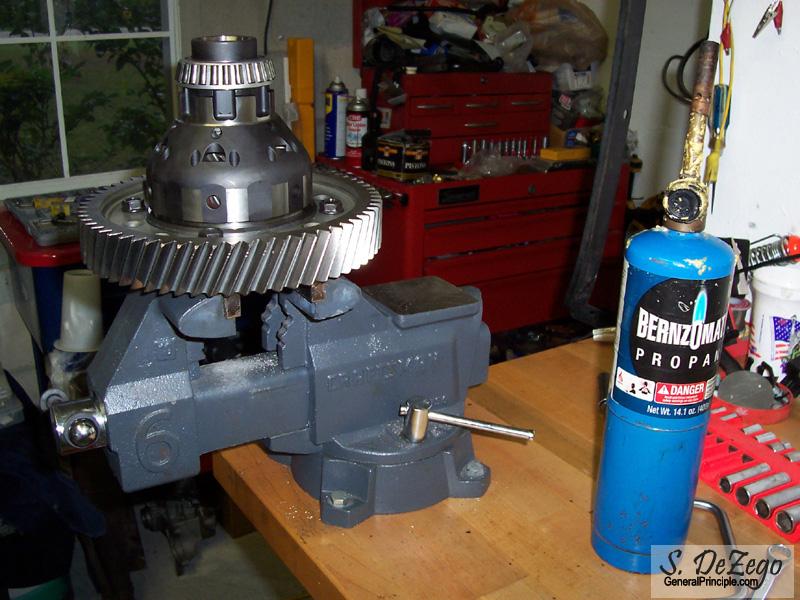
Heat up the ring gear and use the supplied 4 bolts to pull the ring gear on
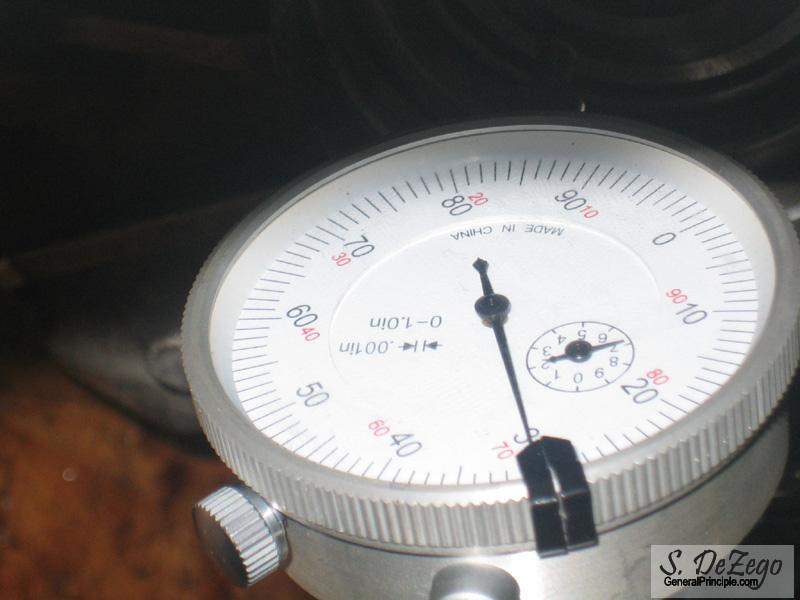
Checking the Shimming on the diff.
Install the new race with the factory shim on the trans case side. Install the Race ONLY on the Bell side and measure the end play. Then add .3mm for preload and that is the shim you need. I ended up needing a 1.05mm shim.
December 01, 2007
Fair question actually and here are the reasons:
Stock forged VW rods are proven to easily handle 300hp-350+ reliably and the ABA rods are among the strongest (no wimpy 19mm pins like a lot of 1.8ts). My rods were resized and shot peened which is proven to add up to 20% to the strength of rods. Power goals here are modest. This is not a Big Turbo motor and the G60 itself is somewhat limiting for big hp numbers. So, goals here are estimated in the 250hp range, but that will ultimately depend on how many rpm I can turn (again limited by the G60). ...but, wait until you see the torque curve and area under it as t will be a monster to drive
When I was planning and starting machine work, etc, SCAT rods were really just making their way out and becoming widespread for h2o VWs. The only options were $600-700+ Pauter, etc. In retrospect, I have about 250 in these rods with Resizing, Shot peen and ARP bolts, so now it wouldn't make sense not to go with SCATS, IE, etc.
One thing I really like about the factory rods is that they are rifle drilled, which does have it's benefits. Again, hp dictates what makes sense and money is always an object.
My patience has been getting a little thin lately as I watch others who started way after mine, finish way before mine. This project has taken much longer than expected, mainly due to my time and well $$. Also, this is definitely a one of a kind and required a lot of one off machine work as you will see soon with forthcoming updates. We are closing in though!
Shawn
December 20, 2007
his progress update will not be all that exciting, but it is progress for issues that needed to be resolved.
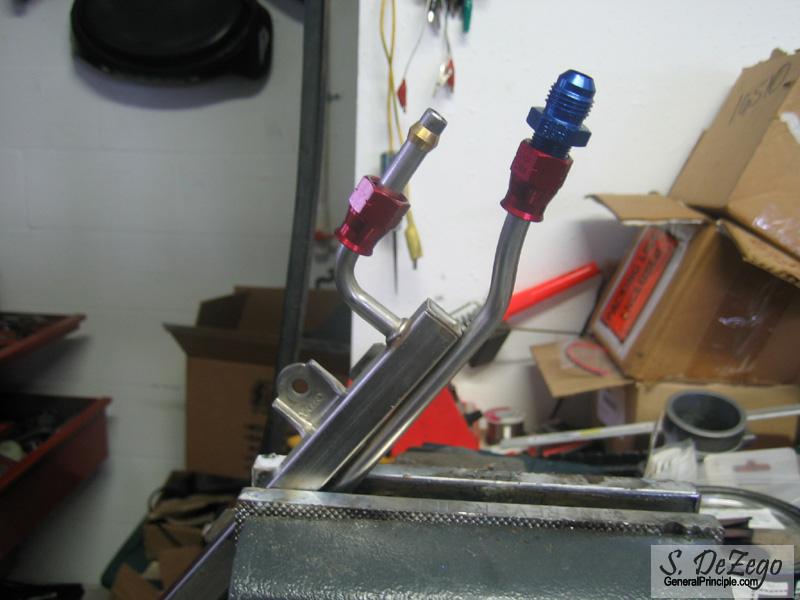
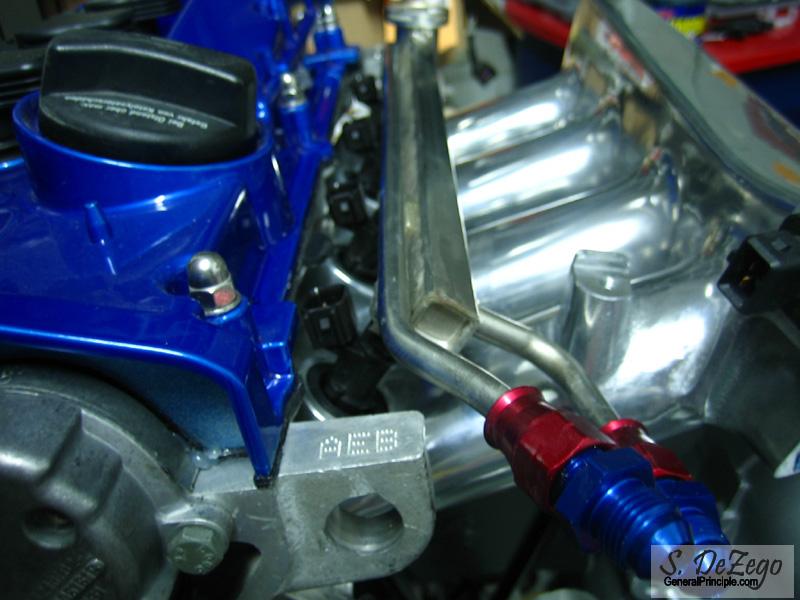
1.) I was not happy with the stock barb connections on the fuel rail
2.) The AEB and Euro AGU both came with the early garden variety Bosch EV1 Injectors. To upgrade to the later (much better) Bosch EV6, you would need to either get a custom rail made, manifold or do what I did.
The pics tell the story.
First I cut the barbs off of the rails.

Then I inserted the rear compression fitting along with the brass ferrell onto the pipe. I flared the end of the pipe so that the fittings could NEVER come apart.

I then cleaned and used Red Loctite on the pipe and Ferrell for piece of mind.
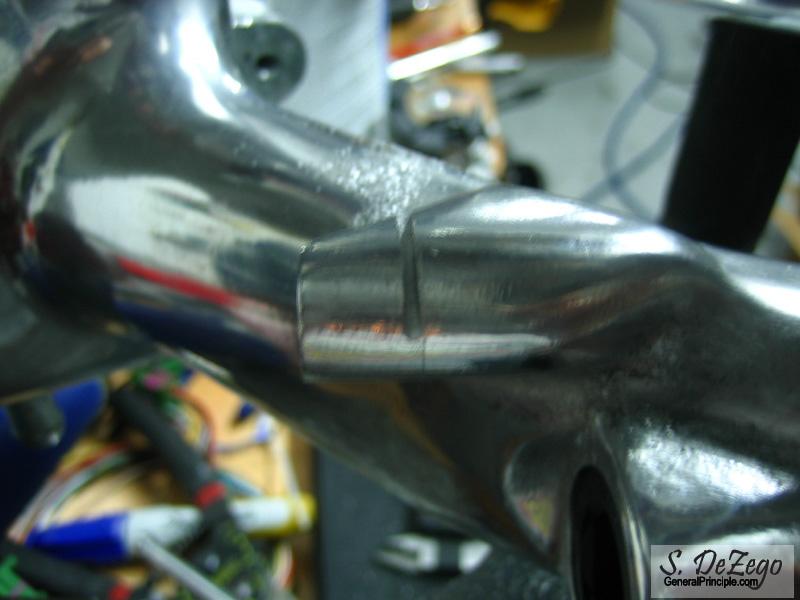
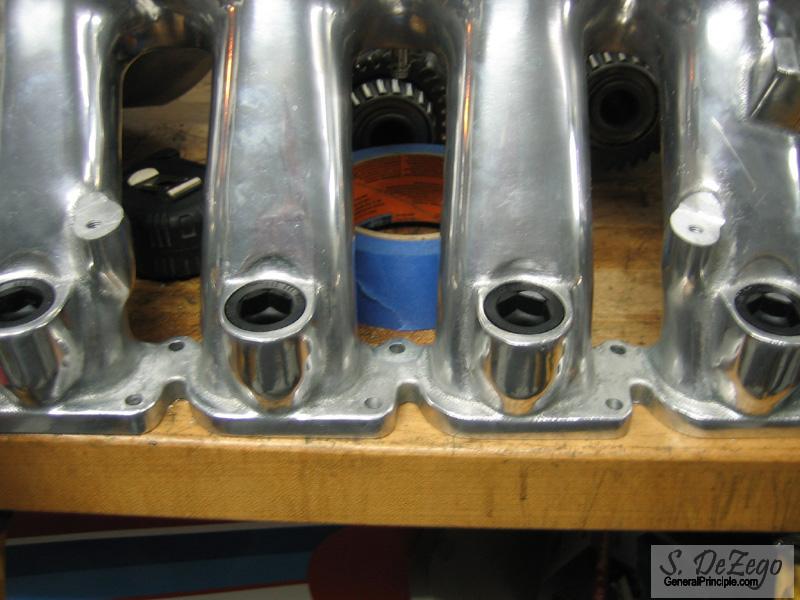
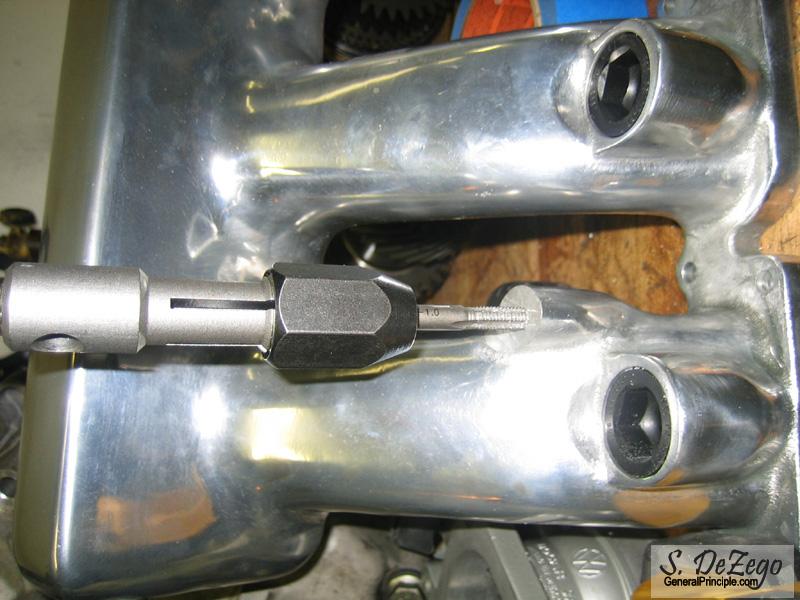
...Injectors mods to the manifold mentioned above
The only thing to note is that the rail bosses, must be carefully drilled deeper and then tapped so that a decent length bolt can still be used. I went ~ the distance that was cut off (12.75mm or .5") w/o any issue.

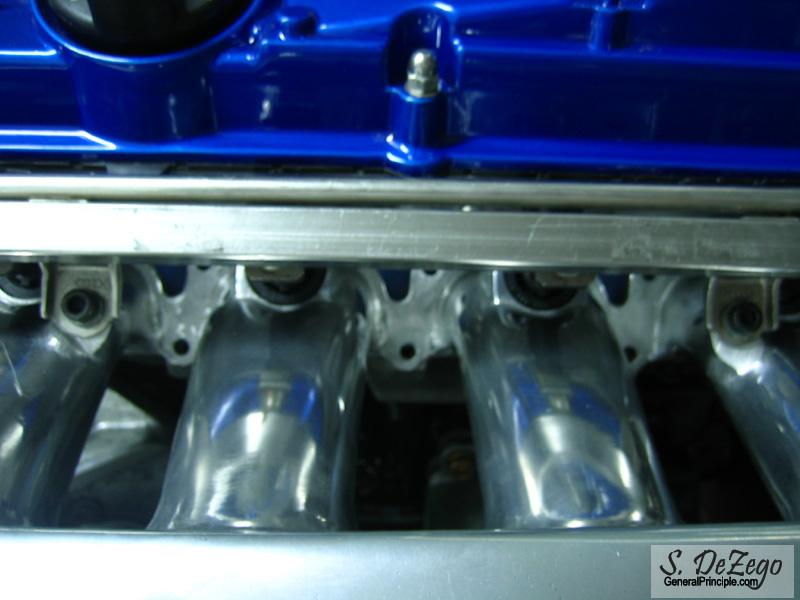
Euro AGU big port mani next to the AWP.
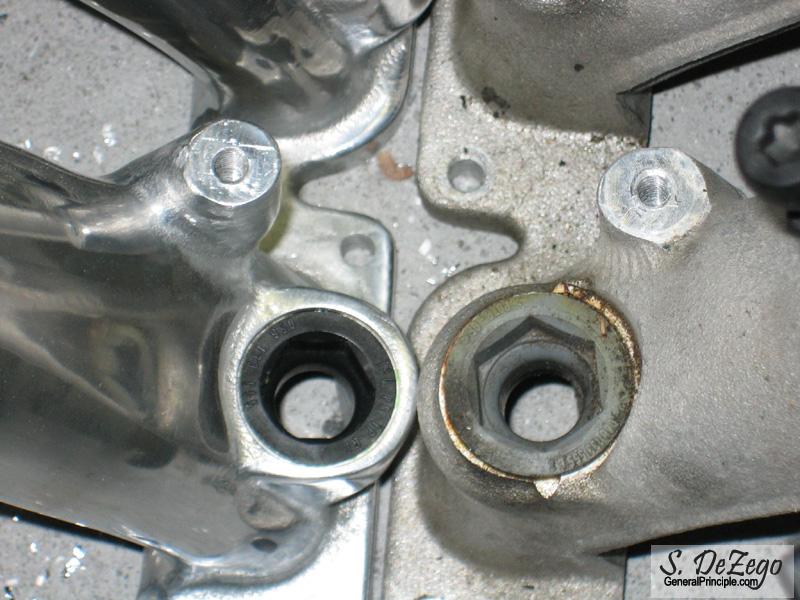
After cutting them both .5" and cleaning them up with a flat AL rasp
Exactly like the EV1s fit
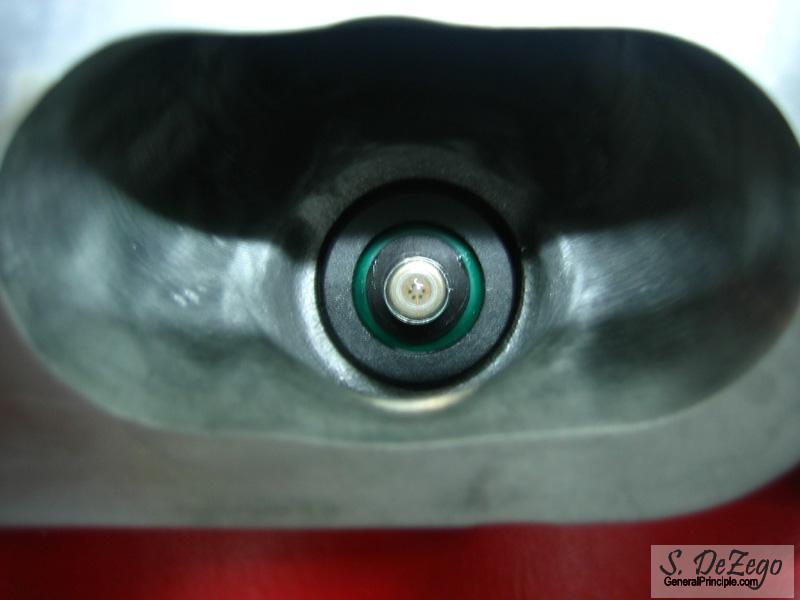
easer pic
Here it is: Serpentine belt to drive all accessories and no V belt. Note, this same setup could be used w/o Power steering and/or A/C (which would certainly simplify things).
Everything is fabricated so what you see is "ready to run"! I just need to take it back down, pretty up all the brackets a bit and paint them. Needless to say, the development and creation of this setup was a painstakingly long process. I can't begin to tell you how much time I have in it is hard to see all of the custom mounts in this pic Everything was carefully and methodically done the way you see it, so if you have any questions on why I did something feel free to ask.
All I ask, is that if you copy the setup, you give me proper credits
Shawn
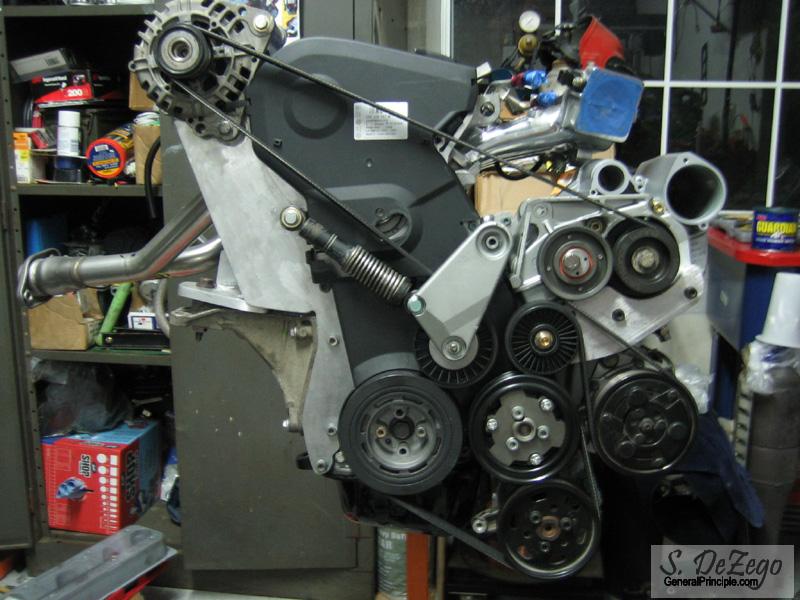
Here is a rundown of the setup:
- Late 1.8t 120A Alt with decoupling (clutched pulley)
- 1.8t PS pump and pulley
- Custom PS pump mount/setup
- Mk3 rear Engine Bracket (could use the G60 3 bolt if you wanted)
- Rear Alt/Engine brkt with rear spine and additional support mount to Engine brkt.
- Top Alt bracket
- Custom Tensioner mount (tensioner shock, roller, brkt arm and pin are stock G60)
- Custom Relay Roller and bracket (and modified G60 bracket).
- 8v Cam belt tensioner
- Serp belt of undisclosed length
- G60 non-A/C ribbed waterpump pulley