You must be logged in to rate content!
4 minute read
Horn Relocate: Here's Another way
Compliments of Benson X @ www.tacomaworld.com
7-14-2012
Another way to relocate your horns.
I needed to free up space behind the grille for the hidden winch I will be installing. I didn't want to move them behind the fuse box, since I might install the winch control box there.
STEP 1: Disconnect the battery.
STEP 2: Remove the grille.
STEP 3: Unplug and remove the (2) horns & unplug the sensor from the middle pillar.
STEP 4: Undo all the retaining clips from the wire-loom. You can re-use the locking clips (Zip-Tie style) by prying up the lock tab with a small flat-head. Strip off all the tape and conduit up to the battery/headlight area.
STEP 5: Separate the Sensor wire from the (2) Horn wires (Light Gray and Dark Gray).
STEP 6: Cut the (2) Horn wires and strip the ends off each.
STEP 7: Mount the horns.
Here's where I decided to mount each horn.
Driver's Side: Next to the radiator

Passenger Side: Next to the radiator

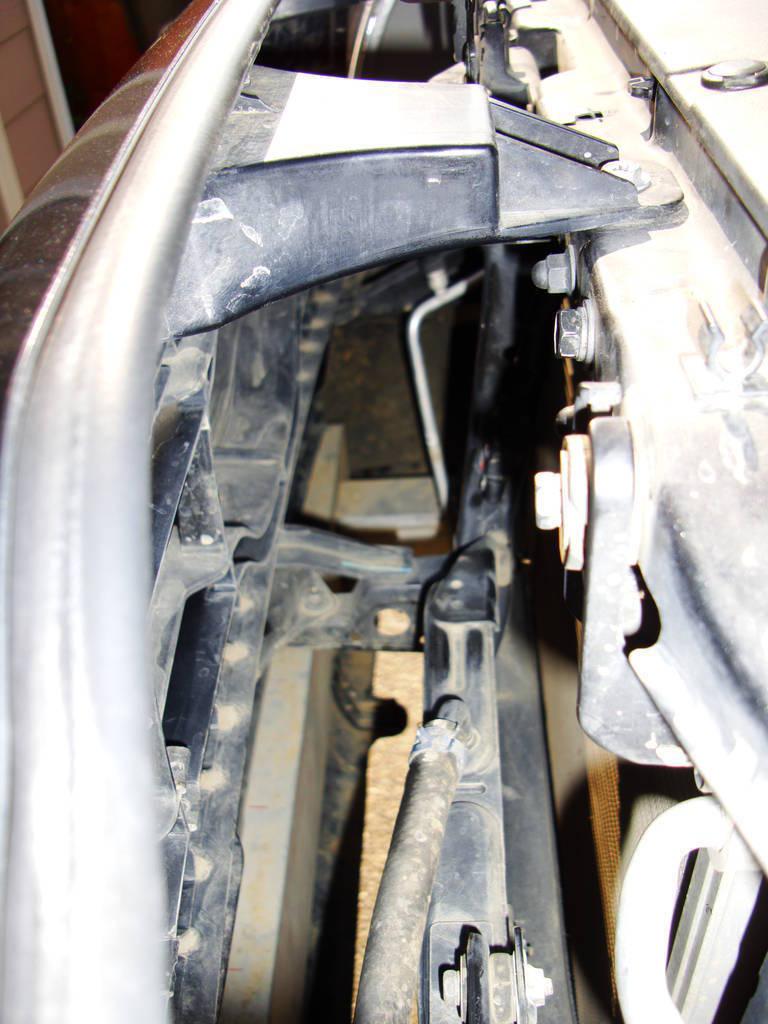
I used the factory holes to run a bolt, lock-washer, washer, washer, then nut to hold the horns.
Here are the holes I used:
Driver's Side


Passenger Side


I loosened the bracket on each horn so I could position them where I wanted, then tightened it back up. After they were where I wanted, I tightened the nut on each of the bolts.
Here's what they look like mounted.
Driver's Side:

Passenger Side:

STEP 8: I measured a length of wire to the passenger side horn, and soldered it to the Light Gray wire and plug. I trimmed the excess length of wire from the Dark Gray wire and soldered it back to the plug. I used heat-shrink tubing on each of the solder joints, and wrapped the whole thing with conduit and electrical tape.


I used a Zip-Tie on this hole to keep the conduit tucked up (there was another hole to use, but didn't want to sacrifice it in case I used it in the future)

STEP 9: Plug everything back in and re-connect your battery and honk your horn. Have a beer to celebrate another successful mod. 
FINISHED PRODUCT:


