You must be logged in to rate content!
4 minute(s) of a 66 minute read
8-9-2011
Also if anyone hasn't seen it yet and is interested, my ProEFI install guide is up here: http://www.supraforums.com/forum/sho...-Install-GuideThis has more detailed pictures and descriptions for the ProEFI wiring that what I went into in this build thread.
My battery has finely died, can't complain I've had the thing for 9 years now and ran it dead several times over the winters etc and it was fine until now. Going to replace it again with a Diehard Gold, hope this new one works as long as the old
10-19-2011
Got the tune dialed in. Results here: http://www.supraforums.com/forum/sho...p-meth.-ProEFI
5-6-2012
So I noticed that somehow the bolts that hold my HKS BOV together had backed out causing a huge boost leak, which was causing my slower than normal spool for my turbo. So I fixed the boost leak and did a boost leak test (I really should have done that after finishing the install!) I found another small leak at a IC coupler. Once they were all fixed I was having a major overboost issue.
Took the WG off and put a 10.5psi spring in it and connected the boost source to the side port bypassing the boost controller. I was still hitting over 22psi in 2nd gear I then tried putting the exhaust silencer in and bam it holds a nice solid 12psi. So it appears that my F1 manifold and PW46 wastegate are creeping
 Now that I don't have any boost leaks it just can't keep the boost down to a reasonable level. Not sure what to do...
6-3-2012
Another local Supra owner is also going with a ProEFI and he got the color CAN display, but decided he would rather have the CAN gauge so I traded my gauge + a little $$ for the color display.
I wanted to flush mount it in the stock clock location. This is a bit tricky and took me some time but the result was what I was looking for. The display can only fit in one spot and just barely fits behind the dash. I also didn't want to glue it into place in the event that it has to be sent back for future software upgrades.
First I cut the screw bosses off and trimmed the side of the vent just a little. Notice that I left most of the one post that I use for mounting later.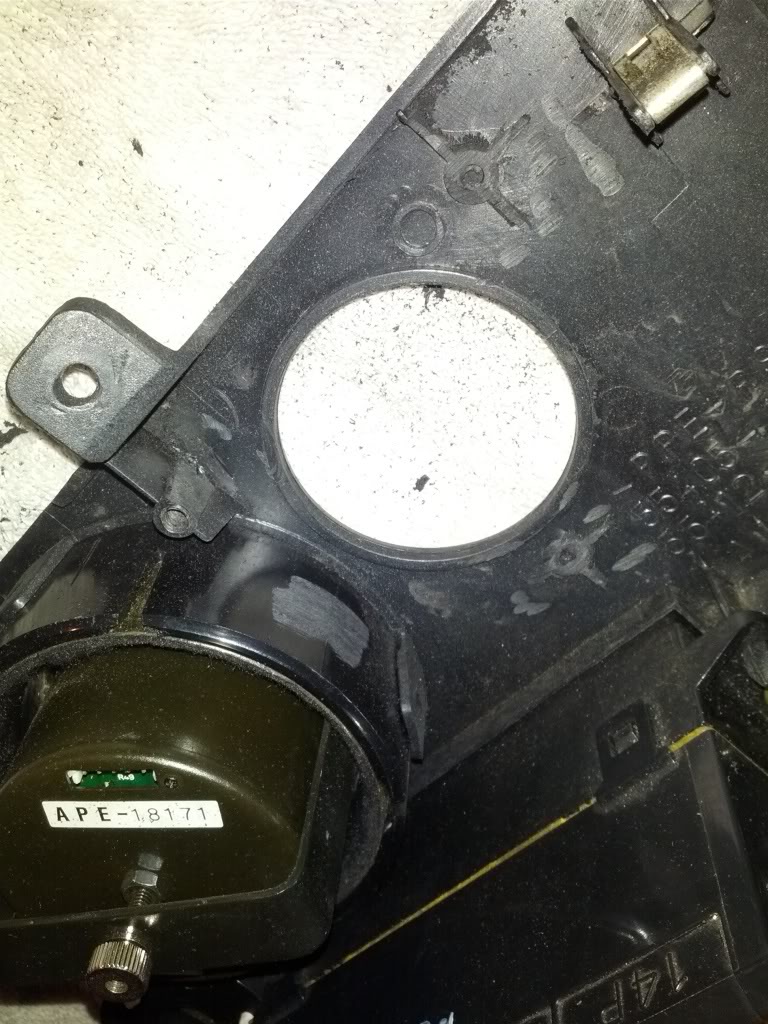
I then slowly started to open up the hole: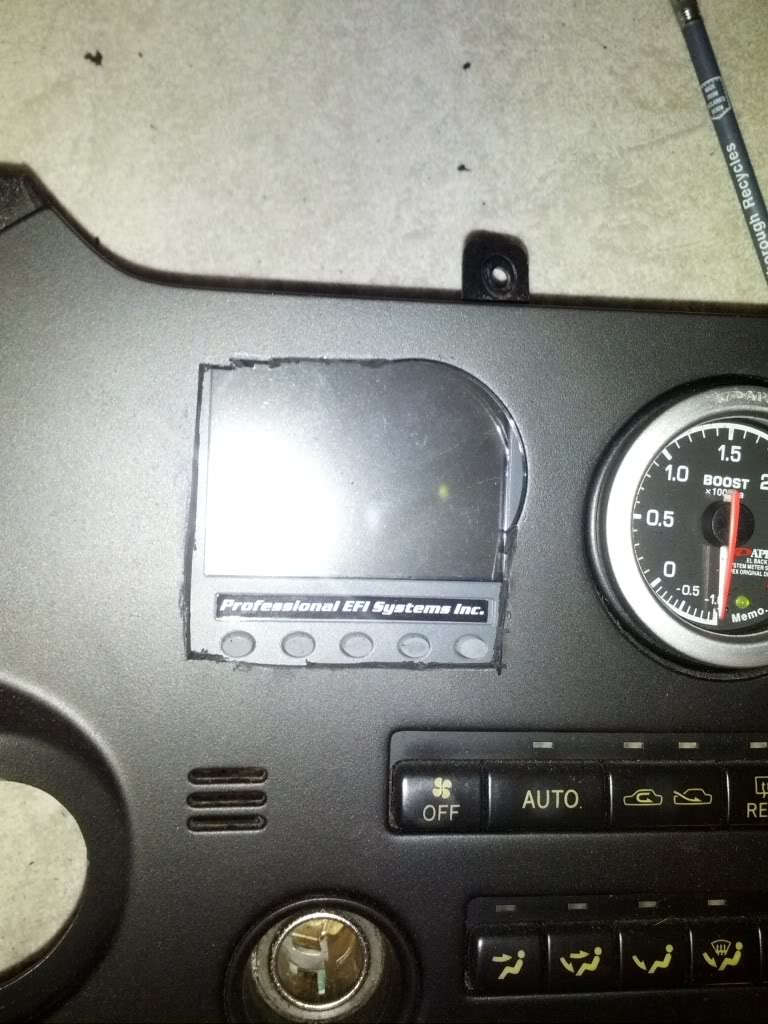
I just kept opening it up until one edge was aligned and continued from there. 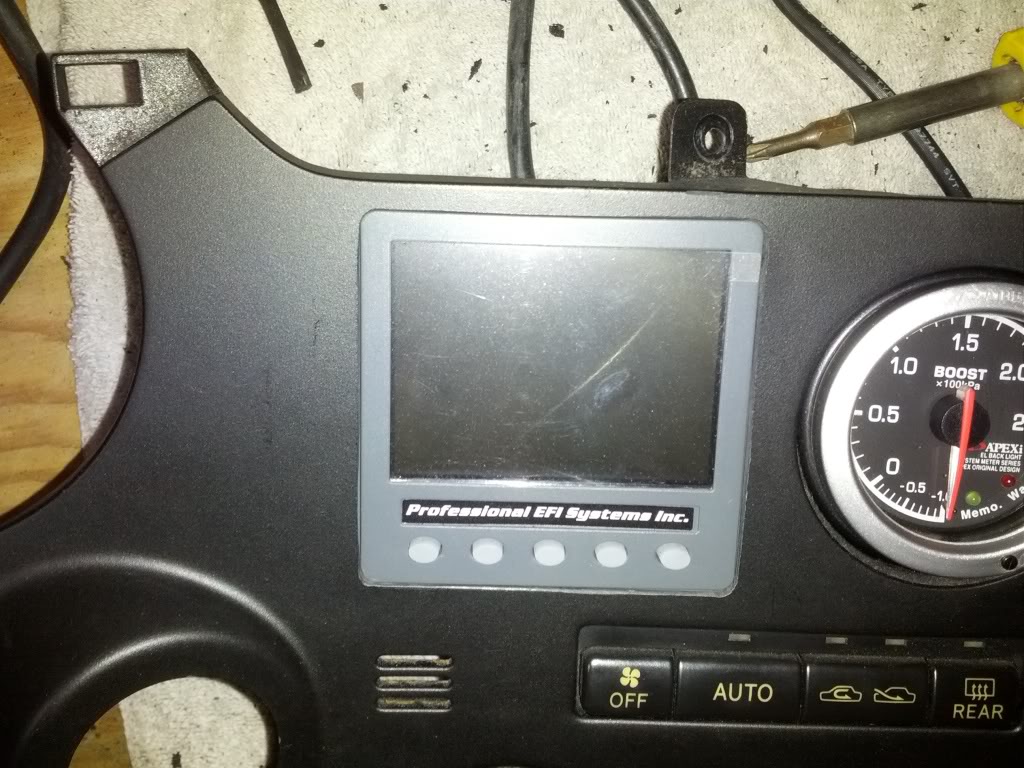
Once the hole was opened up so the display just fit I made a couple of brackets to hold the display to the panel: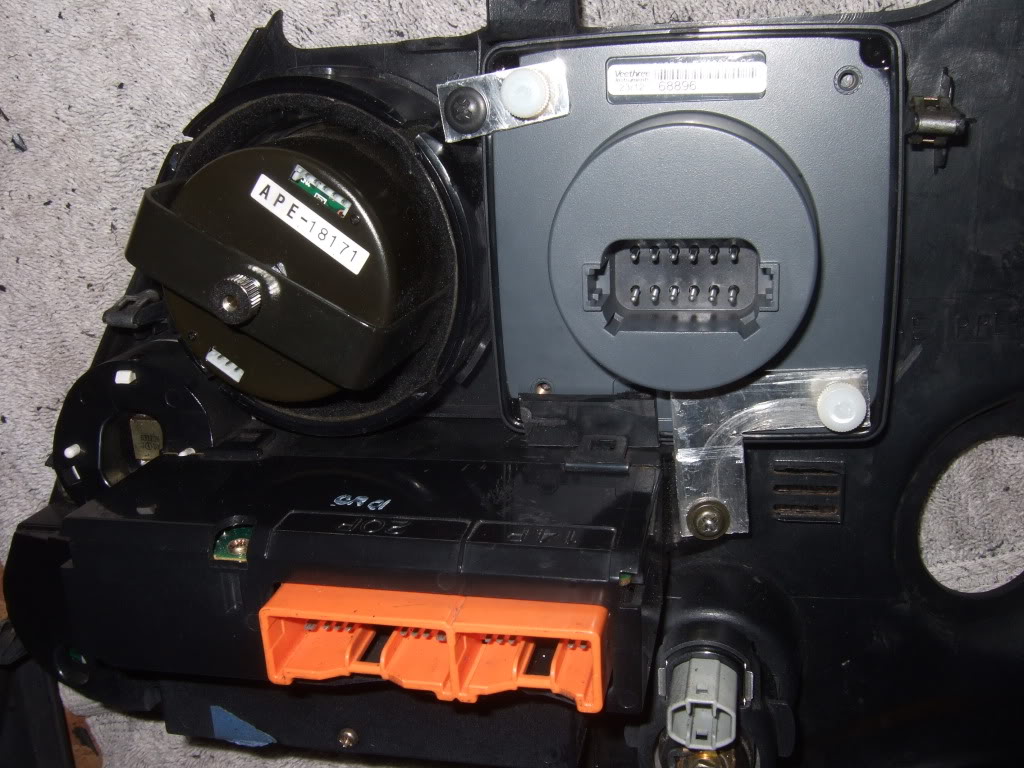
I also had to cut a bit of the plastic behind the dash. Note that I left enough of the "slot" so the dash panel clip can still clip in. If this is trimmed properly it presses against the display to further hold it in place. 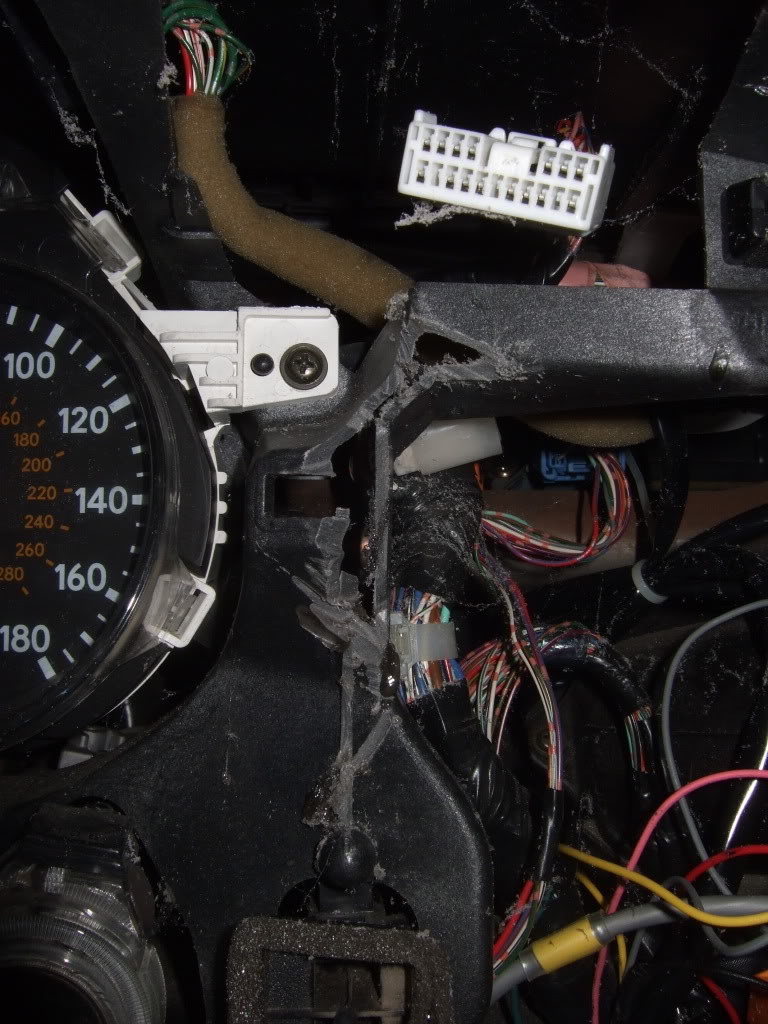
And everything back together: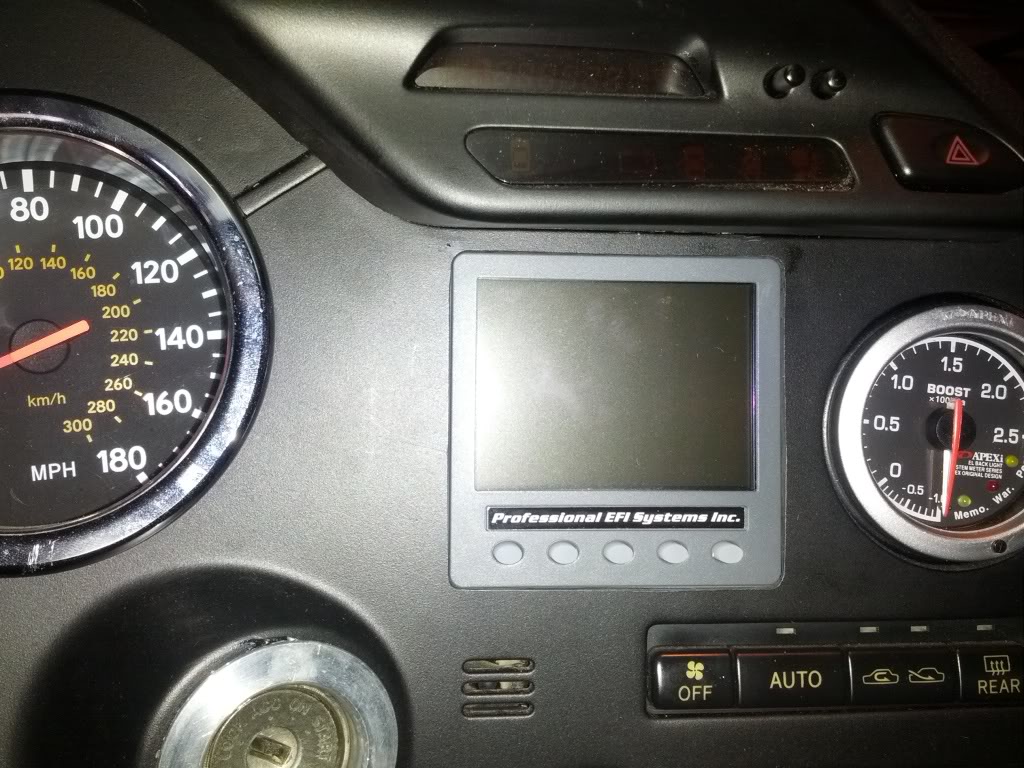
Great pictures !
Posted by Diggymart on 1/22/20 @ 7:27:35 PM