You must be logged in to rate content!
5 minute read
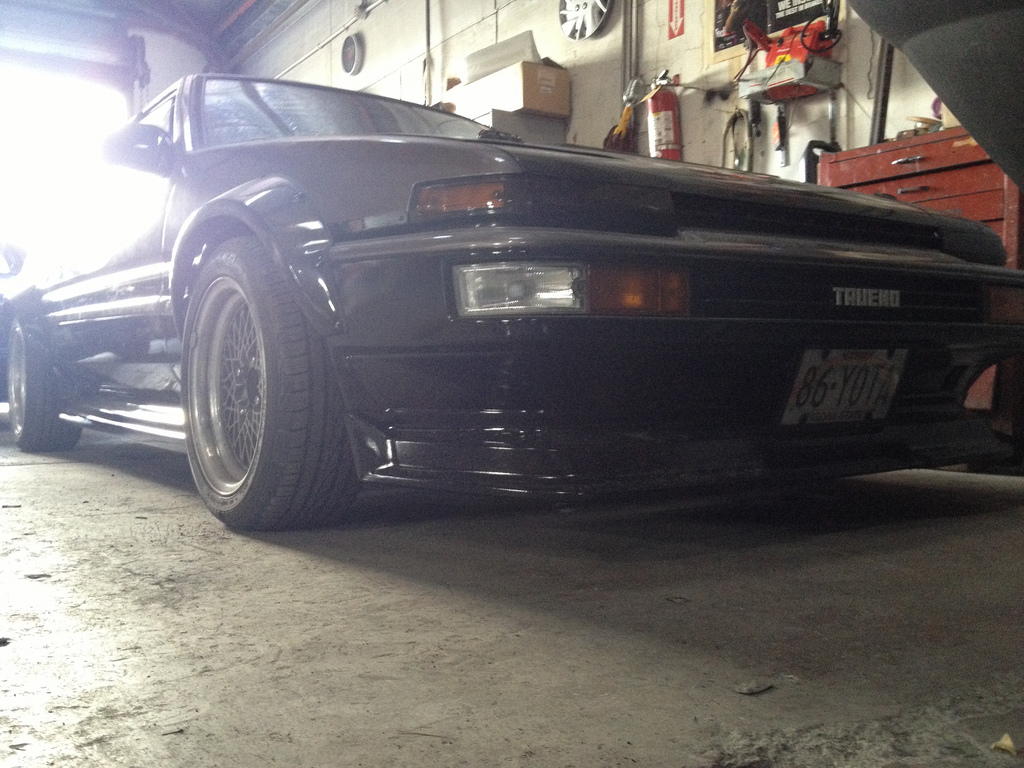
Zenki Lip on Kouki Bumper (JDM Trueno)
Compliments of maxpham @ http://club4ag.com
11-2-2013
Obligatory Warning/Safety Statement
Although the installation steps outlined below works for me, it may not work for you. Do remember to wear personal protective equipment while drilling orifices, use properly rated jack stands to support your car, and ensure you have ample lighting. Road conditions and driving styles differ from area to area, person to person so the steps here may not be best for you. Also, I am not a professional (by any meaning of that word), I do not profit from any of the vendor links provided below. I am just a do-it-yourself'er like yourself; please don't sue me. ![]()
Required Materials
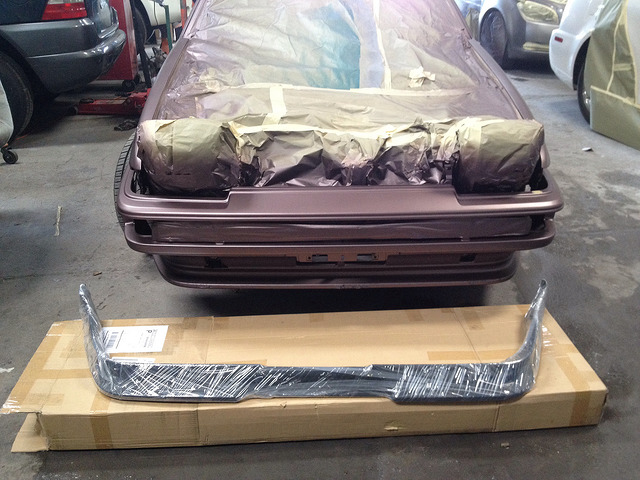
JDM Kouki Trueno Front Bumper (PN 52119-12092)~$450USD
JDM Zenki Trueno Front Spoiler (PN 76081-12020)~$260USD
1.5" Corner Brace (Stainless Steel 4 Pack)~$5USD
M6x1.0 25mm Bolts (x4) ~$2USD
M6x1.0 25mm Nuts (x12) [i]~$4USD
M5x0.8 25mm Bolts (x2) [i]~$1USD
1/4" Lockwashers (x4) [i]~$3USD
1/4" Rubber Washers (x8) [i]~$3USD
Tools
Portable Drill + Drill set
Vise
Ratchet + 10,12mm sockets
Jackstands (x4)
Jack
Worklight
Tape
(optional) Dremel w/metal cutting disc
Appropriate Ambience
Time Required: ~30-45 minutes
Preparation
Use the jack to lift your car up to a comfortable working height. Although you only need to lift up the front, I found that lifting all four corners to a level height is ideal.
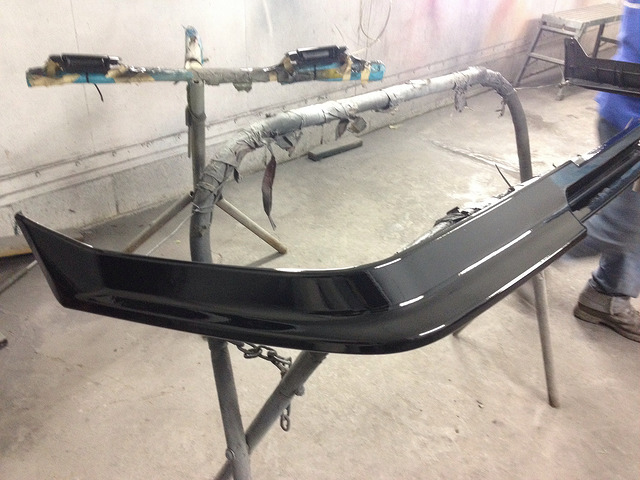
Purely optional and based heavily on preference, paint the lip.
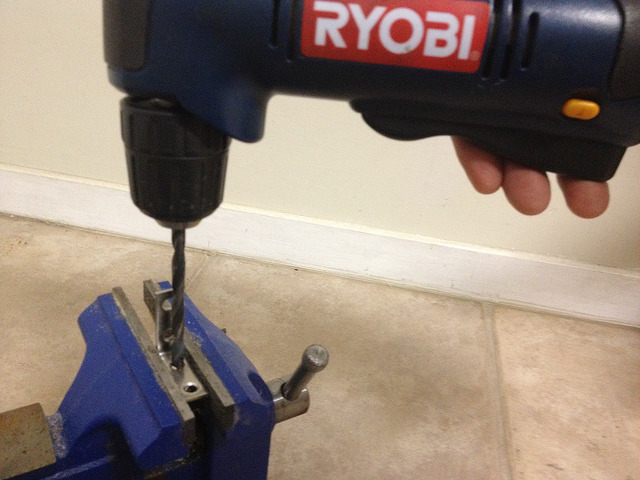
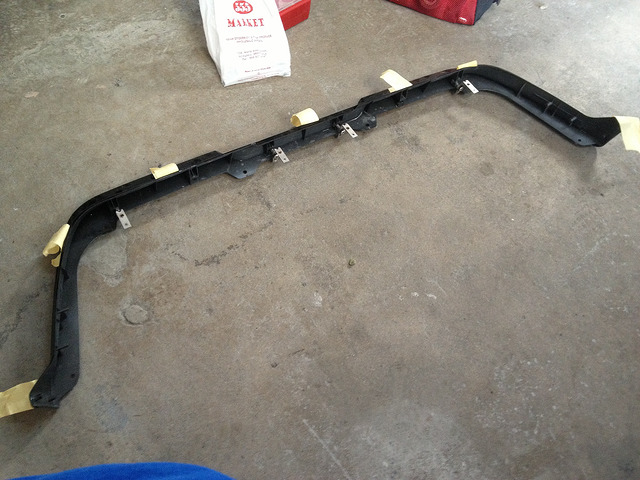
The corner braces have orifices that do not fit the M6x1.0 bolts, this is where you mount the braces on a vise and drill holes to accommodate the bolts. For my application, I expanded one orifice nearest the corner and dremel'ed the opposite end's two holes together. This gives me room to adjust.
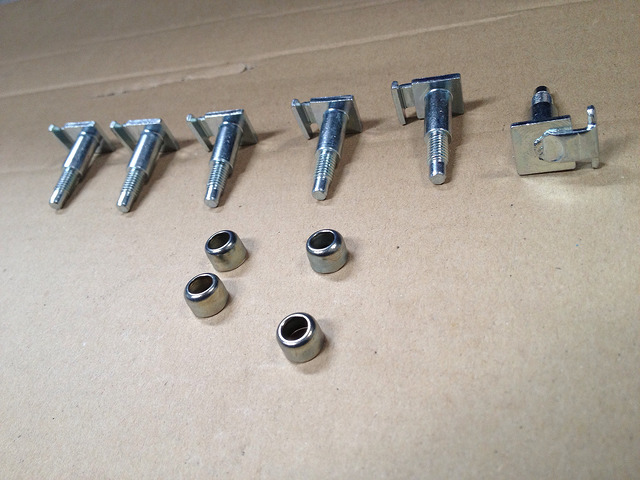
Parts Check: If you bought the lip new, it should come with these 6 bolts and 4 spacers. You only need to use 4 of the bolts to mount the lip. If not, you will need to purchase 4 additional M6x1.0 25mm bolts with a square nut.
Installation
Hit the Appropriate Ambience and let's get to it.
Stick four of the bolts that came with the spoiler at the outer ends and in the middle (positions 1,3,4,6).
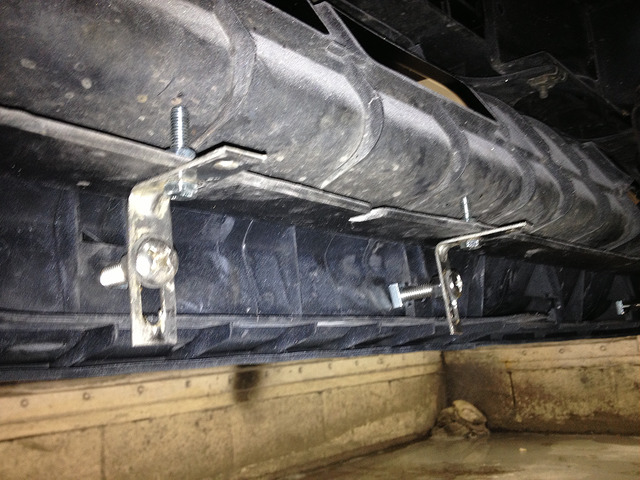
Screw in a nut, washer, and the adjustable end of the corner brace to a bolt like this:
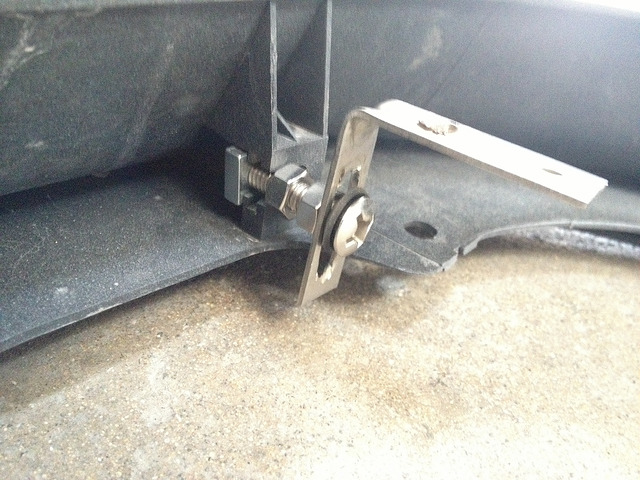
Repeat previous step until it looks like this:
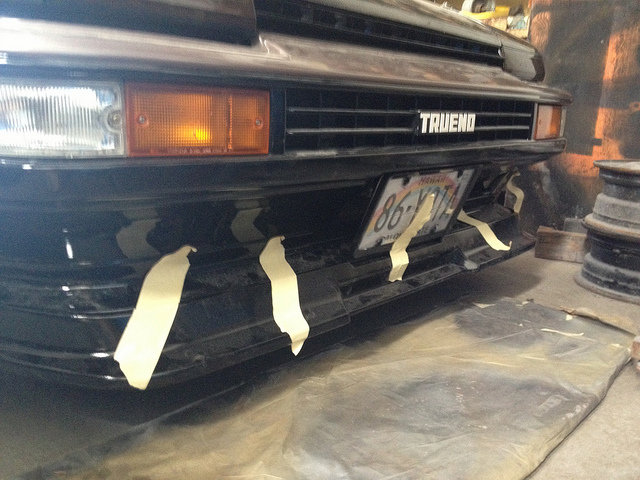
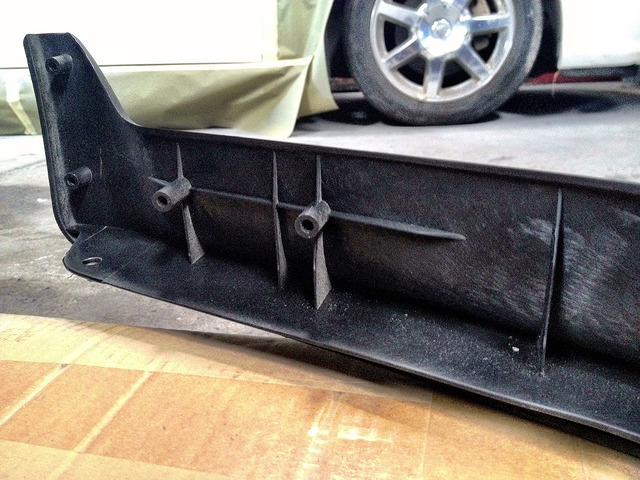
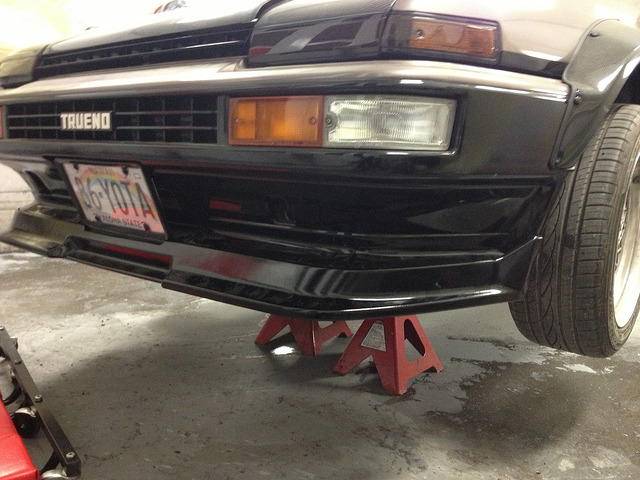
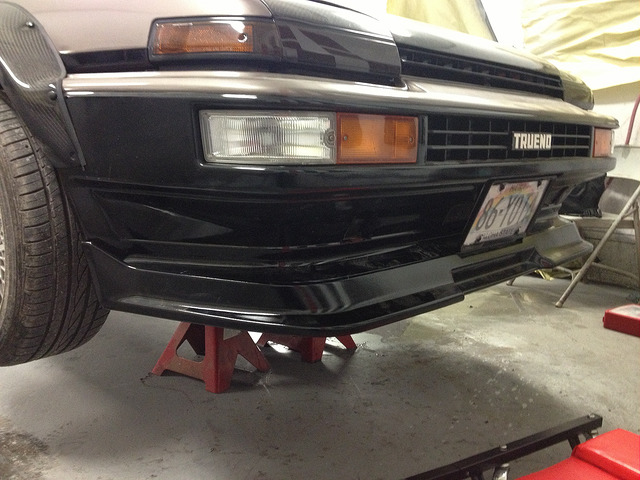
You should apply some tape and mount the zenki to your kouki. Special note, the zenki lip does not reach the wheel well. You can sand down your kouki bumper to be flush if this bothers you. I'm in Hawaii, so not many things bother me.
Align the braces to be flush with the lower part of your kouki, mark off your intentions, and drill baby drill!
Stick one of those M6x1.0 25mm bad boys on and screw nuts + washers in place. Do this four times.
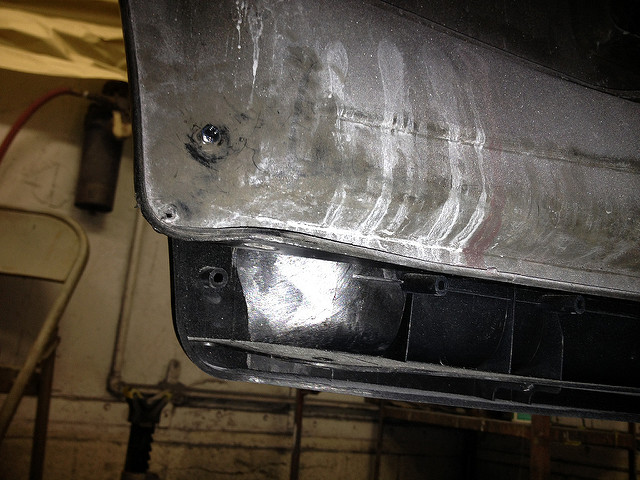
The front is now fairly stable but the sides need some work. This is where the two M5x0.8 bolts come in play. You'll notice that these bolts can thread the top left orifice rather nicely...
Mark off the adjacent area on the kouki bumper and drill a hole there to feed the bolt through like so:
Use a bit of elbow grease to work the bolt into the zenki lip like this:
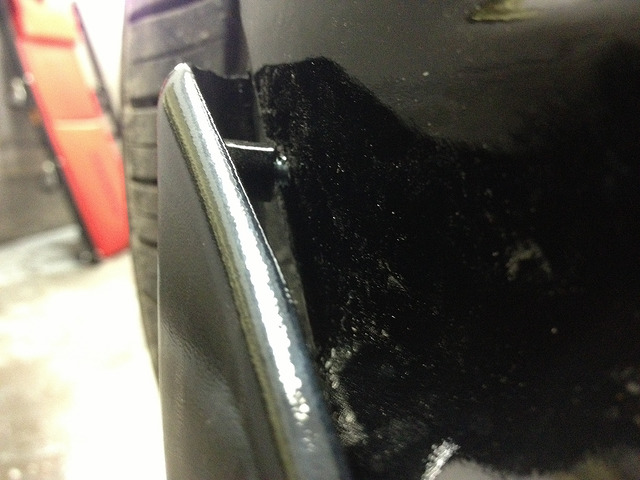
Repeat this for the other side.
Remove the tape and check/tighten the nuts & bolts.
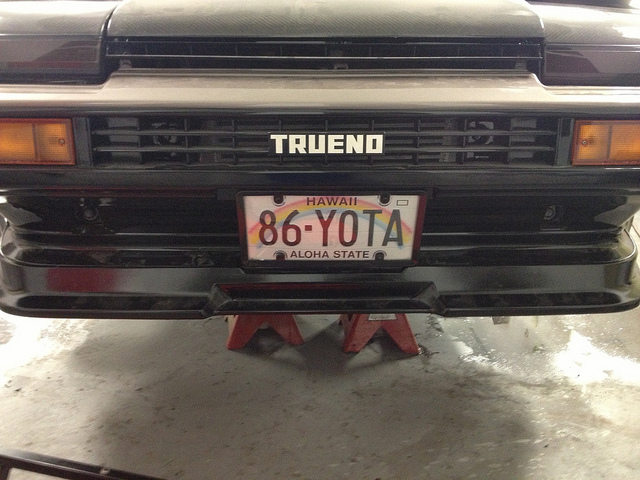
Lower the car from the jackstands, take a dramatic photo of your lip, and post it to this thread. ![]()