You must be logged in to rate content!
5 minute(s) of a 221 minute read
8-29-2012
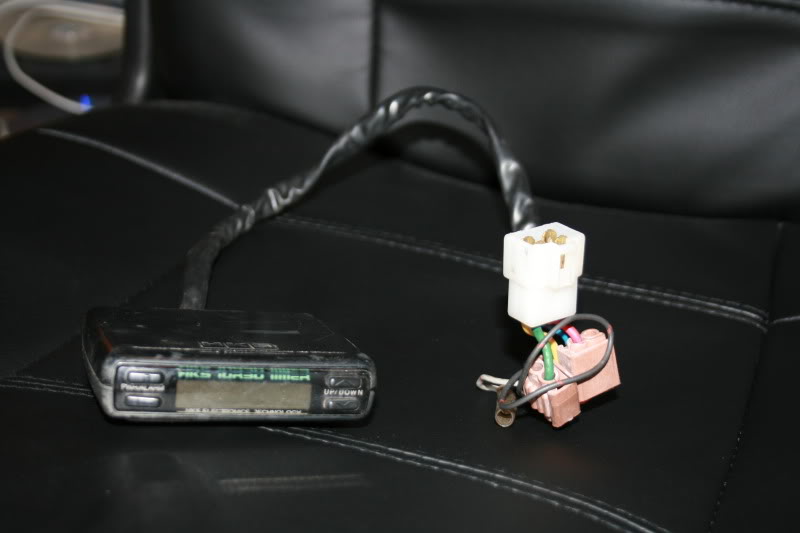
Junkyard find today! got a Supra 154 trans for my buddy, and I found a HKS turboTimer inside for my self! paid 5 bucks hahahah thank you pick a part!
9-1-2012
YYyEeeAaaaaHHHHhhhhhh!!!!! I got my rearend finally! MA47 hear I go!!!!!!!
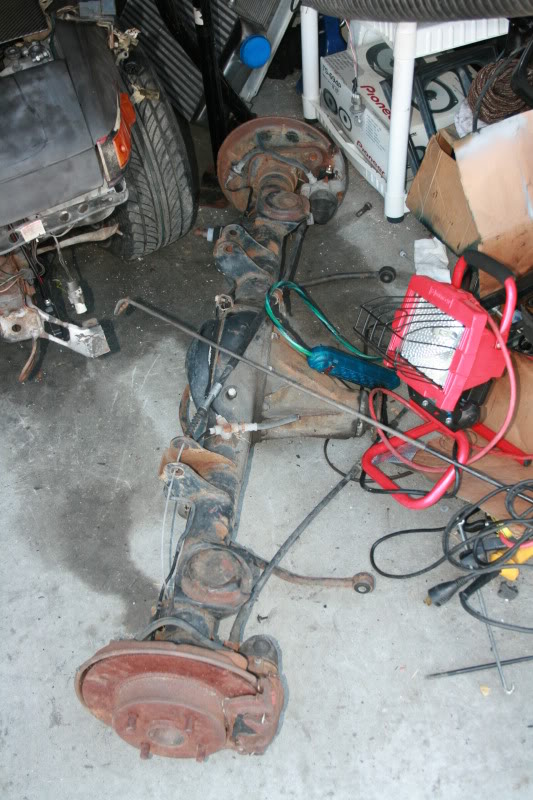
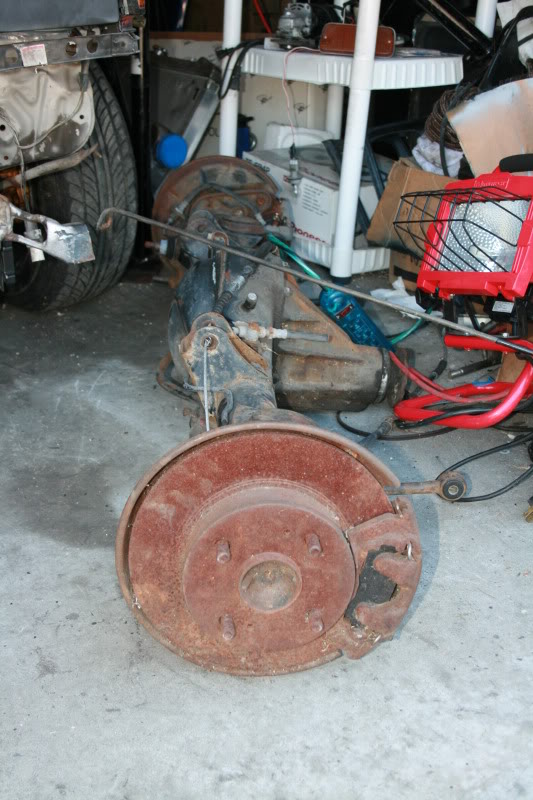
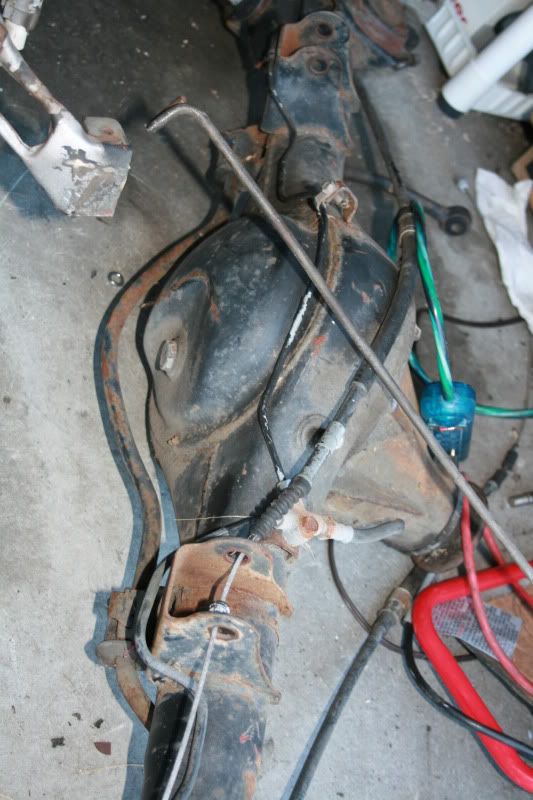
I need to rebuild the brakes, I'm sure. and I am going to look into getting sloted rotors, if they make any. but here she is!!!
9-5-2012
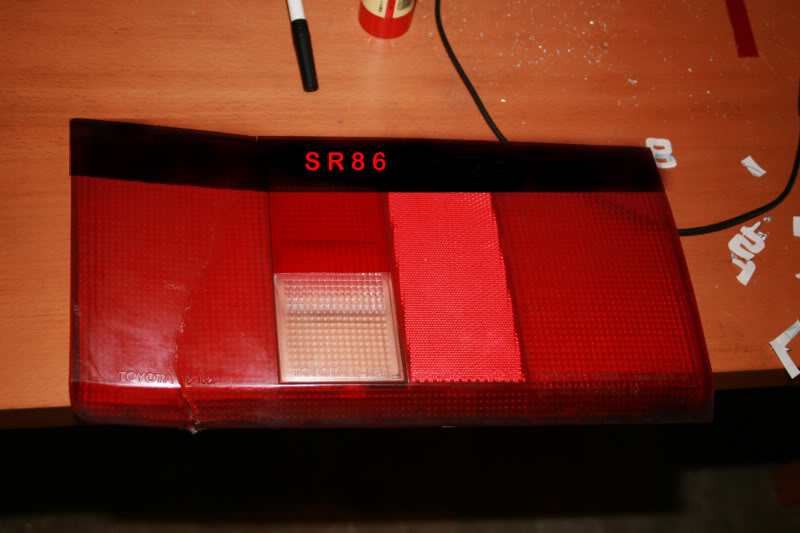
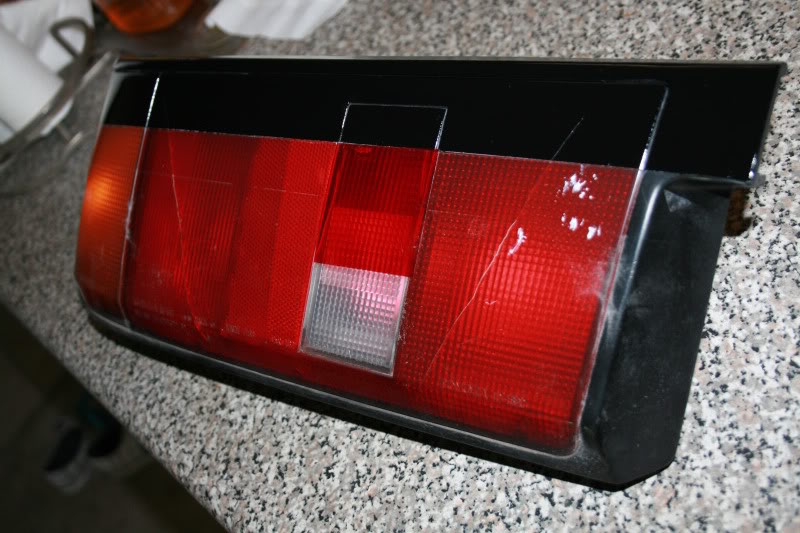
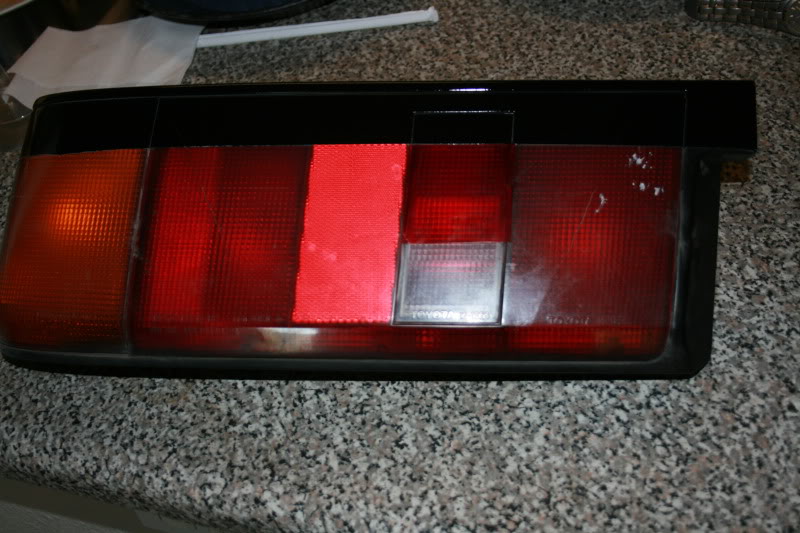
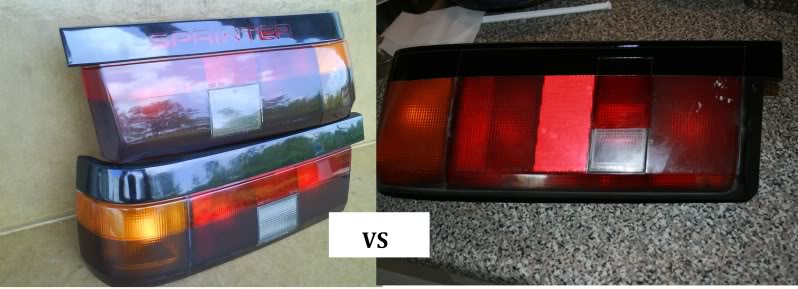
So I should have been studying neurology... but instead I got distracted with messing with the tailights. here is some stuff I did to make my DIY JDM tails with my old busted tails to see how it will look.
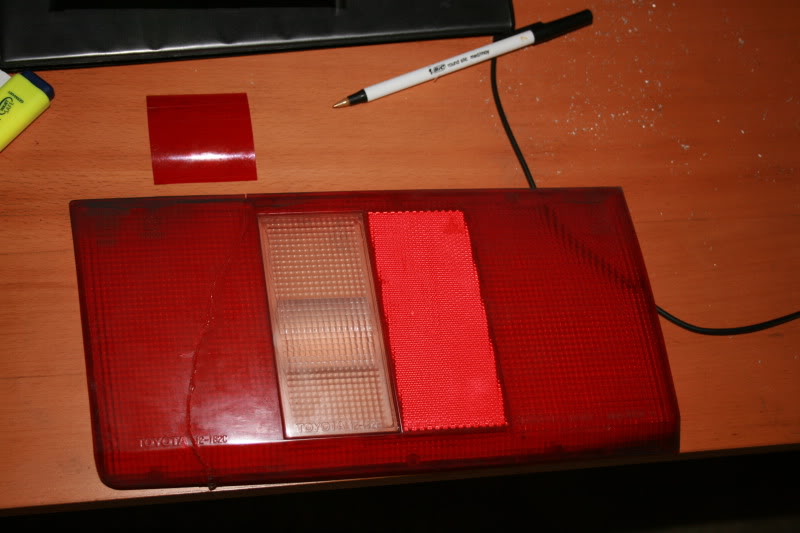
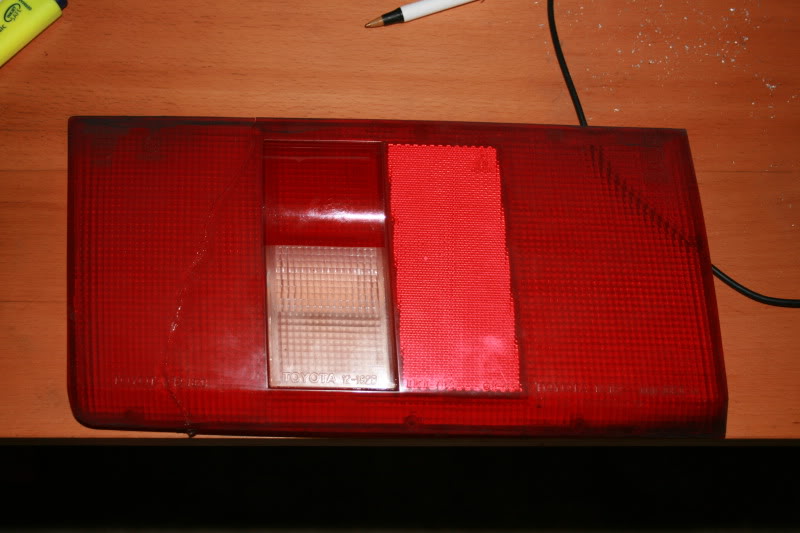
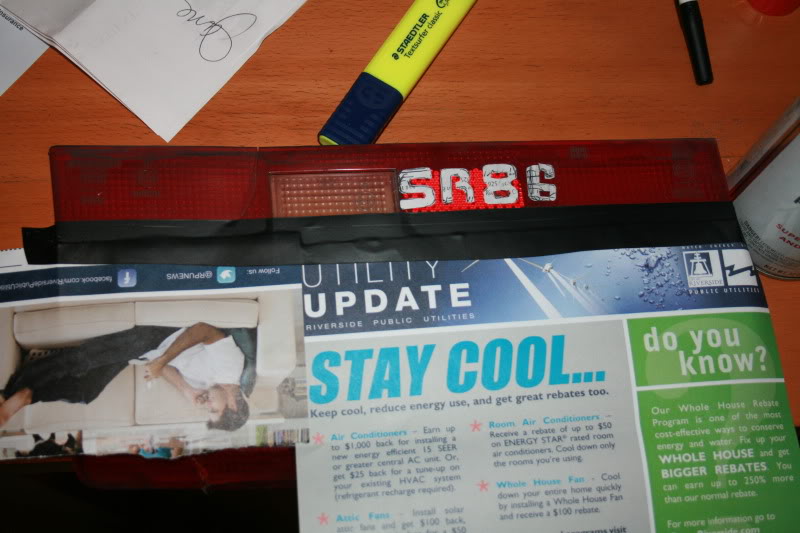
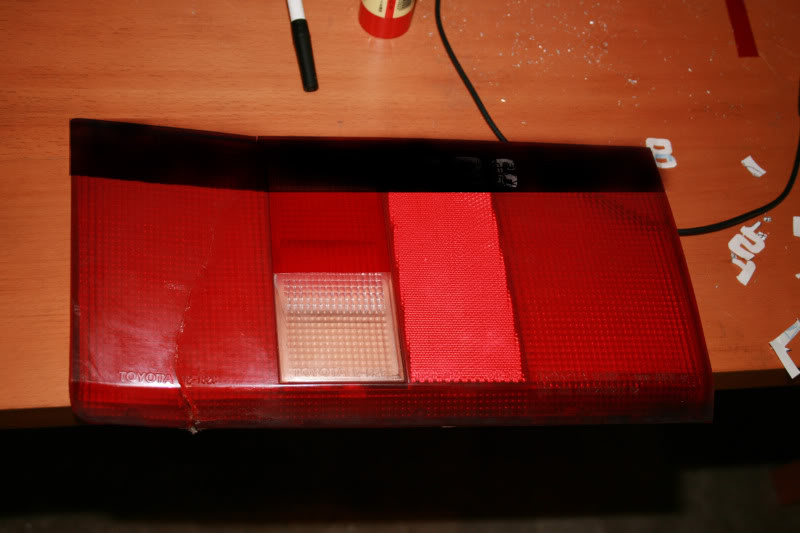
this one is photoshoped to see how it could look, since i need paint etc.
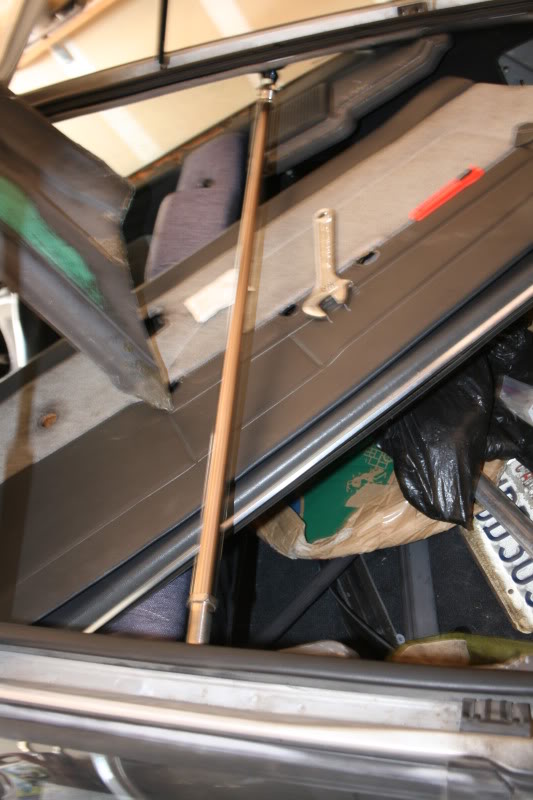
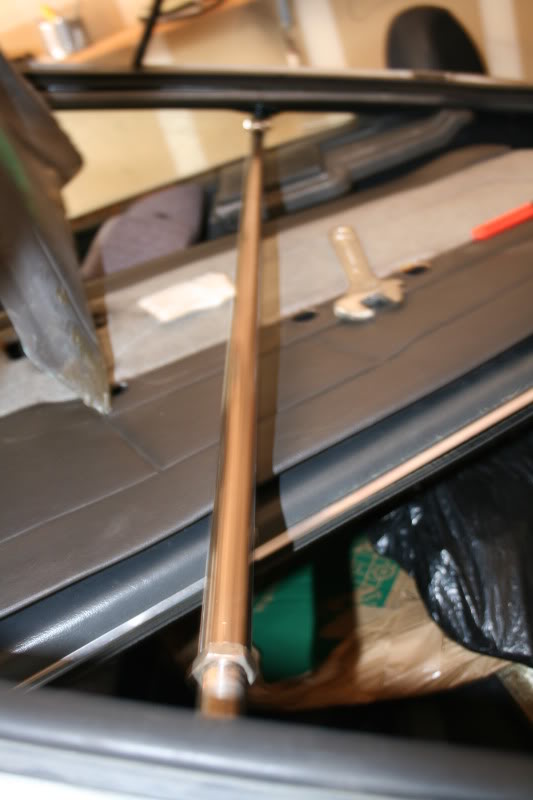
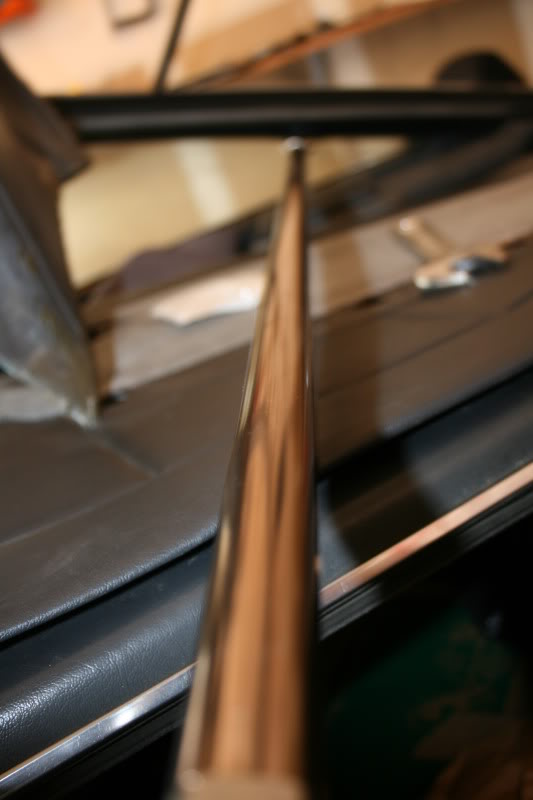
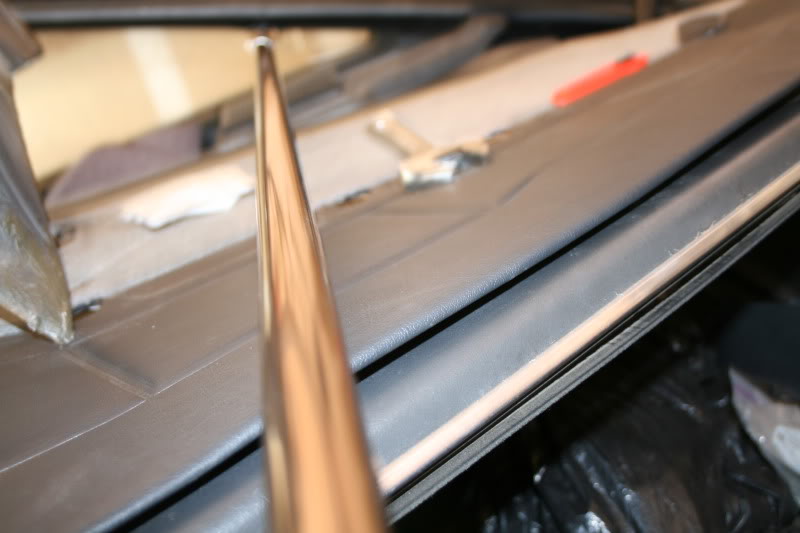
I also installed a rear hatch C-Pillar bar, looks nice! I still need to install the lower Cusco rear strut bar.
9-6-2012
Here is how I did my DIY JDM tail lights on my hatch for $20
What you need:
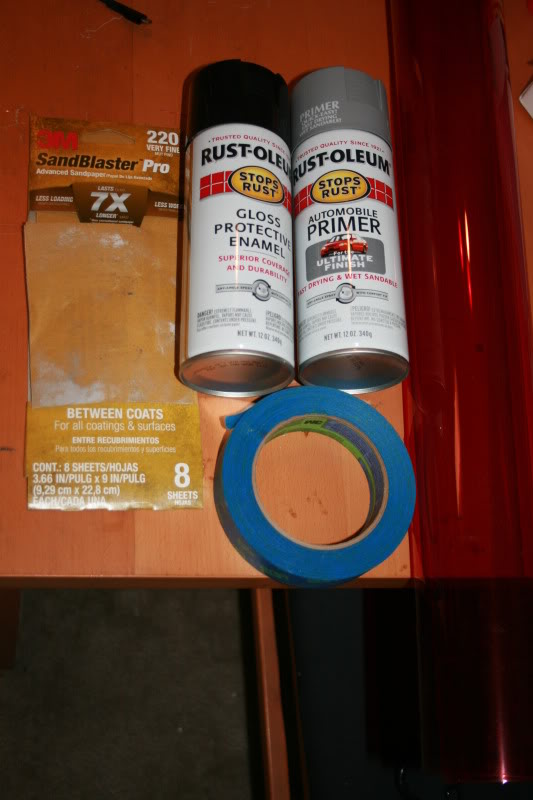
A can of Primer
A can of black high gloss paint
some 220 grit sand paper
superglue
red acrylic plastic matt
electrical tape
and a scissor
Start the work:
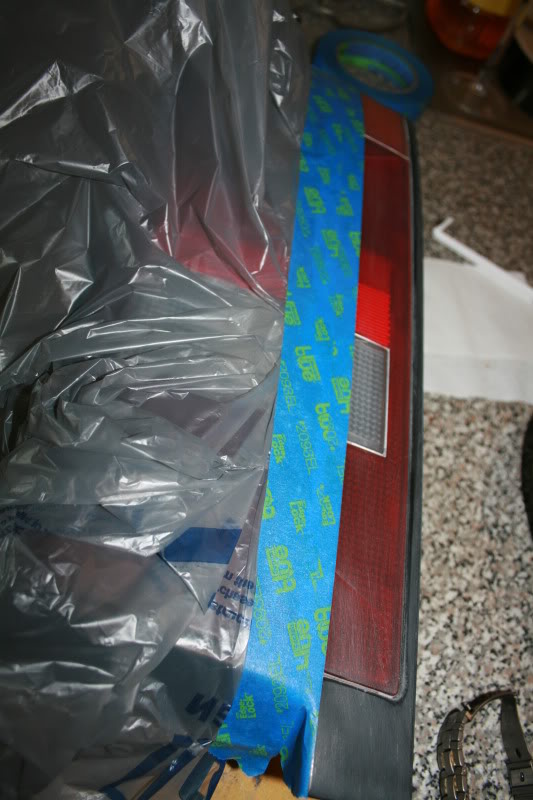
1. Use the painters tap to make your line across the top of the tailight, following the trim. then use a bag and tap it to the tap and all the area you do not want painted
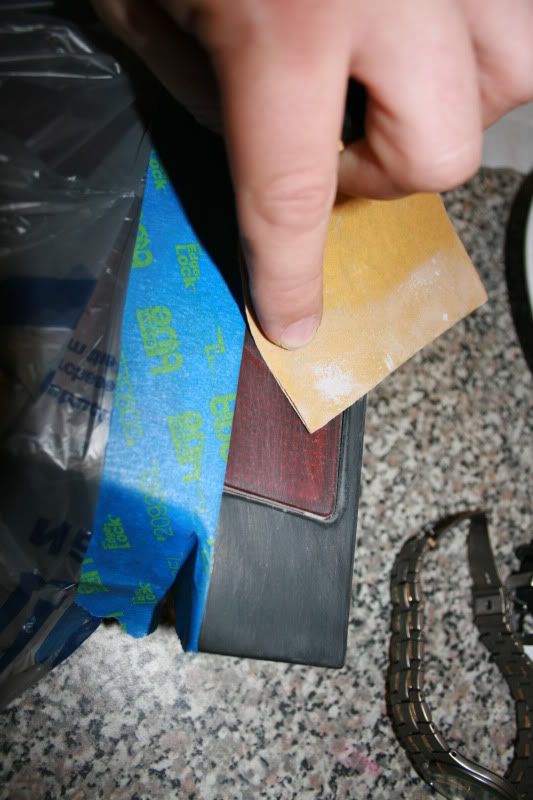
2. sand down all the lettering, and ANY shinny part, it MUST look dull, or the paint wont stick.
3. Once it if fully prepped, wash and dry off the sanded area. Shoot a light layer of primer across the whole light, then let it dry and repeat till you have nice clean even coat.
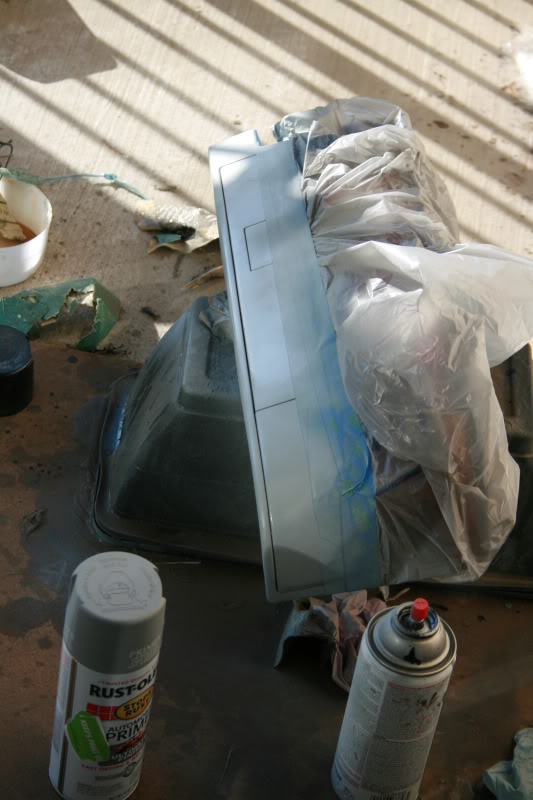
4. Once the primer is dry, shoot a color layer the same way, with light coats.
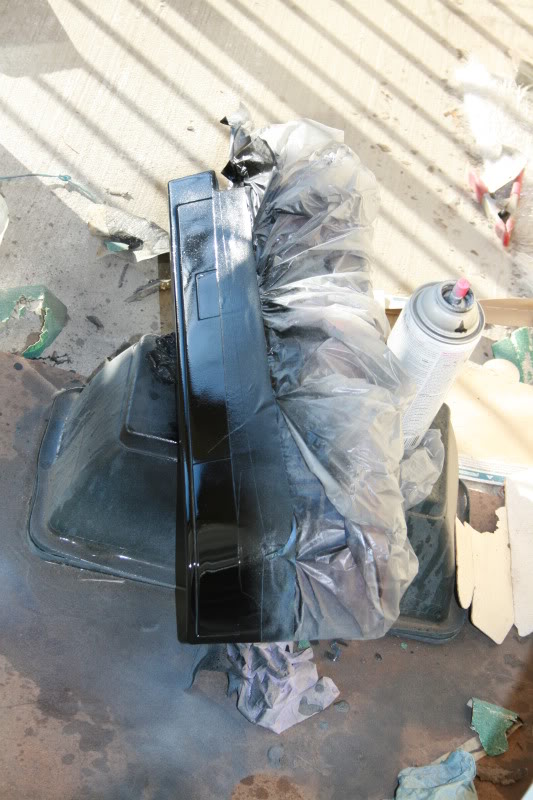
5. Remove the tape while its still tacky, and let cure for however your paint can says to.
6. take out your acrylic red plastic, lay it up to the light and use a dry erase pen to mark out where you will cut.
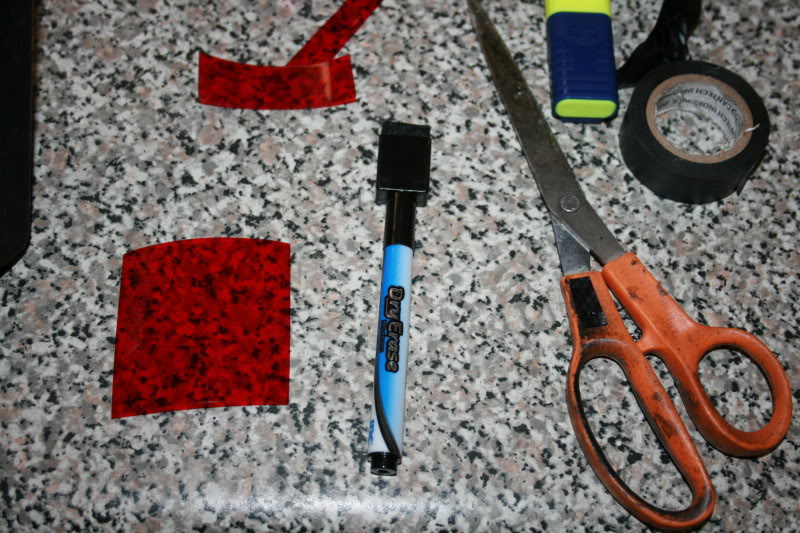
7. Cut the acrylic plastic to size and glue in the piece!
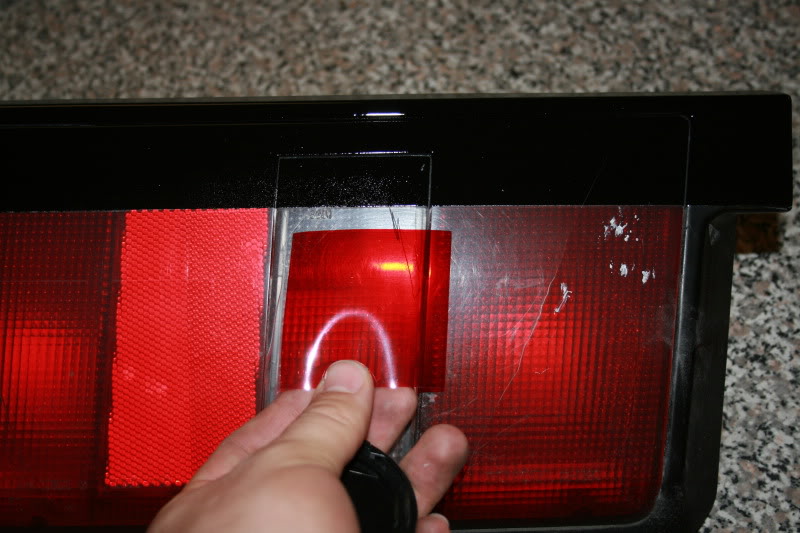
8. and your done!
Wow amazing!
Posted by Diggymart on 11/1/19 @ 3:00:13 PM