You must be logged in to rate content!
19 minute read
How to fix broken Lift Bolts
Compliments of Smaay @ newcelica.org
3-14-2010
Ok this is how I do this. Its pretty much like the TSB with my own twist
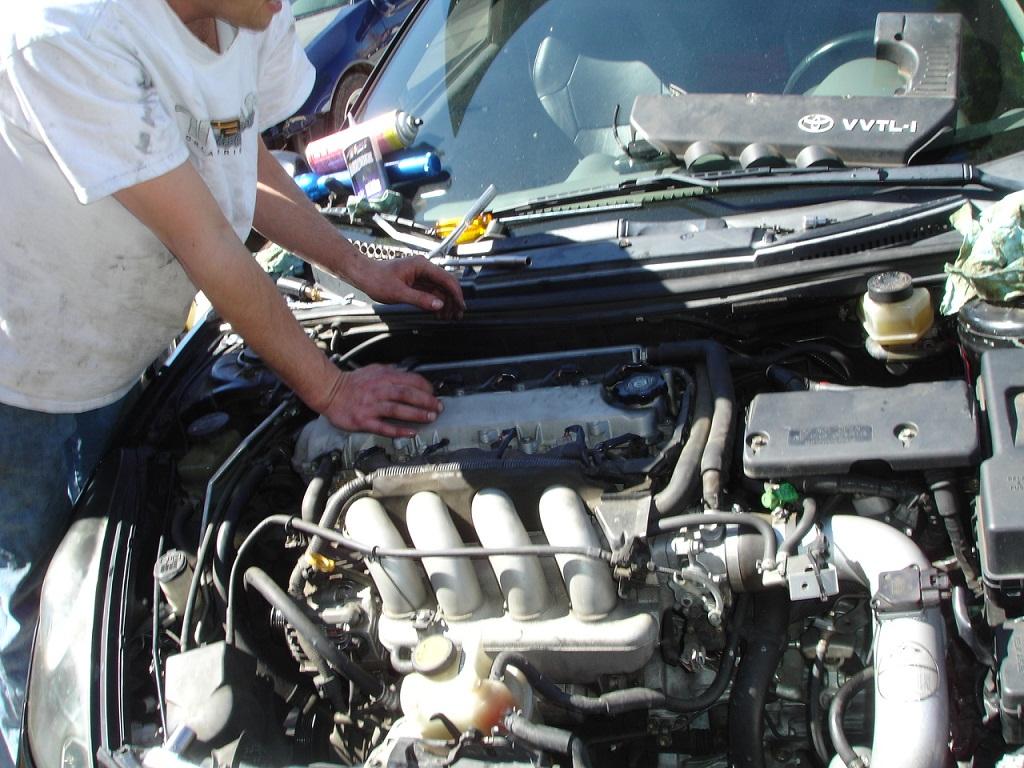
I forgot to take pics of removing the coils but thats pretty self explanatory.
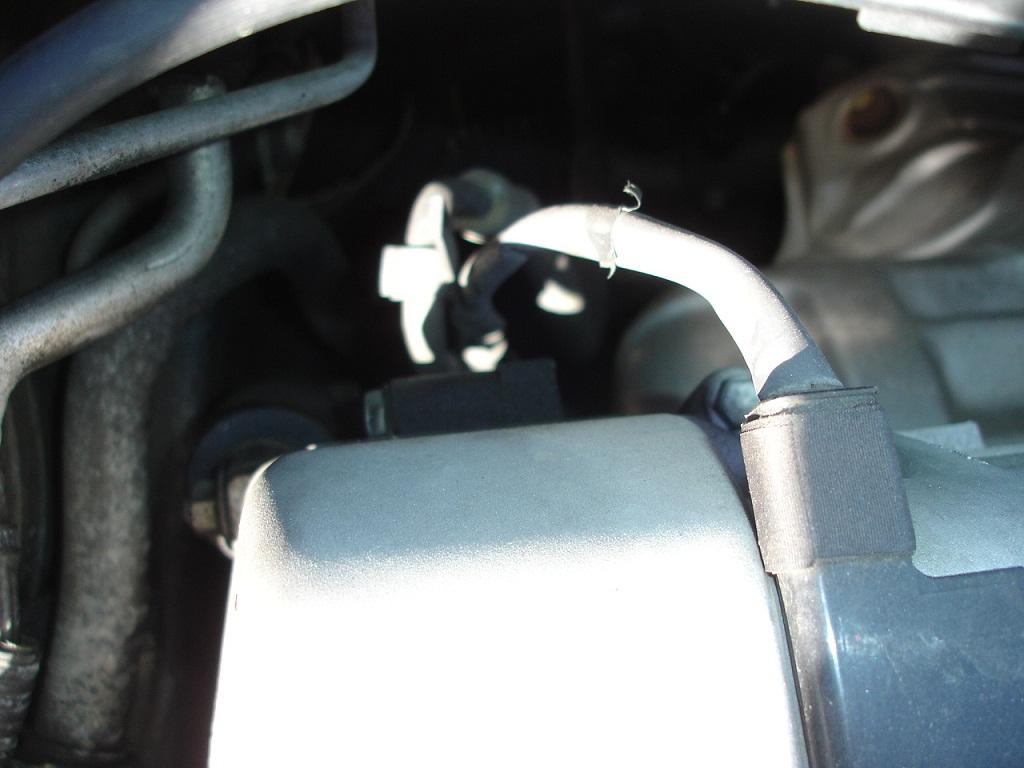
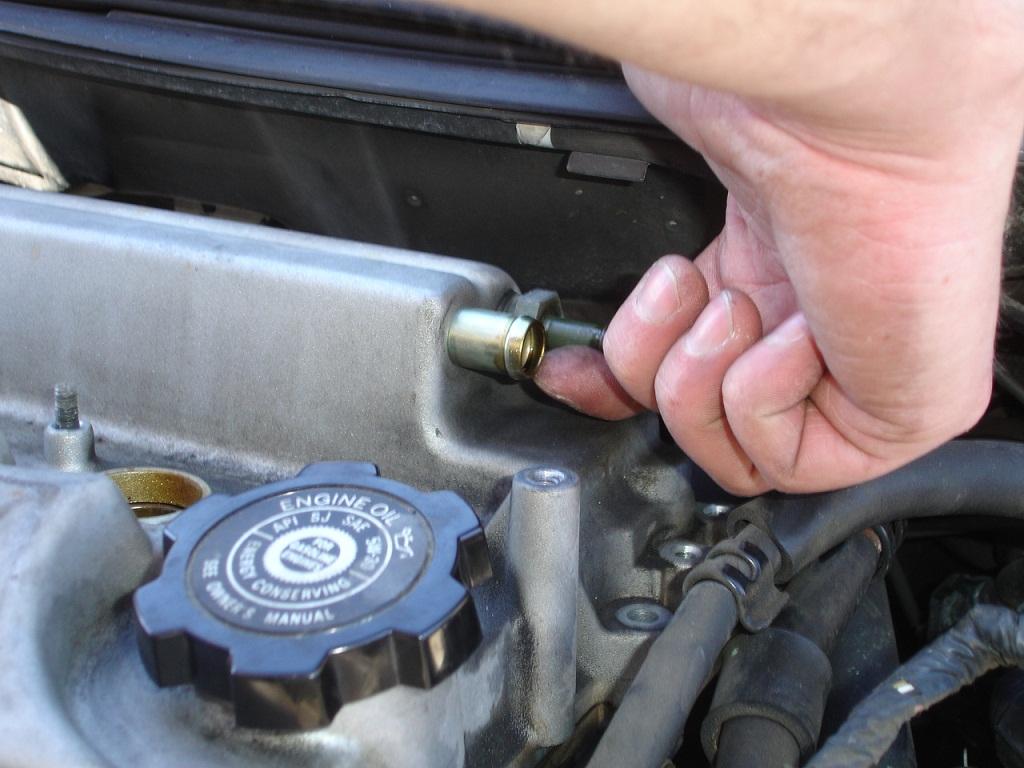
Unplug the power steering sensor
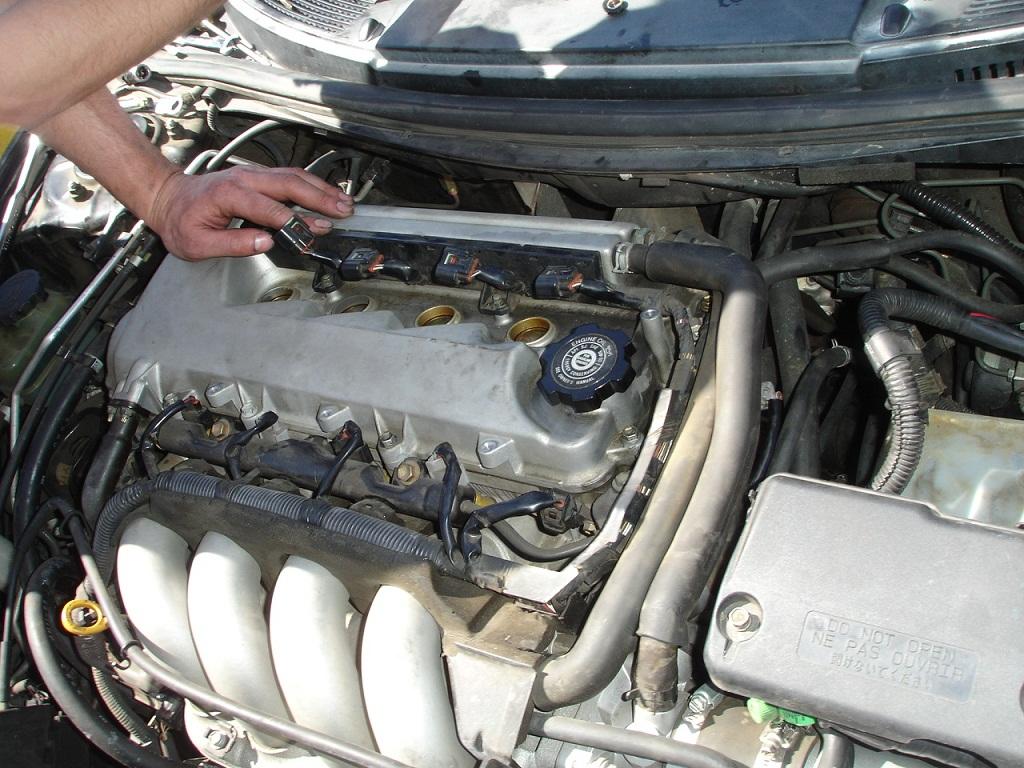
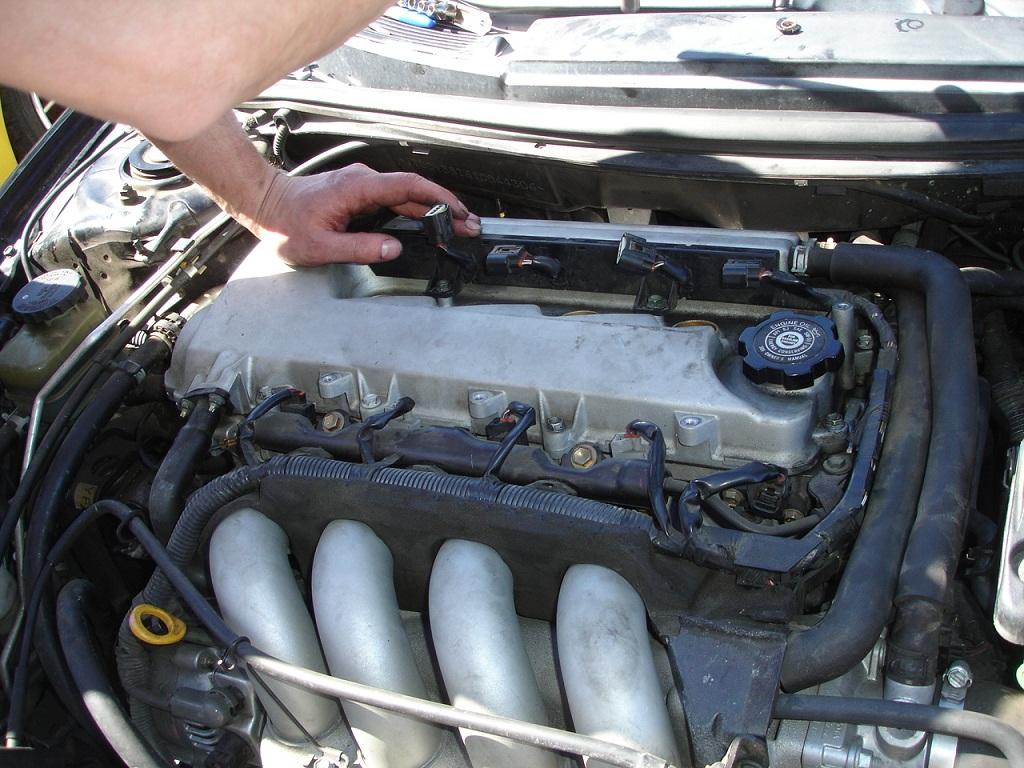
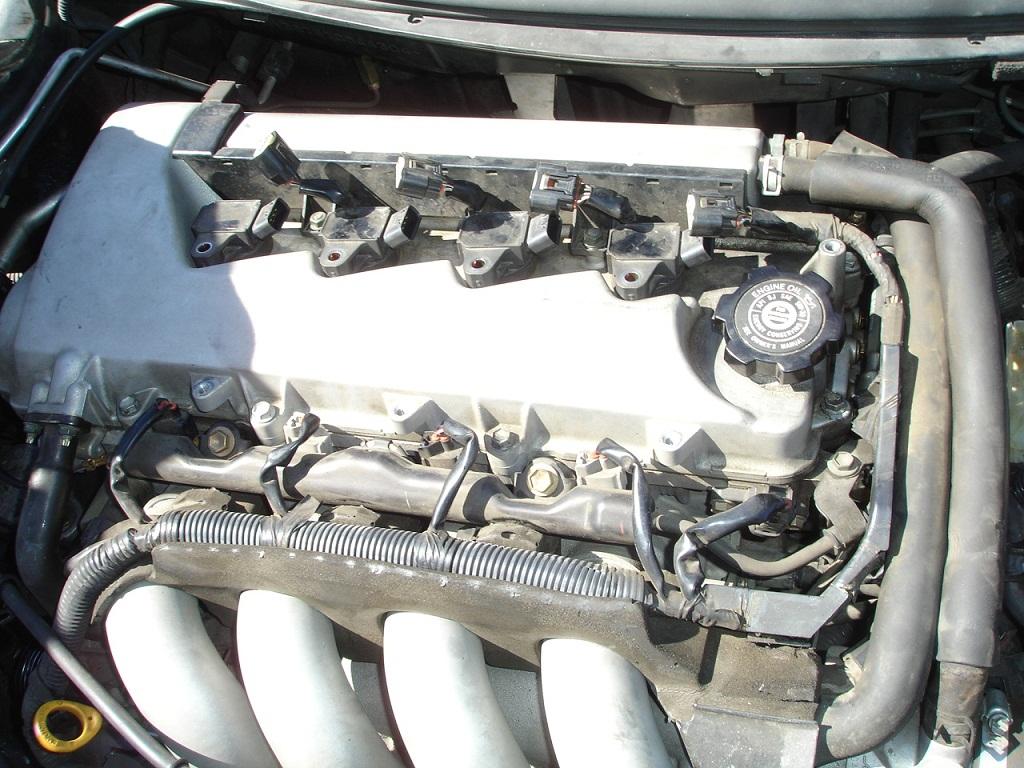
Coils removed and harness lifted out of the way
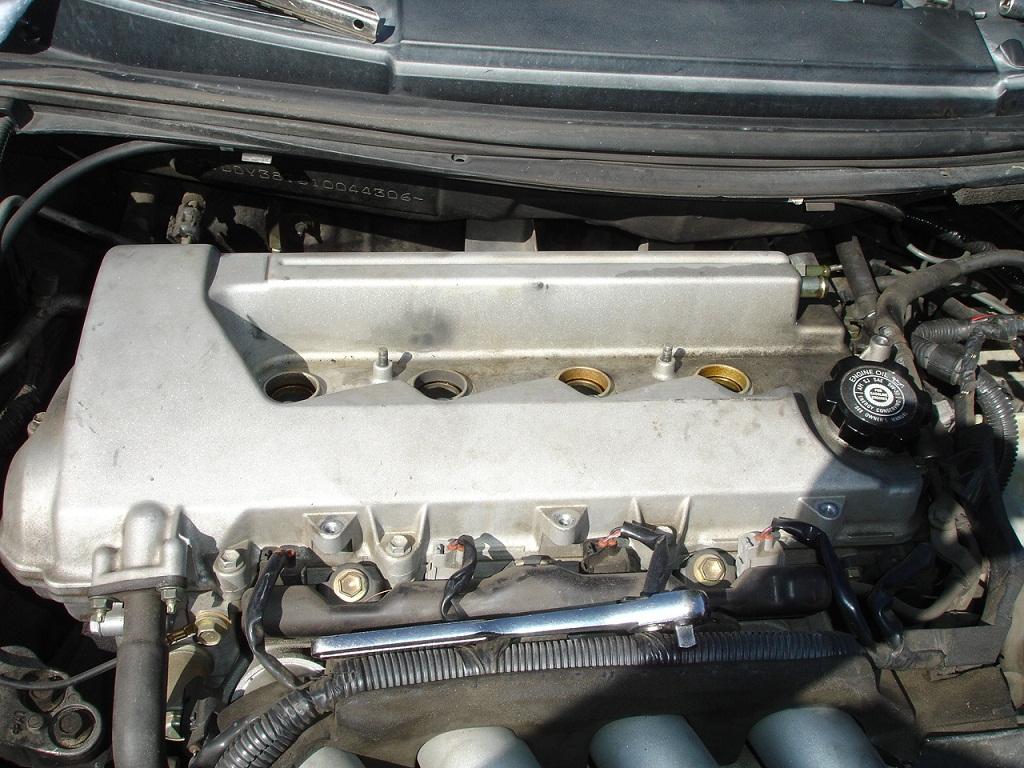
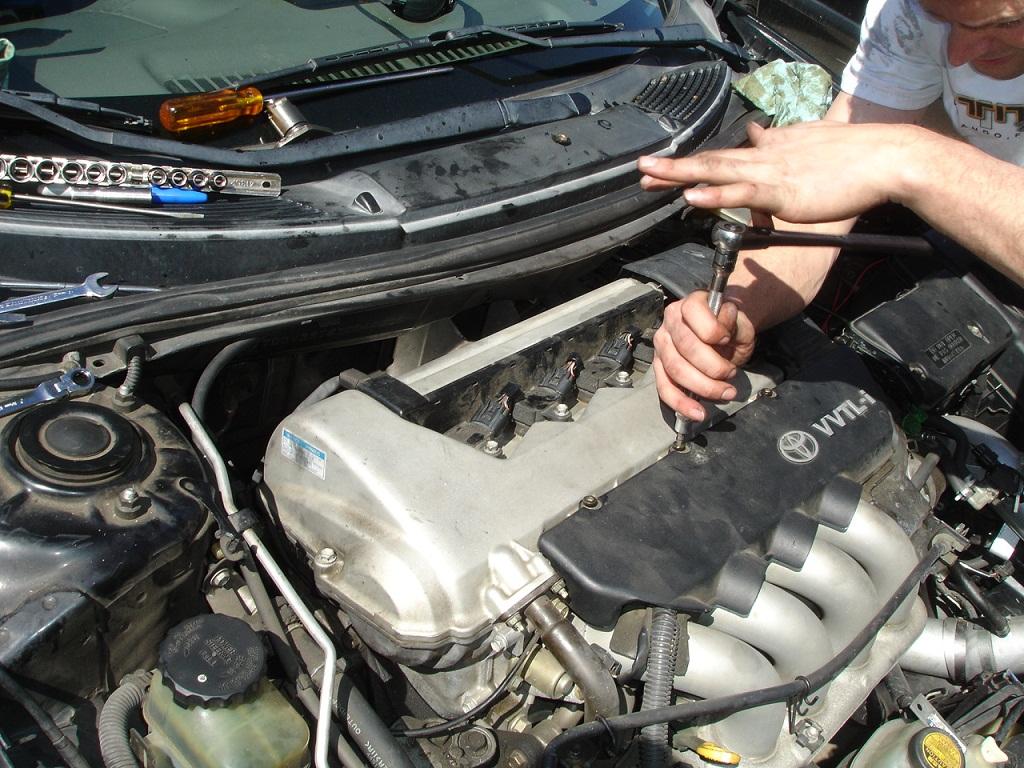
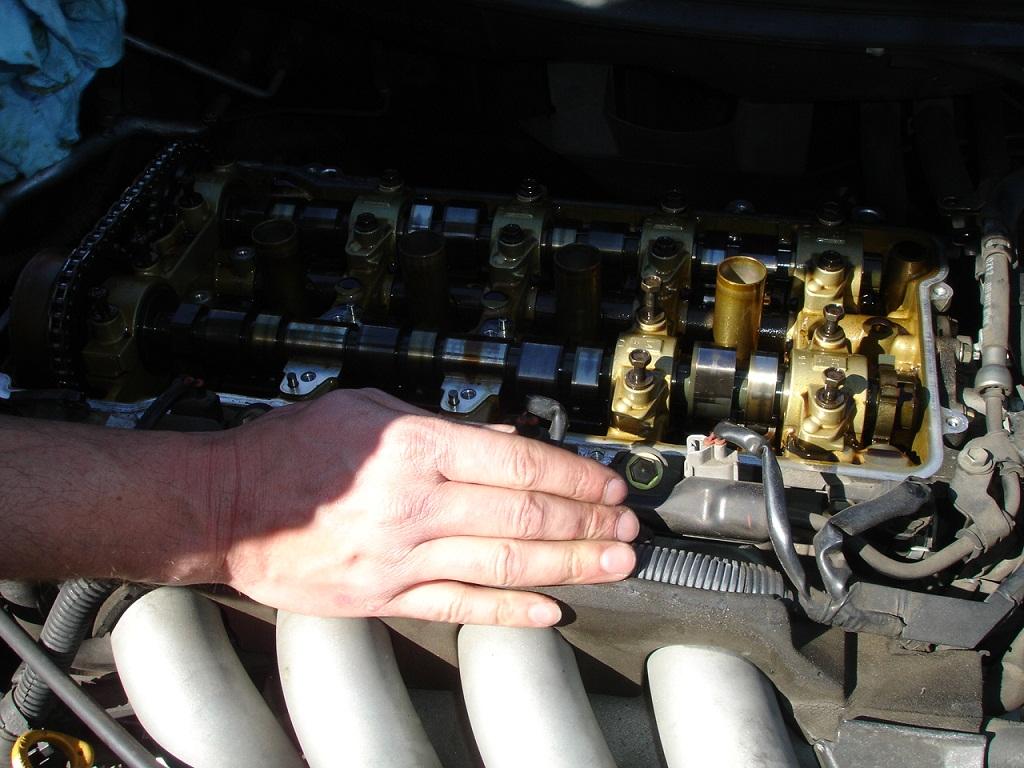
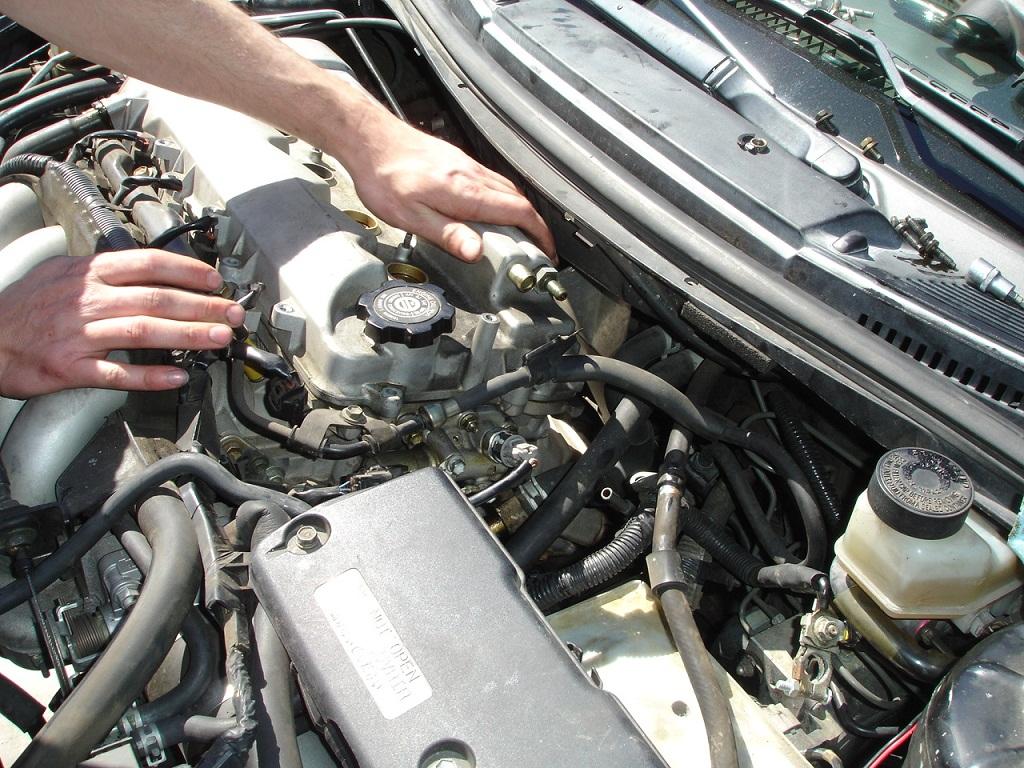
Unbolt engine breather

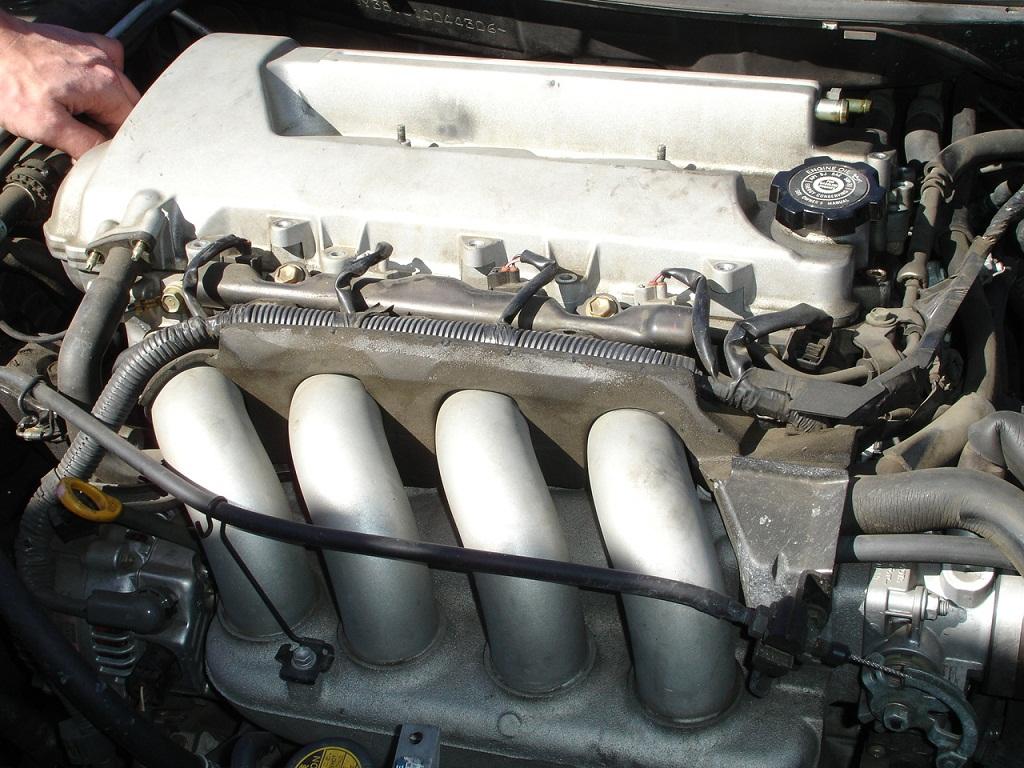
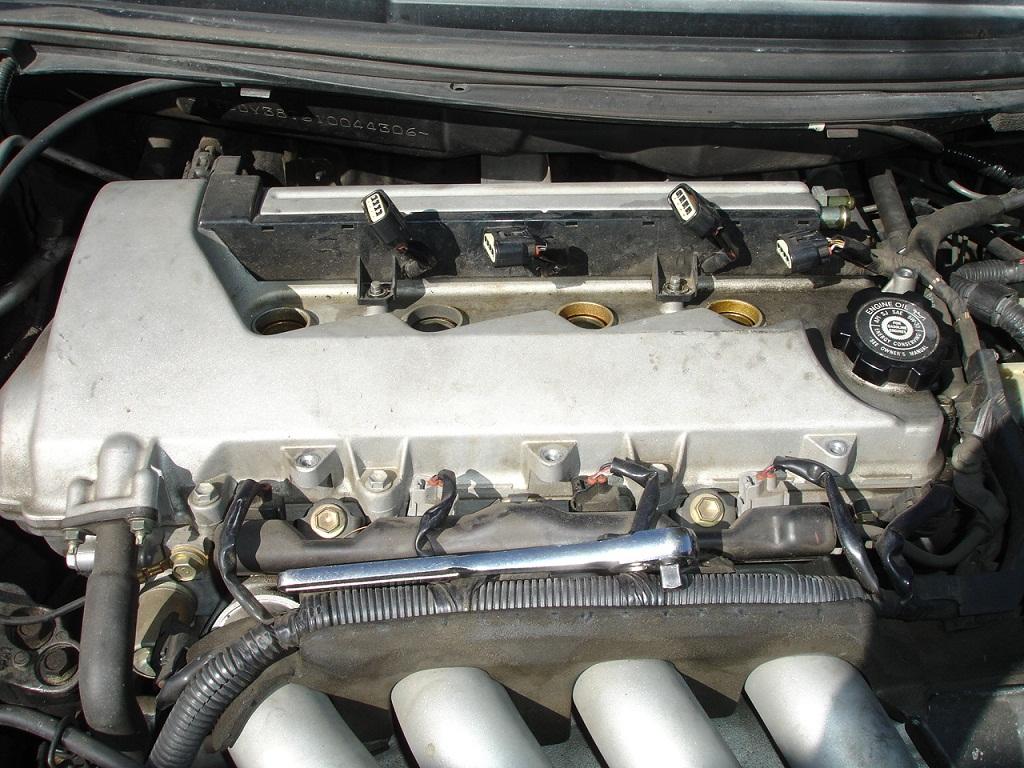
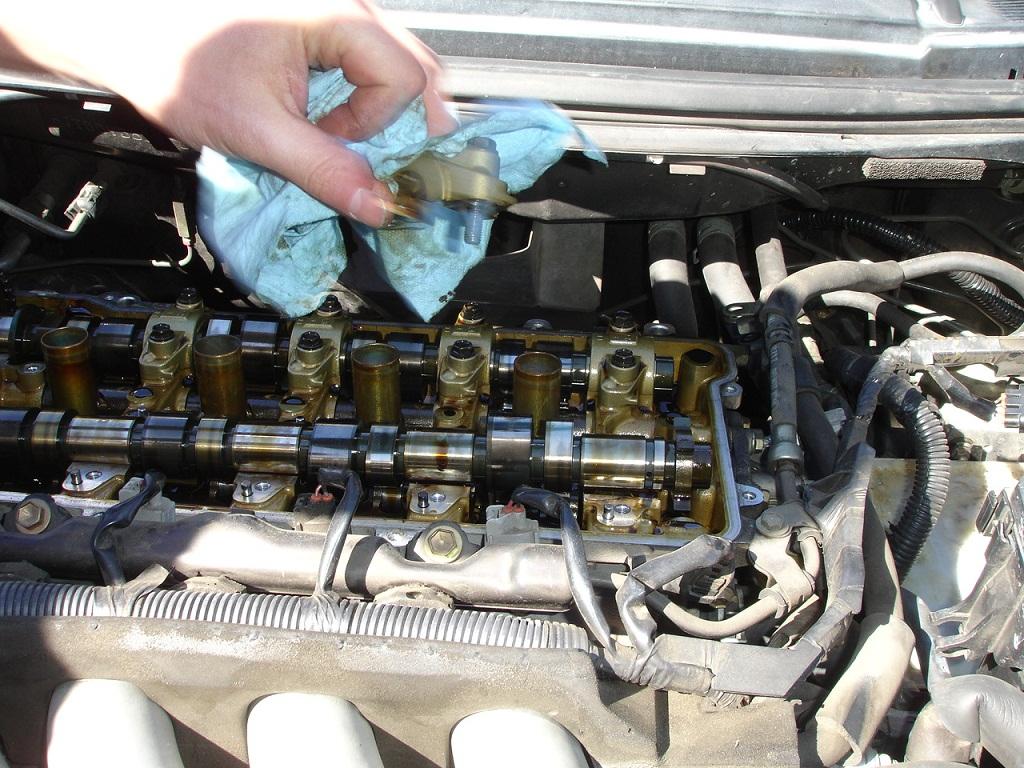
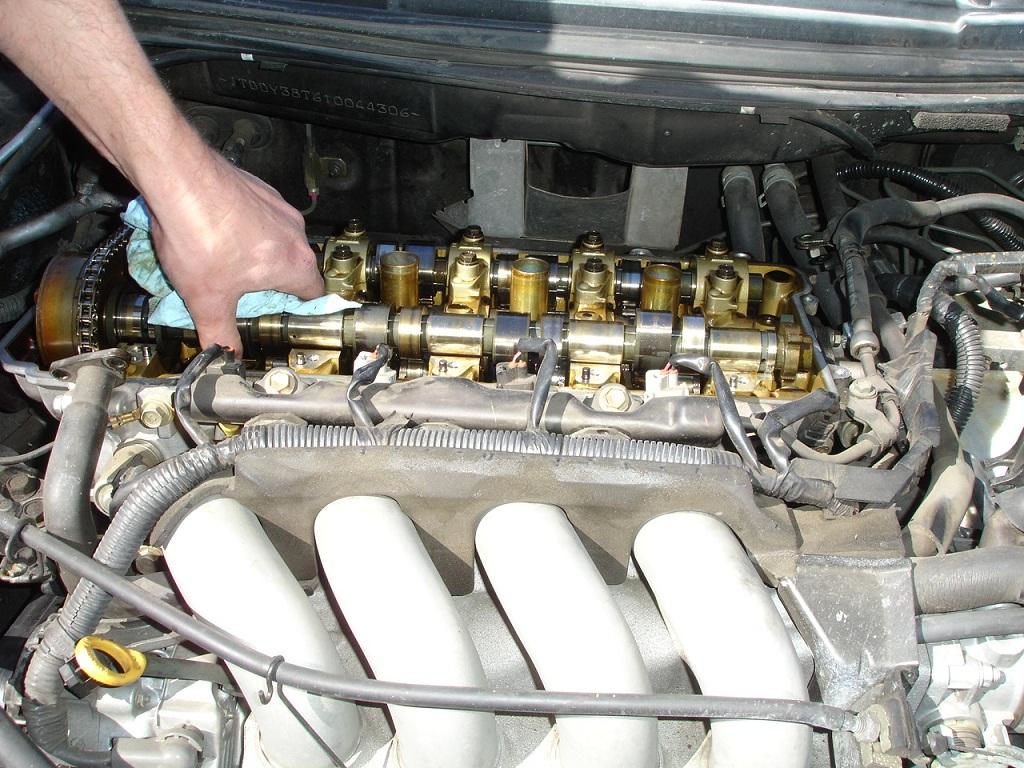
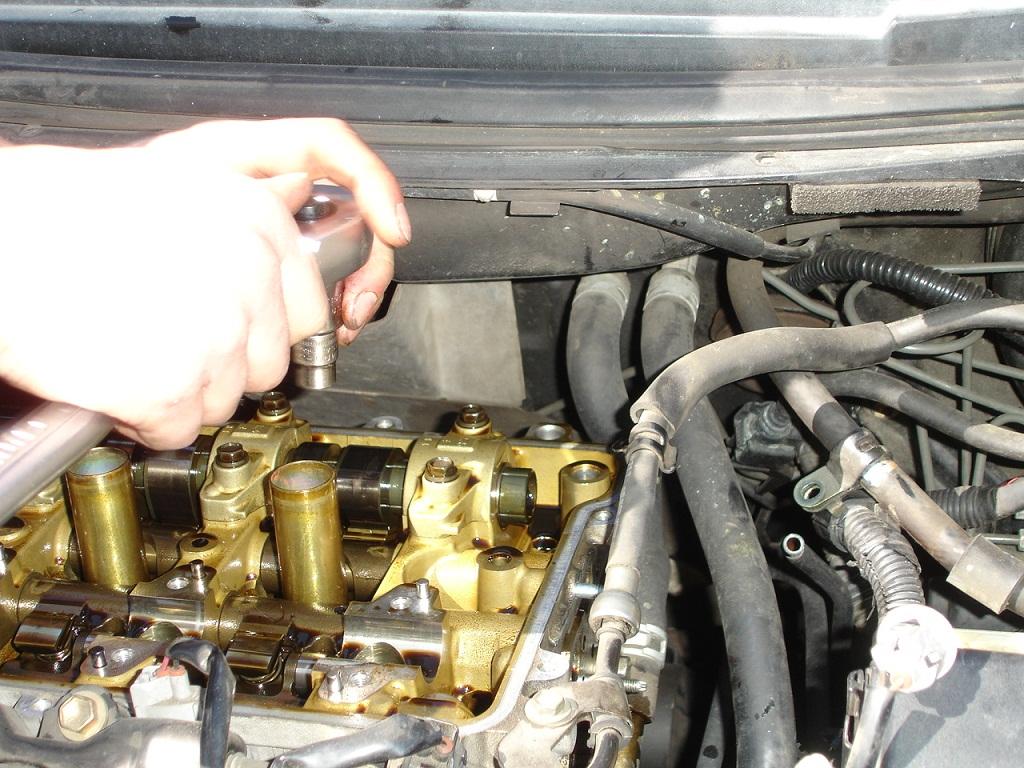
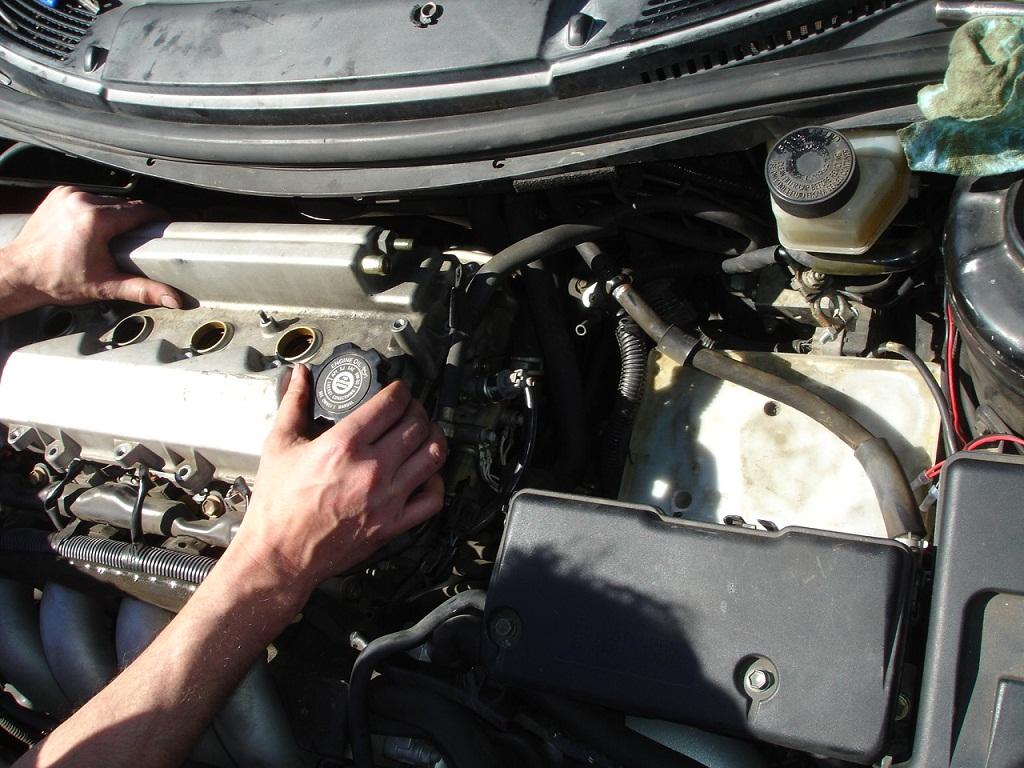
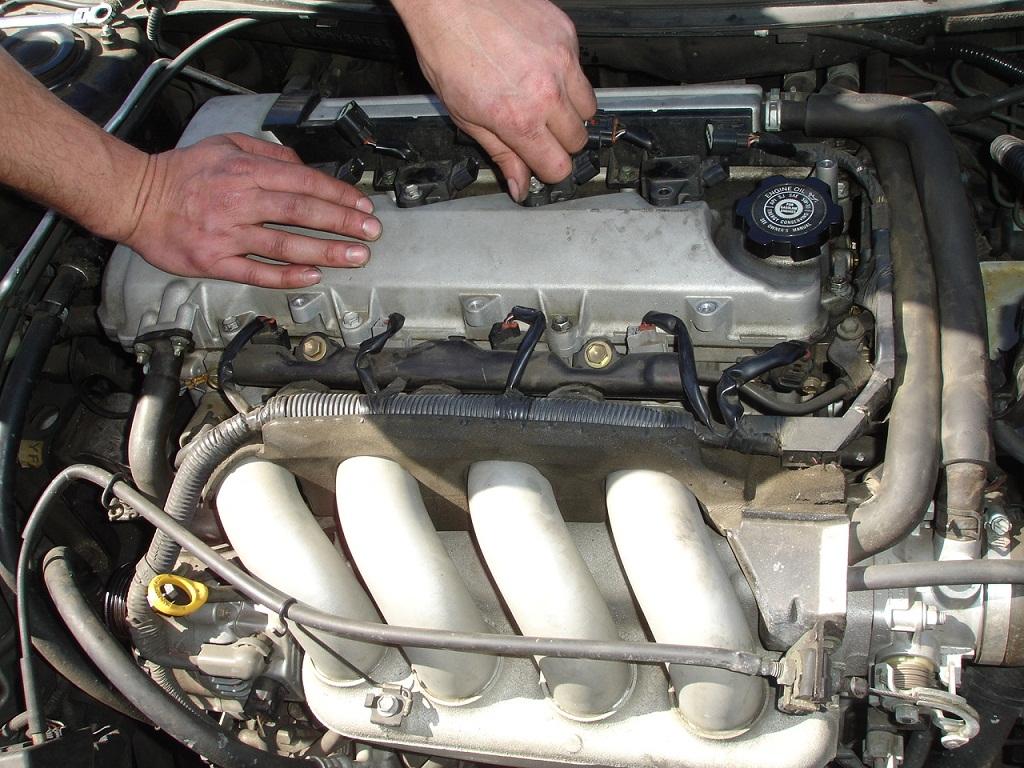
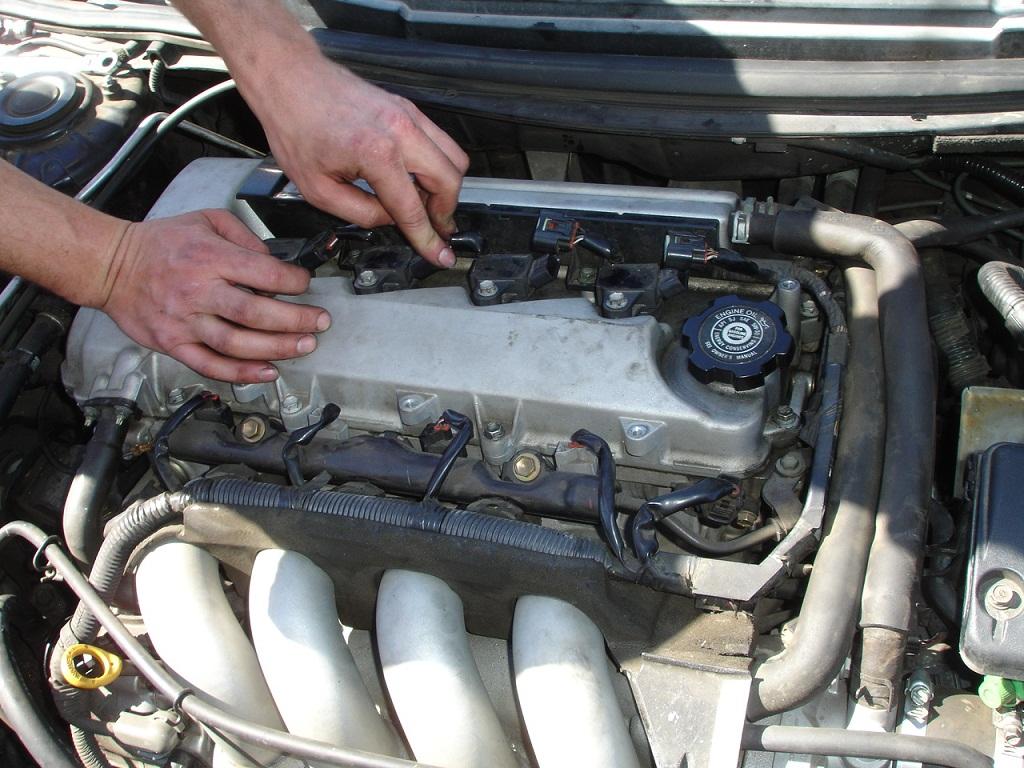
Remove (9) 10mm bolts around valve cover. dont for get the (2) 10mm bolts above the lift actuator that hold the brake booster line and fuel rail
Lift up on the PCV valve to pop the valve cover up and wiggle it off the engine breather hard pipe

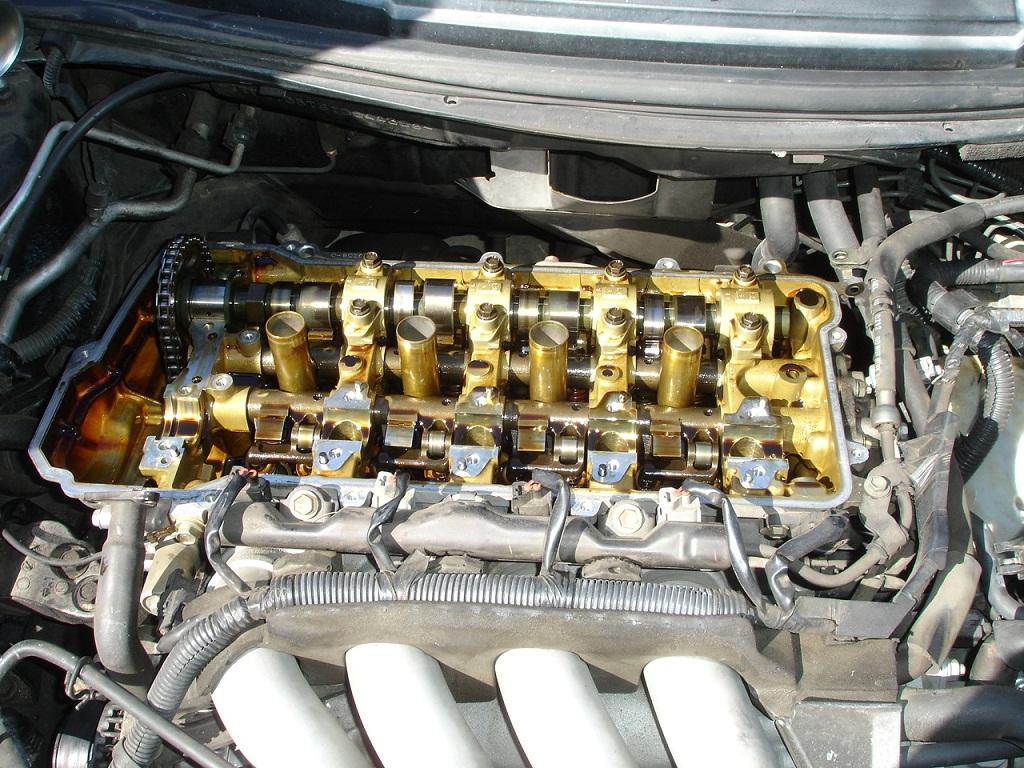
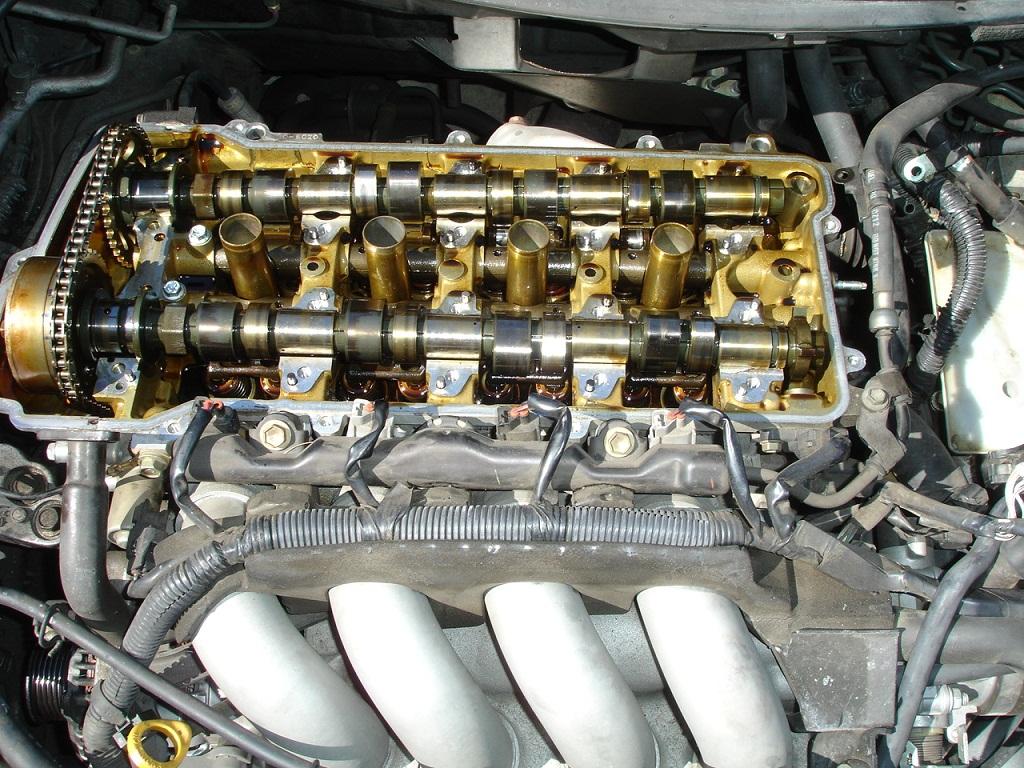
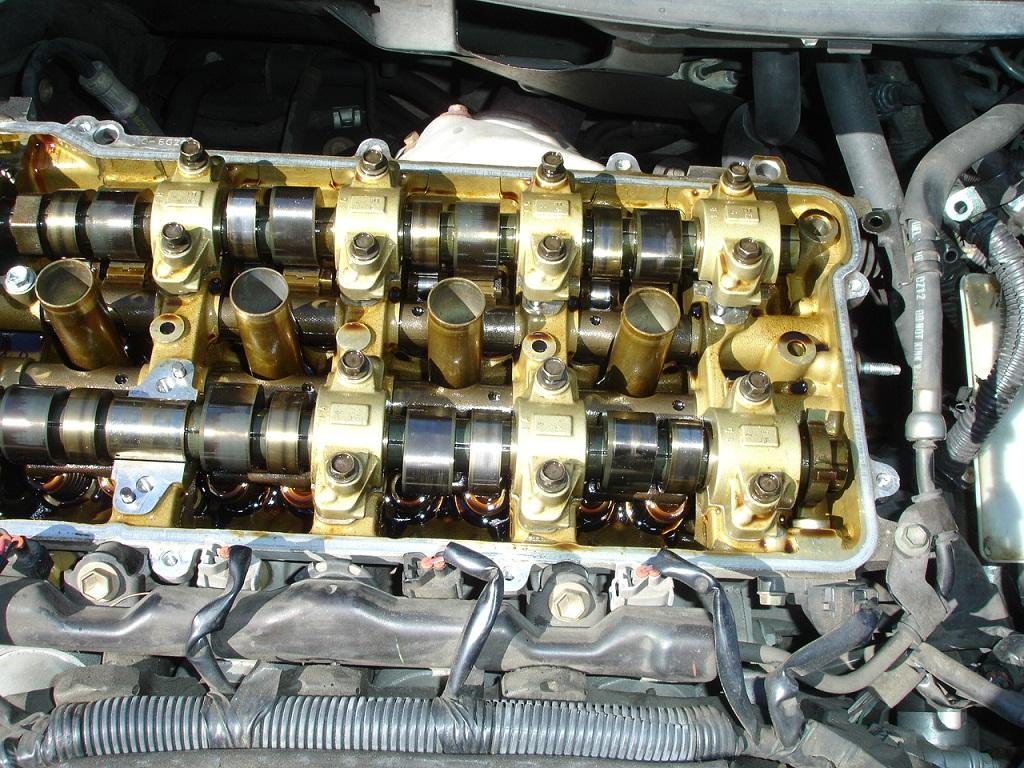
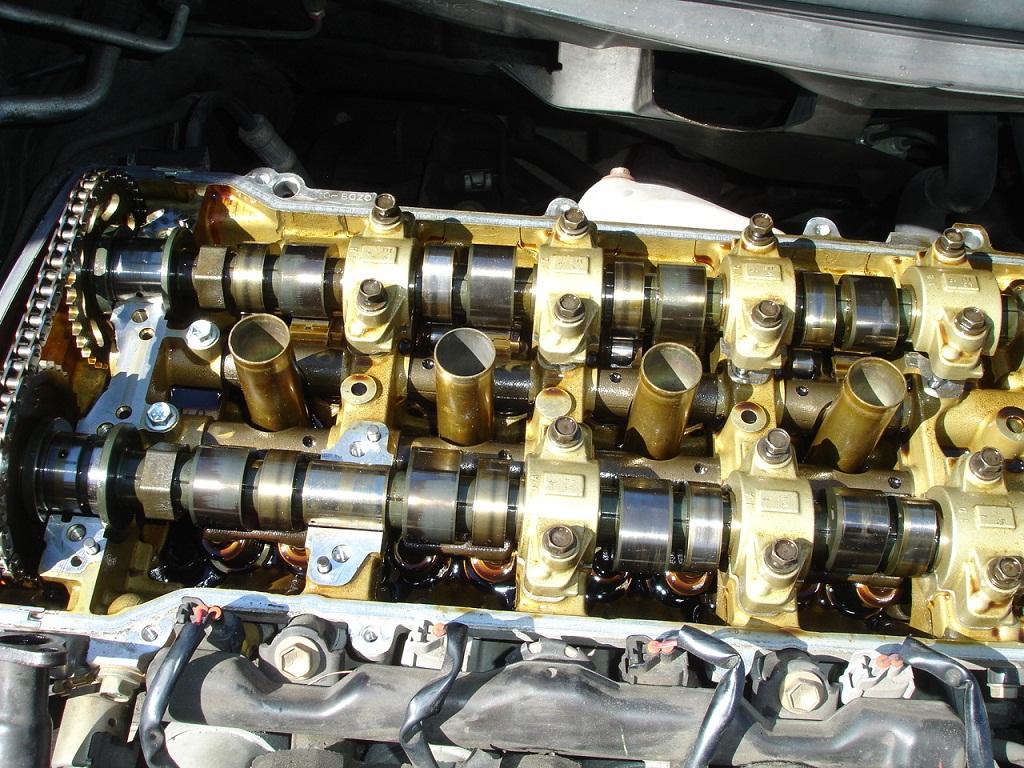
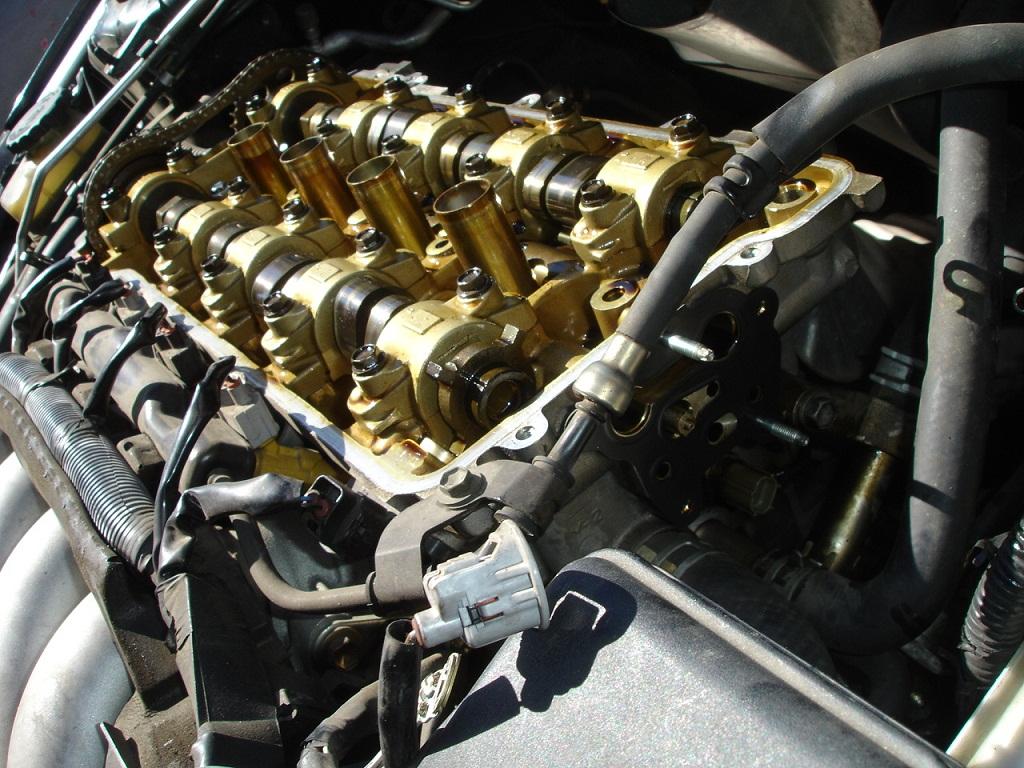
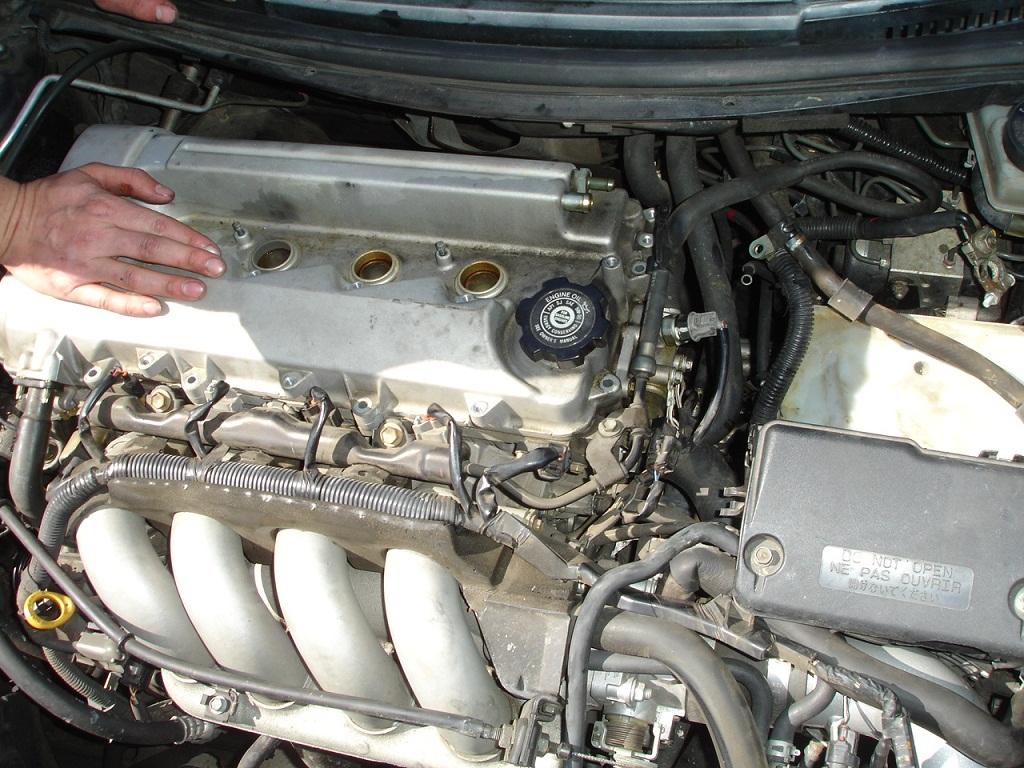
Valve cover off
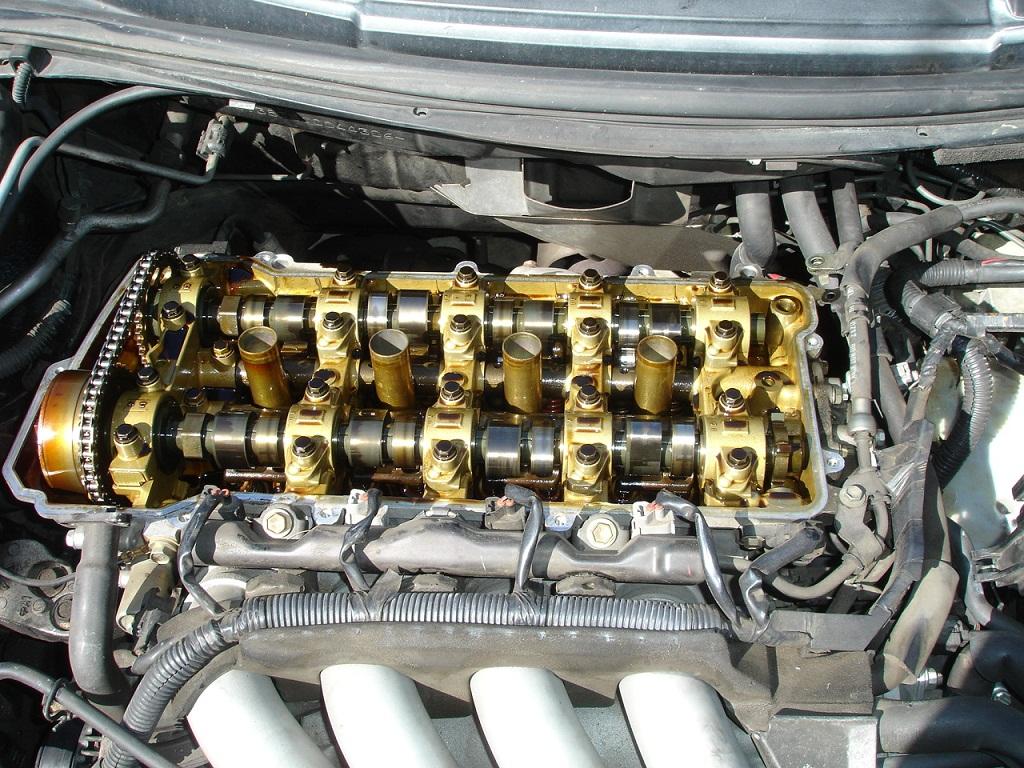
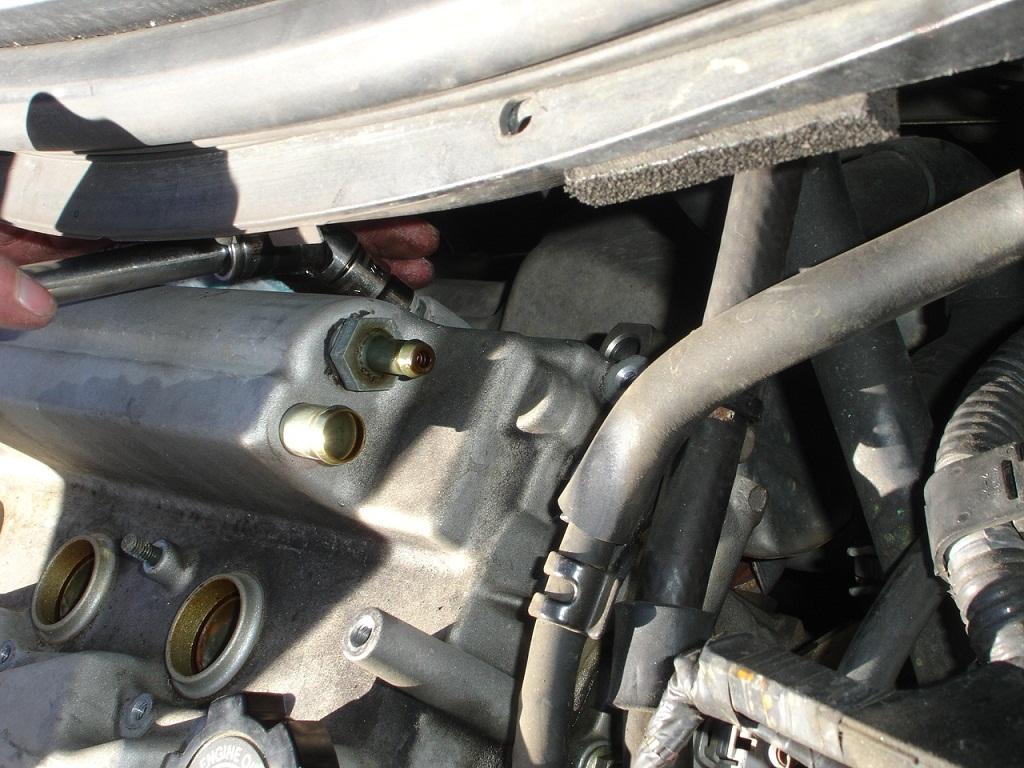
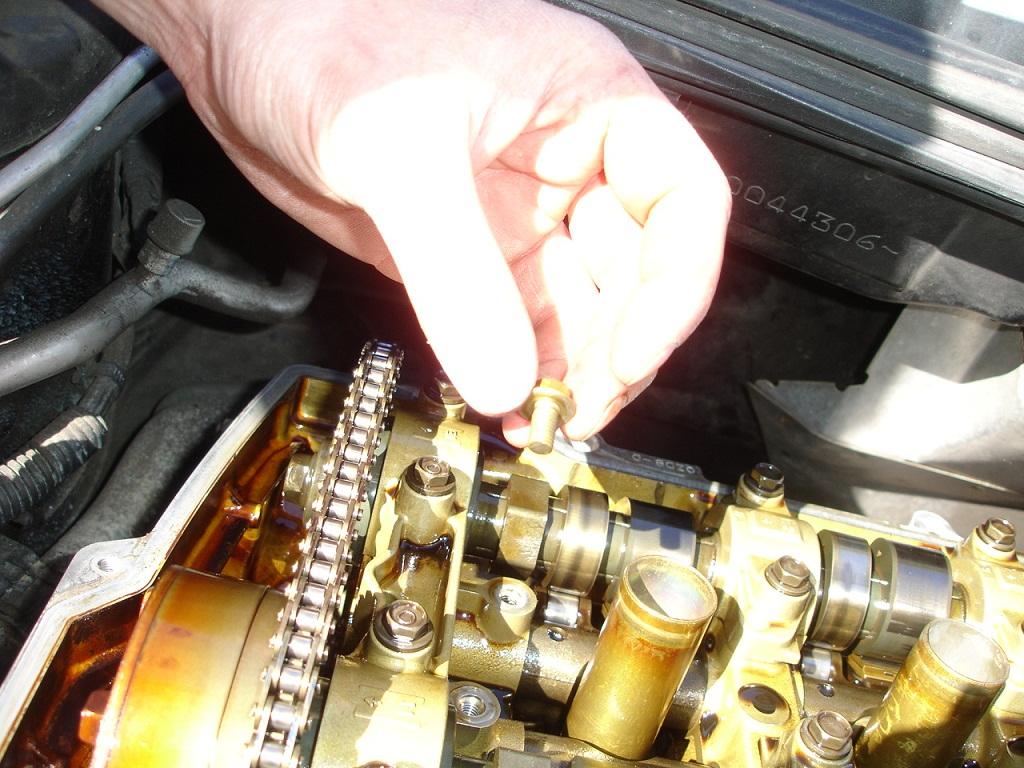
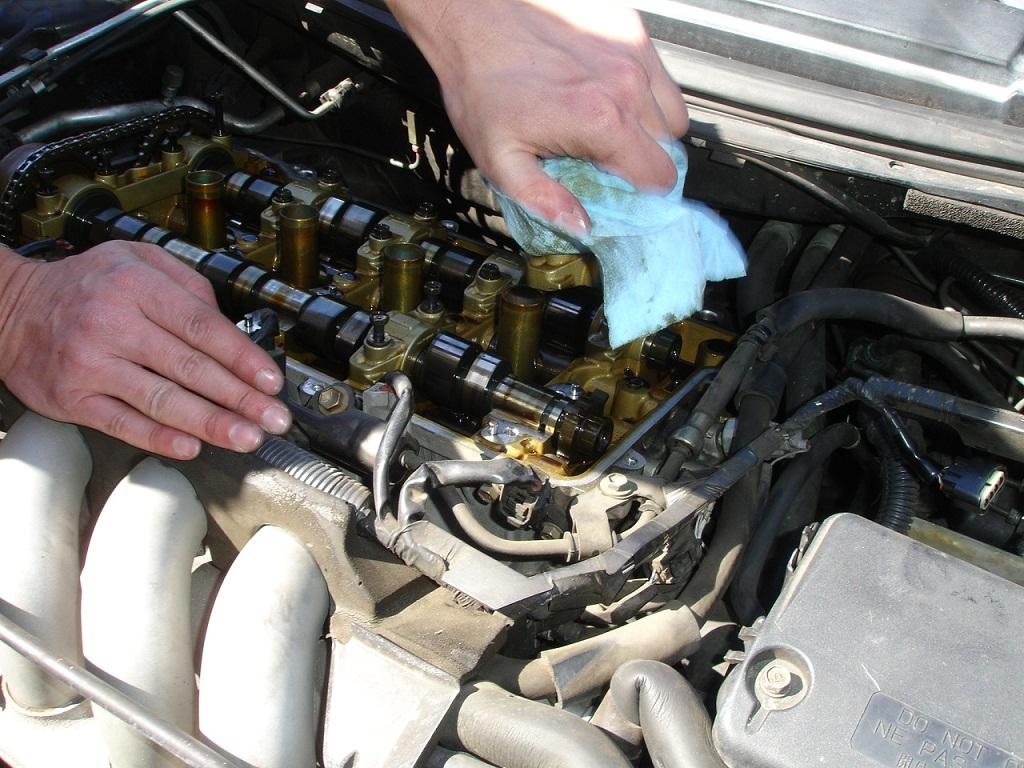
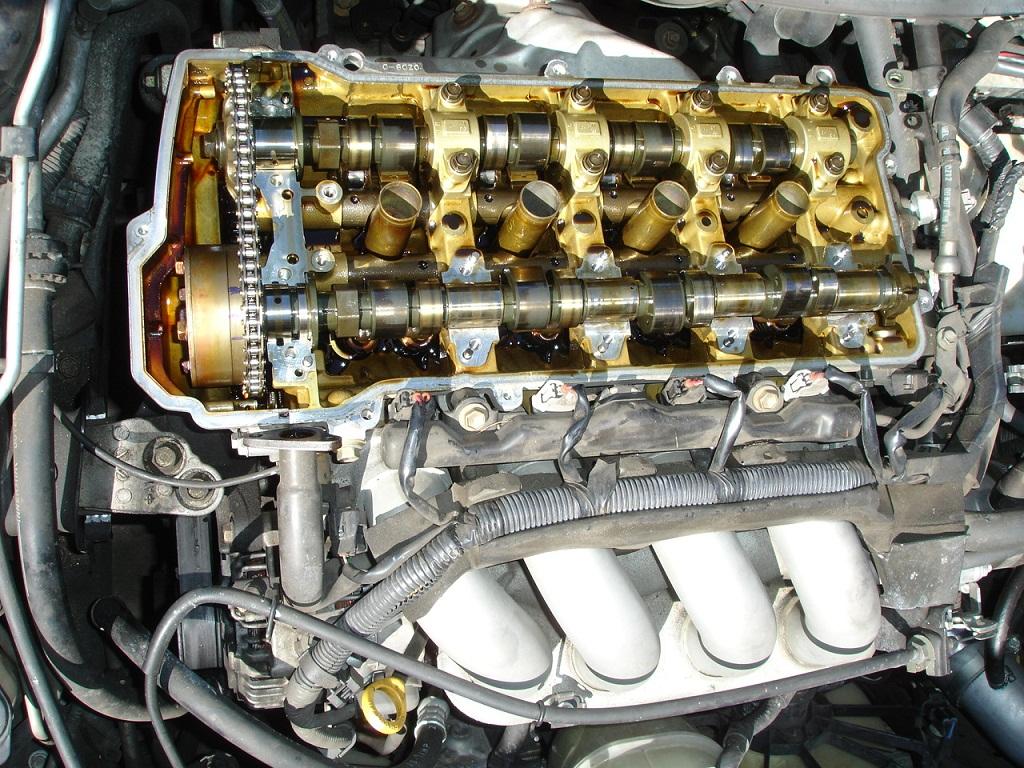
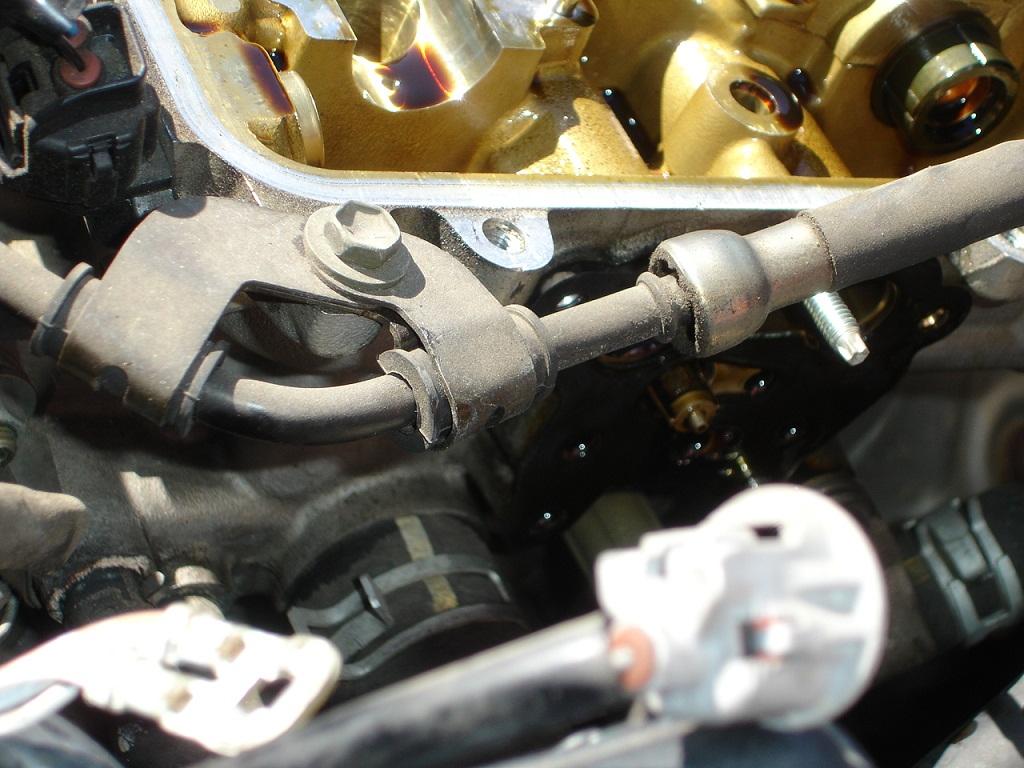
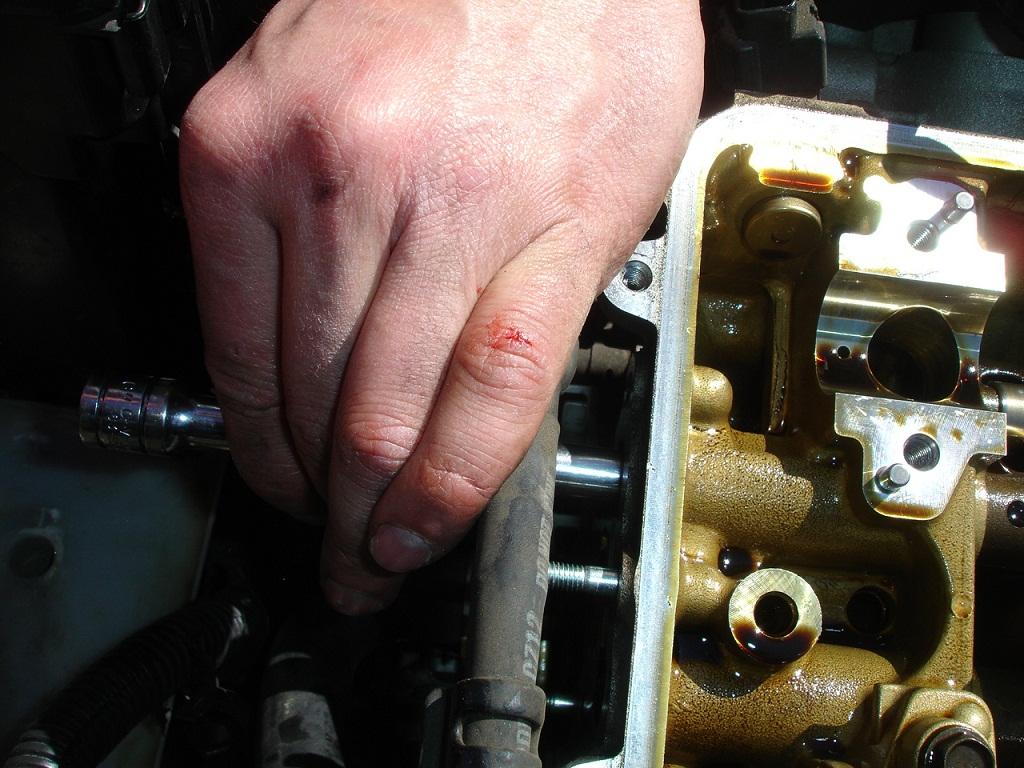
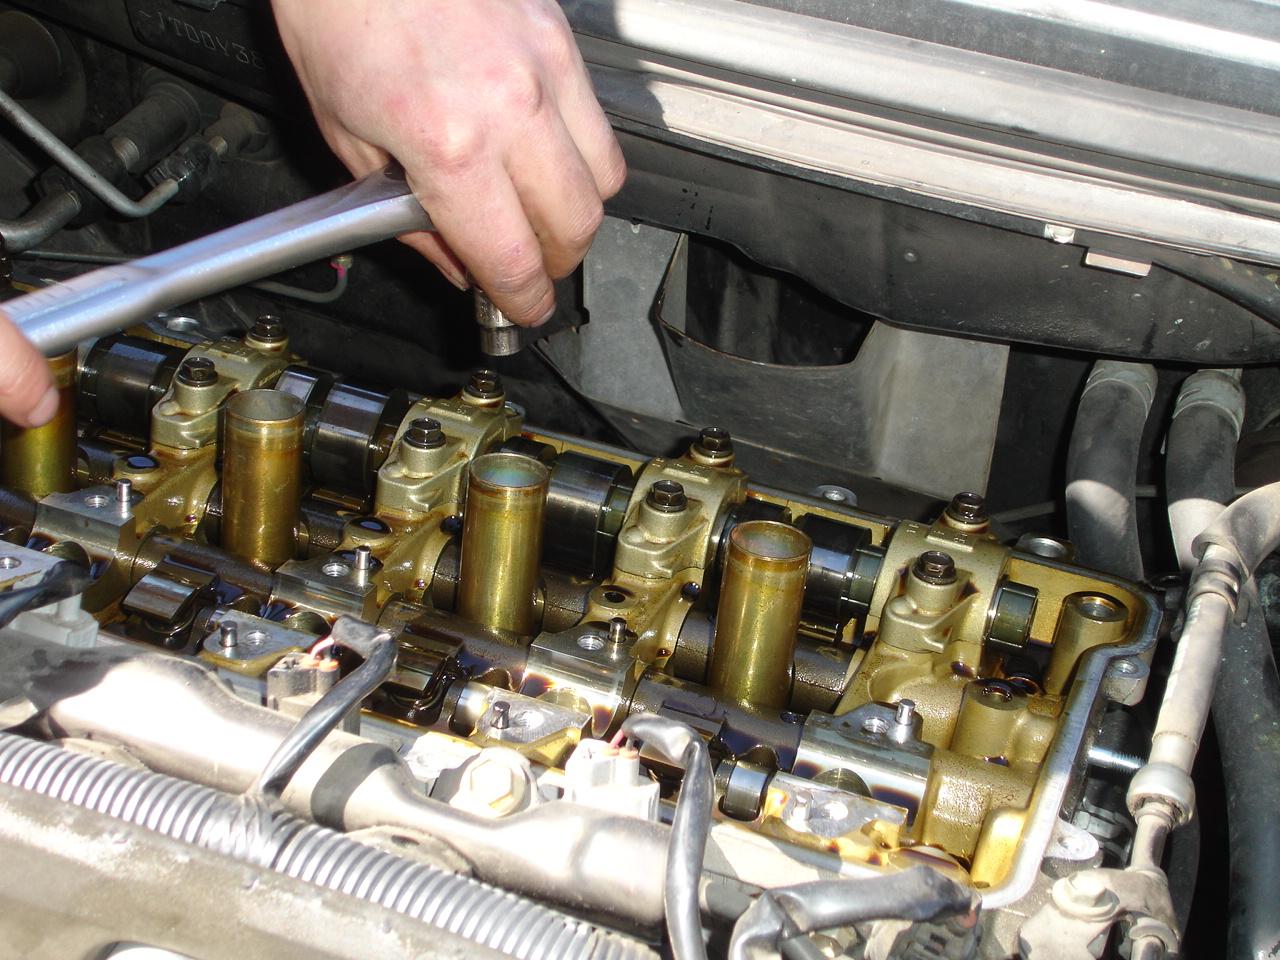
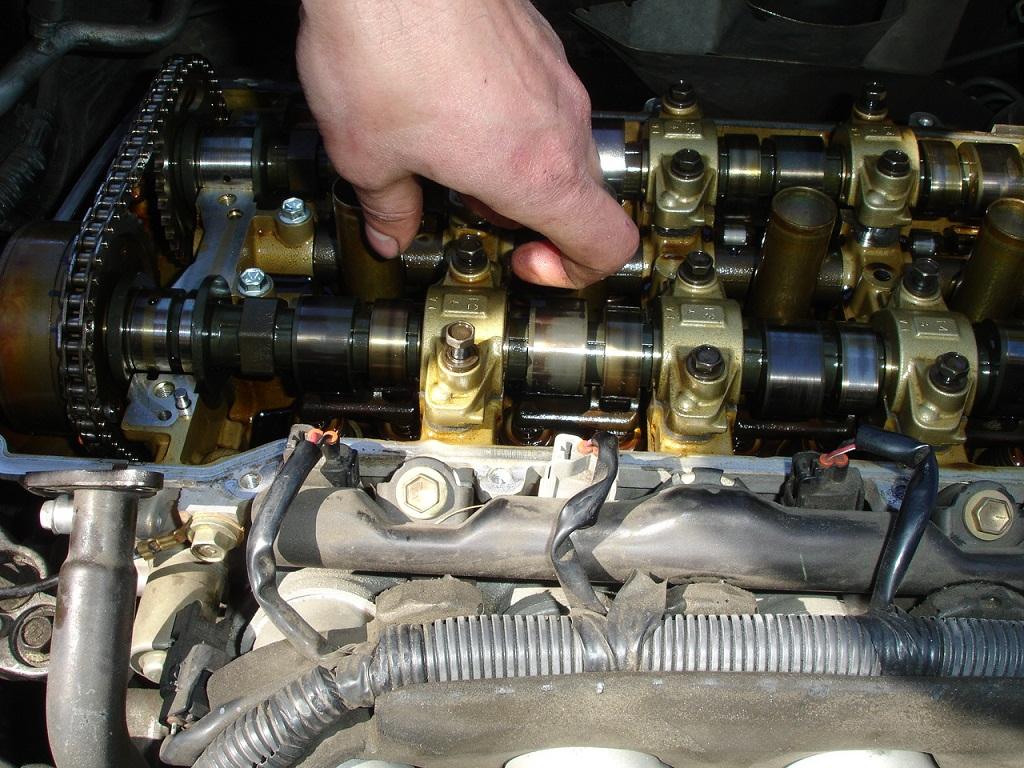
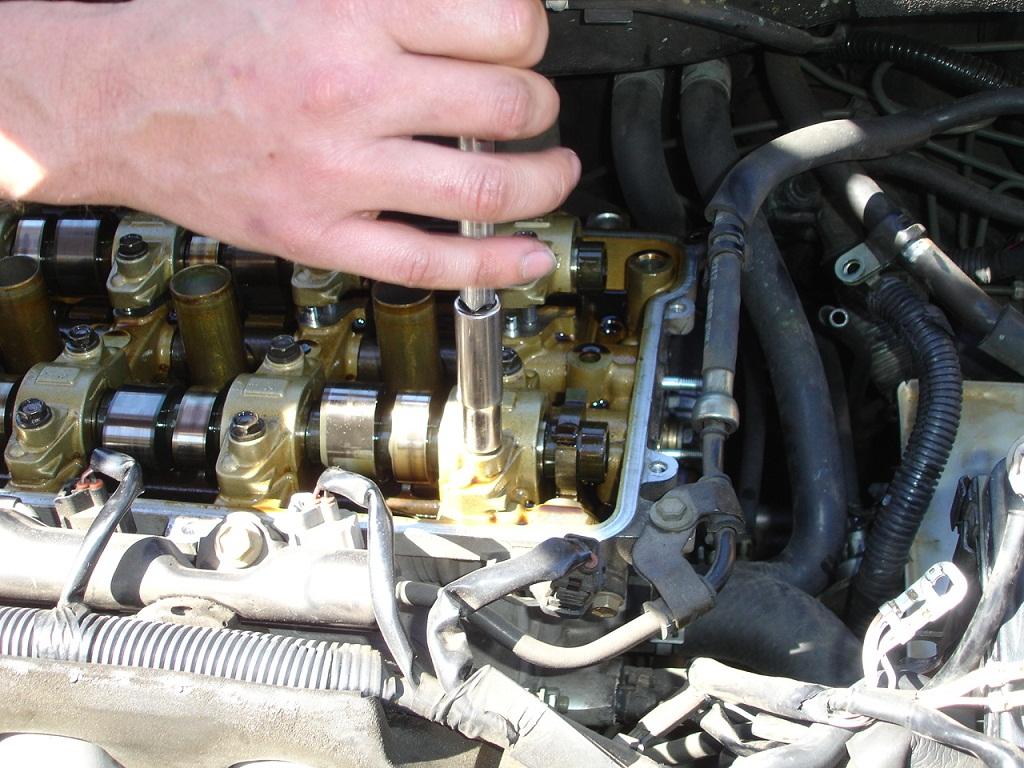
These are the "Lift Bolts" actual name for them is flange bolt. Most dealer parts guys have no clue what a lift bolt is
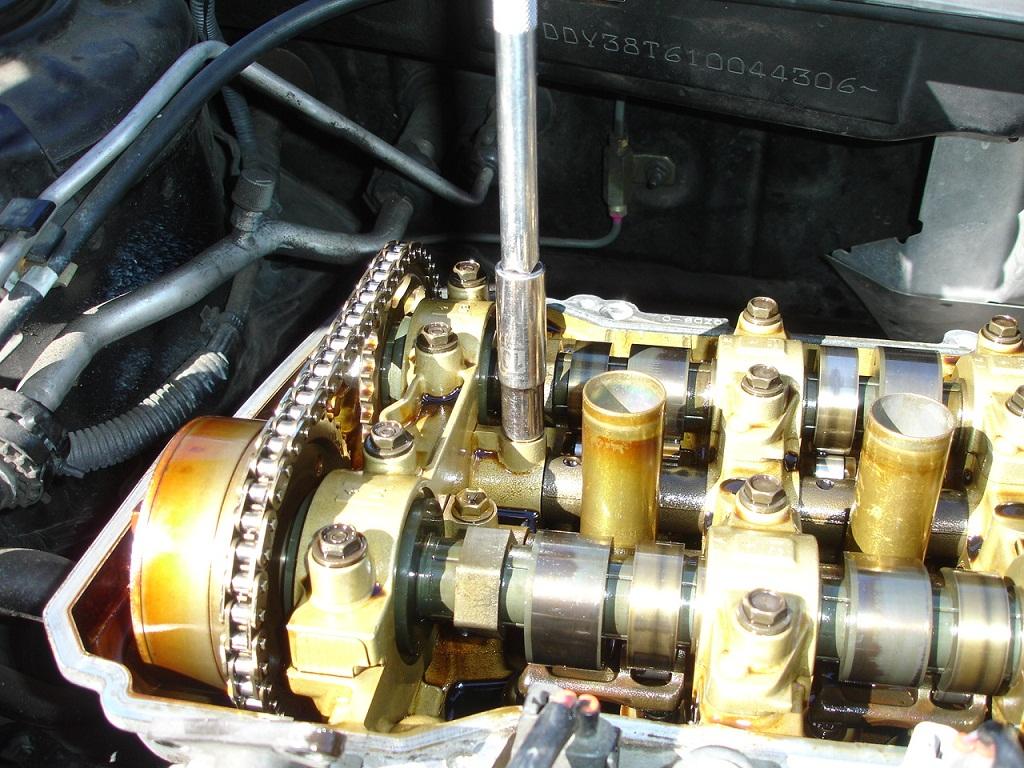
This is the exhaust side, it usually does not break but you can see the wear on it
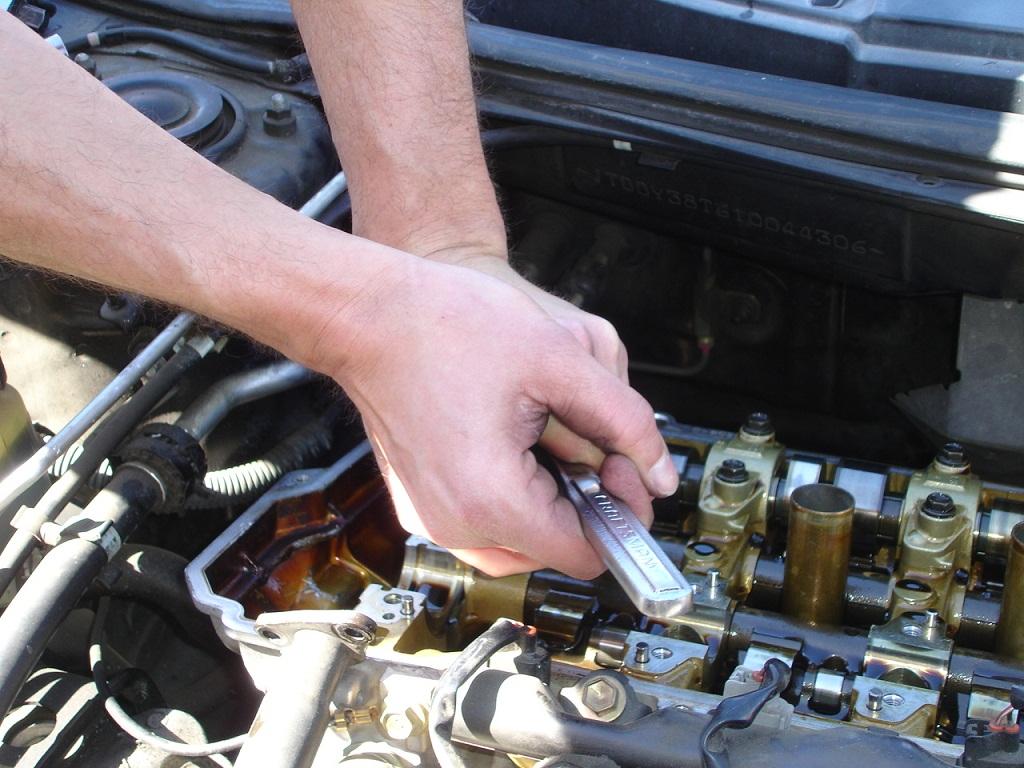
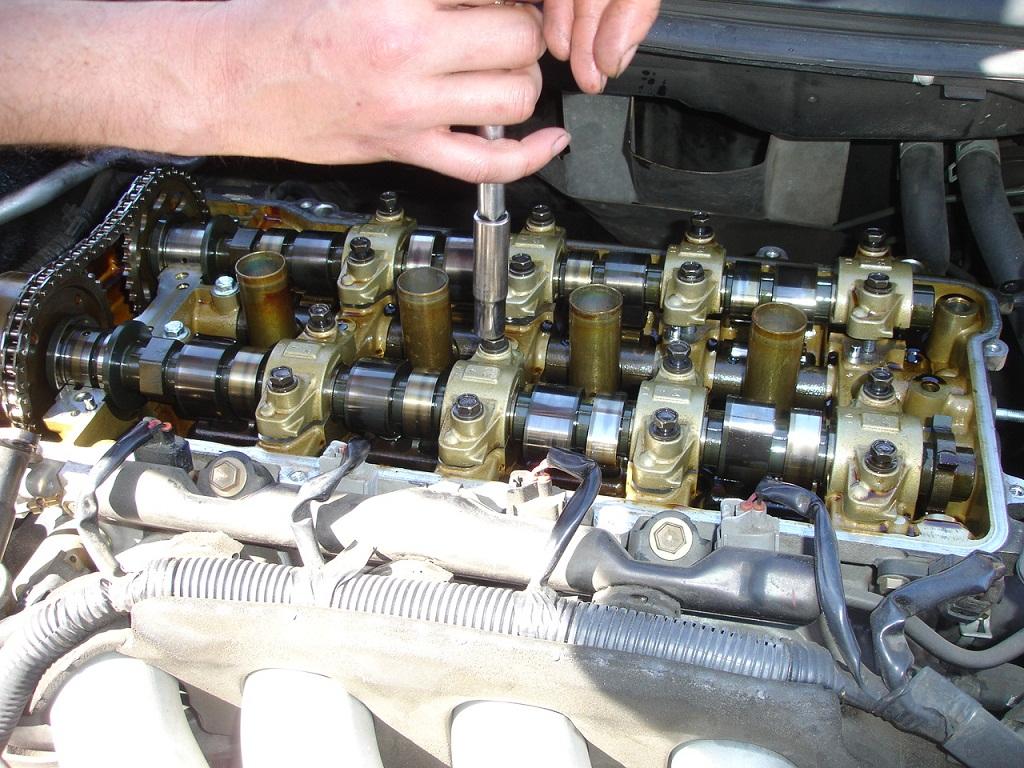
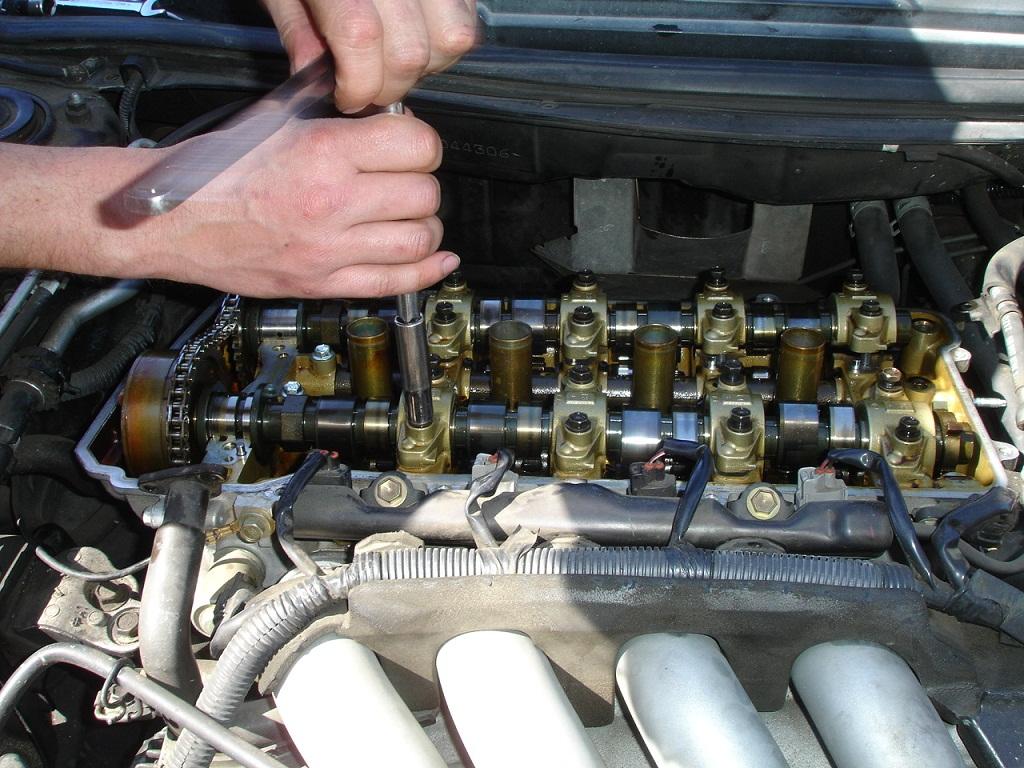
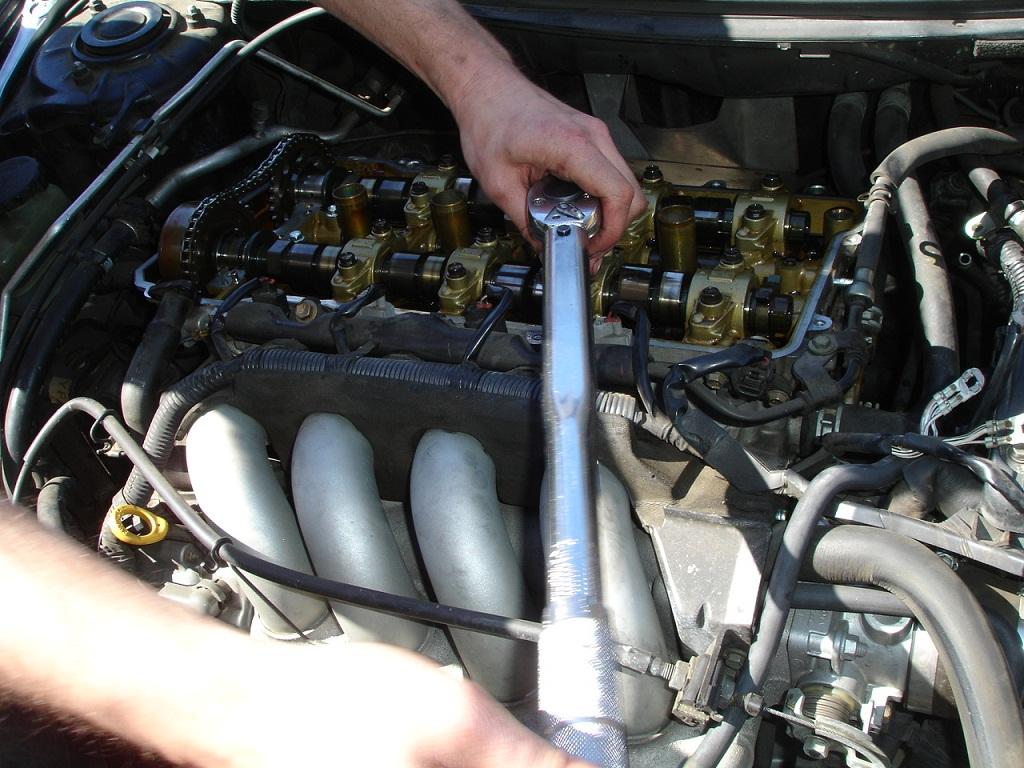
Loosening the intake bolt
Yep broken as usual
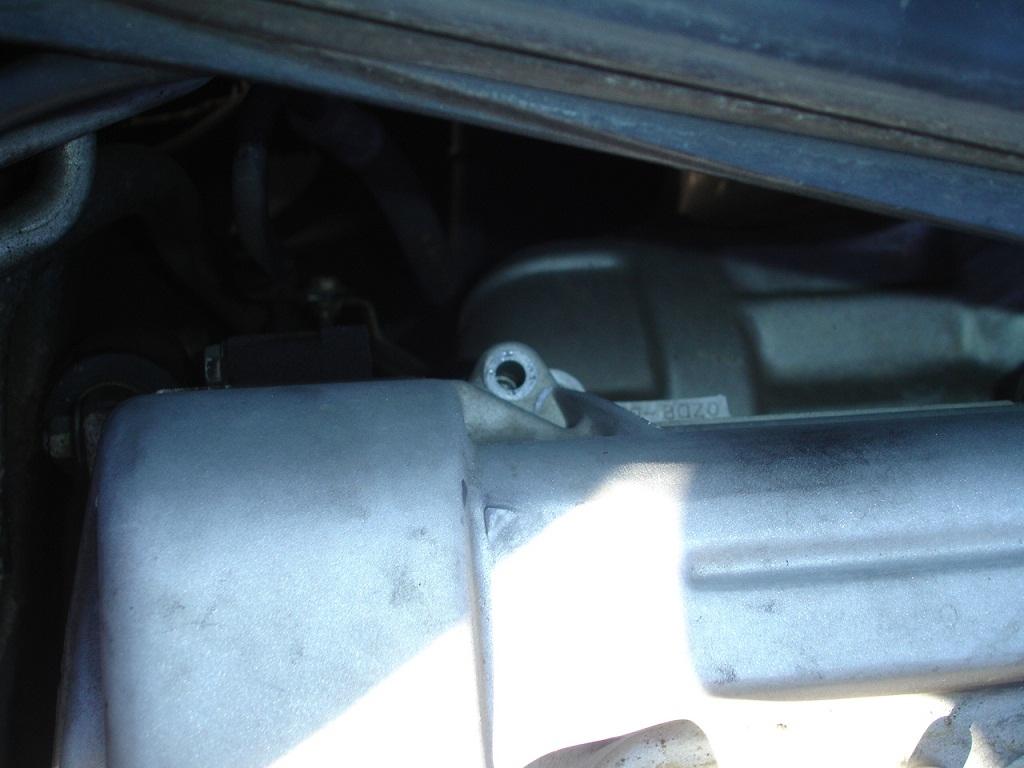
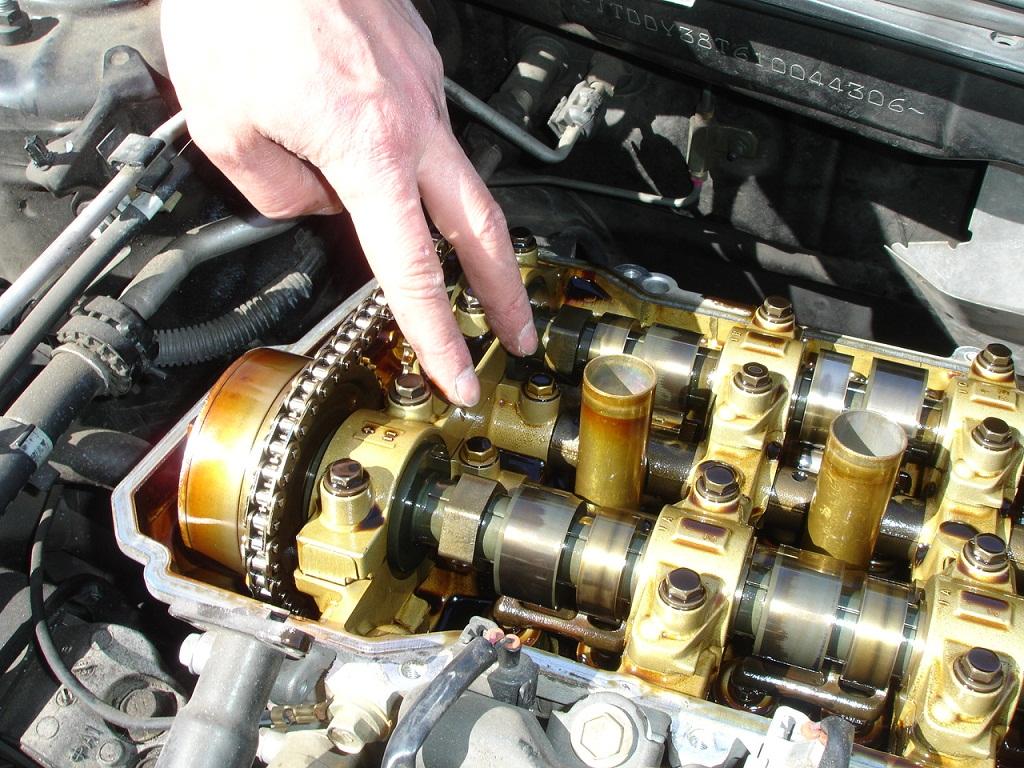
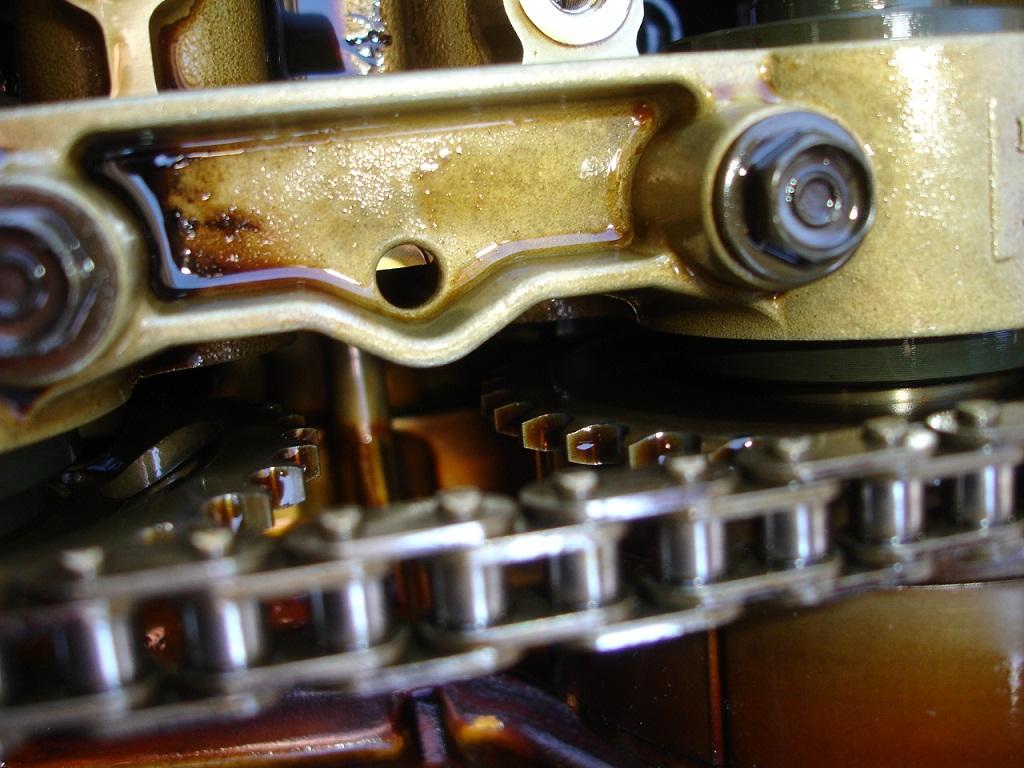
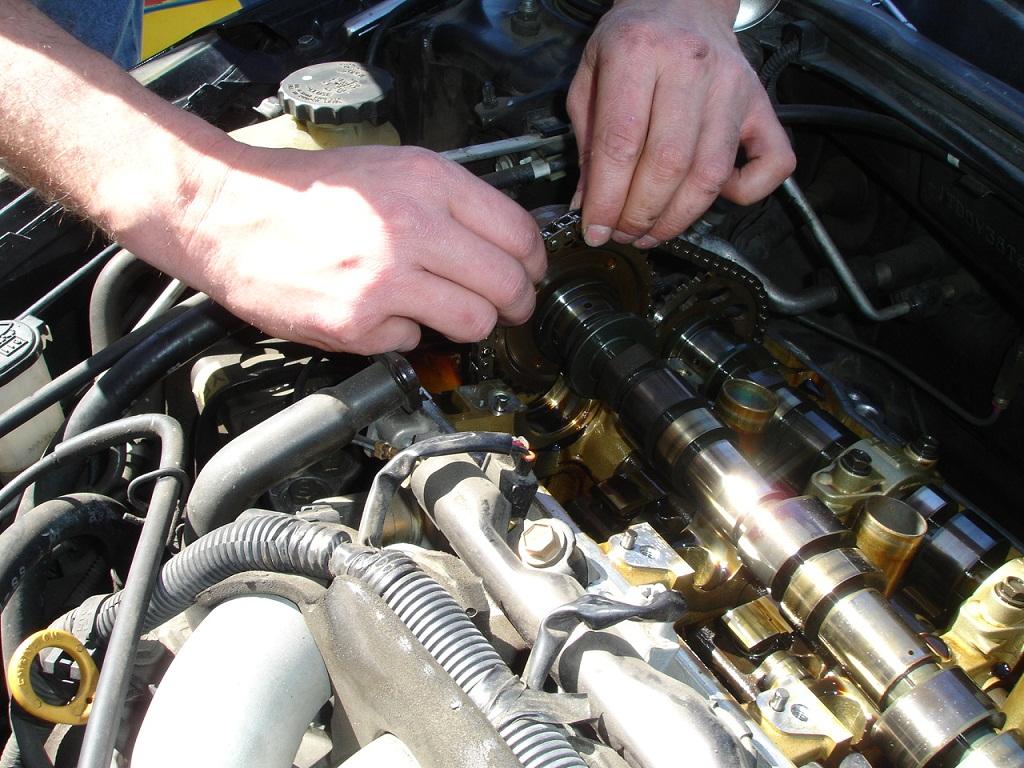
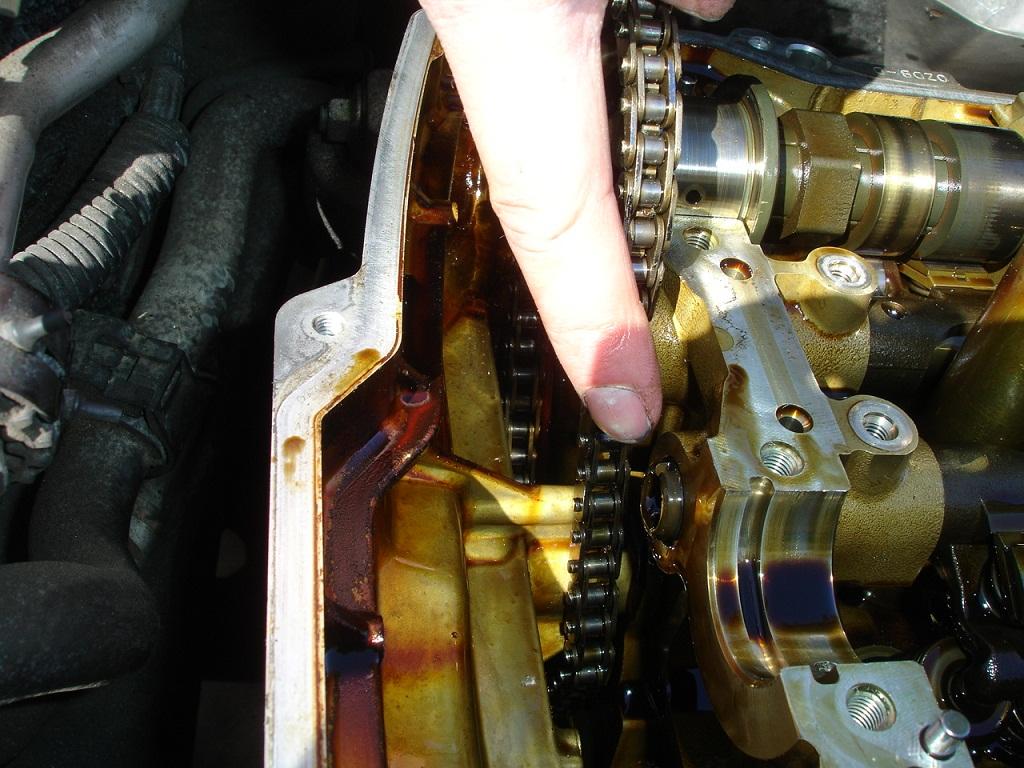
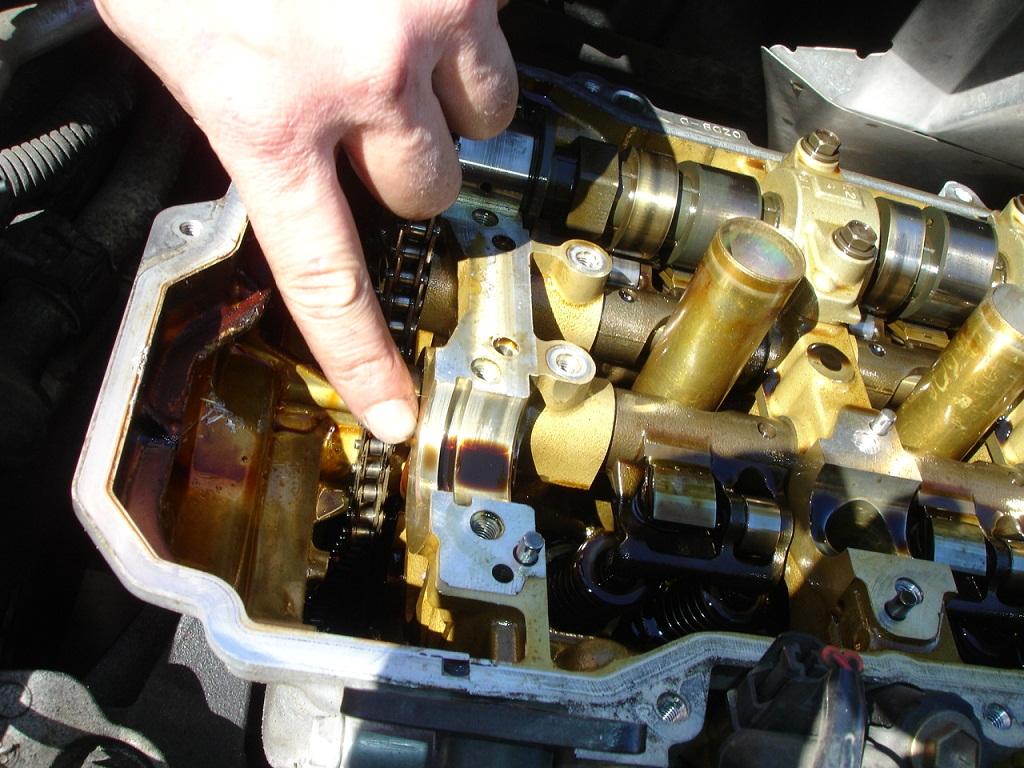
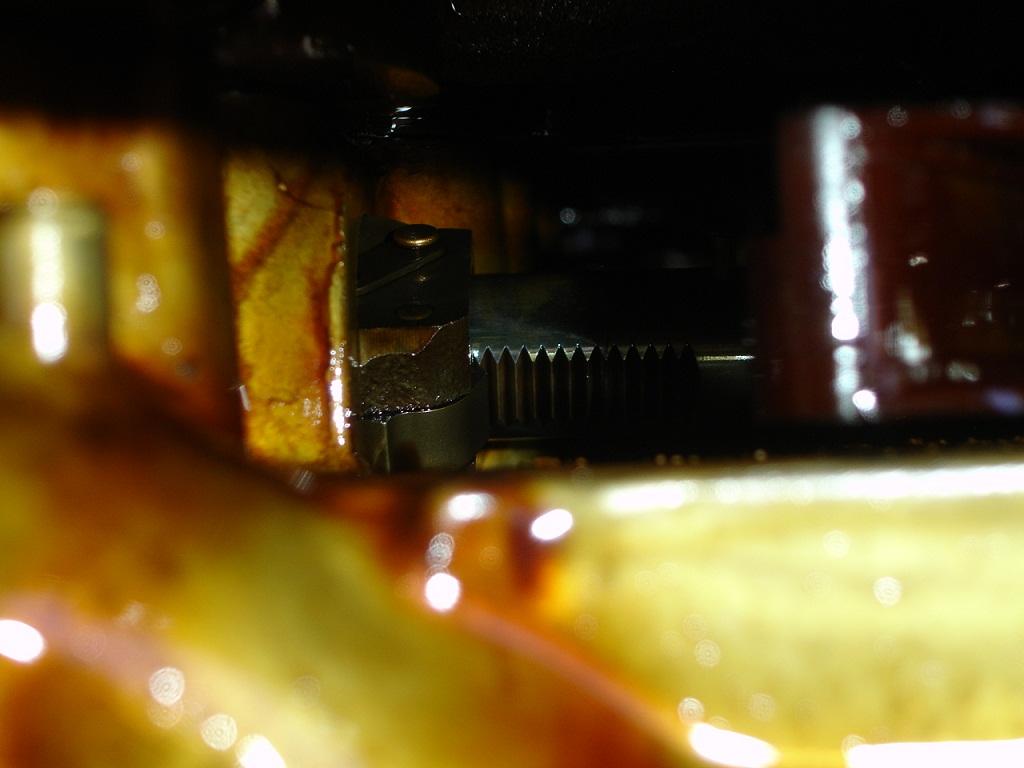
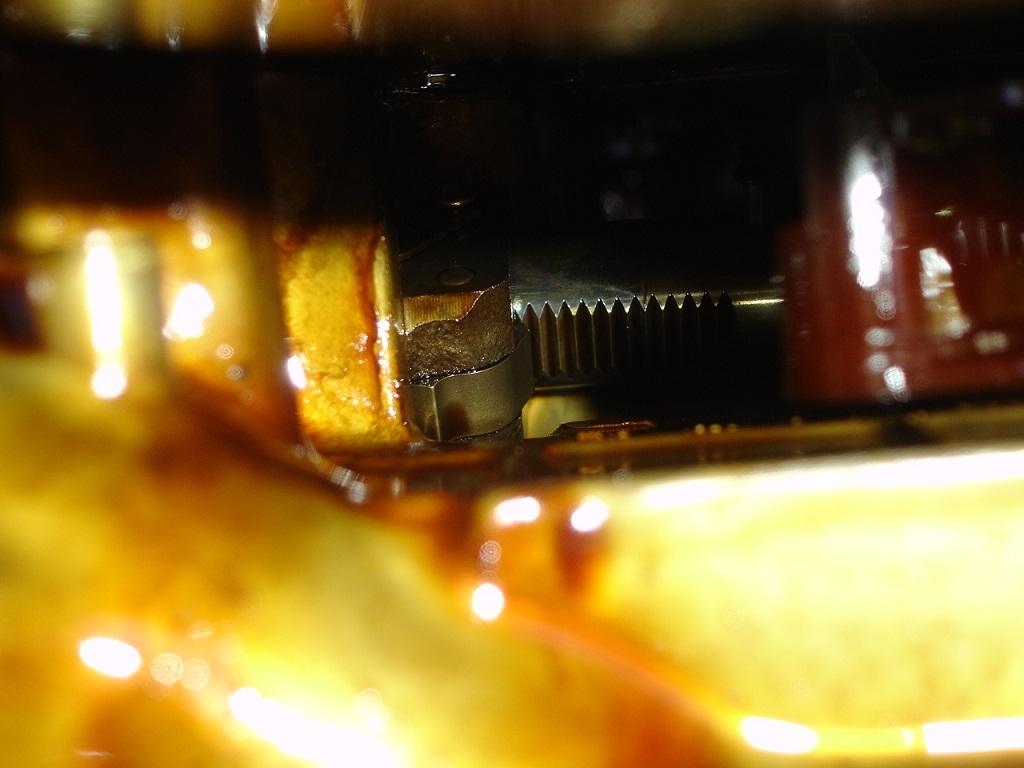
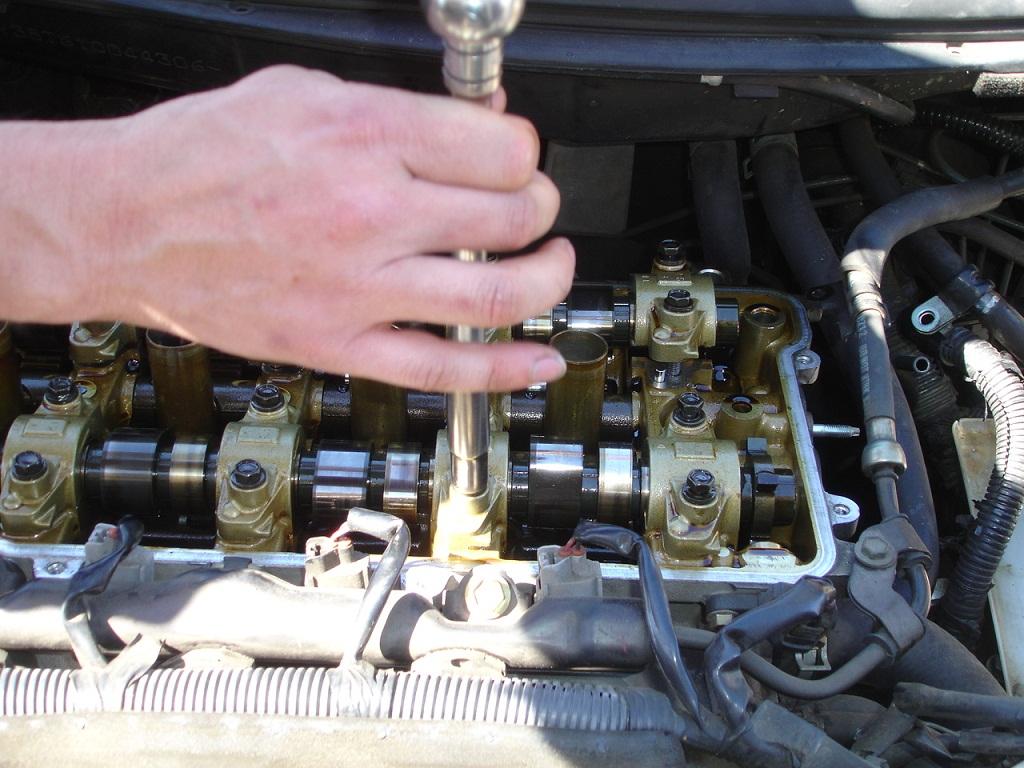
Its hard to see in these pics but the intake shaft has rotated all the way out of range and started to slide toward the cam gear
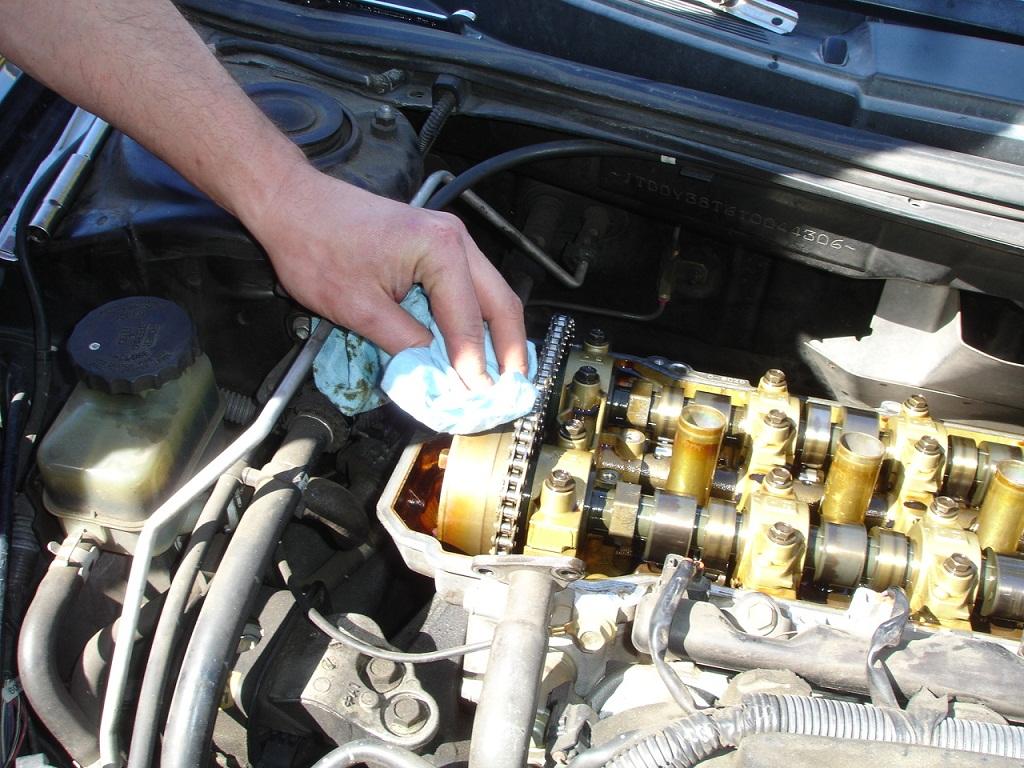
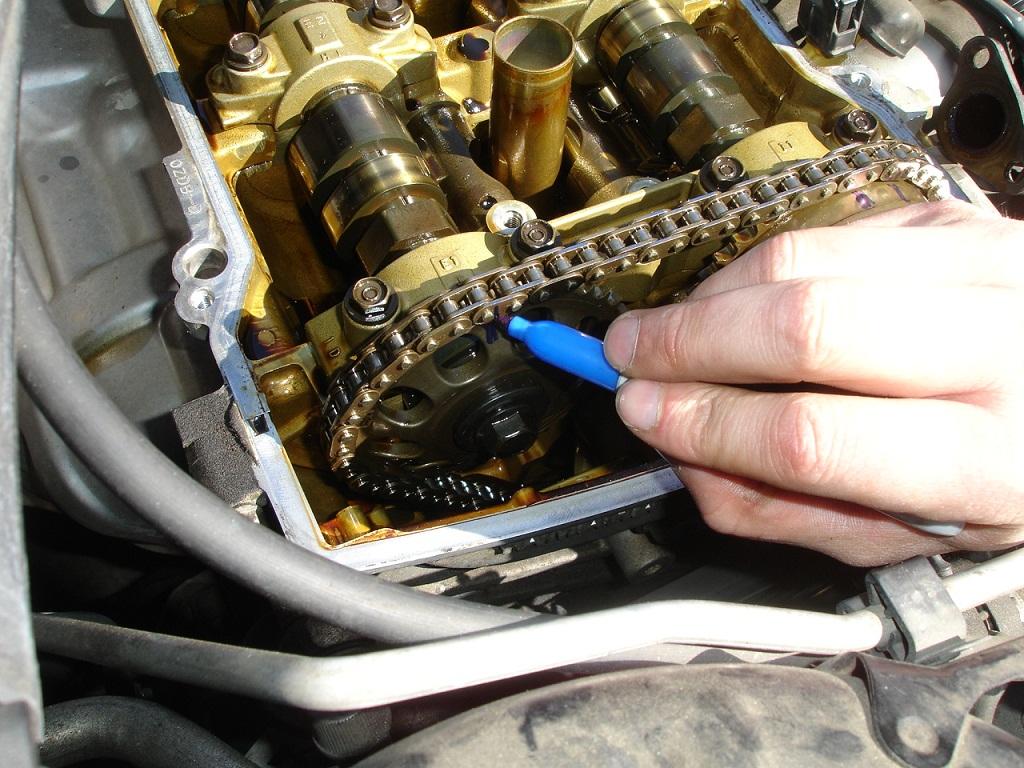
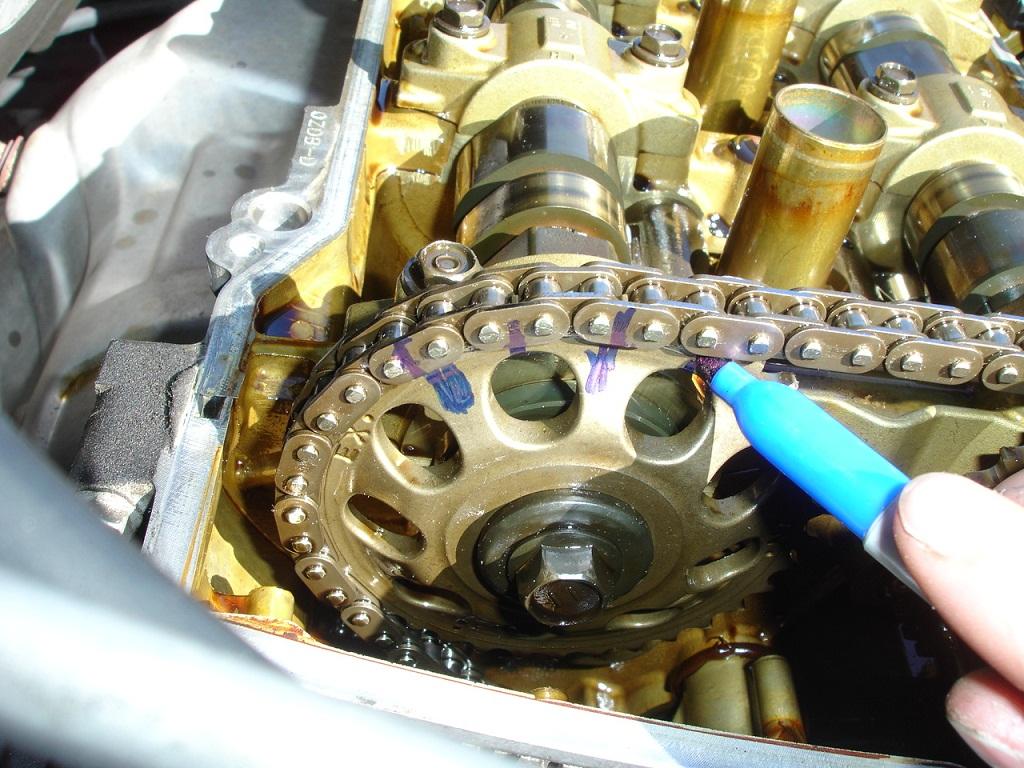
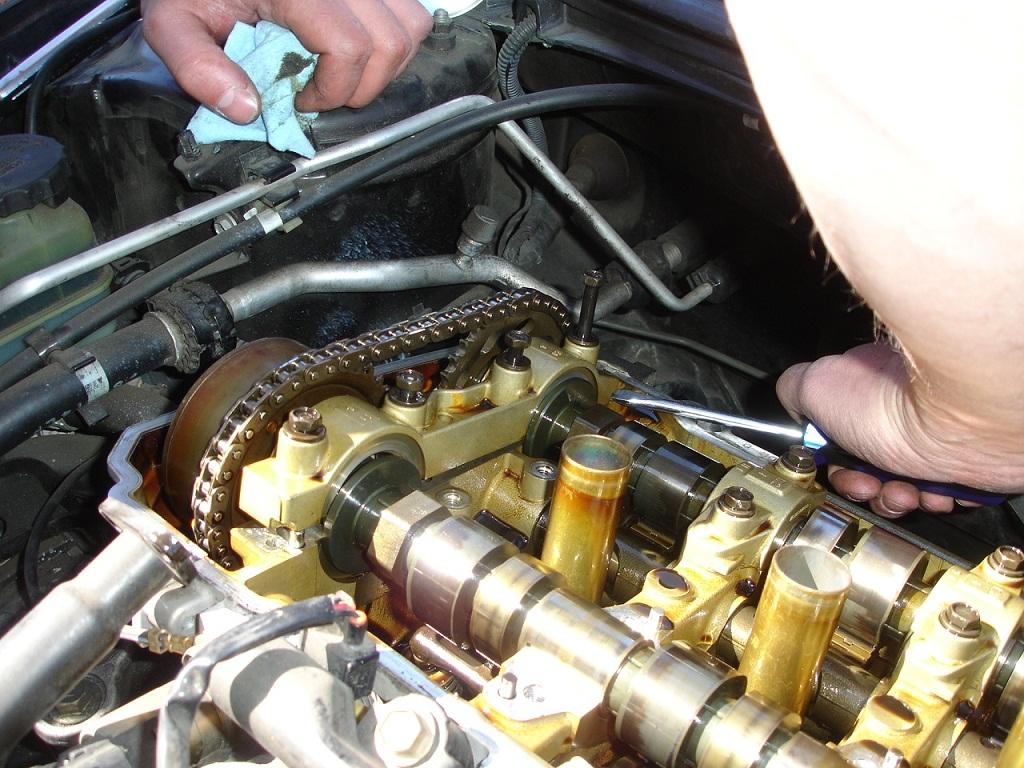
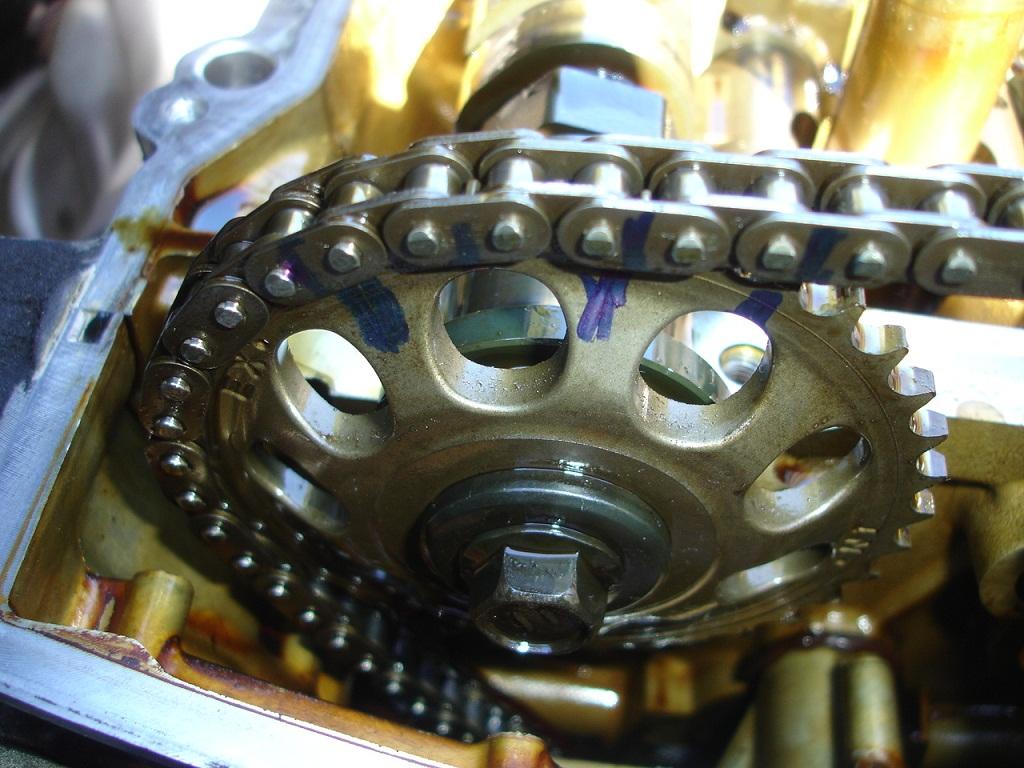
Clean the cam gears off really good with brake cleaner on a rag
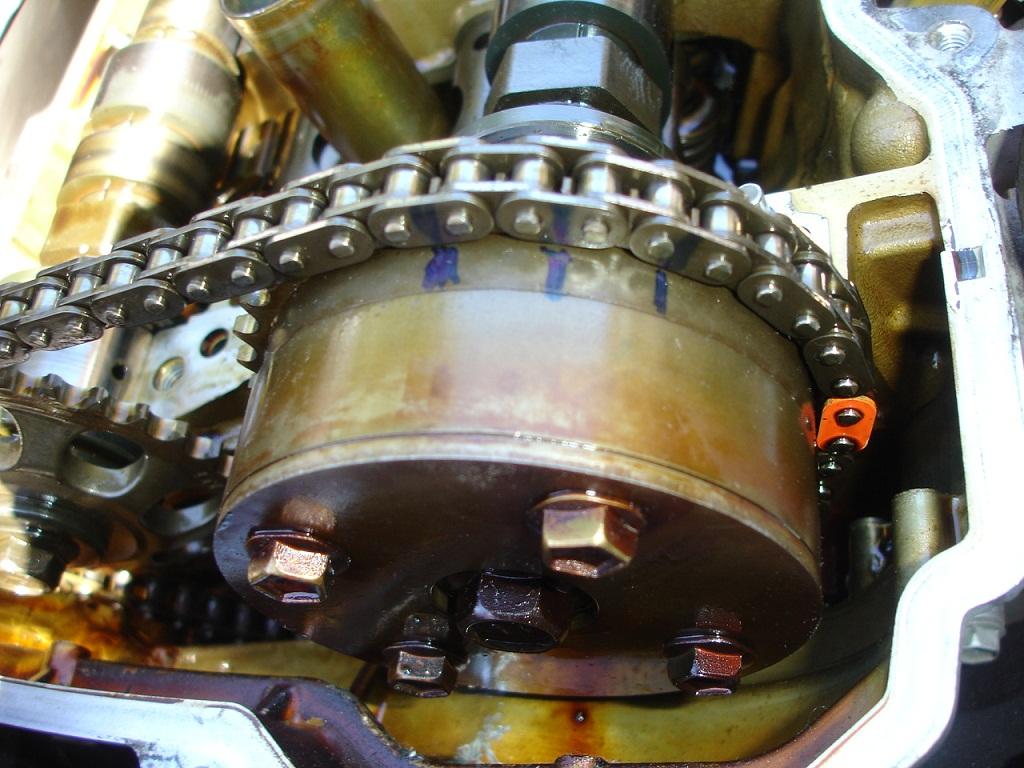
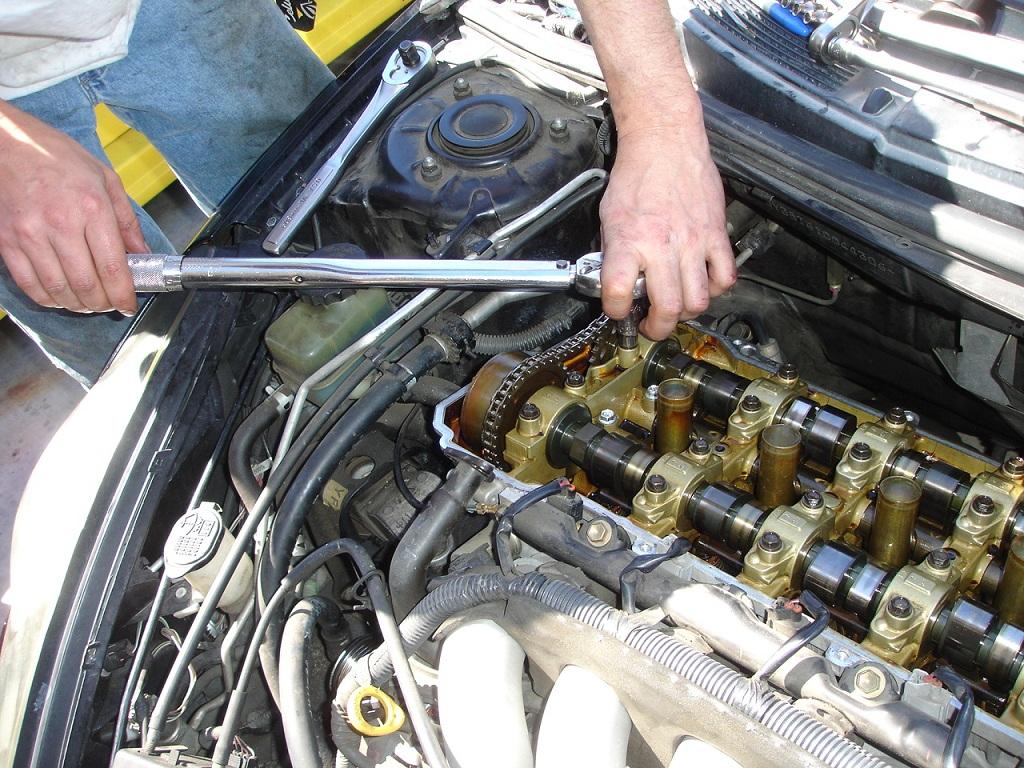
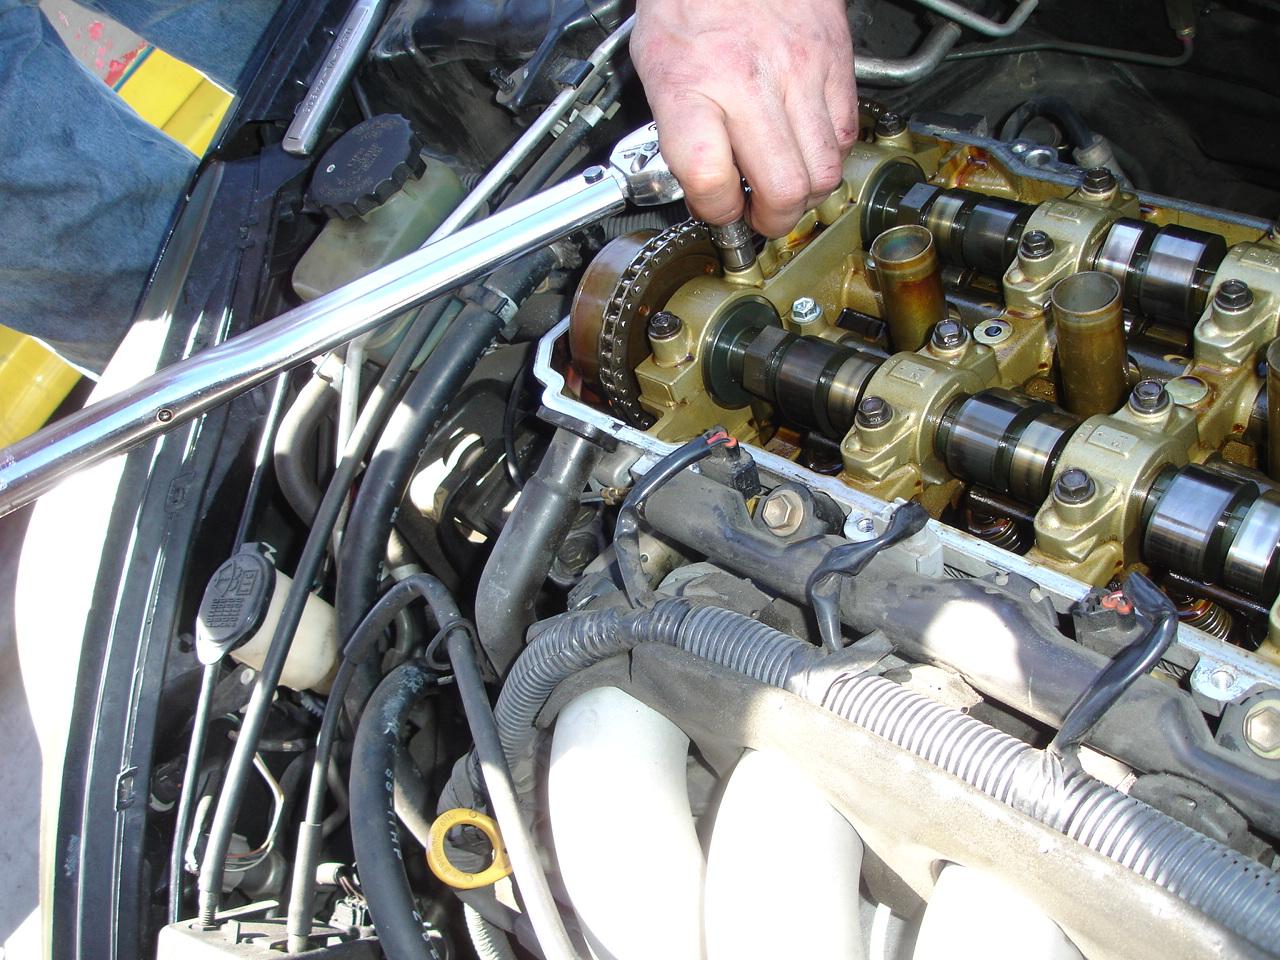
Mark the cam gears and the chain so you can re-align them and keep the timing set
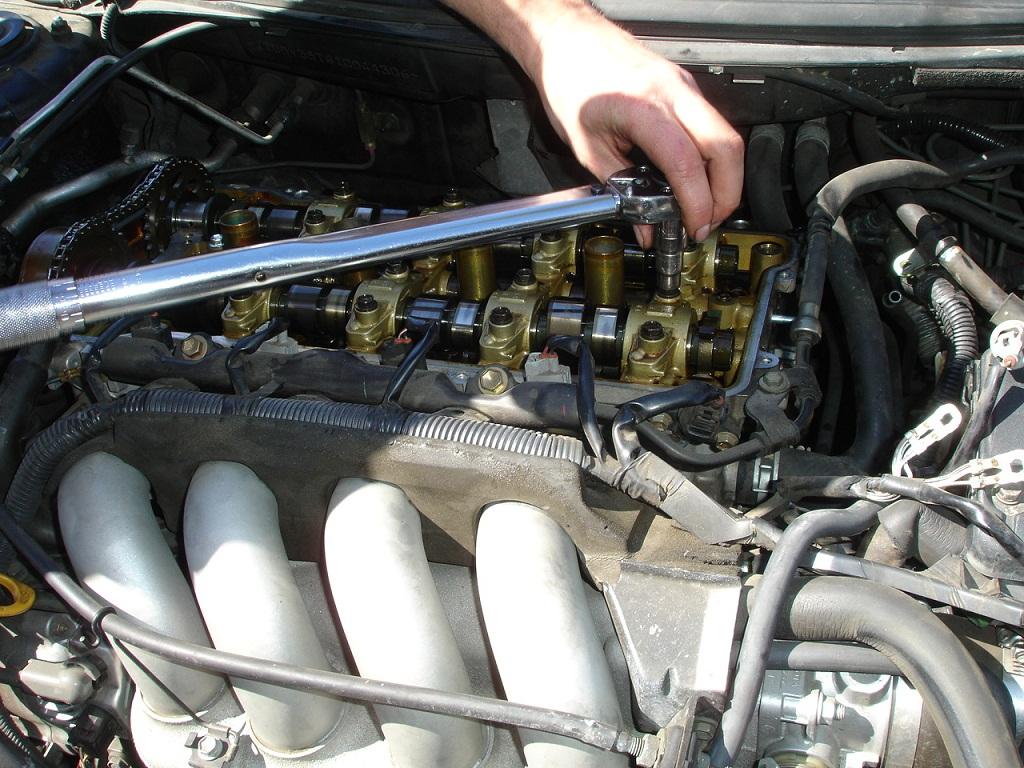
Unbolt the cam caps. I only did the intake cam first but you can do the exhaust also. just make sure that you secure the chain if you do both now.


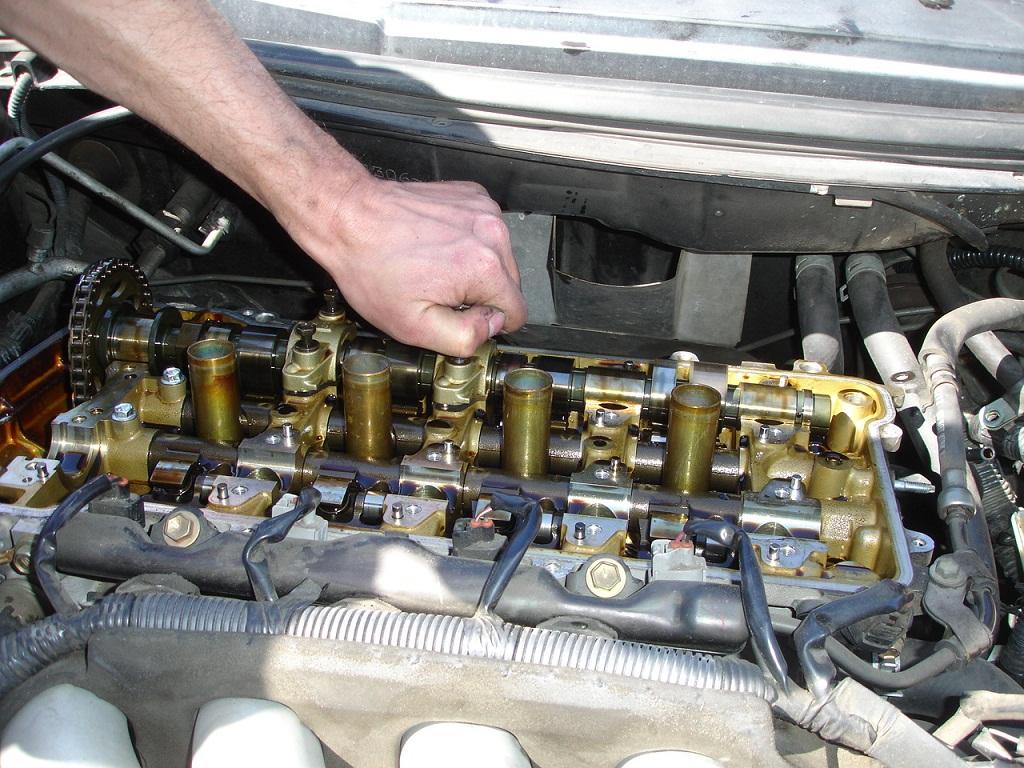
Remove the intake cam, you have to finagle it out, this is where if you take the exhaust cam out first, its easier to get the intake cam out.
Intake cam out
Here you can see how the shaft has worked its way out
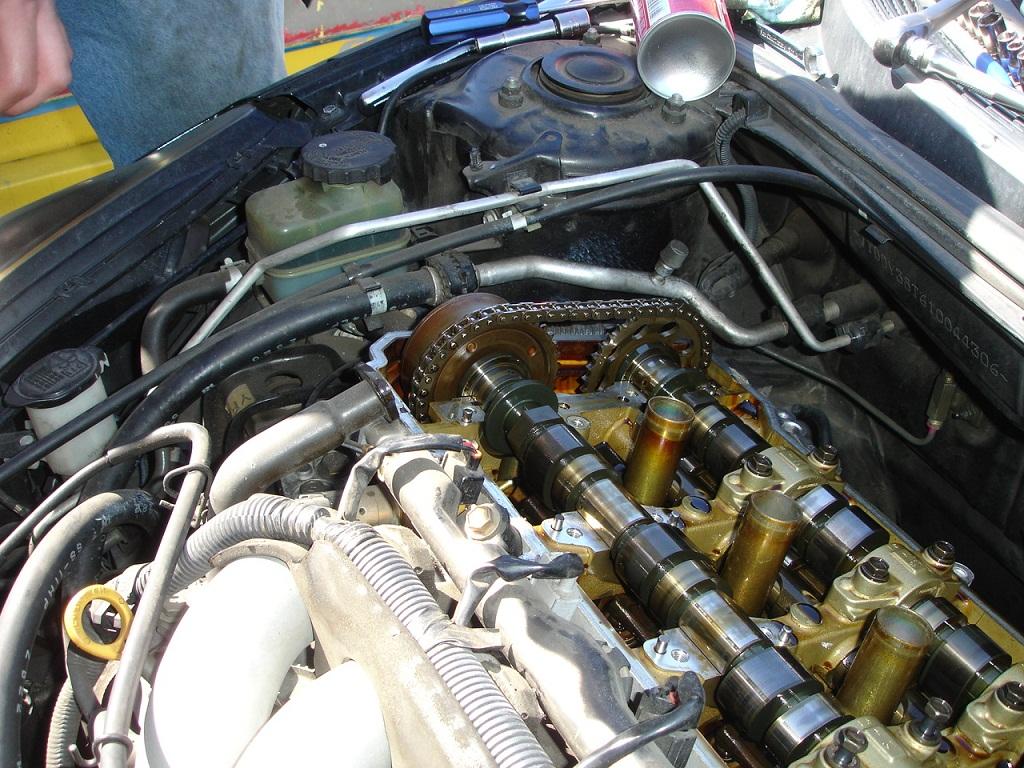
Remove battery
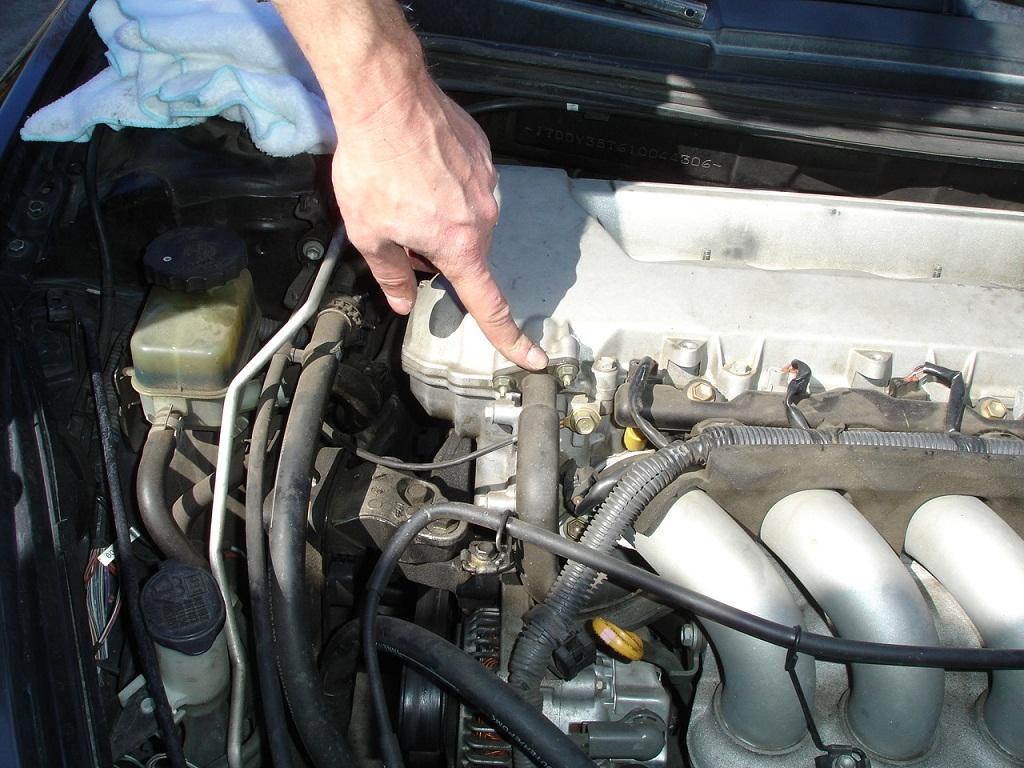
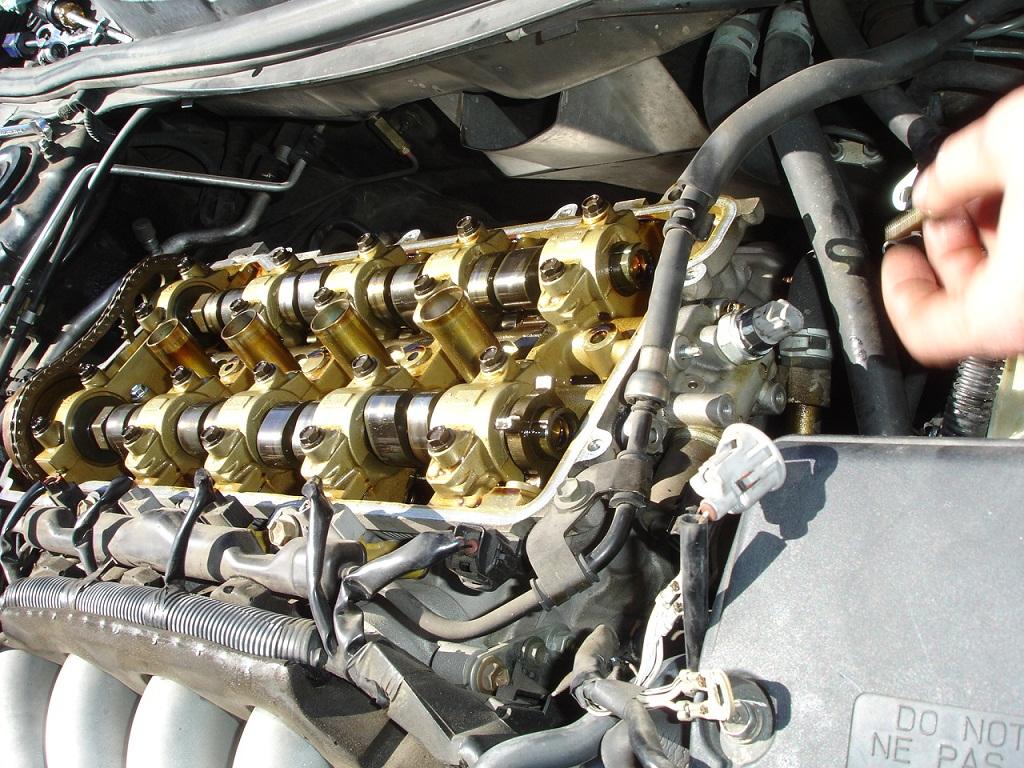
Its easier to make room with the brake booster line out of the way, unclamp it off the intake manifold and move it out of the way
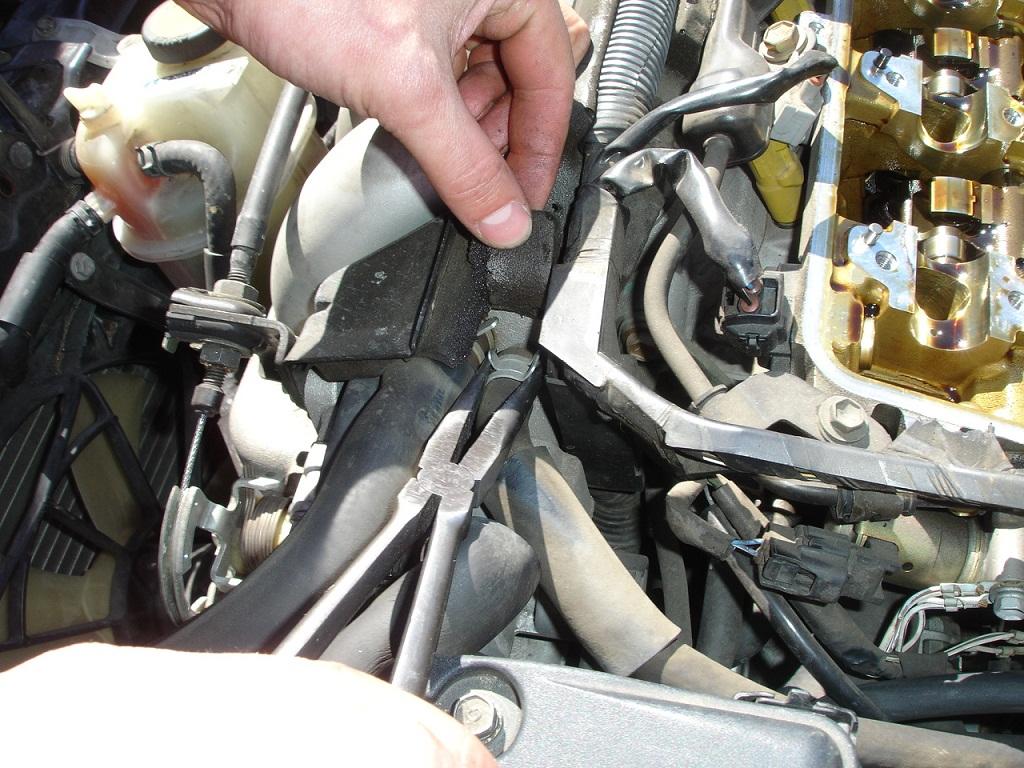
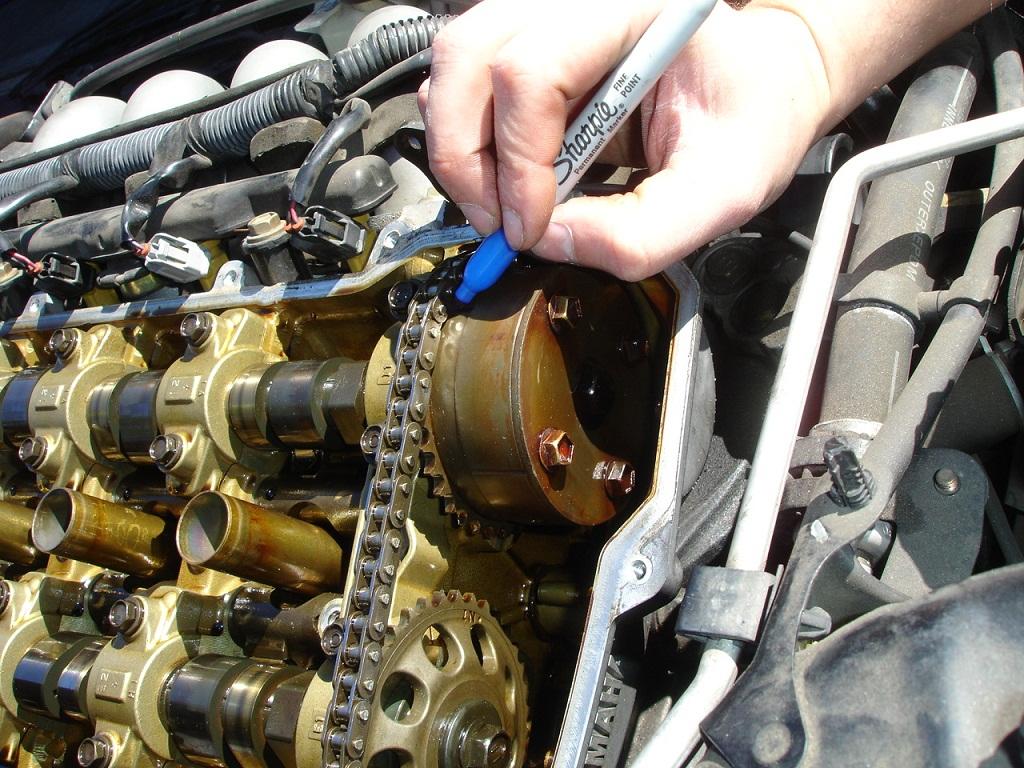
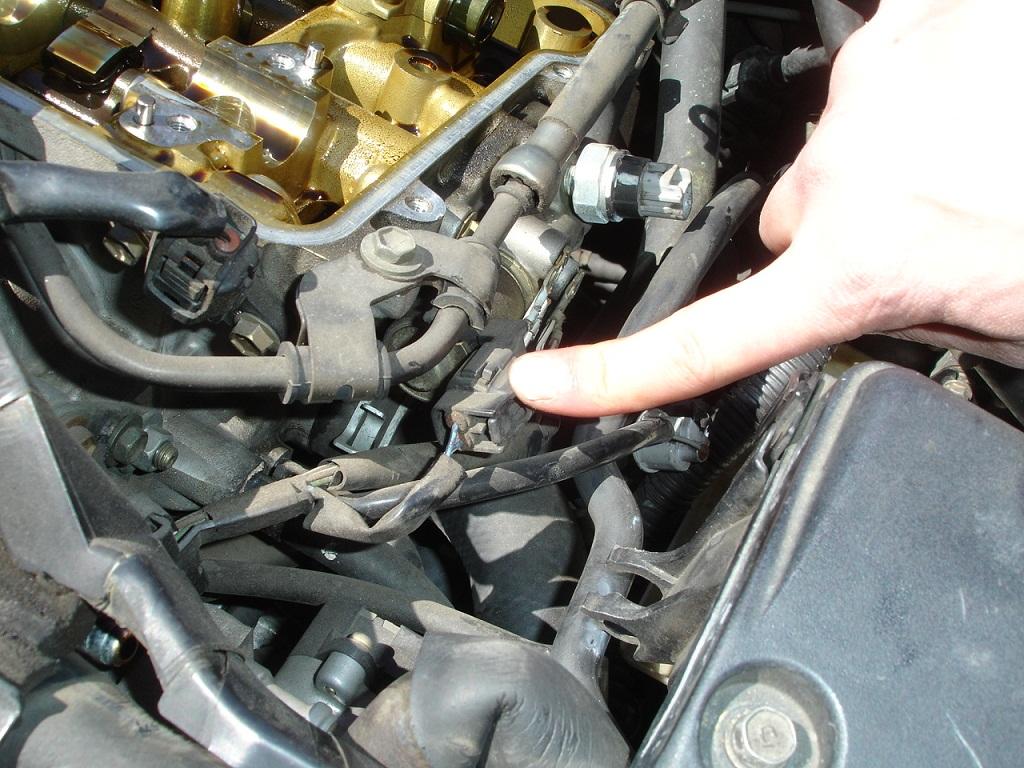
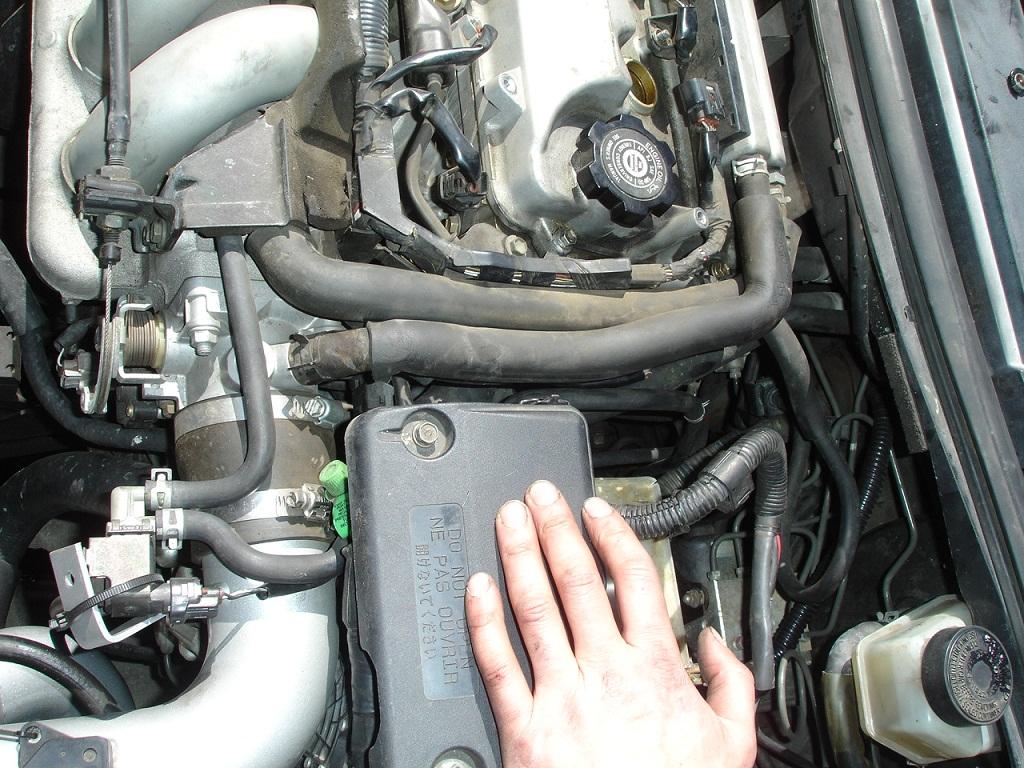
These are the ECU grounds. remove both of them off the lift actuator
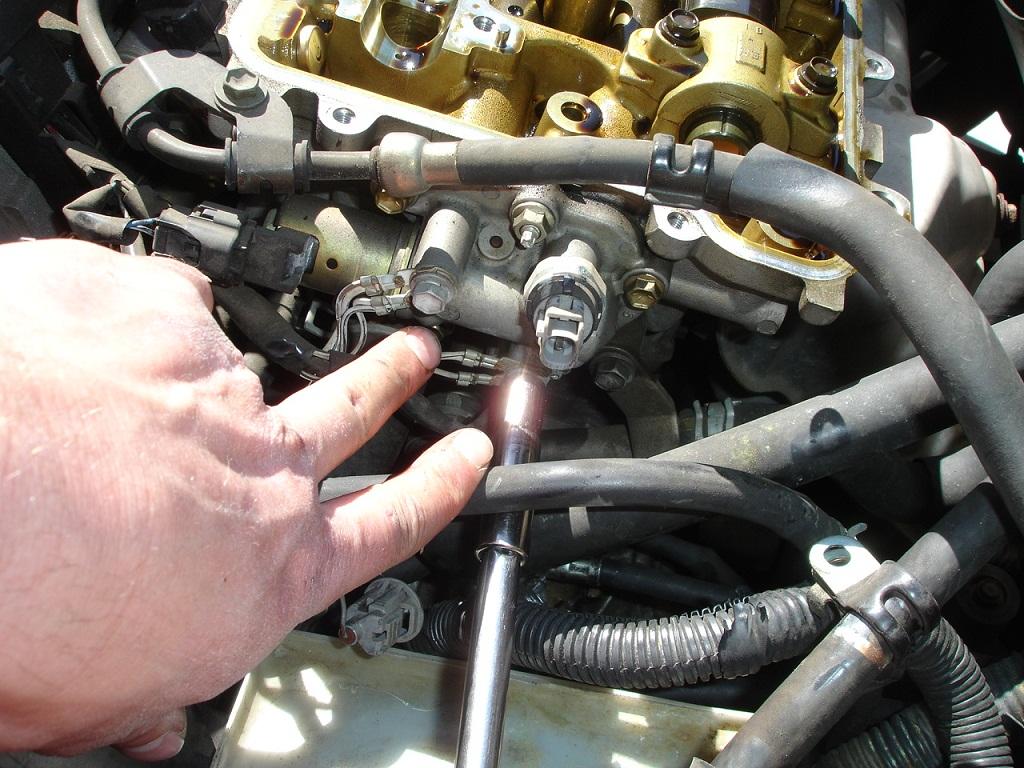
Unplug the lift OCV and oil pressure sensor. It also help to unplug the water temp sensor on the head under the lift actuator
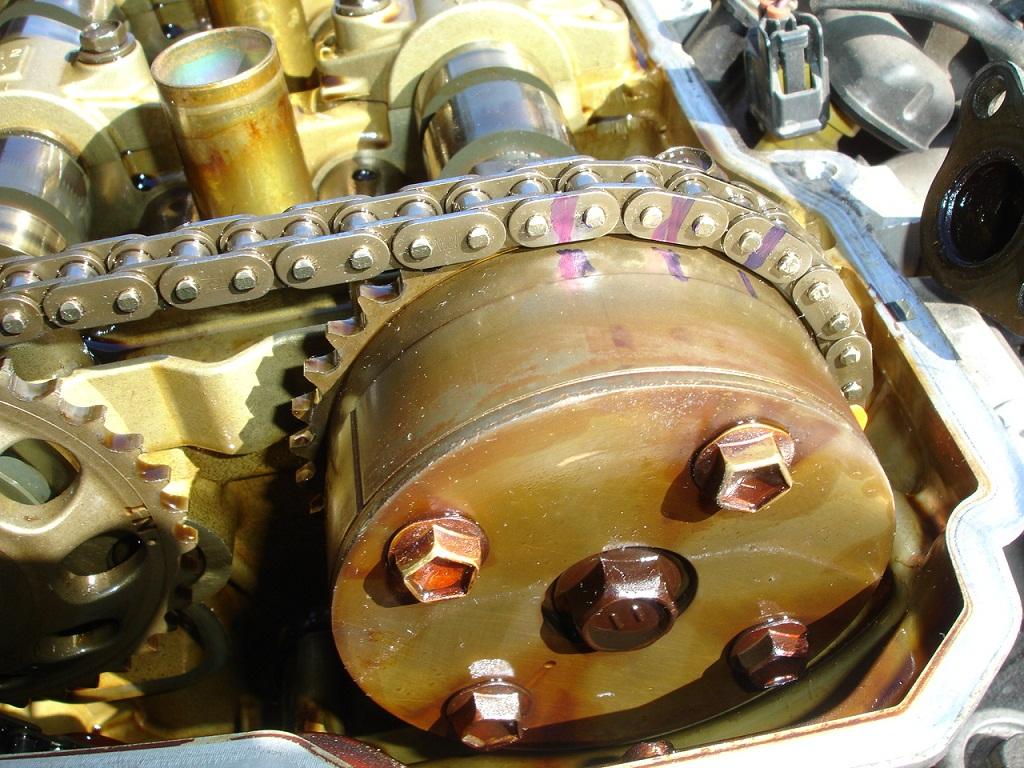
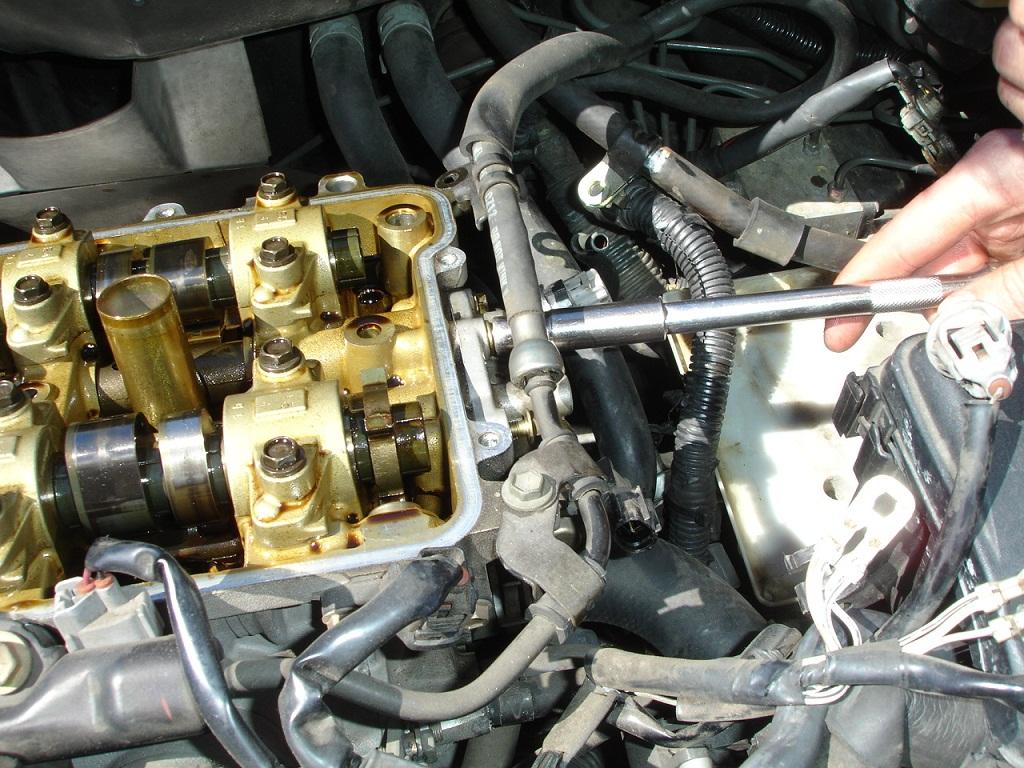
remove the (3) 10mm bolts and (2) 10mm nuts holding the lift actuator on the head
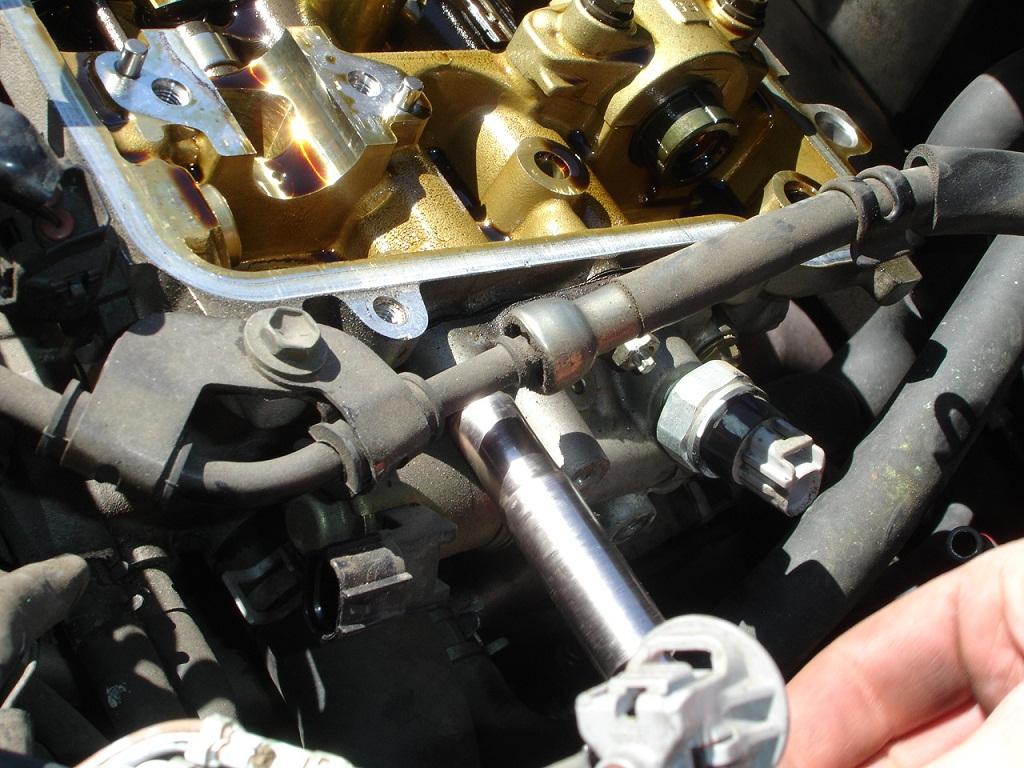
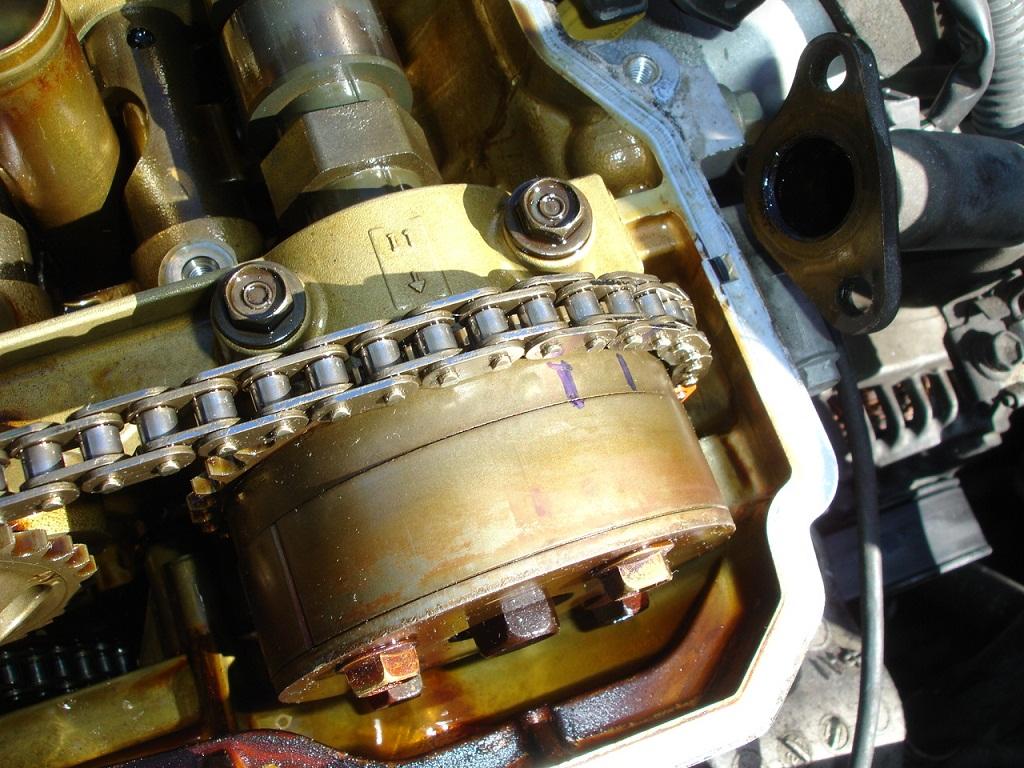
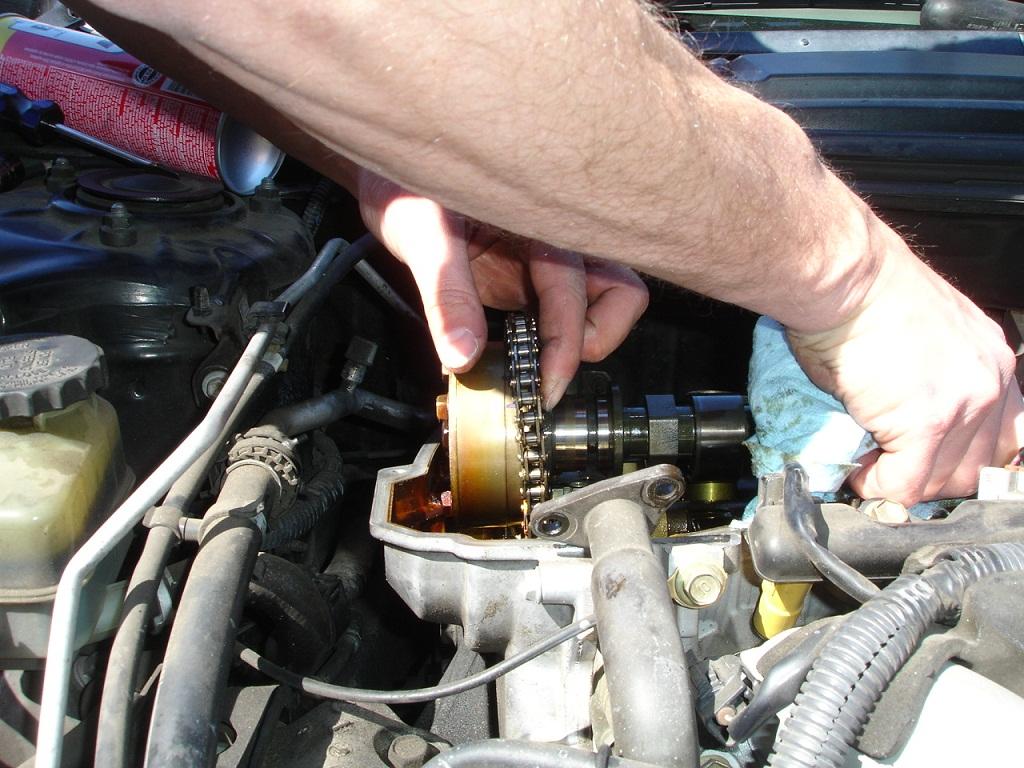
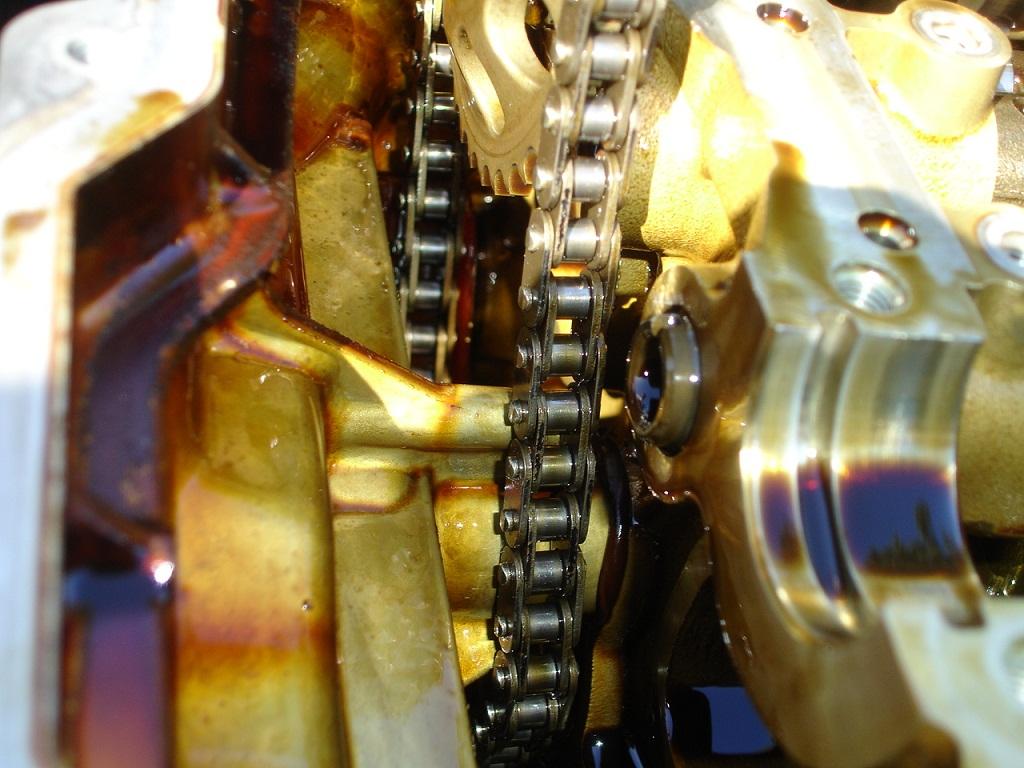
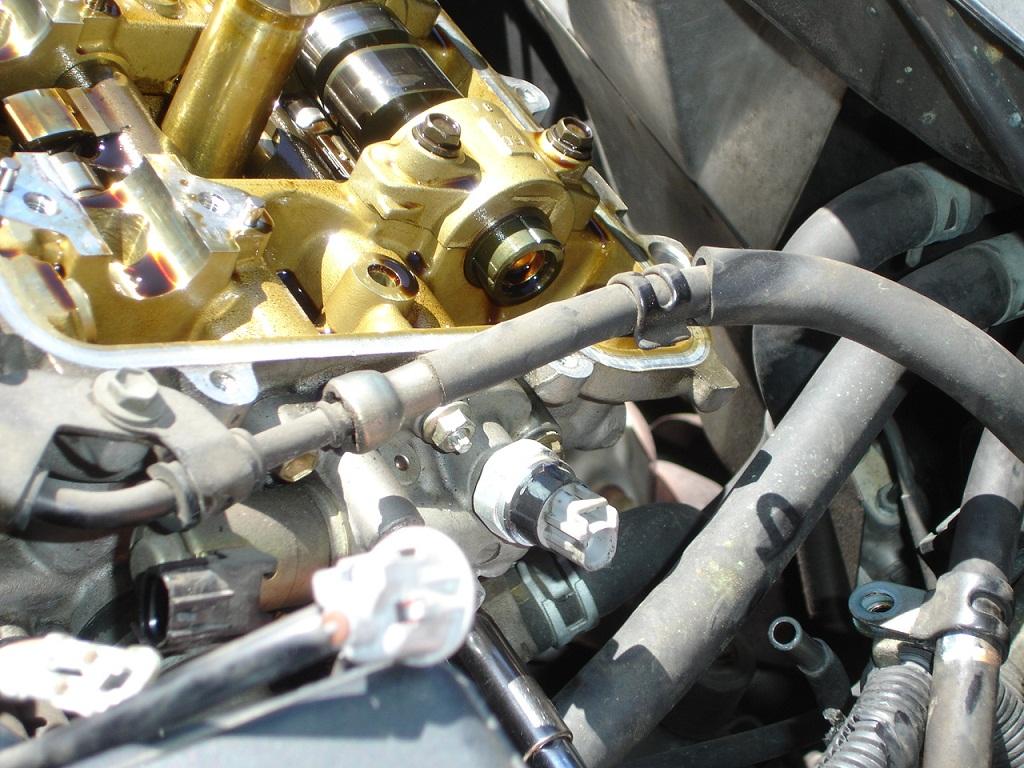
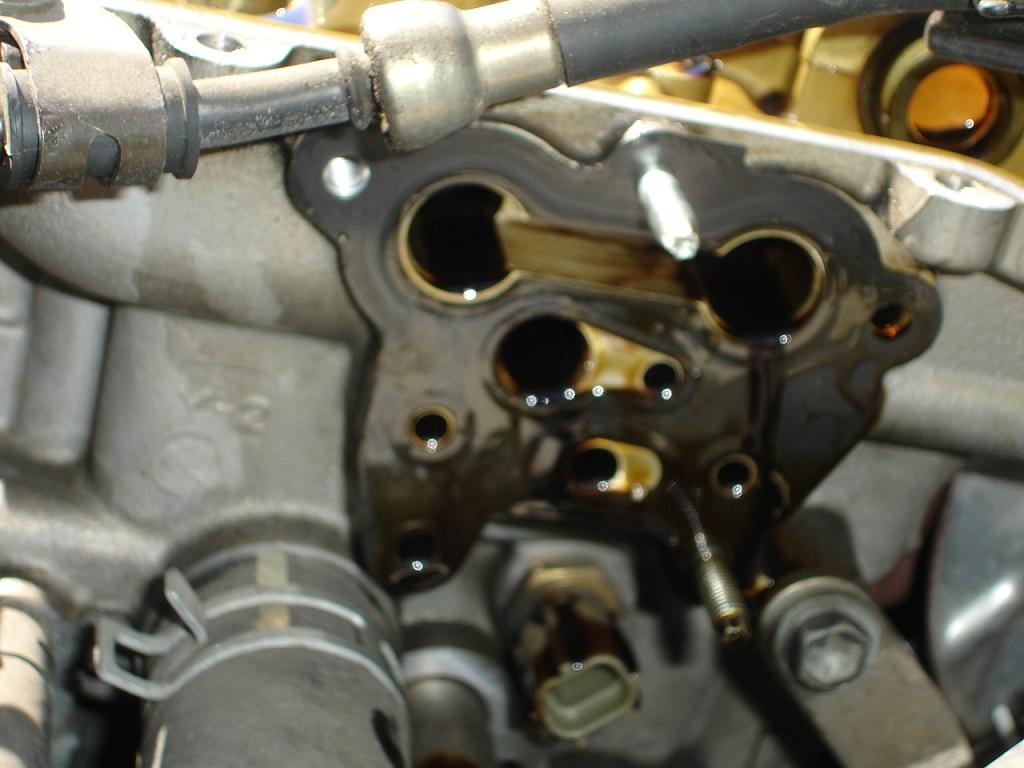
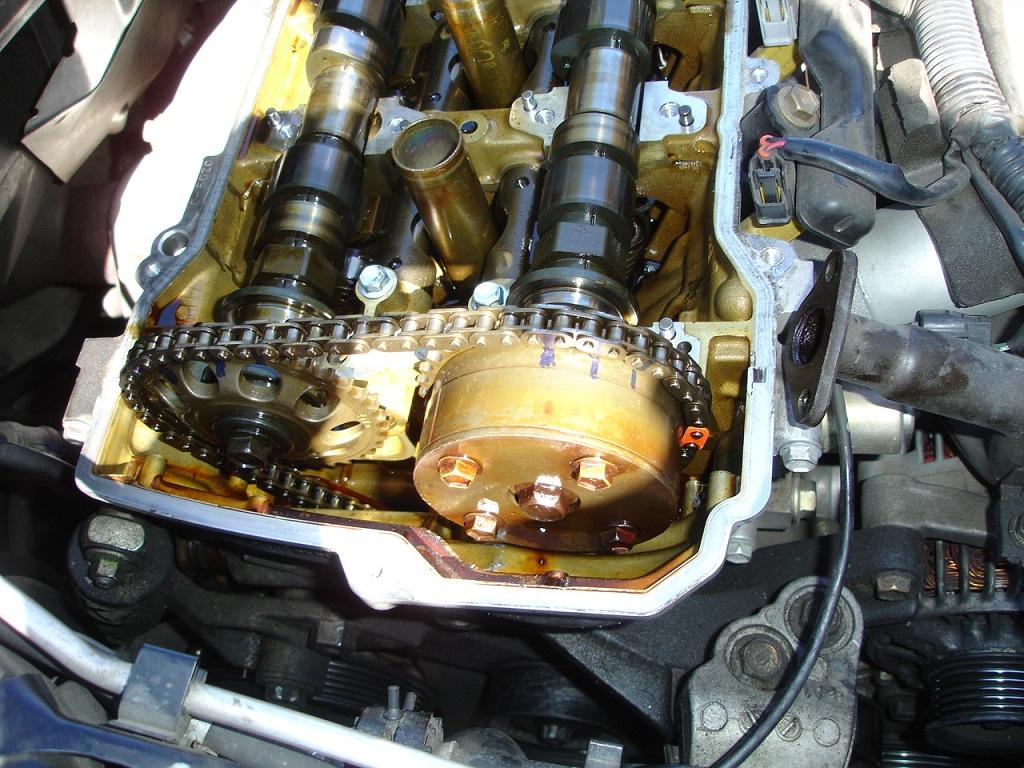
You can see the lift oil filter screen here

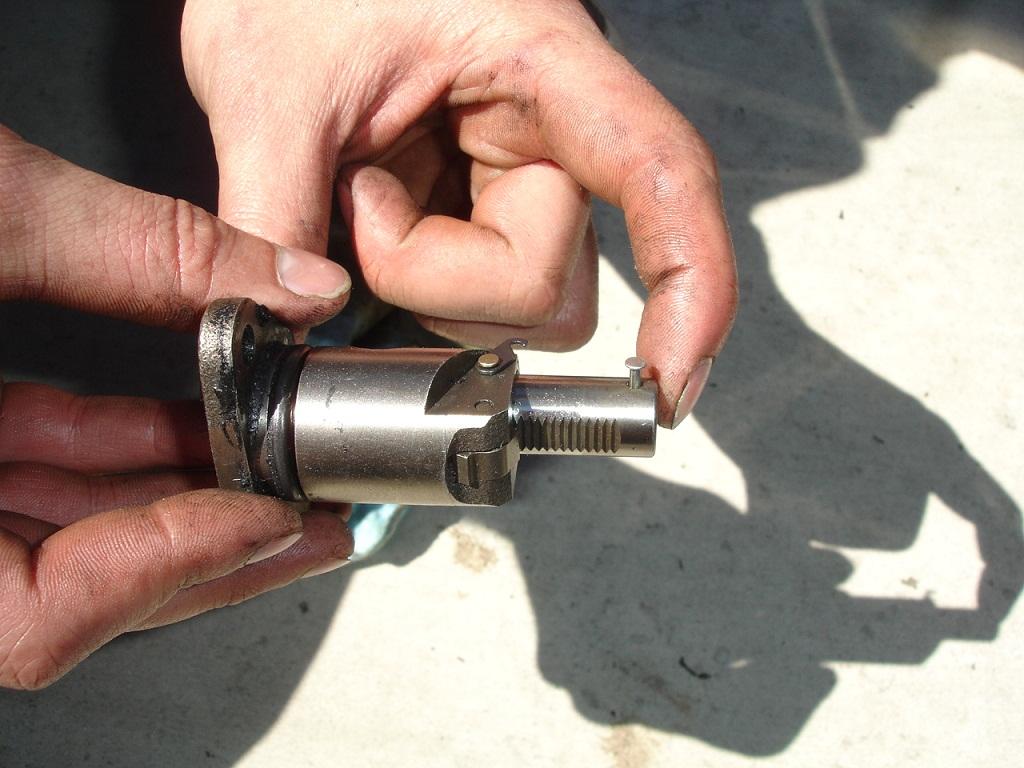
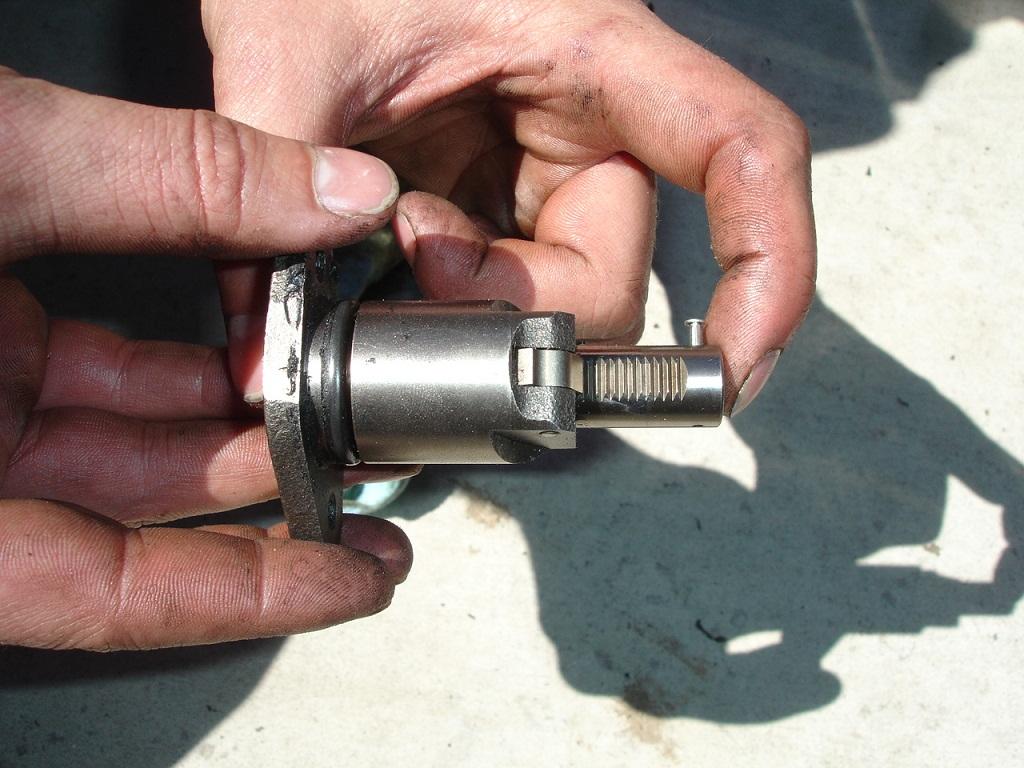
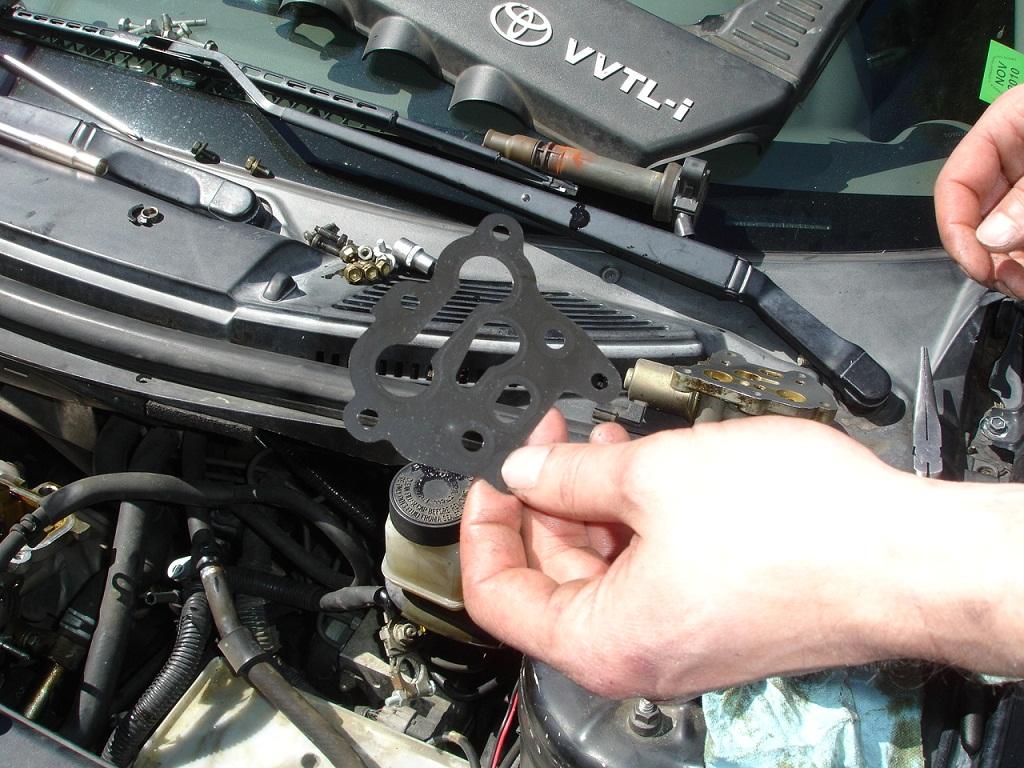
Life actuator removed, here you can see the gasket, remove that and save it for later
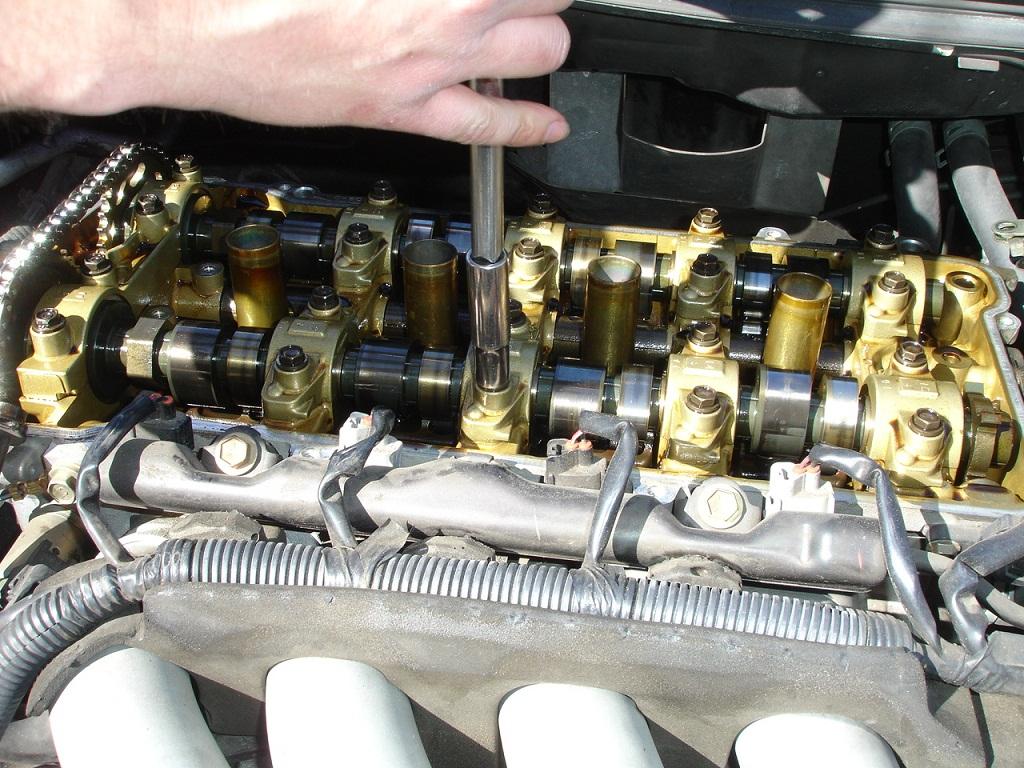
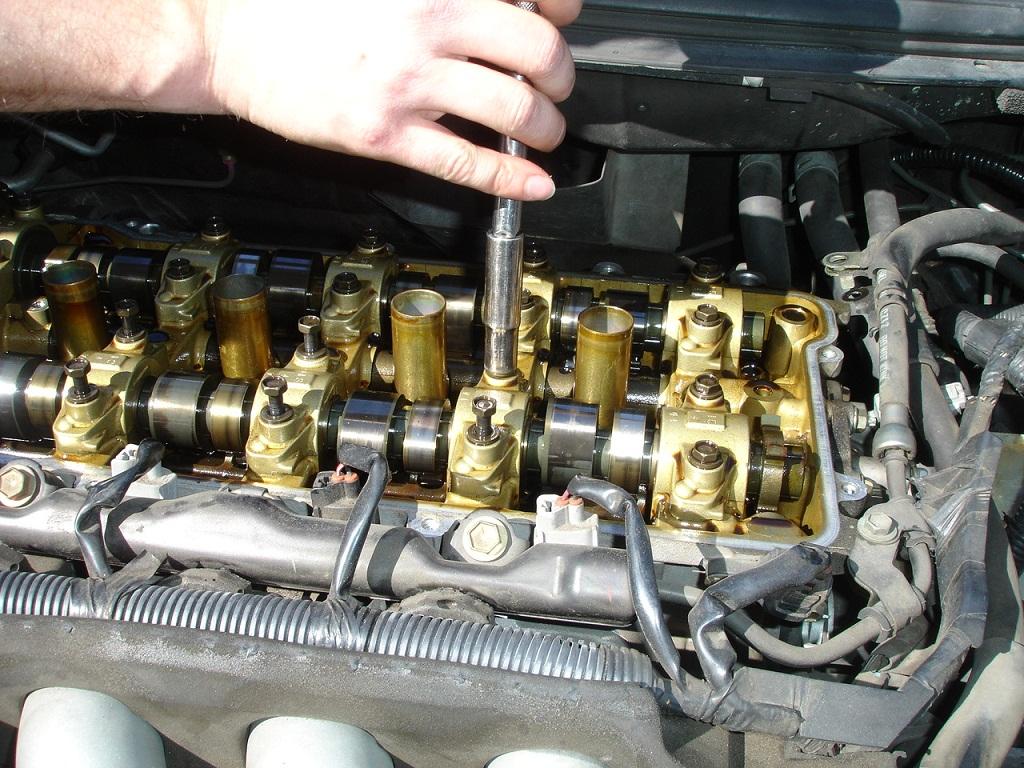
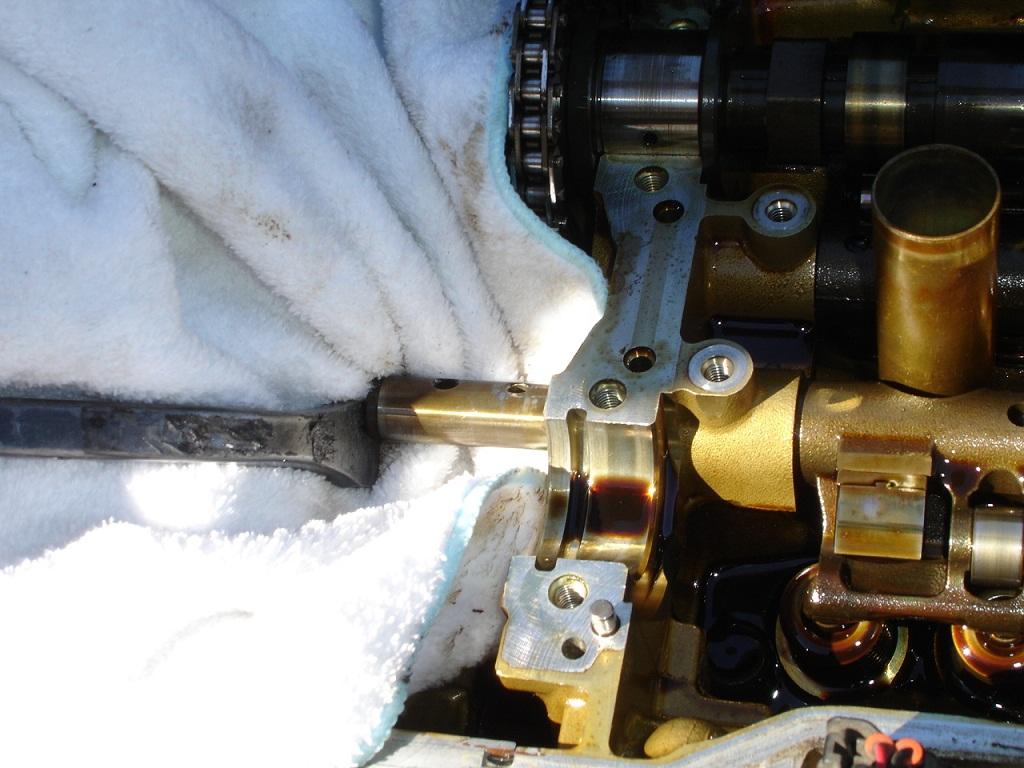
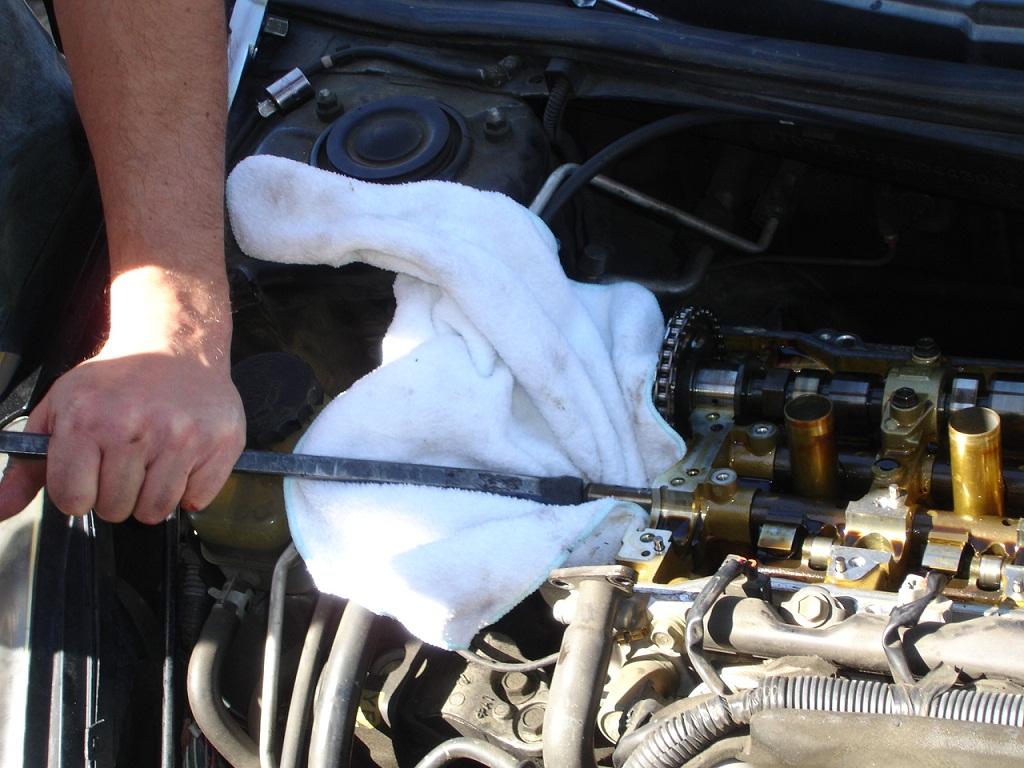
Using a 3/8 drive extension, tap on the shaft to push it out of the head
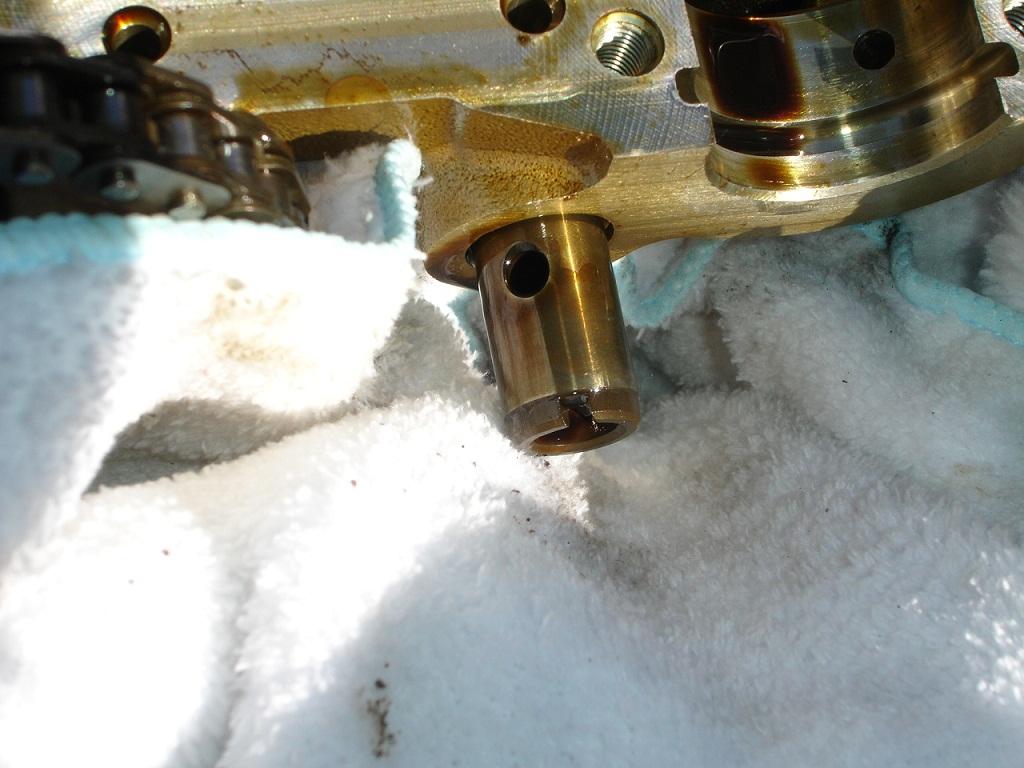
Make sure you out a rag under the shaft to prevent the broken piece from falling into the engine
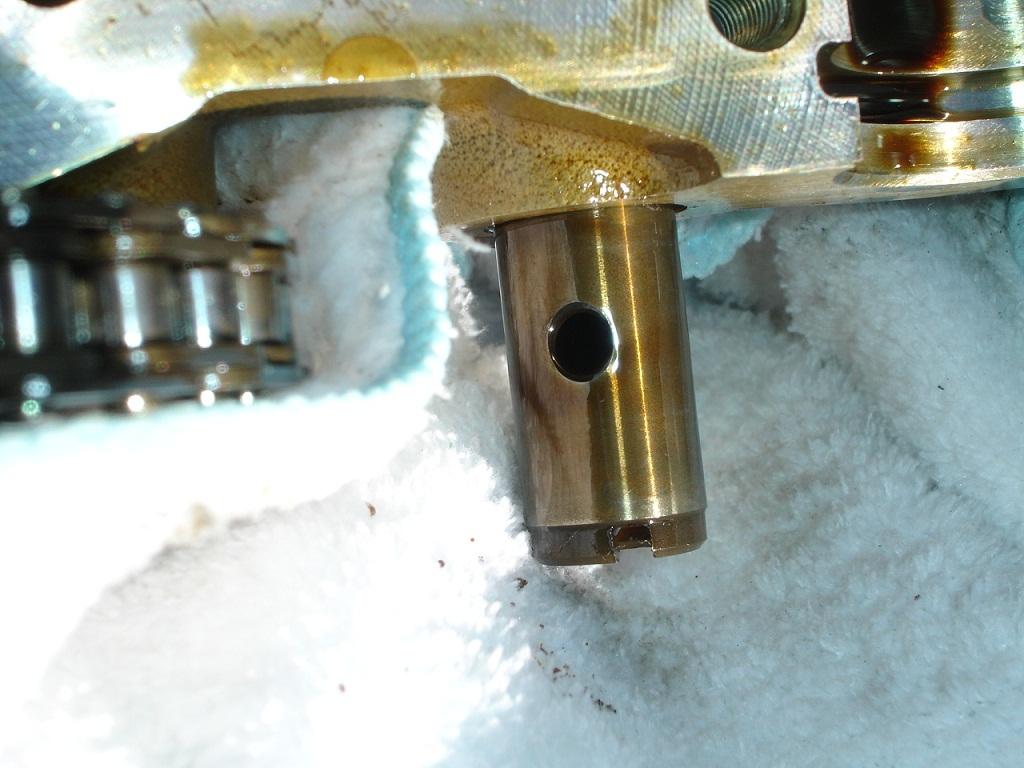
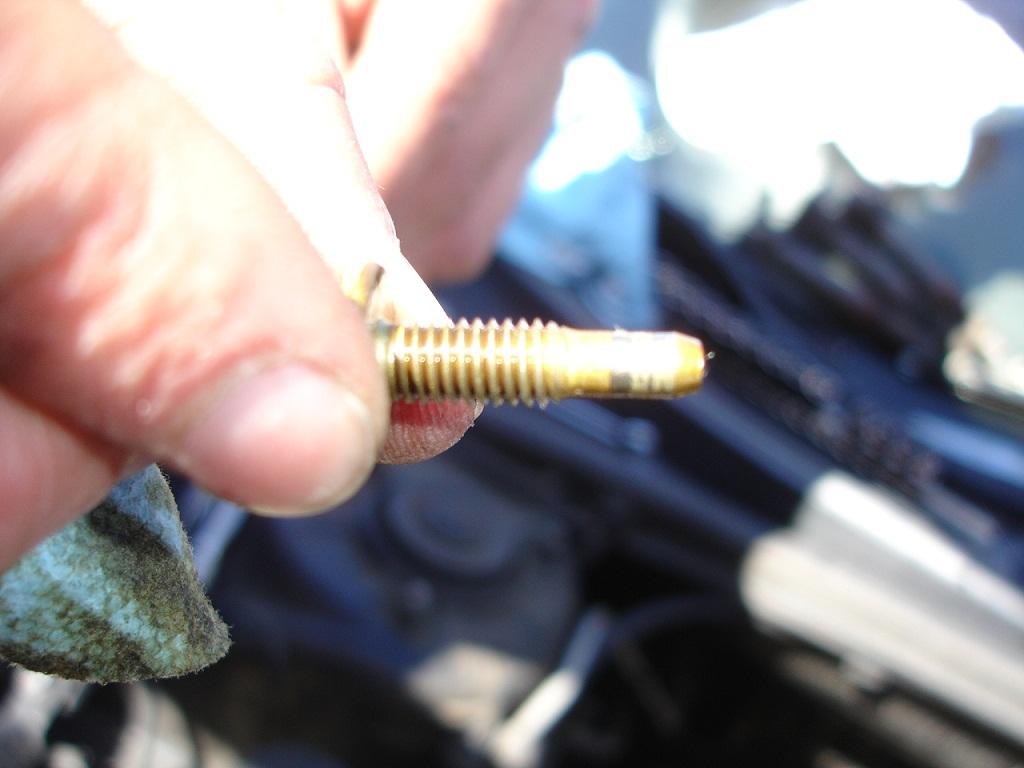
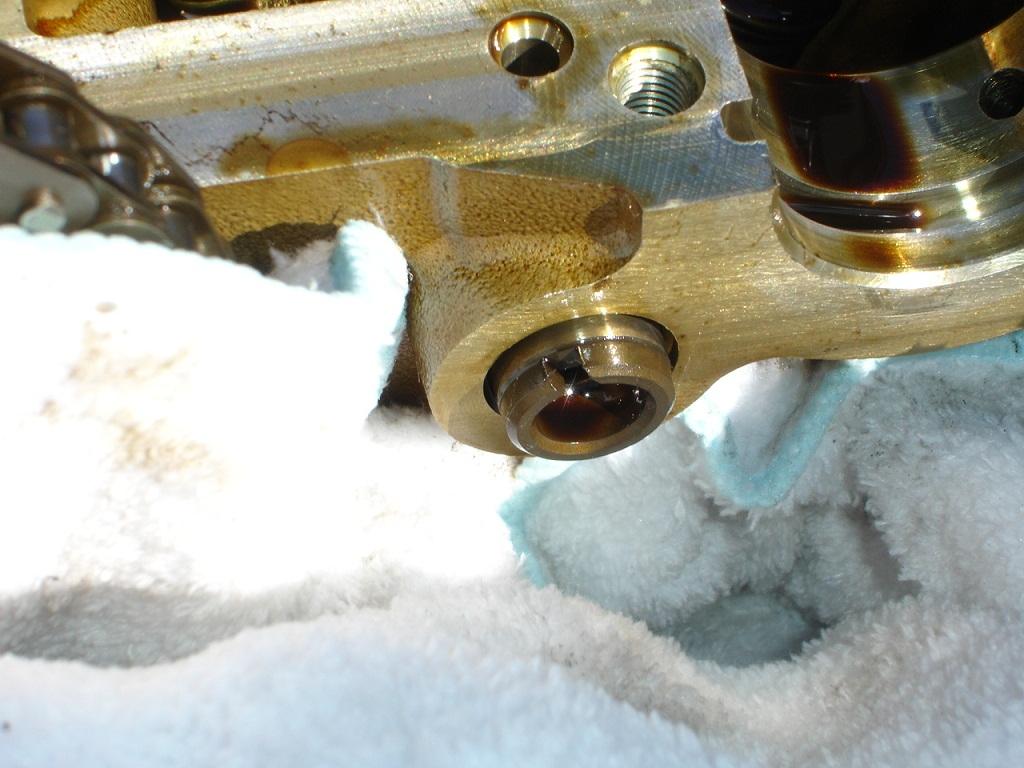
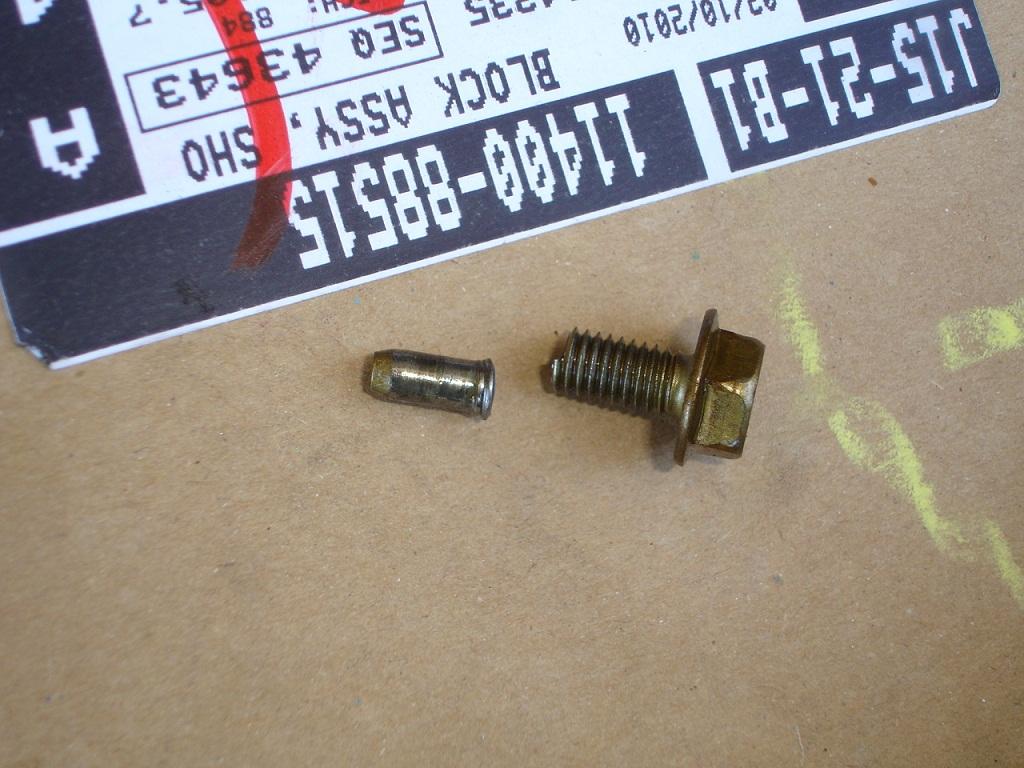
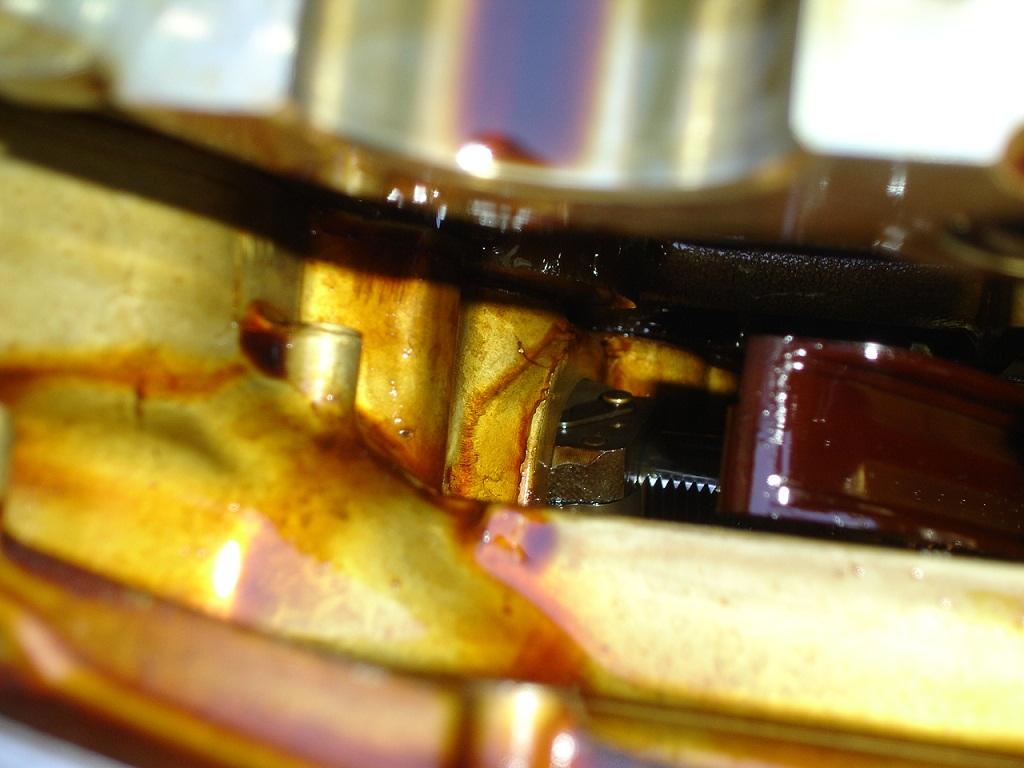
Here you can see the broken bolt exposed
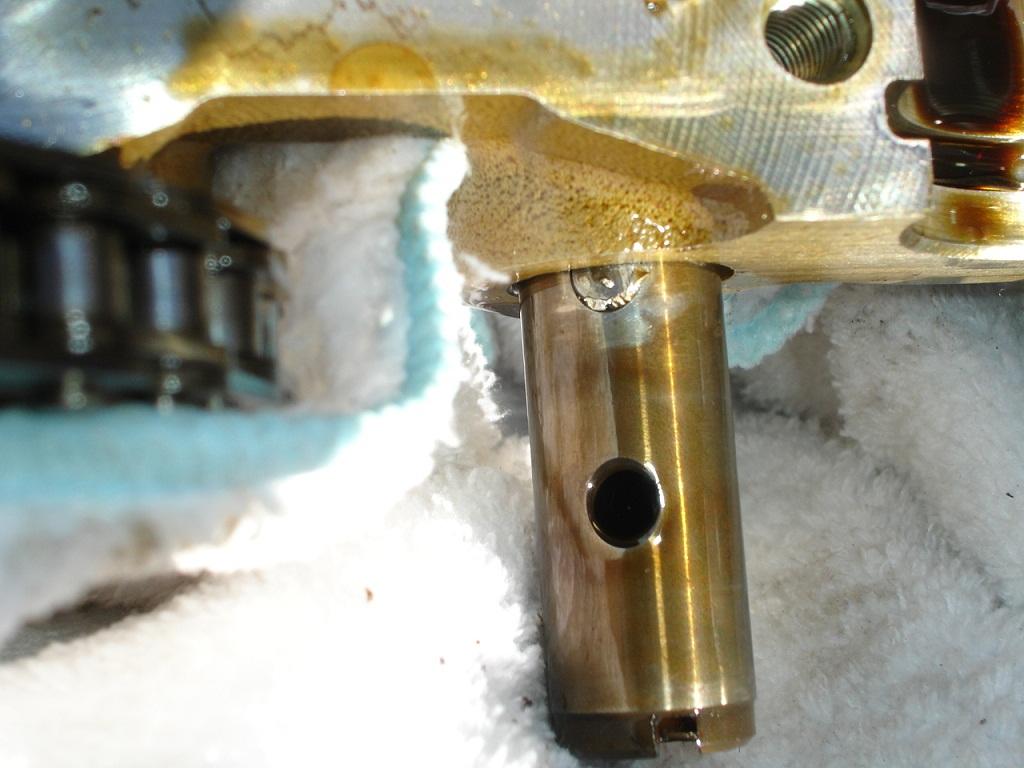
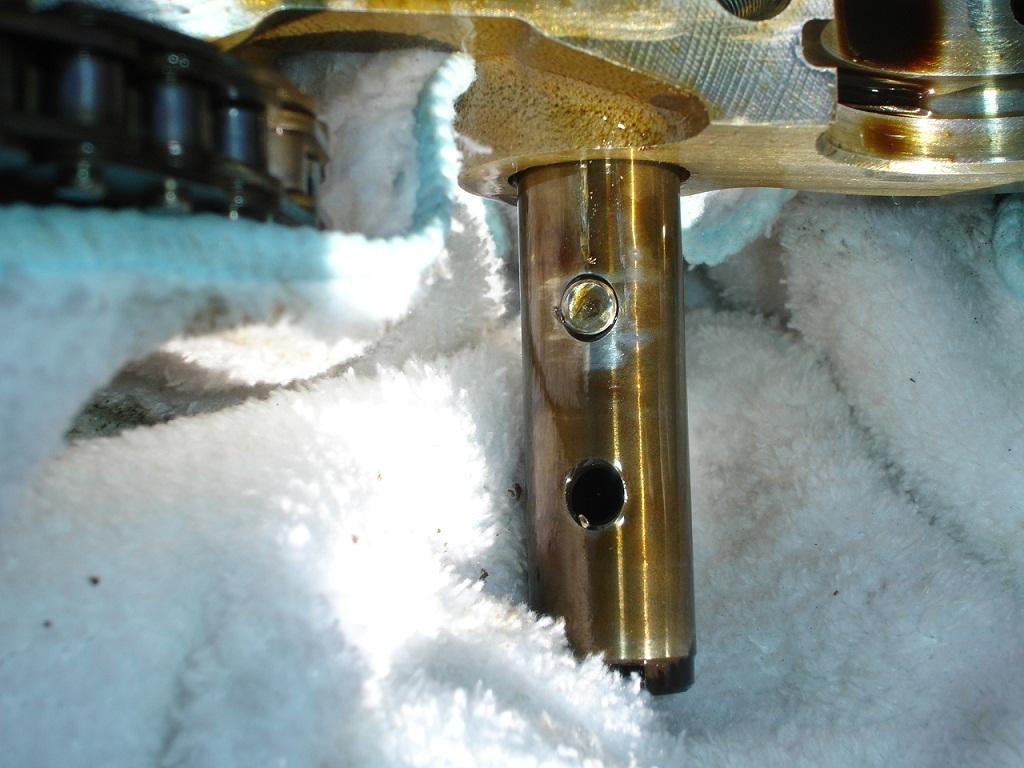
The broken bolt
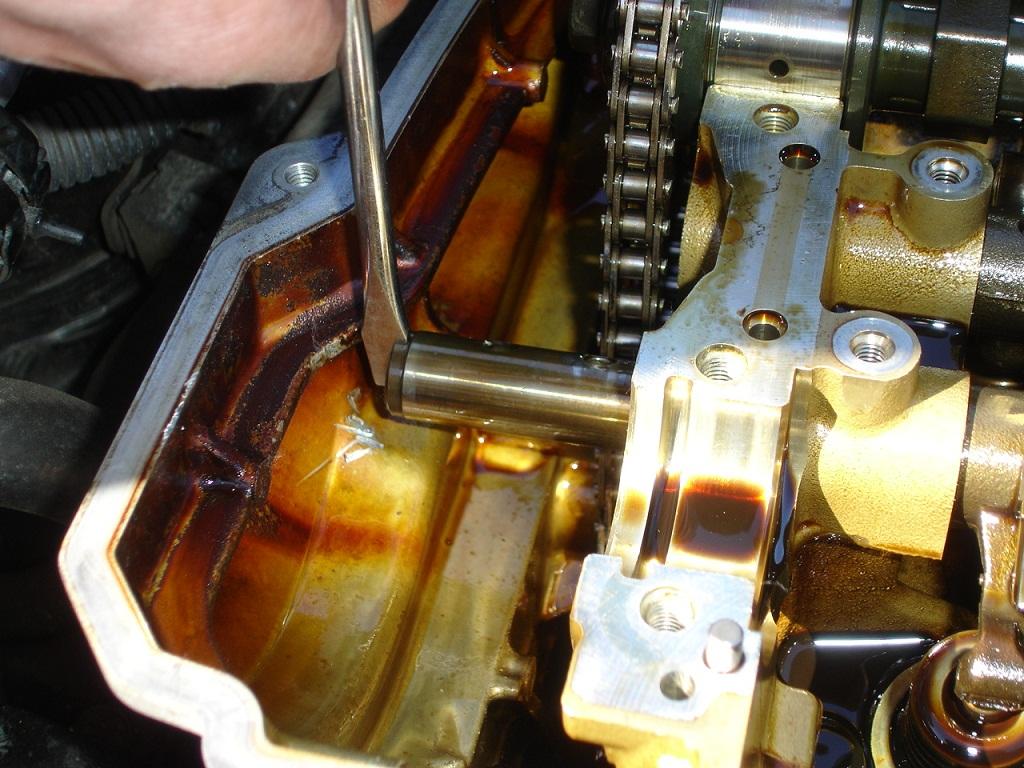
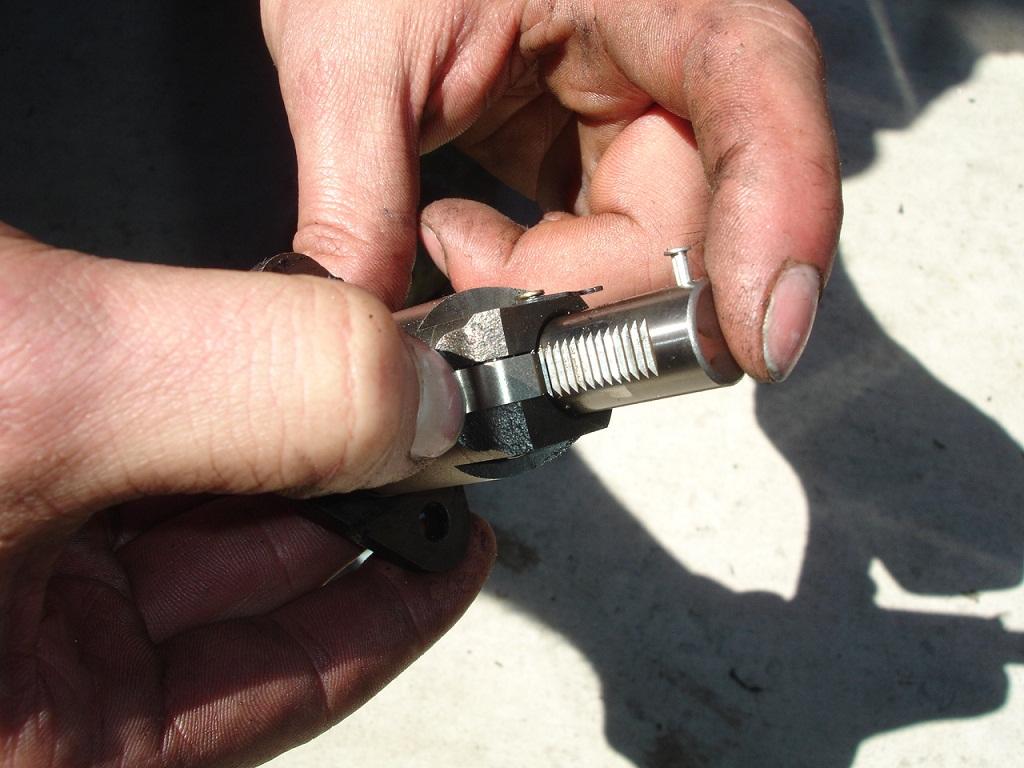
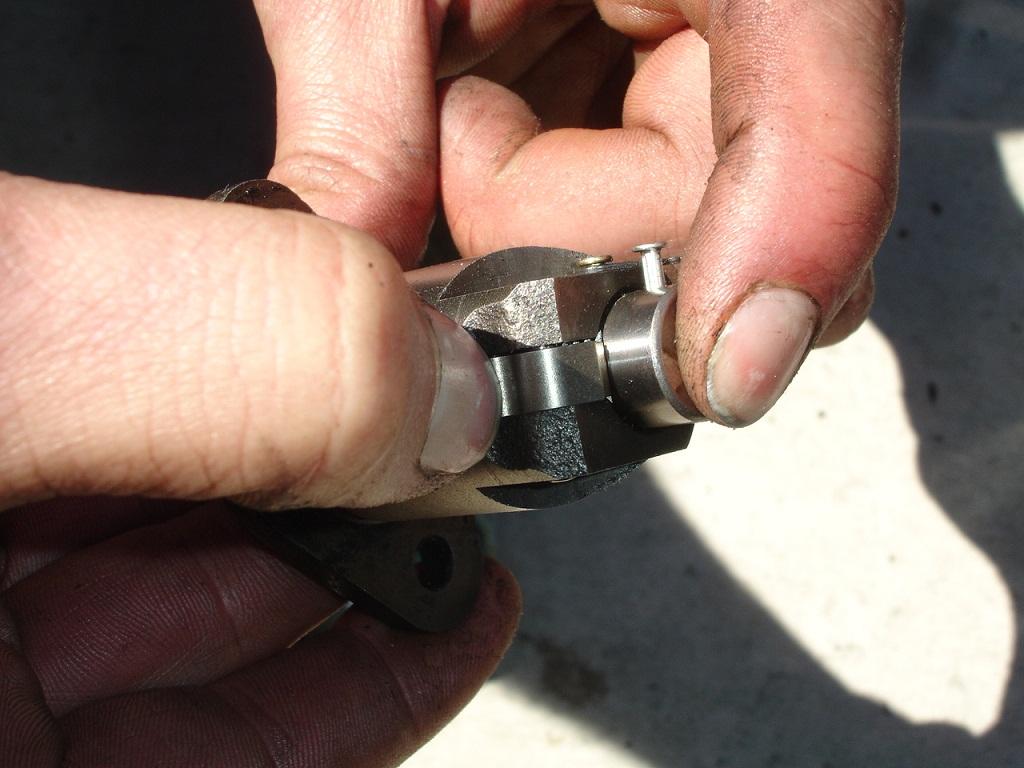
This step is a little difficult, carefully use a prybar to push the shaft back in. Since this shaft had also rotated I had to use a screwdriver in the notch in the shaft and turn the shaft at the samt time I pushed the shaft back in.

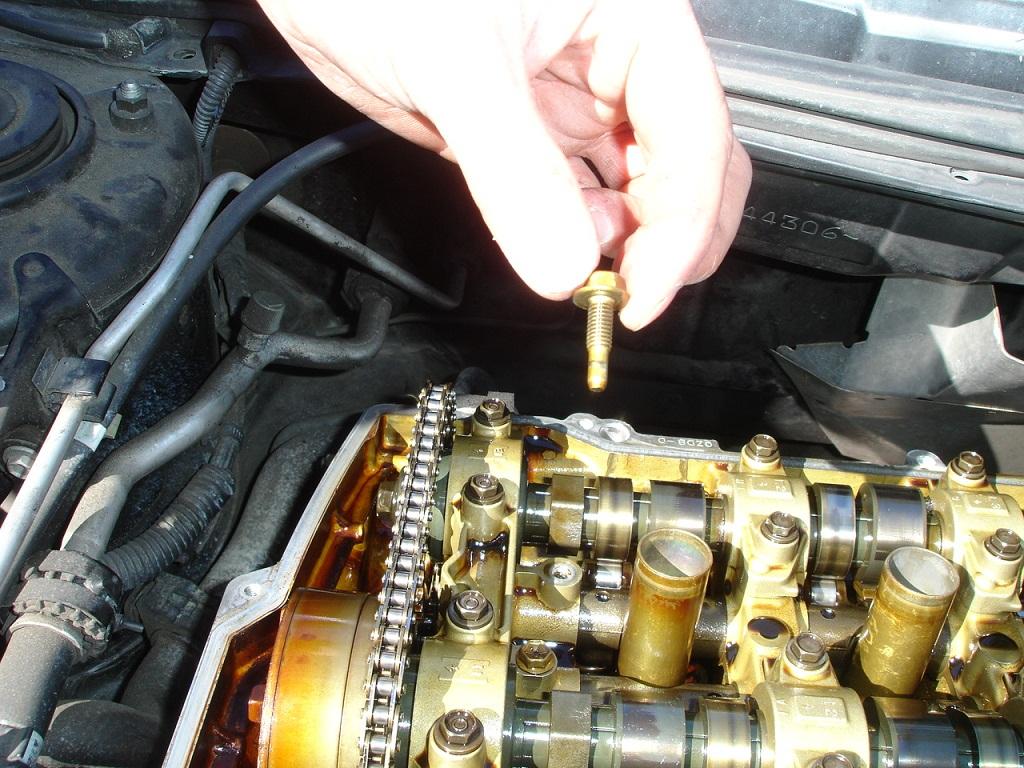
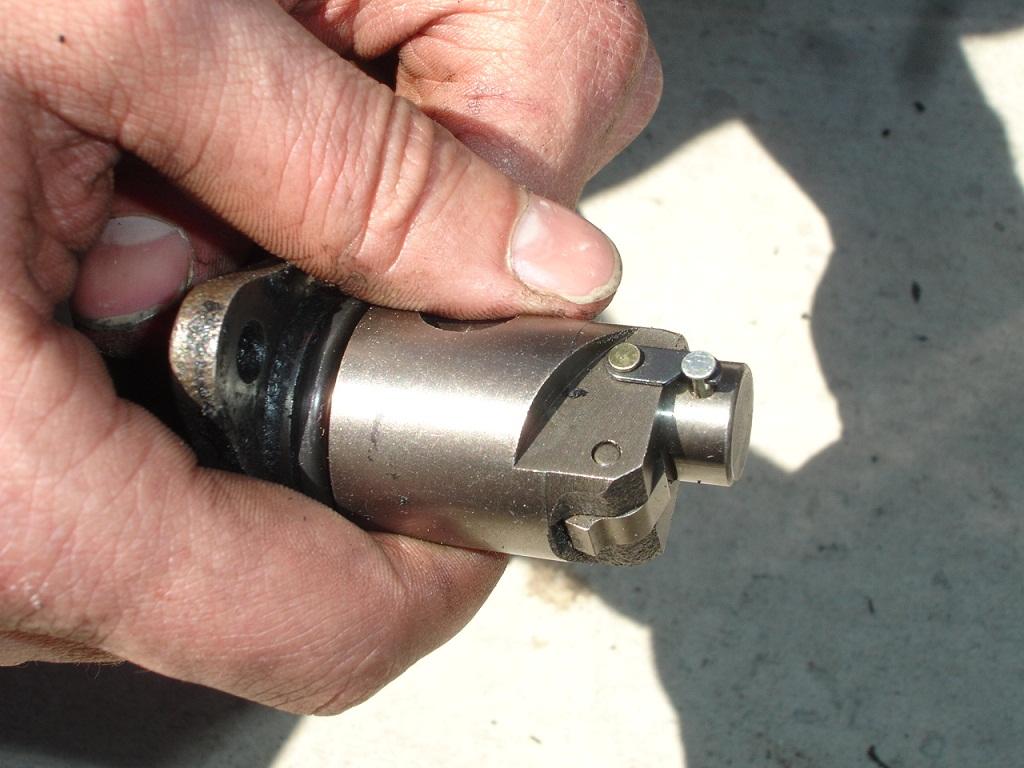
The new bolts

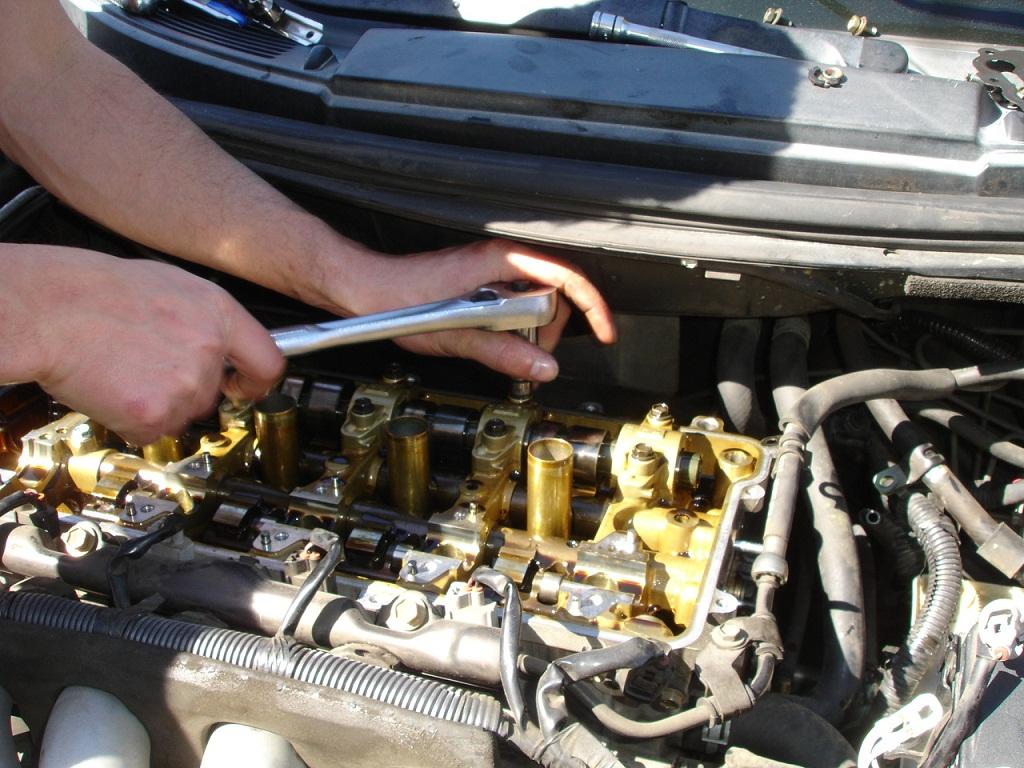
Using my highly calibrated hads, tighten the new bolts good and snug, these newer lift bolts are pretty strong so you can torque them good and not strip them, but be careful, the head can still strip.

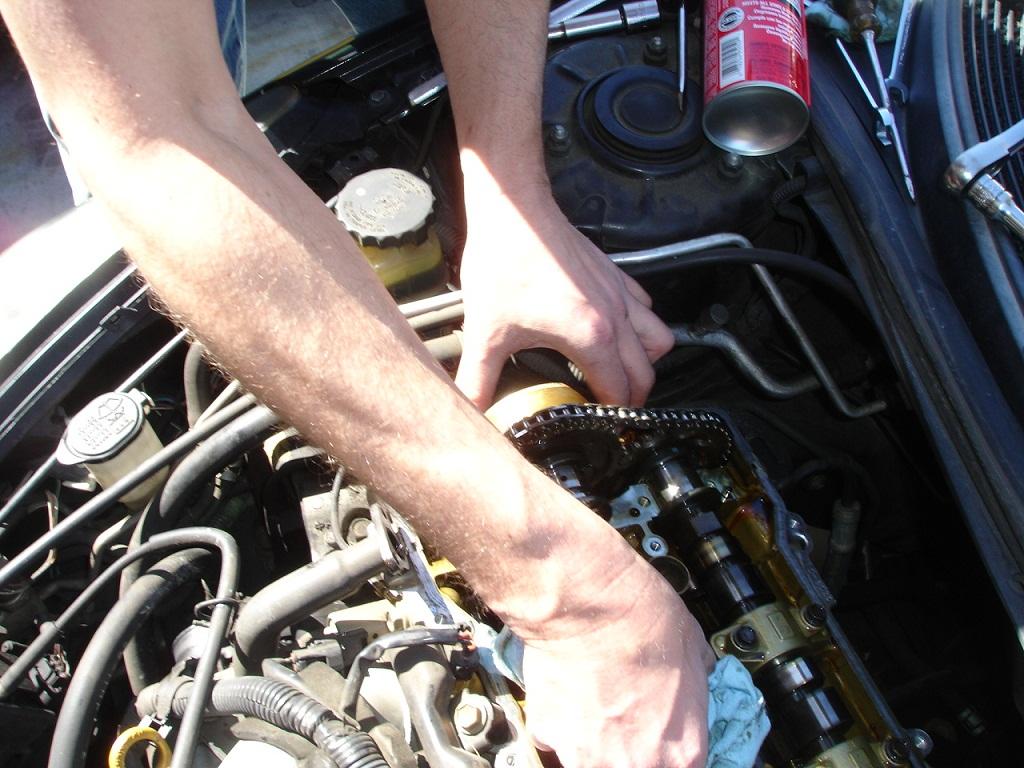
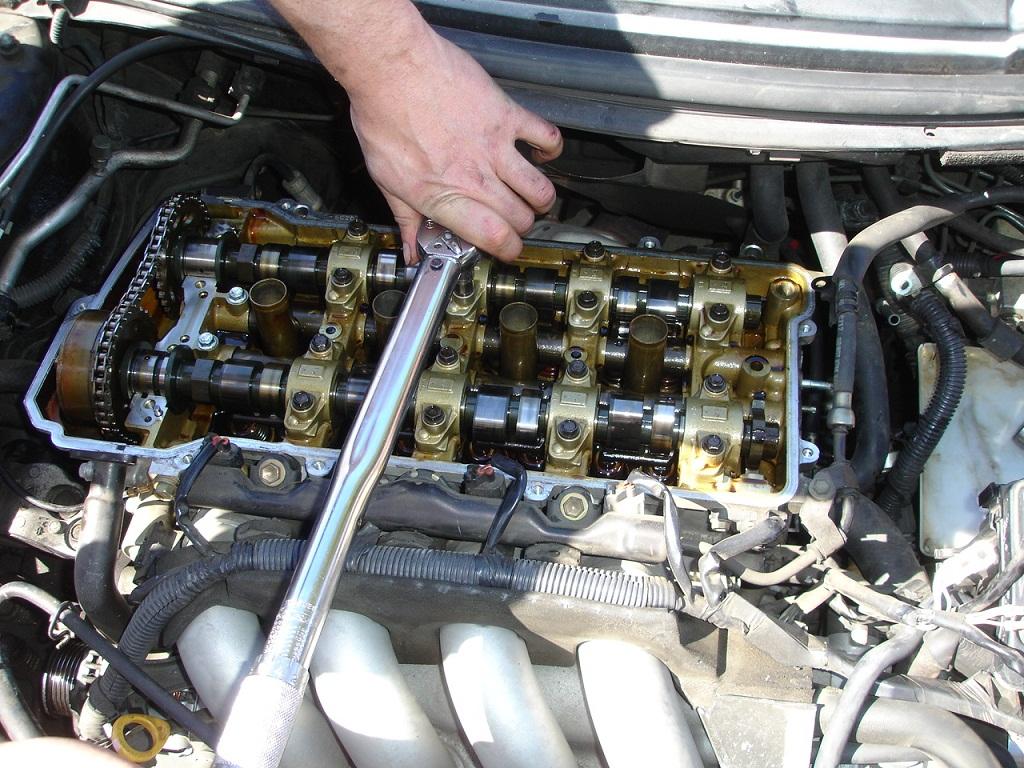
This is the point I realized that I had to remove the exhaust cam. You need to get it out of the way to reset the timing chain tensioner. Ill get on that soon.
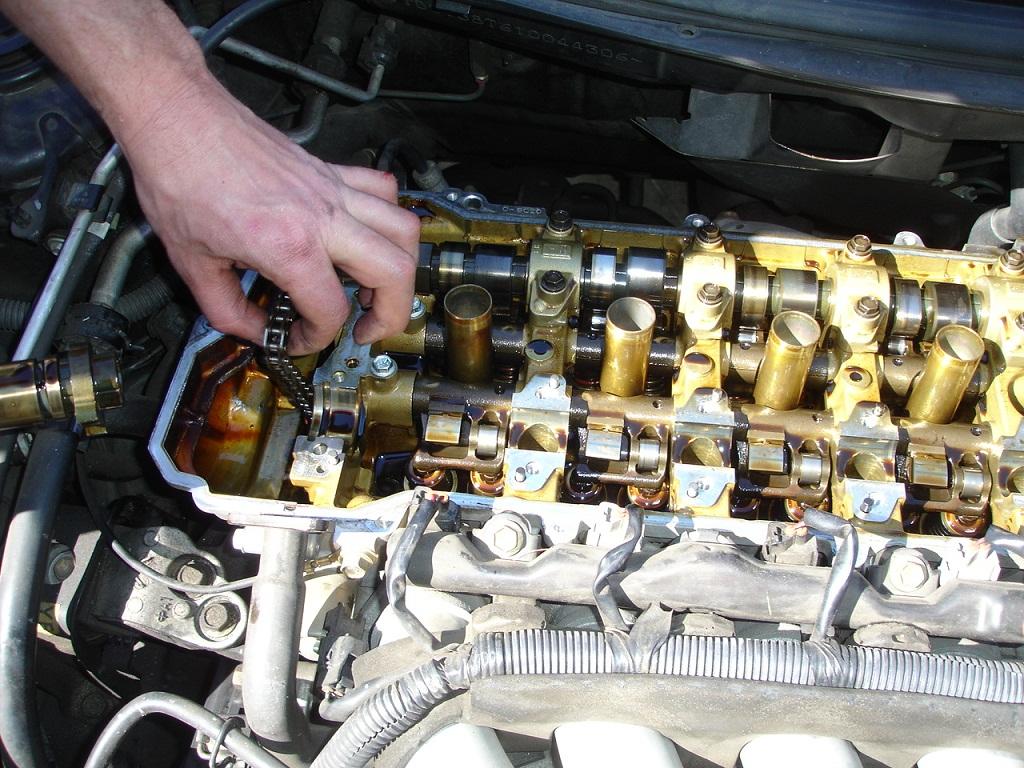
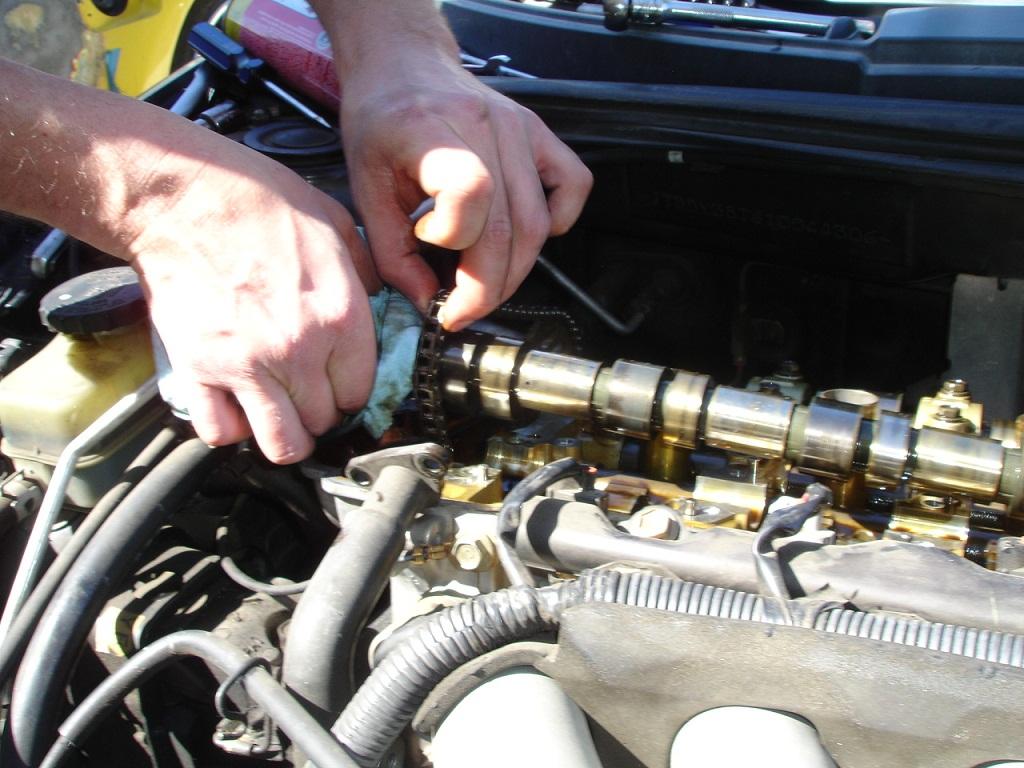
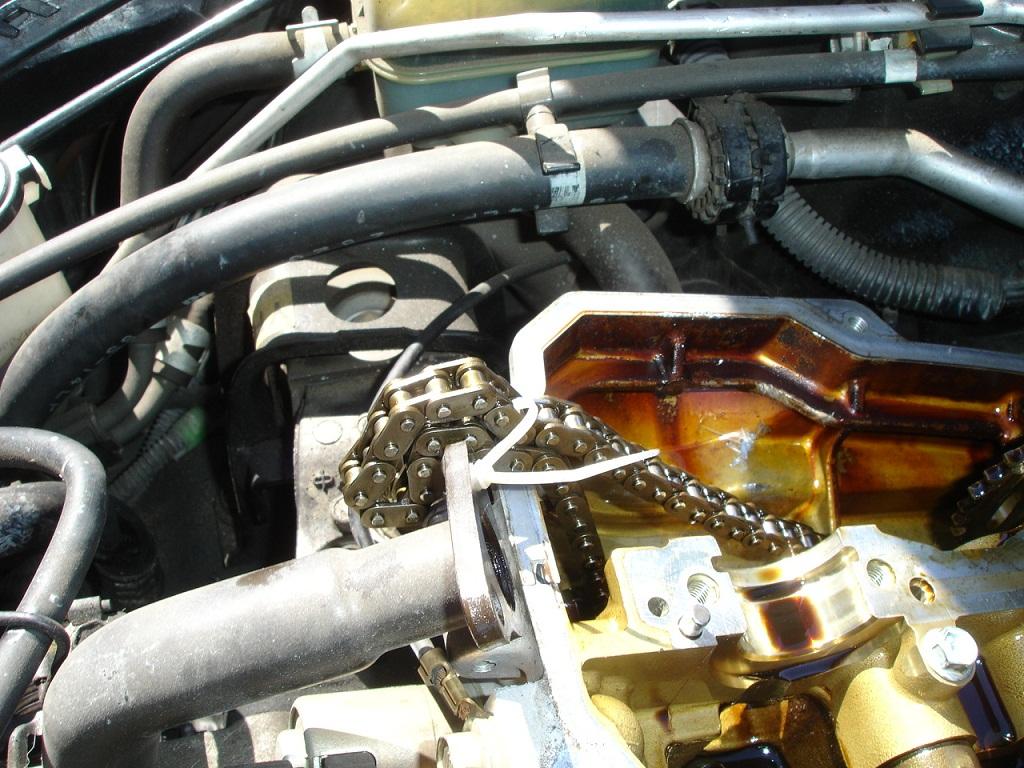
Secure the timing chain with a ziptie.
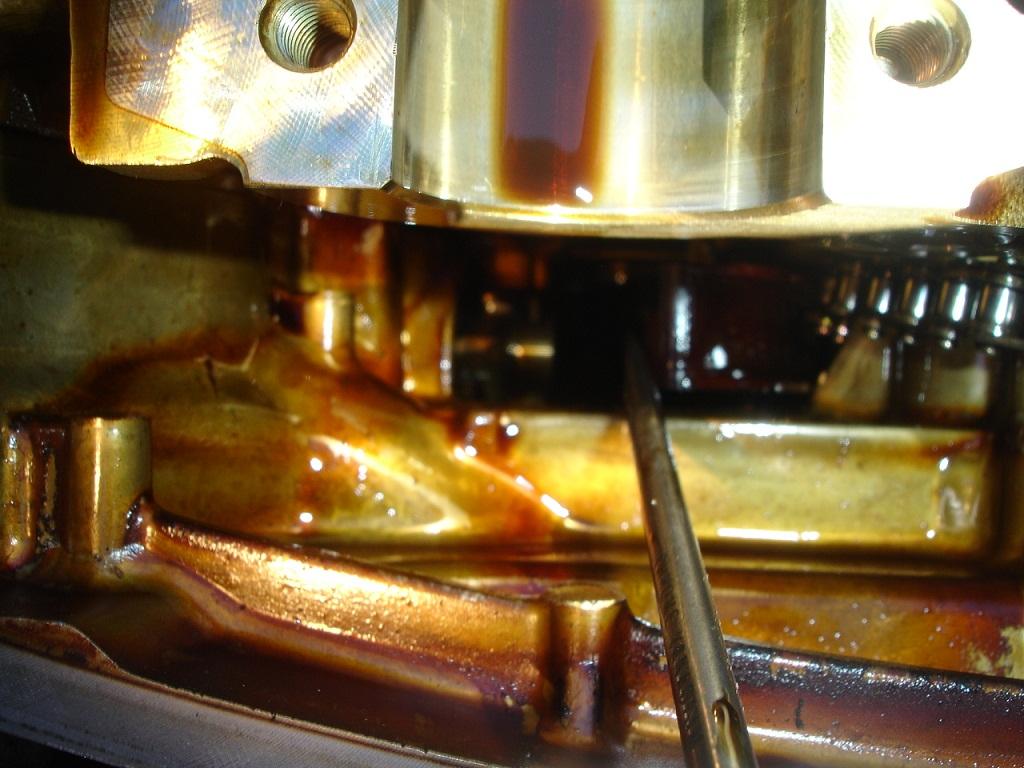
Looking down under the timing chain guide, you can see the chain tensioner. This is a difficult part. What you have to do is unbolt the tensioner behind the engine. Push it out untill it hits the belt tensioner. Rotate the chain tensioner so you can see the catch and teeth. Push the tensioner back into the engine and use a single nut to hold it in place. (sorry i have no pics of this) using a long screwdriver you will push the plunger back in. Use a long skinny flathead screwdriver to push on the catch so the plunger will slide in. Once you get it pushed back in, use the flat screwdriver to move the hook in place.

The is another tensioner, here you can see the plunger and catch that needs to be pushed in.
Here you can see pushing in on the catch will let you push the plunger back in
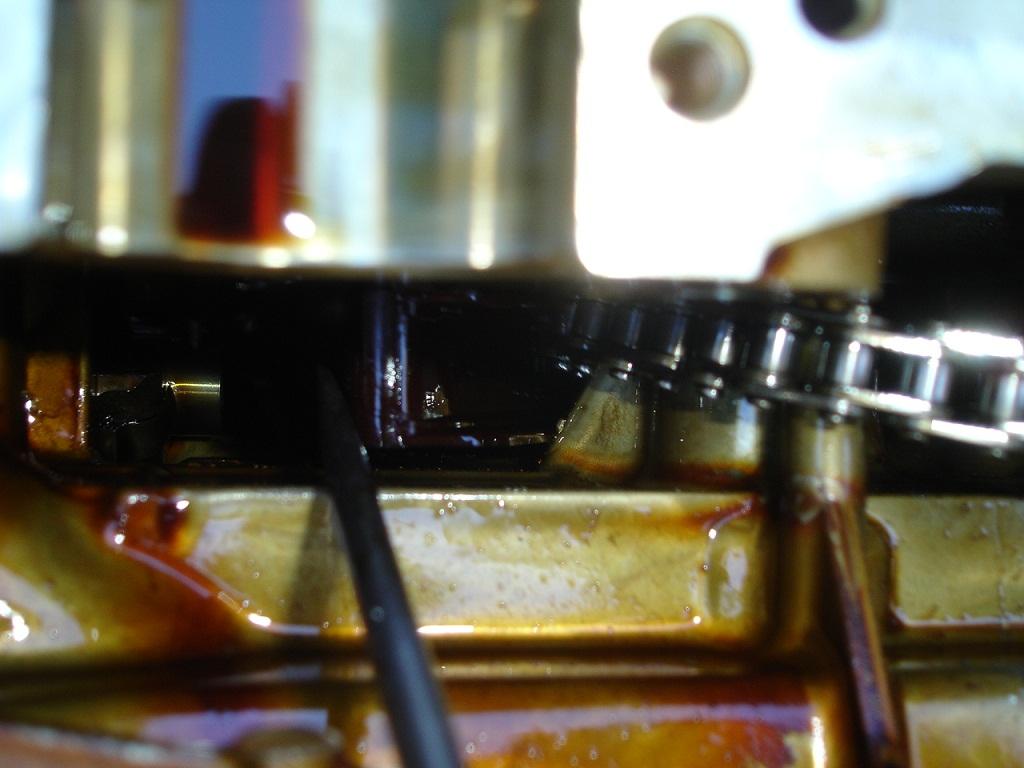
Hook latched in, This is what you want to acomplish. Once you get the plunger reset, you have to remove the nut holding the tensioner in place and carefully push it back out of the engine, careful not to make the hook slip or you will have to do it all over again
Note: If you have a 6 sided 17mm wrench you can loosten the belt tensioner, and the 12mm nut on the top of the tensioner and slide it out of the way. This way you can remove the chain tensioner and to it like in the above pics.
Once you push the tensioner back out, re-install the cams and make sure you timing marks are lined up


Start installing the cam caps. they are labeled I2 I3 I4 and E2 E3 E4 etc. with arrows pointing to the front of the engine. make sure you install them in the right order
Use some assembly lube if you want

Tighten the cam caps just hand tight starting from the middle out
Torque the cam caps from the center out to 15lbs

Once the cams are tight, push the chain tensioner back in and tighten it back down. put the car in 6th gear and let off the parking brake. rock the car untill you hear the chain tensioner pop out and the chain gets tight.
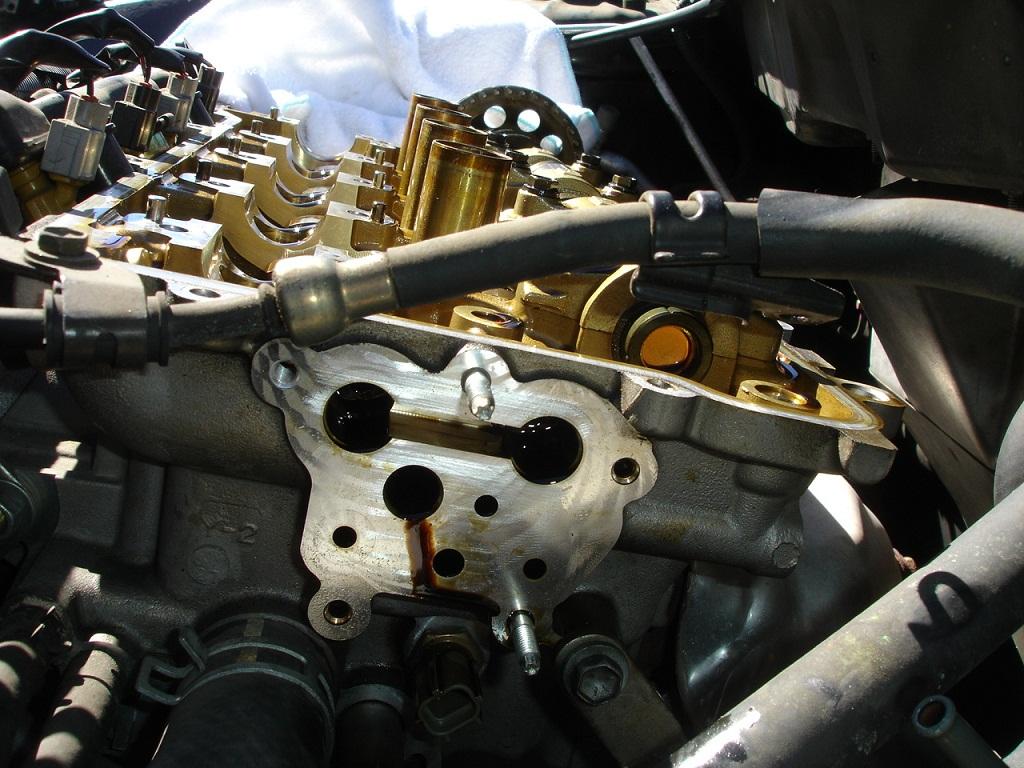
Install the lift actuator , gasket first and the filter
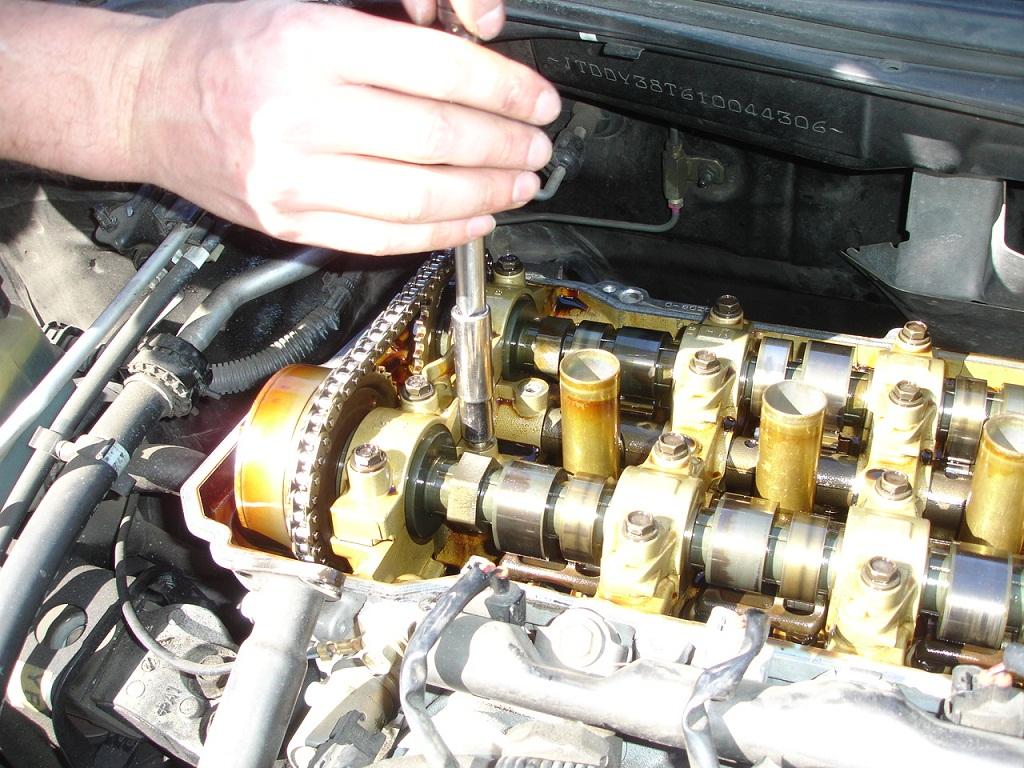
Install valve cover, the way I do it is first get the breather hard line studs started, then set the valve cover down. Attach the ECU ground and sensors that you unplugged
Tighten valve cover down with the (9) 10mm bolts
Attach the breather hoses

Reach behind engine and plug in the power steering sensor
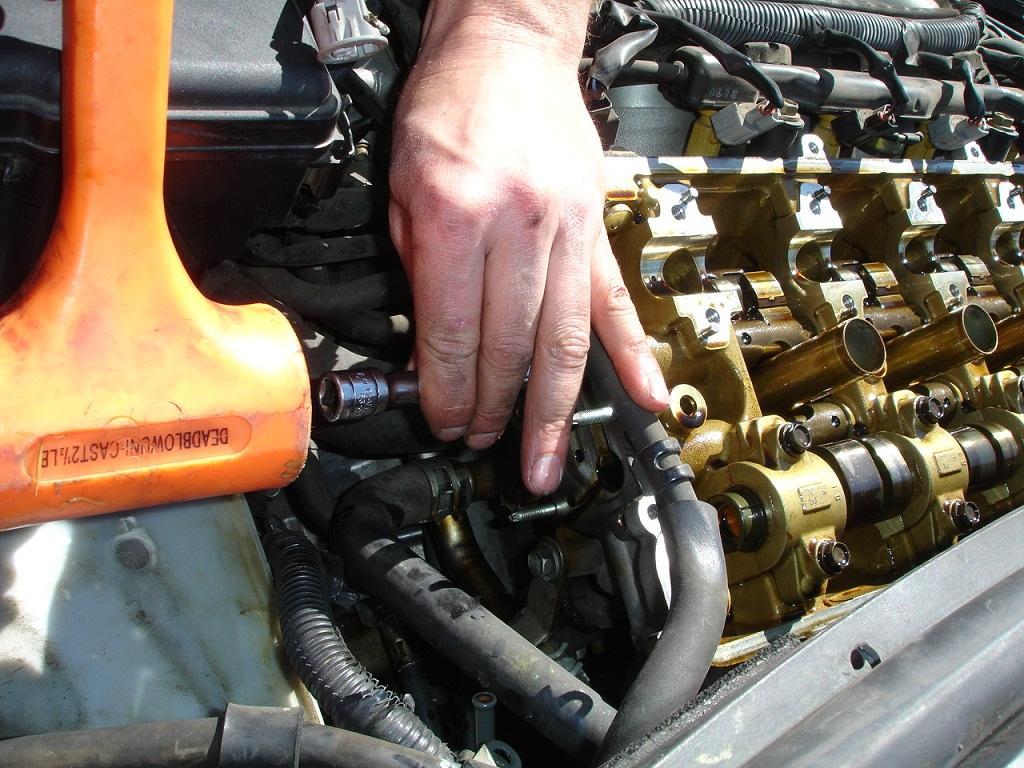
Install the coils and tighten them down
Finish putting plastics back on and re-install battery.