You must be logged in to rate content!
9 minute(s) of a 731 minute read
9-16-2020
I think it's just more plastic hiding the actual workings; but my newest car is currently a 2006 so I wouldn't be a good judge.  I spent 45 minutes with 2000 grit sandpaper last night. I made decent progress on the opposite mating surface. I had already touched the surface up very slightly prior to this, but this is a decent before/after. It needs a little more work, but it's almost gasket ready.
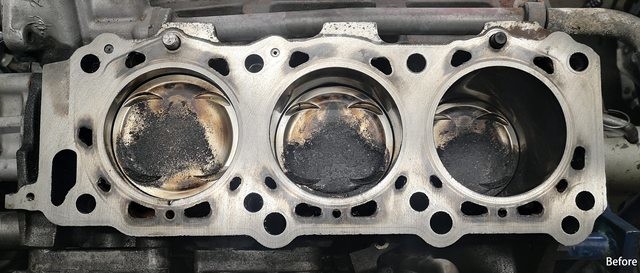
Before
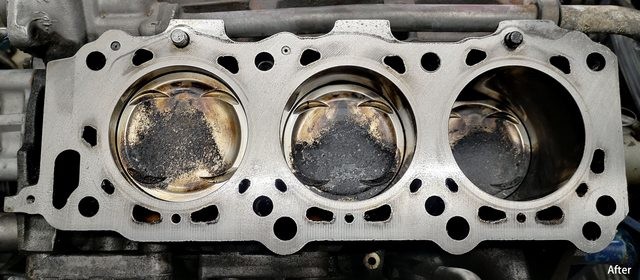 After
After
I need to do just a little more cosmetic work as well as find a safe way to degrease the block, and then I'm just waiting for parts.
11-16-2020
No, I don't see an upside to doing that. Like you said, increased risk for contamination. Since I wasn't able to clean out the block oil passages; I'll probably do a 'break in' cycle for 15-20 miles, run some seafoam through it, and then change the oil again. That will likely help with the oil deposits too.
It's been a long few months. I placed my parts order on 9/12. Shopping list included new Cometic headgaskets, magnetic drain plug (why not), energy suspension steering rack bushings (common upgrade, while I'm in there scope creep), exhaust manifold gasket, upper radiator brackets (I've dealt without a hood prop retainer for far too long), intake valve cover fasteners (to replace the pot metal OEM Phillips fasteners), and a replacement passenger side cowl to replace the one that has been missing since I purchased the car.
Placing the parts order was easy; getting my order proved to be very difficult. I understand that there is no 'business as usual' right now; but I had to wait 3 weeks for an update on my order. I eventually got them to ship everything but the headgaskets which allowed me to do a small amount of work but it took 6 more followups and a negative review on google to finally get an update on my headgasket order, a promised ship date, a missed promise ship date, and they finally showed up this past Friday. Uuuuuuuuugh. I managed to maintain some momentum through September while I eagerly awaited my parts, but as it became clear that I had no idea what was going on, I eventually ran out of important tasks and the desire to make incremental progress.
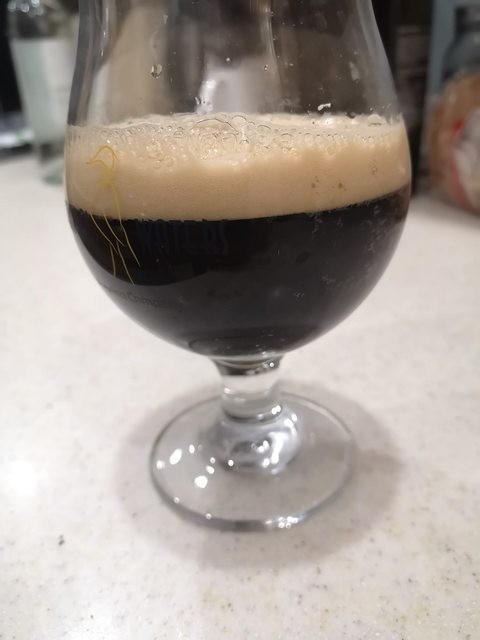
Yum
Most importantly, I cracked my milk chocolate peanut butter stout homebrew. It came out about how I would expect. I was nervous about trying something so drastically different, but I'm a peanut butter nutjob and a huge fan of stouts so naturally it made sense to have 5 gallons on tap. The peanut butter aroma is powerful, and the flavor comes through pretty nicely, but overall its just a tad too sweet. I think I'm going to try a peanut butter porter next fall to bring the sweetness down a few notches. I still consider it a big success, as this is the first brew I've done that wasn't directly following a kit recipe. T minus 40 days until I bottle my Goose Island Bourbon County Stout clone!
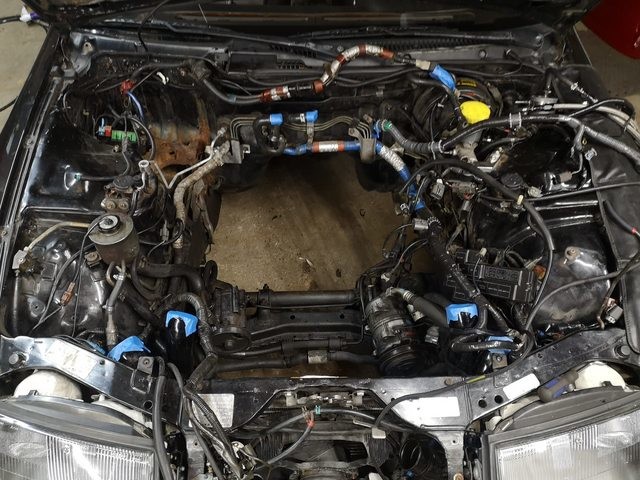
Before engine bay refresh. (minus blue harness tape)
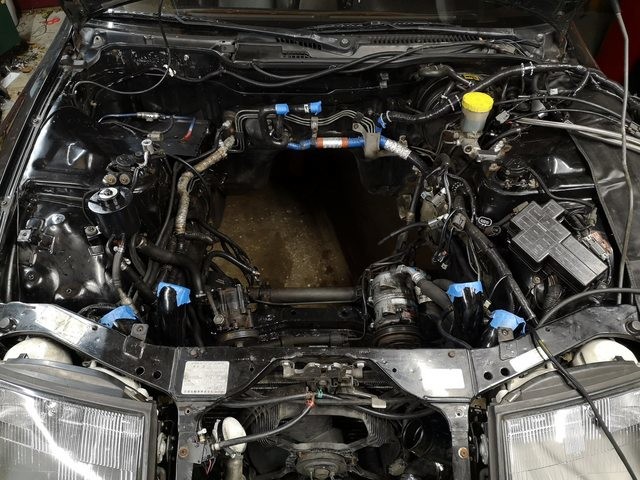
After. Tidy.
I finished up the engine bay by installing the power steering reservoir and pump, battery tray, and doing a wire/hose tuck as much as one can be done. I ran the transmission harness and wastegate vacuum lines just above the frame rail which should reduce a significant amount of clutter. You can just barely see it in the picture above, and more clearly in the picture below. When I first built the car I reused whatever hose clamps were on the car combined with whatever I had lying around. This summer I purchased an assortment of Breeze liner clamps, so I used what I had left to replace the hose clamps on the oil cooler lines, recirc valves, and power steering hoses. I replaced the steering rack bushings, but I probably didn't need to. The 30 year old bushings I removed were still incredibly soft and didn't exhibit any play. I'm not sure I'll even notice a difference, but what's done is done.
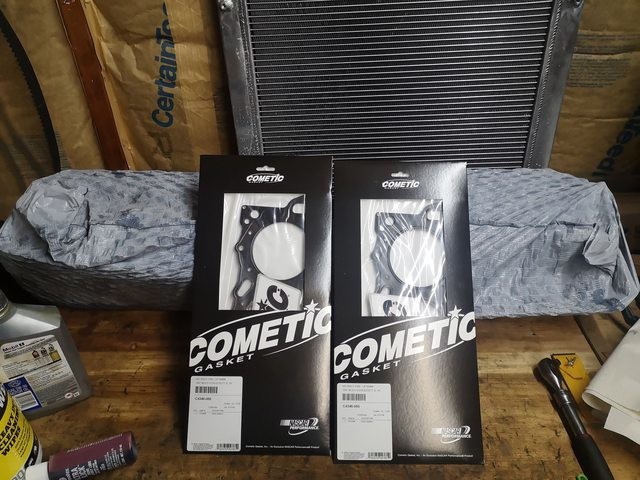
Time to get to work
We had a heatwave last weekend, so we spent most of our free time taking care of the yard and doing projects around the house. The headgaskets sat on my work bench taunting me every time I walked past. I had a few opportunities, but I knew I would need a solid 90 minutes free to get started, as I needed to clean and degrease the block surface/head mating surfaces, install the head studs/head, and torque everything in one go. I didn't want the block flash rusting on me, and I didn't want the head sitting on the gaskets without being fully installed. The kid has been having a rough week with 4 teeth coming in all at once, so it wasn't until last night that she was asleep before 8. I jumped on the opportunity and headed straight out to the garage.
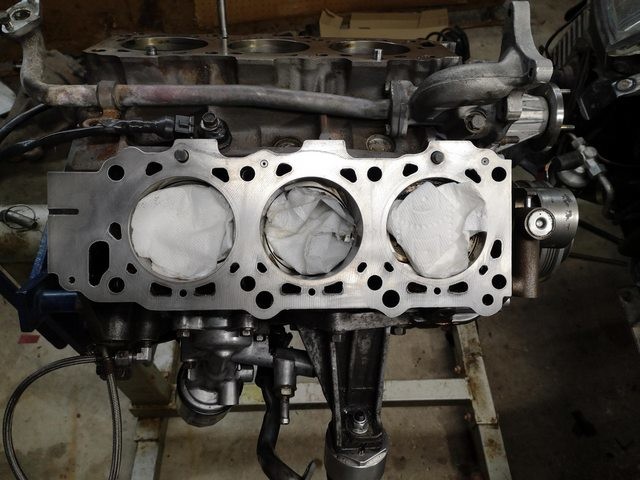
Block degreased
I gave the block surface a quick wipe down with mineral spirits, did a pass with 3000 grit to remove any flash rust that the oil didn't prevent, did another wipe with mineral spirits, hit it with carb cleaner, and wiped that off while it was still wet. This left me with what seemed to be a oil free, residue free, super clean surface.
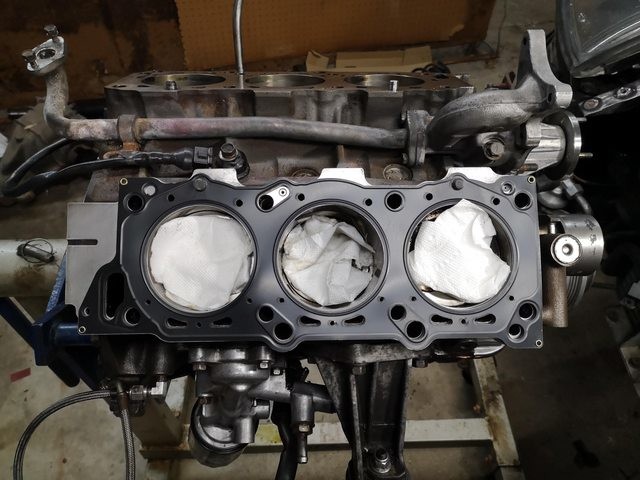
Gasket installed
I think the last time I did this, the shop installed the ARP studs for me, so I installed the heads over the studs; but that causes interference issues with the thermostat housing which must be installed first. I opted to get the head on and then install the studs this time which went pretty well. I coated the block threads with ARP Ultra-Torque moly lube, installed them finger tight, and then doubled up OEM washers first, followed by ARP washers, followed by the ARP nuts, all also covered in the moly lube. There is debate among the community regarding whether or not ARP washers are sufficient as their diameter is about .25" smaller than the OEM washers. I did see some small indention of my heads from the smaller washers in some locations, so I elected to use the OEM washers below the ARP washers to further distribute the load.
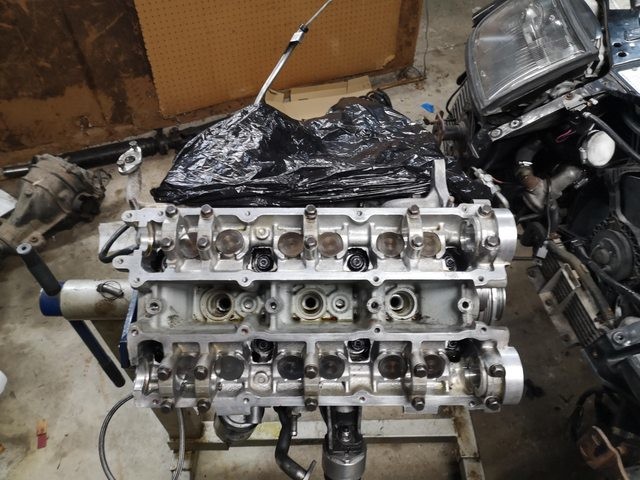
One done
I had forgotten about the install, torque, loosen, and torque again procedure, so the whole process took a little longer than expected; but I wrapped up at about 10 last night. I should be able to get the drivers side head on tomorrow at some point. From then on, it's really a series of 10-15 minute tasks I can knock out during any spare time I have to drive this project to completion. I'm excited to finally be making progress again and I would be very happy to have this test drove before the snow falls...so I can park it for the winter.
I have mild concern about whether or not my cam journal polishing will work, but I don't really have any other options at the moment. If I can get a few decent drives in this year yet, I plan on popping the valve covers off to check out the cam and carrier surfaces. I AM optimistic about my compression numbers. I'm still convinced that the ordeal I went through when the motor was originally built where I installed/removed the heads a few times resulted in my slightly less than new motor compression numbers (150 observed vs180 spec). I think attention to detail and being successful on the first go here will result in better numbers....I hope.
I'm not sure if I've had that. Is there another motor oil themed beer? I know I've had one, maybe it was in a can and looked different. My wife an I have been on a coconut and porter and coconut porter kick lately; so your recommendation would fit in nicely.
It's been a few years now, but I remember being a HUGE fan of Alesmith's Speedway Stout as long as we are recommending automotive themed alcohol. I'm 75% sure on my recommendation.
Not much to share. Working on reassembly. Timing belt and covers installed last night. I can pretty much do the timing belt in my sleep now. Dang it looks good. I wish I would have painted my lower timing cover but I left it due to the fact you can't see it when installed. But I can see it. I'll know.
Oh well. It's too cold to correct that mistake now.
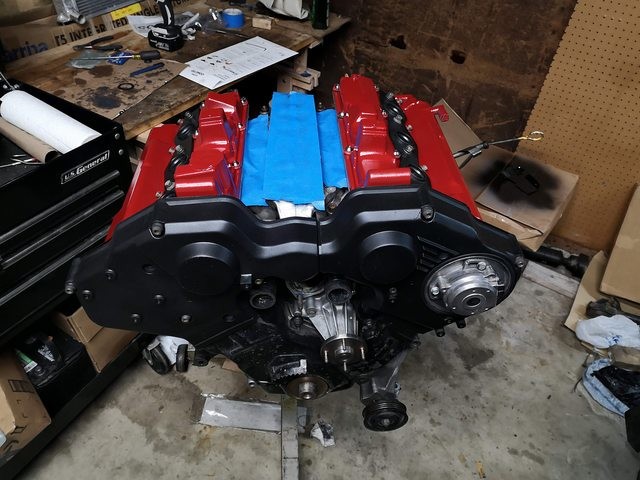
Just a few hours of work away from re-install.