You must be logged in to rate content!
10 minute(s) of a 731 minute read
4-23-2019
PM incoming. It's dyno week!
It's been a somewhat busy 6 weeks up until this point. Between helping repair friends of friends cars, to helping friends purchase their own supercharged Minis (there are 3 of us now), to helping fix the 'new' minis; I've somehow found time to get the Z maintenance done and stress tested.
For whatever reason my first project was to relocate the PTU. The engine bay is cramped enough as it is; and there were a few chilly nights with nothing better to do in the garage and I was looking for an easy project. Normally the PTU is located here:
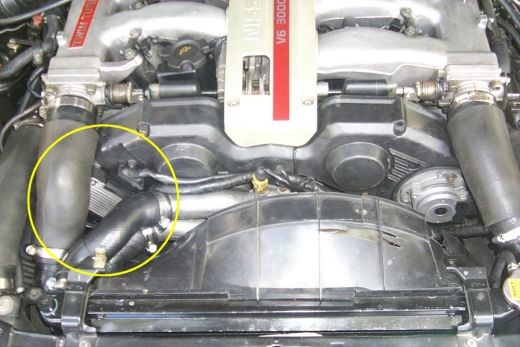
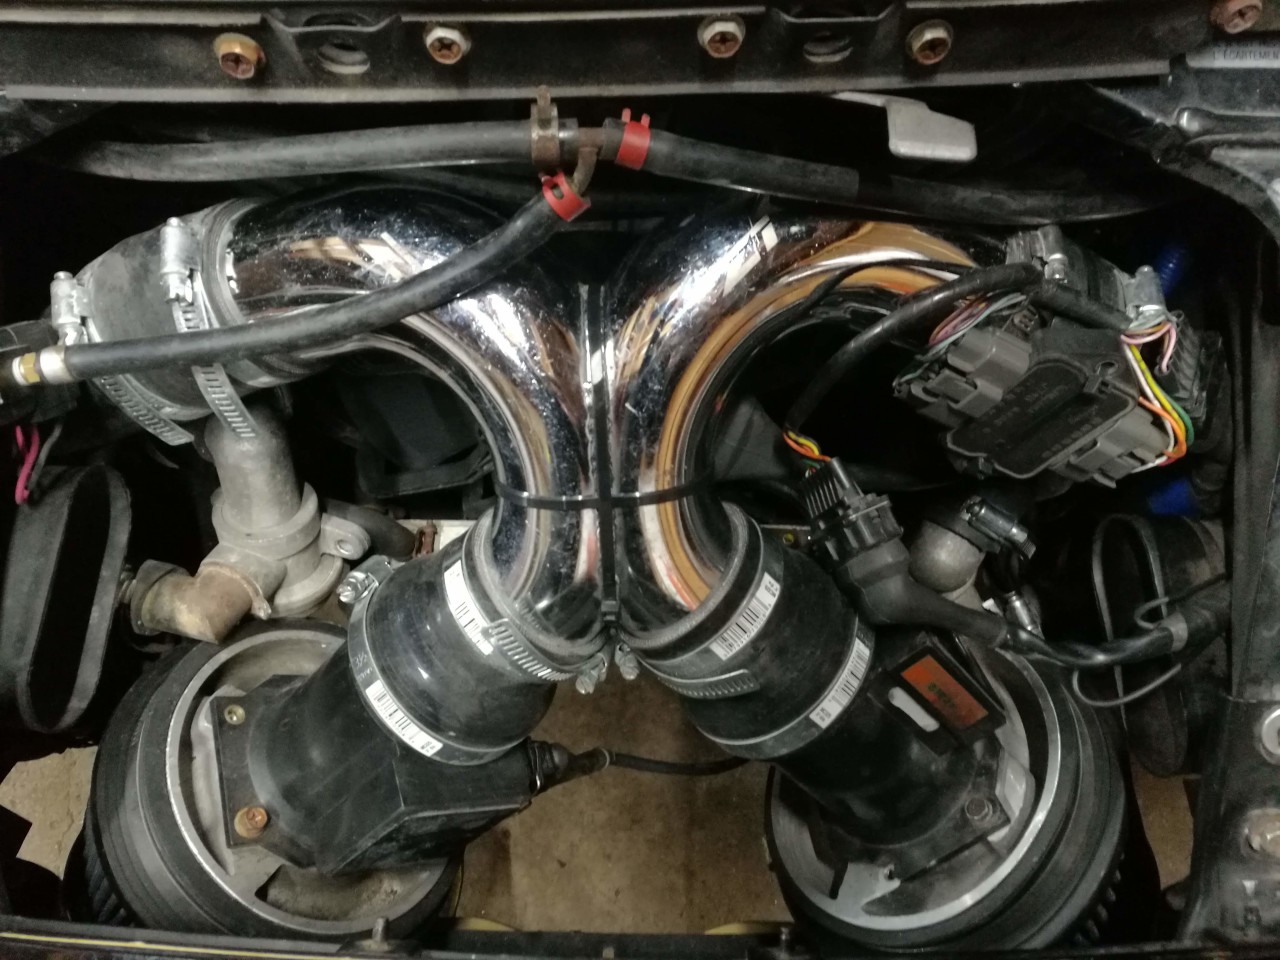
Mine had been 'relocated' ie stuffed in a corner of the passenger side of the engine bay for the past half dozen years or so because it was the easy thing to do. Each year I try and correct some of my past mistakes, and this is one of those mistakes I chose to address. For the most part this was pretty easy. The PTU bundle is paired with the coolant temp sensor wires, but those needed to stay in the same location. I stripped back the sheathing a few feet, to the point where I had enough freedom to run the PTU between the radiator and support up into the nose panel. I had to extend the coolant temp sensor wires and I built a new loom for those. I ended up mounting the PTU to the underside of the nose panel. Eventually I might find an even stealthier location; but this is a common relocate position that is plenty out of the way.
I can't find a picture of my previous location unfortunately, but here is where it sits now:
4-24-2019
I've never used an arduino before so this was naturally the solution I opted for. I bought an arduino nano and played around with the code and became unreasonably excited when I was able to make a built in LED strobe at increasing and decreasing frequencies.
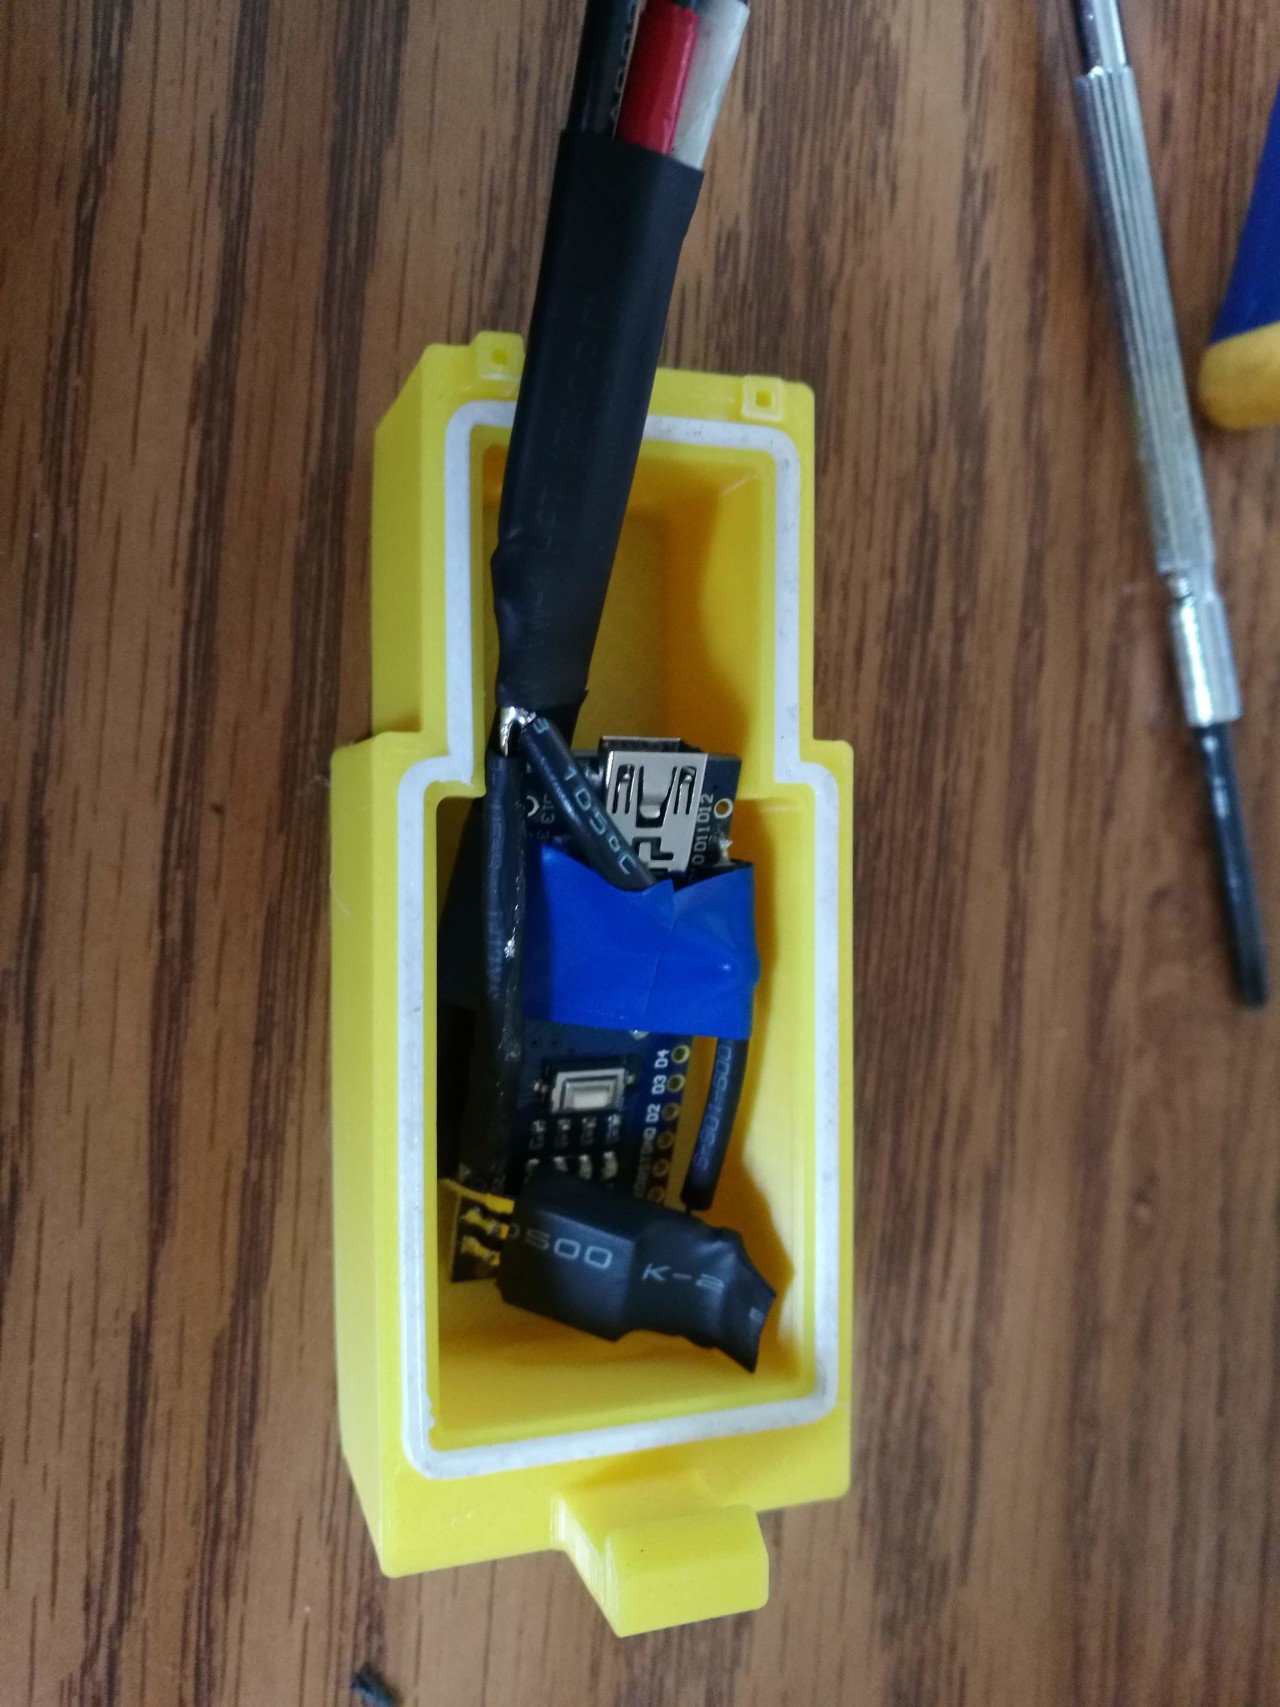
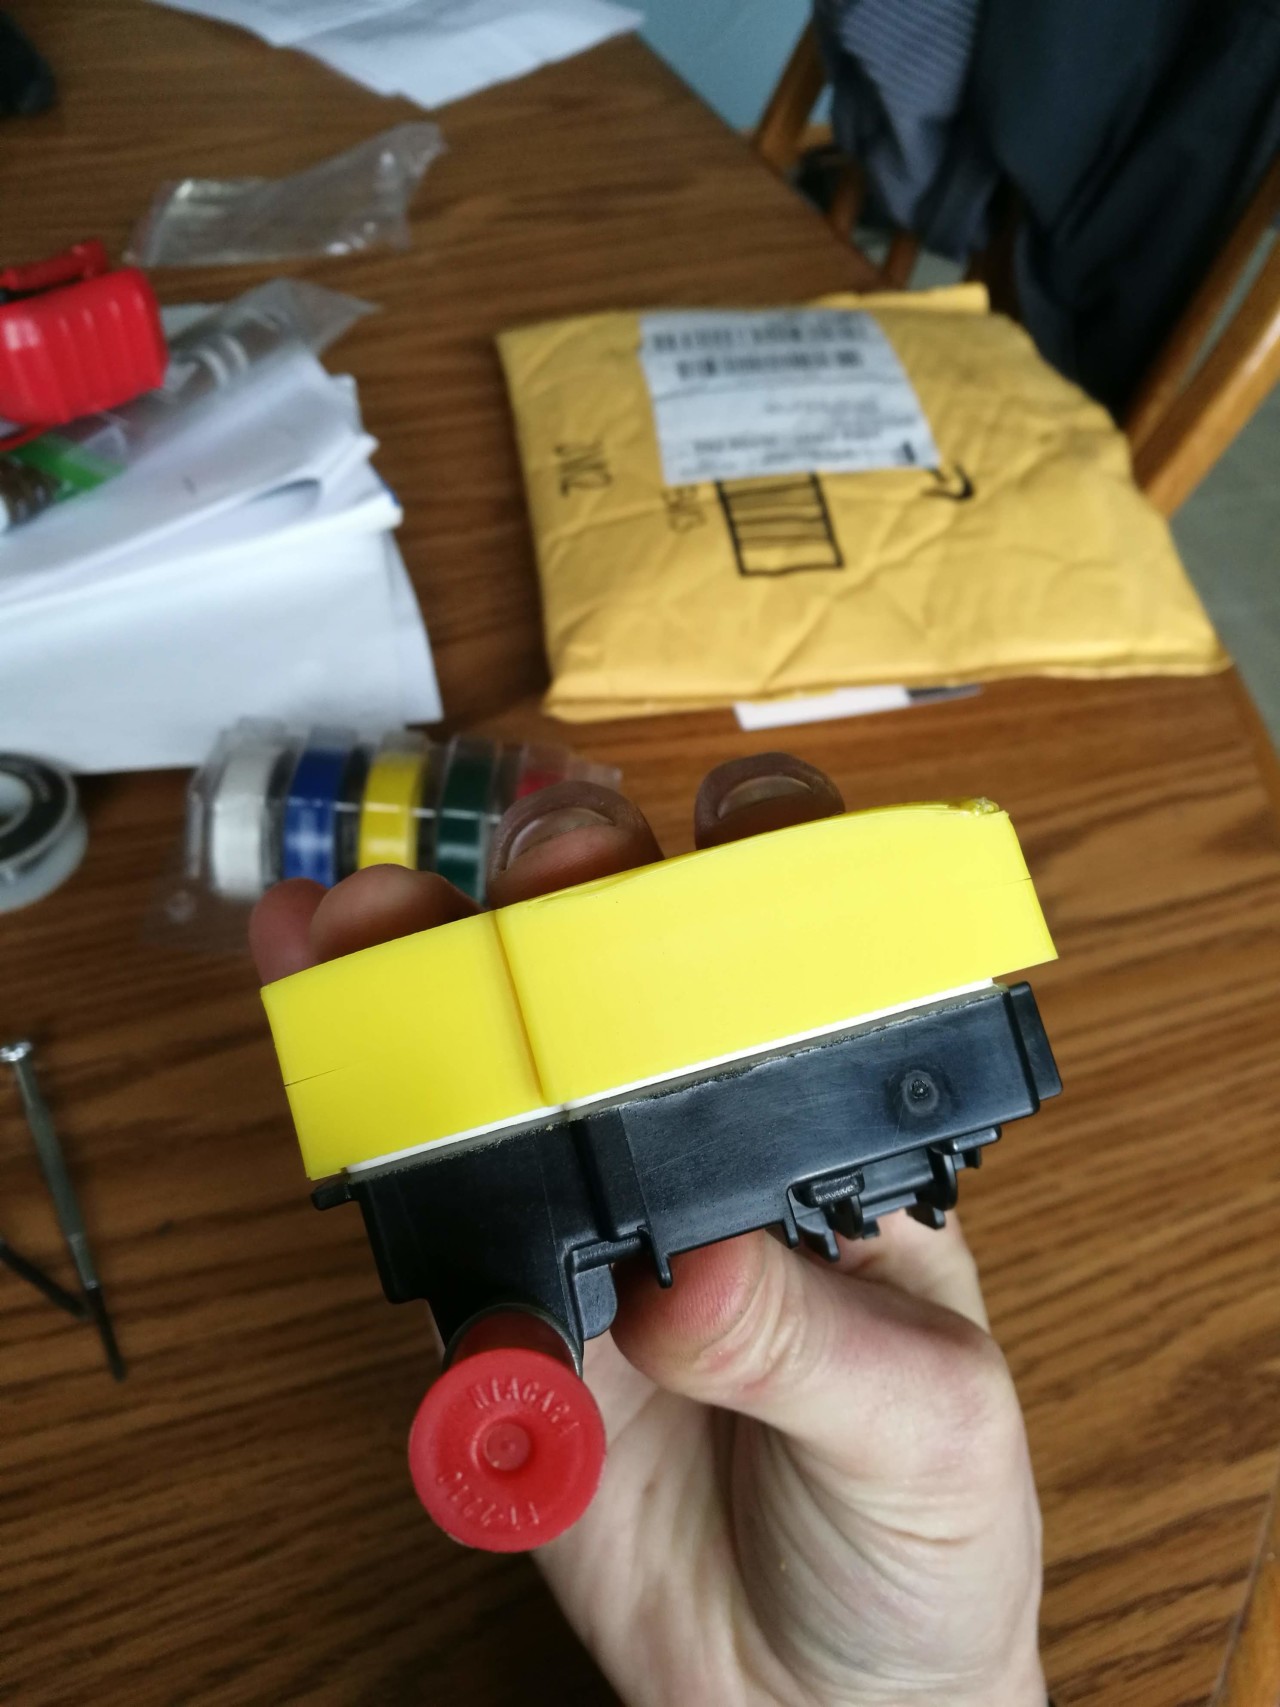
I won't go into detail on the arduino setup itself, but using the nano kept the circuitry VERY compact, and I was able to design and have a friend 3D print a housing that would mate perfectly to the ethanol sensor itself. I had to get creative with the location of the factory boost sensor and fuel pump relay in order to get everything to fit; but in the end I was successful.
Arduino test fit in it's new home (yes, that is a 3D printed gasket also. NEAT!):
Test fitting enclosure to sensor (final print was black, this was the prototype prototype):
This was my ****storm of a setup before: note the absolutely terrible placement of....everything. Especially the braided fuel lines.
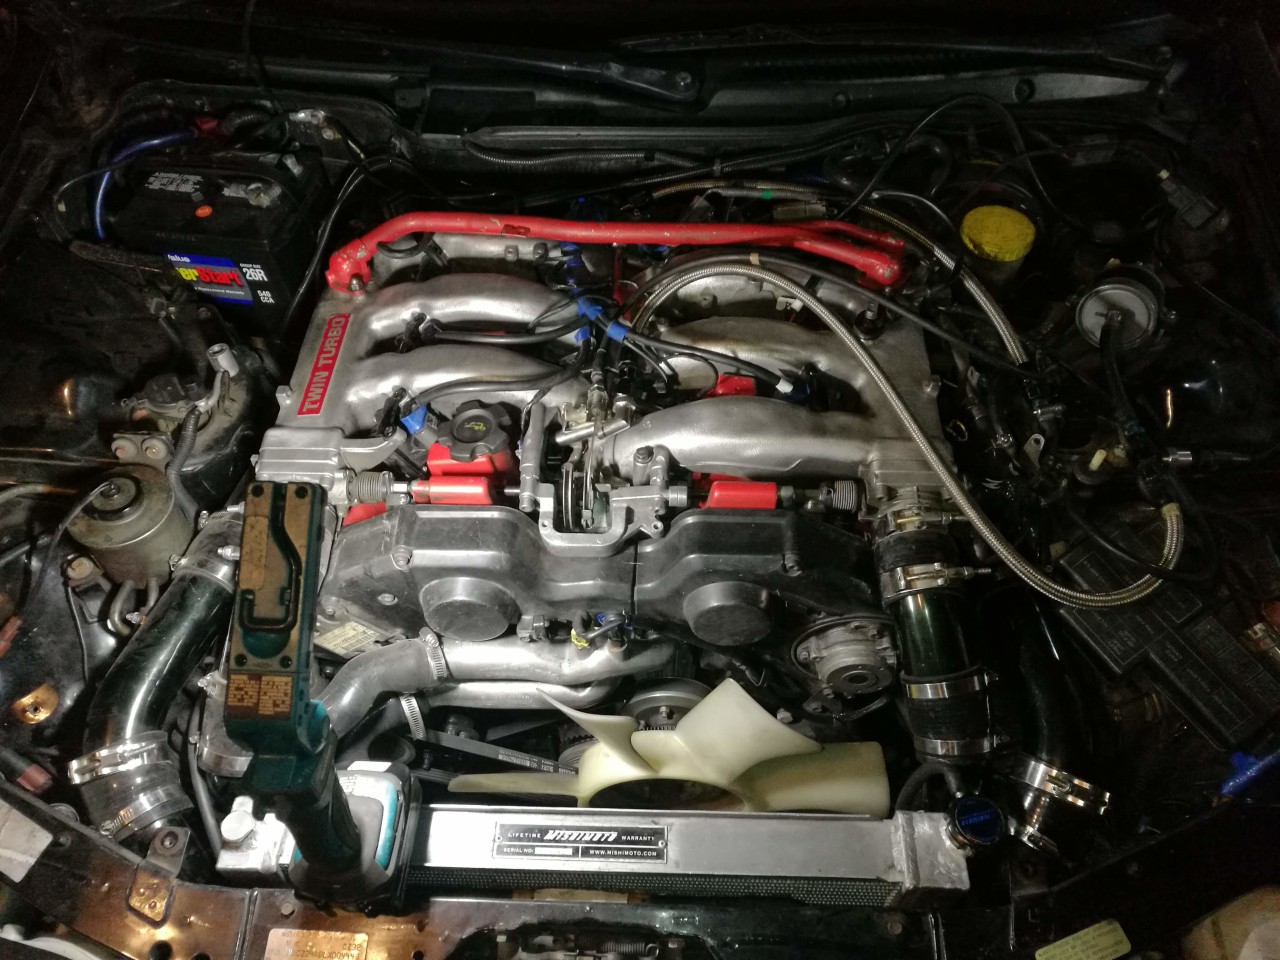
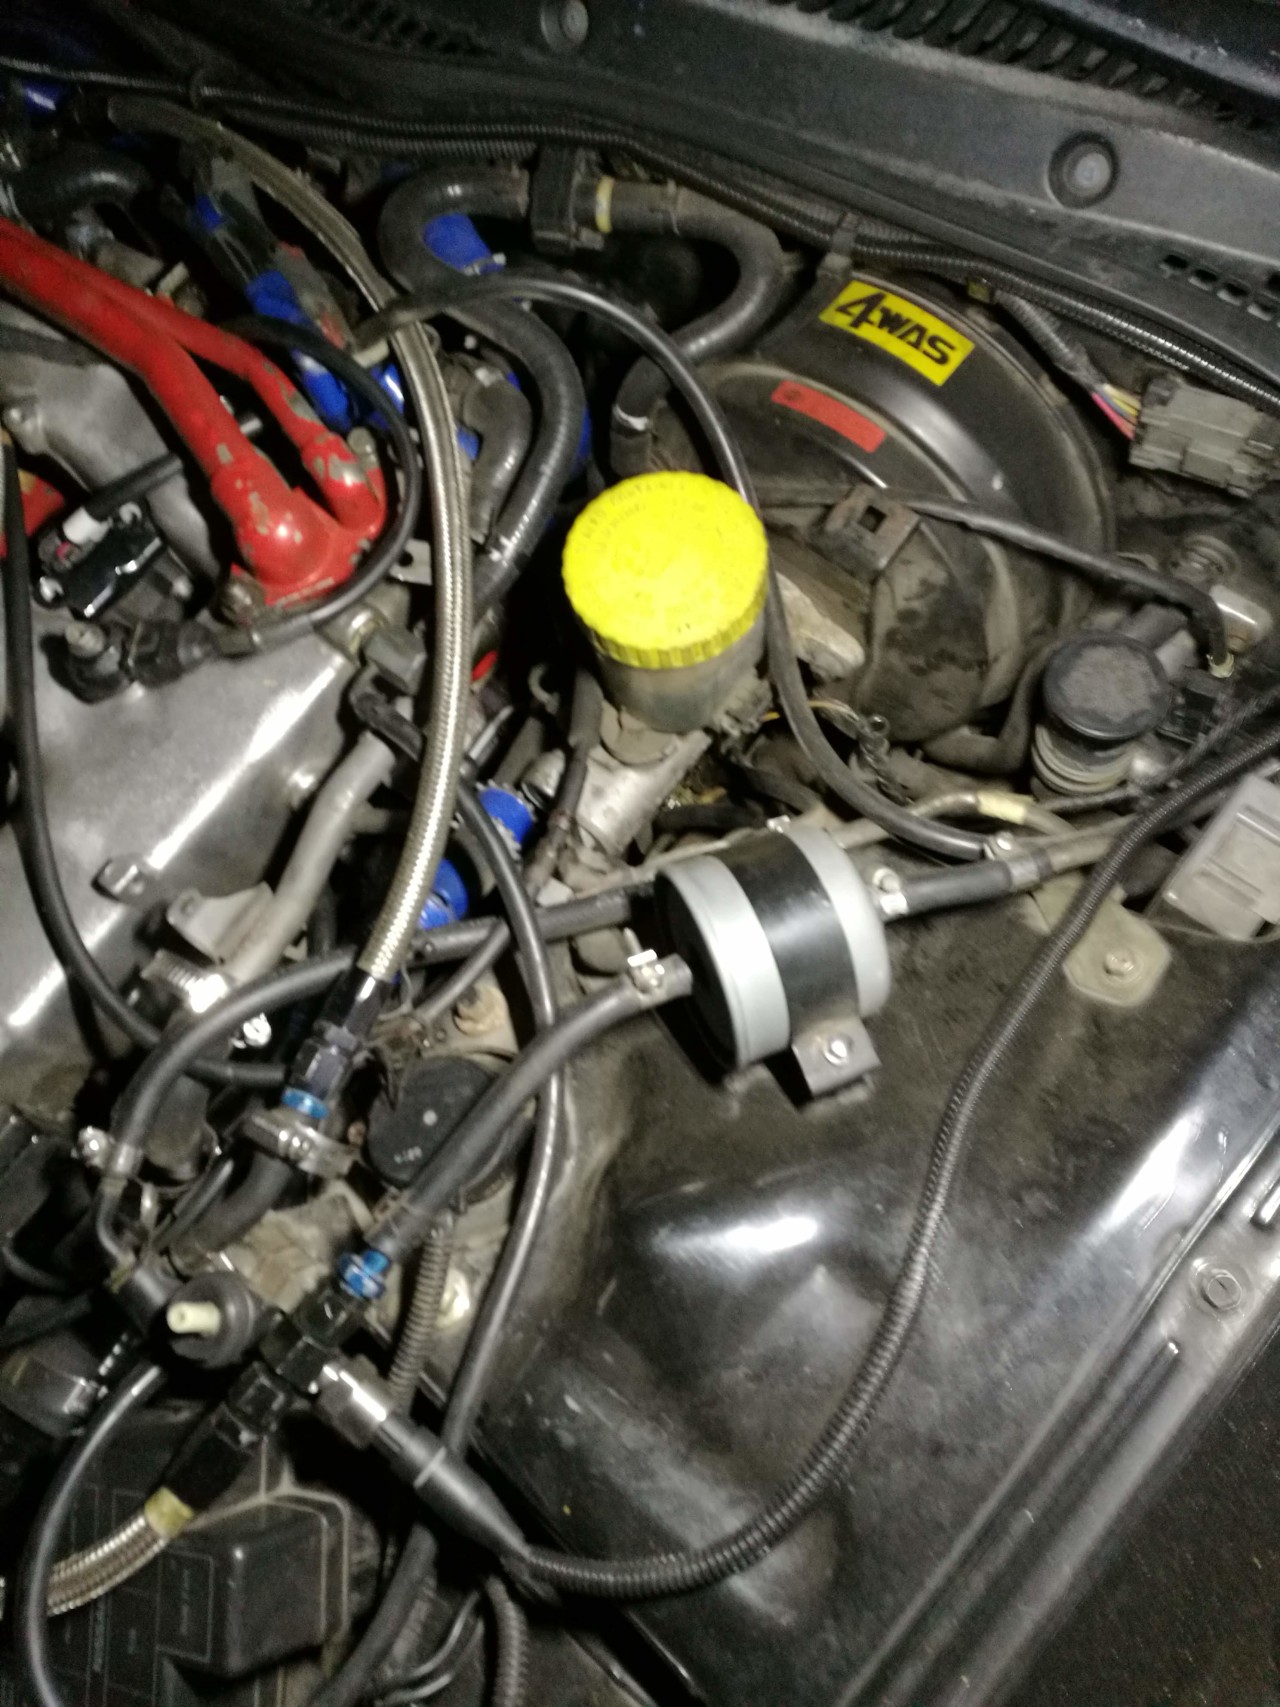
This is the final result. Photos don't really make it look all that much better, but it has made a tremendous difference:
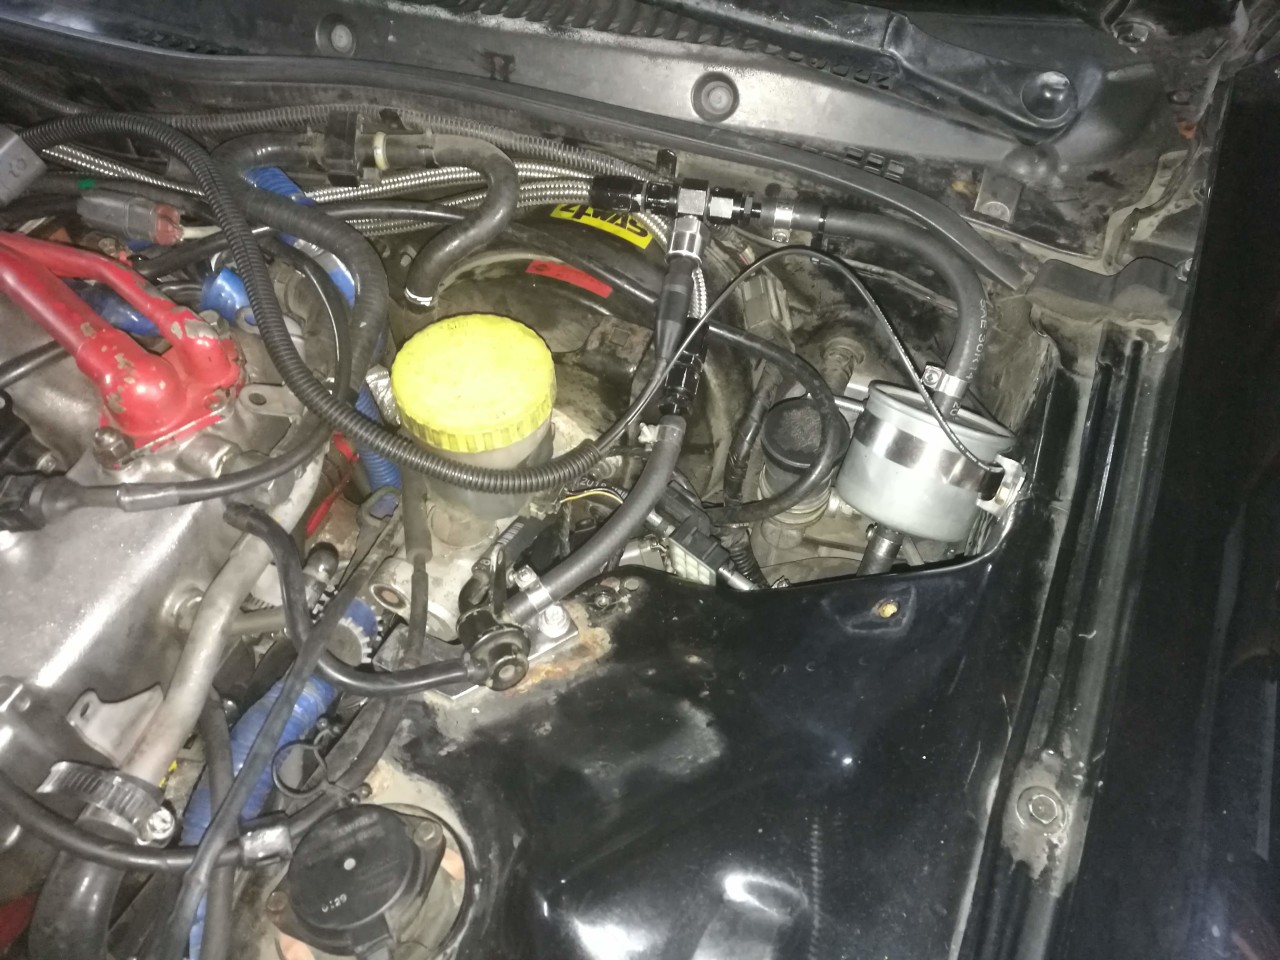
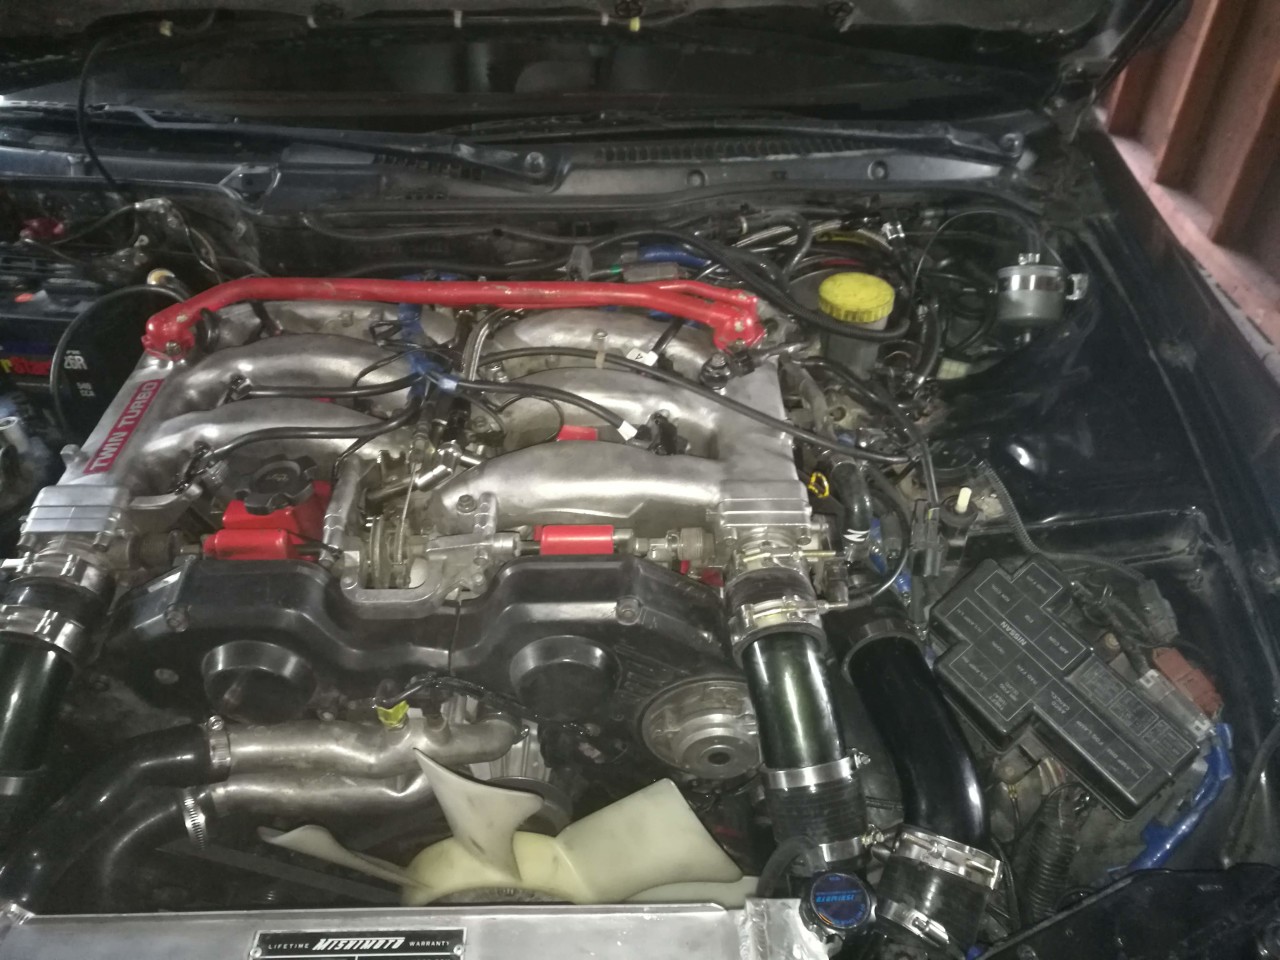
Ultimately the plan was to run the 0-5V output into my data aquisition cable, so when I change fuels I would boot up the laptop and verify the ethanol content of my tank before going crazy with boost. Unfortunately the arduino nano only has PWM outputs (pulse width modulation) so instead of outputting a constant voltage, it pulses the on/off time of a 5v signal to simulate other voltages. IE: 50% on 50% off at a 480some hertz frequency to simluate 2.5V. Unfortunately Nistune doesn't like that; so I'm currently stuck using a multimeter to check voltage and do math to determine ethanol content. Long term I'll get a teeny tiny OLED screen mounted remotely that will output an ethanol content reading. Short term, this will do.
I ended up dealing with some scope creep thanks to friends tackling similar projects. I'm in a bit of a HP war with a friend and his C5 Z06. He mentioned engine mounts were on his to-do list for the spring. One thing led to another and I figured I should address mine since I was already doing some maintenance in the area. I also found a great deal on subframe collars so I elected to install those at the same time. It made sense to me to replace these items as they've all got 160k miles on them, and they'll be a nice complement to the trans mount I installed last spring.
The rear subframe spacers/collars essentially pre-load the existing rubber bushings and are a suitable alternative to replacing the bushings (a nightmare job). Benefits are a more connected feel to the ground and elimination of wheel-hop which these cars are quite prone to. Negatives include increased road noise. It took about 30 minutes to install the subframe spacers and that is that.
The engine mounts took about 5 hours of cursing, prying, lifting, poking, and more cursing. I elected to go with an aftermarket alternative made by BDE Performance. These mounts have an aluminum base and a polyurethane material instead of the factory rubber. I was to frustrated to take any picture, and honestly there's no point or anything to see. Here is a stock photo of what I installed:
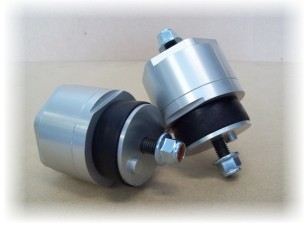
Upon replacing all of the worn out rubber components in my drivetrain, I was now able to feel....everything. The car definitely rides a bit rougher; but that's compared to components with 160k miles on them. The ride is still quite comfortable and the gear grinds I dealt with periodically in summers past have been entirely eliminated. Yay! Wheel hop is no longer an issue either. Unfortunately I discovered a driveline vibration which started to concern me greatly.
The factory driveshaft is a two-piece design, with a center carrier bearing suspended in a rubber isolator. These are known to go bad in almost 100% of these driveshafts, and the two yokes will occasionally have issues, and I'm not sure of the reliability of the rear CV joint that mounts to the diff flange. I spent a few evenings attempting to balance the driveshaft without any luck. I attempted to reclock the driveshaft on the diff flange to reduce vibration and found mild success here, but it didn't get me to the point I was comfortable with. My irrational fear was that the driveshaft would become an issue on the dyno. I don't like throwing money at parts without being 100% sure what the issue is and I couldn't confirm the driveshaft was in fact bad. Given how old my driveshaft is, and that there was a tiny bit of slop in the CV joint; I elected to move to a 1 piece steel driveshaft to take the driveshaft suitability out of the equation. The concern with moving to a 1 piece is it is supposed to increase NVH due to the fact that it is no longer supported in the center. I knew I was taking a chance implementing a 1 piece driveshaft combined with all new mounts, but I was willing to trade a bit of comfort for known reliability. Plus, who doesn't like making somewhat significant changes 4 days before a stress test?
I got the 1 piece installed Monday after a process of measuring runout at each of the 6 possible mounting orientations and installing at the position that resulted in the least runout. I took the Z to work today and was dissapointed at the amount of NVH. It's not intolerable, but its not where I had hoped it to be. Tonight I'll lift it one last time and attempt to balance the driveshaft with some worm gear hose clamps. I leave for Chicago tomorrow night so if I have to deal with some vibration in the short term, so be it.
The good news is that aside from the vibration the car feels great. It feels much more solid internally and better connected to the road. I gave a bunch of hose clamps a few turns while I was underneath and that appears to have addressed 98% of the oil weeping that seems to reappear after every winter. Power is plentiful and the car looks great after a quick wash and VRP session.
The only to-do item that has been as of yet unsuccessful is fixing the AC. The AC belt was uninstalled when I bought the car and until last year I had never messed with it. Last year I attempted to evacuate the system and wasn't able to get it to hold vacuum. While I had everything removed to address motor mounts, I replaced every AC o-ring I could find. Most of those I replaced broke in half or shattered upon removal so I thought I was golden. The good news is the low side maintained -29mmhg for 12 hours, the bad news is I can't get the high side to hold vacuum whatsoever. After this weekend I'll go through that side of the system again and make sure I didn't miss anything. It doesn't matter much at the moment because my tensioner is shot; I'm working on sourcing a replacement. My goal is to have functioning AC before the middle of summer.
It's interesting to see how both I and the Z have evolved over the last 10.5 years. I purchased it in my early twenties before I really knew anything about cars. It was more about getting stuff done than getting stuff done RIGHT. I'm correcting my past sins now, and things like creature comforts become more and more important. I'm not embarrassed by anything I've done, it's all part of a life-long learning process. If anything, the fact that it's survived this long and managed to put down 400+whp mostly reliably is a testament to what little ability I do have.
I cut it somewhat close as usual, but everything looks to be set for this Friday. Hopefully I'll be reporting back Monday with good news and new charts to share. Wish me luck!