You must be logged in to rate content!
13 minute(s) of a 731 minute read
6-22-2018
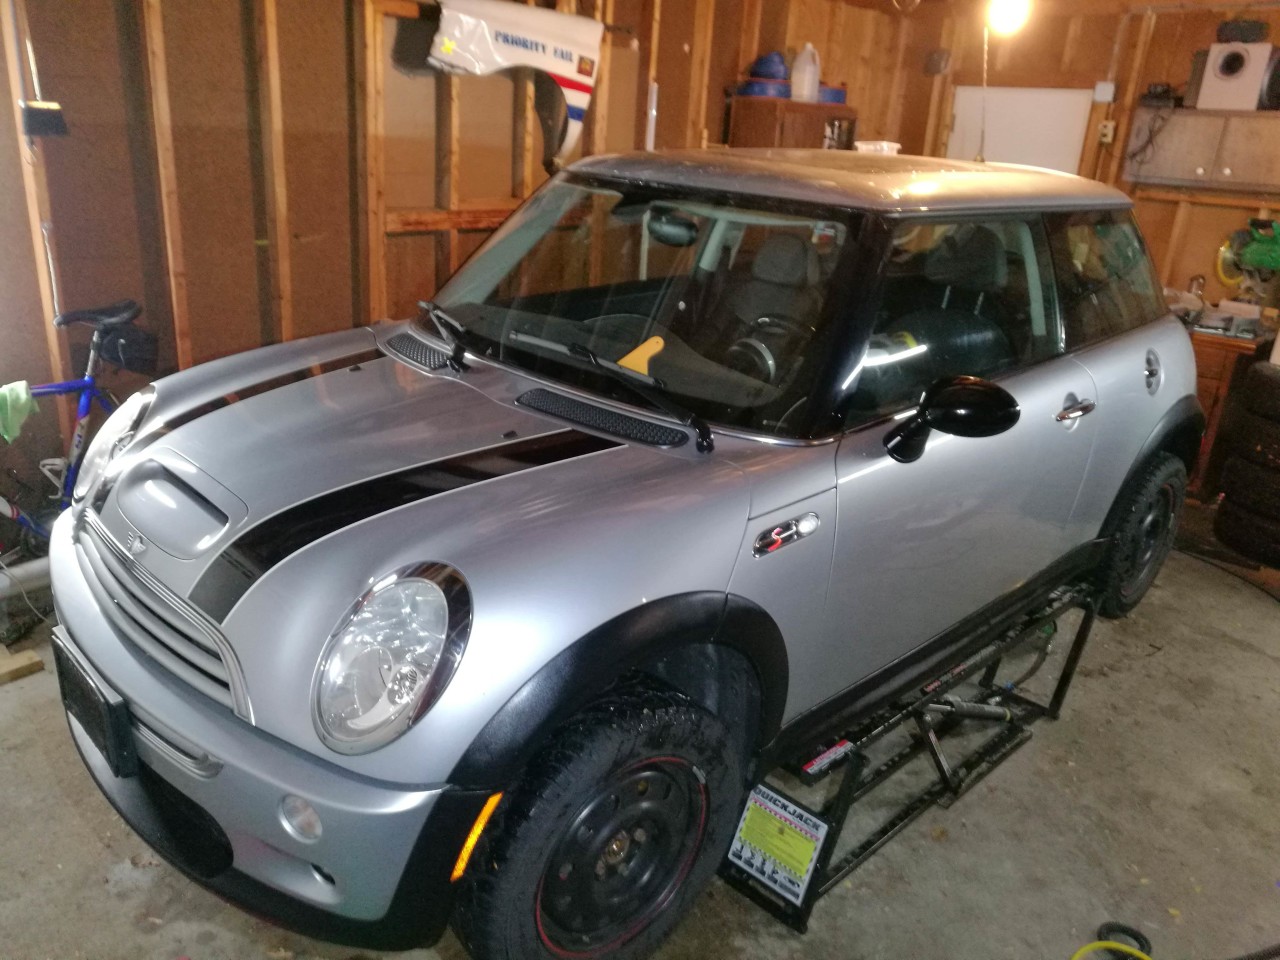
Around November I finished up the grey MCS and it shared DD duties with my TDI. I think it turned out quite nicely. That quickjack is a lifesaver (and a backsaver).
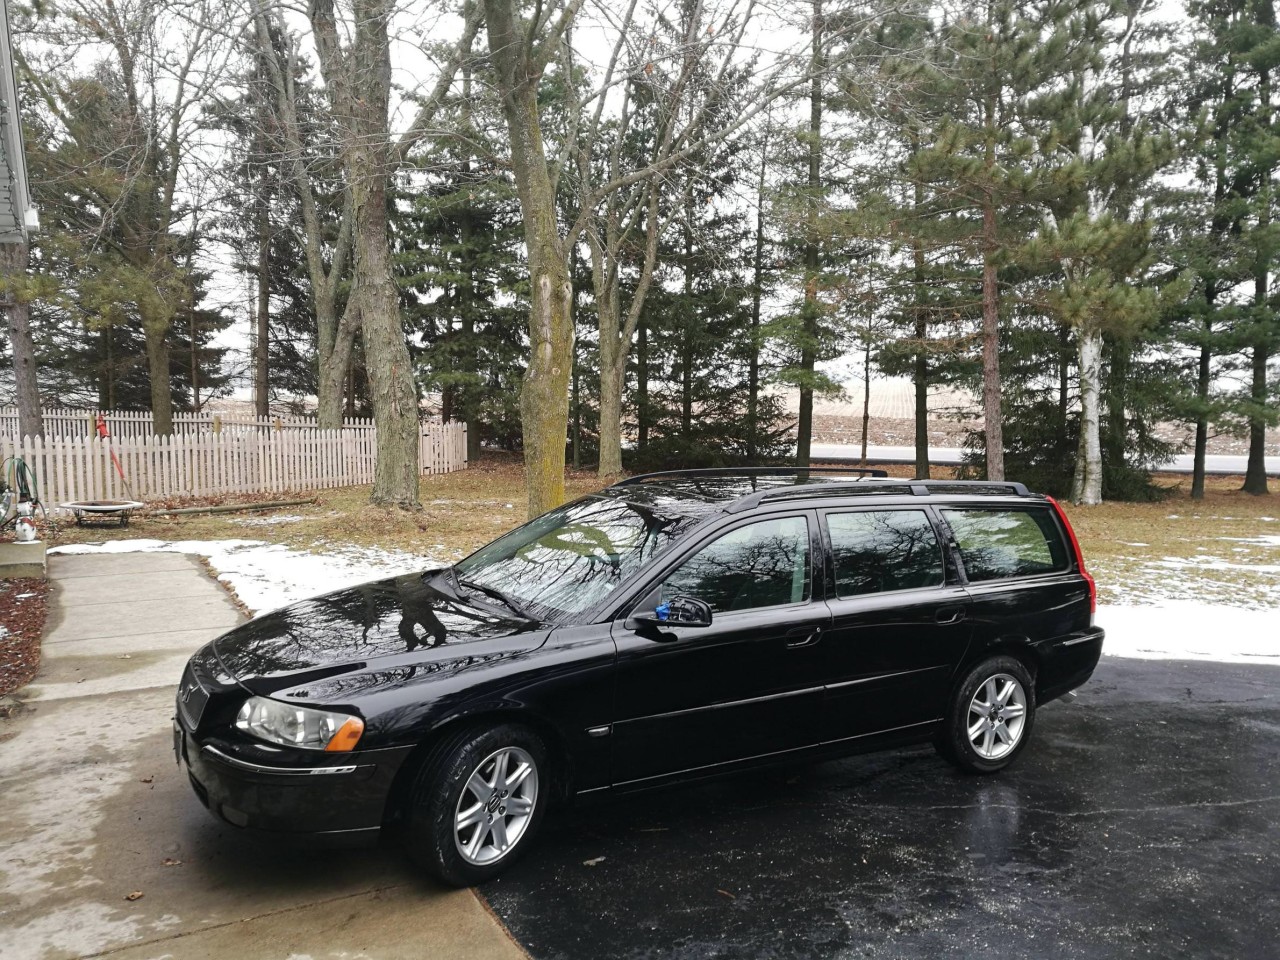
Our bulletproof 2010 Versa has been packing on the miles, and its now eclipsed 200k basically trouble free miles. It was time to get the wife an upgrade so we picked up a 2005 volvo V70 wagon. We LOVE this car.
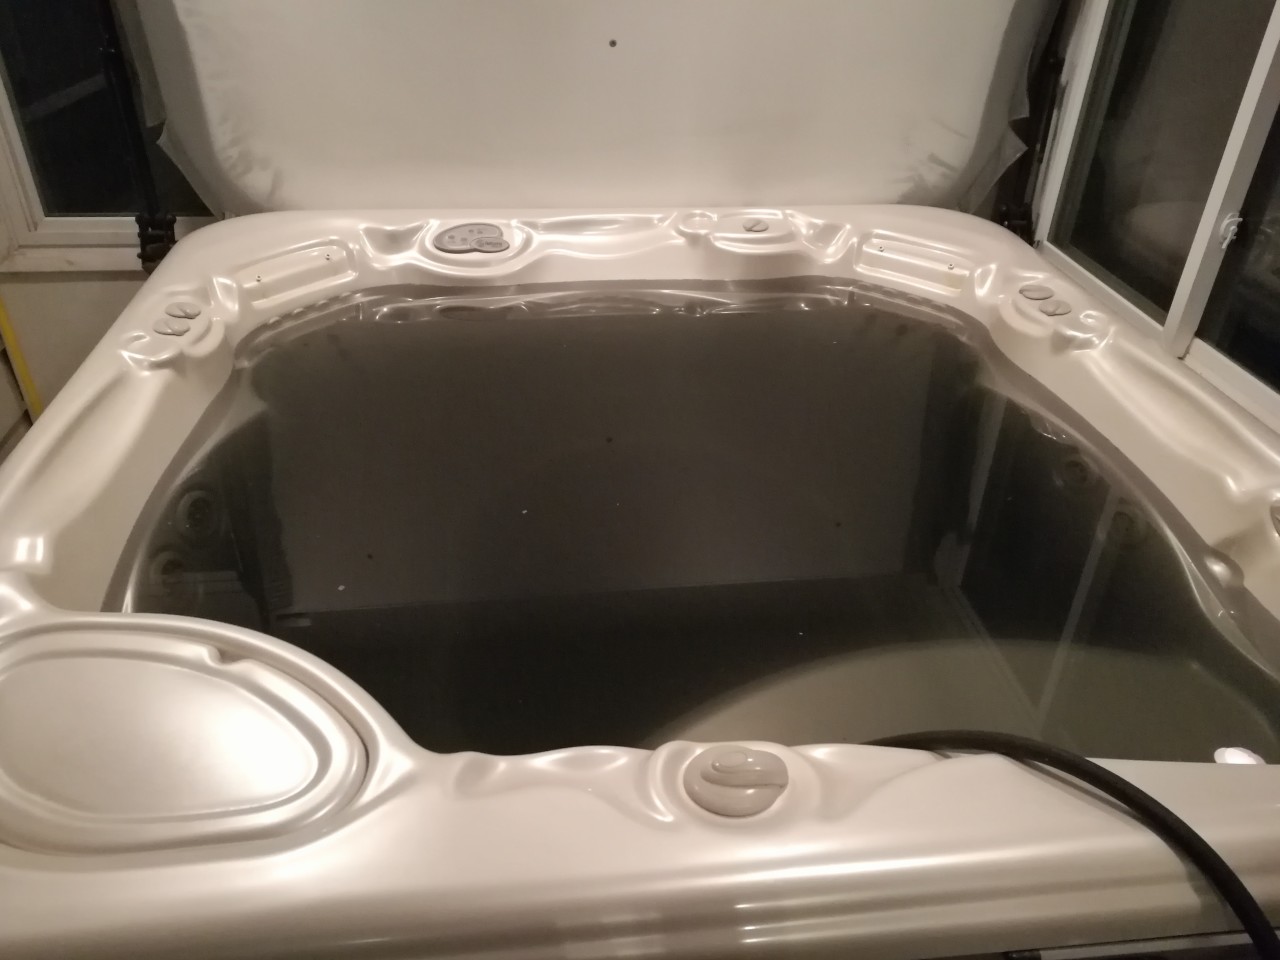
Over the course of the winter the heater core went out on both the Versa AND the TDI within about two weeks of each other, so I spent two weekends in the garage taking care of those. Shortly after that, our well pump gave up the ghost which left us with a nice repair bill and a black hot tub.
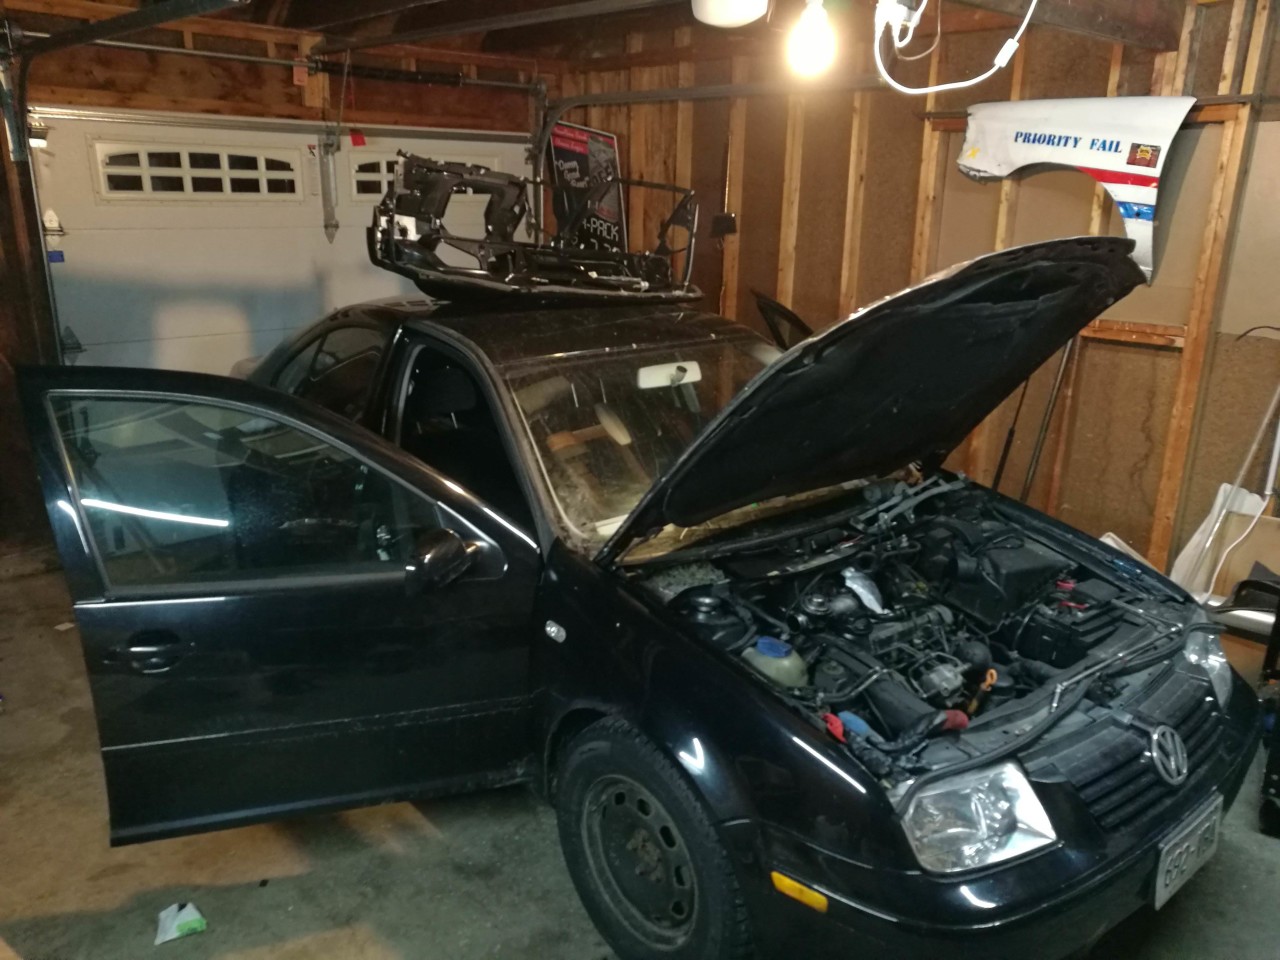
With my grey MCS on the road, we pulled the 2003 MCS into the garage for work. The previous owner was pretty sure it needed a release bearing. He was correct, it came out in about 3000 pieces. We worked on this car on and off from Christmas until the end of February. It got a detail in early March and I'd say it turned out pretty good.
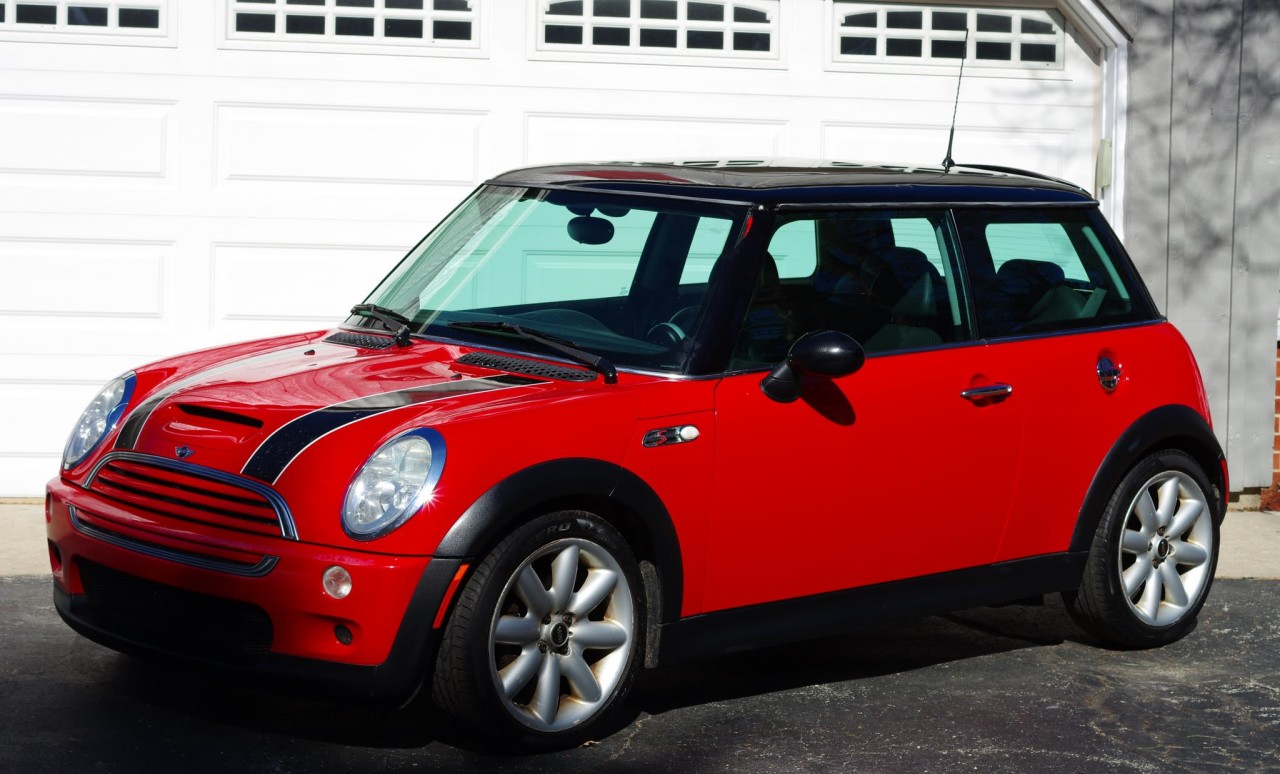
Before we got the 2003 sold, I found an MC40 in Cincinatti that had drivetrain issues but was rust free. My buddies went out to pick it up and bring it home. My wife was less than pleased, but it made for a cool photo. Shortly after this picture was taken the 2003. Yay.
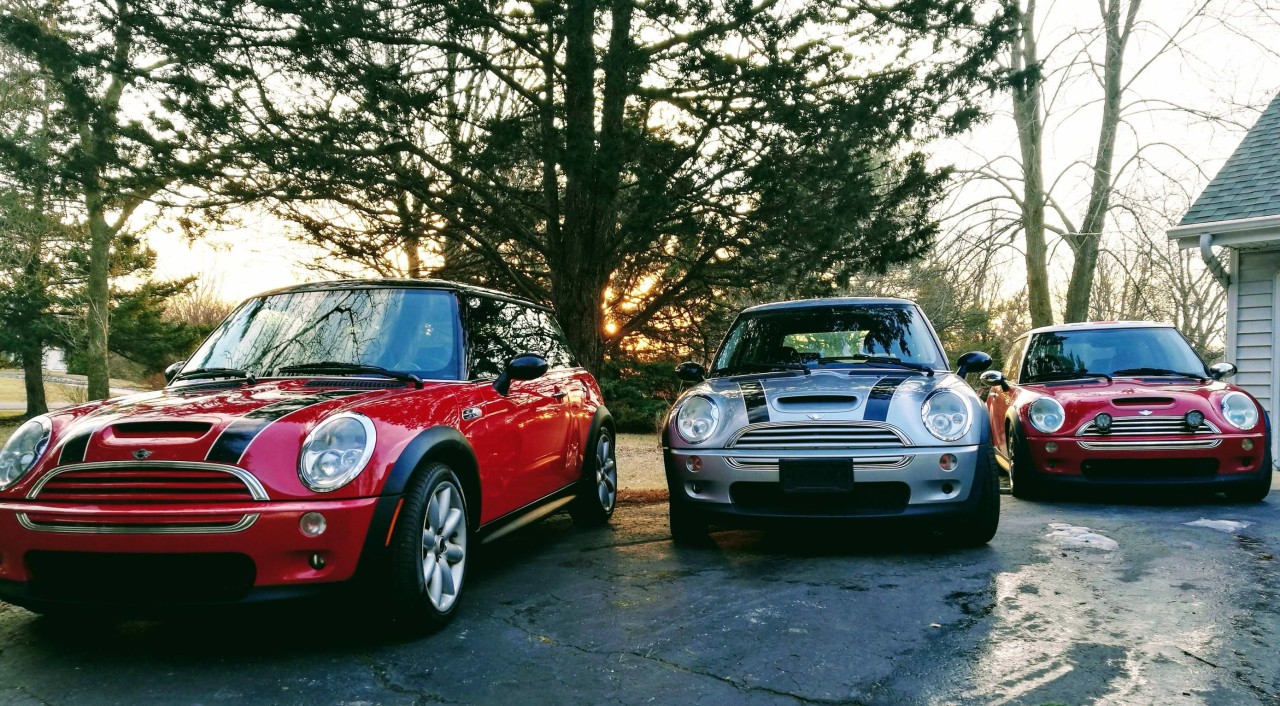
With all of the fallout from the winter weather, cars, and projects taken care of; I finally had the ability and space to get the Z ready for summer. While it was sitting it developed a pretty solid puddle of ATF (power steering) under it, so I added that to my short list of things to address. This spring would see me drop the rear subframe to replace the front diff seal, replace the transmission mount, and now address a power steering leak. Not bad for a 28 year old car.
I chose to tackle the power steering leak first. I figured this was going to be a nightmare as I expected something to be wrong with the pump or a hardline. Based on where the puddle was, it was definitely centered right under the power steering pump. Luckily the pump is located directly under the passenger side throttle body, which means the throttle body coupler needs to be removed, the turbo outlet needs to be removed, and the turbo inlet accordion pipe needs to be removed. After all this, you can barely see the lines feeding to and from the pump. to play it safe, I also removed the reservoir and hardware nearby since I wasn't sure where this project was going and to provide a little more room to work. This turned out not to be necessary because the root cause of the issue was a factory hose clamp that's probably never been touched in 28 years finally released its grip. The hose from the reservoir to the pump was loose. A turn or two of the screw on the hose clamp took care of the issue. That was easy.
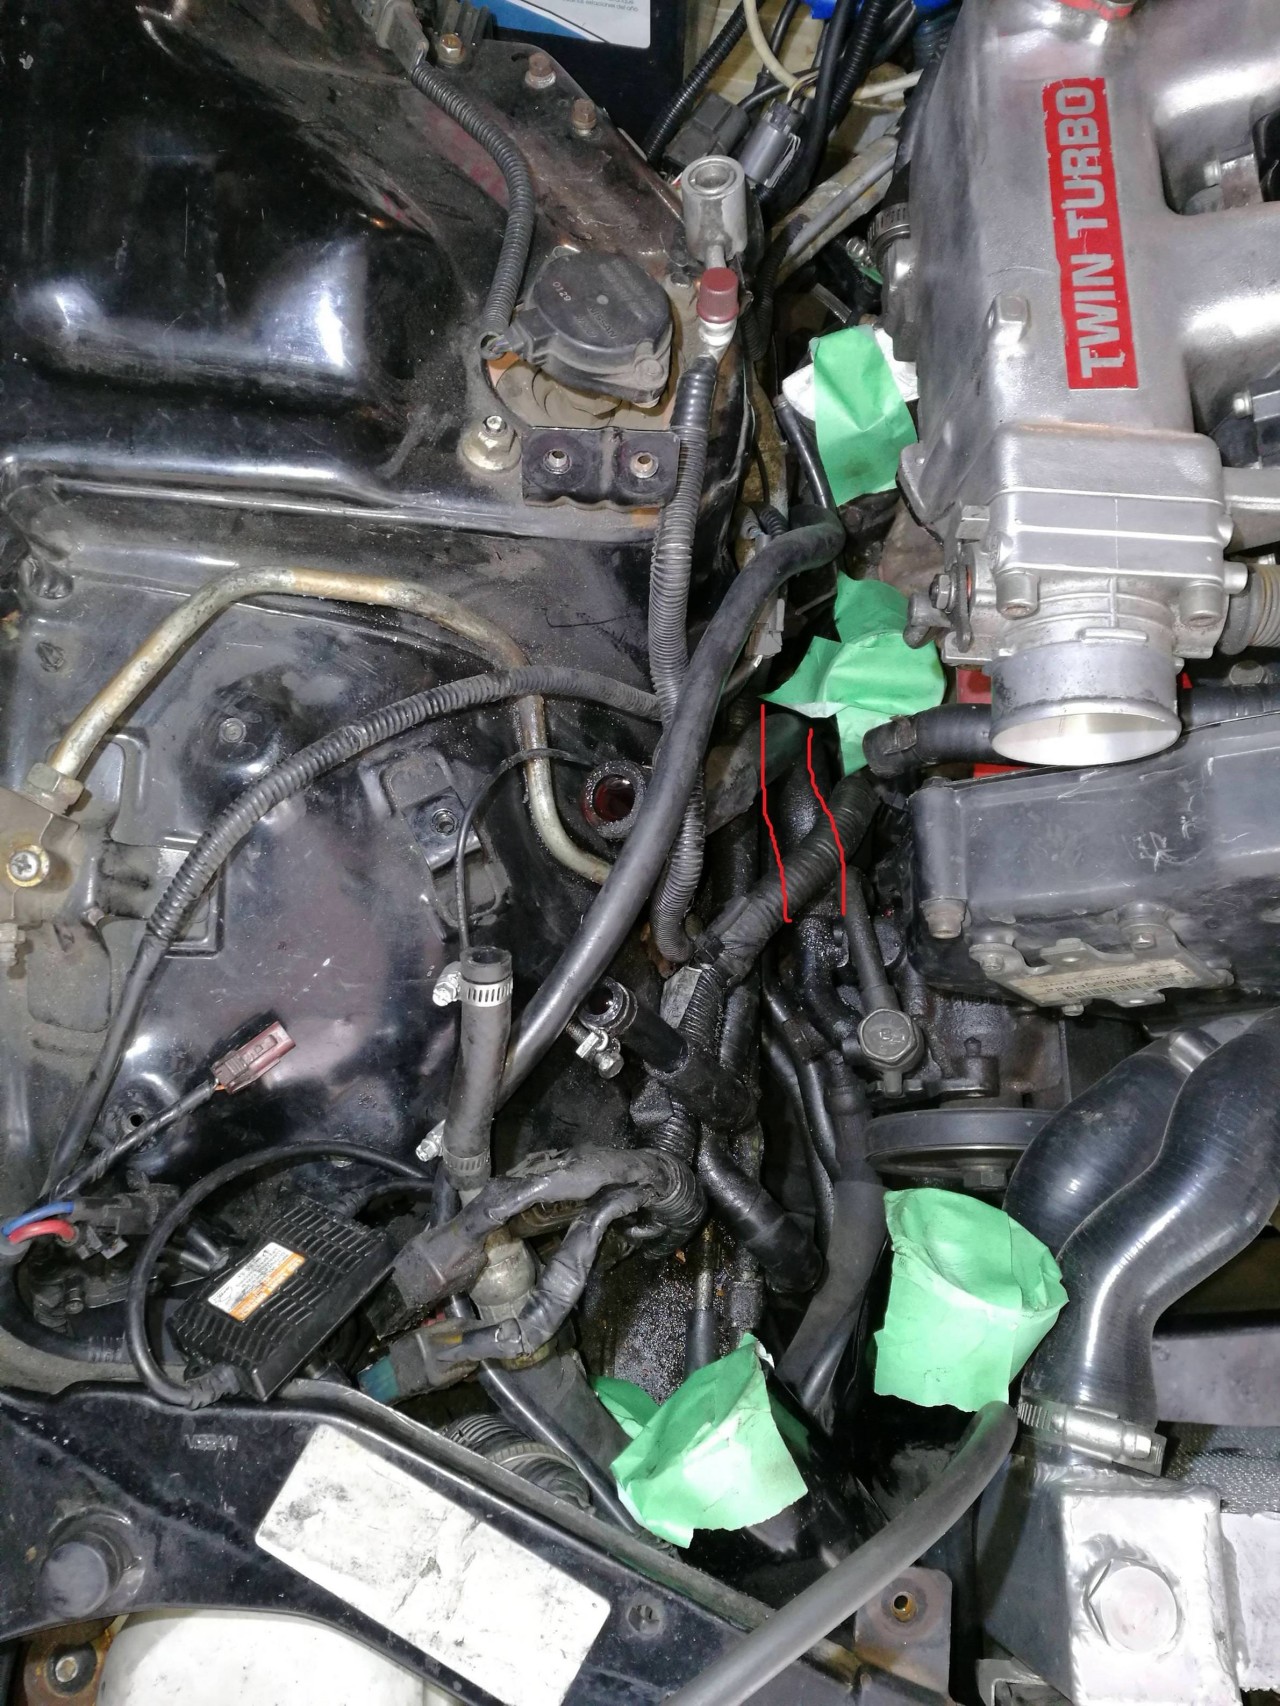
With the pain up front taken care of, I got ready for a project I've never attempted before: dropping the rear subframe! I've heard this is a pain, even if you have multiple people working on this, so I wasn't too excited. BUT, because of the difficulties we've had with reinstalling transmissions in the minis, I got a Harbor Freight transmission jack which proved to be exactly the tool for the job. I got the Z up on the quickjack, which took some finagling but in the end wasn't too bad. I was hesitant to use the pinch welds up front on such an old car, but thankfully I had nothing to worry about.
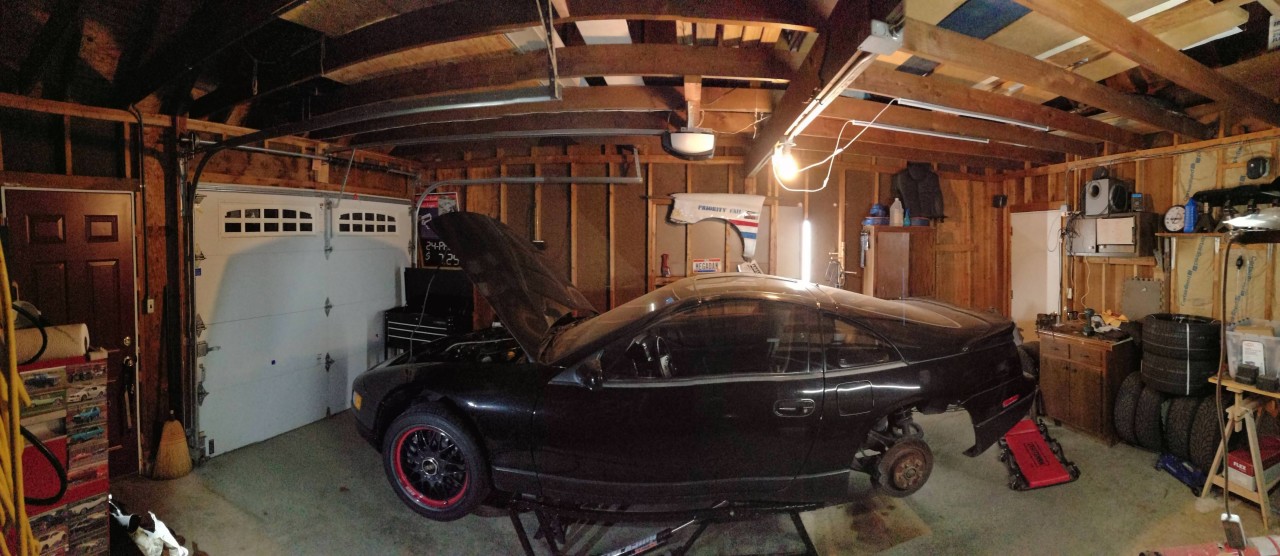
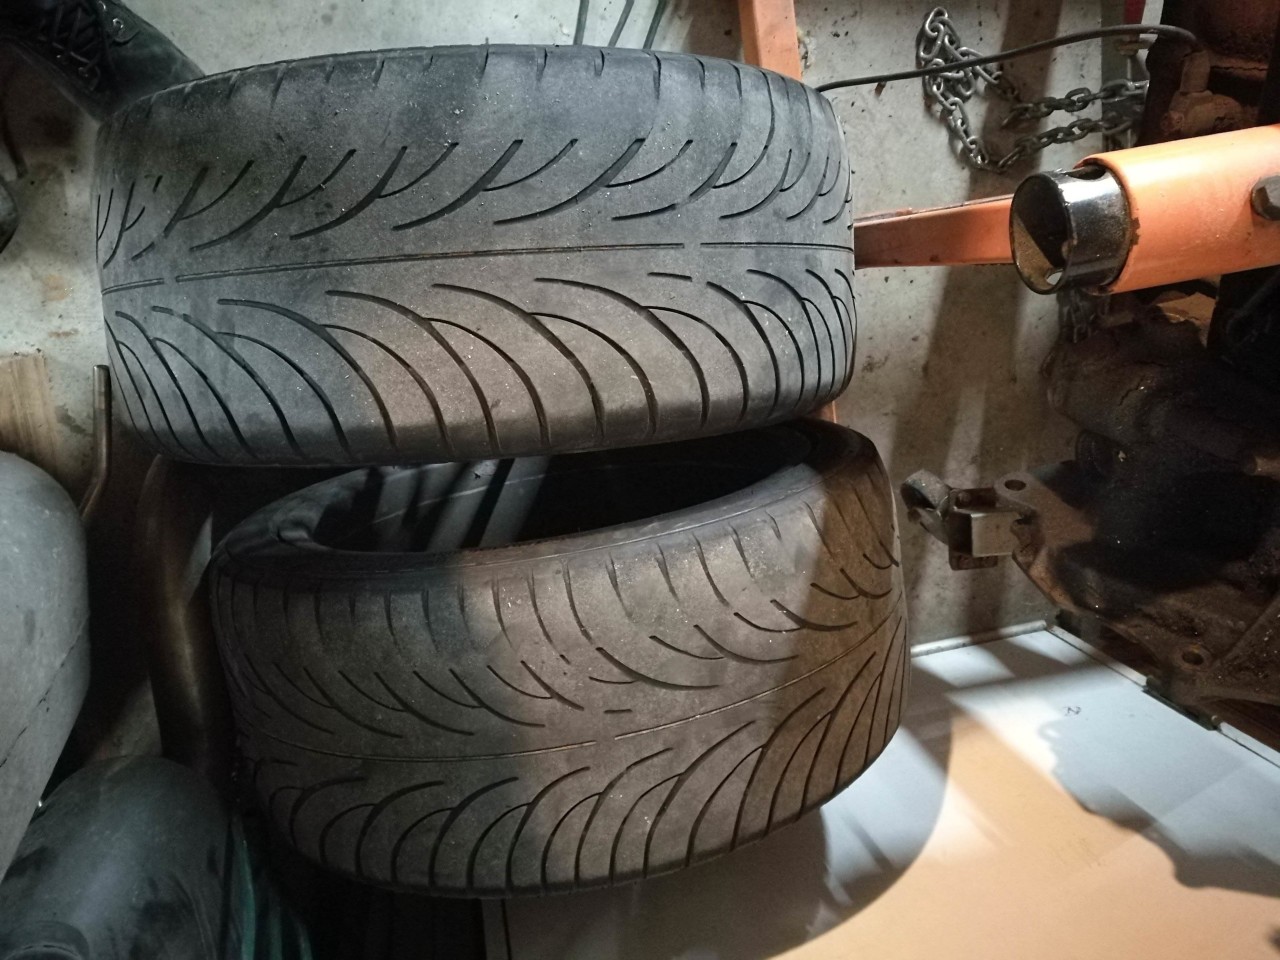
With the car up I removed the wheels....and realized I needed new tires. After looking through my records to see what/when I last installed tires, I was pleasantly surprised that these had lasted me 8 years, and probably around 25k miles. I thought the 350ish treadwear would be a good compromise between traction and longevity, but I was never really thrilled with the Sumitomo HTR ZIII's. Time for an upgrade.
To get at the transmission mount and subframe, the exhaust had to be removed first. Since its stainless steel from the turbos back, I didn't have to worry about seized fasteners or anything like that and the exhaust was down in 10 minutes. Not EVERYTHING about working on this car sucks. Next came driveshaft removal. I used an exacto knife to score some orientation markers on the driveshaft and the differential cup to make sure everything went back as it came apart. I've heard that not doing this can cause an unseemly vibration as everything is balanced. Unfortunately I didn't do a great job detailing any of these steps, because everything went so smoothly. With the exhaust gone, there was room for 3 or 4 friends to help me with this project underneath.
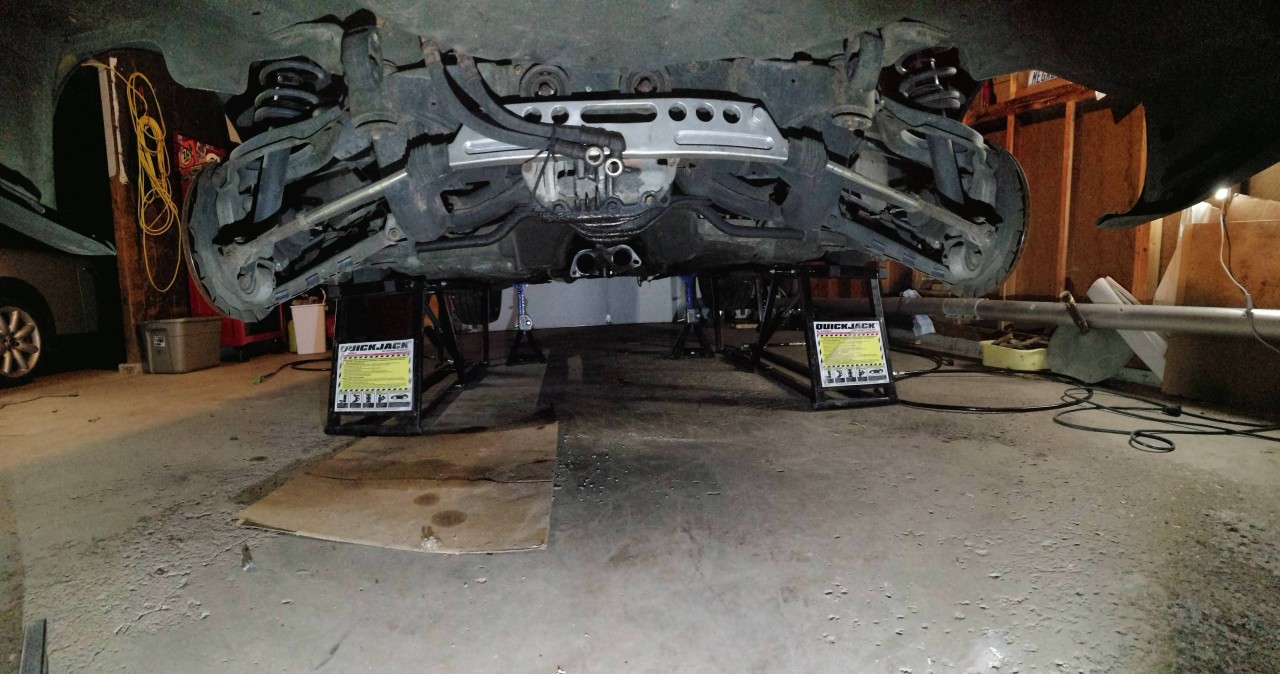
Sadly they were all busy so I did it alone. Definitely time to replace the seal. Look at all this gear oil.
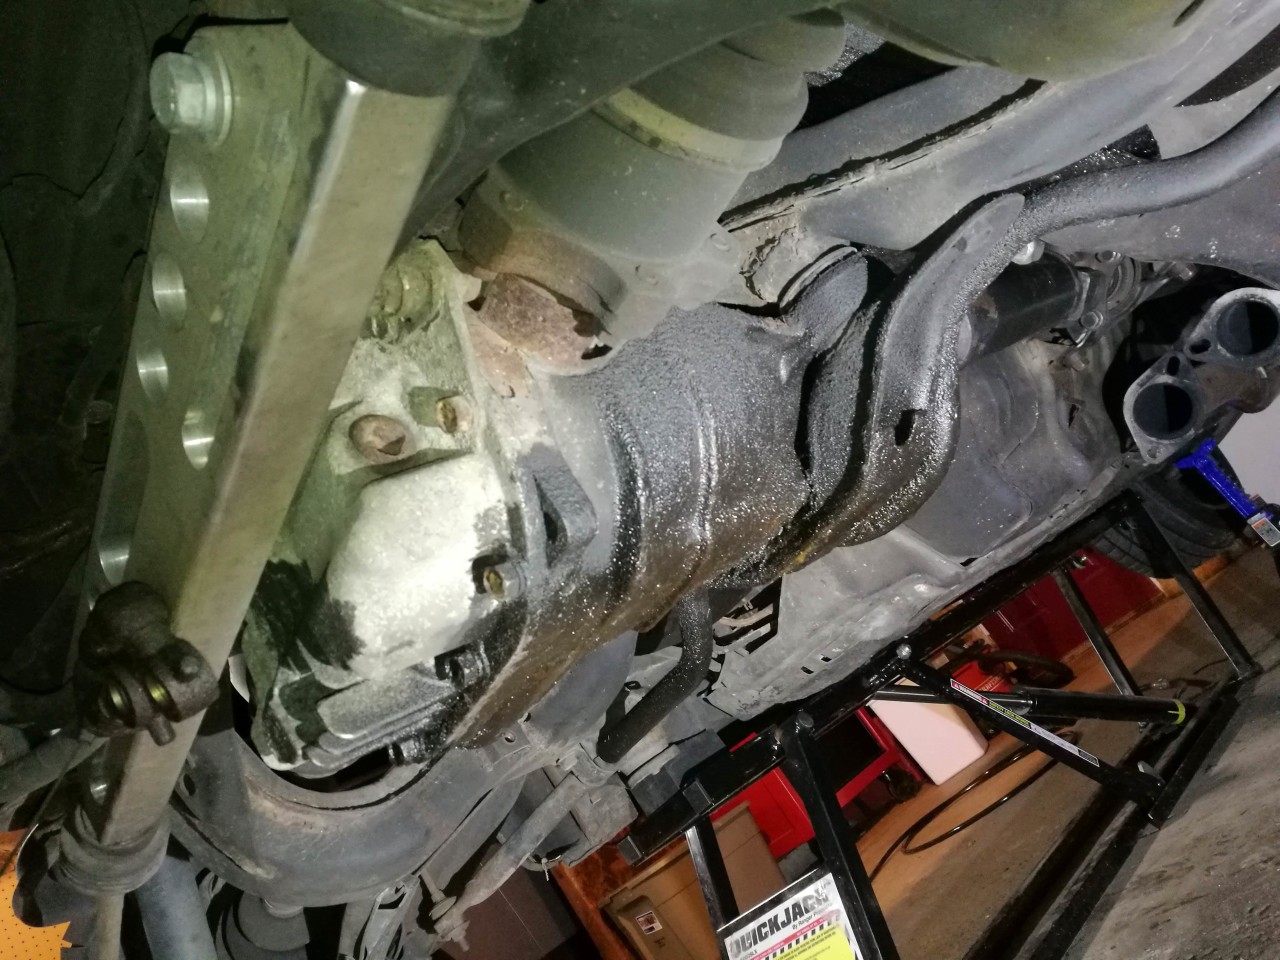
After undoing 10 bolts, the subframe shifted its weight to the jack and I lowered it down. I took some neat time-lapse videos of me doing this, but I'm not sure how to convert them to gif and get them onto the internet so you can criticize my technique. I'll figure it out sooner or later. Aside from having the quickjack in the wrong location preventing the subframe come down requiring me to drop the car and put it up again, subframe removal only took about 15 minutes, solo. This transmission jack is great!
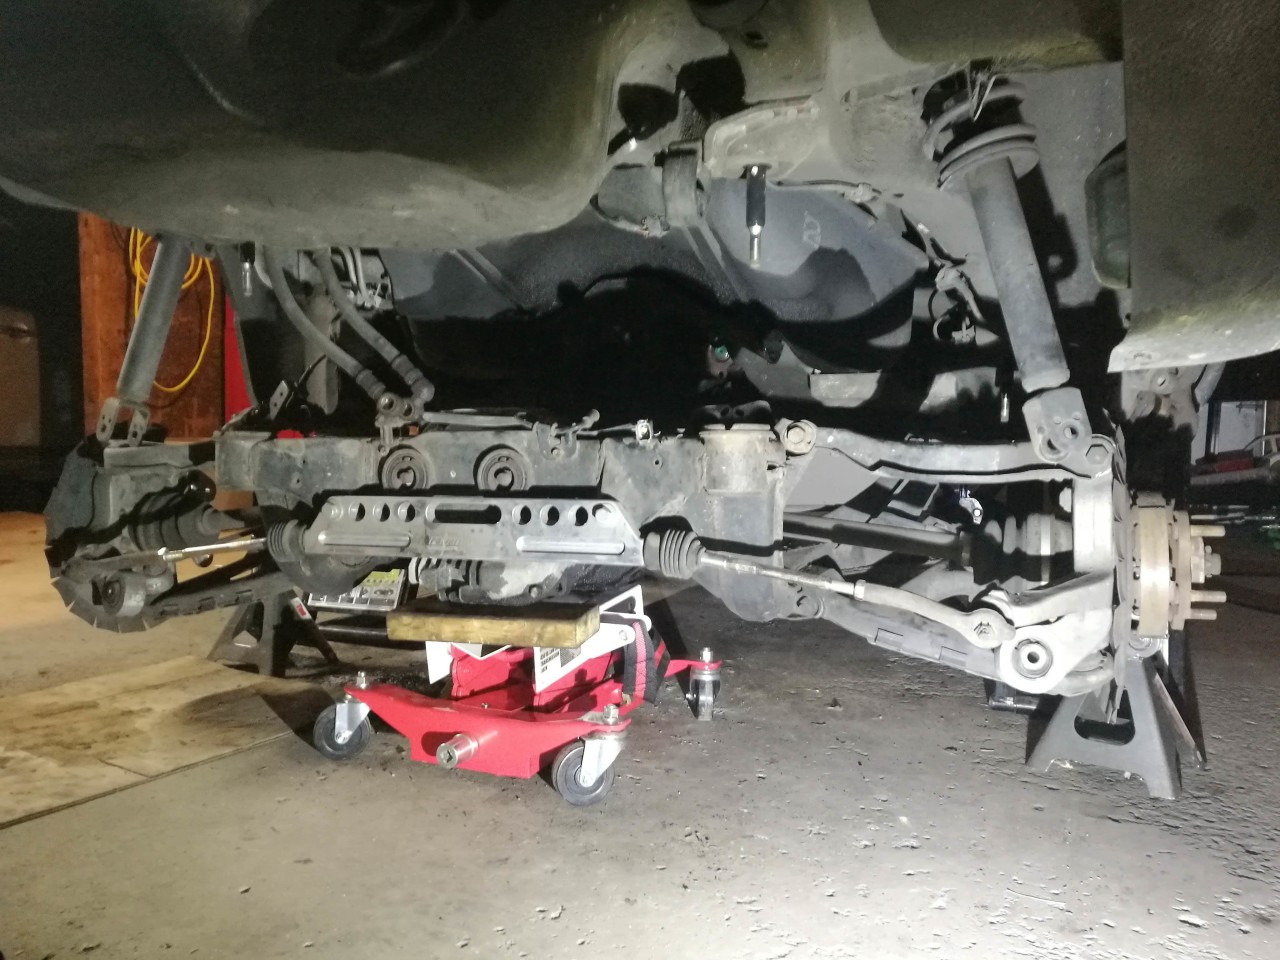
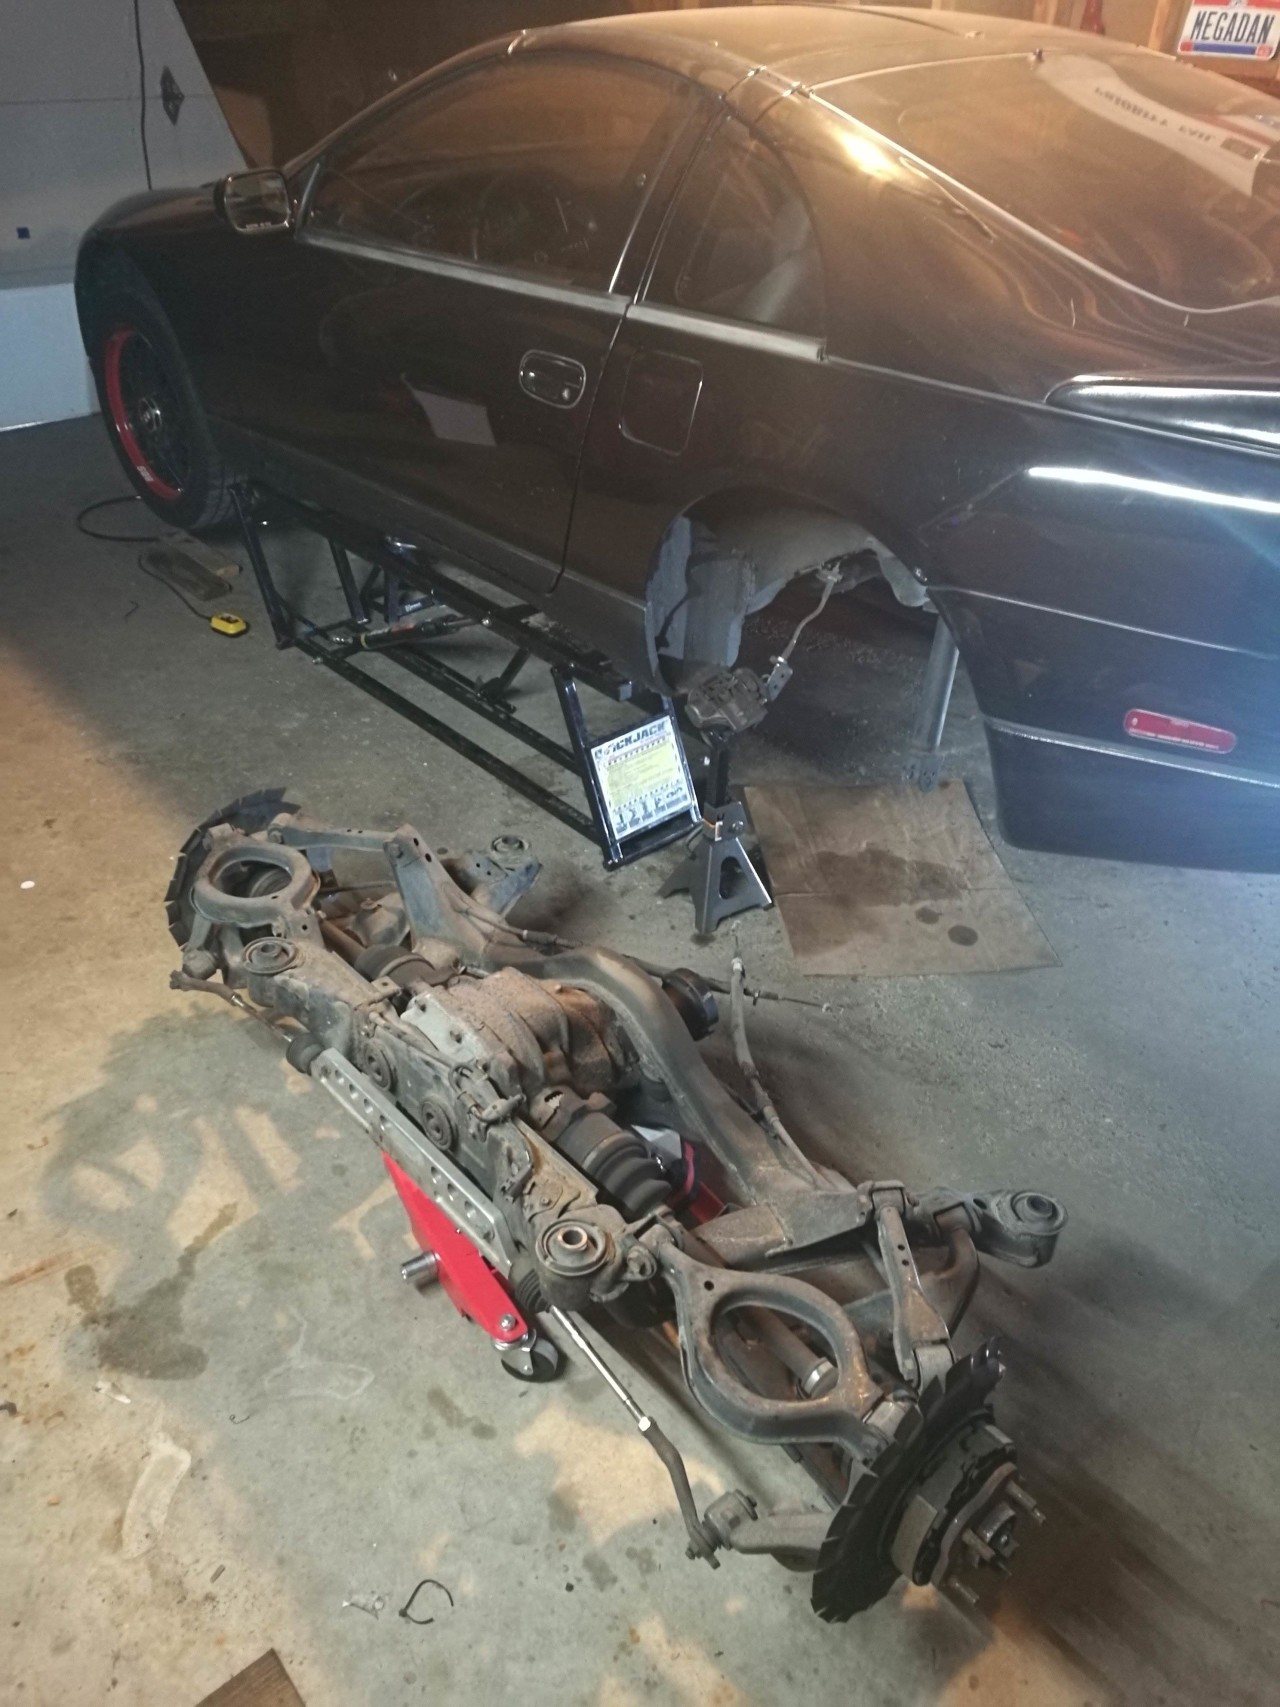
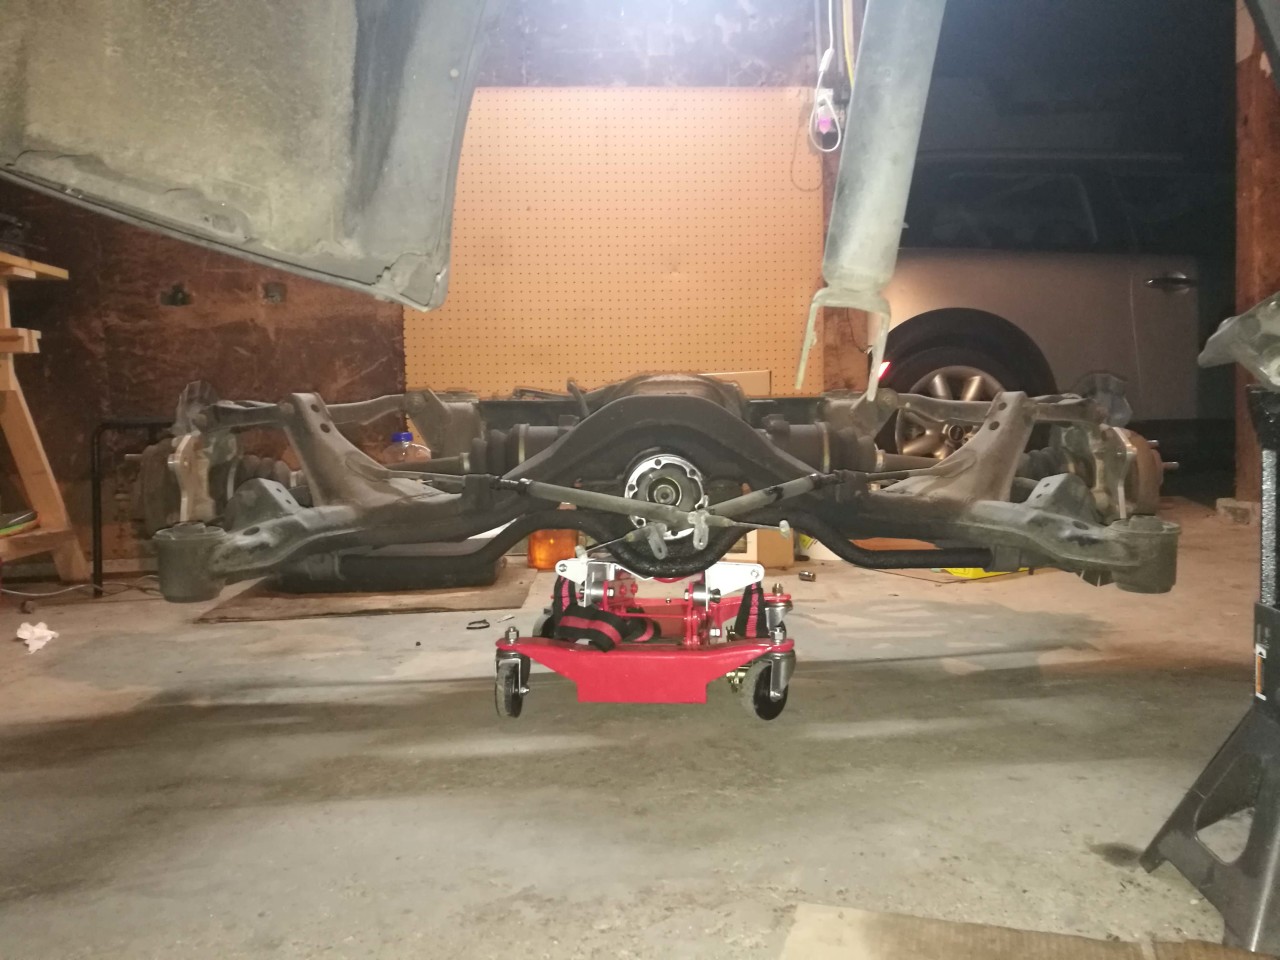
With the subframe down, I was able to get at the HICAS actuator at the rear of the car and finally truly and completely delete the HICAS system. Nasty. I got rid of the actuator and the hard lines going all the way to the front of the car. Probably 15lbs of weight savings and more crap I don't have to deal with.
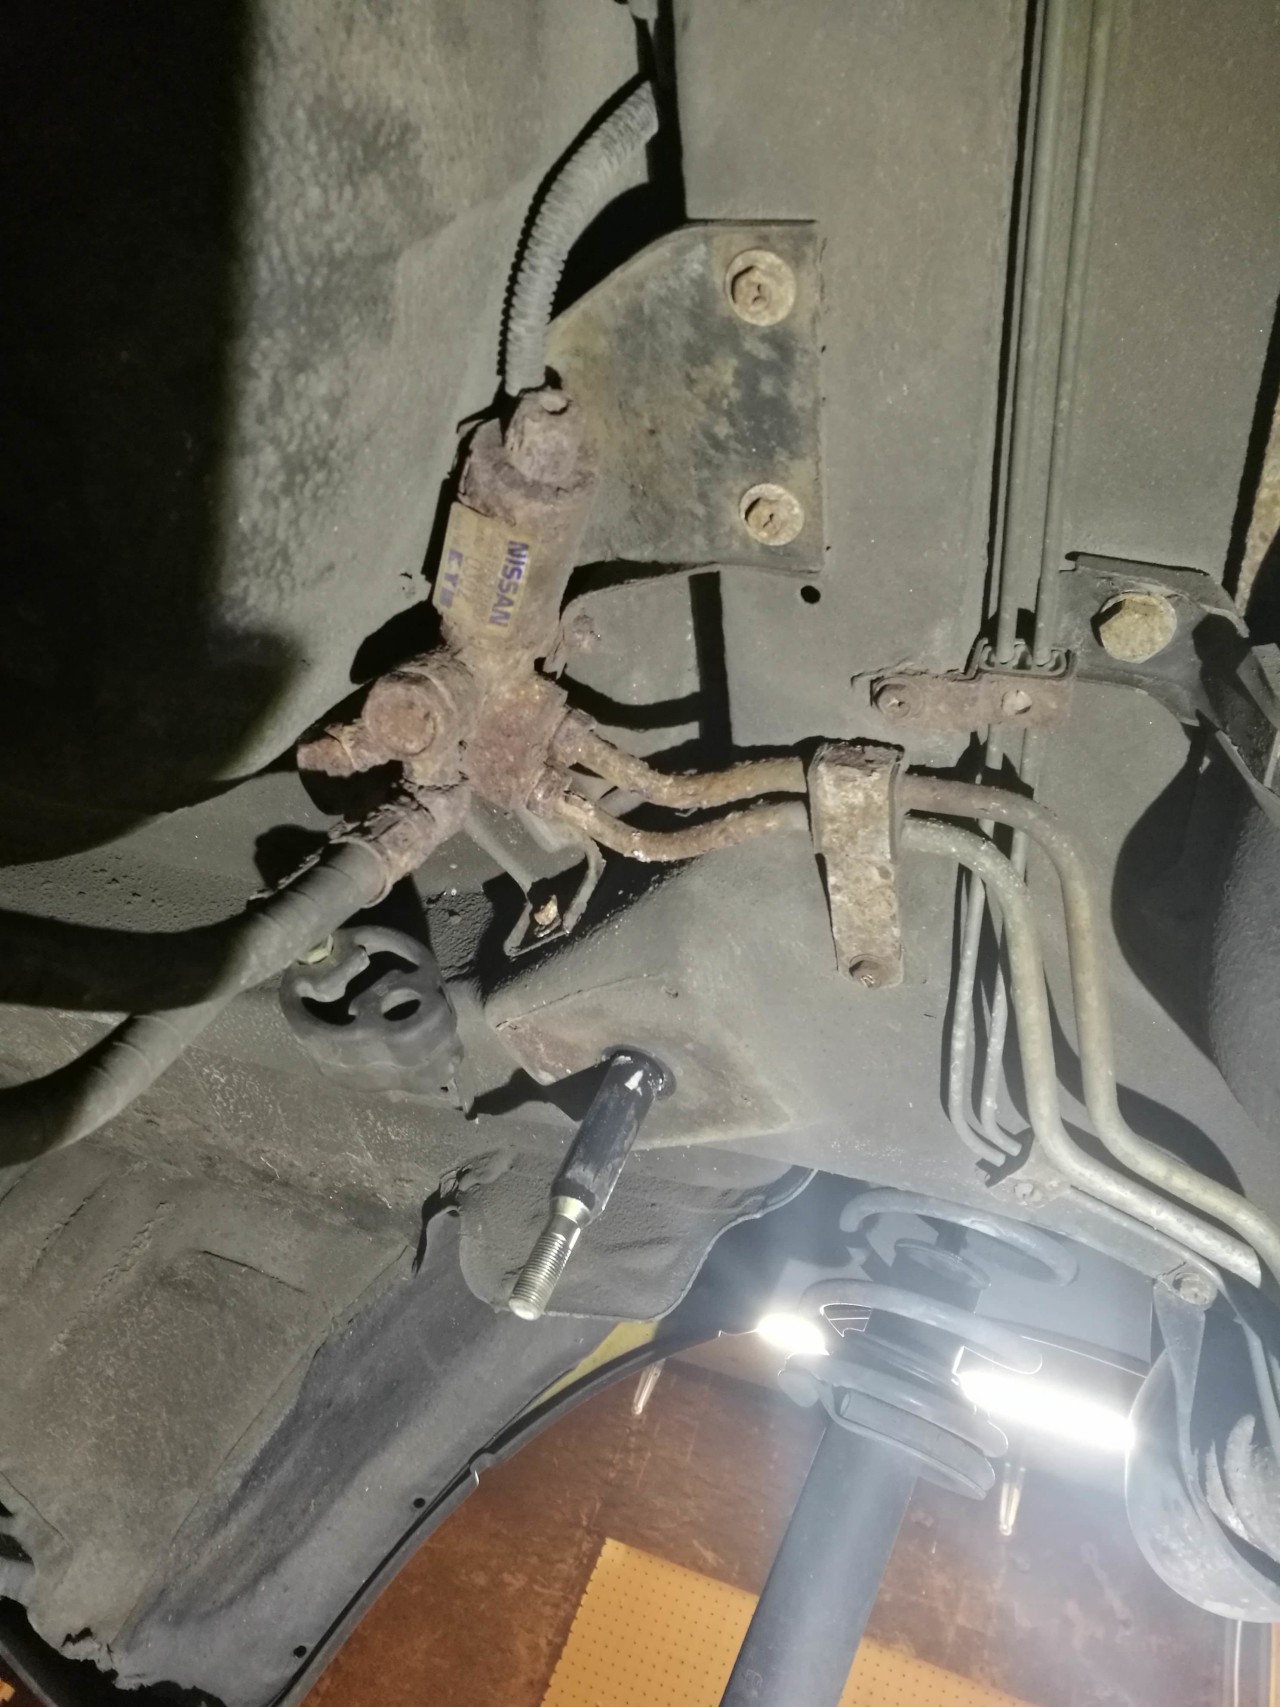
Time to focus on the diff. I usually follow along with a good DIY when tackling new projects, but due to the somewhat obscure nature of this job I don't think I was able to find one. I found some tips and tricks, but I mostly used the factory service manual here to see how everything went together. This might be the first time in 10 years I've ever found that book useful. Oh yeah. I'll have owned the Z 10 years come October. Crazy.
I started with a gear puller to remove the driveshaft cup, output flange, whatever you want to call it. Nothing unusual here aside from finding a way to stabilize the puller to prevent the diff from rotating while rotating the threaded rod. Hence the breaker bar wedged between the legs and the floor. Gotta get creative when working alone.
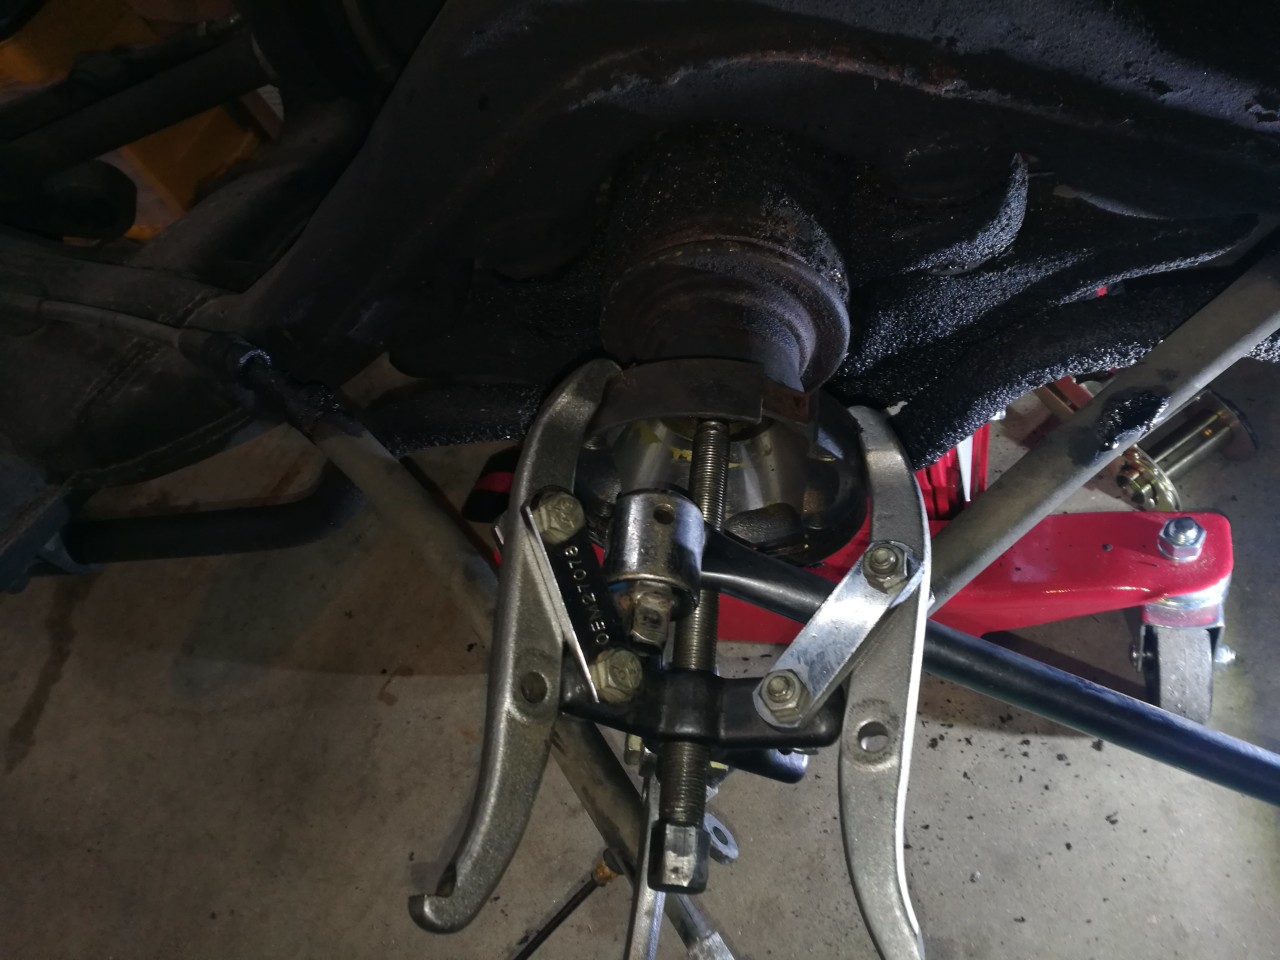
Before removing the cup or taking any significant steps, I took detailed photos regarding alignment and location of the nut. Based on what I read, this nut needed to be torqued to a specific value, as there is a crush seal internally that controls the lash of something important. I won't pretend to know what exactly.
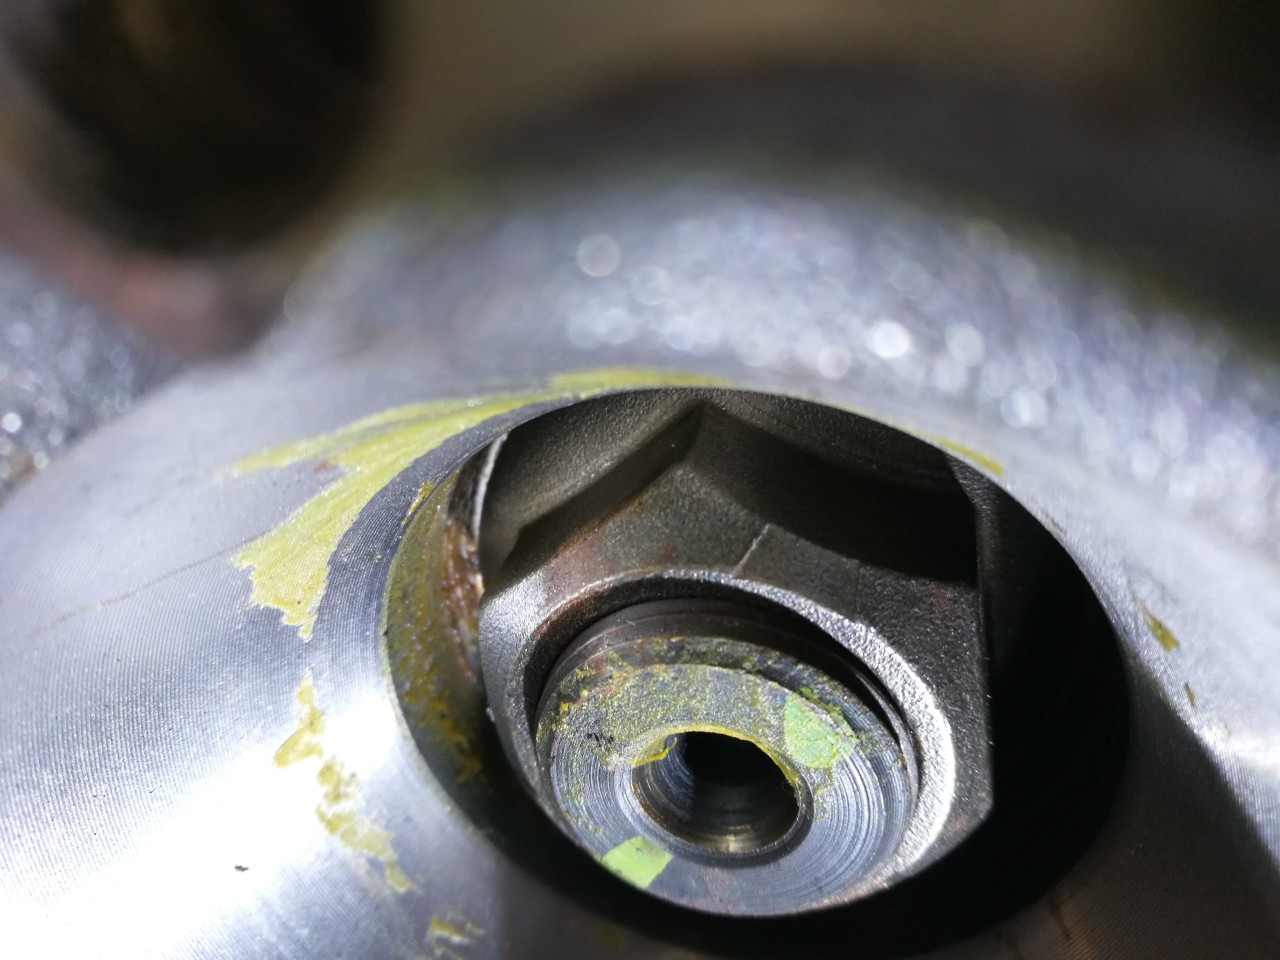
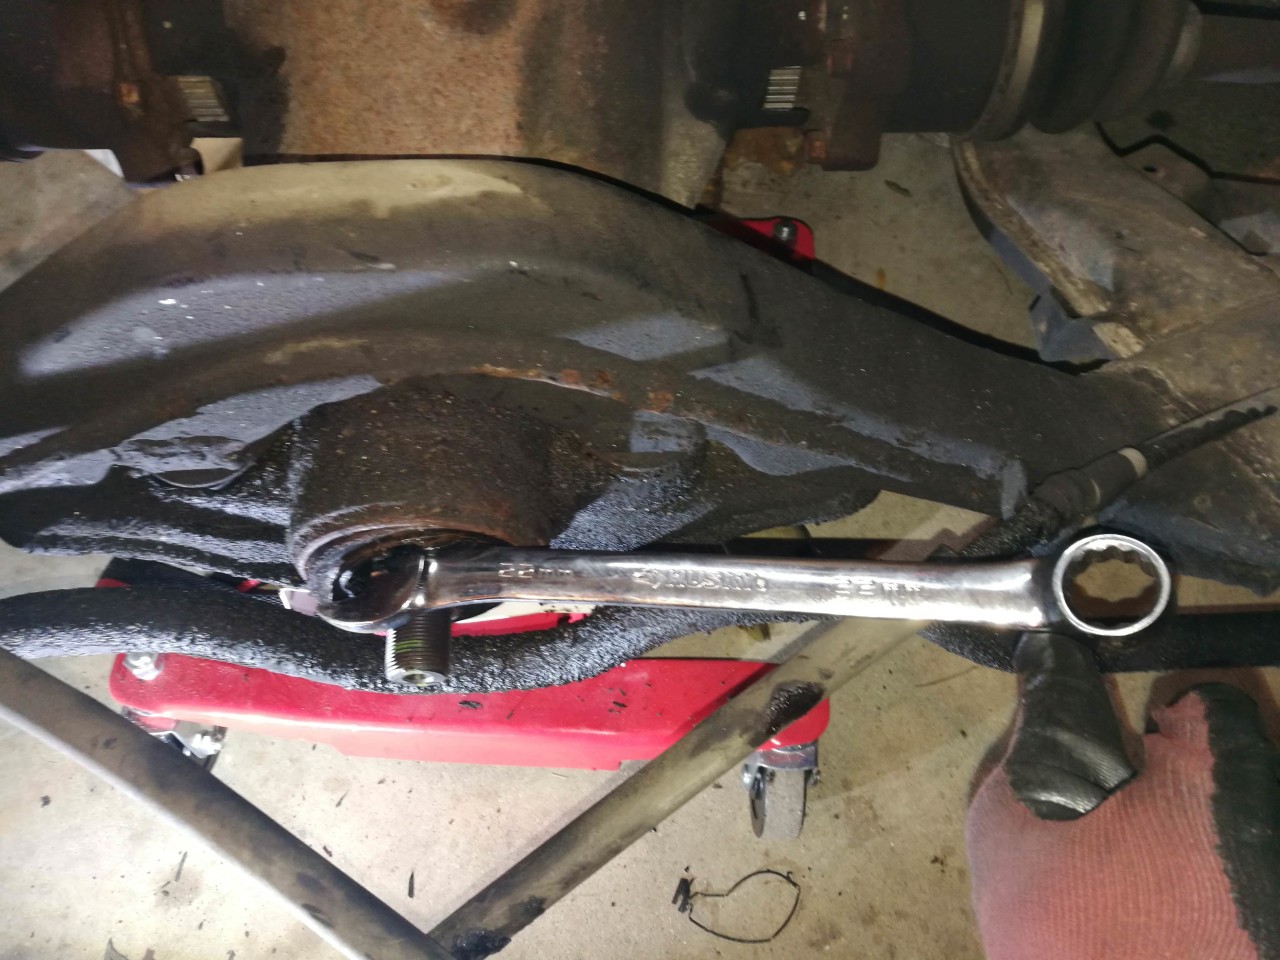
With the nut and the cup removed, the seal was exposed and ready for removal. I don't have a seal puller, and it was a bit too sturdy for removal with some of the hooks I've got on hand, so yet again I had to get creative. I grabbed the biggest box wrench I had and stuck the open end inside the seal and tapped on the closed end with a sledge. The seal popped right out!
As usual, installation is the reverse of removal. I gingerly tapped the new seal in place, installed the driveshaft cup, and pondered about how to install the nut back to the correct torque value. I had read of people reinstalling the nut to exactly the same position it had been previously, and decided to give this a shot. I drove the nut on as far as I could by hand, but I was about a half turn out when it started to rotate the diff itself. Being the super-genious that I am, I held onto the cup with one hand while using my makita impact driver to drive the nut on the rest of the way, while making sure I stopped when the nut was in EXACTLY the same position it was when I took it off.
At the start of this project I debated with myself regarding how far do I take the "while I'm in there" mentality. The rear subframe bushings are notoriously difficult to replace, and also supposedly make a hell of a difference for driveability and handling following replacement. When I got the subframe onto the ground, I closely inspected each bushing, but could find no play or damage to any of them. I decided to leave them as-is for now. Given how easy it was to drop the subframe, this wouldn't be a difficult task to get at in the future and didn't merit the "may as well, I'm already here" drive to get it done.
Reinstalling the subframe is supposed to be the most difficult part of this job as alignment is apparently a pain to get right even with a helper. With the transmission jack this job was a breeze. I got the subframe, driveshaft, and exhaust reinstalled and waited for my tires to show up. I wasn't really sure what route to go with tires, but I know I wanted something in the 200 treadwear range. I ended up finding a closeout deal on Kumho Ecsta PS91 (260tw) for $100 per tire @ tirerack. I figured this was too good a deal to pass up and it was worth a shot. I made the right choice. The Sumitomos couldn't hold traction in 2nd when boost hit under WOT, the Kumho's have no problem holding up. I'm interested to see how they hold up, but even if I get 4-5 years out of these I'll be happy.
During this round of 'spring maintenance' I had a buddy help rewire the headlight relays so my low-beams stay on when the high beams are used. I've done the HID retrofit, but when using high beams the HID's shut off and are dangerously dim when high beams have been on for a while. Living out in the country, I use highs quite often. I also finally bit the bullet and got a Zenclosure subwoofer box that I've been wanting for the last 5 years or so. The first modification to this car when I got it was to replace the headunit, install a 4 channel amp and new front speakers. They sound pretty good, but its always been missing some low end oompf but I've never been willing to spend more money on it. Last year my buddy gave me a 10" woofer for my birthday, so this year I bought myself a box. I'm kicking myself for waiting so long, it sounds so much better now. It's just enough to fill the cabin and provide a more 'full' sound. Even with the music cranked, you can barely hear the woofer outside the car which is exactly what I want.
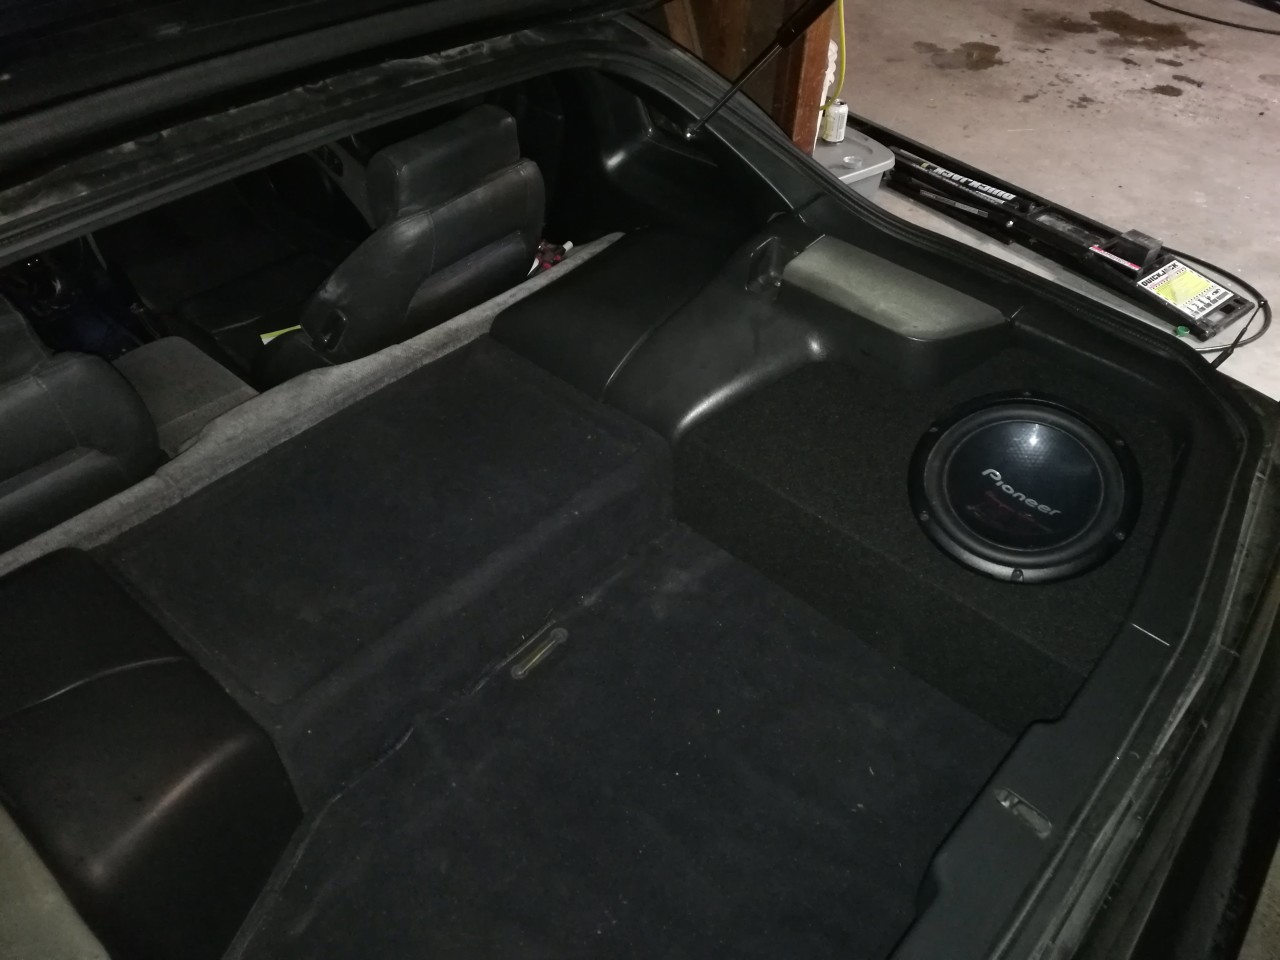
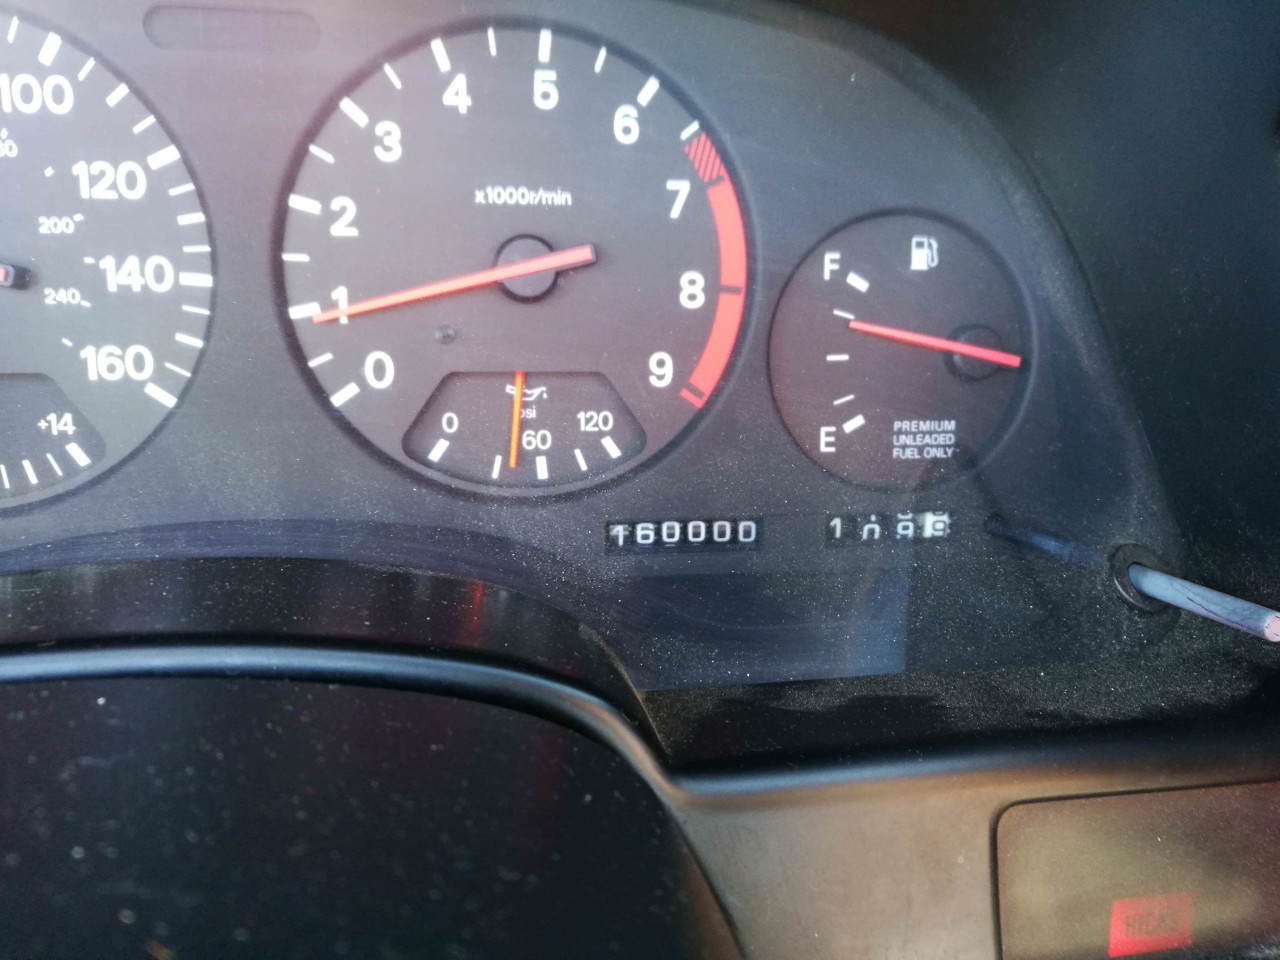
I've been driving the Z on and off this summer, but not nearly as much as I would like. I did hit 160,000 miles earlier this summer! And the ODO has stopped working intermittently, so that's no longer going to be an accurate number. Knock on wood, hopefully I don't have to do any maintenance until next year. The ONLY nagging issue is I must not have made my driveshaft alignment marks clear enough, because I have an annoying vibration above 70mph. I'll have to troubleshoot this at some point, but I've got another mini on the lift now.
