You must be logged in to rate content!
11 minute(s) of a 461 minute read
4-28-2013
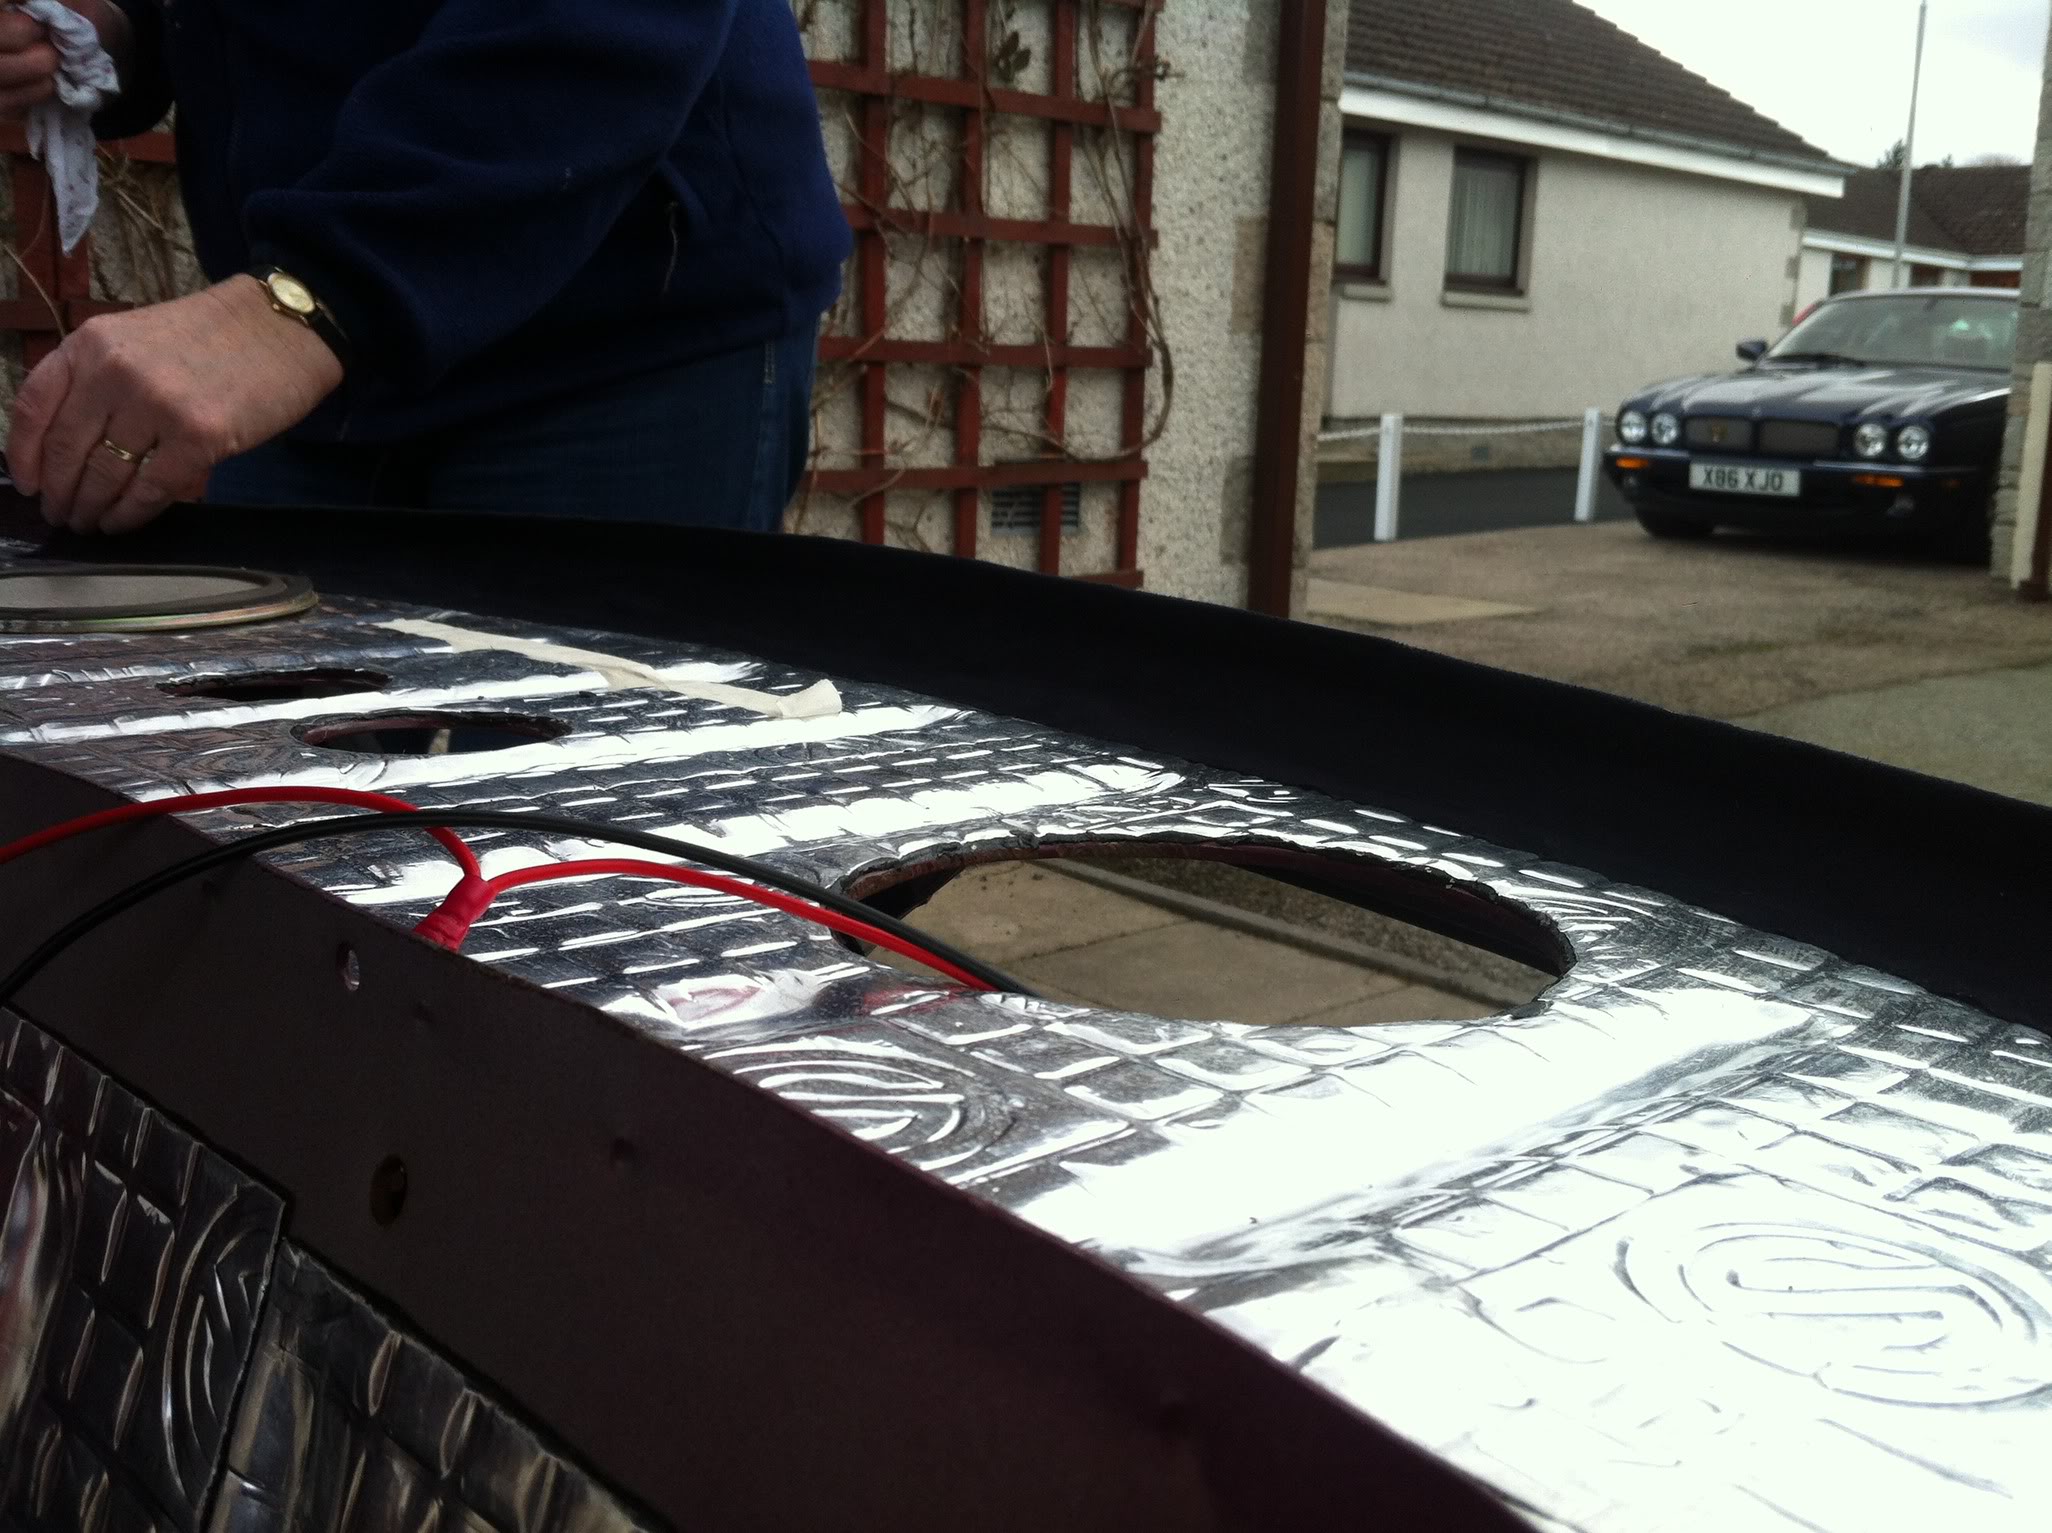
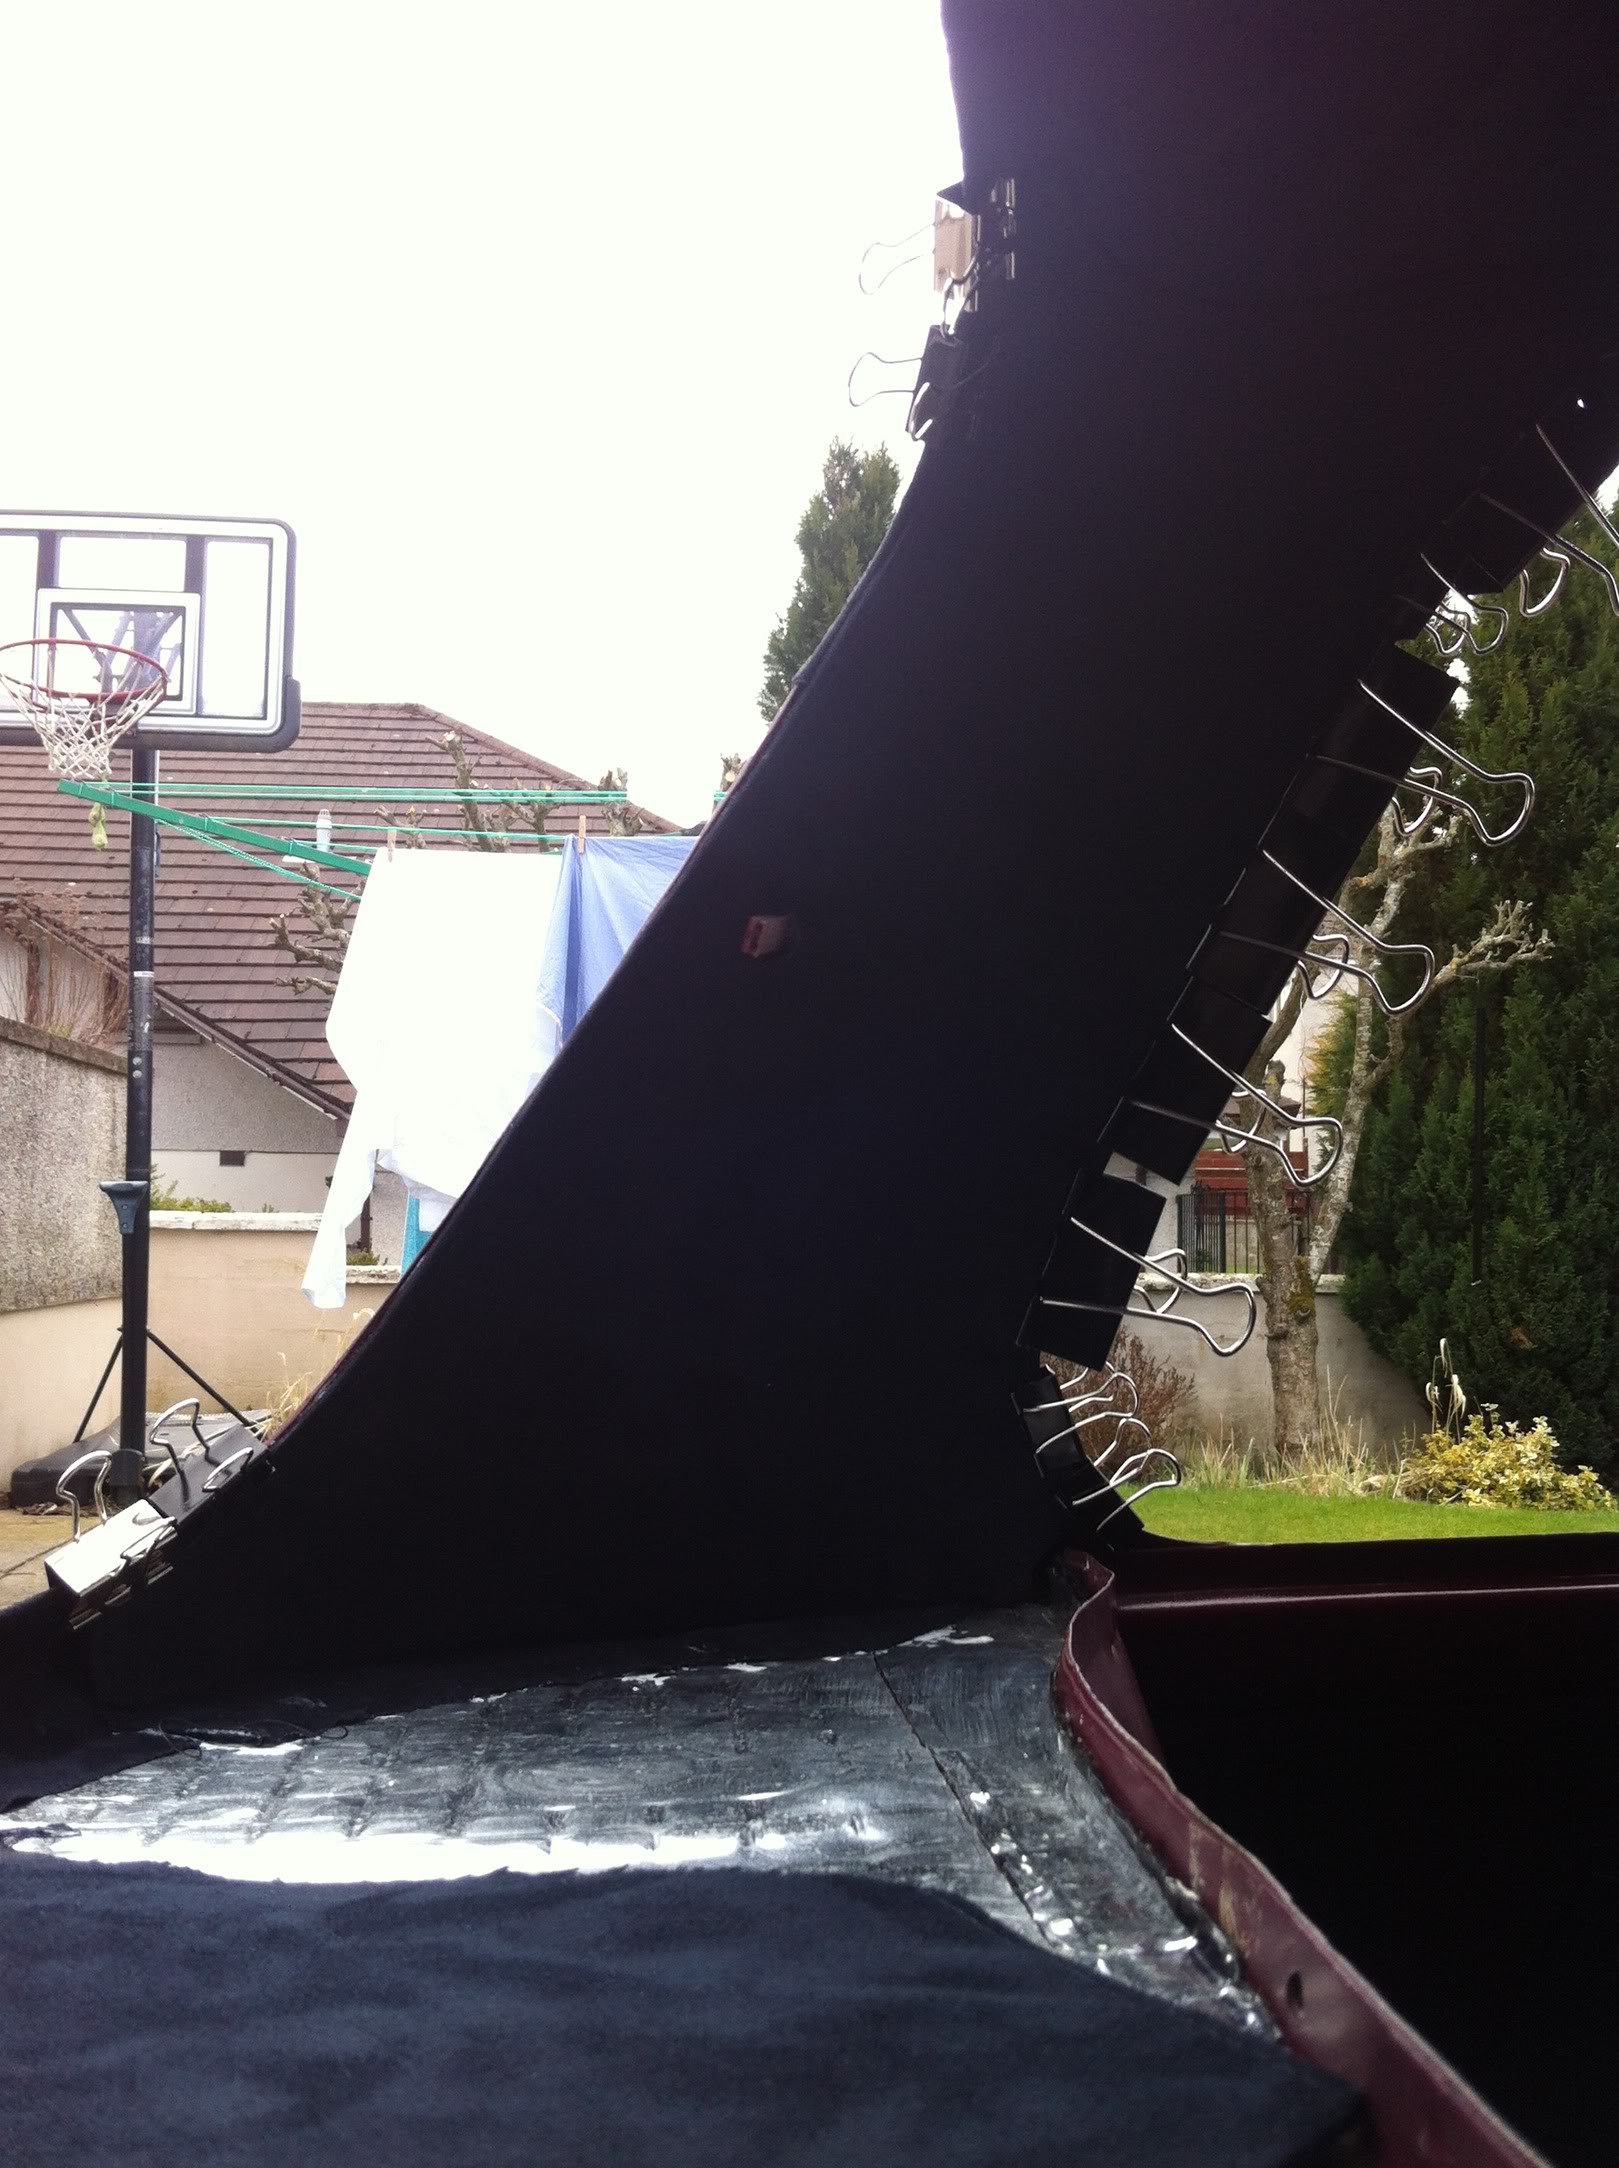
Update time........couple days late due to forum being down. Few wee odds and sods completed. Sprayed my harness bar black, in prep for wrapping in alcantara to blend in with the seats. 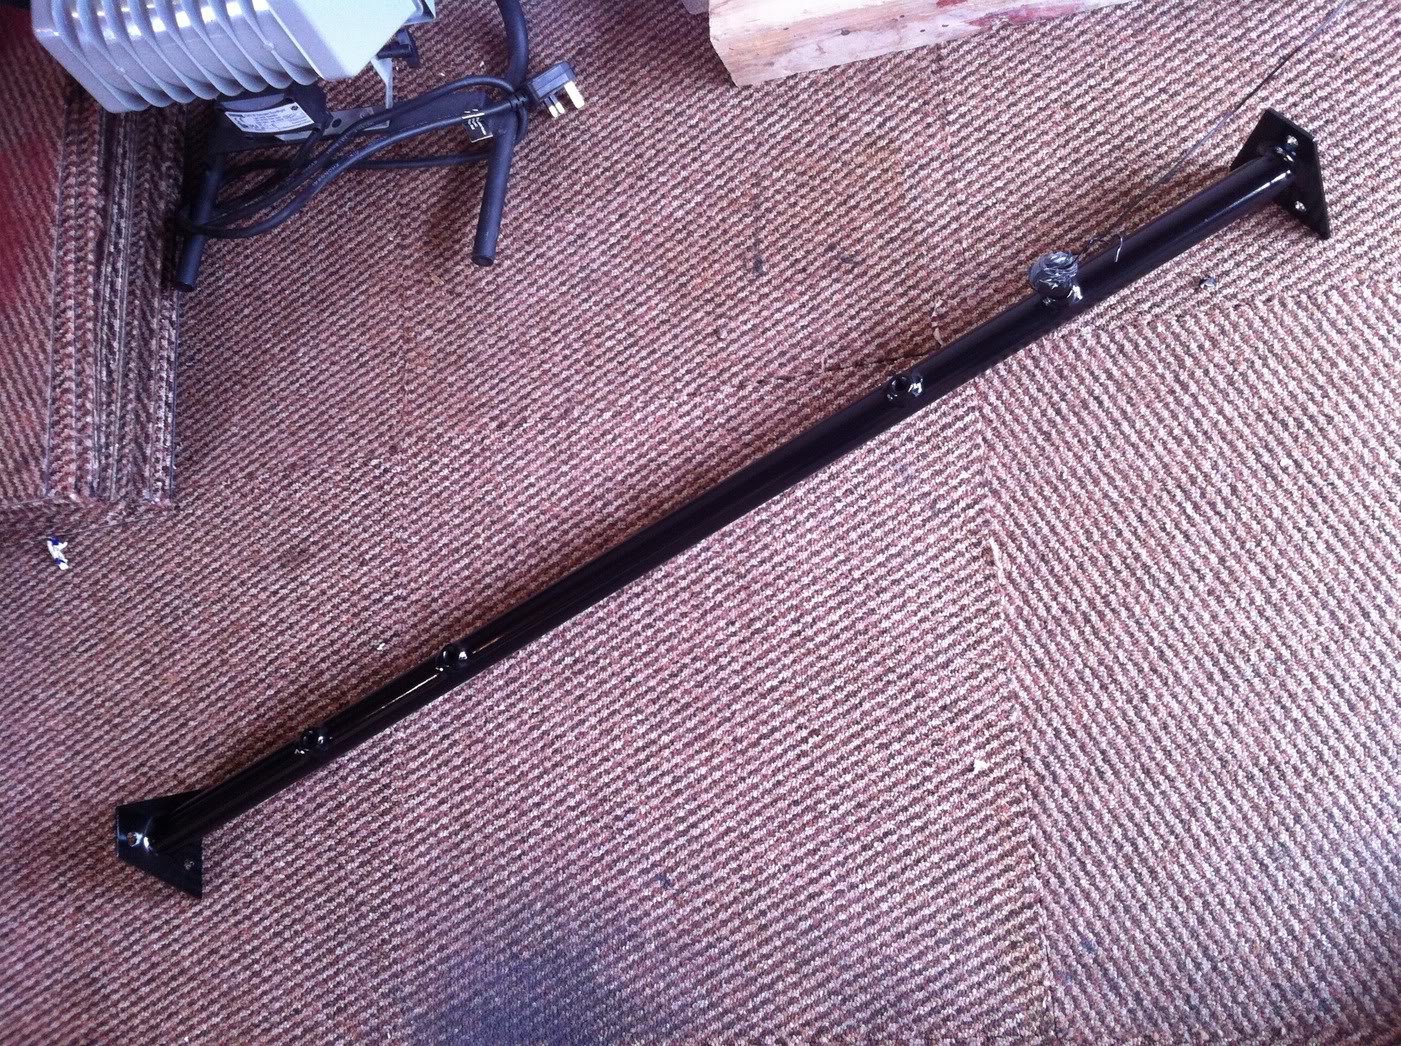 finished off the headlining pillars and other trim. Looks amazing!
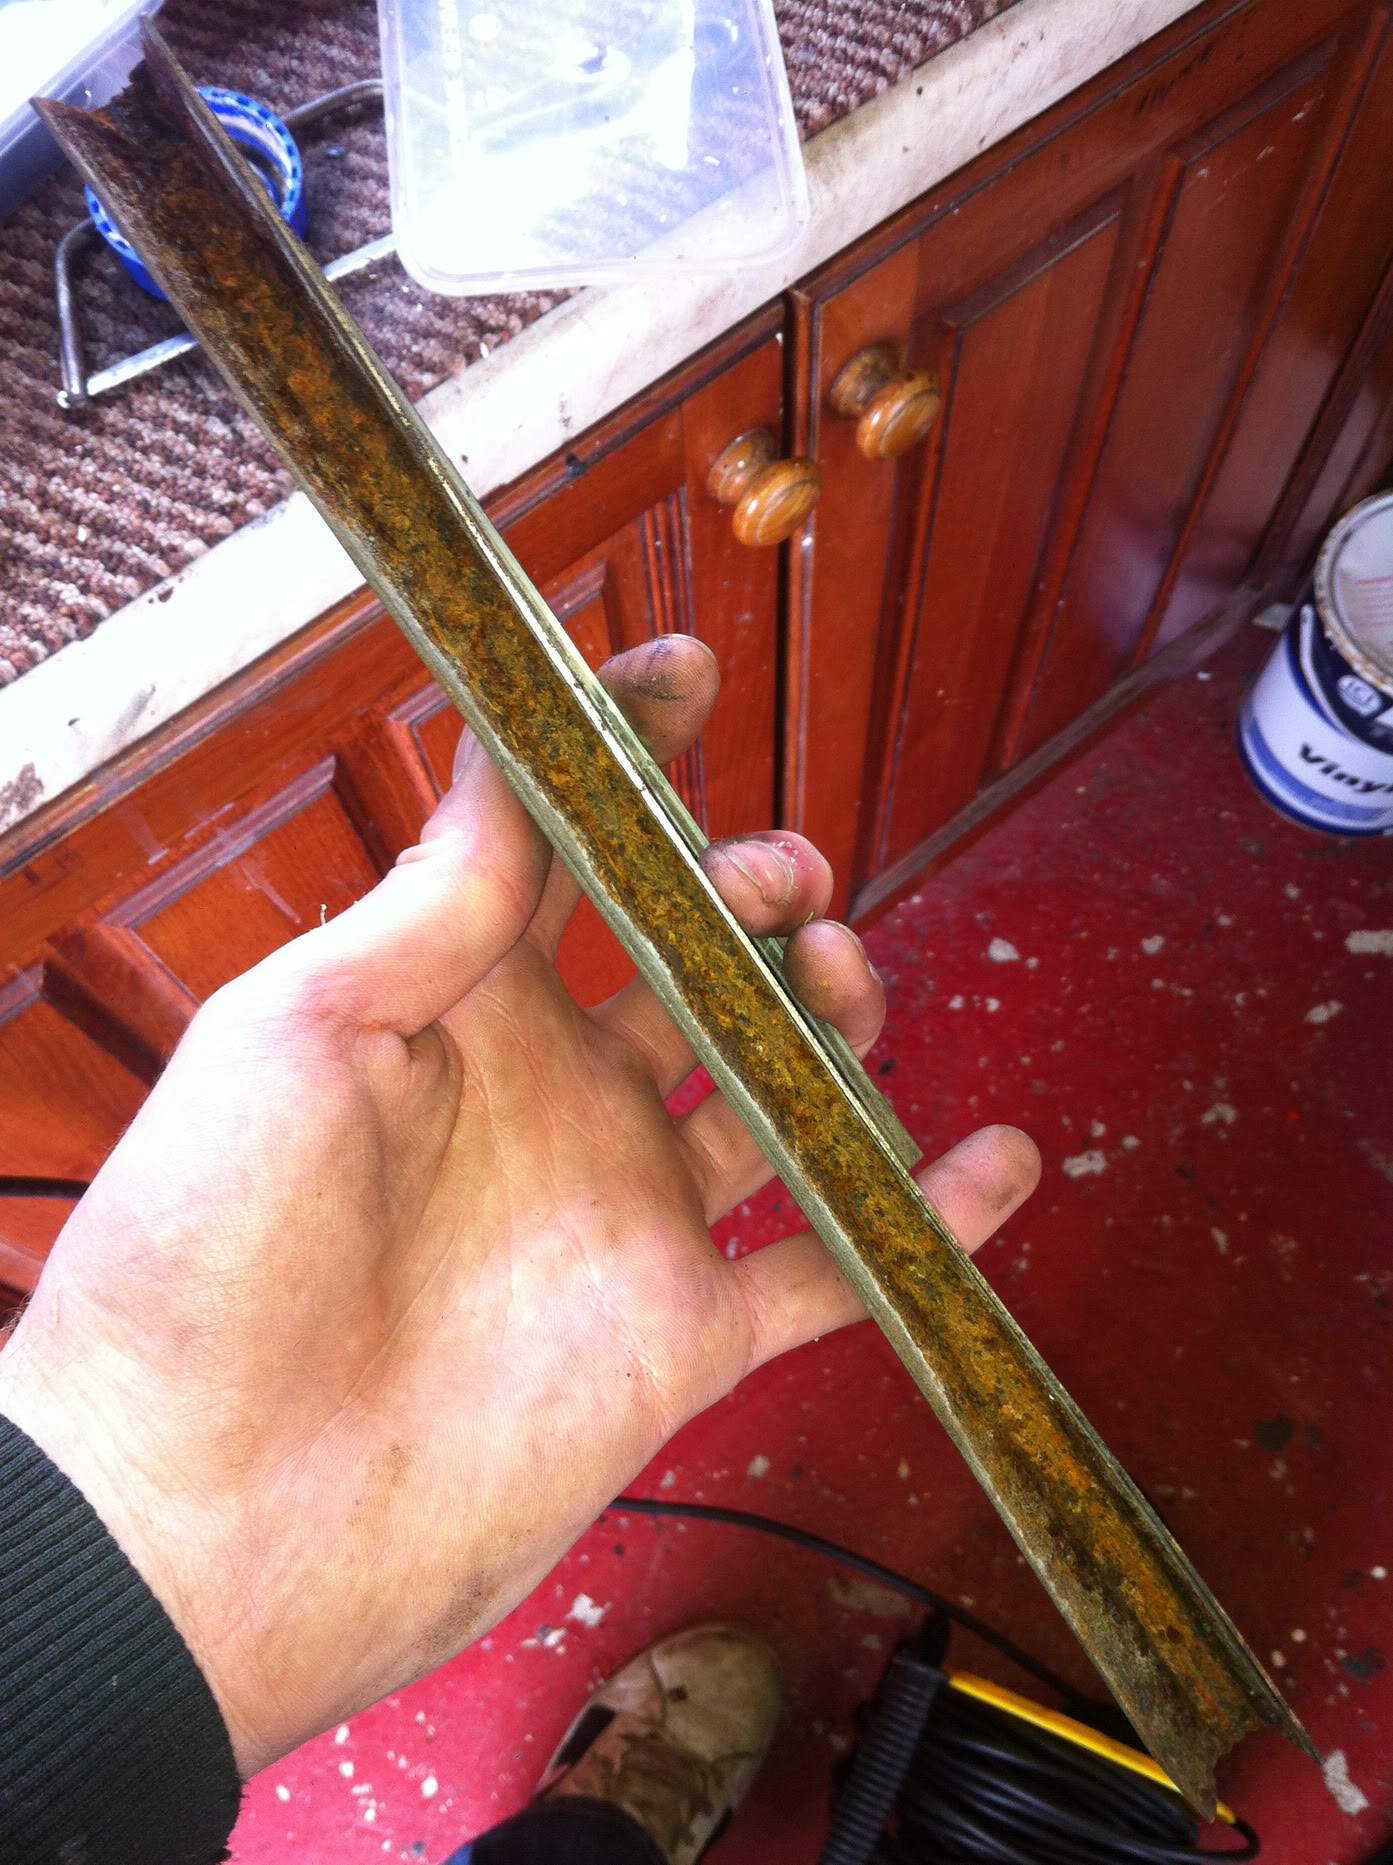
 and got my passenger window mounted on the mechanism runners. They were VERY rusty but nothing a good scrub with a wire brush and a coating of Deox Gel couldnt sort.
  Update 2 from today
Well today has been probably one of the least productive ever. Went to start engine (it turns over well after charging the battery overnight) but no, it just kept on turning over, not even the hint of catching and firing into life. Balls! Turns out its a rather complicated fix that I need knowledge and multimeter skills for. Neither of which I have so im stuck for now on that front.
In better news the engine does have consistent compression readings across all 4 cylinders. 1-4, 130, 125, 130, 130. Happy with that considering I bought it fo £130 untested!
Went to fit the side windows. Didnt go well. The seal was too long, so i cut it at the bonded bit and rebonded to get the right fitment (very tight to allow for slight contraction over time) however upon trying to fit it, the seal got damaged, so need a new one. Balls!
As you can see, far too big....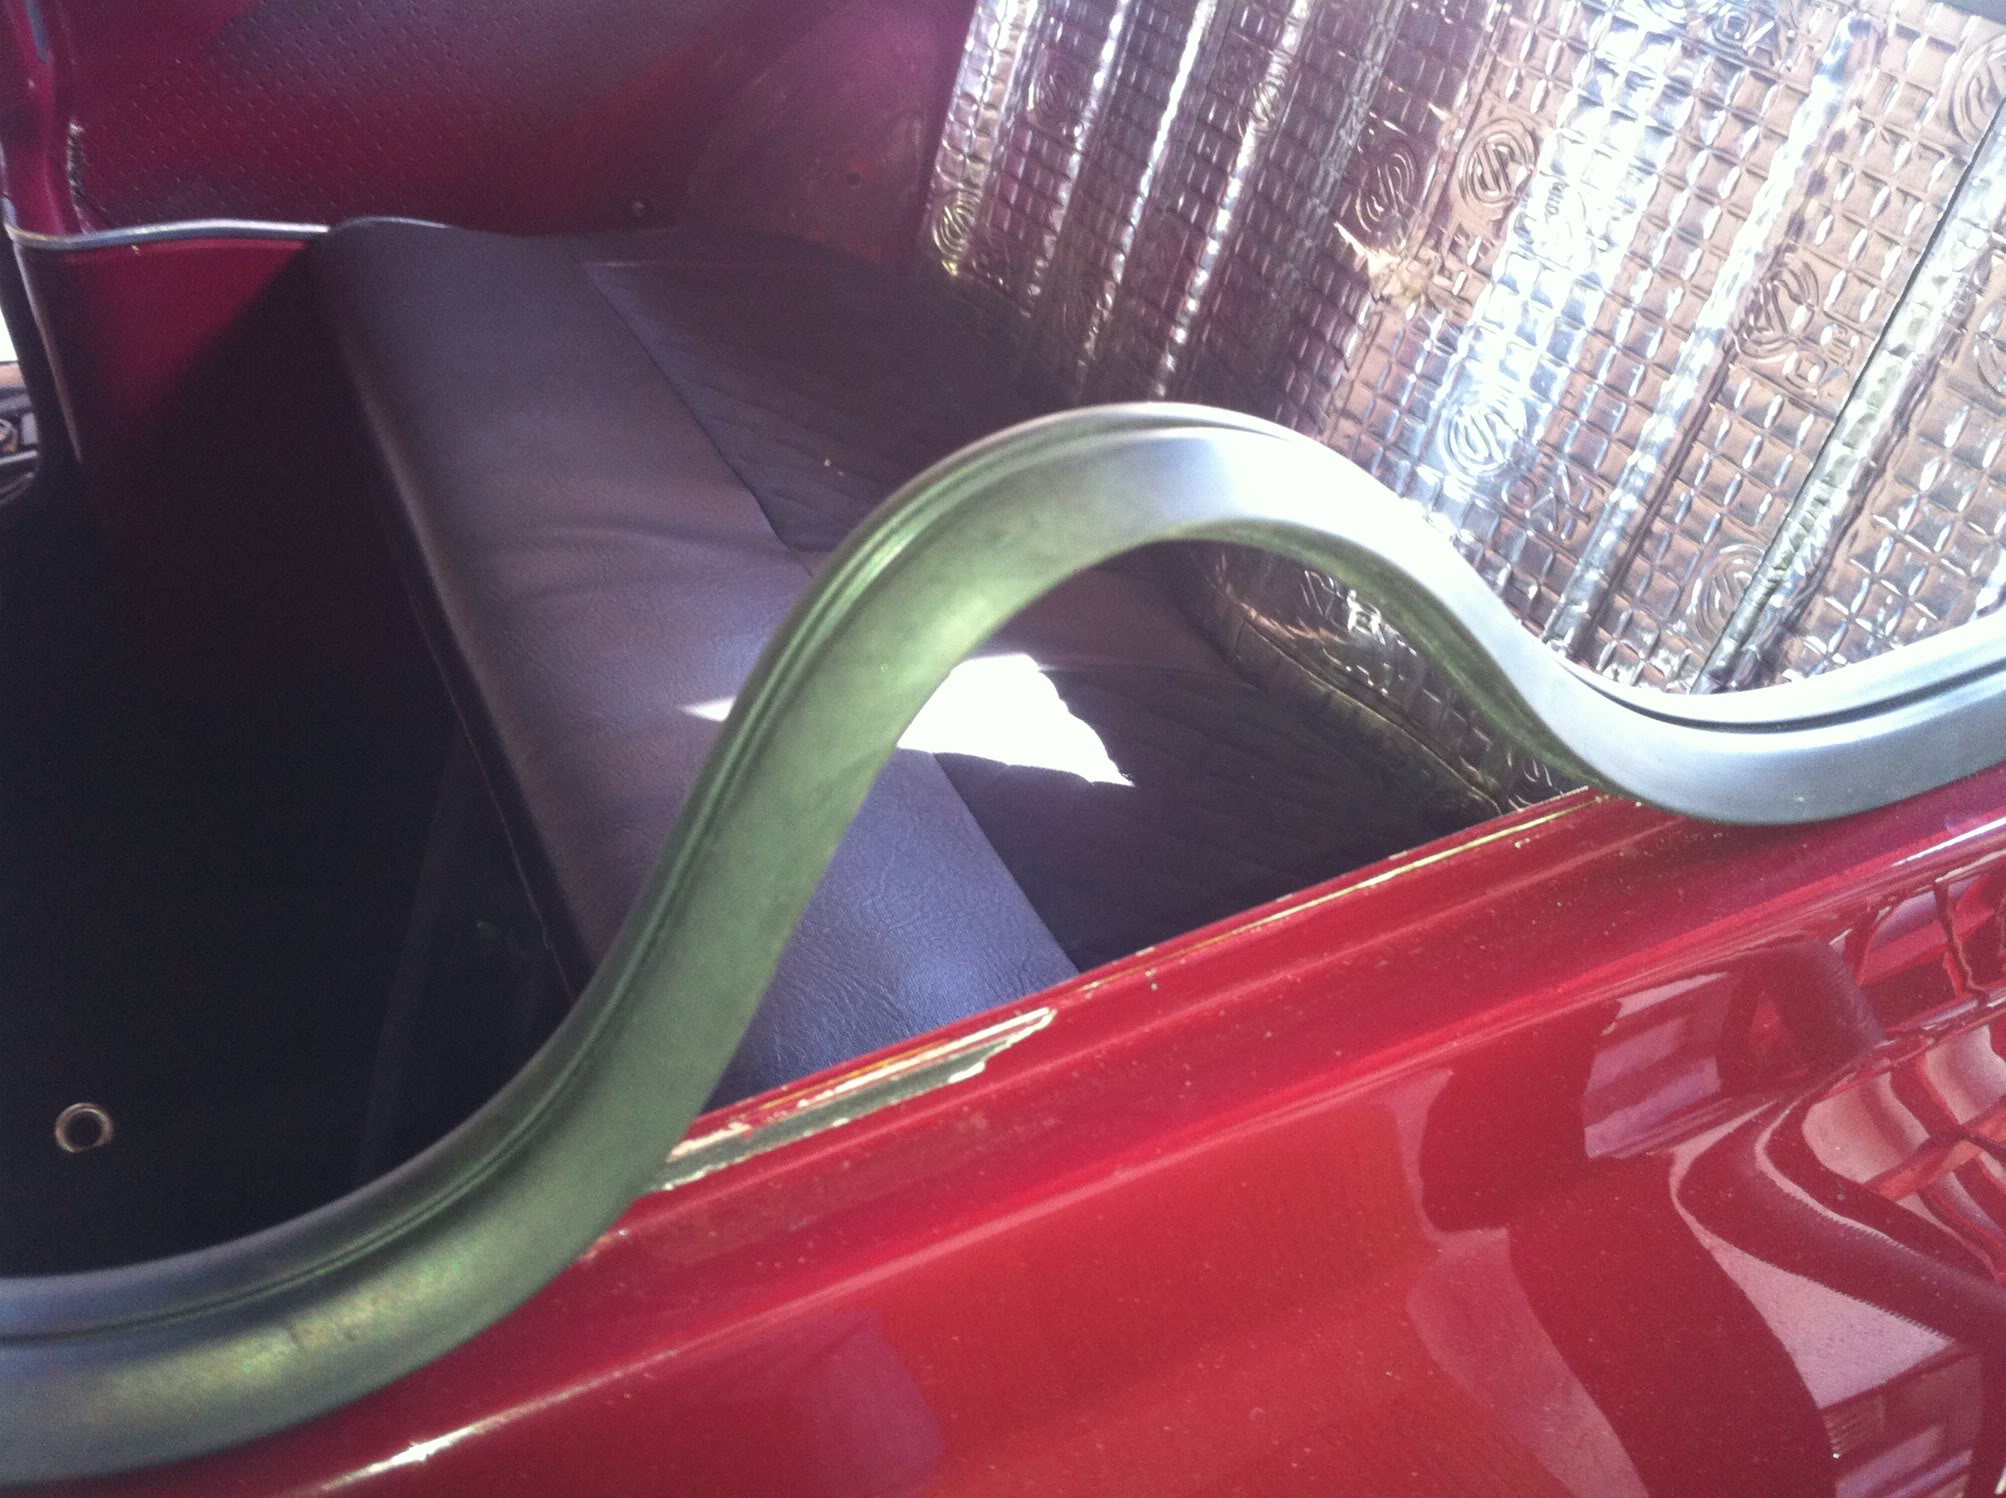
So we thought, ho hum, get the windscreen in. Was sunny when we started, but the clouds soon took over and cold wind picked up making the seal solid. Balls!
So its currently sitting with the seal on awaiting a warmer evening or weekend.......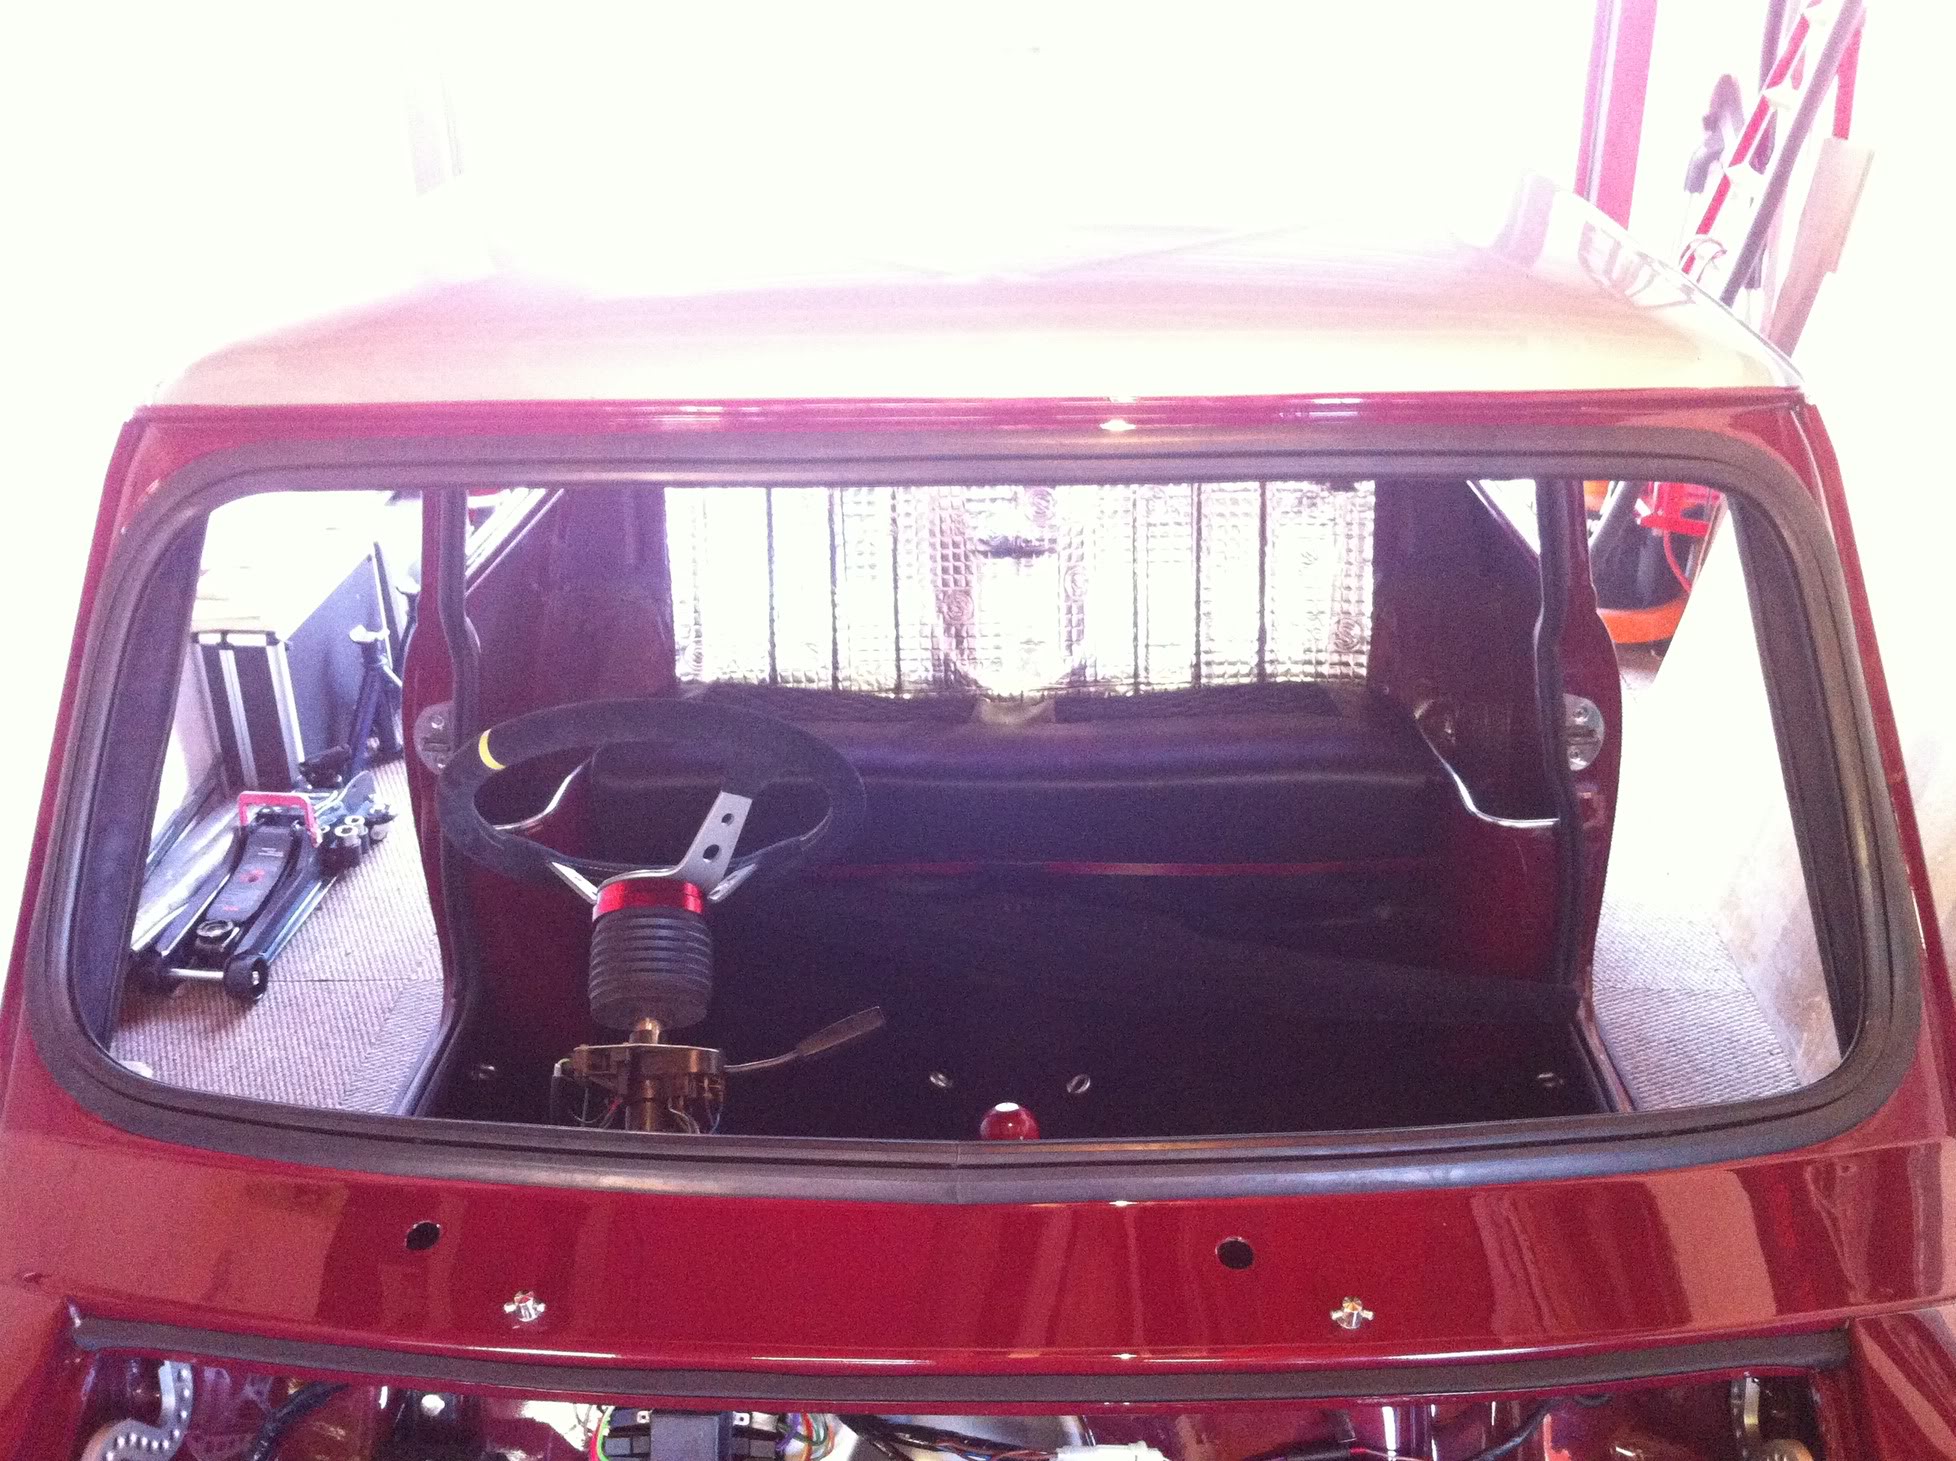
Got the plinth fitted into its chrome trim. Thankfully, it was a job that couldn't go wrong......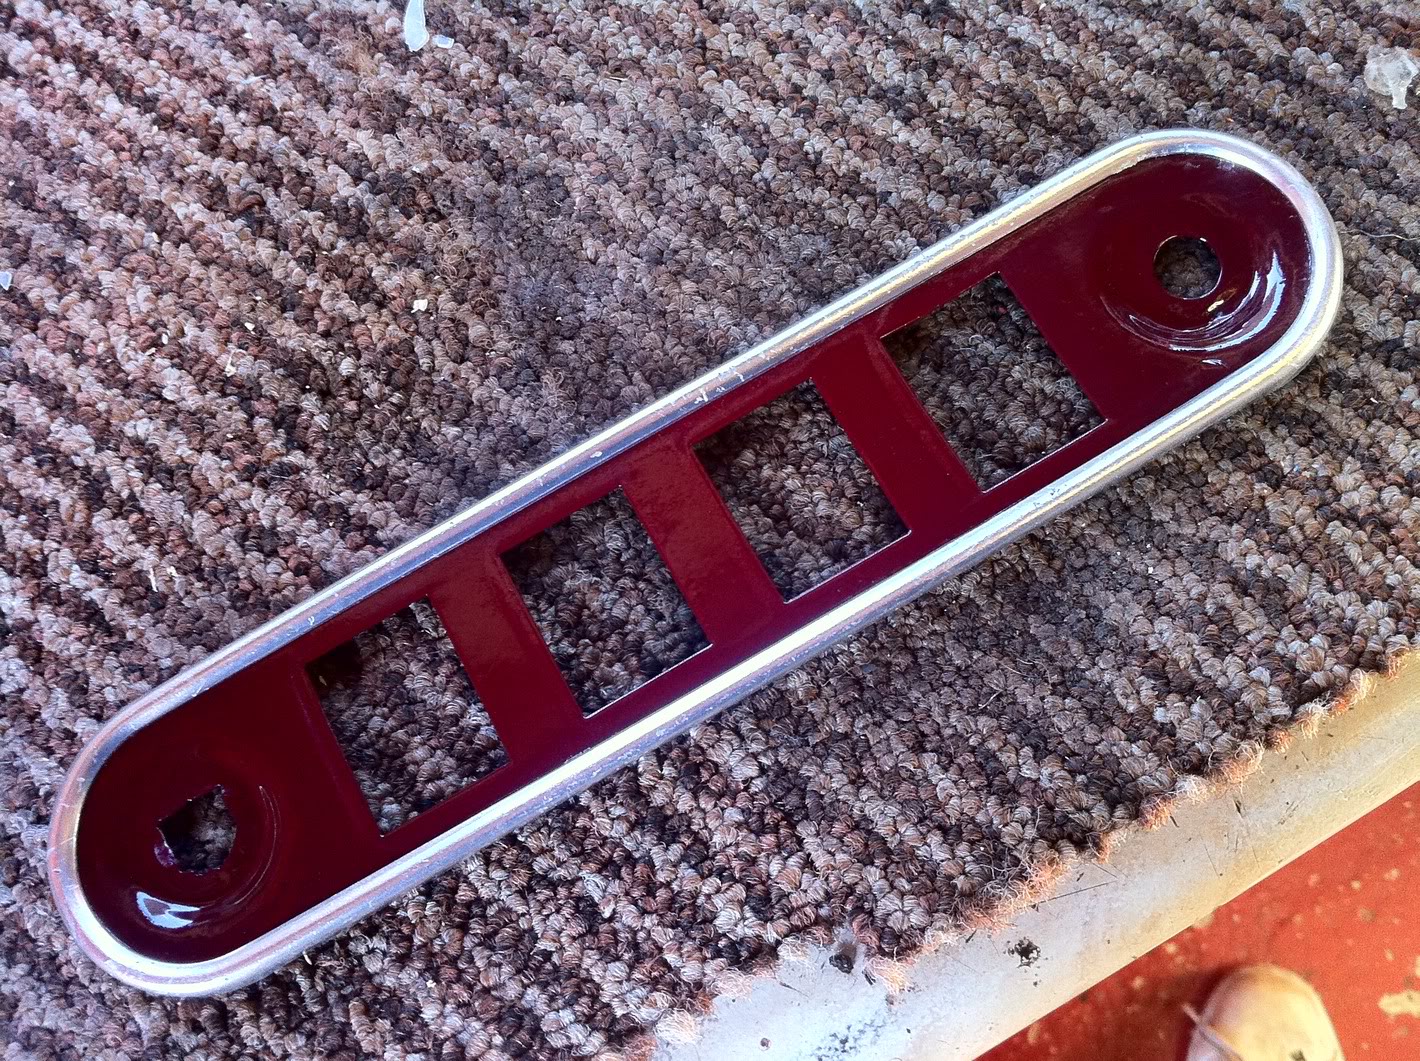
and i got one of the mirror plinths on too. Other one is missing the metal plate that sits below this, so will add it to the window seal order.......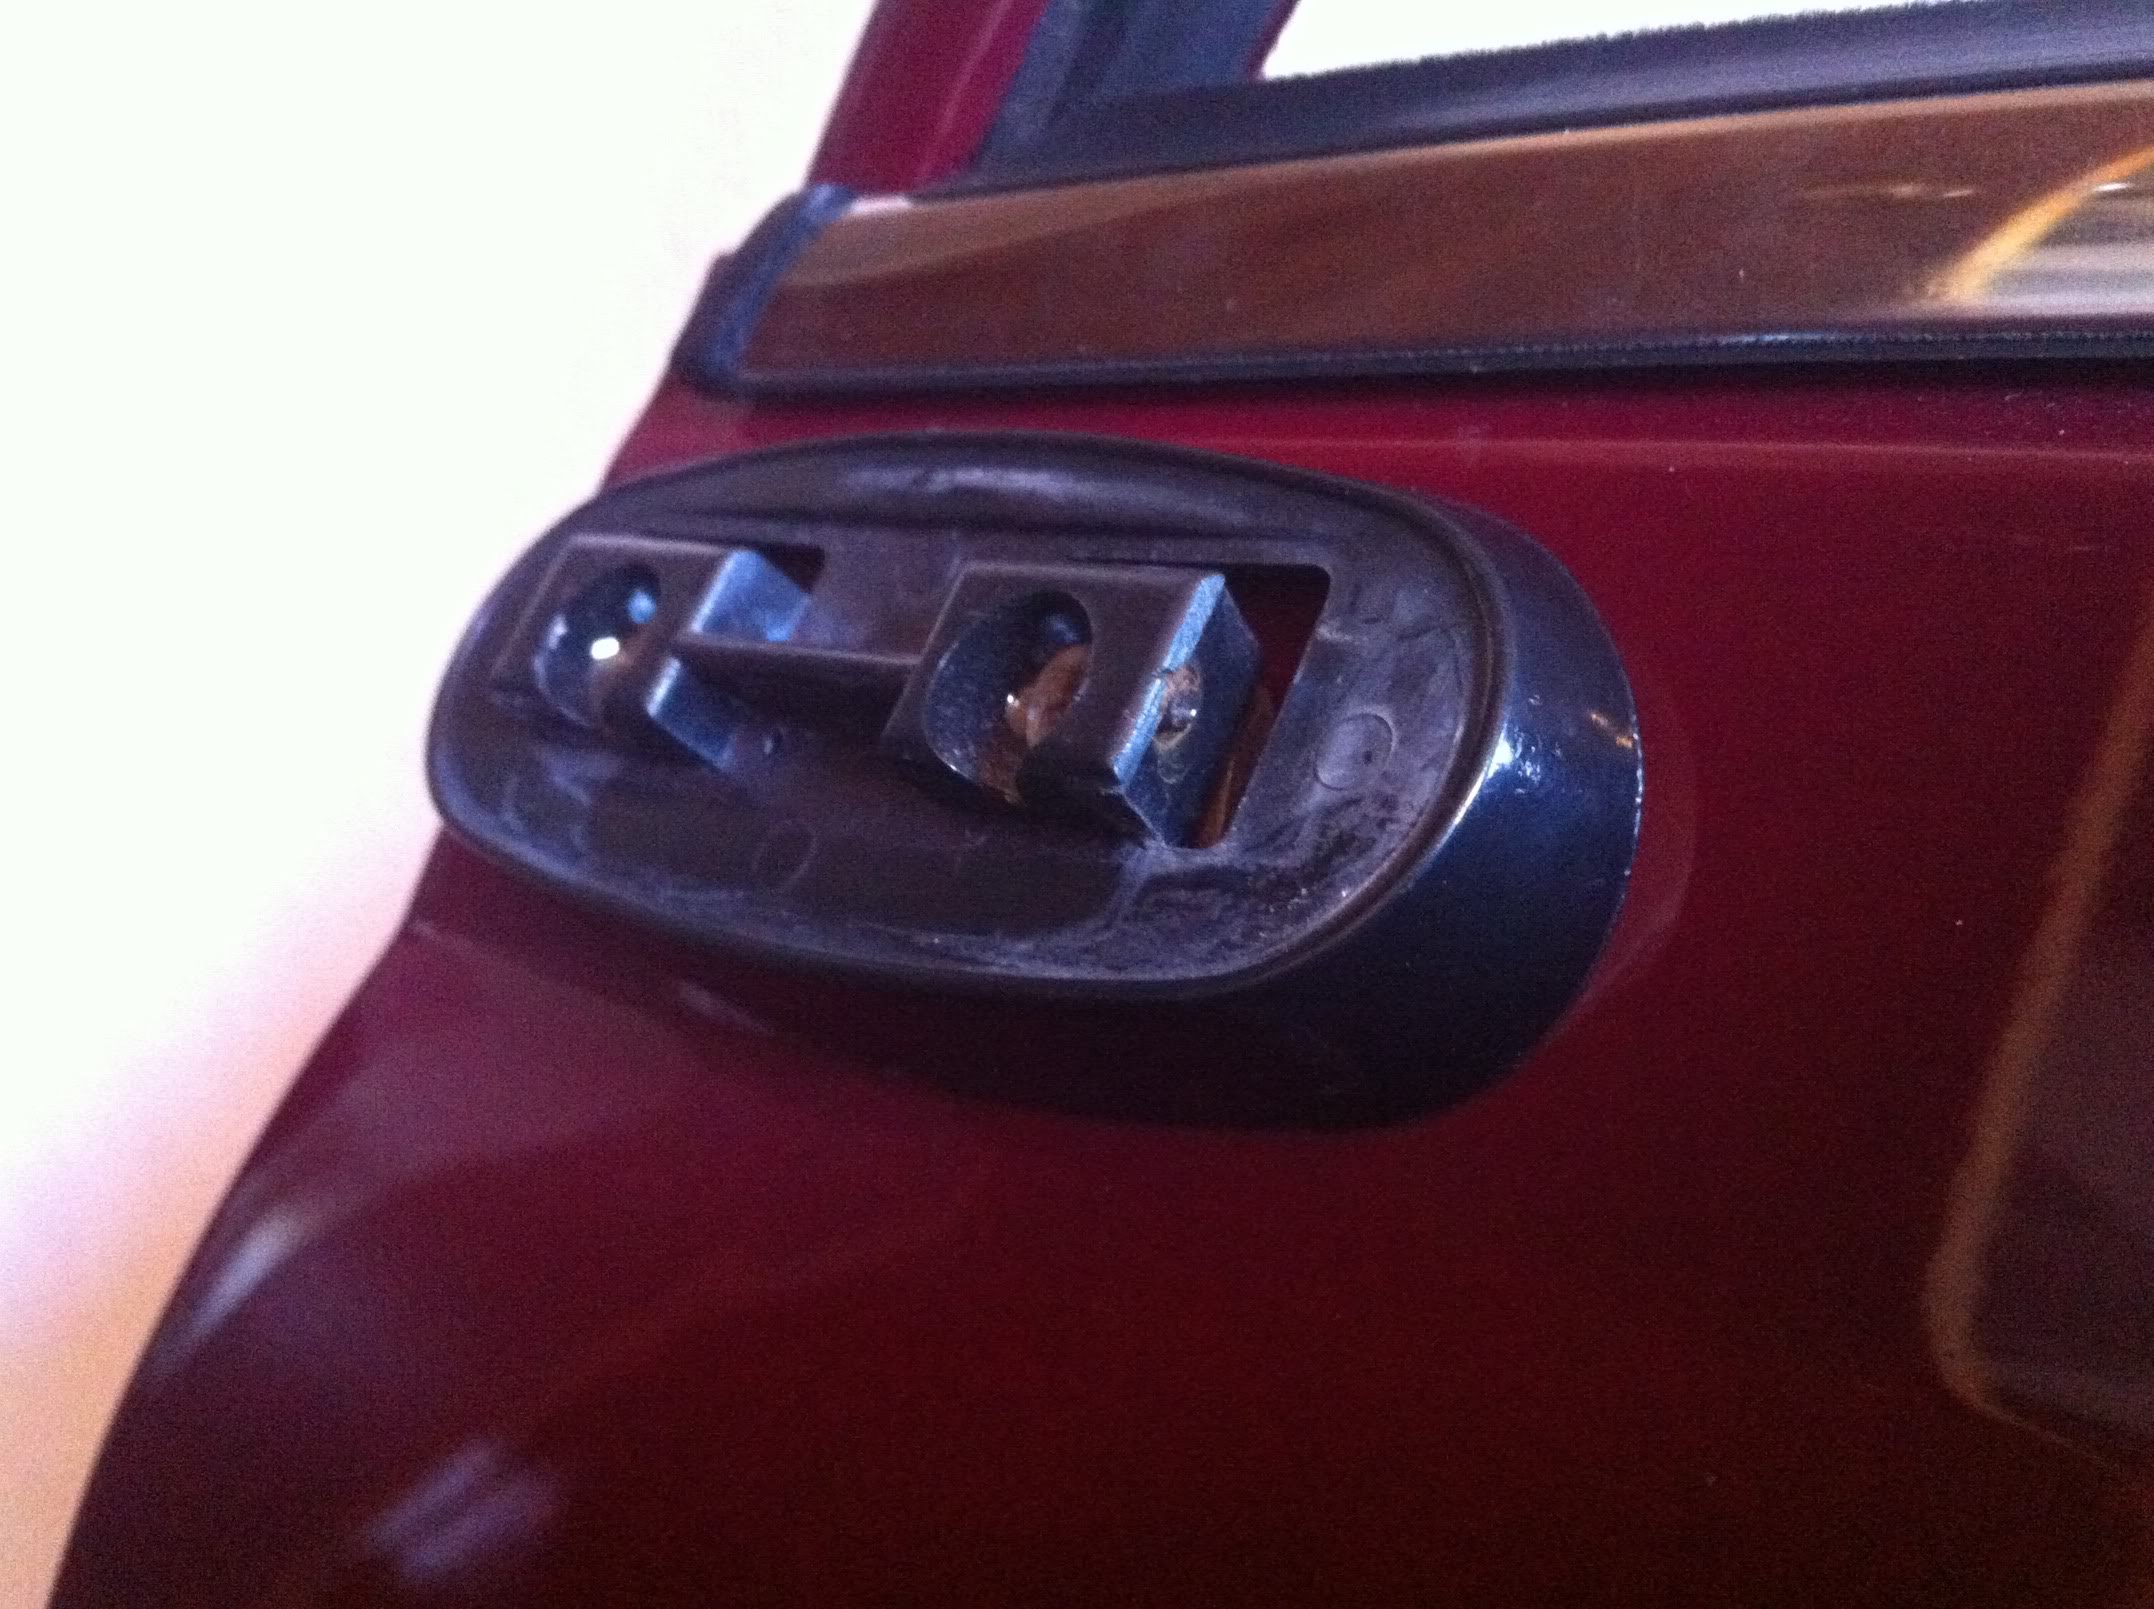
So yeh, 7hrs to fit a window seal but no window and a mirror plinth. Given up now as i know I will damage stuff if I continue to work on it. Making a list of small things that need done so i can tick them off as I go so I feel like Im making some form of progress.
So to summarise.....BALLS!!!!!
5-4-2013
Aaaaand heres that small update! Got a lots done today thankfully! Fine day, new seals, so got on with fitting the side windows. Not the easiest but once we got the technique (thick nylon cord in the channel being pulled inside) they were in. Genuine seals so perfect fit all round. Lovely! Almost looks like a complete Mini here! (If only.......) 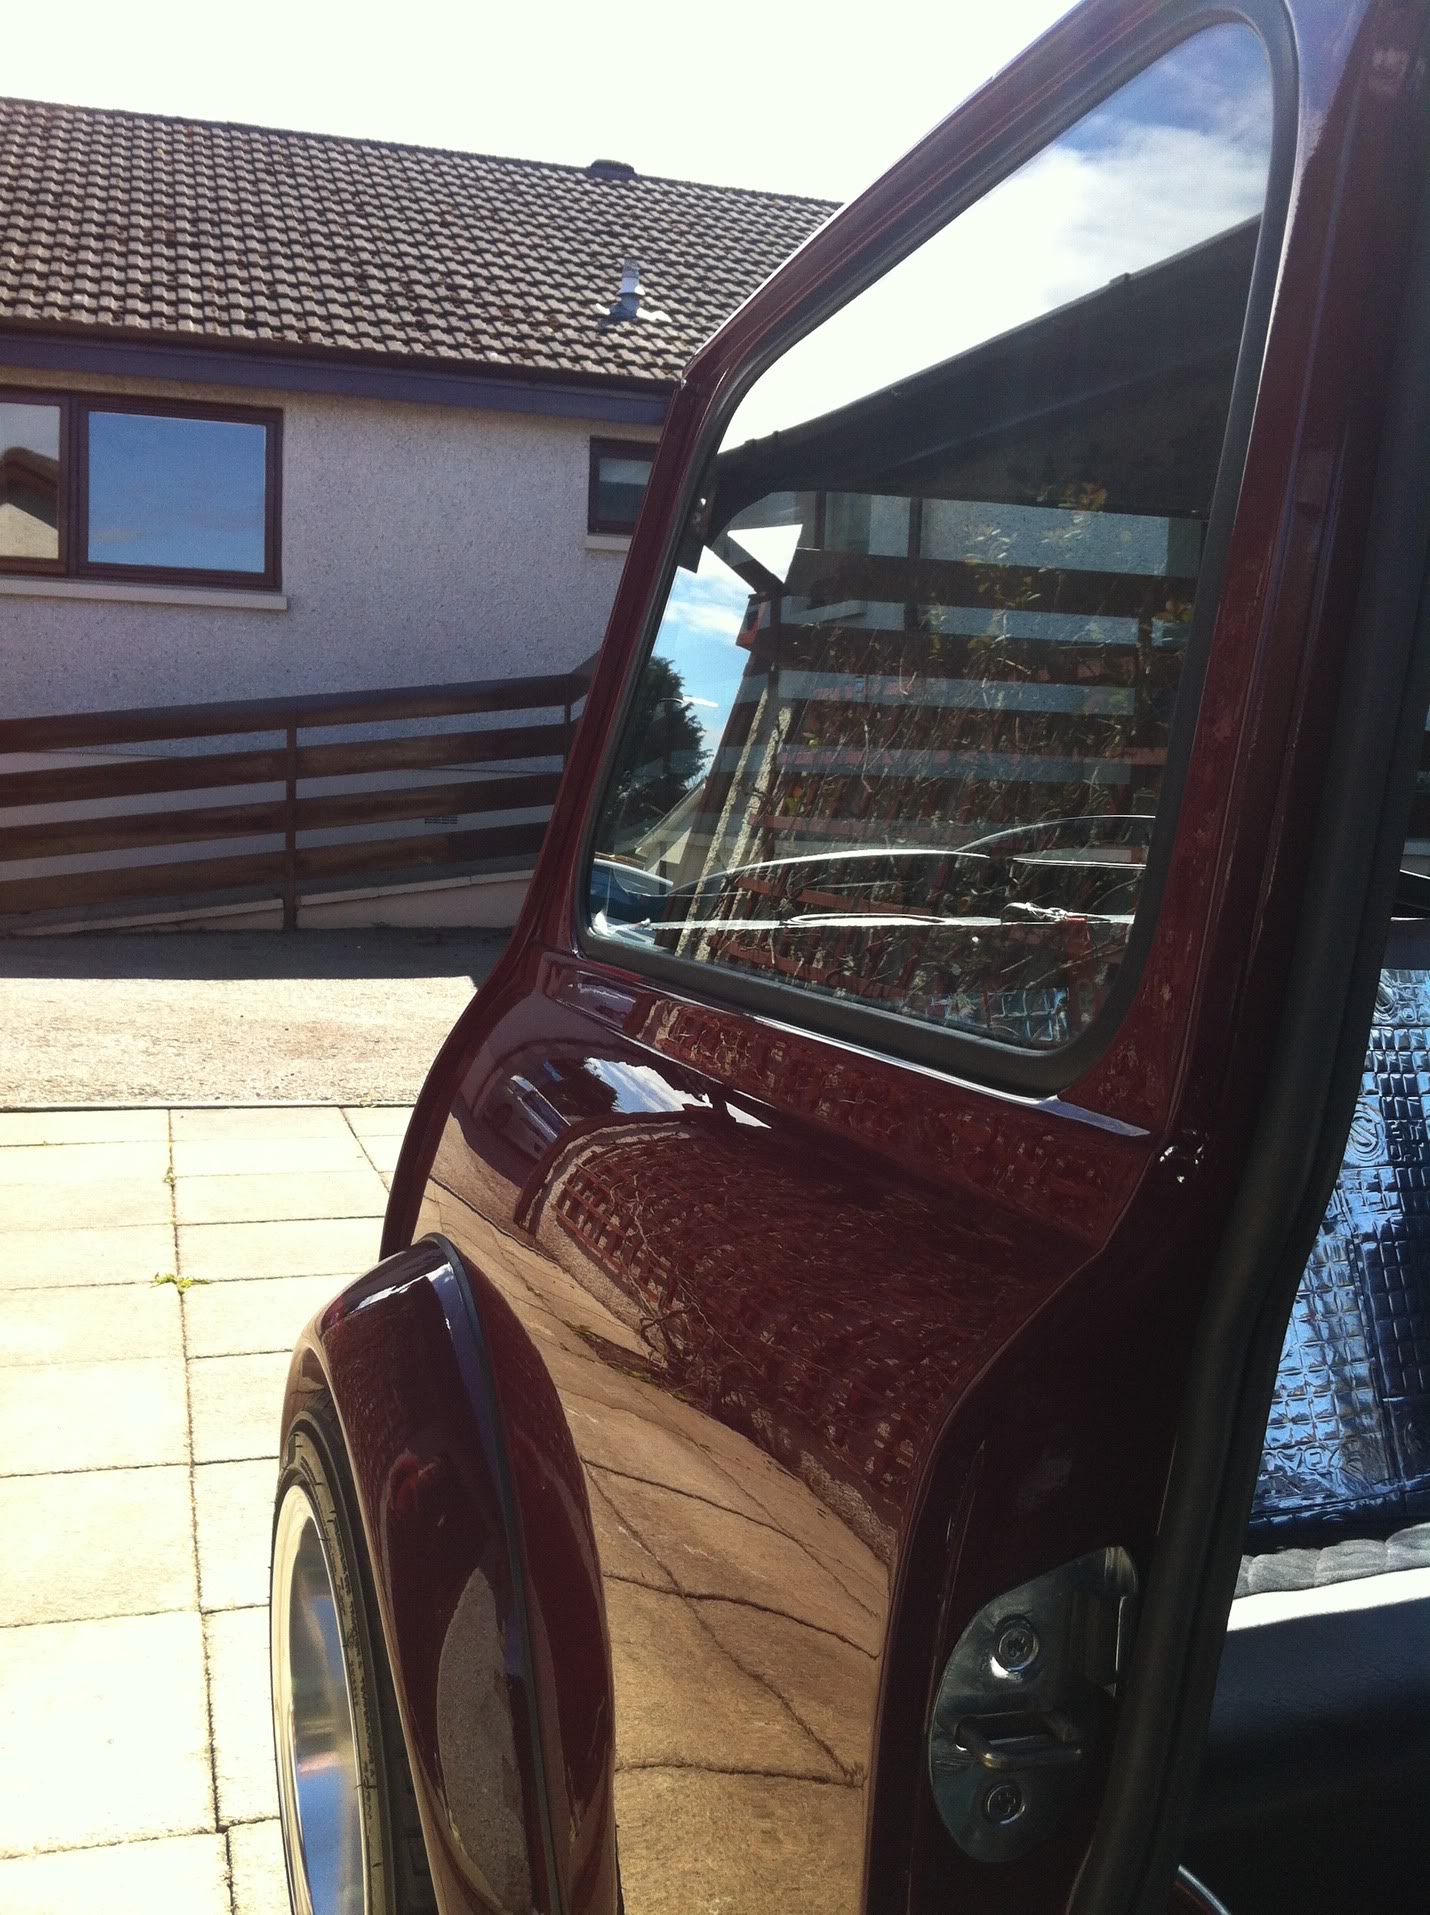
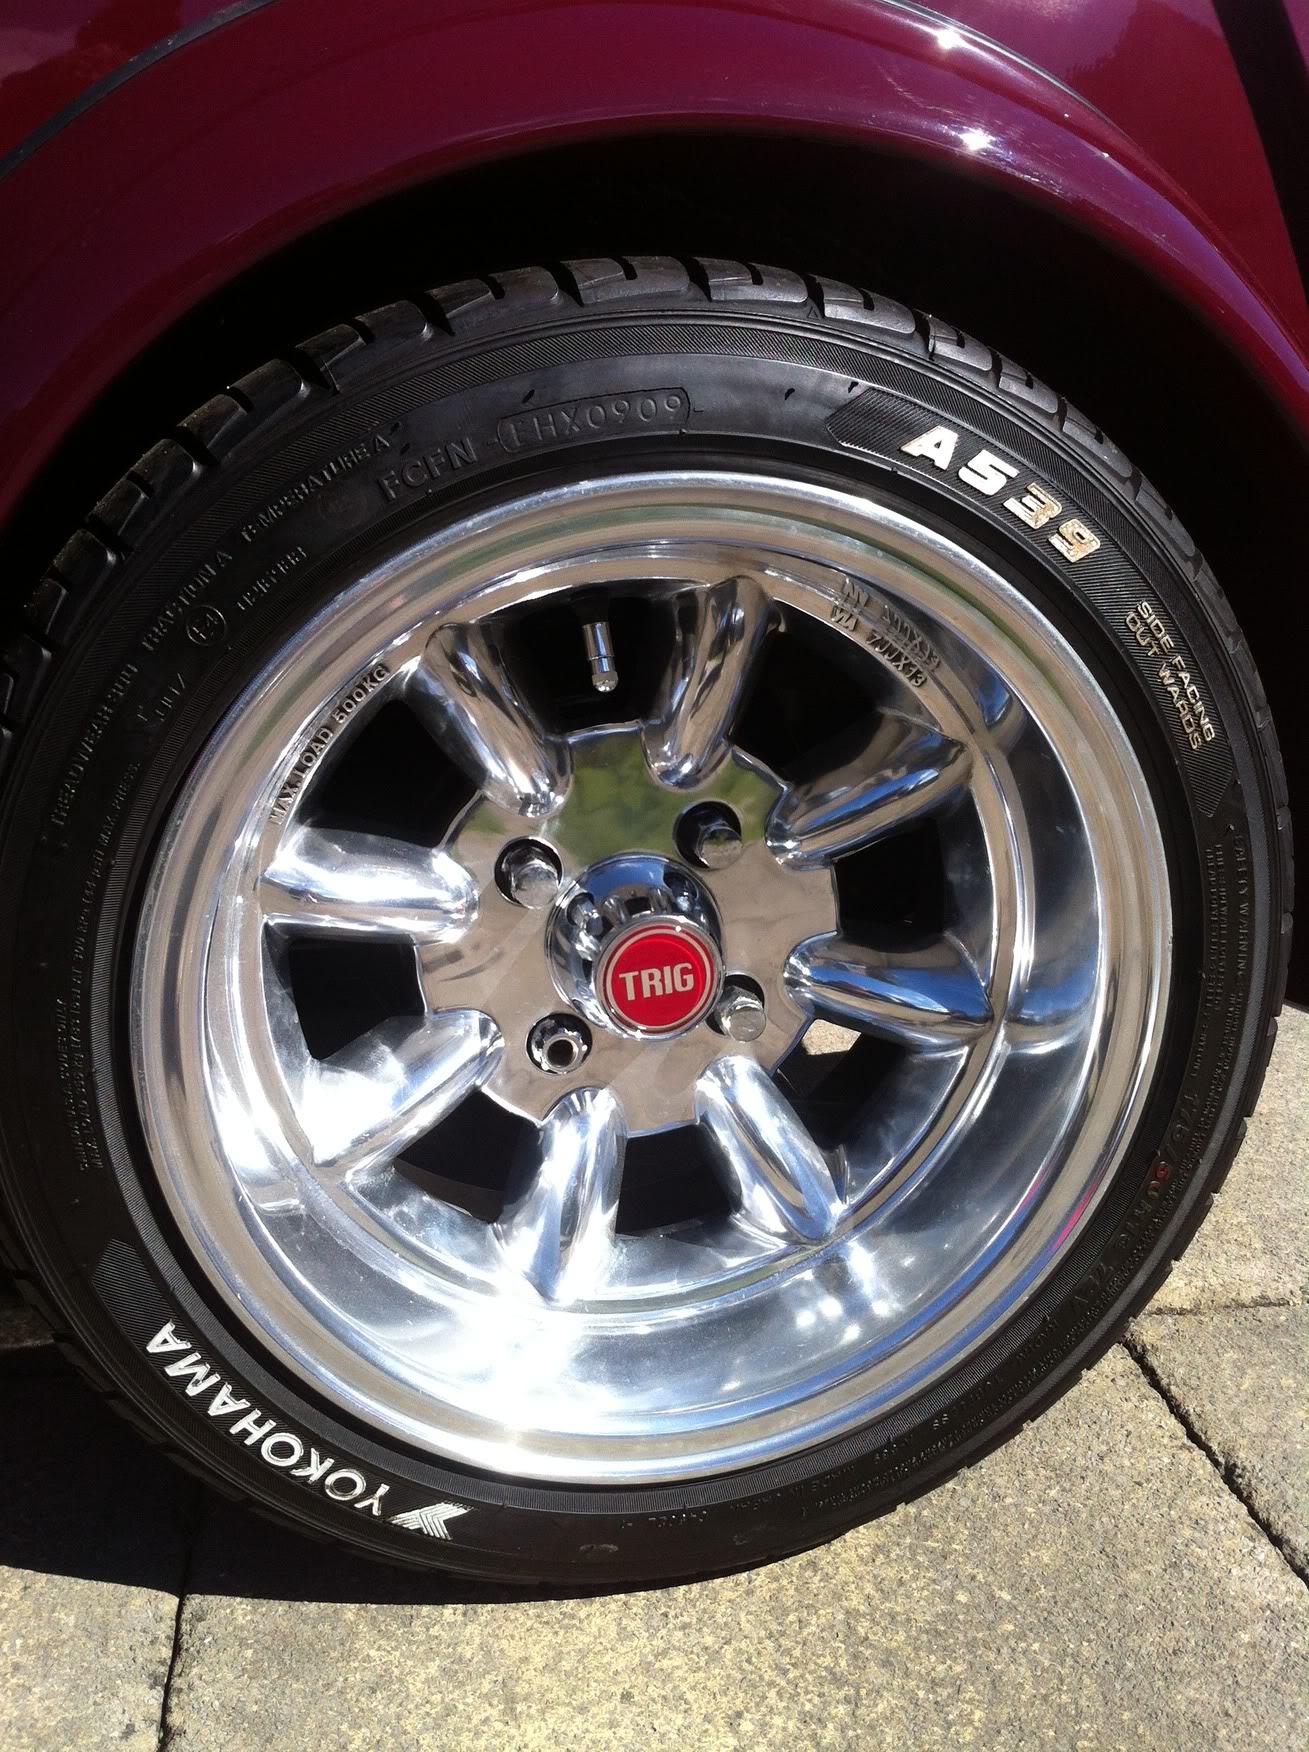
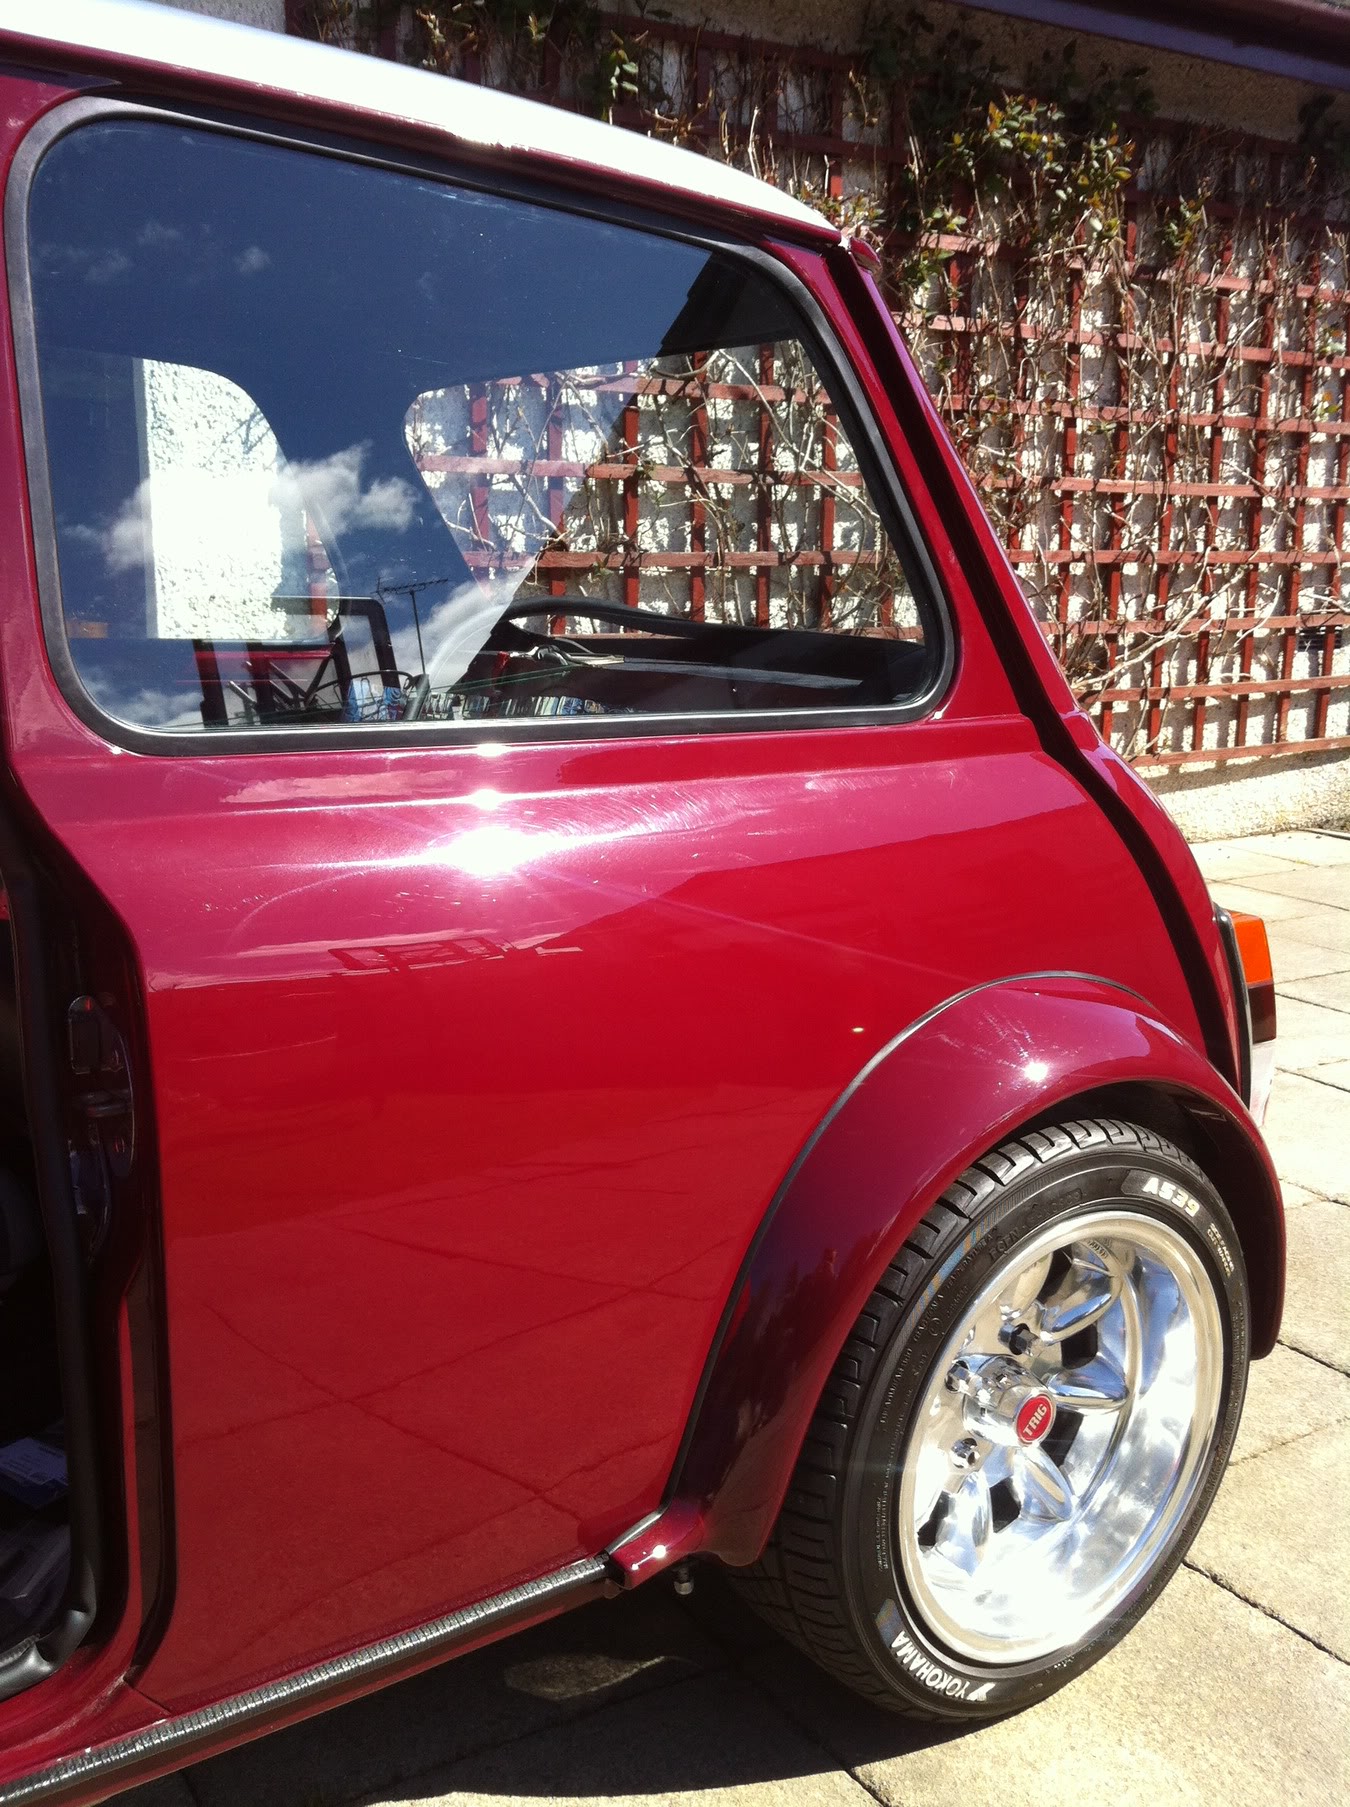 Wheels look amazing in the sun
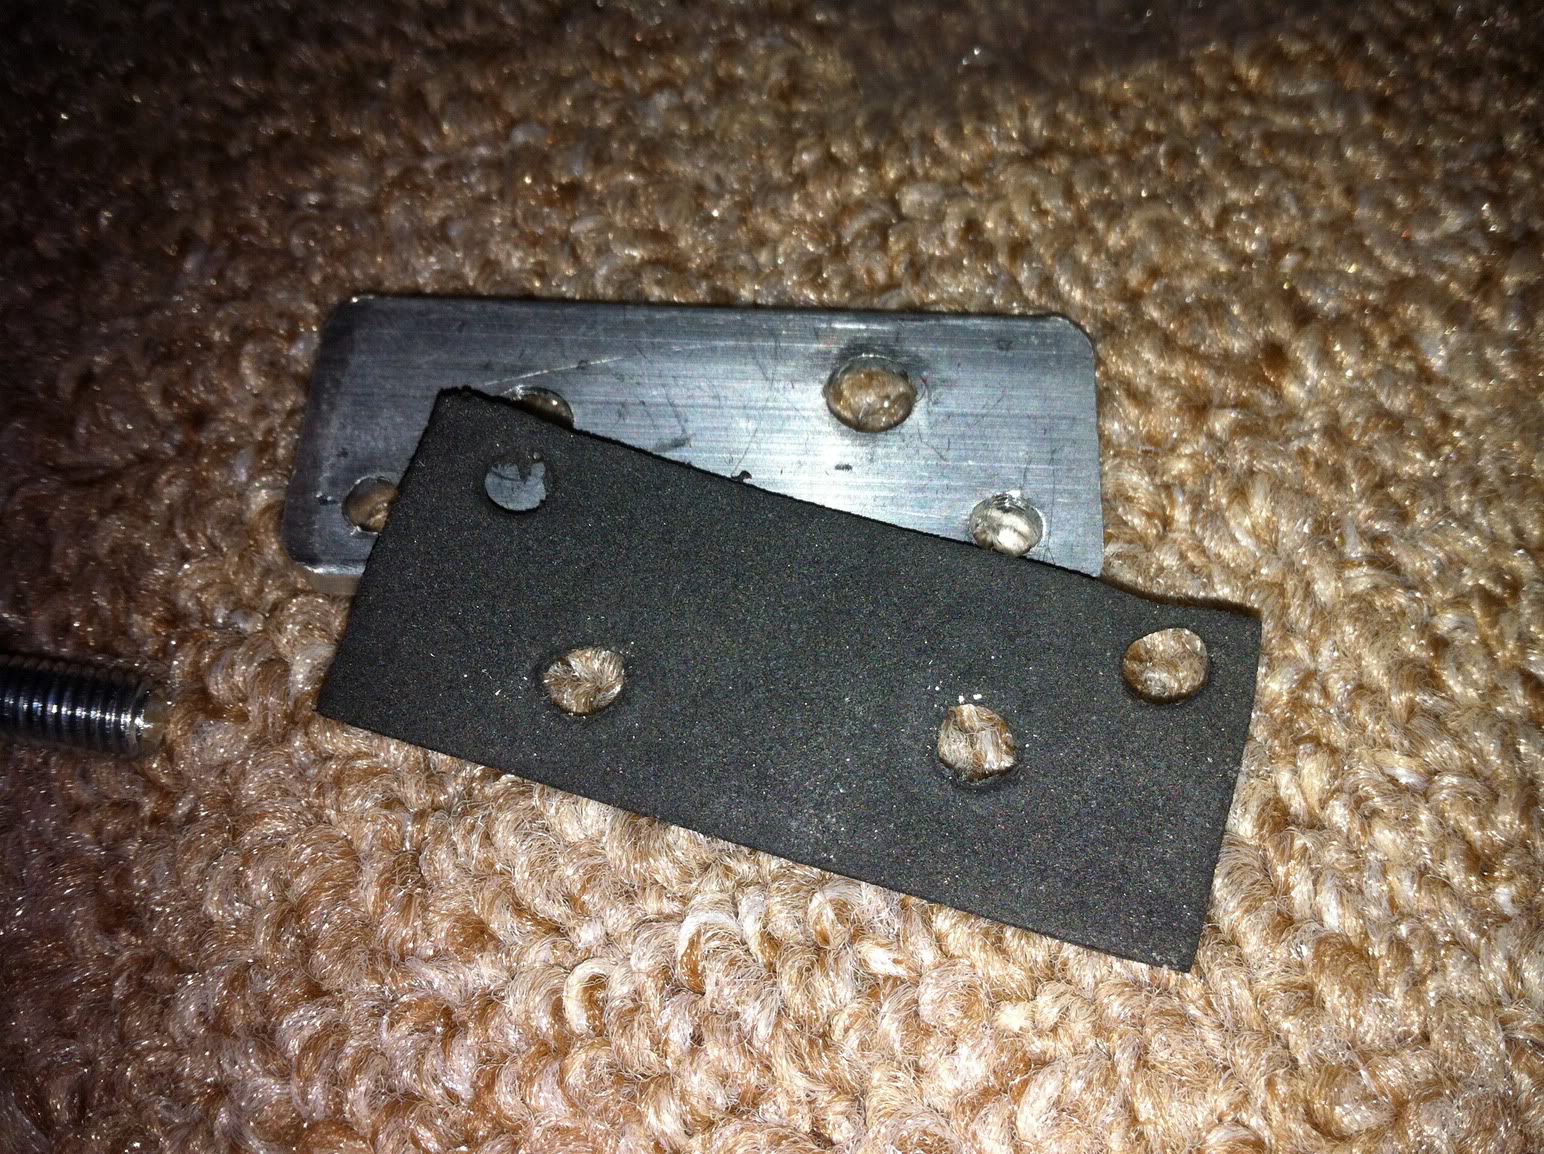
  Also got mirror plinths delivered. Made up a couple of seals from thin foam to prevent water getting into the doors through the rivnuts. They are a good seal anyway but better safe than sorry!
  And that was today! Good progress and more tomorrow :) Oh......forgot about this bit.......after wiring changes last night went to fure up the car. It runs. Almost 3 years to the day since it fired its last breath. Beyond happy. Its running rough but a bit of tuning and it will be sewing machine smooth. Sounds ACE! Its a full stainless engine to exit system. Specialist components LCB, centre link pipe and PlayMini Supersport back box. Its totally inneficient for power but dont care, it looks ace and sounds even better
 And heres the obligatory 'vid or it didnt happen' video
A HUGE thanks to Dan from The Mini Forum for guiding me through, step by step, all the coil/distributer wiring. It was a MASSIVE help and has helped the car progress massively!
5-5-2013
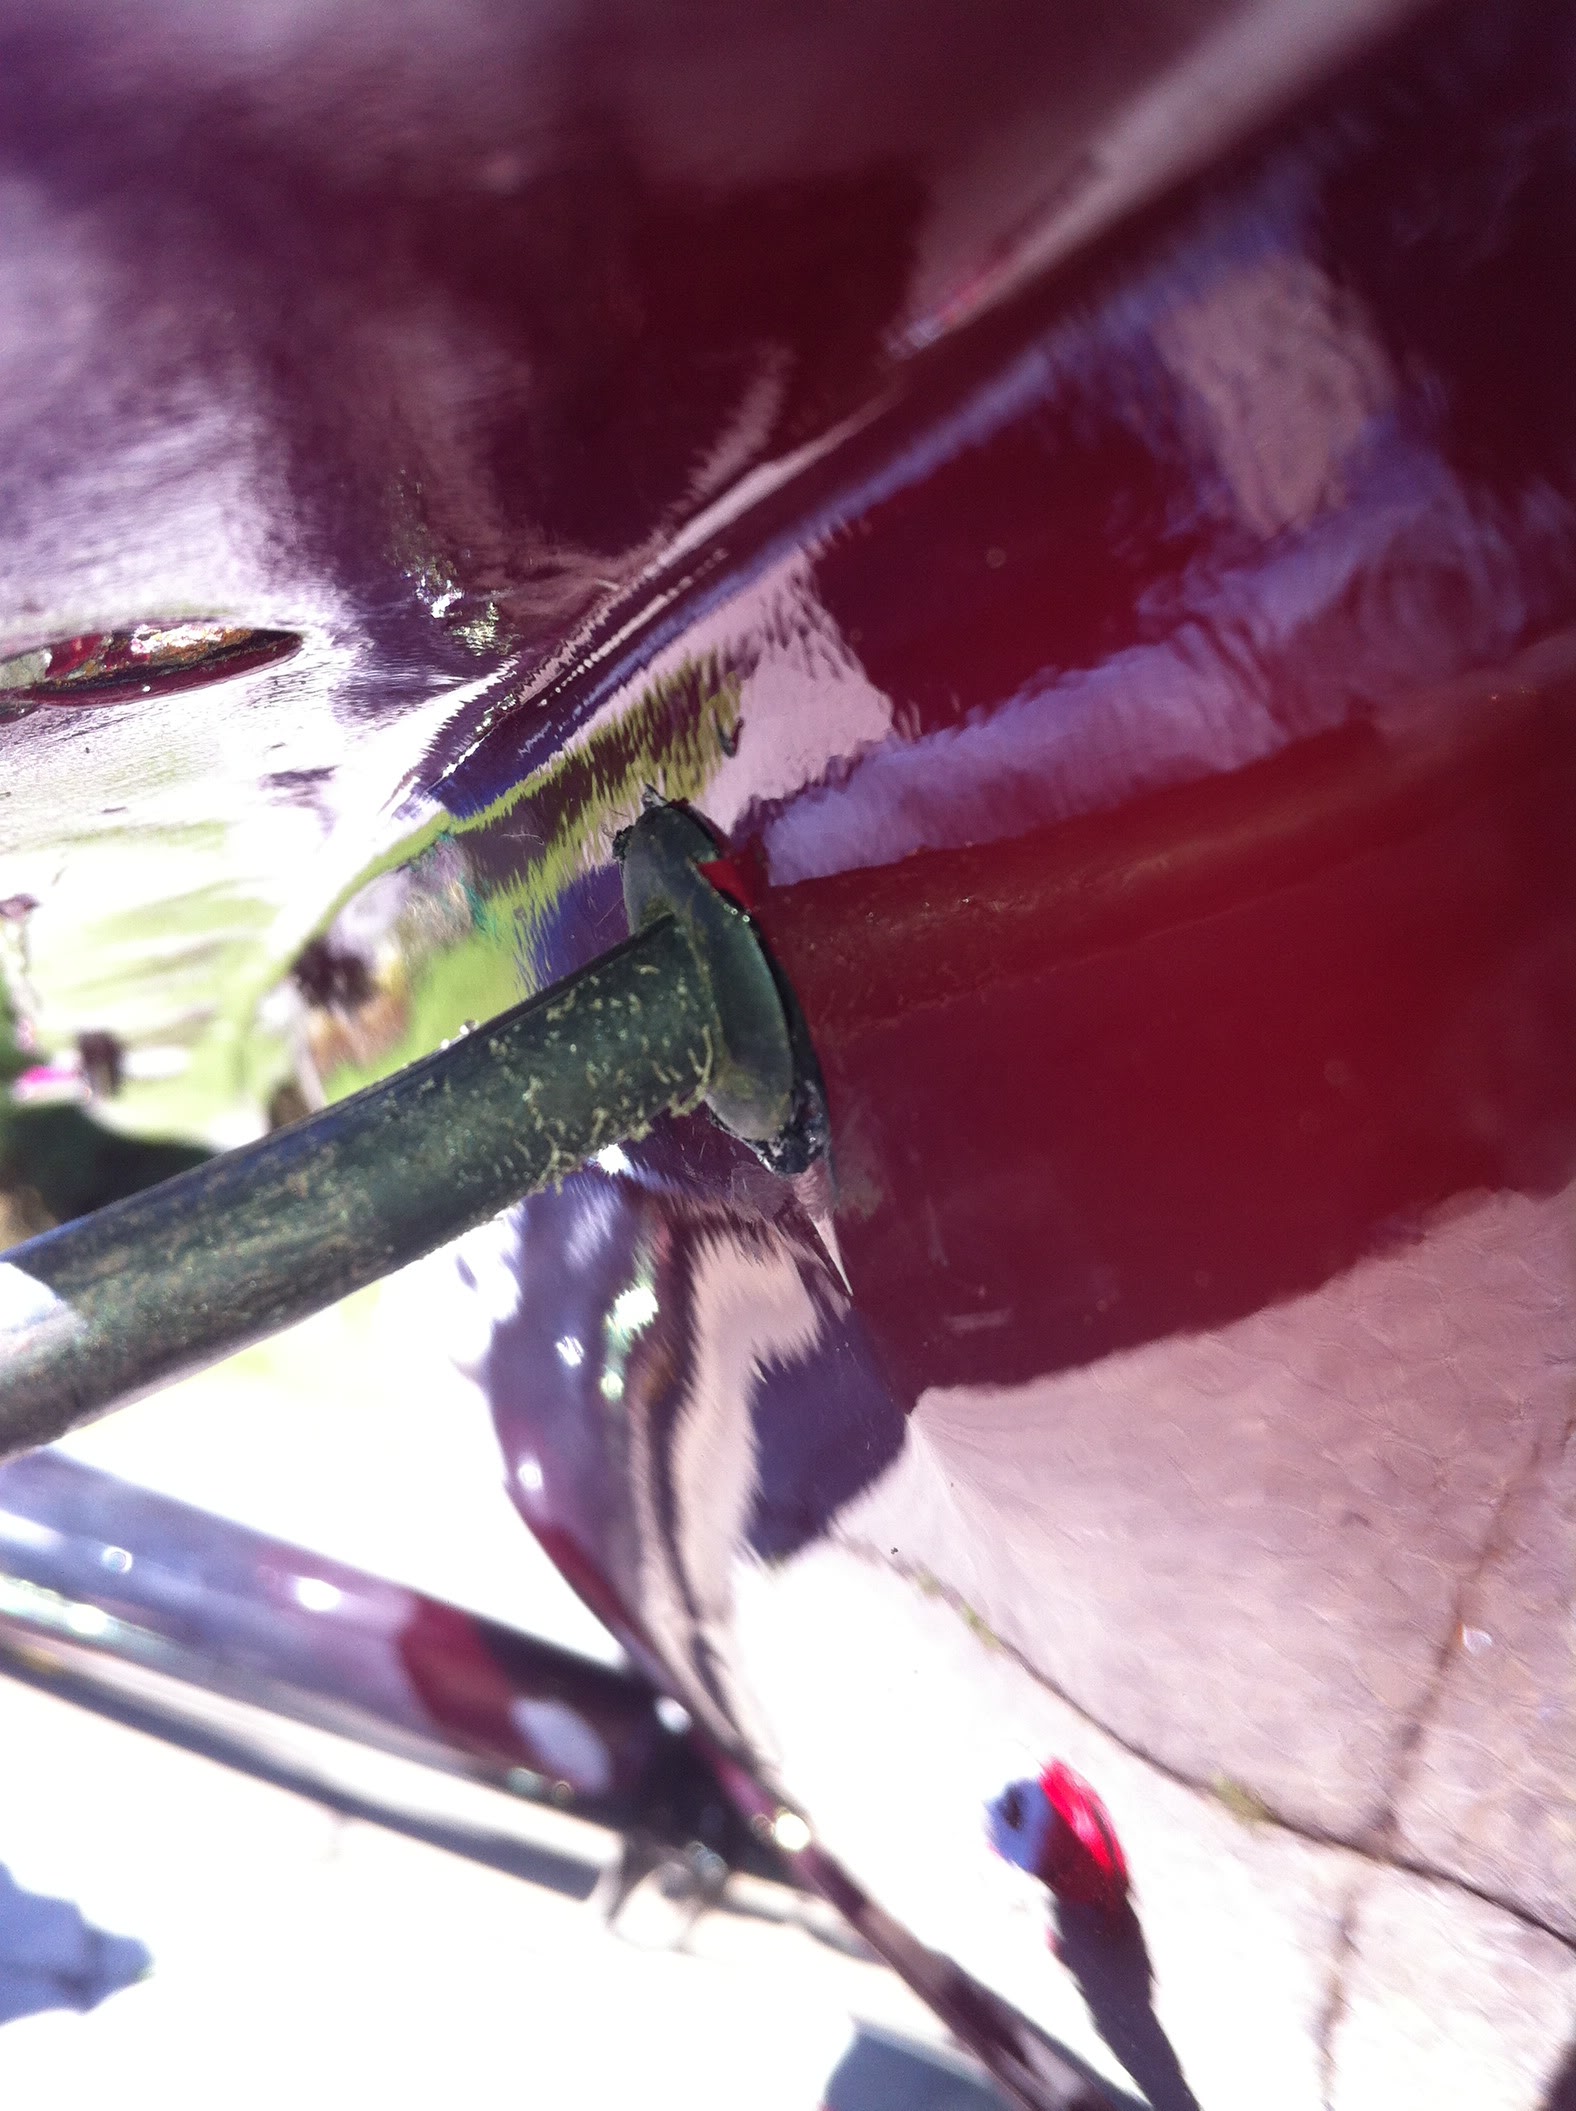
Another day another big bit of progress. Amazing what some fine weather can let you do! It actually hit mad levels today!  Went back to the rear number plate light wiring. Had to drill a hole in the boot floor and then another in the rear valence to achieve it which was a sore one considering its perfect paint! But with holes drilled and fresh edges dressed and hammerite'd to prevent rust they were through. Tested and they work. Done! (dont worry I cleaned up the wire)
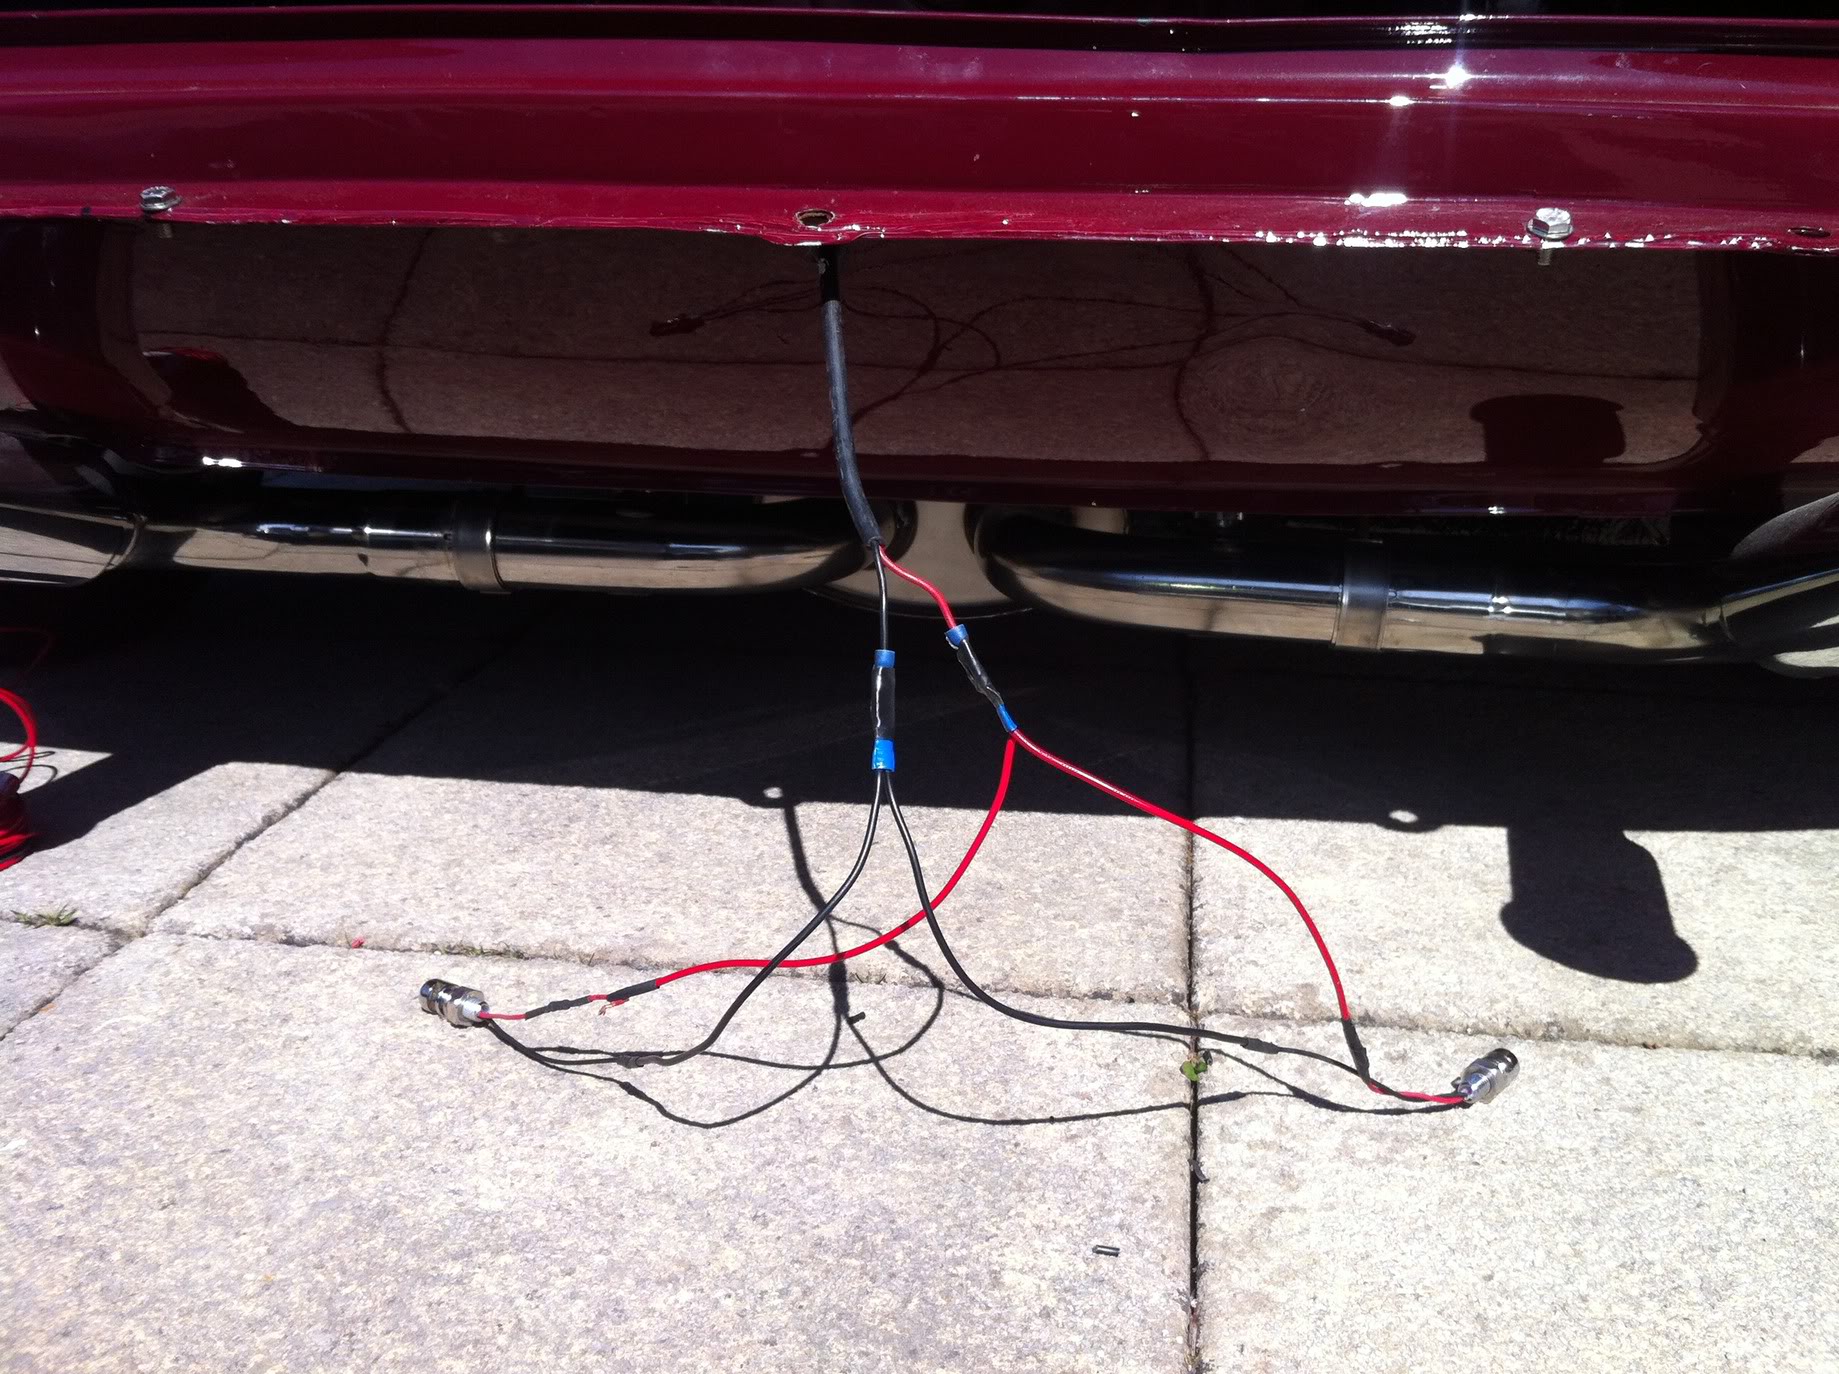
  Made the connections to the lights simple spades so if the plate needs to come off at any time its a quick job.
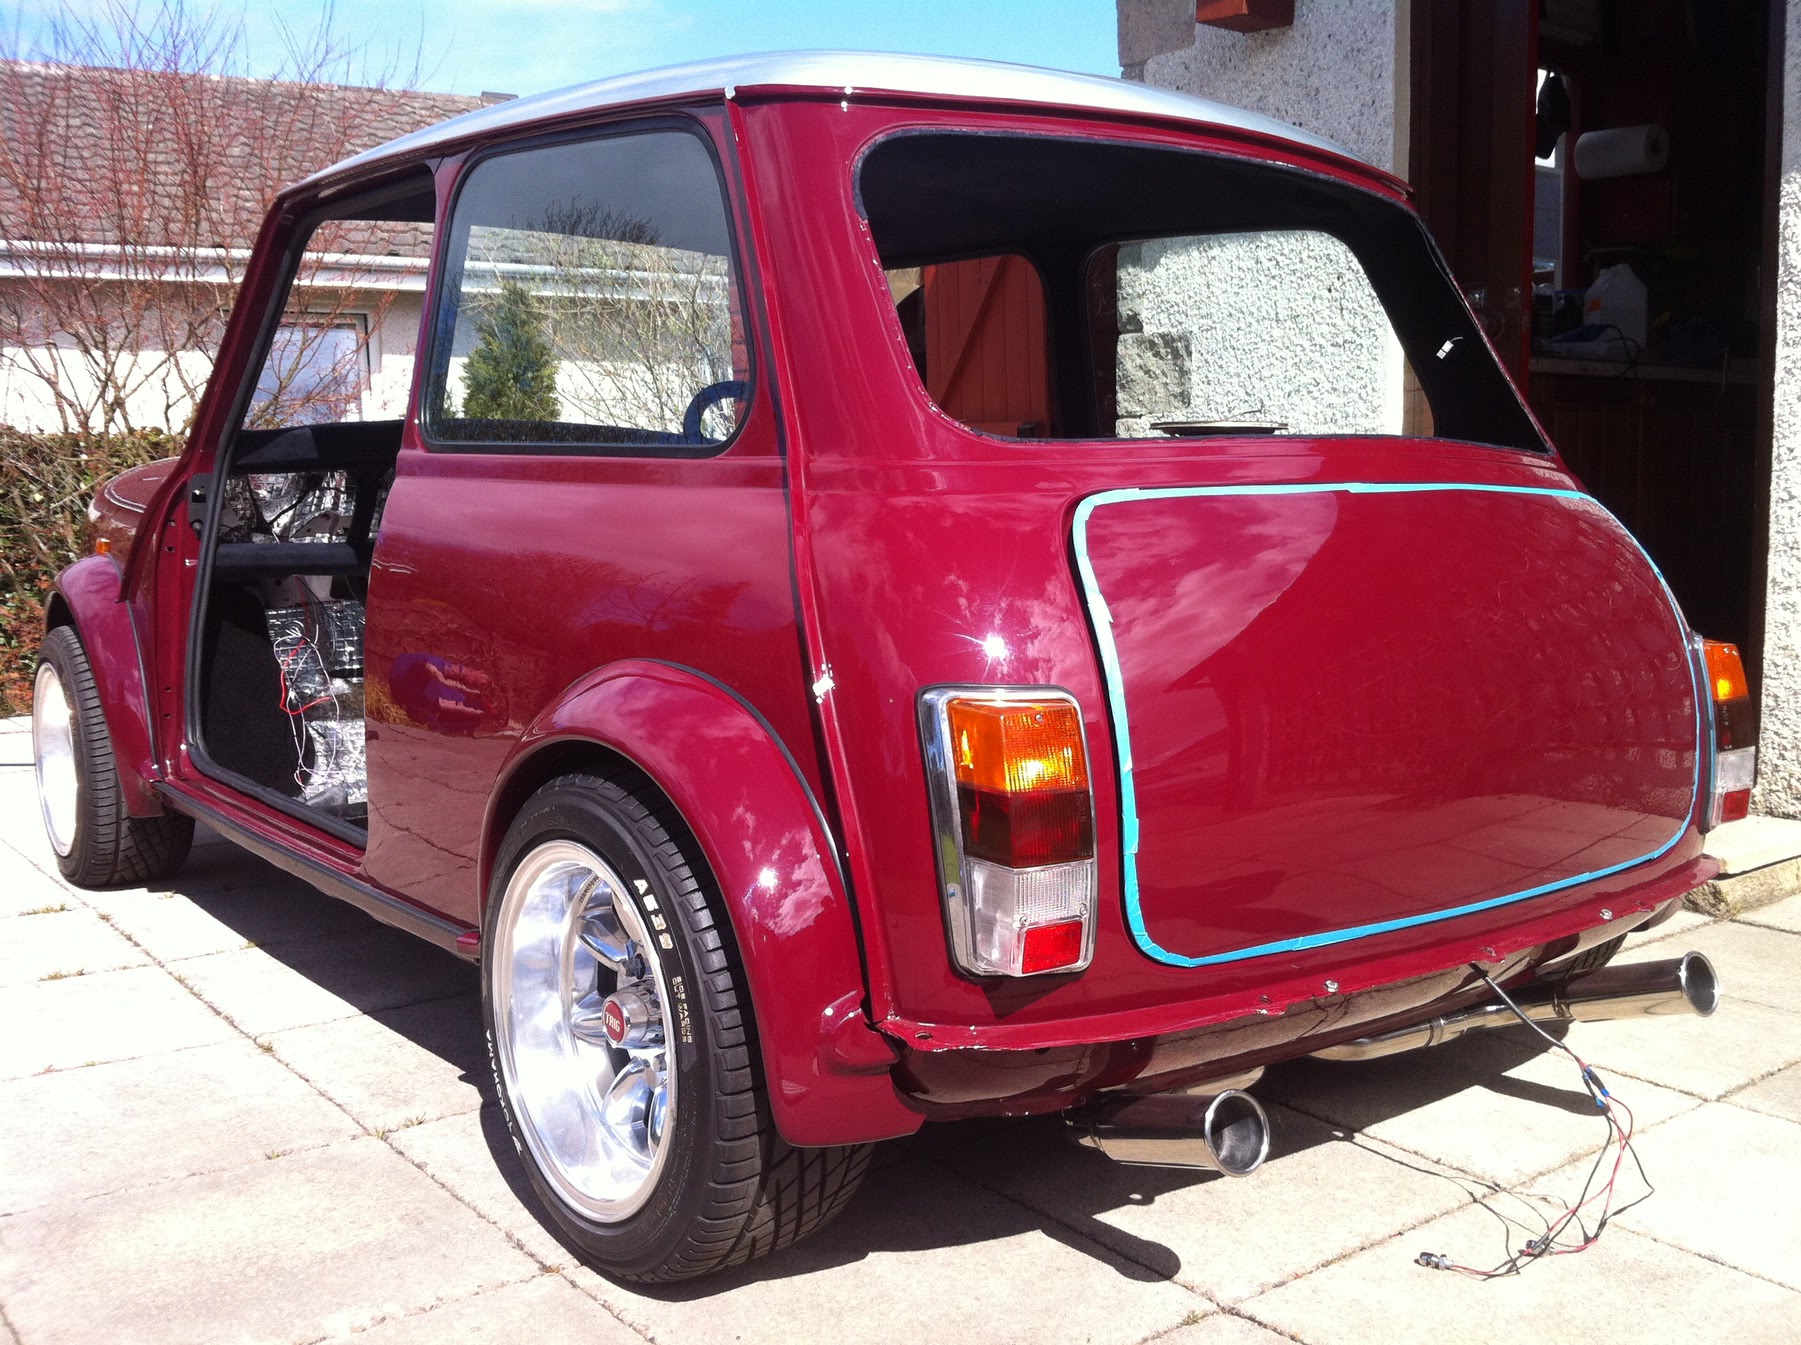
  Put the bootlid on to check fitment. Not the best and I know its going to be a big job so left it for another day as I wanted to get lots done out of the way today instead. It does still look very good but excuse the blue tape. Didnt want to risk damaging the edges.
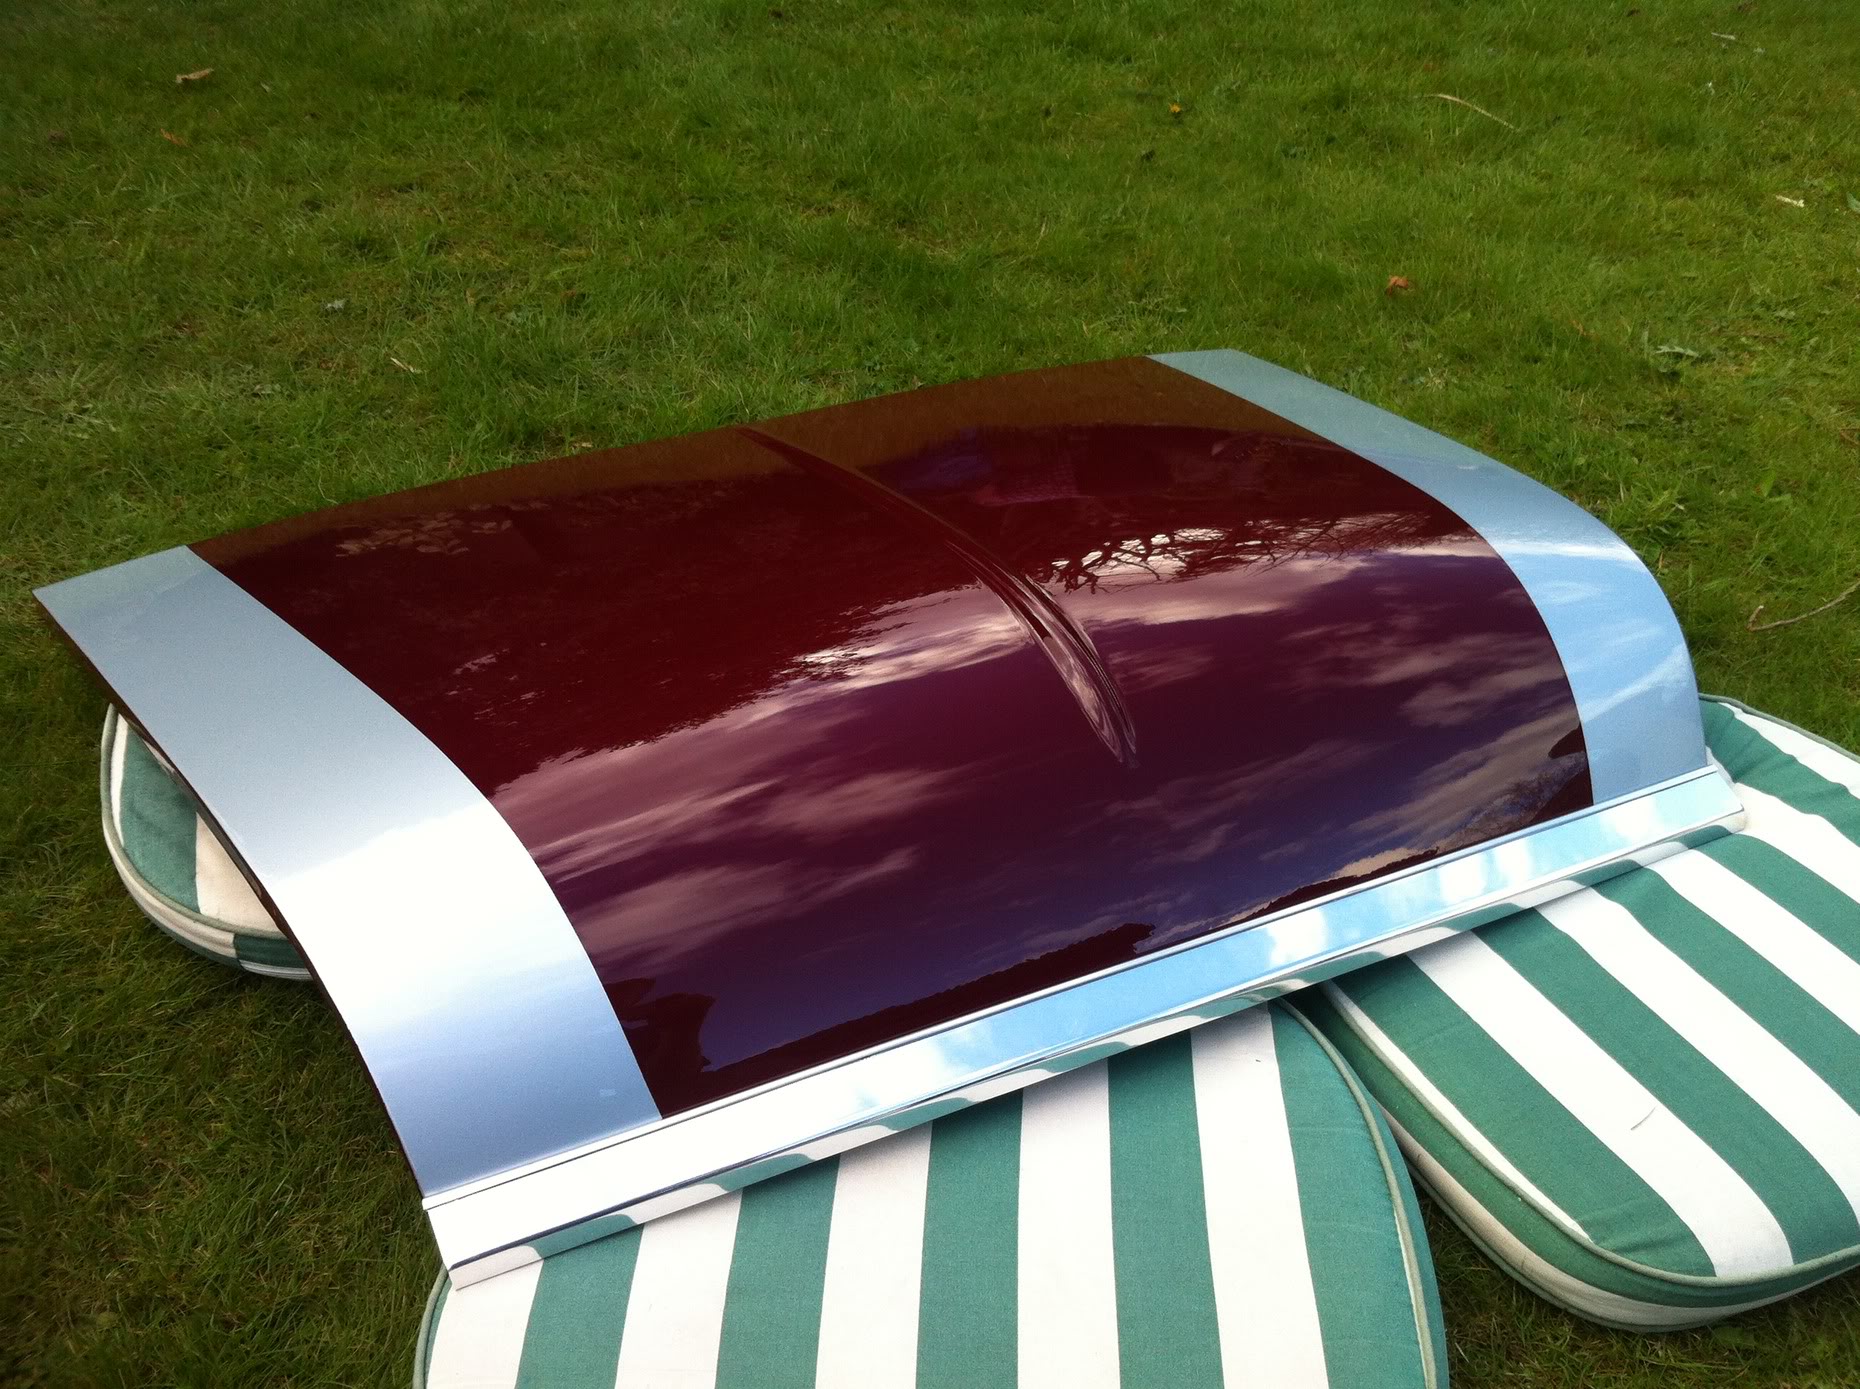
  Got my bonnet trim put on after glueing the plastic paint protector on the leading edge. Same went onto the grille end moustaches too. Still amazed at the finish on the paint (you're still not getting to see whats underneath ;) )
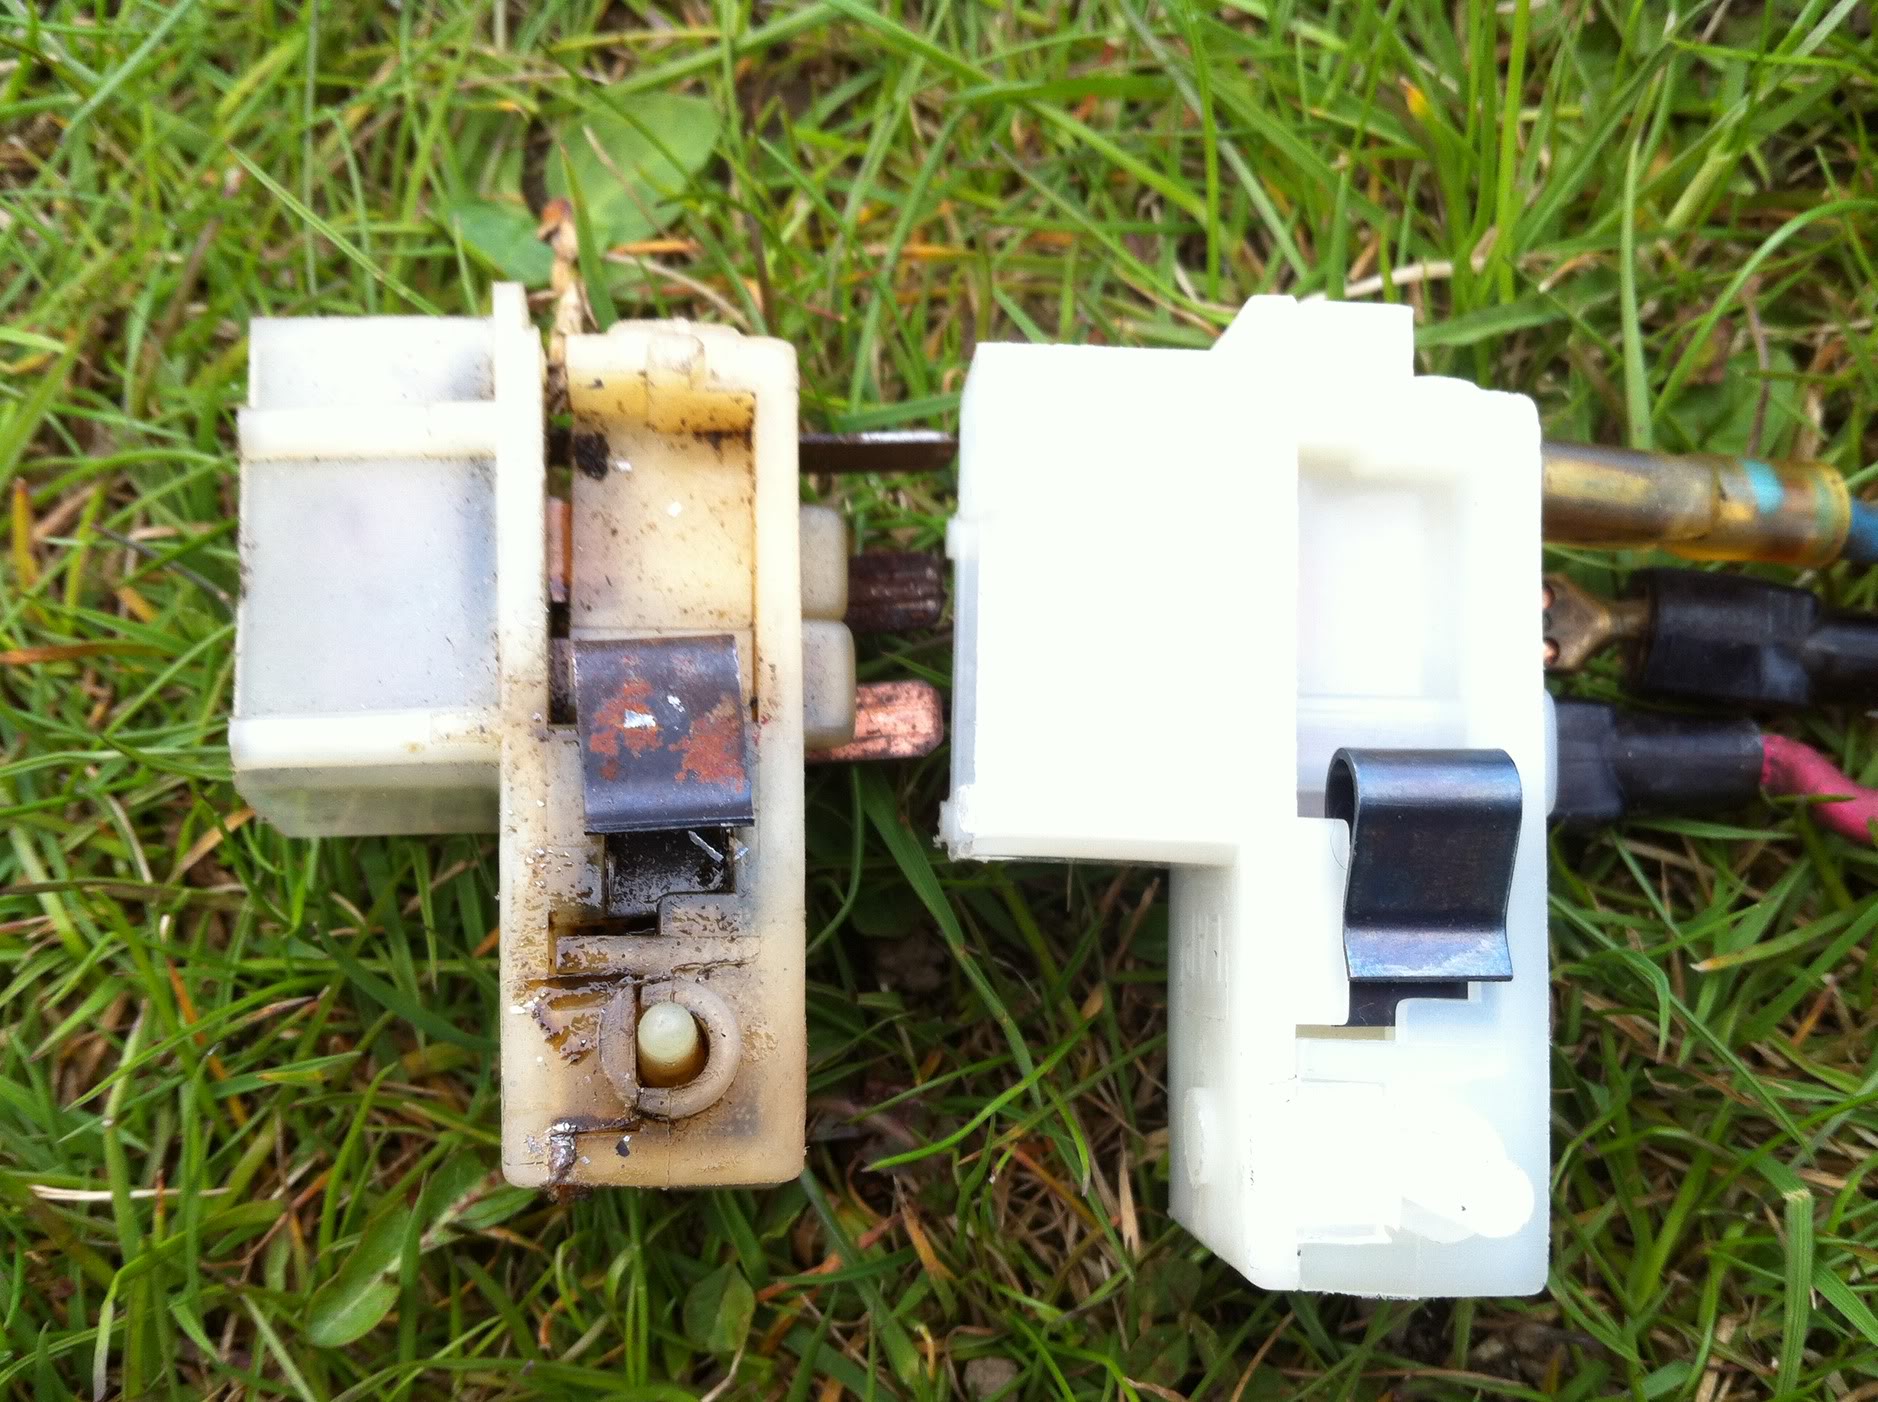
  Fixed the wipers with a new switch. Old vs new shot is of course required here....
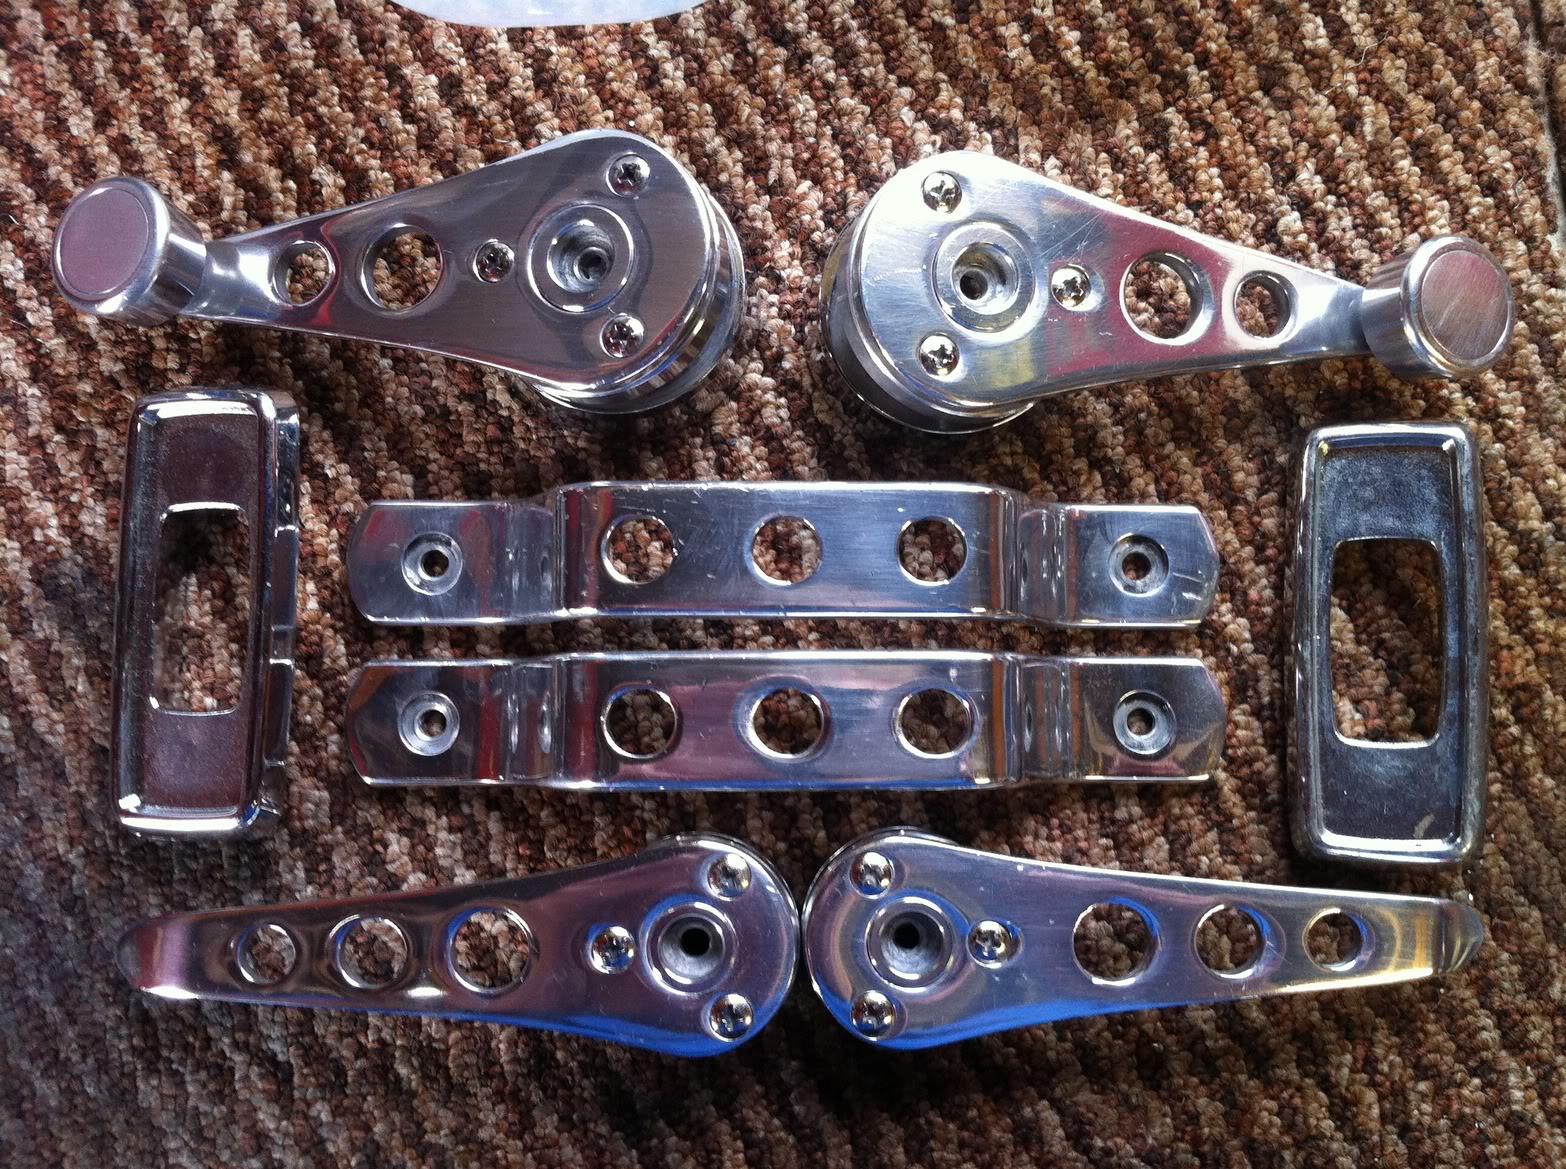
  Whilst I was working away on these things my dad was polishing up the bare alloy door furniture. Like chrome now!
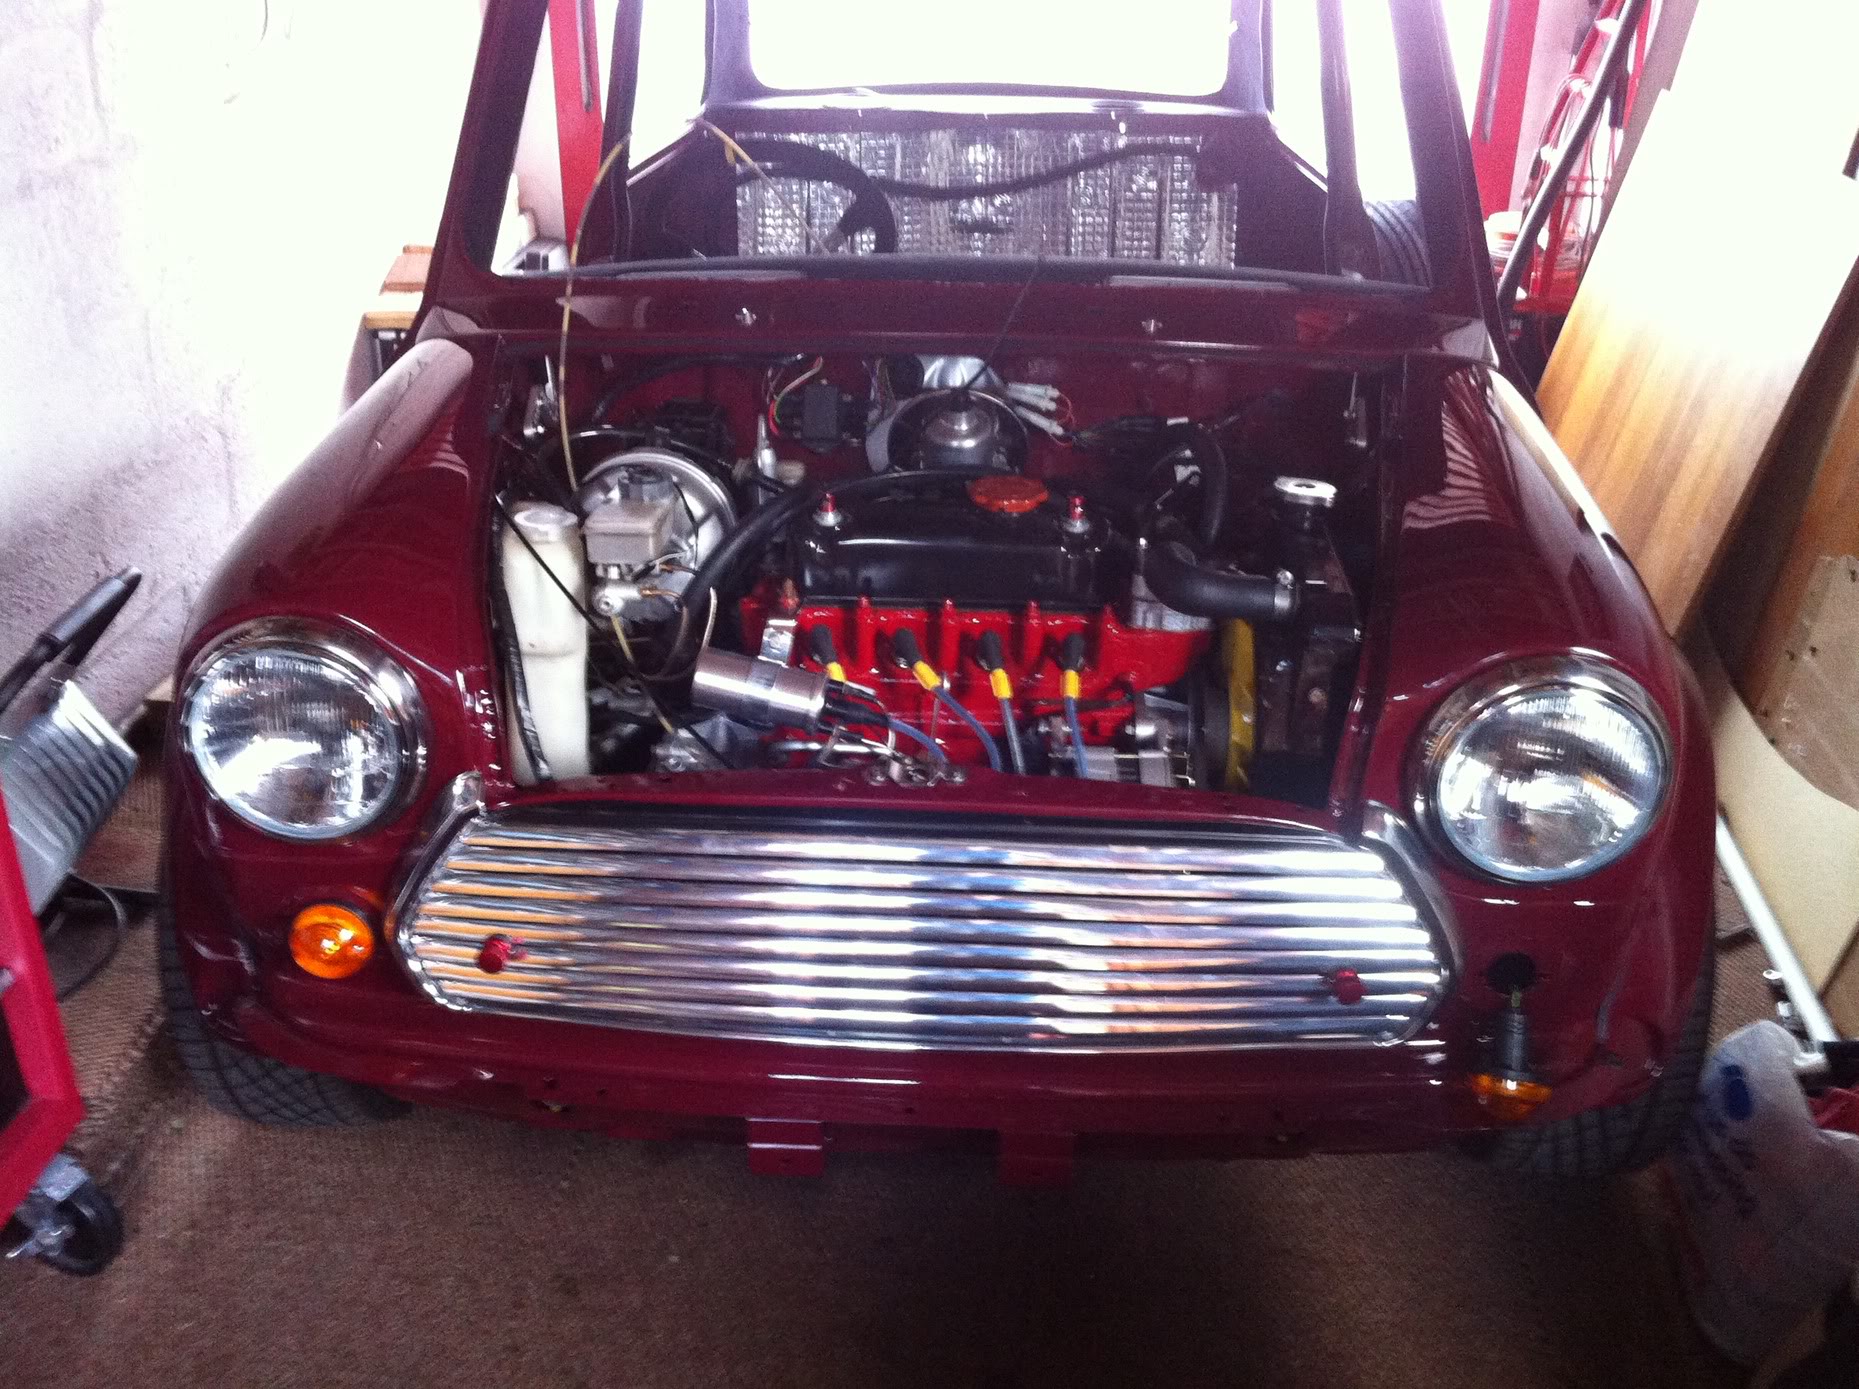
  Also popped the grille back on for now. You can see Ive got the washer bottle in place now along with the internal release bonnet catch with a stainless steel slam plate.
  I dont have pics of it but the lower dash rail is now in and switches are all in place. I relocated the foglight switch into here to save having another plinth on the right hand side of the column. I dont need the brake test switch as its pointless (tells you if your brakes have failed but is common to fail itself.....) Got a couple of videos to come of the car moving about under its own steam. Needs fettled with but its sounded much better than yesterday even with a little tweak of the fuel/air mix screw. Copious amounts of exhaust noise was created in the process of this testing. Which was nice.....
As promised....
5-7-2013
Some more progress tonight again.
Got the engine running much smoother. Need to seal up a few gaps in the exhaust as its making it sound a lot worse than it actually is. Still running a tad rich but going to get the MOT station to perfect it after the MOT is done.
Got my wiper motor and linkage fitted. Works perfectly with the new switch! Spot my helper......
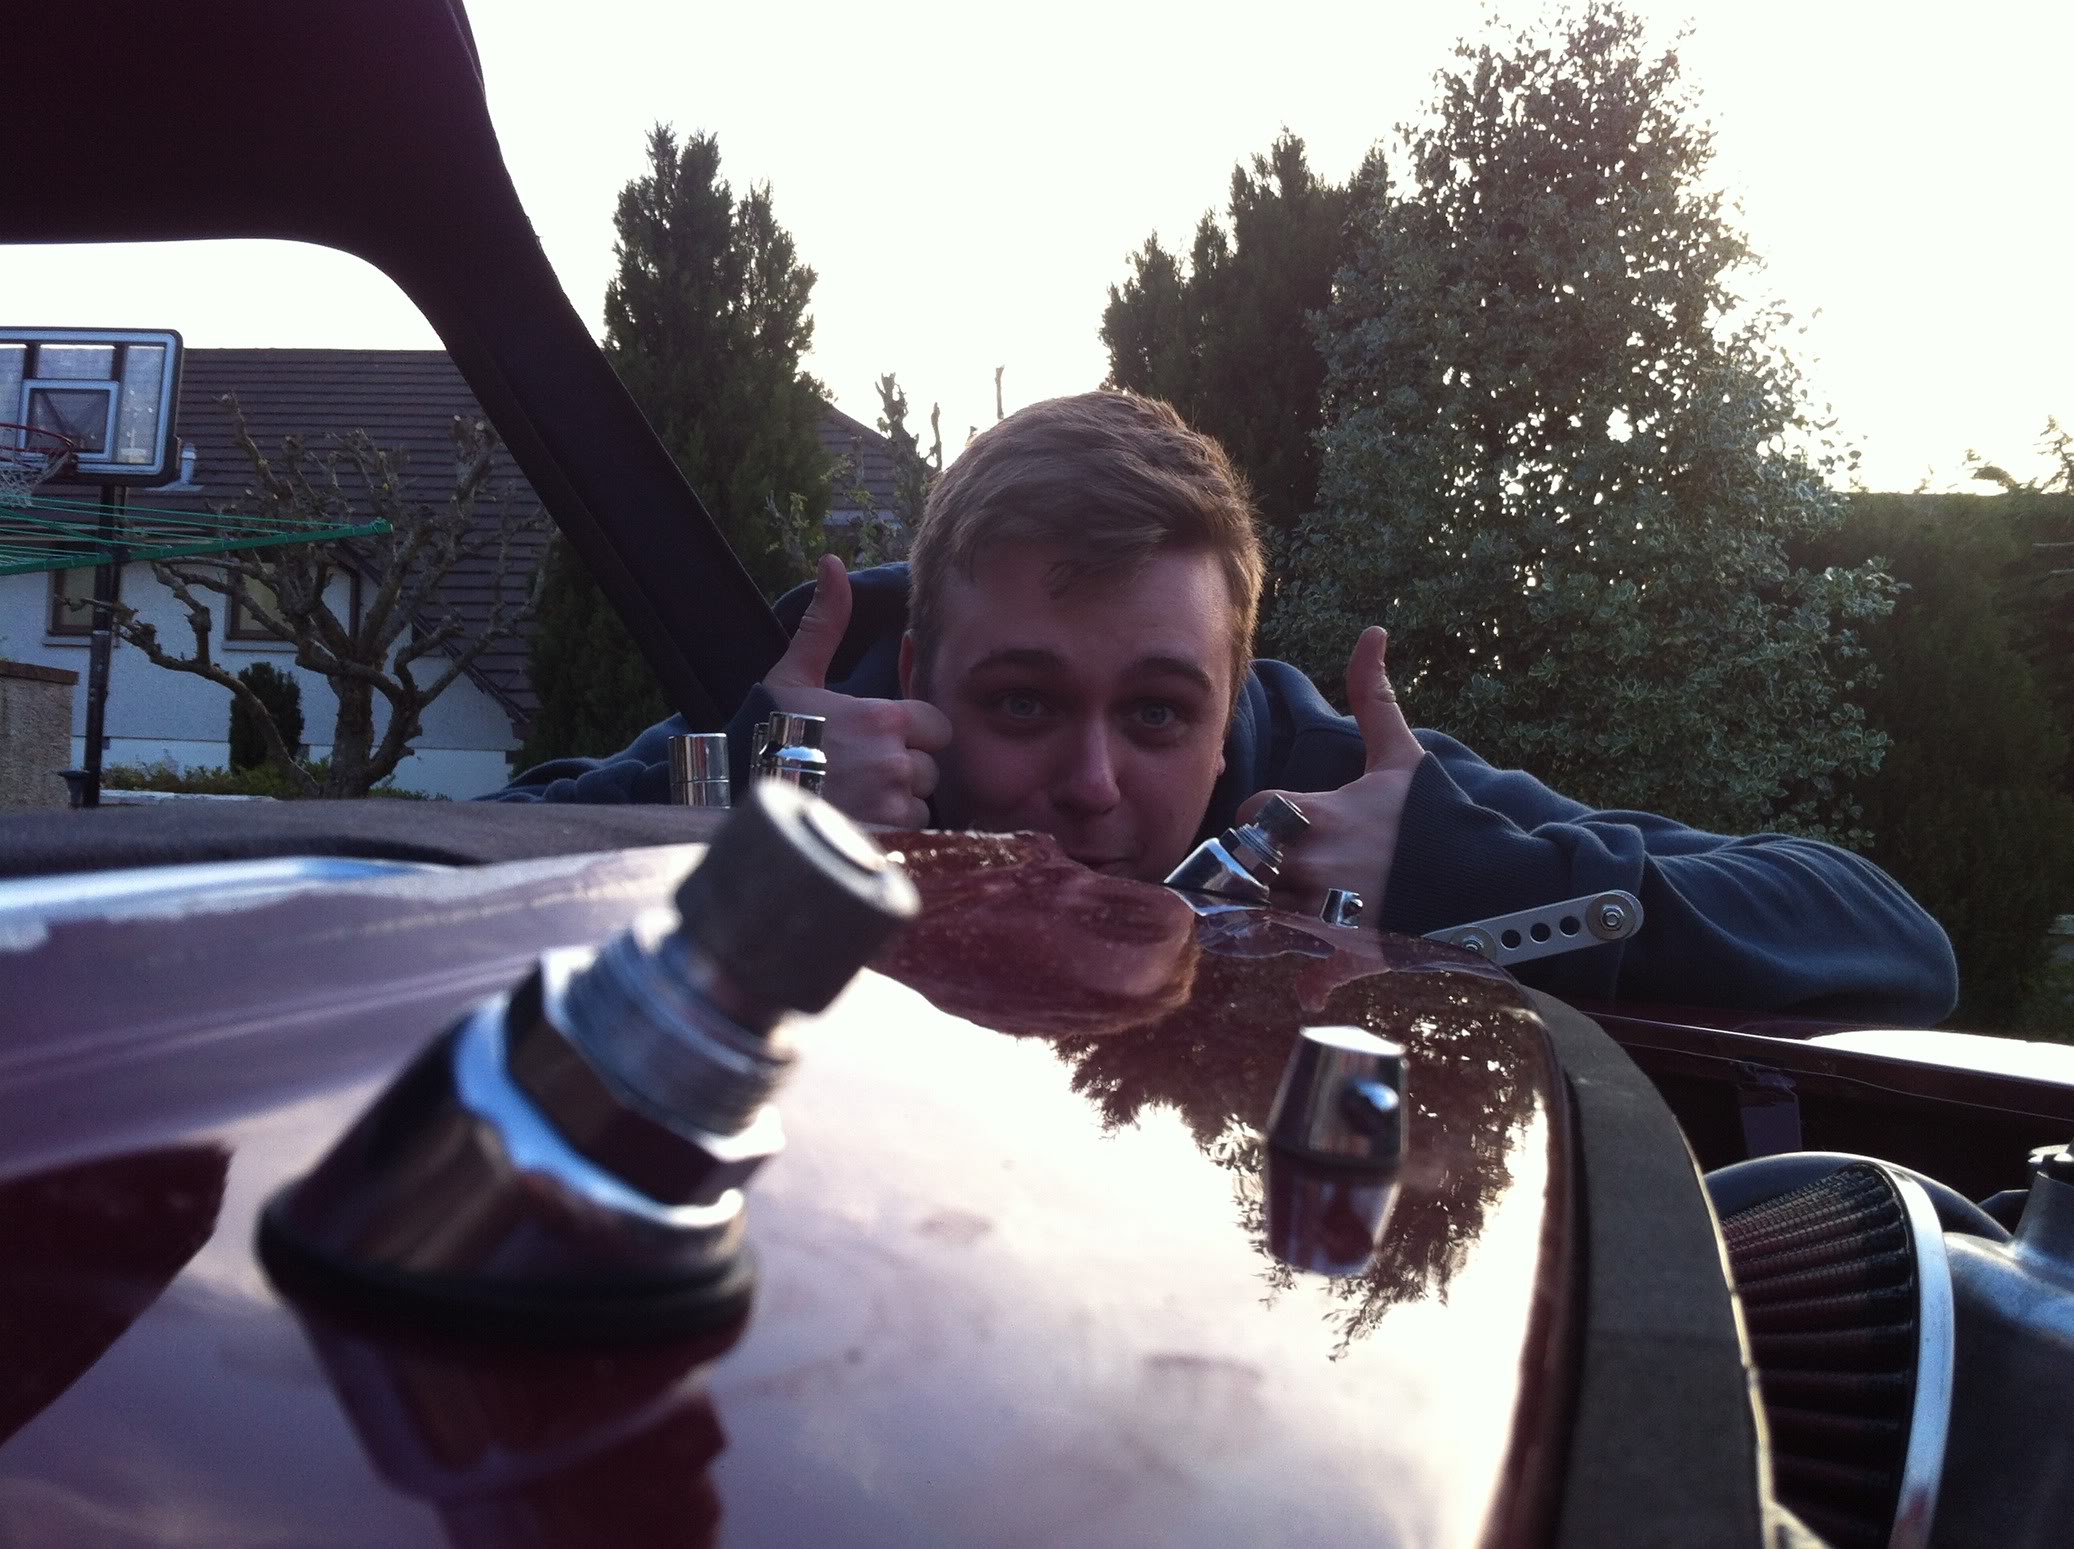
Also got my air intake for the heater in but no photos of that. Unsure how it attaches to the inner wing though as its pretty loose. Something for another evening when theres still light.
Replaced my washer pipes. Old vs new......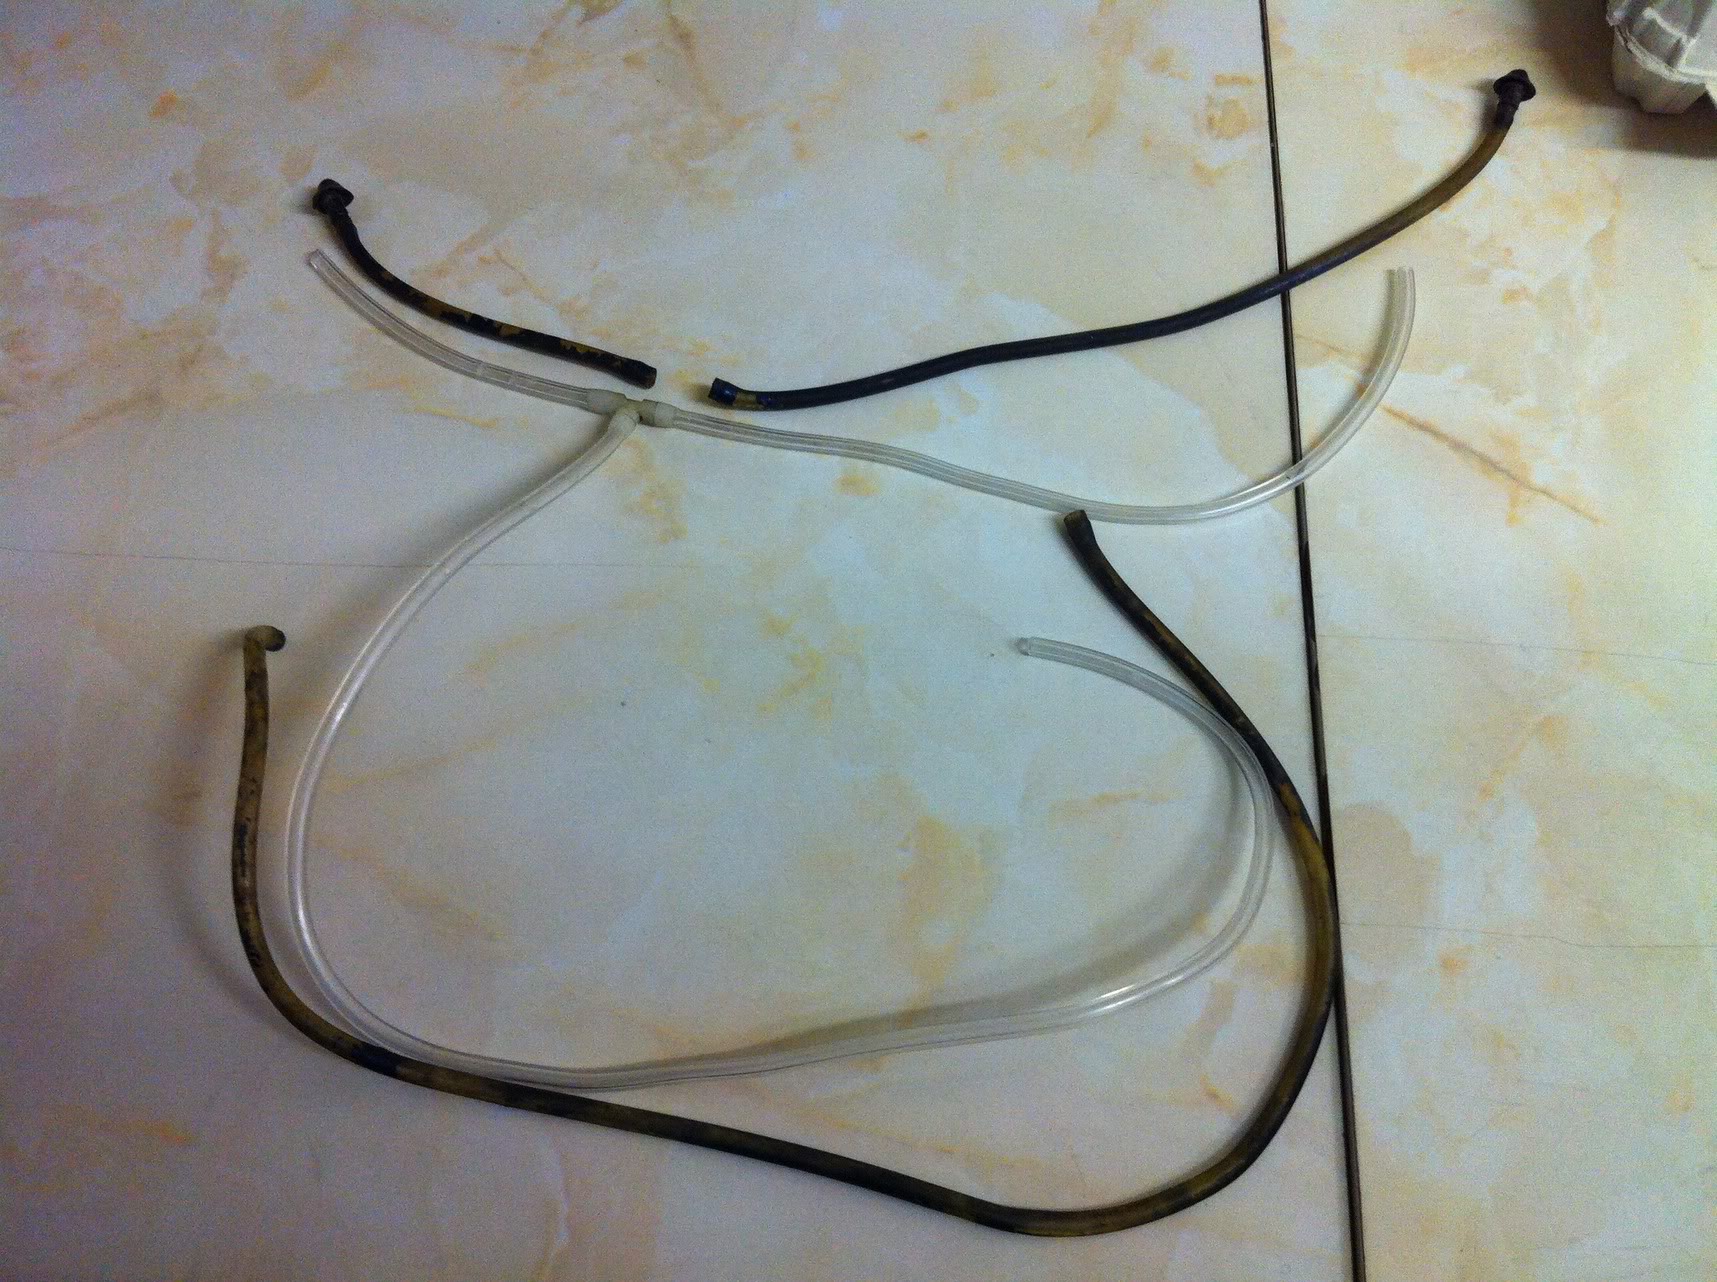
Going to have to play around with the gear selector as its not selecting 1st or 2nd. Only 3rd and reverse have been used, not sure how 4th is.
No other photos as mainly we were just doing small things but will get more tomorrow!
Cheers to Greig for the help!
5-8-2013
My JDM DC2 you mean? Its the daily toy
Before I go out to do more work I had to share this. New arrival today and it is quite possibly my favourite bought part of the whole car. Full real carbon fibre dashboard in original dashboard style. Stunning!
Light is weird in this pic so it looks fake....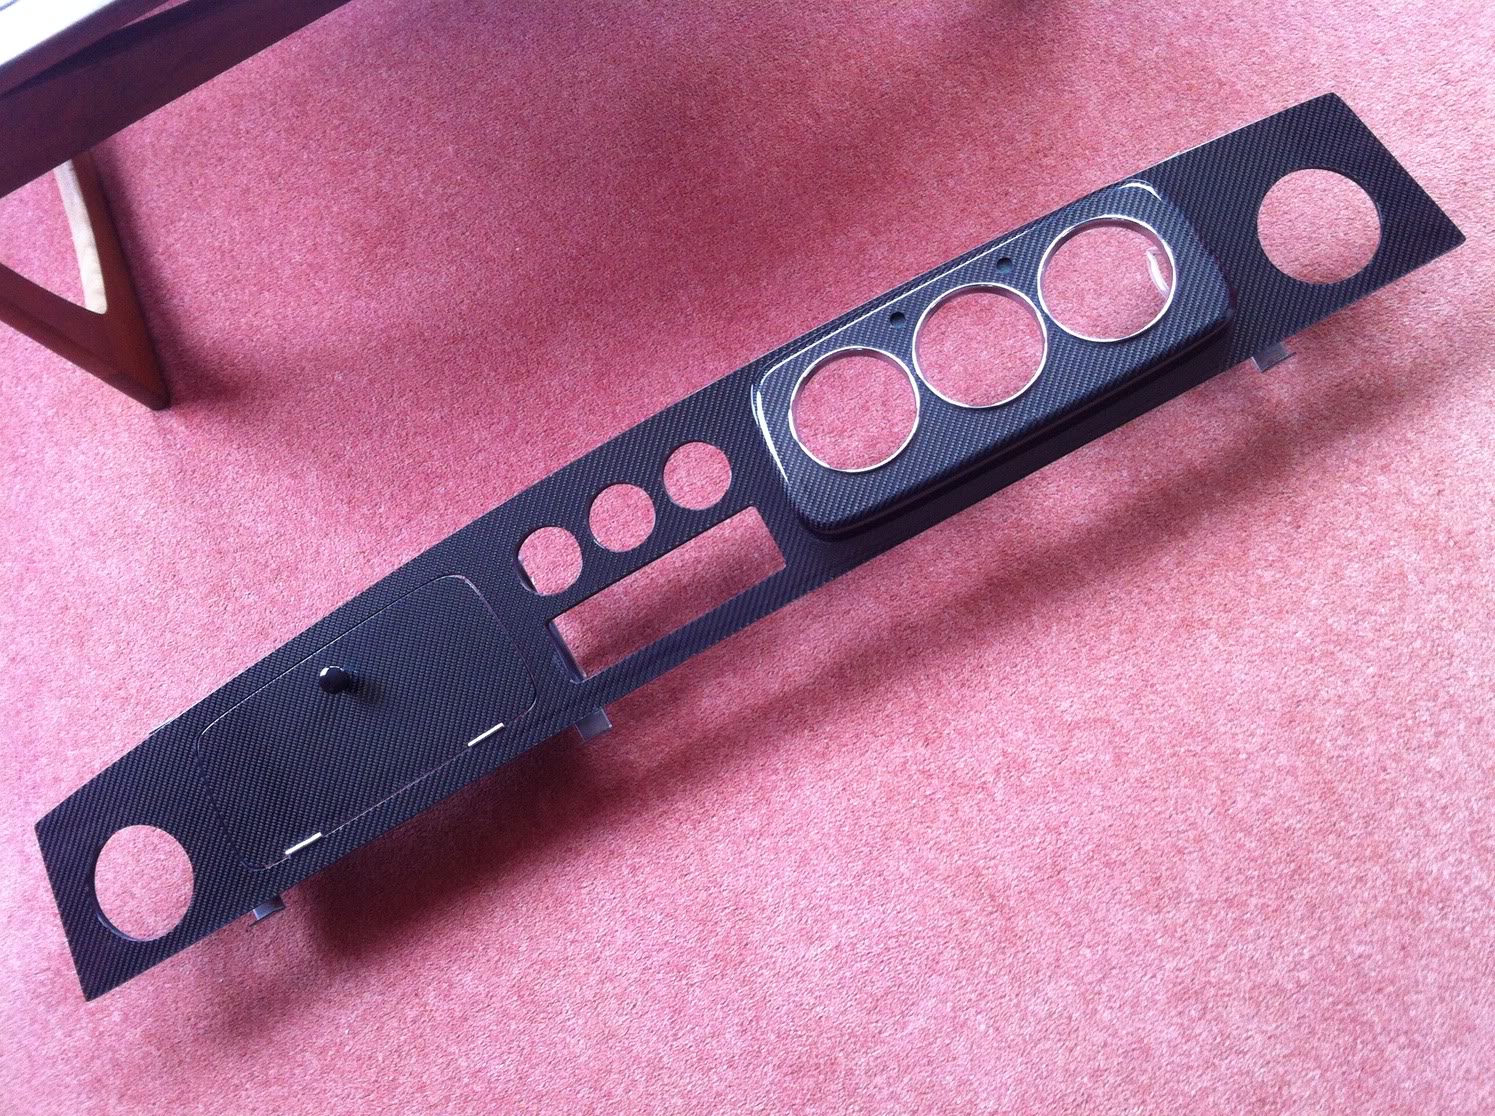
but it isnt
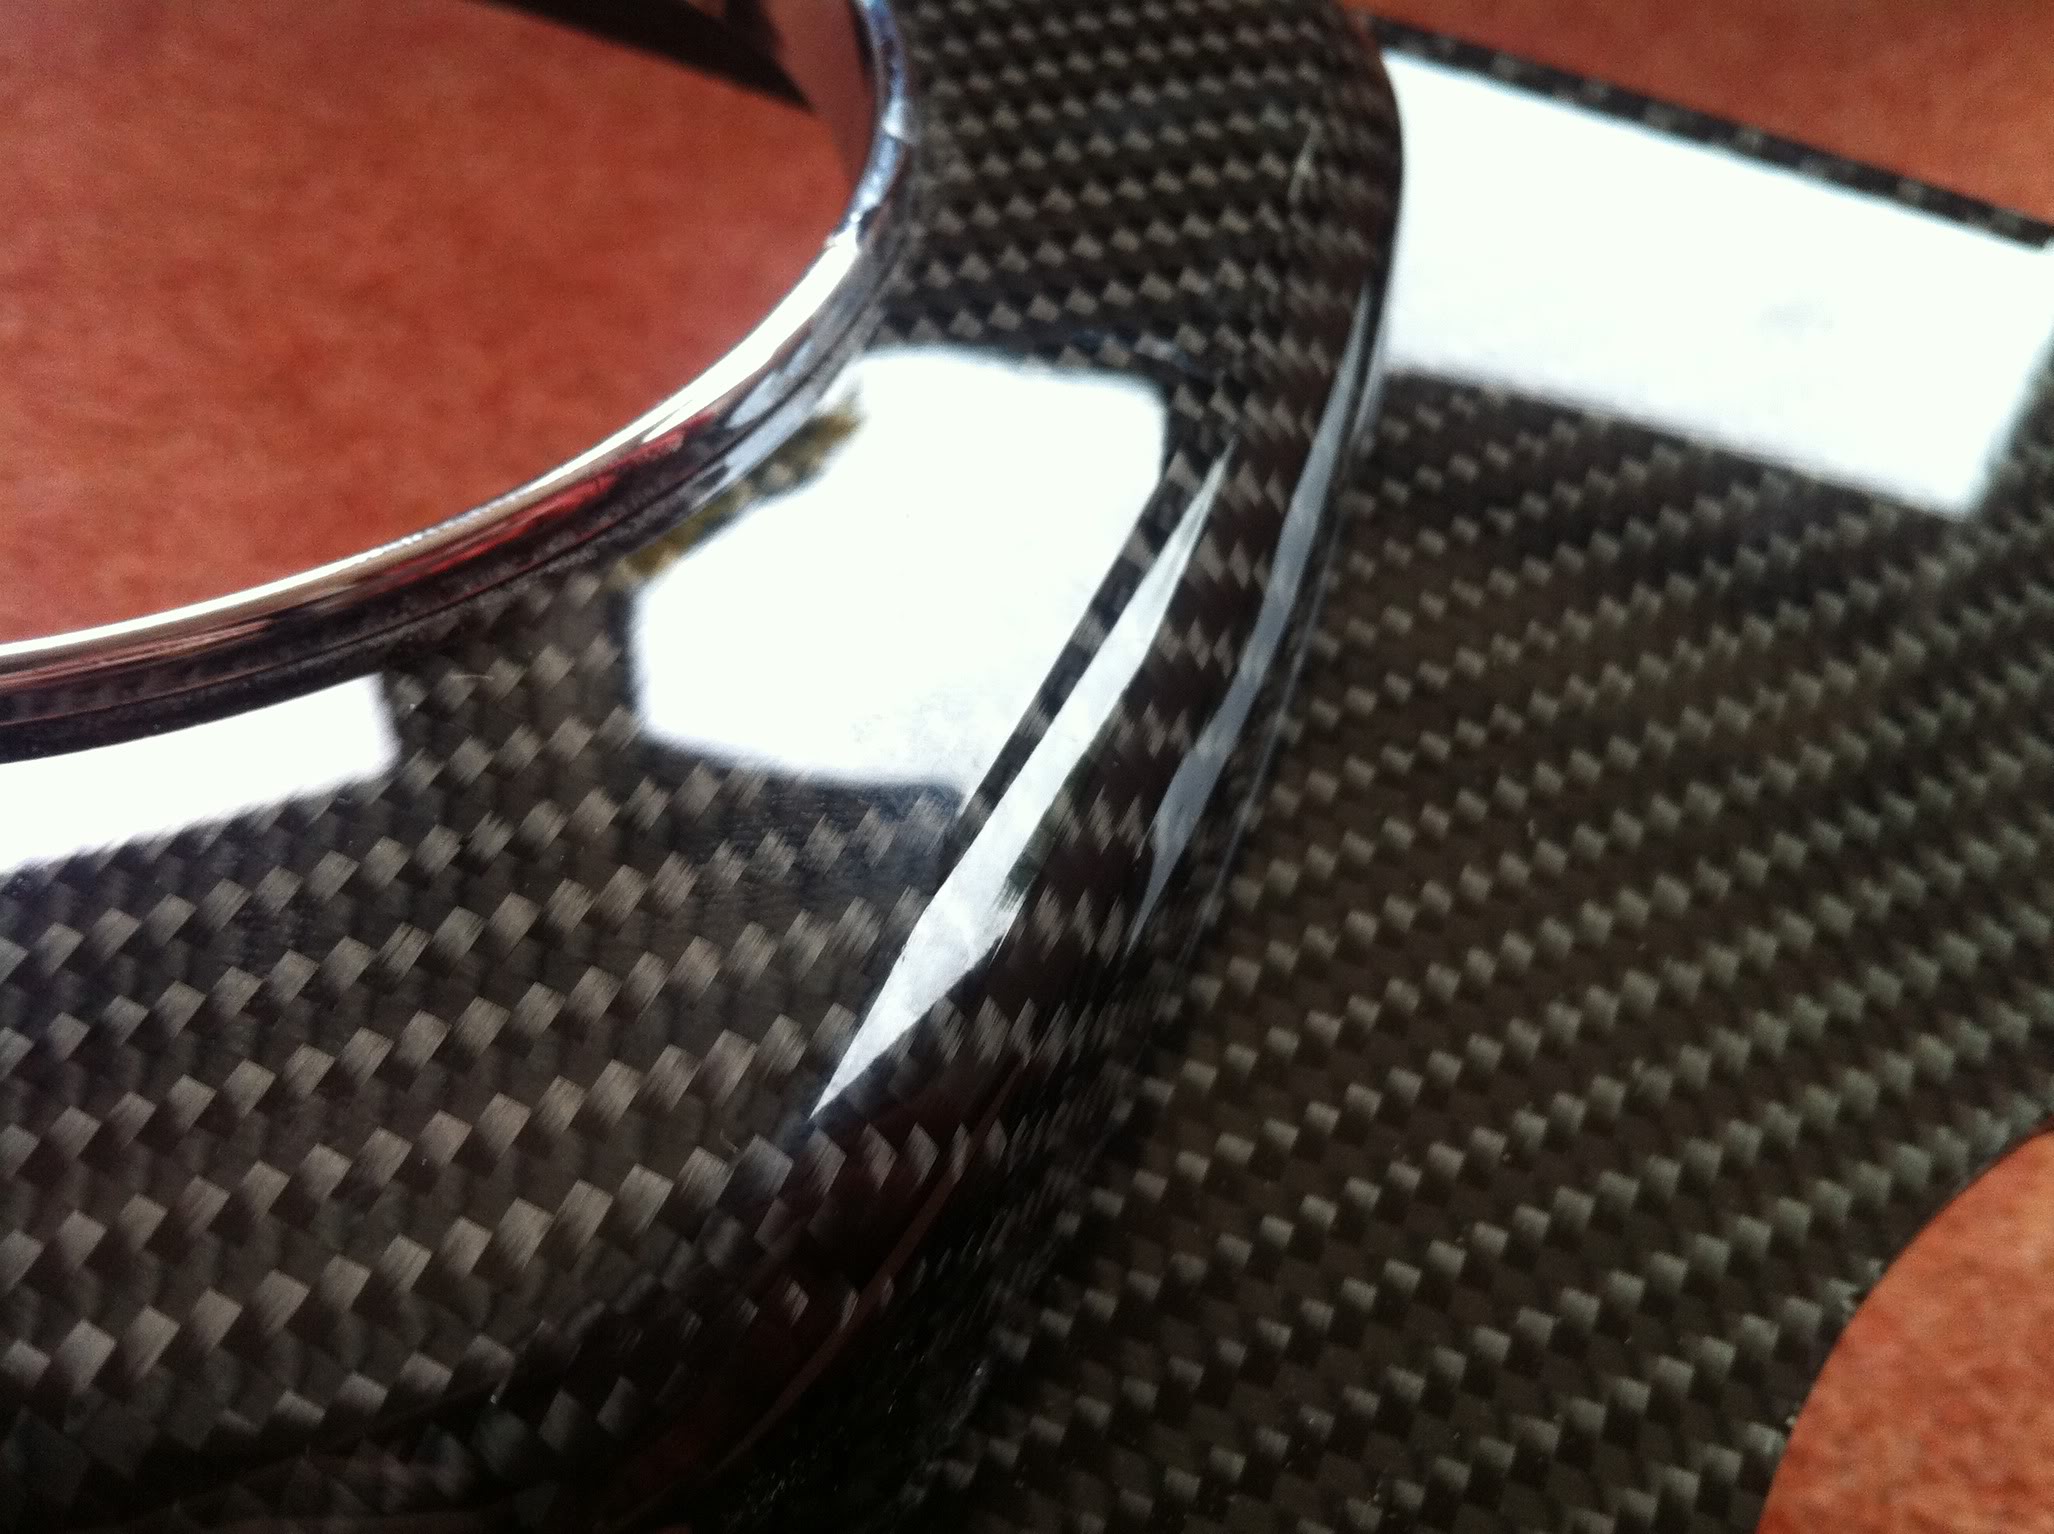
Comes with fitting brackets on the back and chrome rings on the tripple clocks. The other three come with their own bezels on anyway. Going to look stunning against the alcantara dash rails top and bottom.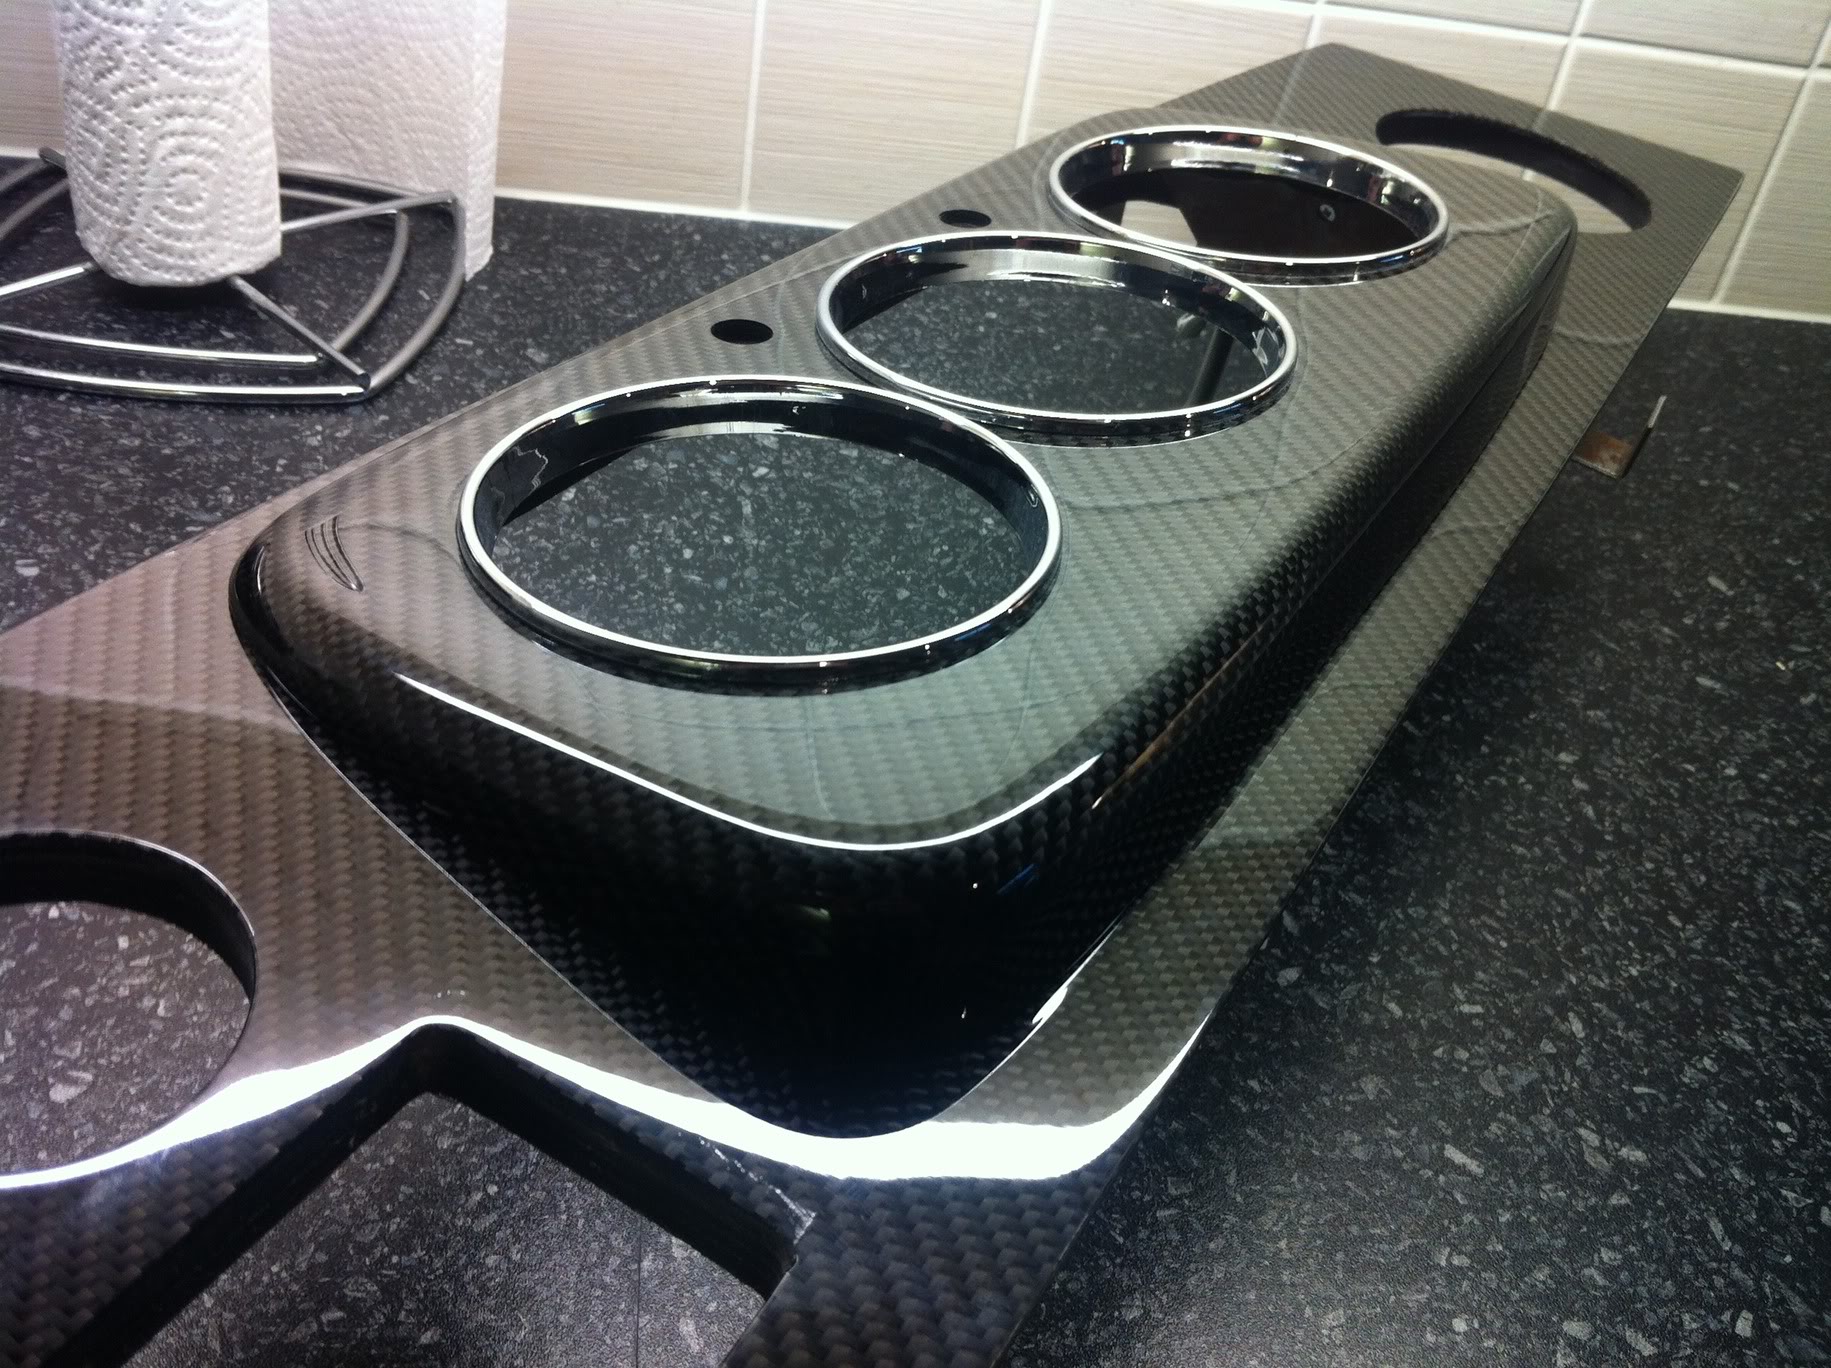
Its got a good 1mm of lacquer so plenty there if ever it needs a polish. Main binnacle is removable which will help too. Going to change the glovebox knob for a chrome one to balance it out against the surrounds.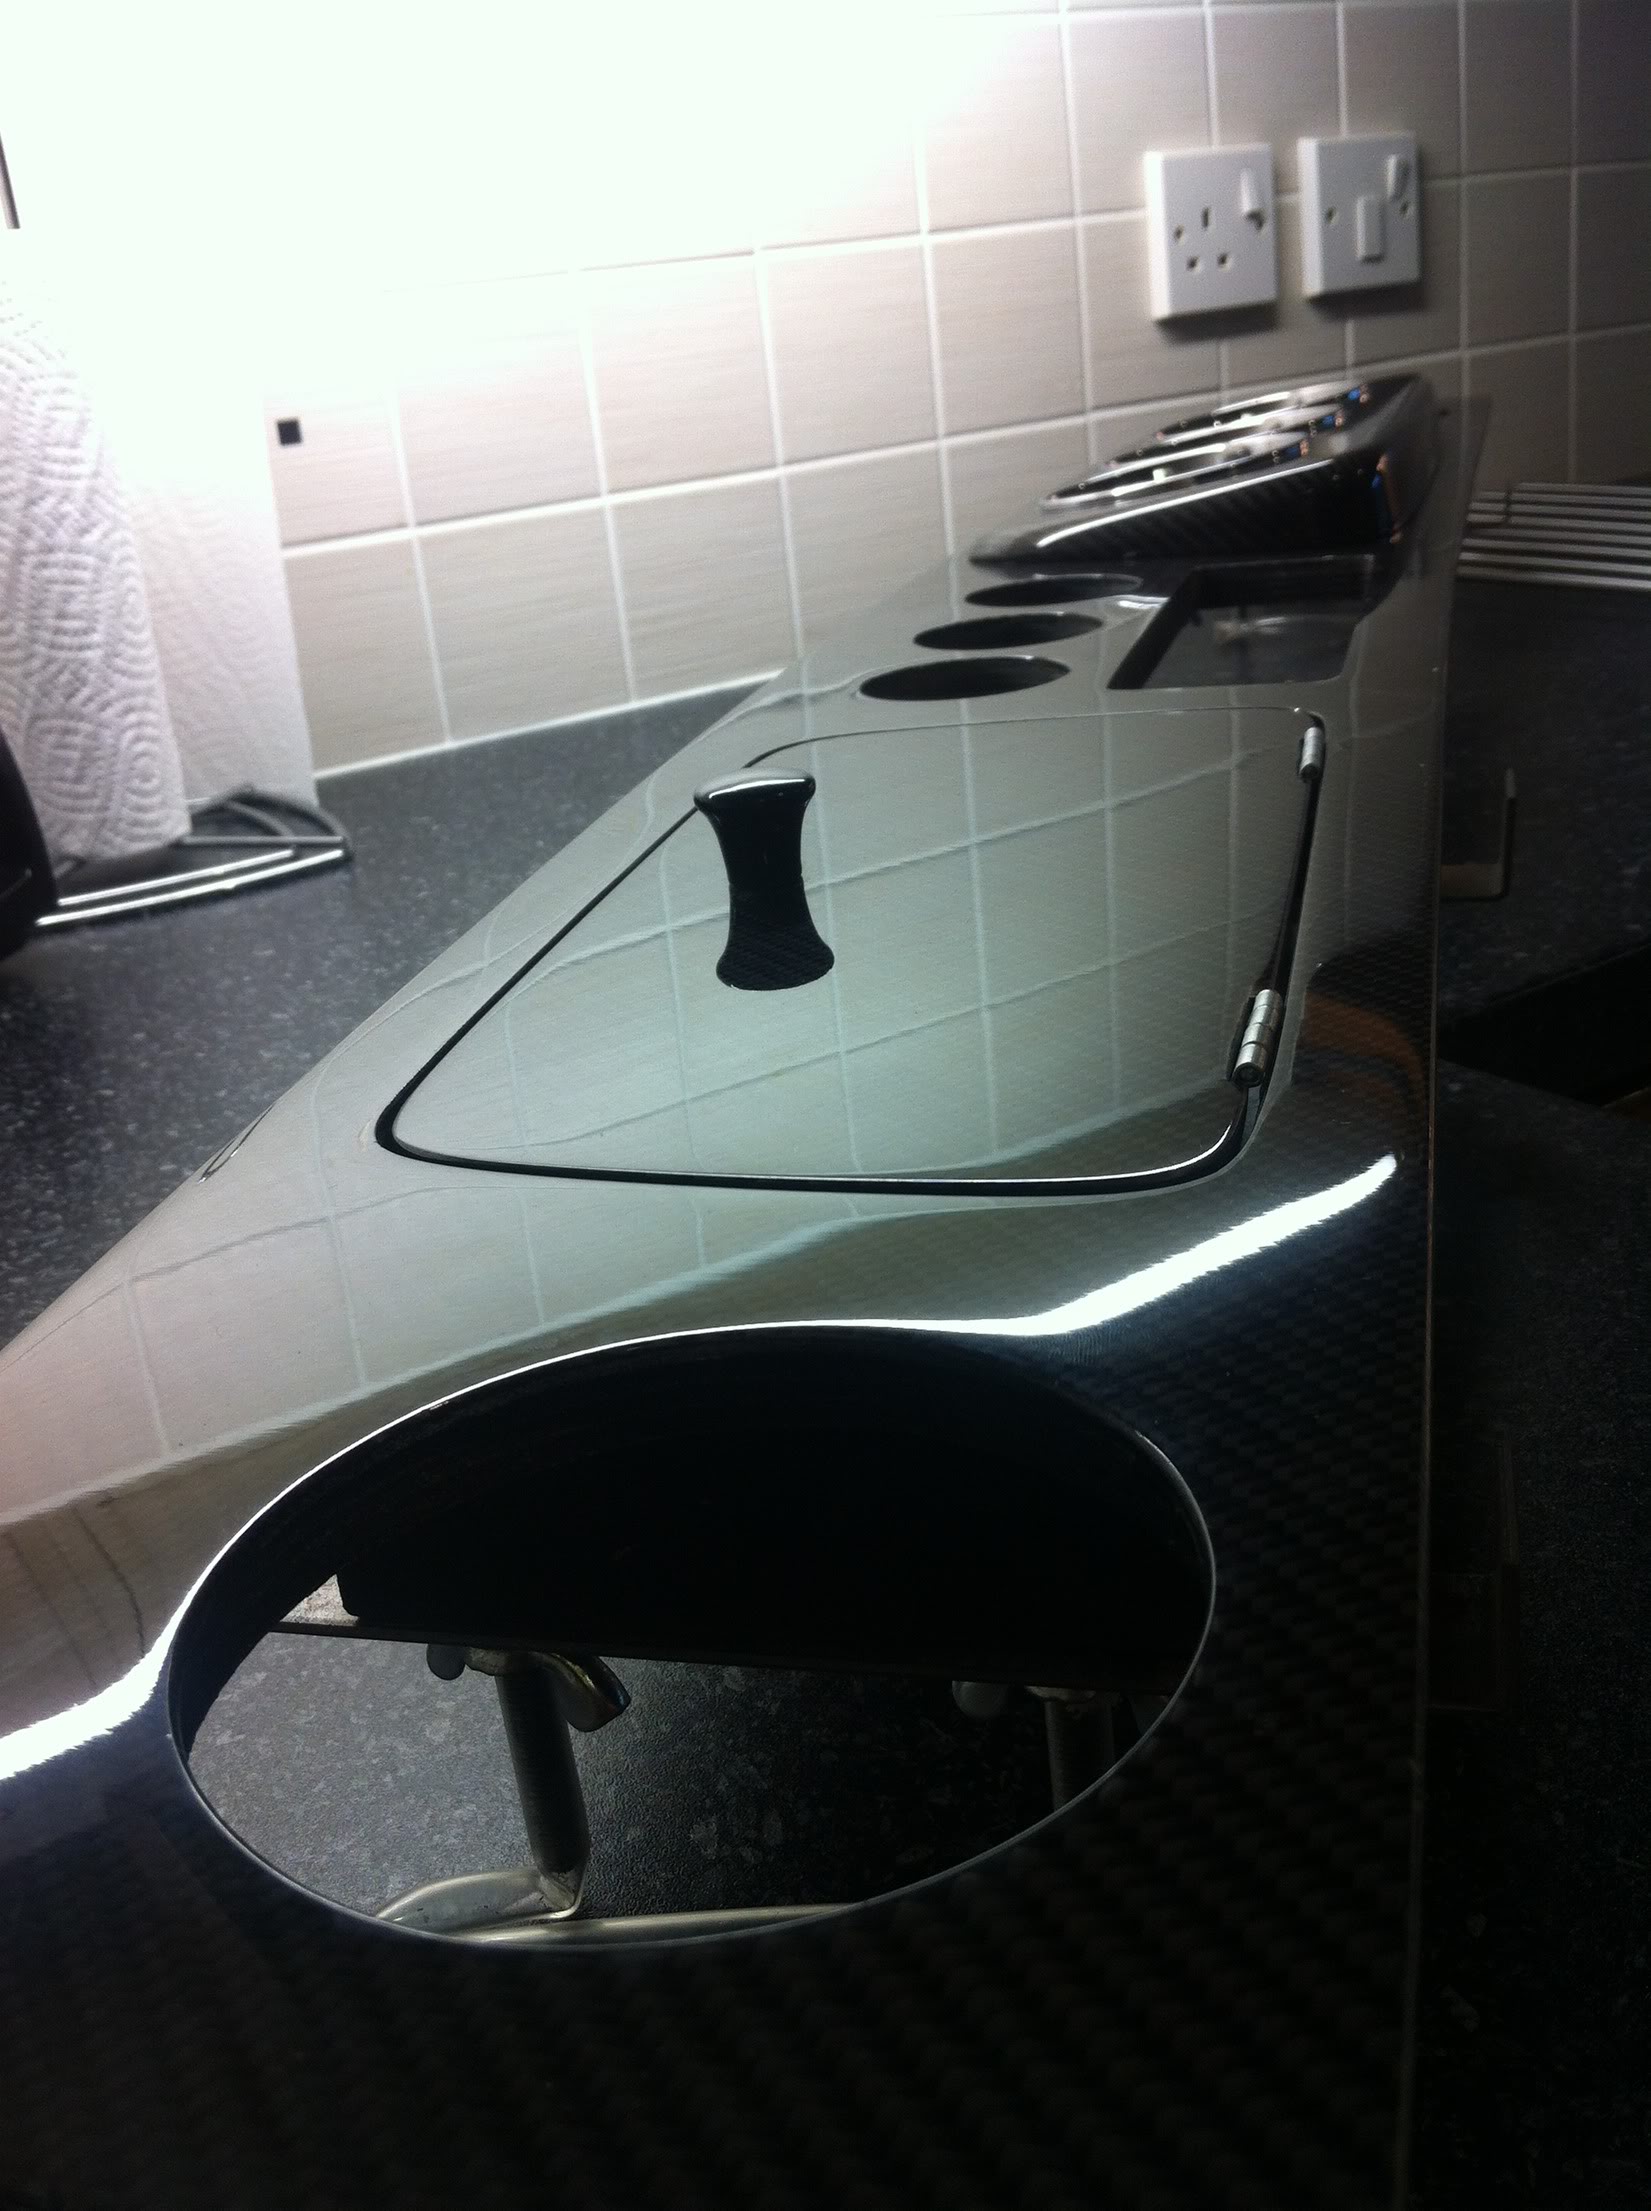
And I also have a spare bit (the radio blank) for another little side project Im working on
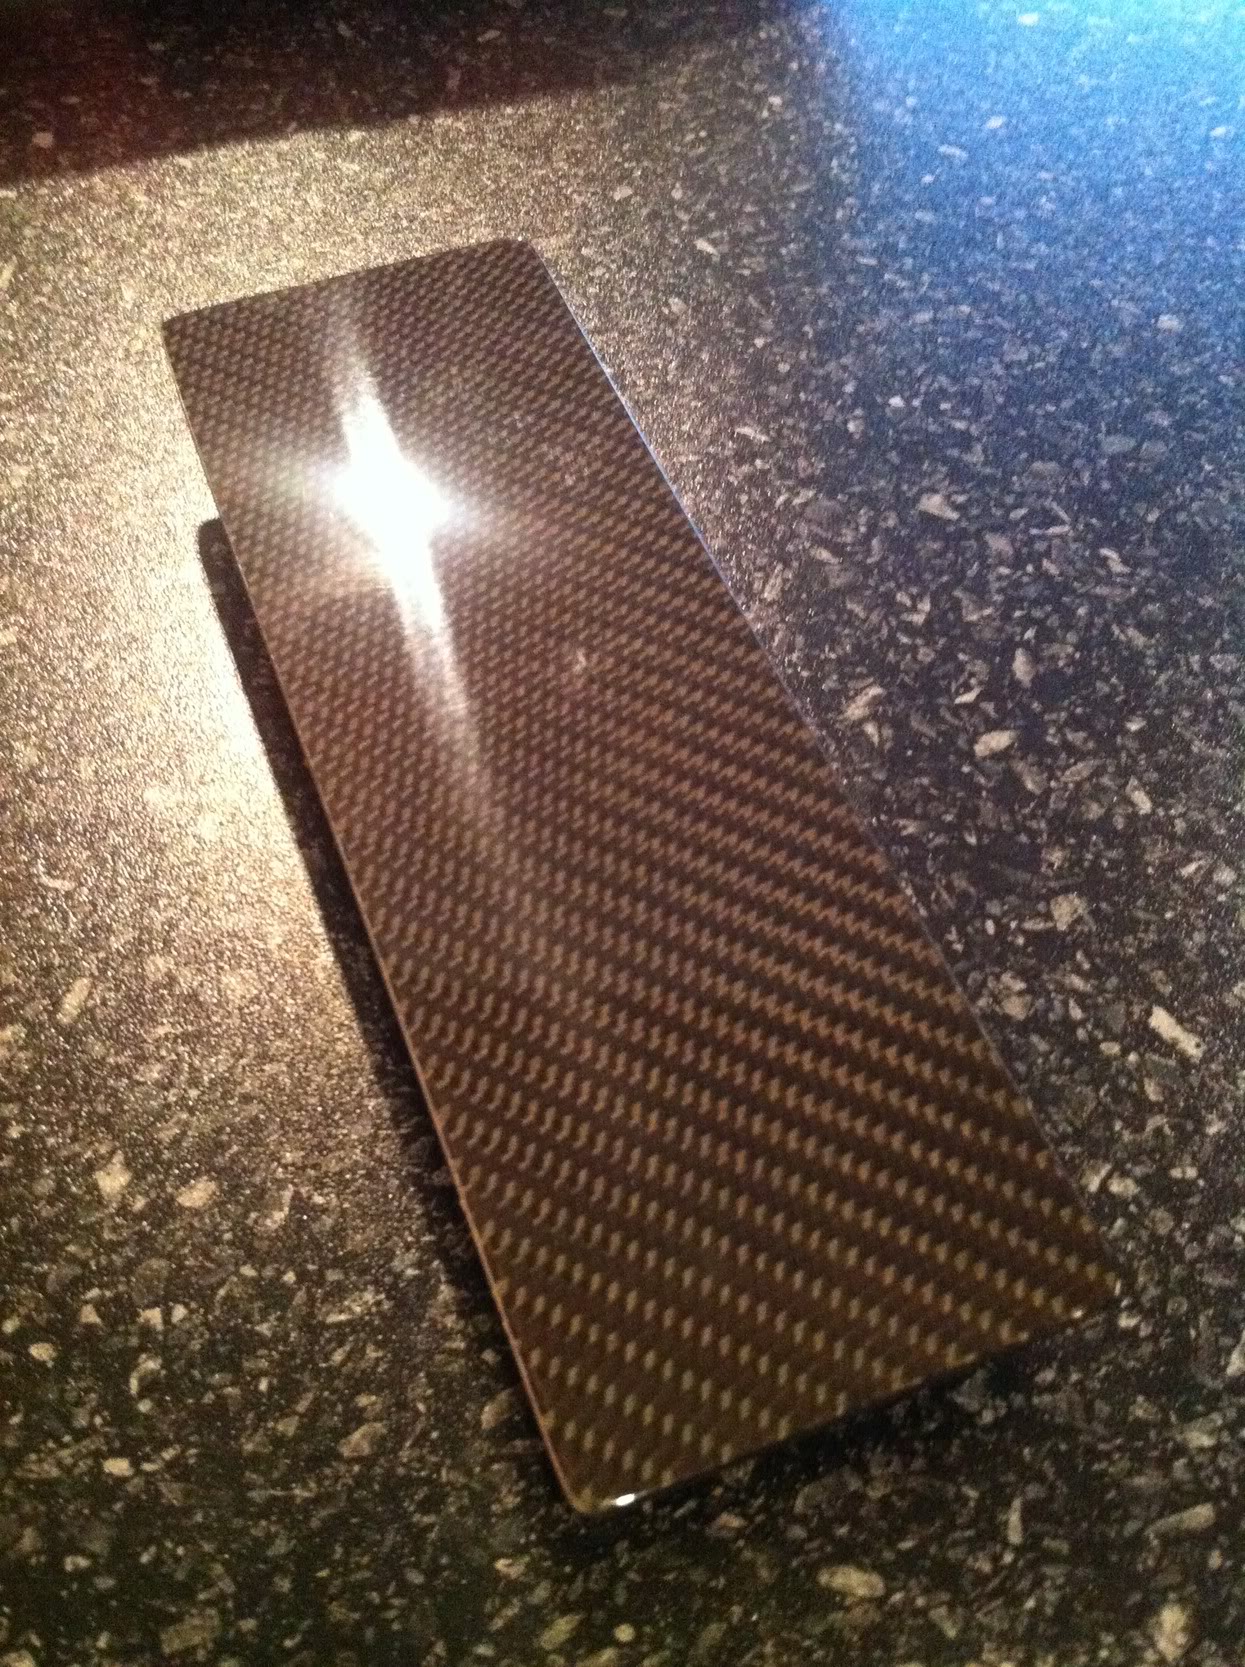
Chuffed!
Comments

I LOVE Mini Coopers. Wow fantastic detail / photos here!
Posted by Diggymart on 1/22/19 @ 4:17:19 PM
Congrats BOTW what a beauty!
Posted by Diggymart on 2/6/19 @ 3:15:15 PM