You must be logged in to rate content!
17 minute(s) of a 461 minute read
1-22-2012
Another day another set of photos:lol:
These are from yesterday but forgot to upload them. Morning spent at the body shop and we got the roof prepped and painted in primer. Will need a rub down in a few areas, especially the back as it reacted weird with the old silver paint. Nothing too bad.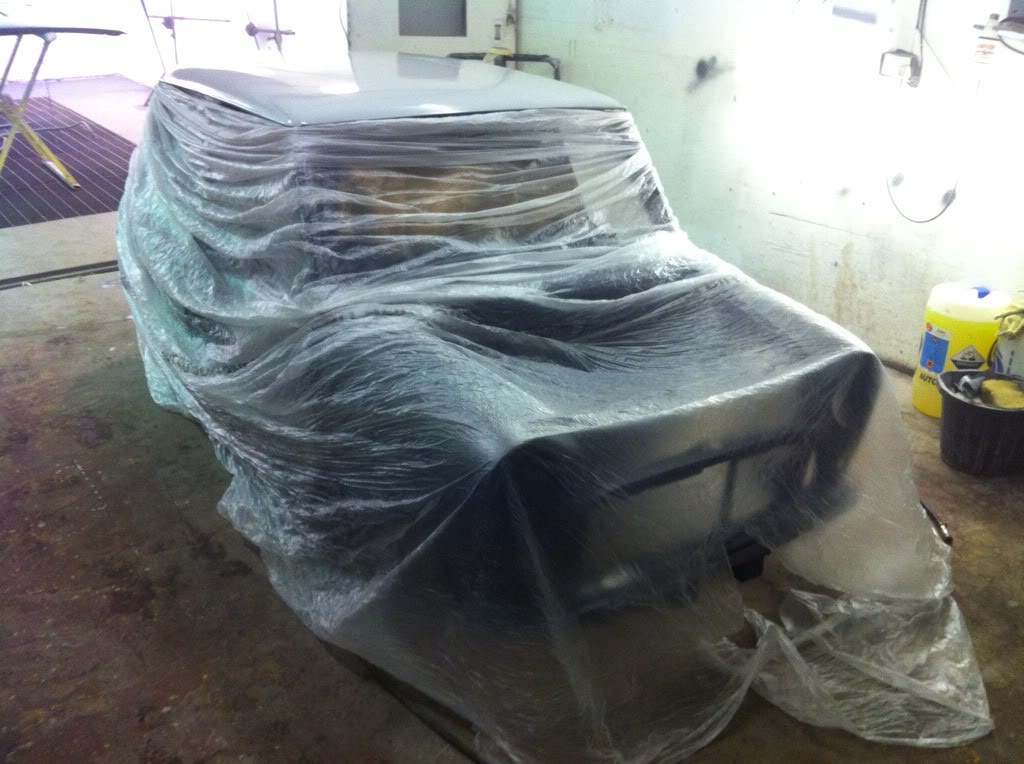
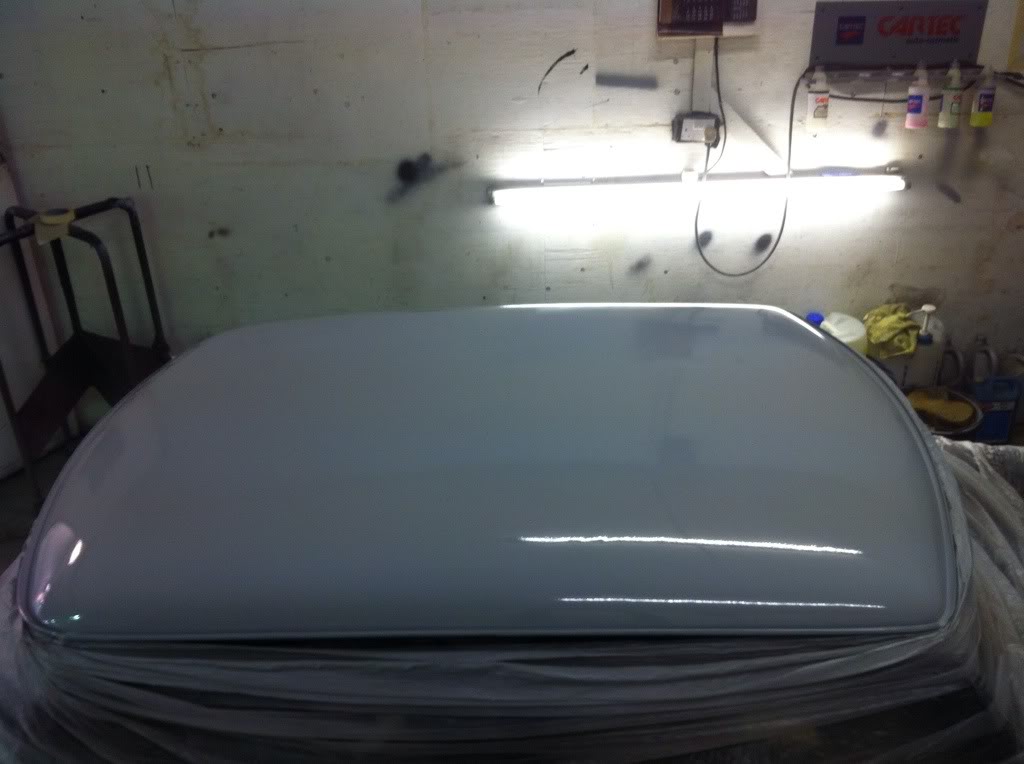
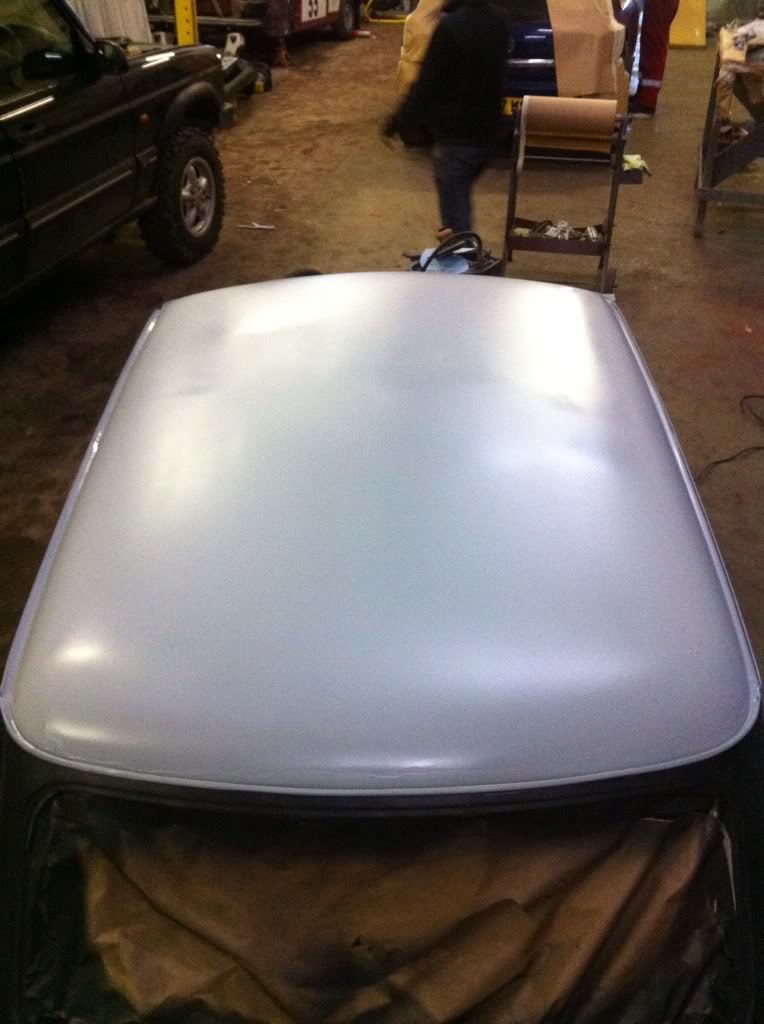
Monday is boot prep and final body prep :)
1-26-2012
SO! After 4 months, 12 days (11,577,600 seconds, 192,960 minutes, 3216 hours, 134 days, 19 weeks) or however else you want to measure the time, Trig is painted and looking amazing!
We masked the car up late Tuesday night ready for painting first thing Wednesday morning and left it in the booth.
Next morning Phil phones me saying the lacquers not going to arrive until 11.....so instead of heading straight to Banchory he sent me to Aberdeen to Dingbro to pick up the supplies the head out. Saved us a couple of hours which let us get on with the painting! Dedication from the both of us!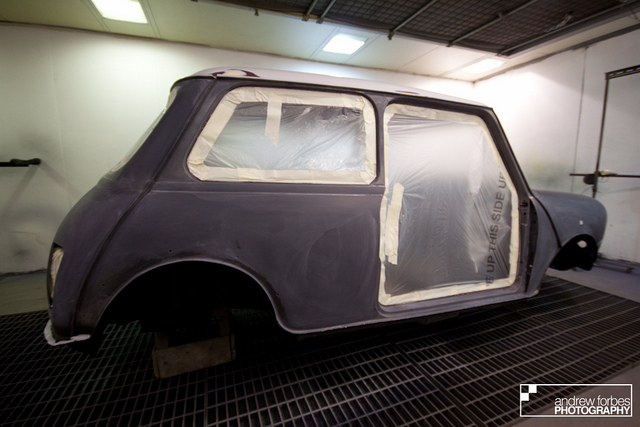
And a fancy shot in the booth before the painting began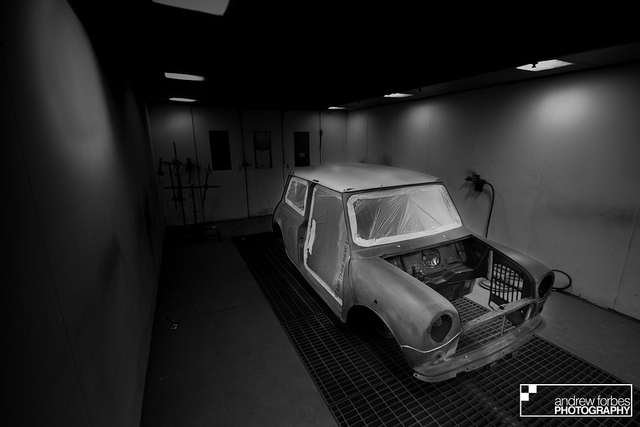
After Phil left me in charge of cleaning the surface ready to paint it (wasn't expecting that to be left to me, being such a crucial stage!) he got on with the main show!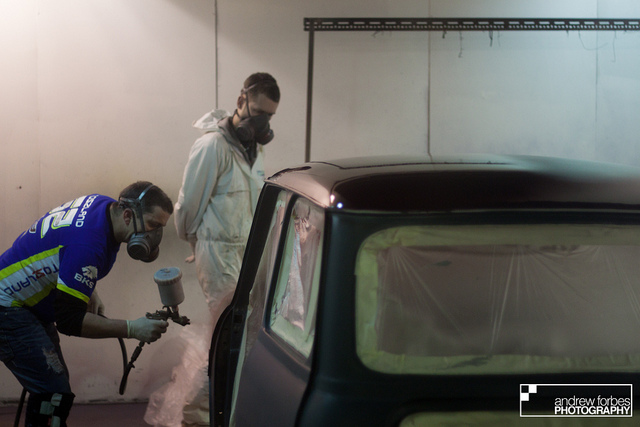
I took more video than stills as he painted, for the final video, but thats neither here nor there as this is what the car looked like after the colour coat!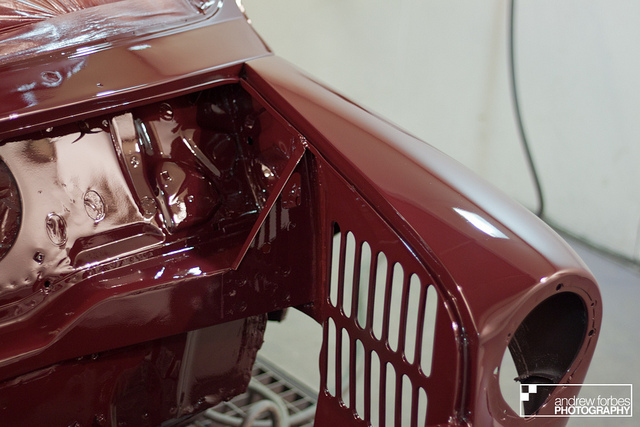
And to give you an idea of the gloss factor on it.......this is unpolished 'straight off the gun' before any lacquer went near it. Its even shinier now and just flatting and polishing to go! You can't tell there used to be the filler neck there at all!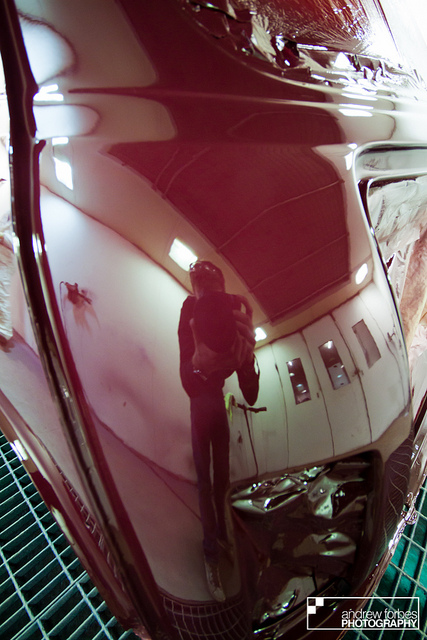
Kyle on the left, Phil on the right and me behind the lens.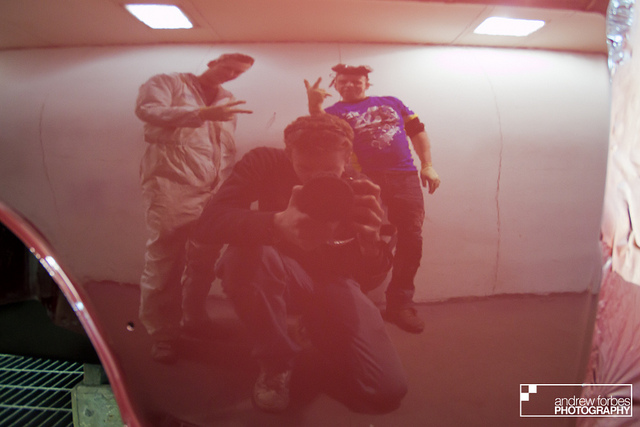
Then Phil shot a few coats of some modern 'anti scratch' lacquer onto it!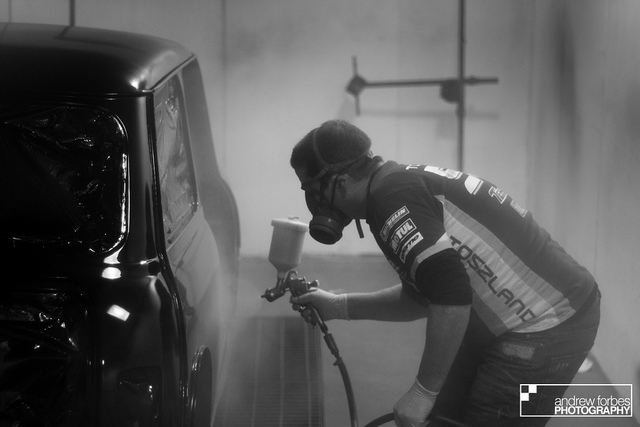
Didn't get out to work on it today as I had to service the Polo and give it its 6 monthly wash (no exaggeration.....) but Phil did text me saying the roof was painted in silver too! So thats something to lok forward to tomorrow!
Its really satisfying to get to this stage. After owning the car for almost 8 years now I never thought I would ever be in the position to get the car to this standard. After hundreds of hours at home and at Kirkton the results make it all worth while
Next stage is the tricky bit......putting the giant jigsaw all back together.
2-6-2012
Small but at the same time huge update. The Mini is home! Got it flat bedded over this morning and to see it in daylight was ace! So dam shiney!!! Popped it up on the few sets of wheels and tyres Ive collected over the years (steels, cooper originals and my 13s) so I can get access to the underside to get battery cables, fuel and brake lines etc all done along with painting the underside gloss black to make cleaning a breeze! Thanks to Phil and the lads for helping us get it onto the flatbed and all the guys who helped at the house to get it off again. HUGE help!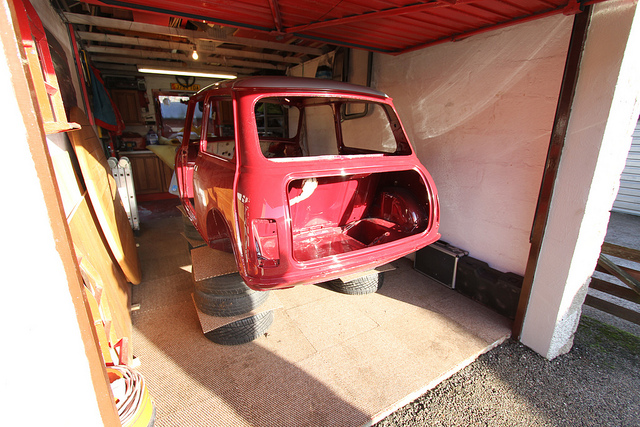
So this marks the start of the rebuild finally! With uni and work I don't see me getting too much time to play but I still really want it back in time for Thistle Run in June. We shall see.....
Updates will come and go but not as regular. Wish me luck!
2-9-2012
Bit of progress! Not much but its a start!
Went out to the car about wish tonight and set to work sealing in the floor with some Hammerite. This floor is not going to be rusting again!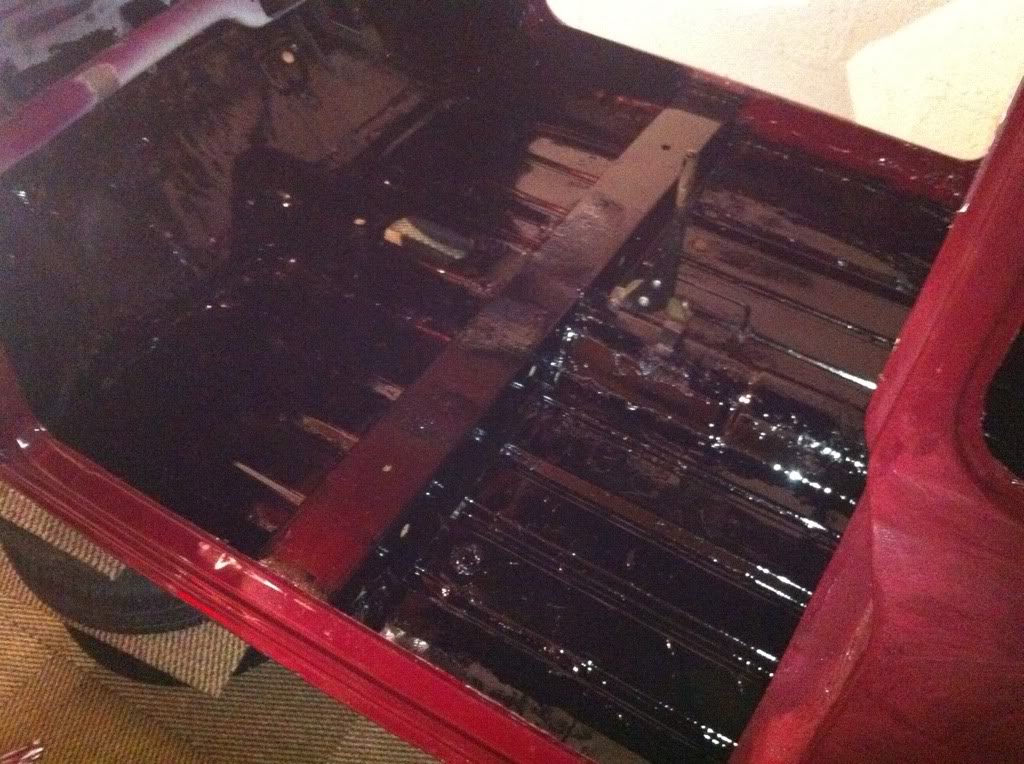
Not too cold but still 2 tshirts, 2 hoodies and track bottoms on.
Also started work on the front swivel hubs as these need rebuild but leaving them to soak in WD40 overnight.
2-11-2012
Progress again!
The floor took an age to dry due to the temperatures at the mo. Meant I couldn't get to work on it last night. However tonight it had finally hardened so with the day off work I got going 
First thing to do was the steering rack. I had the choice of two as I bought another which I believe to be a sports pack one. Having tested them theres a 1/4 turn difference so Im not convinced however its a quarter turn less so it made the cut. It needed refurbed as the rubbers were split and the grease had all escaped, bolts were rusted solid and track rod ends had seen better days.
Had a spare refurb kit that a guy at my dads work donated to the cause after learning out his garage years ago so that was handy! After mixing and matching track rod ends from the two I got a decent steering rack together! Stripped the U bolts and painted them in silver Hammerite to protect them. Didn't repaint the rack itself as it was in pretty good nick under the grime which must have preserved it.
So here it is, all regreased, new rubbers and bolts replaced for stainless.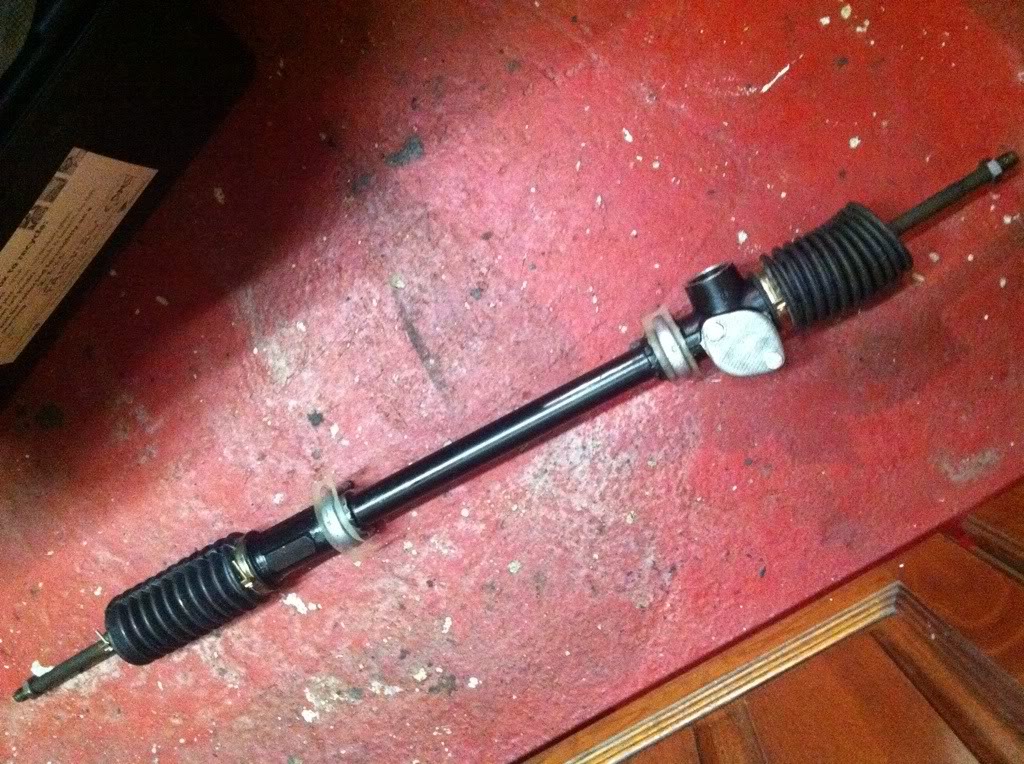
So with that installed I got the column in too. Got a drop bracket on it but I think I must have snapped the bolt that attaches it to the dash rail as its nowhere to be found, so its tie wrapped in place for now. This won't be the final steering wheel as I have something special in mind for that. ;)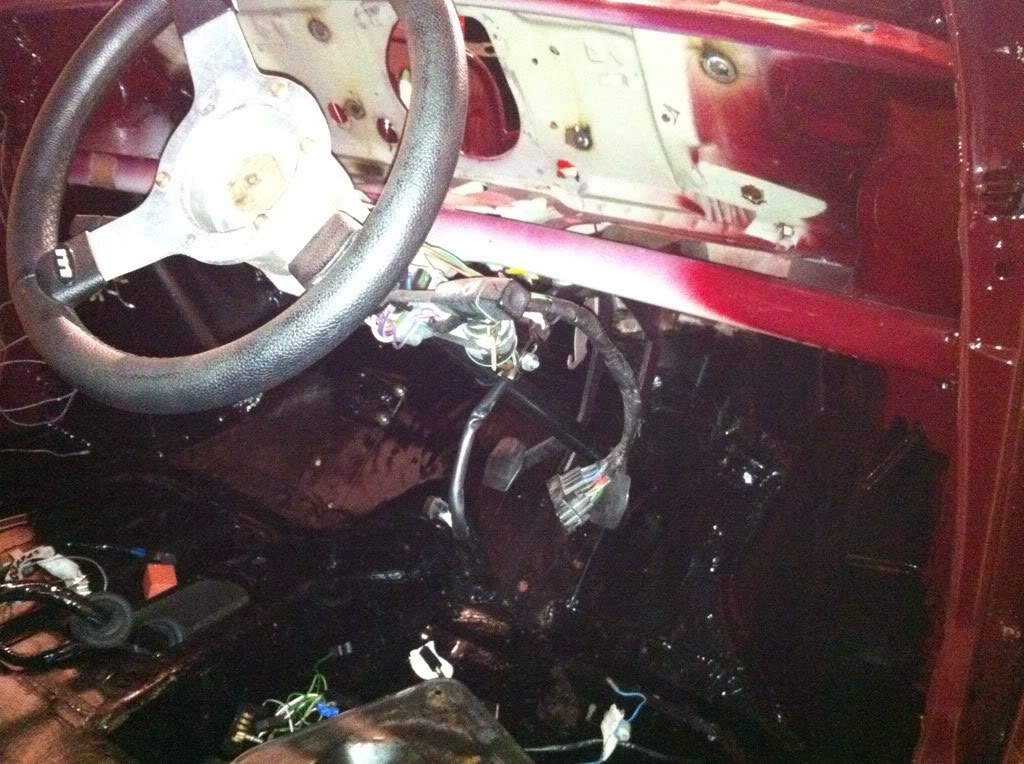
And with that all installed I started to tackle the wiring loom. Been dreading this but once I had it all load out side by side its actually pretty simple. Thankfully I had labelled most of the old loom as I took it out. If I hadn't done this I would have had no hope in getting it done!
At this stage I was a little worried.....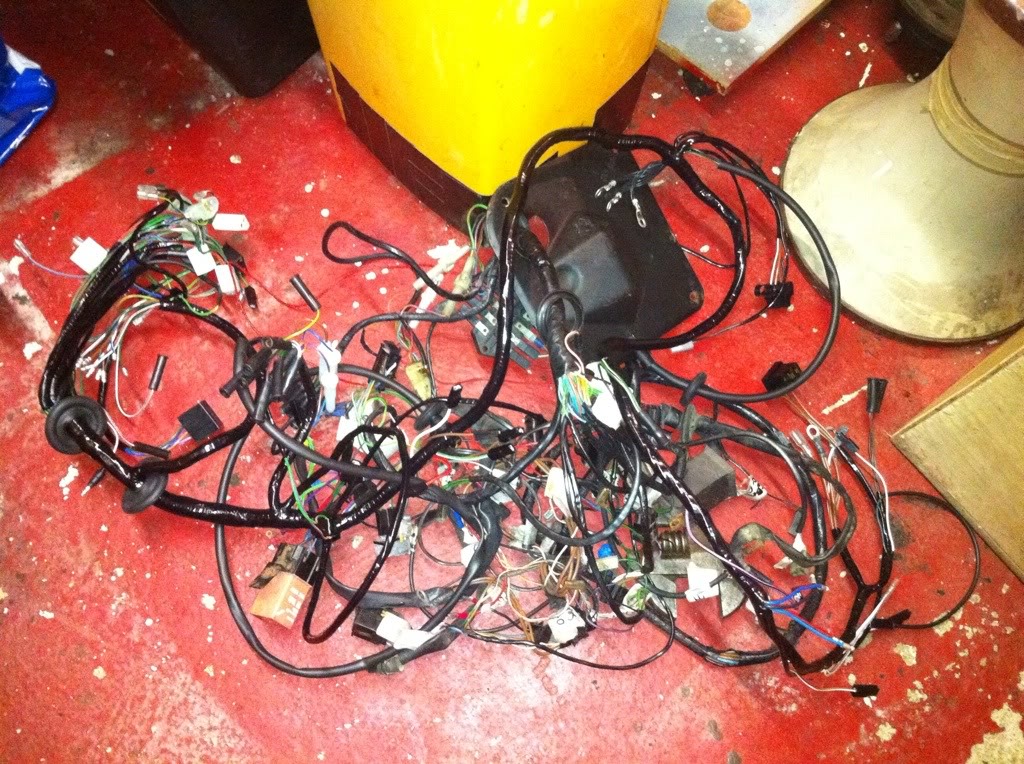
Old loom on drivers side and new loom on passenger side. Almost all done but finished up early to relax in front of the TV for a while before work all day tomorrow :)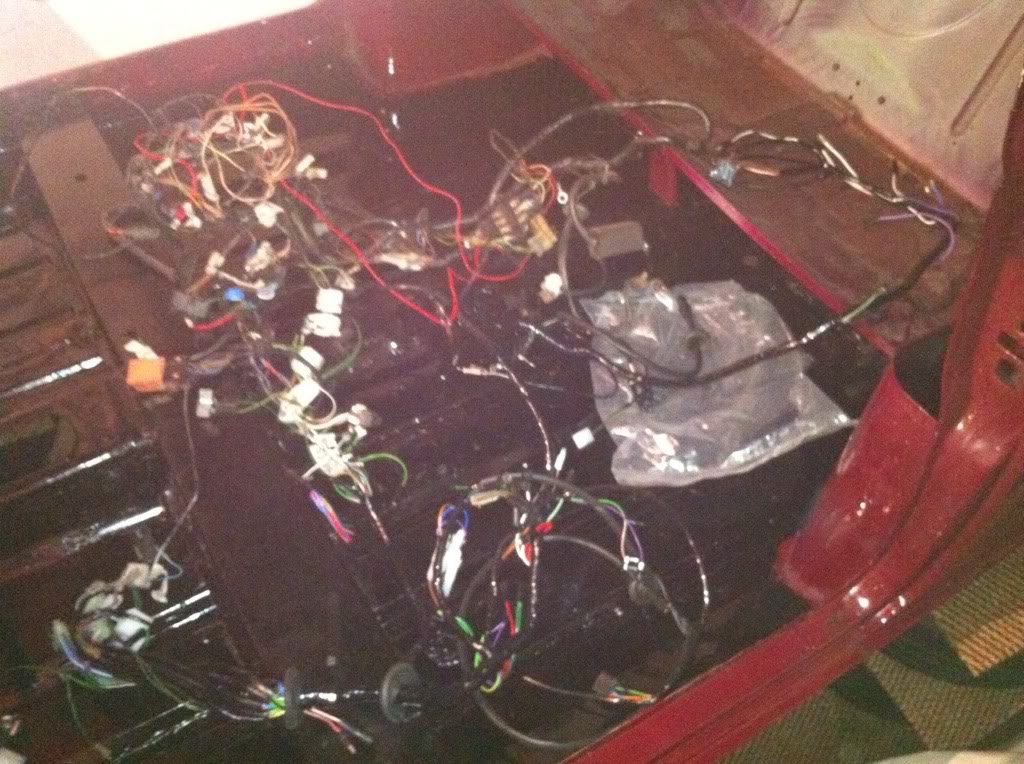
Satisfying to finally get going with it!
I can see the June 2nd target being met at this rate 
2-15-2012
Time for an update!
Went out about 8 to get the floor painted in hammerite to give it a bit of added protection. What a mare of a job! Got most of it done apart from the parts where the supporting wheels are holding it up. Will have to go over it again as I know some bits are thinner than others which isnt good enough!
Not really an exciting photo but here you go.....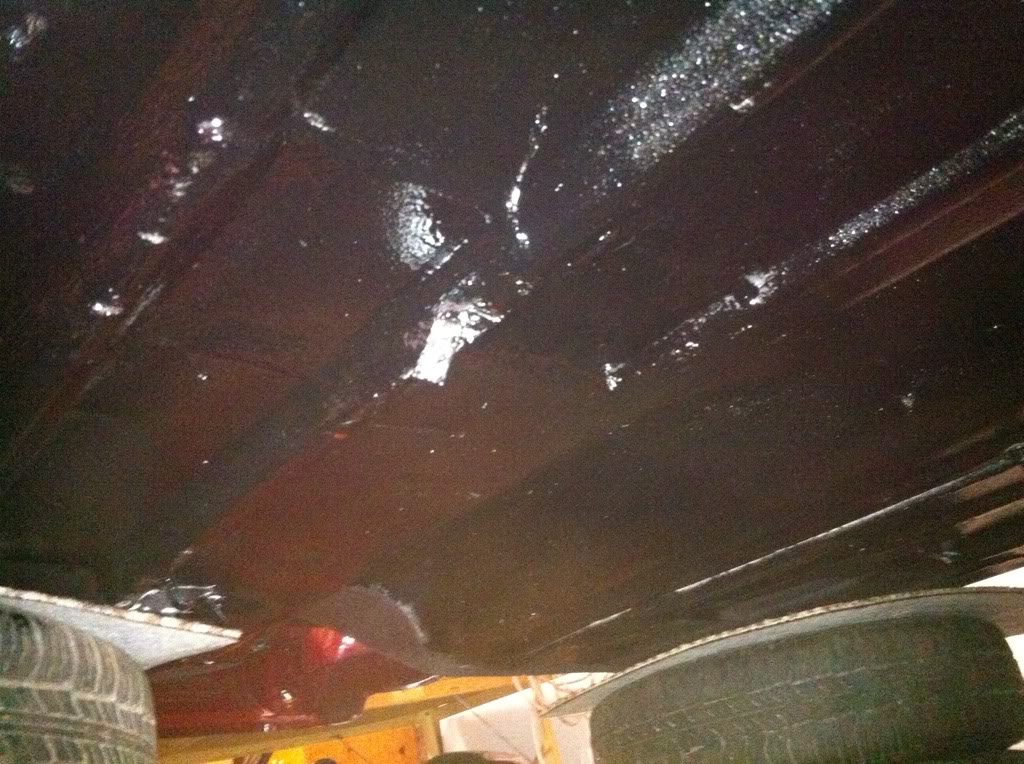
and seeing as I had the Hammerite out I thought I might as well get going on my other radius arm. It was covered in surface rust (as you would expect) so stripped that off with the bench wire wheel, quick rerust with the Deox Gel, degrease and then a coat of paint. Its come up really well!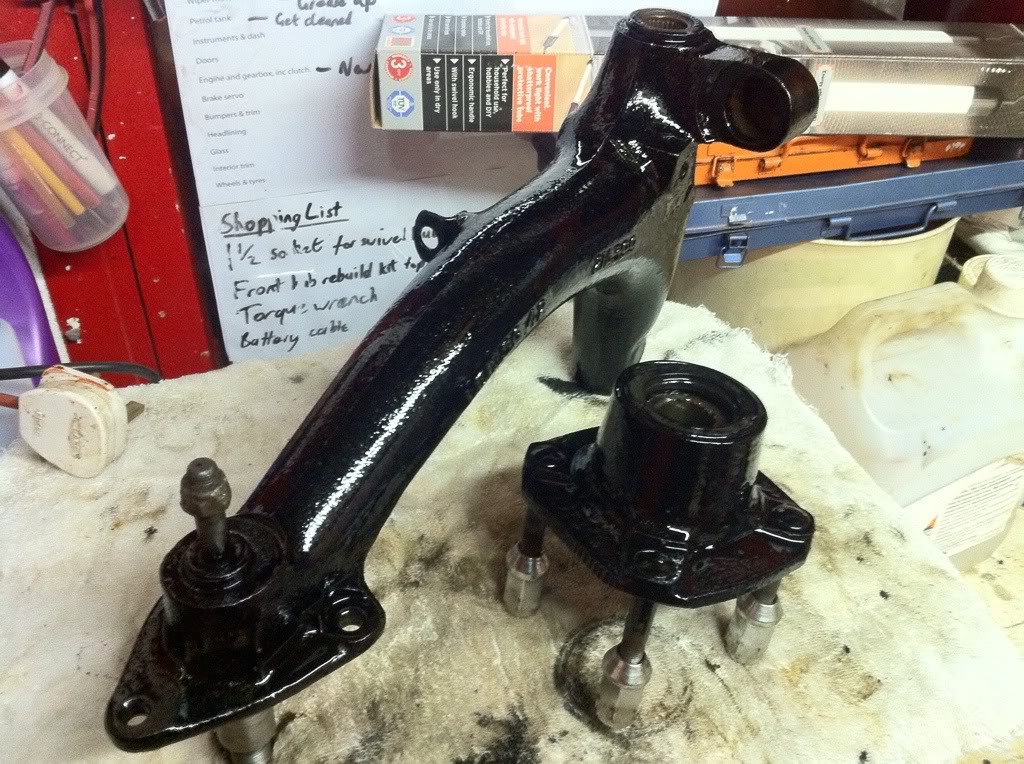
Also did the hub whilst I was at it.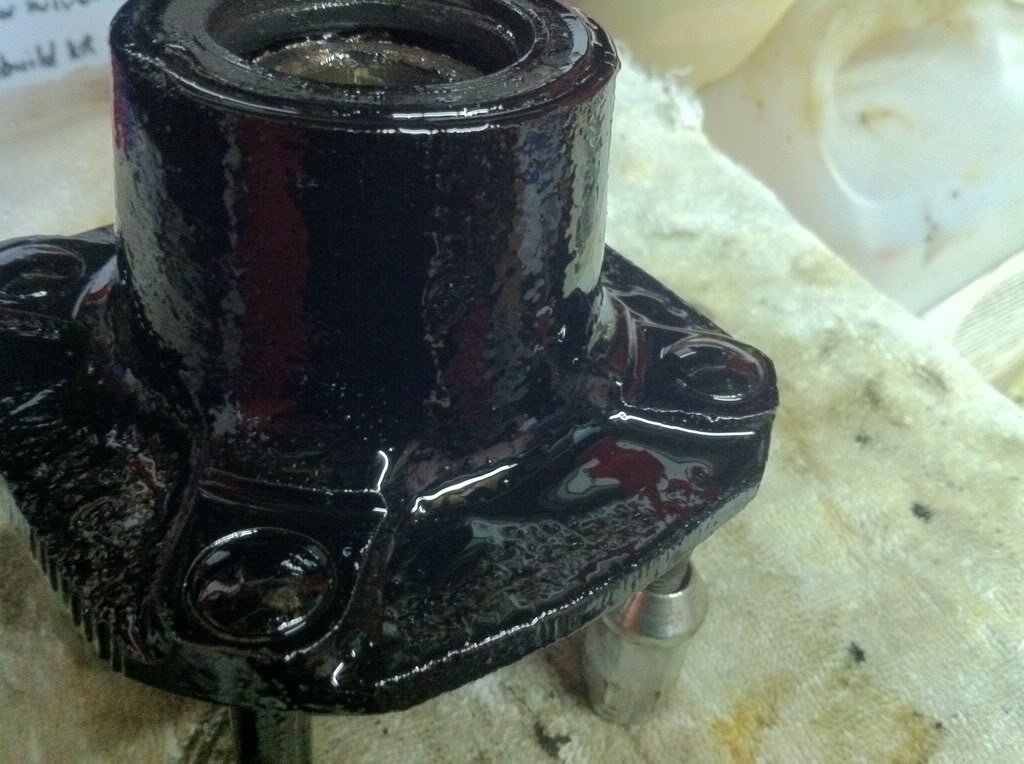
Also I managed to straighten out my tie bars, which were pretty out of shape as on most Minis, with my special precision impact tool (MASSIVE HAMMER) 
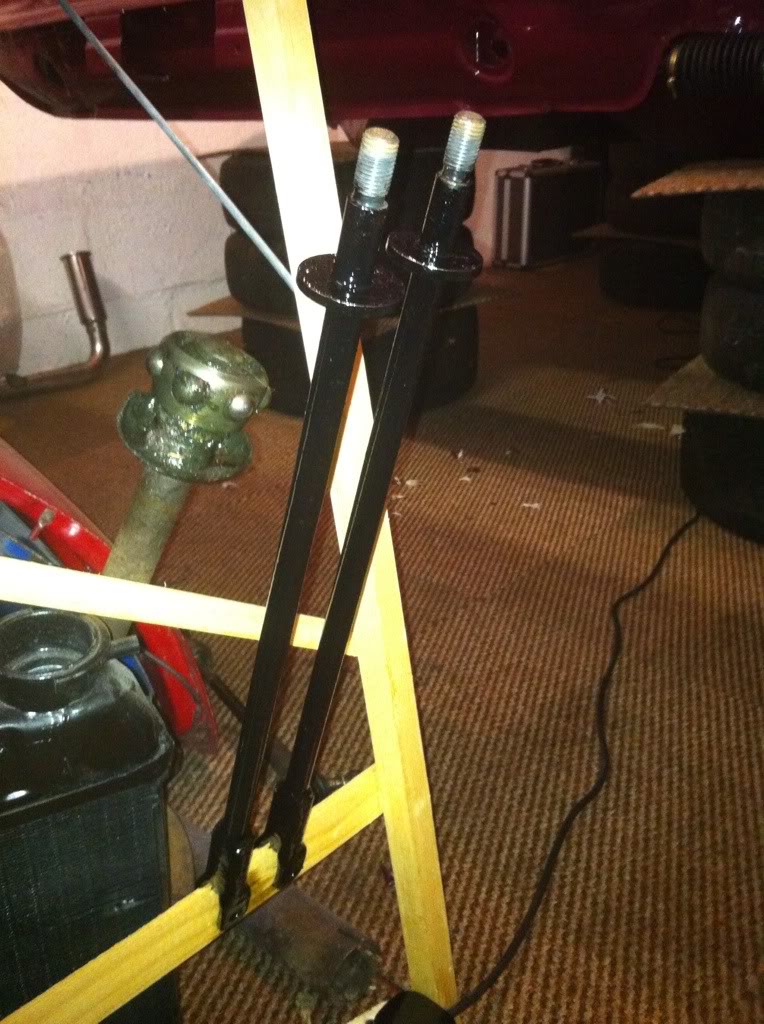
So with these parts done thats all the suspension stuff tidied up and painted ready for subframes. Just need to get them blasted first but don't have the time/funds at the mo!
3-24-2012
Well tomorrow I plan to get some work done on the car as its a rare occurrence I am off the same day as my dad.
In the meantime check out the third video in the series that Ive just finished off. Click on it to view in HD (recommended)
Enjoy folks!
3-25-2012
Update! Small one but progress nonetheless!
Had a day off work and I forced myself to take advantage of the fine day and not sit inside doing uni work. Im glad I did as I thoroughly enjoyed myself.
Got some supplies in (Hammerite mainly...) so got going with a few bits. I started by painting the bits I missed on the floor. turns out I hadn't missed much but it was good to top up for extra protection. No pics of this but....its a floor.....
I had the gear linkage on the bench anyway so split it all down and cleaned and painted everything. Reusing the bobbins as they were in perfect, oil covered condition  I took advantage of the fine day and let them dry off outside. Didn't take long with temps hitting 21C!
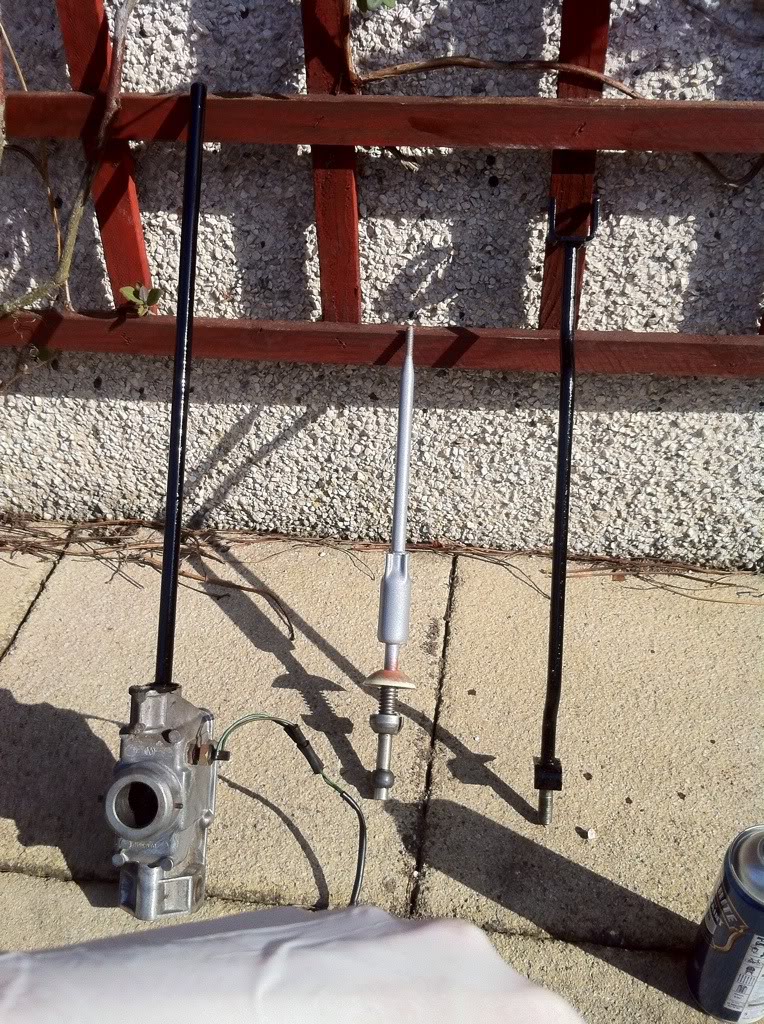
and then reassembled with stainless bolts/washers throughout! I fitted it to the car and held the linkage that attaches to the gearbox with a tie wrap for now to keep it from stretching the bobbins.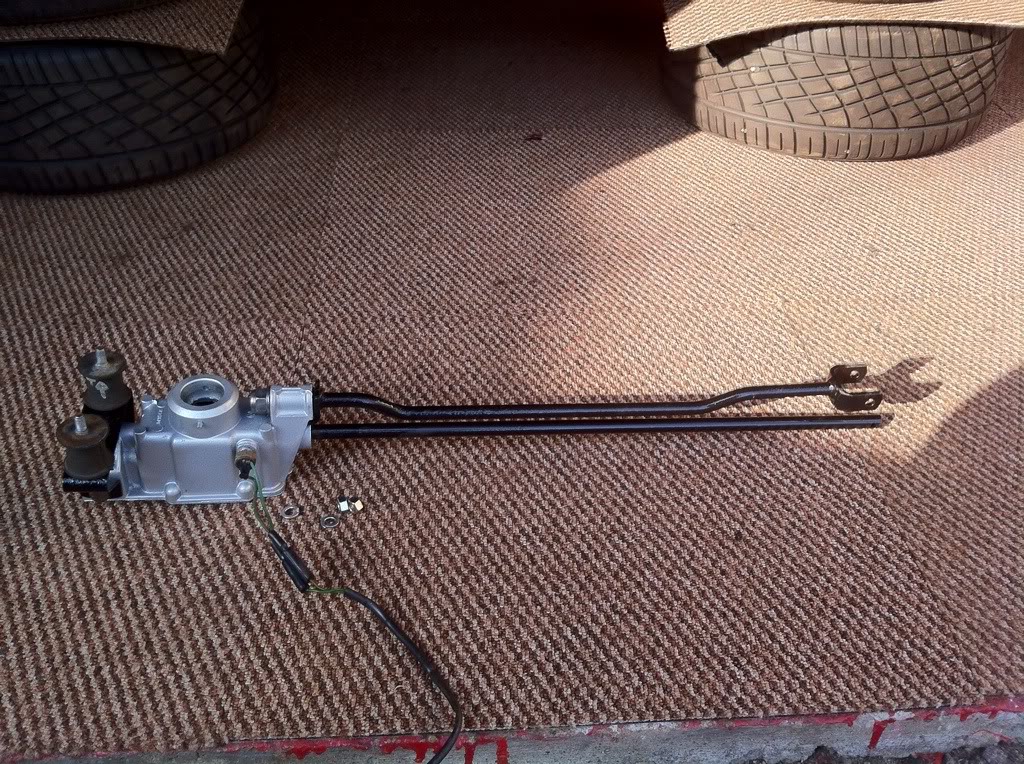
Also when I was under the car I couldn't resist taking a shot of the doors reflection! 
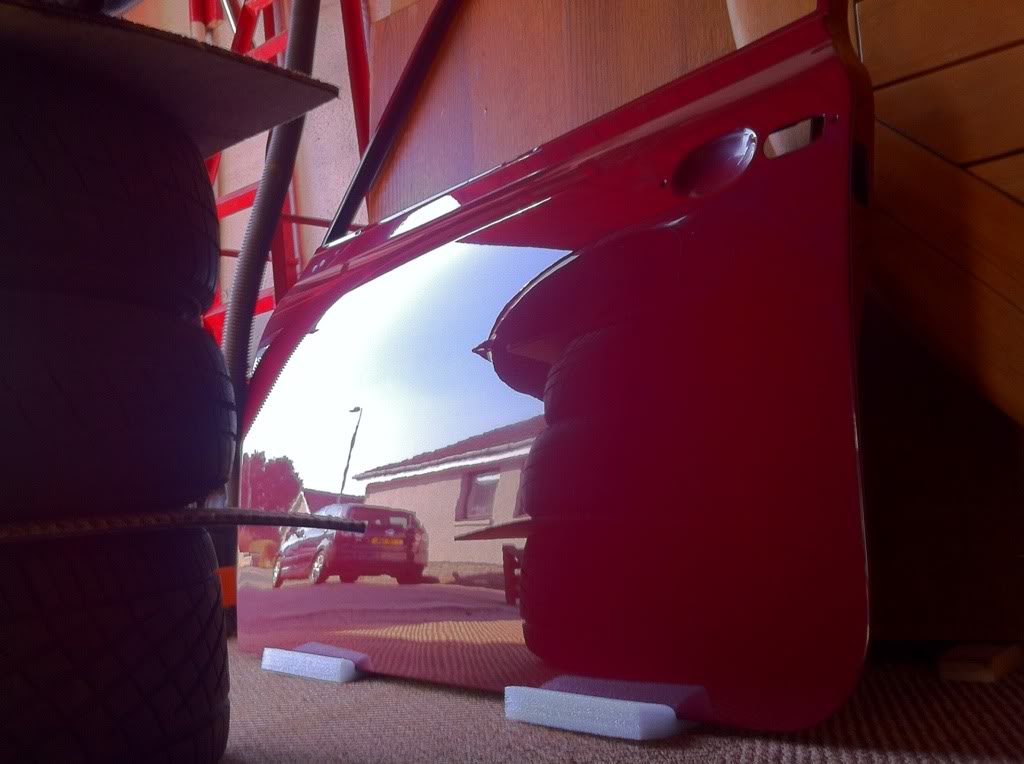
After that I took a look at my front subframe in more detail. Decided Im going to degrease it, wire brush drill it and then Deox Gel the few rusty bits and then paint it up. Its not too far gone for blasting so will see how this goes instead :) Should get that done tuesday/wednesday evening all going well....
So as I say, not much progress but god did it feel good to get back to work on the car!
3-27-2012
Another day another bit of progress!
Went out tonight to see what was needing done next. Thought I would try and tidy up the front subframe as its not too bad but the time it was going to take me I think its just going to be best to get it blasted.
So with that done I routed the loom through the bulkhead blanking plate that had dried off overnight (in silver to contrast with the red. The standard black looks crap)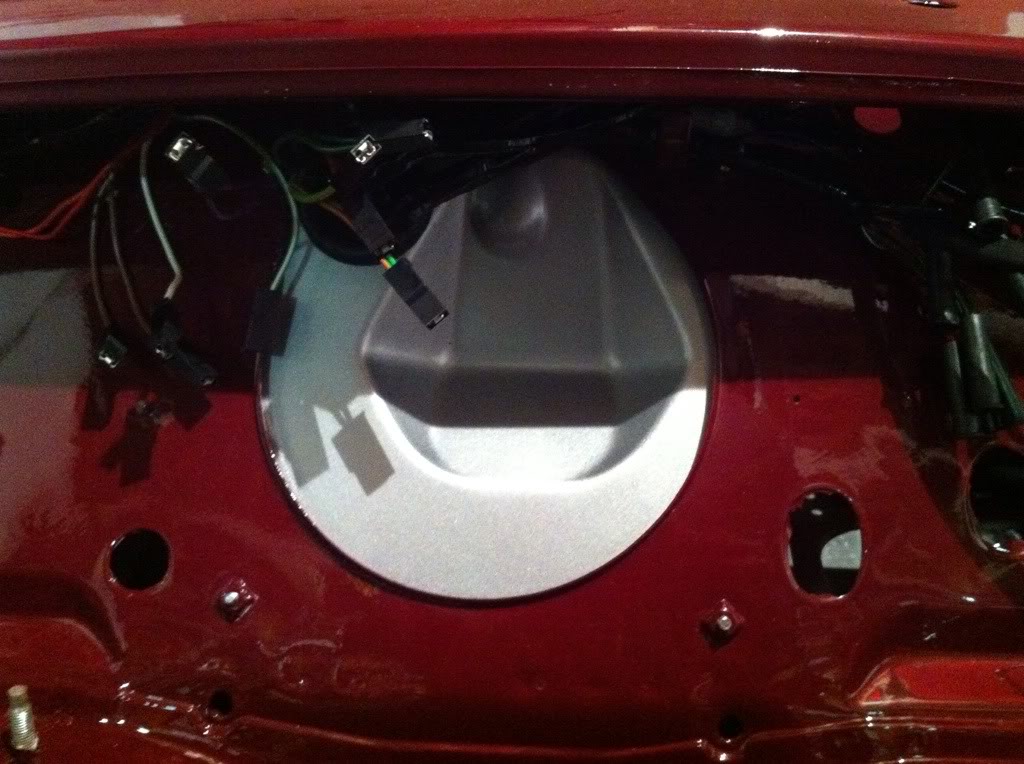
Then I routed it throughout the car ready for attaching to everything. Kinda simple when its all labeled up! 
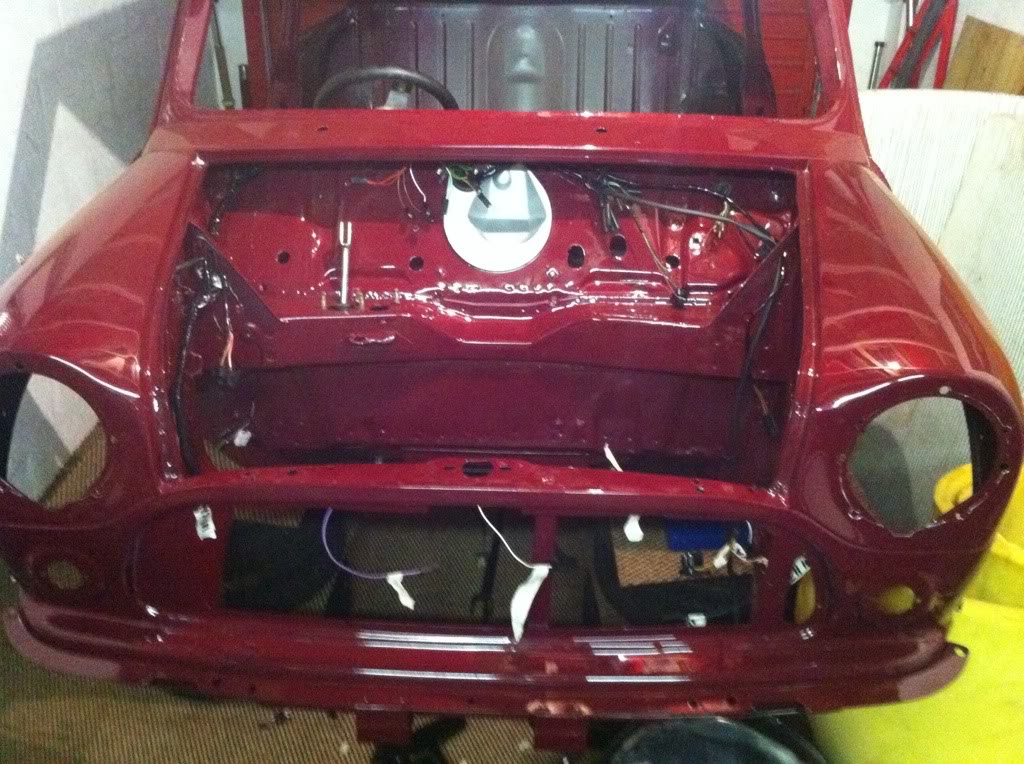
Going to take the frame to get blasted by PPS tomorrow. They haven't returned my calls to book it in so going to doorstep them instead! Hopefully they will be able to get something done with it asap.
Next stage for me is to get lighting stuff located which involves adapting the holding rings to fit the MK2 Golf crosshairs. So still lots to be getting on with!
3-28-2012
No progress so far today (might get out to work on it tonight) but I ordered a load of bits from MiniSpares today. Took advantage of my TMF+ membership and got a nice 7.5% off the whole lot  Totally worth the £5 to get the membership! Still came to a fair whack all added up but everything is needed to progress.
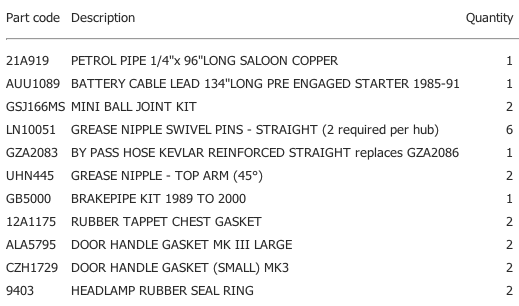
Also after weeks of thinking about my subframe and what to coat it in I phoned PPS today and Ive decided to put it to them to get blasted and coated in high gloss black powder coat. The way I see it is that the car won't be doing loads of miles and will be getting regular cleaning. Im thinking of putting some clear laminex on the bottom of it where it faces the road to prevent stone chips as much as I can. The laminex is clear so won't be noticeable and works great on car front ends so why not a frame!
Dropped it off this afternoon and should have it back in just over a week. Means a delay on assembling the frame but hopefully my parts will arrive quickly as they are coming by courier.
I also ordered some Scooter deck grip tape. Answers on a postcard for the uses of this......
I got more done to the car tonight though! Not much but what I was doing is complicated....
As you will probably know already I have MK2 Golf crosshair headlights to fit. The problem with these are they are ever so slightly too large for the inner mini headlamp rings. So I had to modify these rings to fit!
Heres the light in question....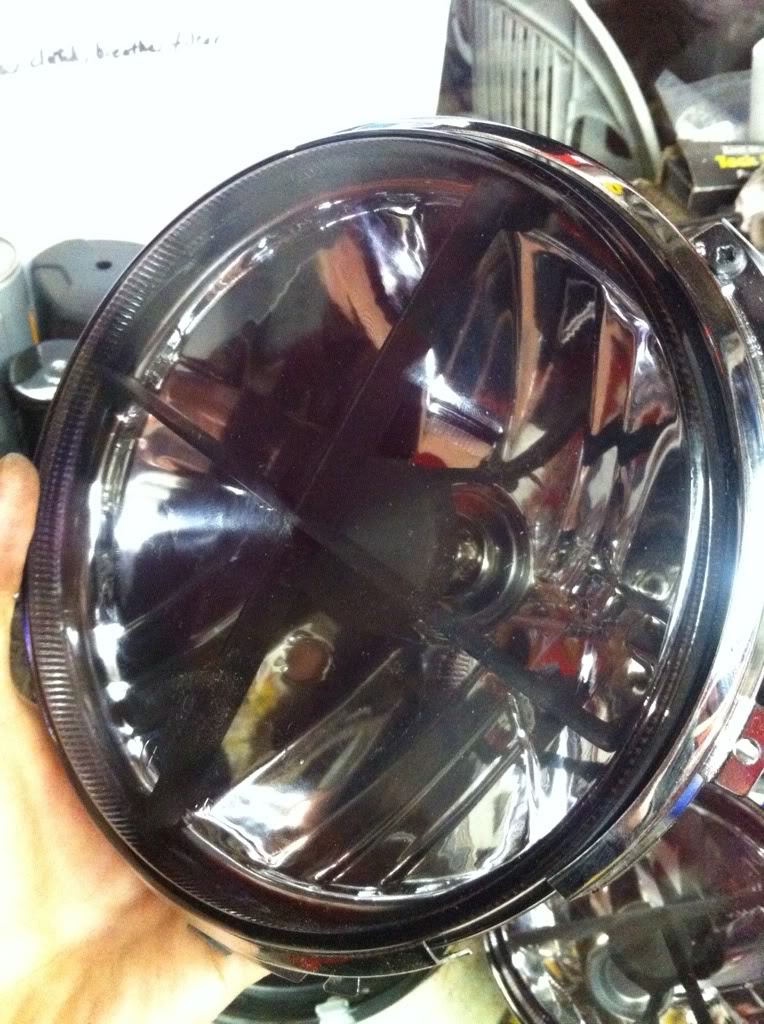
and here is the cut to stretch the ring out to fit the glass.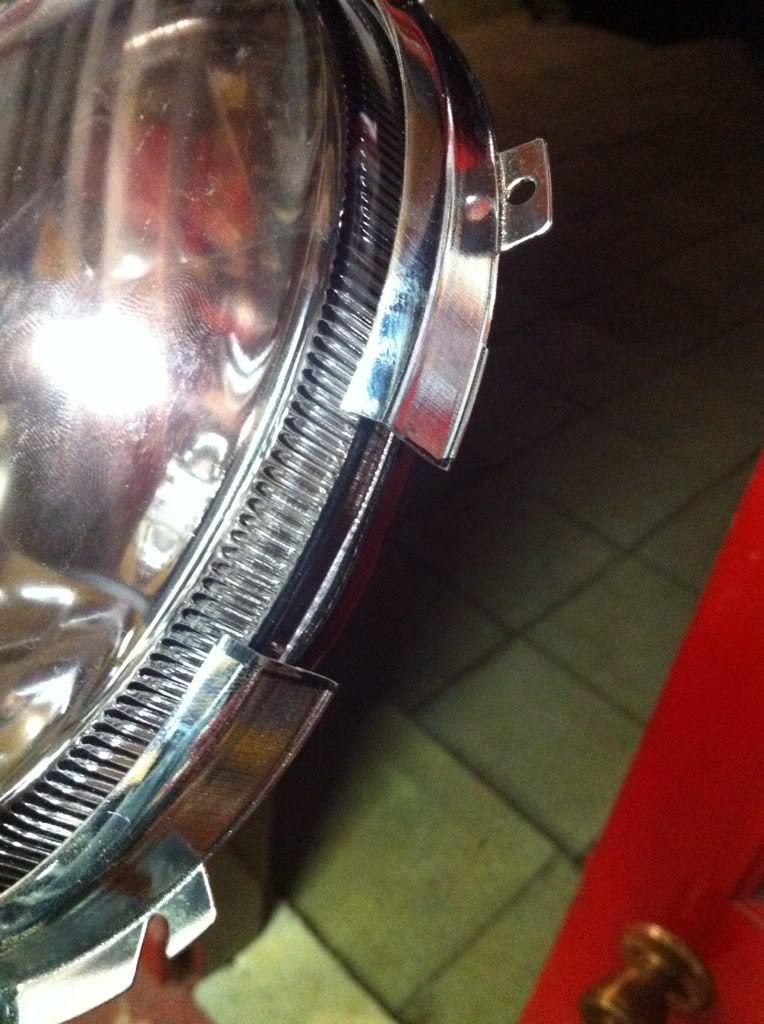
I didn't get a chance to get the placement/orientation done tonight but I did have a quick mockup on the car. Im beyond happy with their look!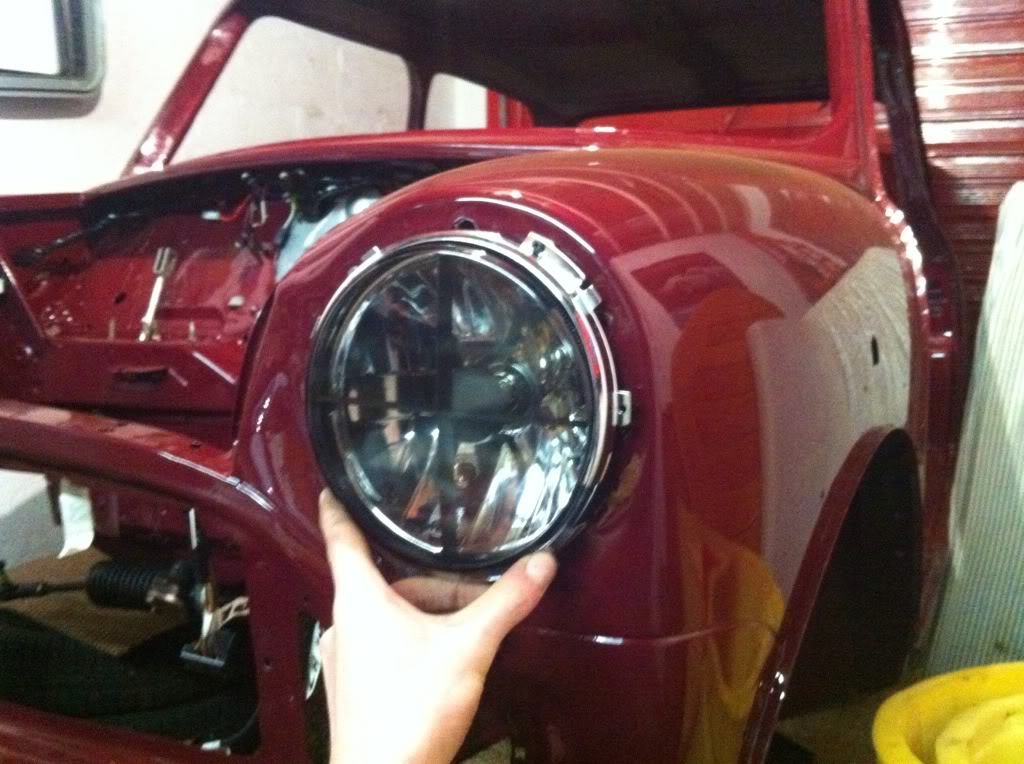
Something so subtle but you can guarantee I will be the only Mini on the show field sporting them which is great.
3-30-2012
Grabbed another evening in the garage tonight.
Went out to get the headlight fitted all perfectly but got annoyed with it so will leave it to another night 
I did get the headlamp bowl fitted though and the rivets have a strong hold.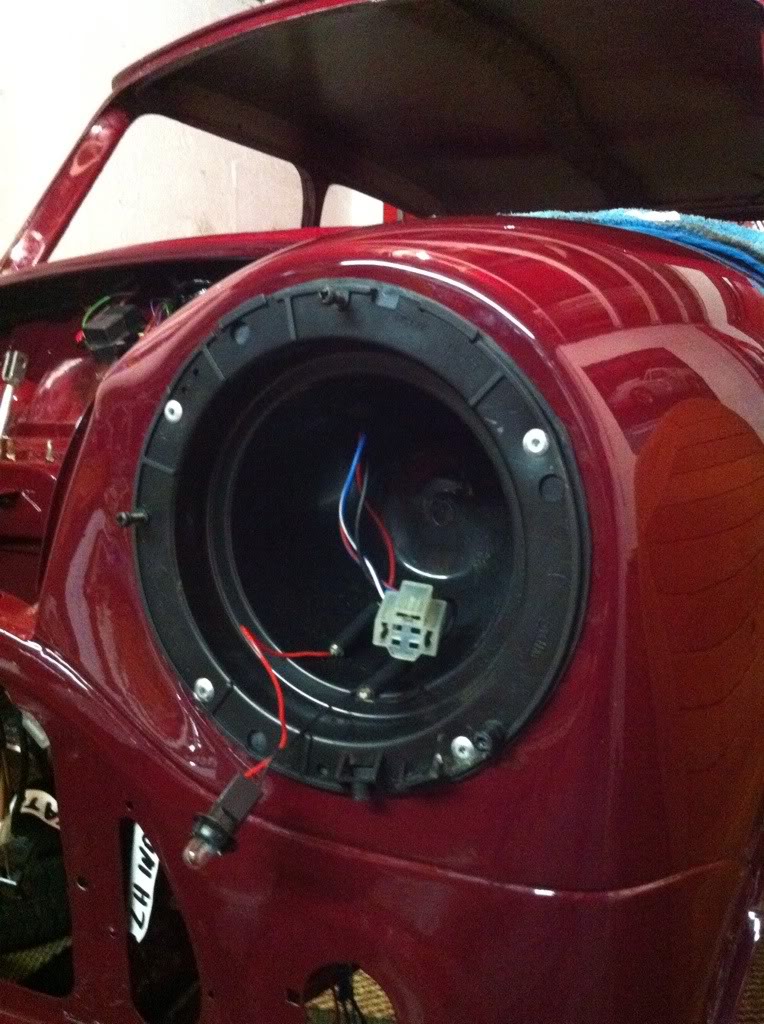
Not sure if the rivets were standard or not but the old ones were held in by them and they were solid so new ones replace them!
Then I located my internal bonnet release and fixed the bracket supplied in the kit to the lower dash rail. Replaced the kit bolts with stainless as shiny looks better than matt black in a bay.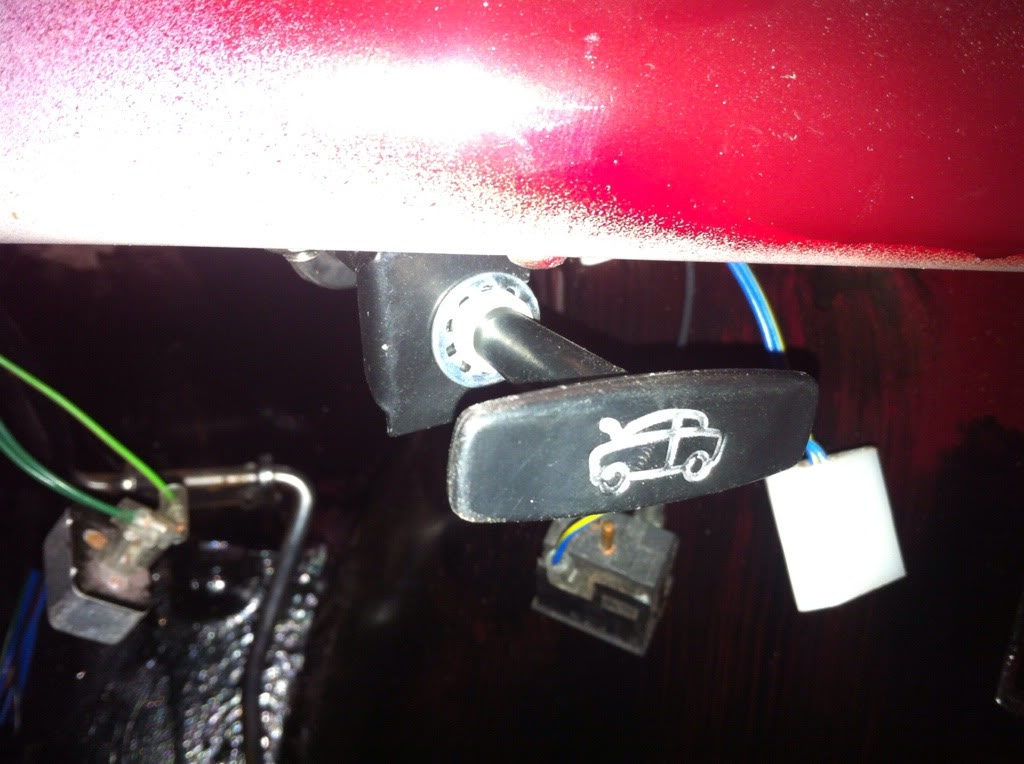
I got a few little bits like more wiring and fuse box located etc etc but no pics as its nothing significant.
I also got my door striker plates fitted after their fresh paint job. They will eventually end up stainless steel but Im trying to reign in the spending at the mo just to get this back on the road.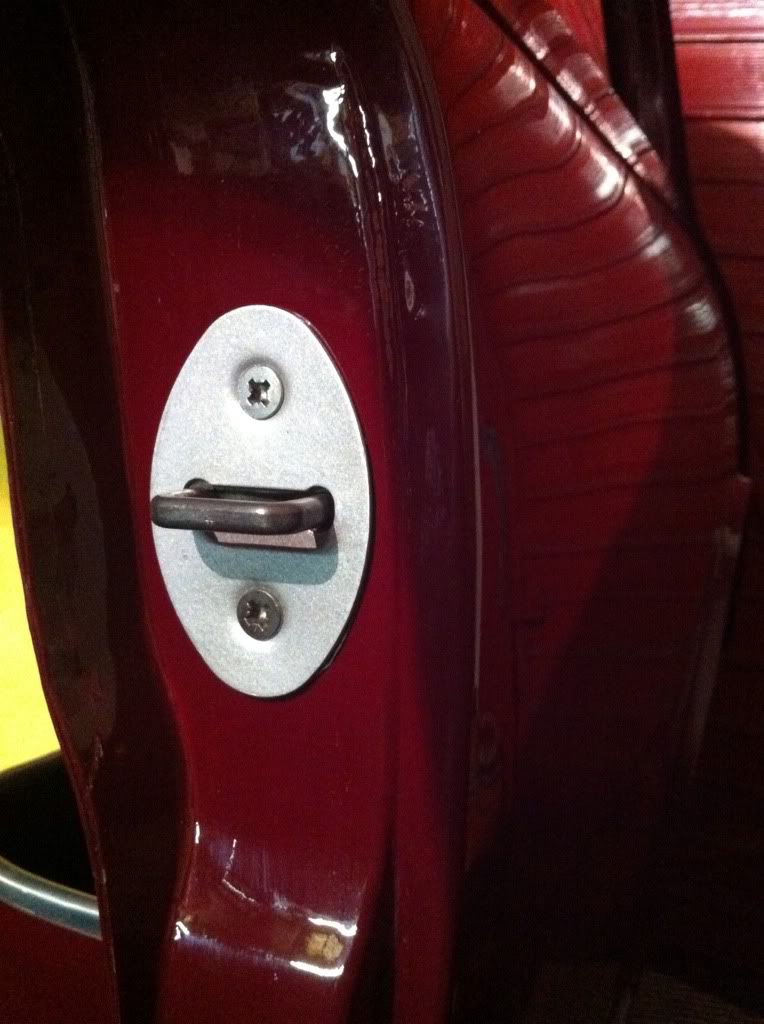
I also marked out where I need to drill holes for the harness bar to go. Used my iPhone as a spirit level and it is more sensitive than my actual level......
The bar itself has some weird looking welds so Im smoothing them off by a bit of careful grinding and then adding filler on top. This will make it look like one piece of metal once smoothed and painted. lovely!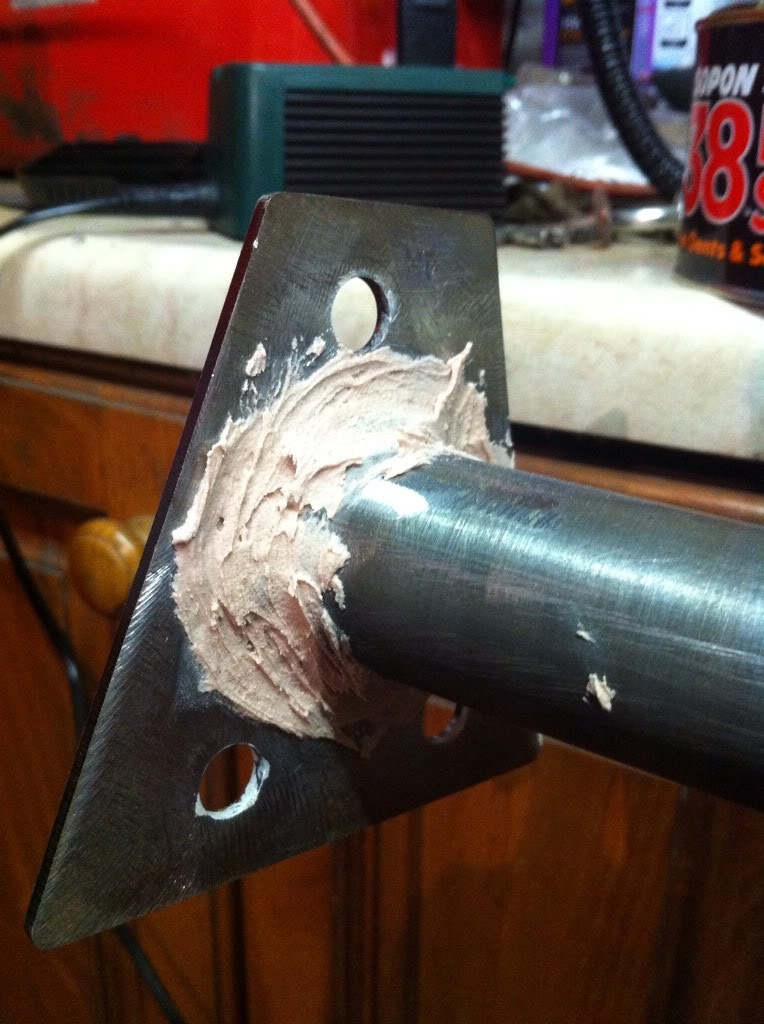
and I did my usual end of shift thing of marking down another day on the calendar. Ive got 66 days until the Thistle Run. I want it back on the road before mid May to iron out any niggles Im bound to have but we shall see how I get on :)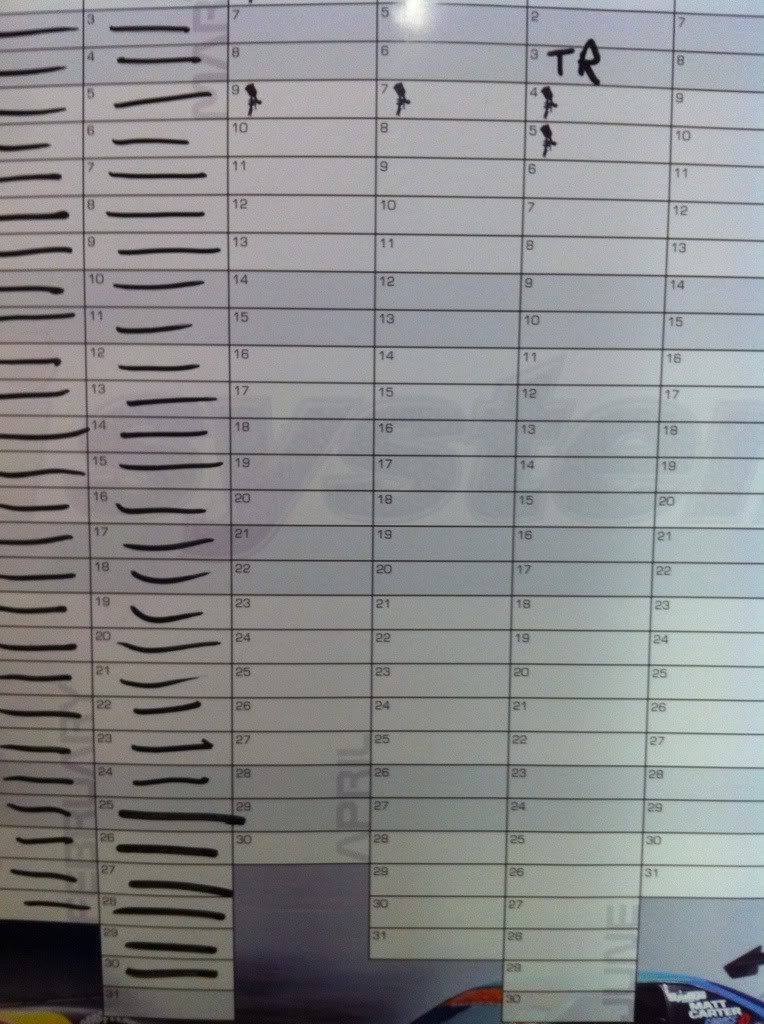
Should get more done over the weekend as Im working all day and home mid evening which means no time for uni work 
Comments

I LOVE Mini Coopers. Wow fantastic detail / photos here!
Posted by Diggymart on 1/22/19 @ 4:17:19 PM

Congrats BOTW what a beauty!
Posted by Diggymart on 2/6/19 @ 3:15:15 PM