You must be logged in to rate content!
5 minute(s) of a 358 minute read
3-22-2015
Update,
Spent the weekend refurbishing a few engine ancillaries, I'll start with the purchased items.
I'll apologise in advance for the quality of the pictures, my camera on my phone has stopped working since taking a dunking so I've been having to use the camera on my iPod which isn't the best.
Went to see Mark from Smiffys bits and picked up a few bits -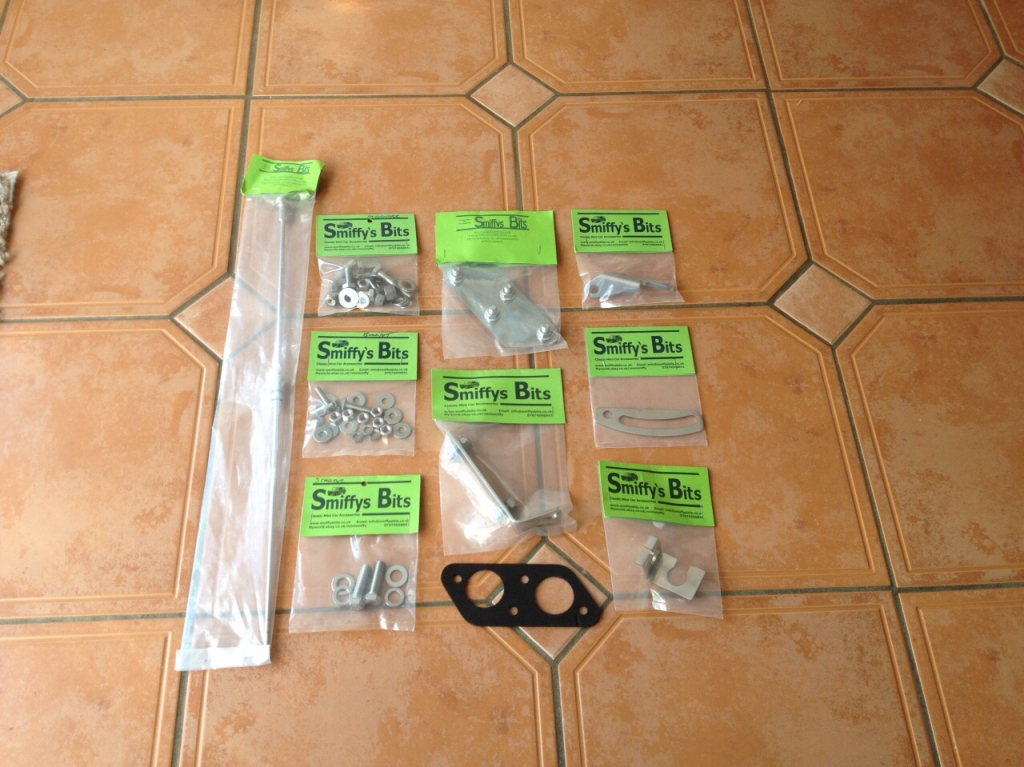
A few bits from Minispares needed to refurb the distributor amongst other things -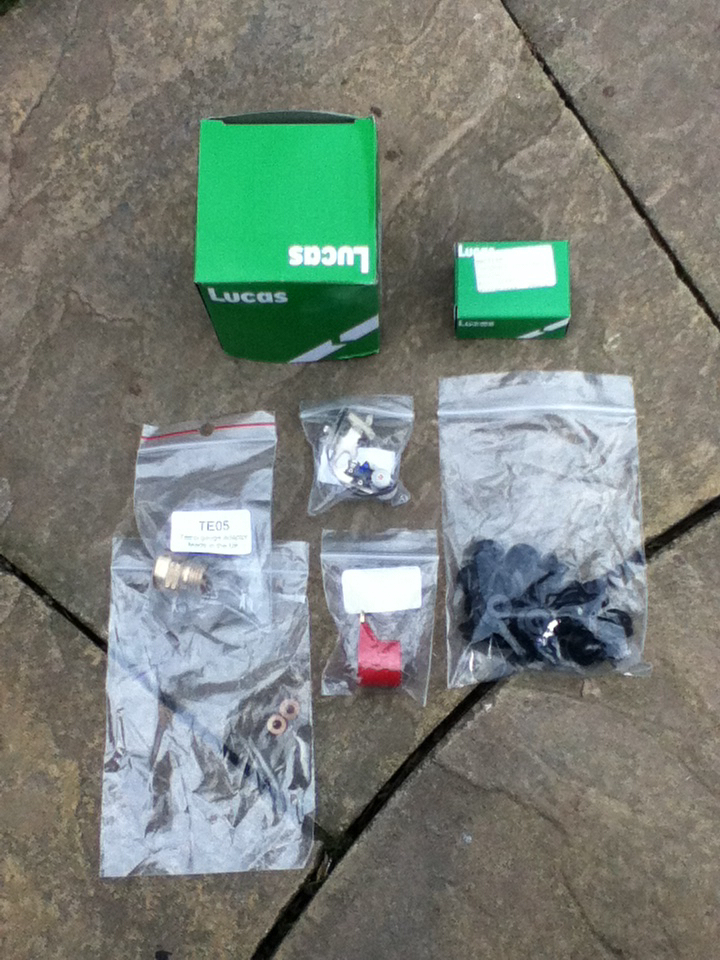
Now onto the progress, started with the starter motor. Before -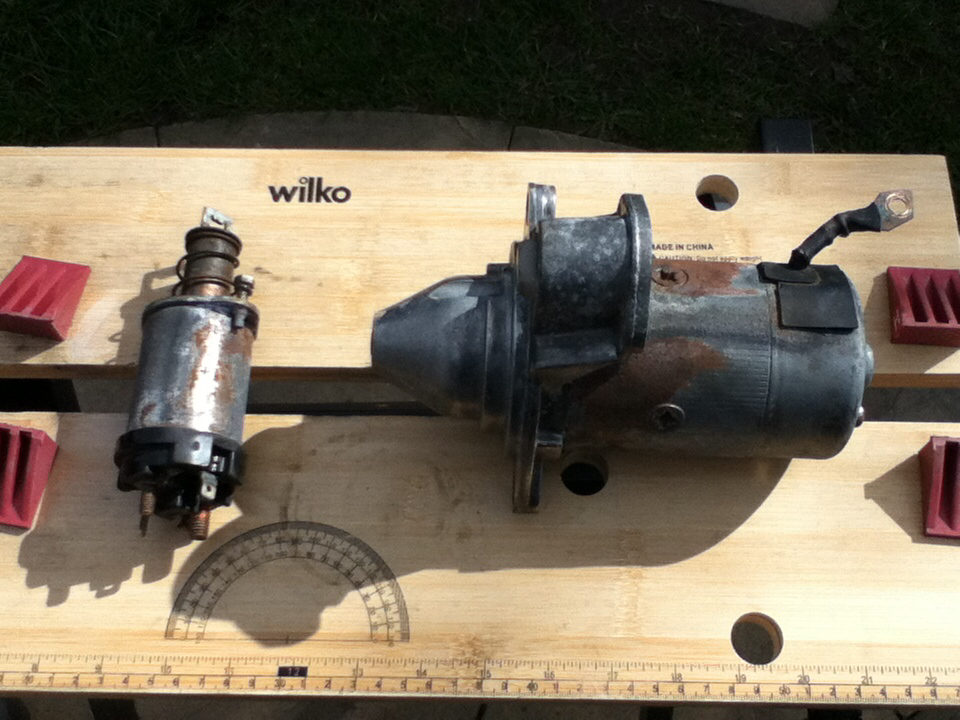
Wire brushed down to bare metal -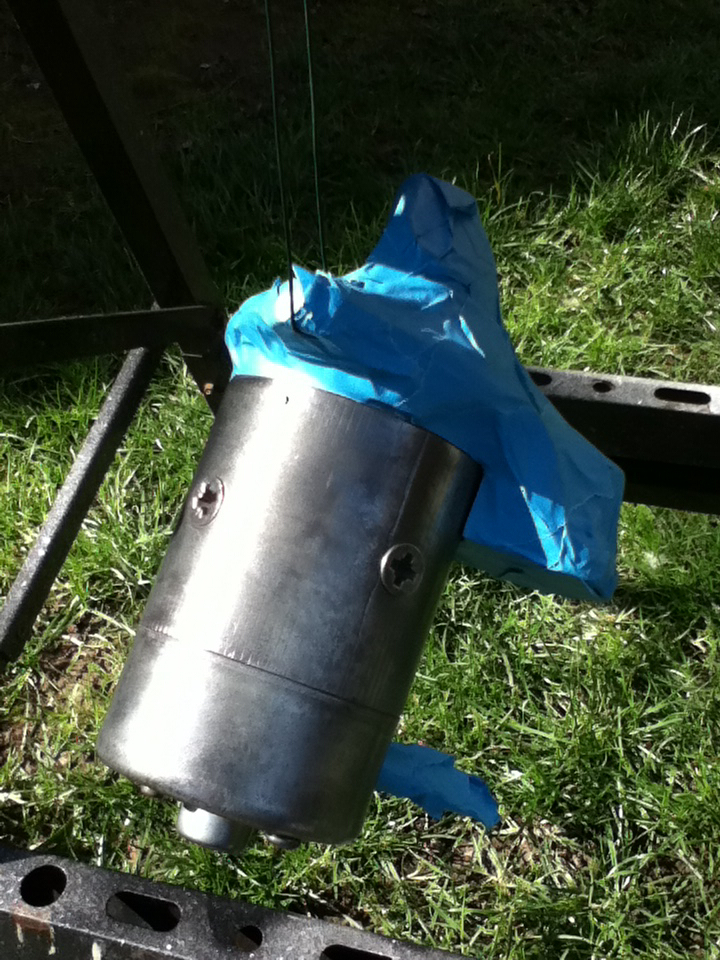
Zinc Primed -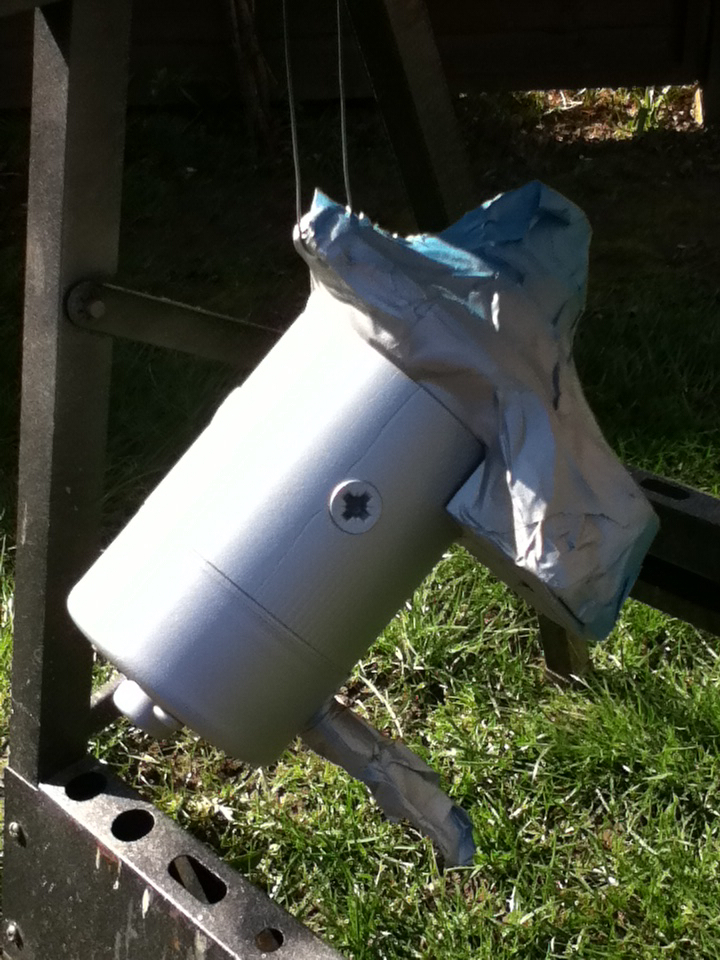
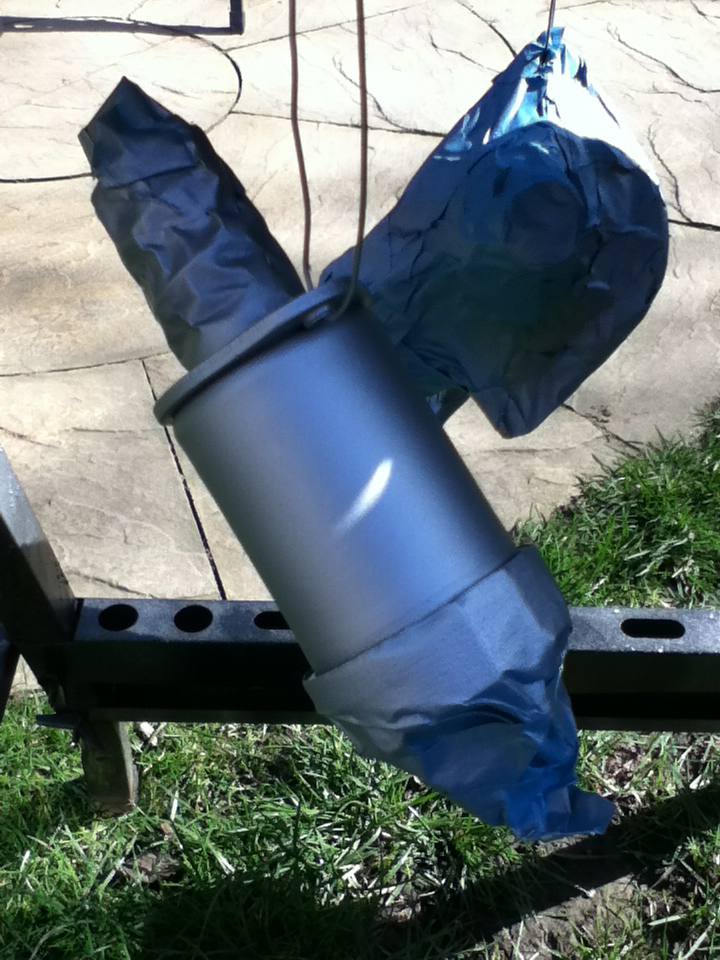
Painted with a few coats of gloss black -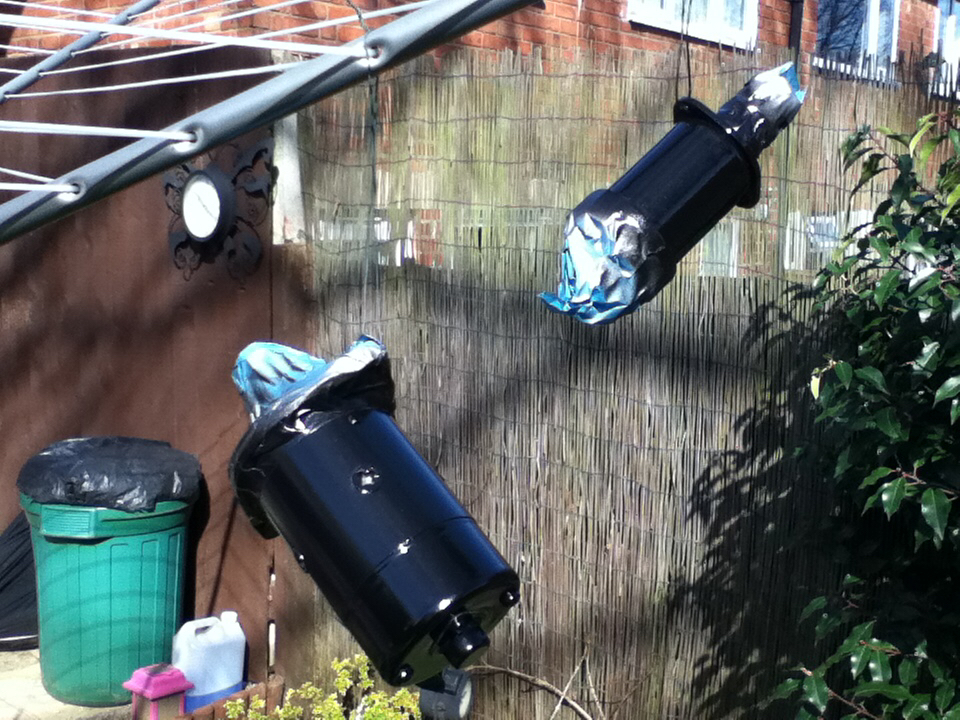
Applied some fresh grease and then put it back together -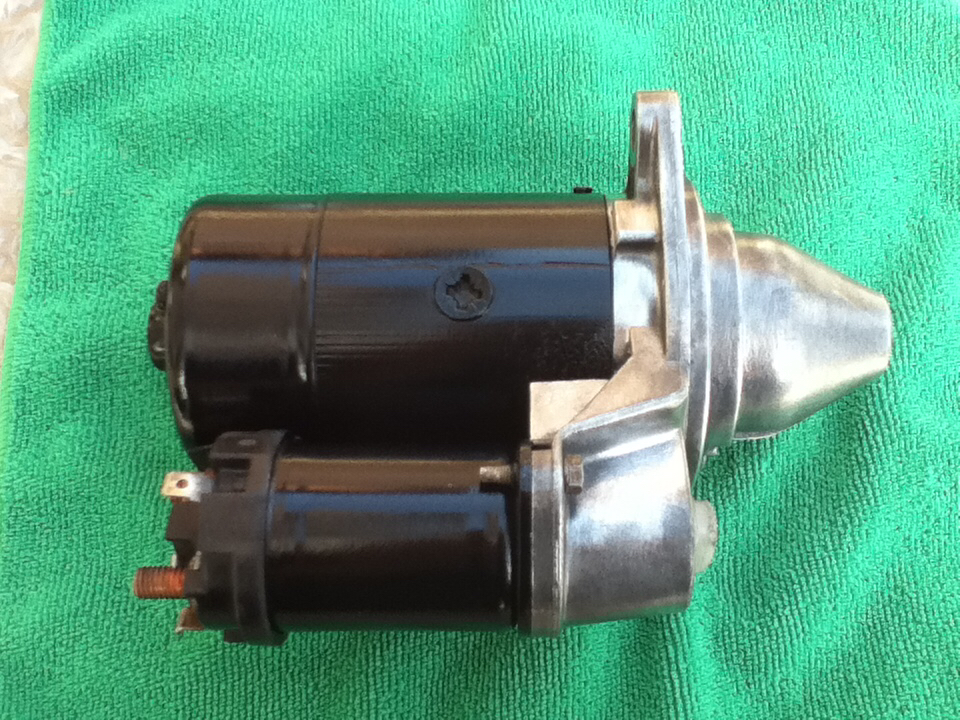
Next up was the dizzy, stripped it down and wire brushed the lot. I taped up the aluminium housing so I could paint the vacuum advance, here it is zinc primed -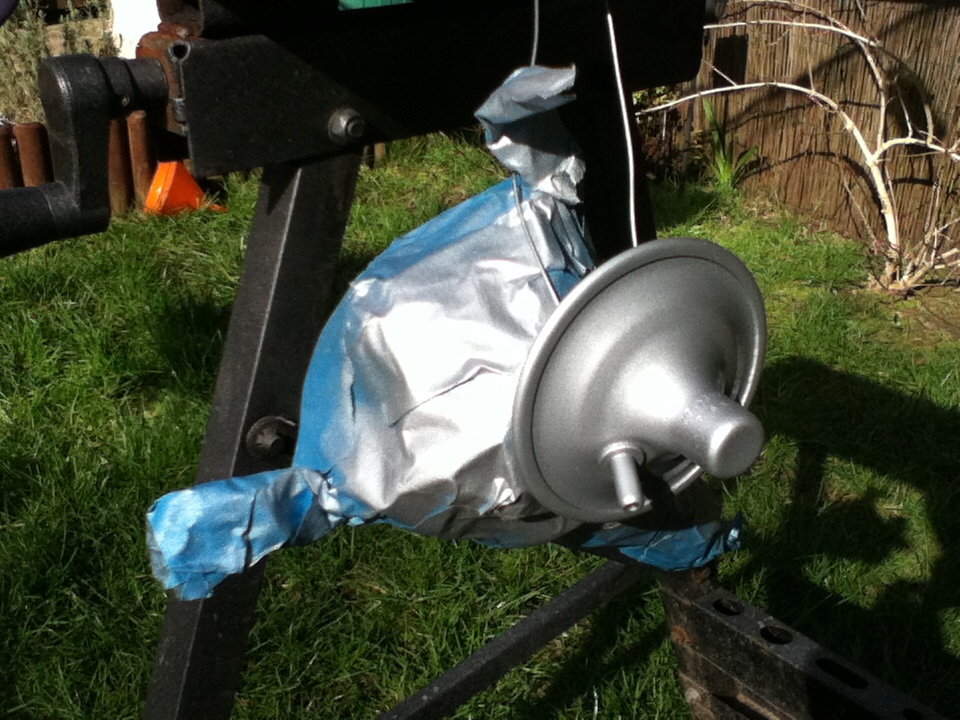
A few coats of gloss black applied -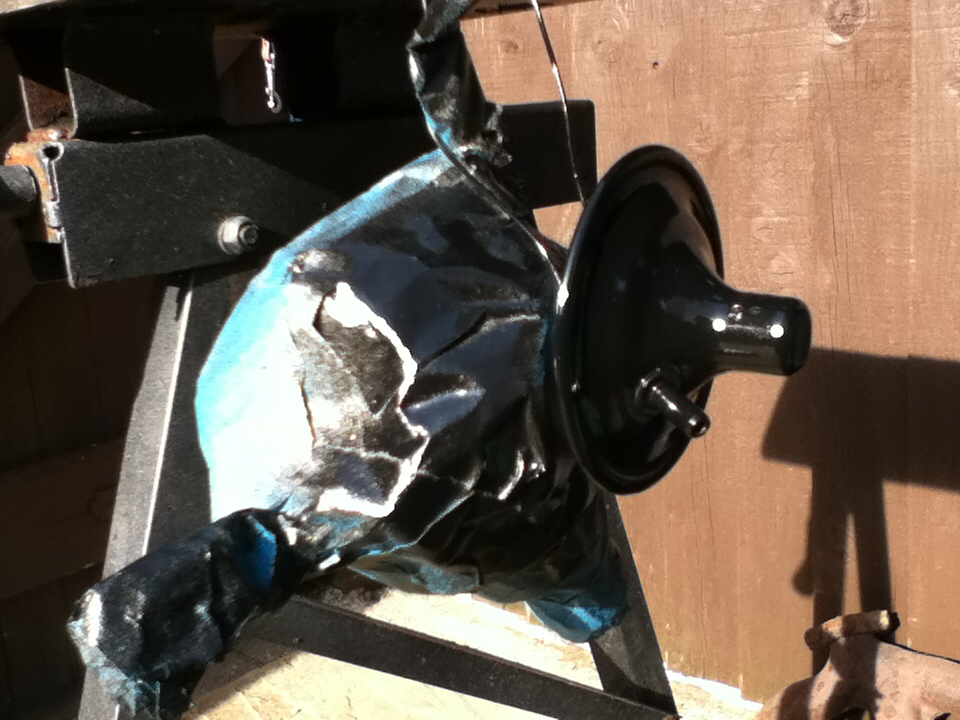
New points, Condenser and an uprated rotor arm installed -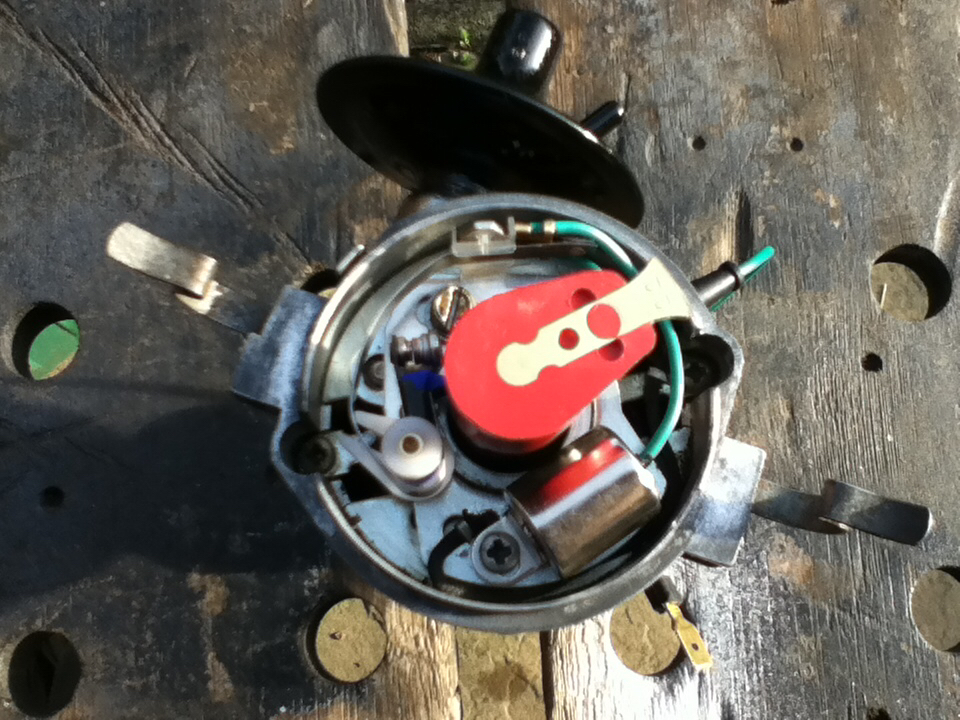
And a new cap to finish it off -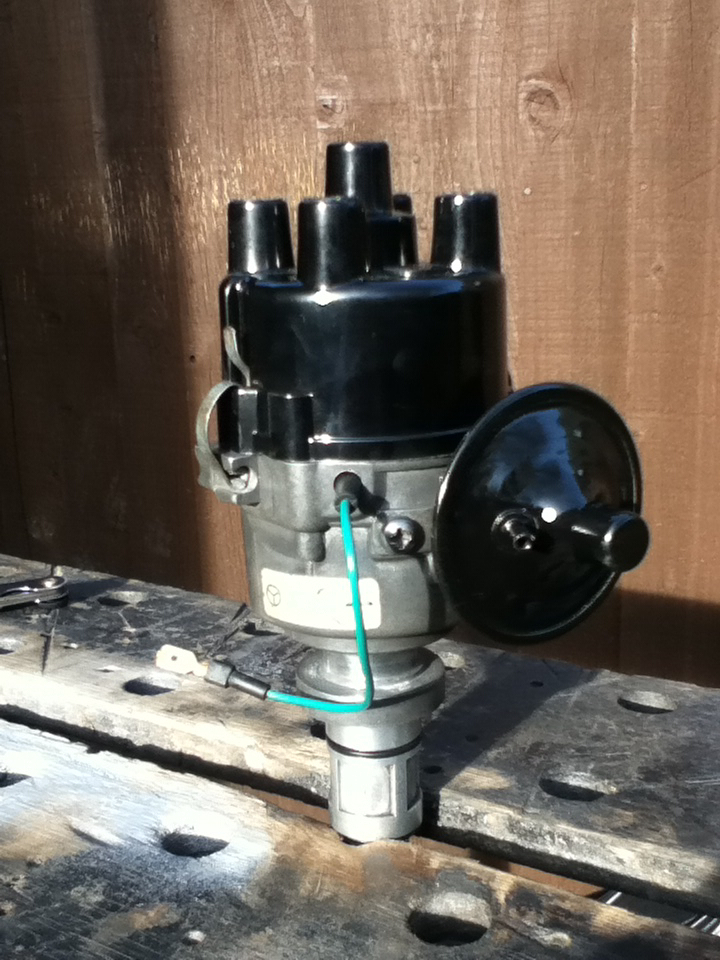
For some reason the paint on my engine has cracked and started flaking off so I've had to do something about that, here's how it looked -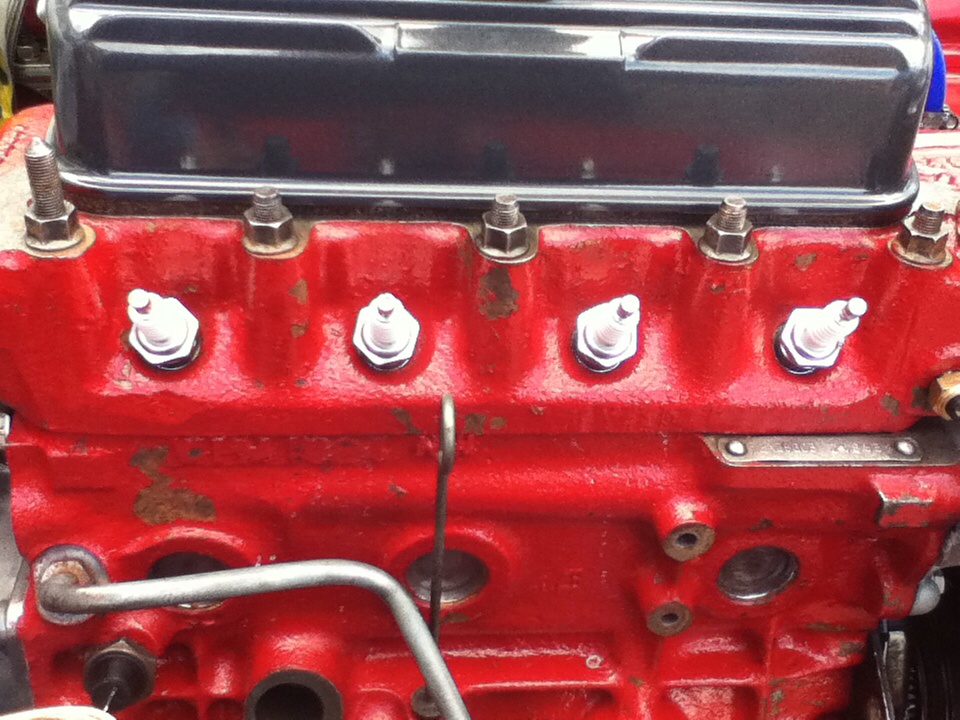
I bagged up all of the bits I didn't want anything getting into and then wire brushed all the lose stuff off using a manual wire brush. Bagged up -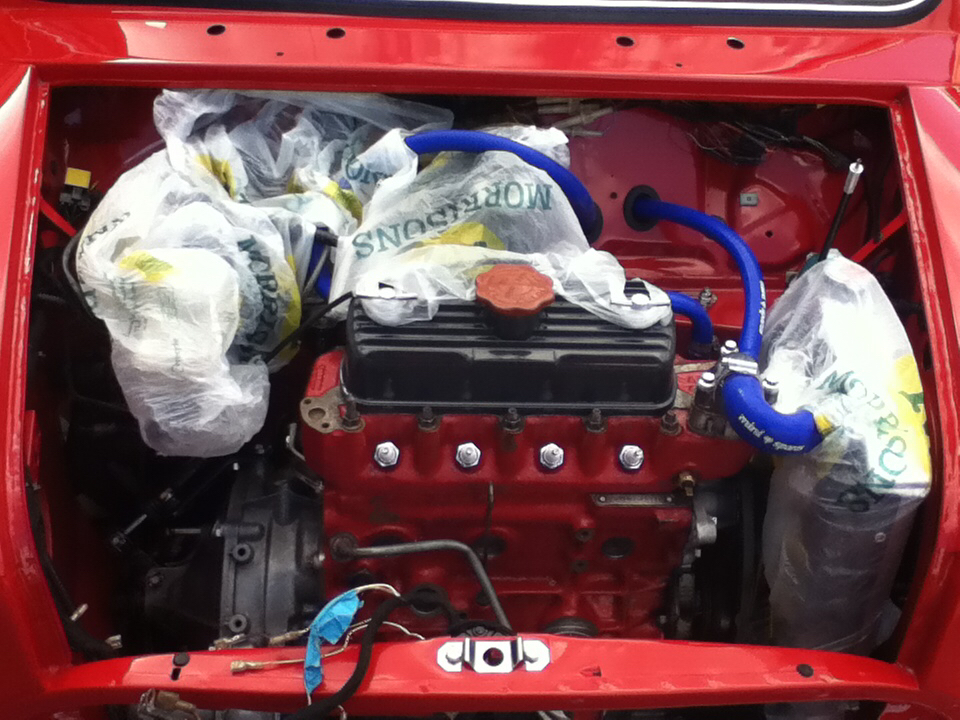
And wire brushed -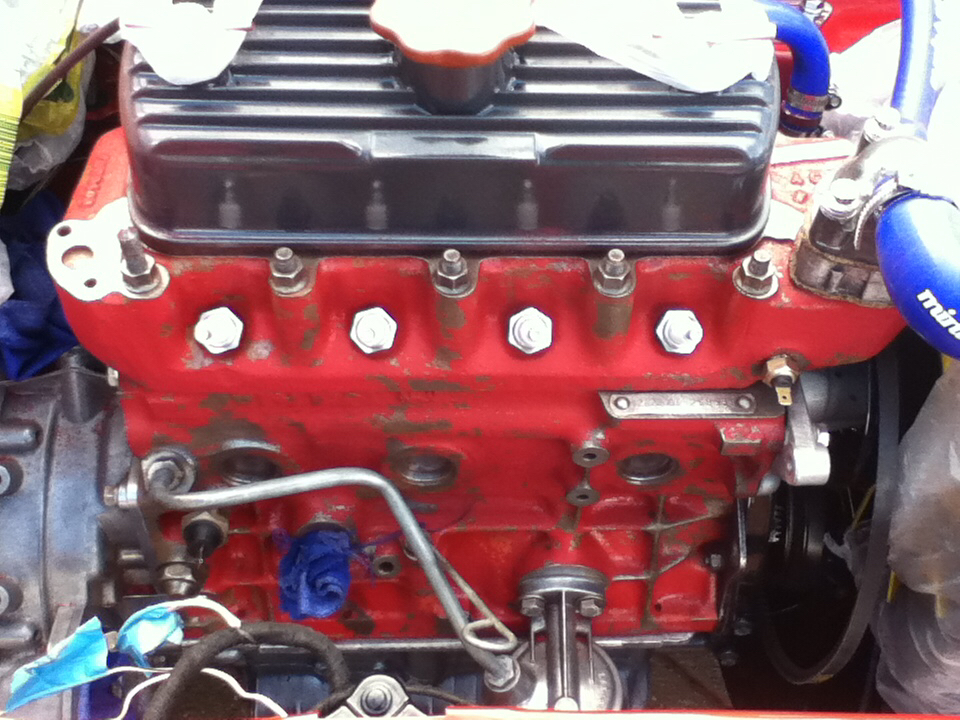
I repainted the block and head with some fresh paint -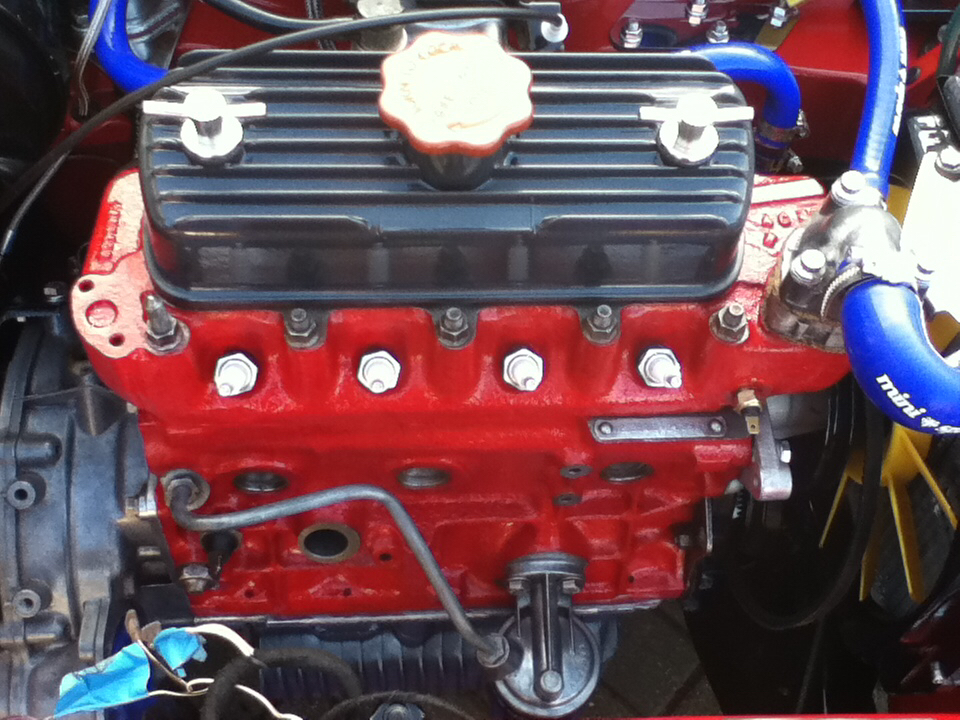
Annoying as I put a lot of effort into painting it the first time round, but what can you do, these thing happen I suppose. Anyway with that done It was time to start bolting the ancillaries back on along with a few shiny bits from Smiffys.
Starter motor back on and connected up -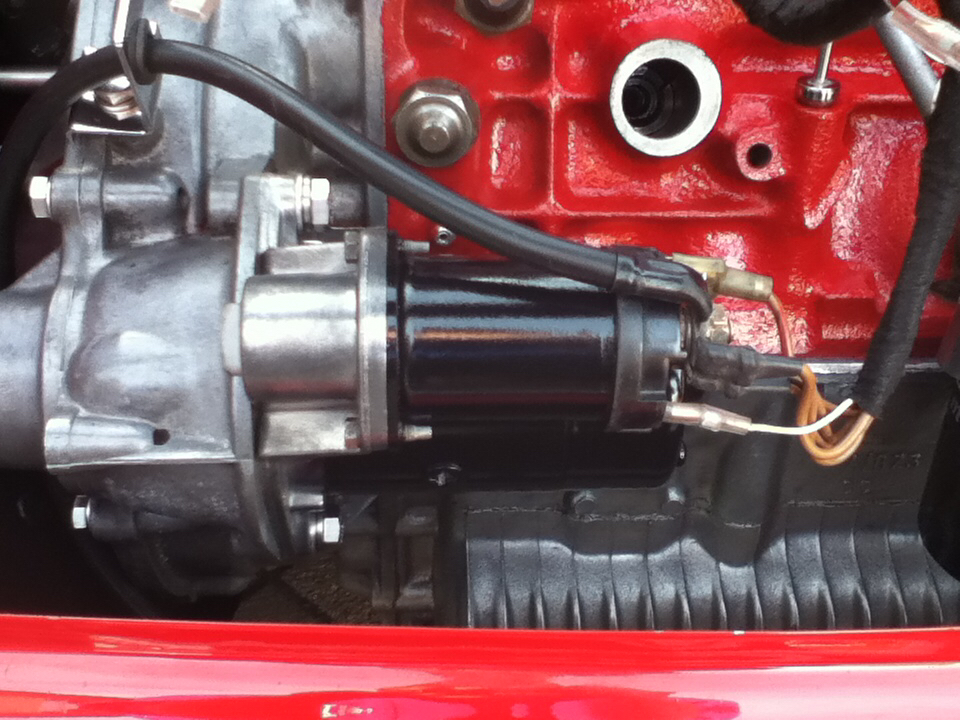
Dizzy back on and connected up -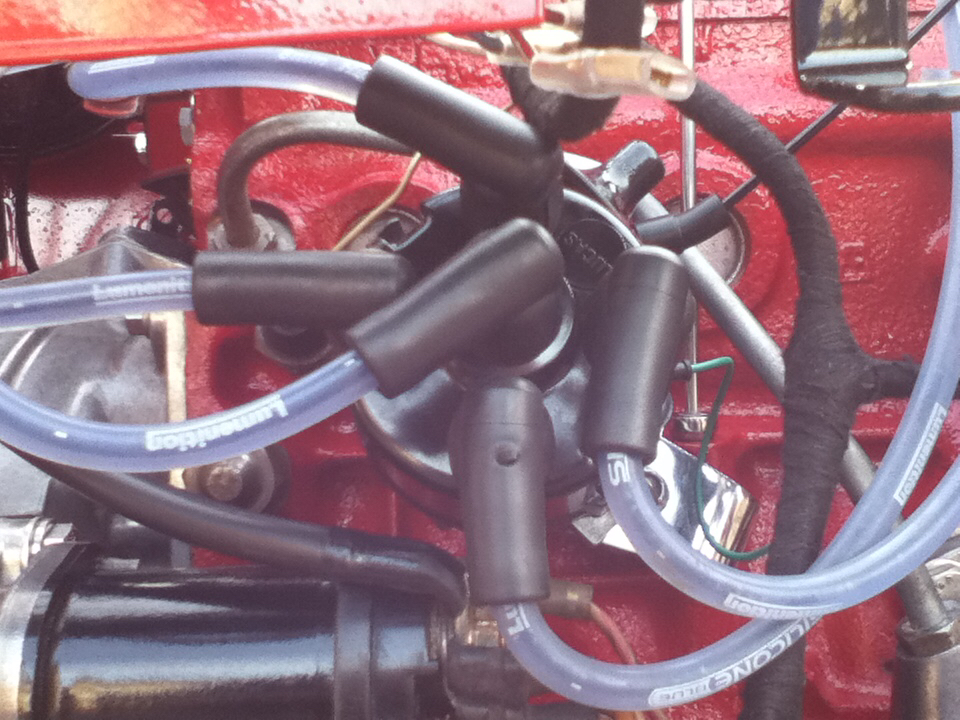
Stainless alternator brackets bolted on -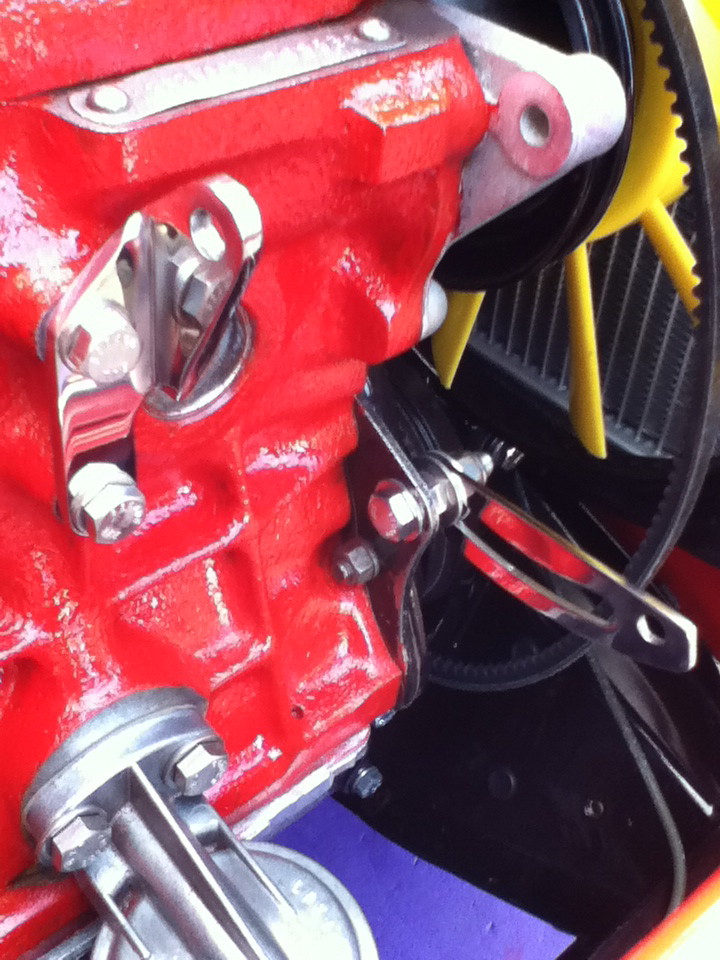
New alternator fitted -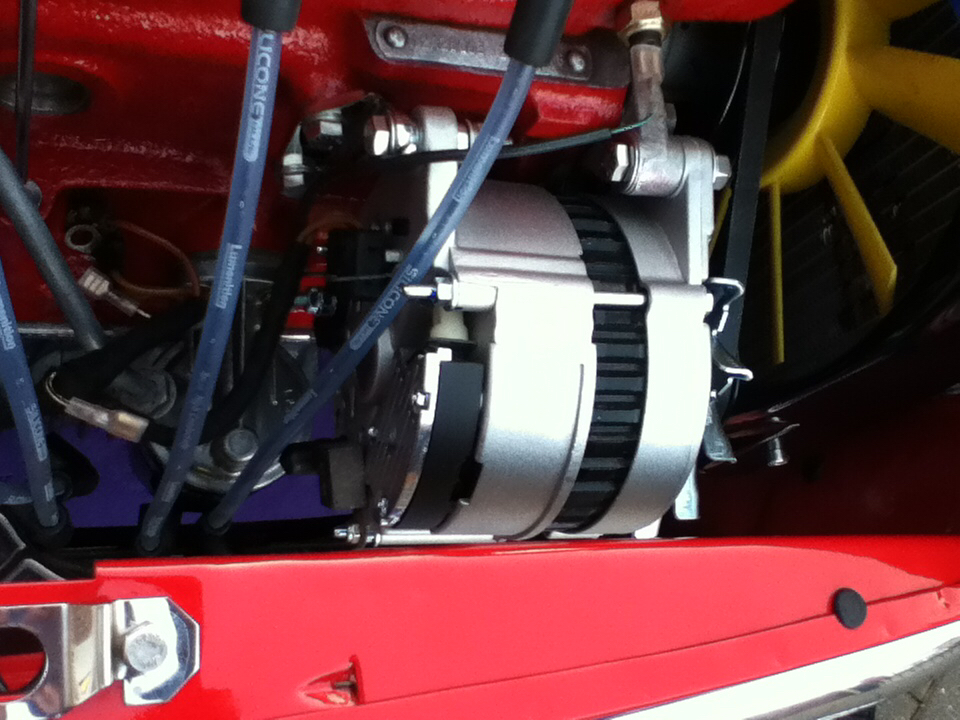
New coil along with stainless brackets and rubber cover fitted -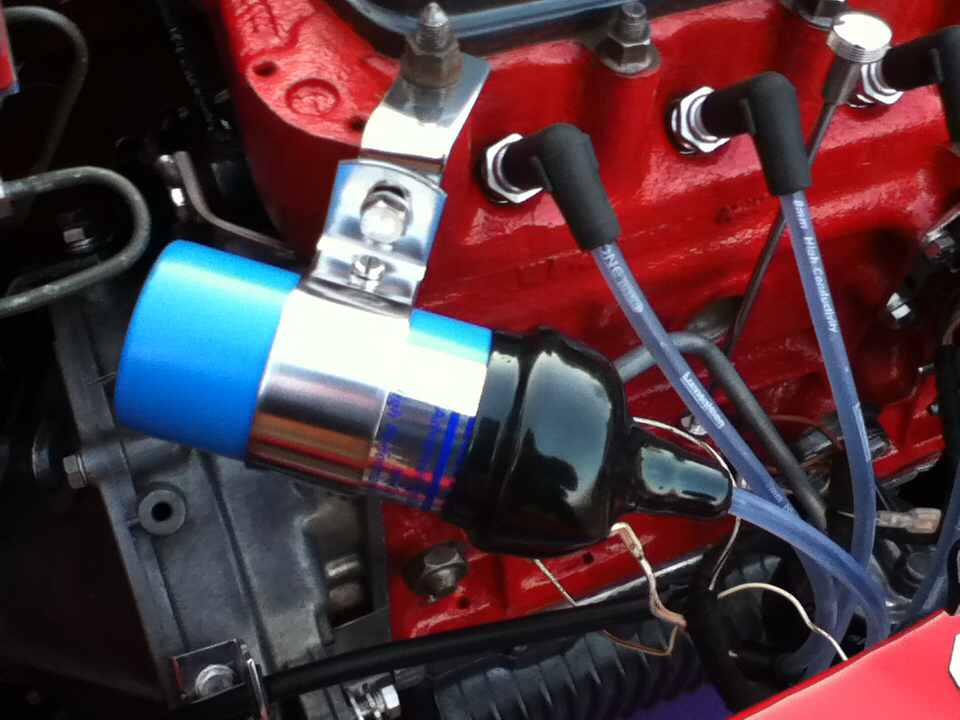
Pipercross air filter bolted on -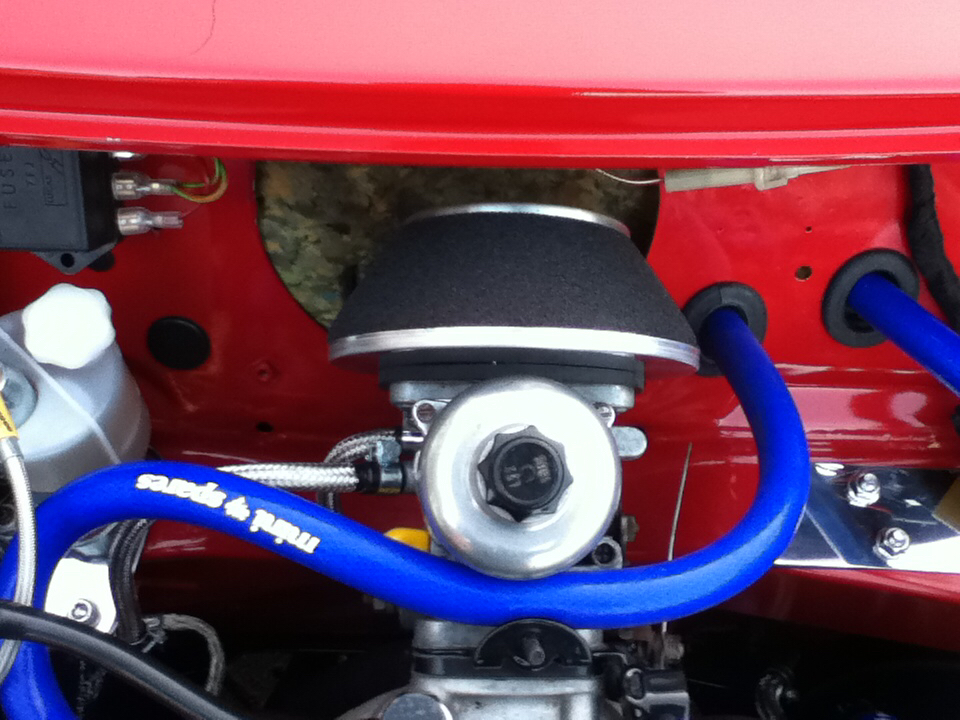
And also the bulkhead blanking plate -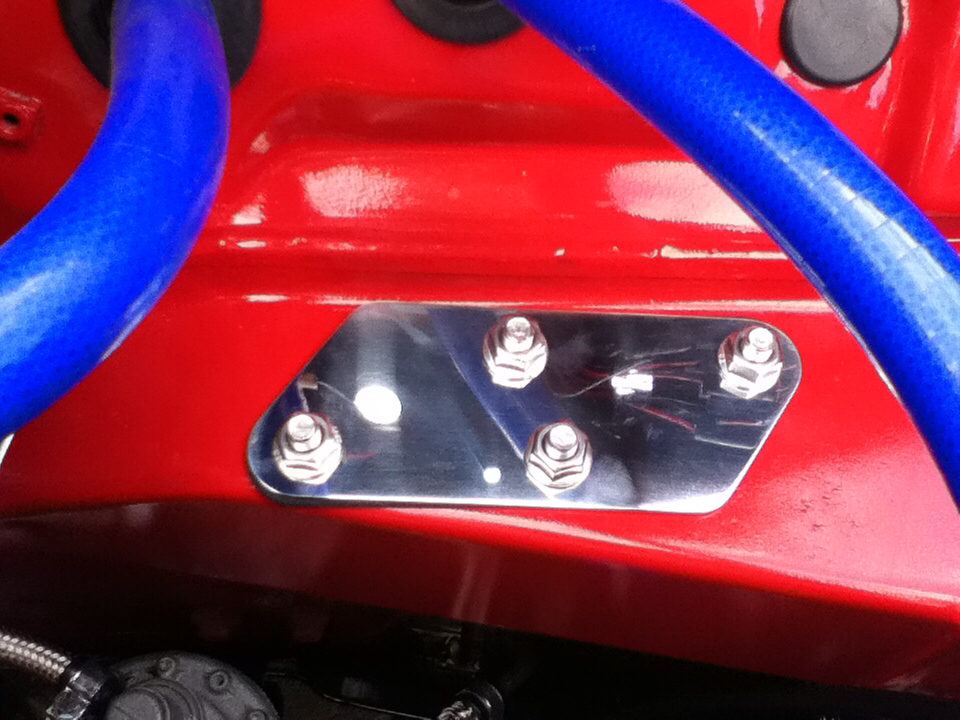
Finally, this is how the engine bay currently looks. Almost finished in there now -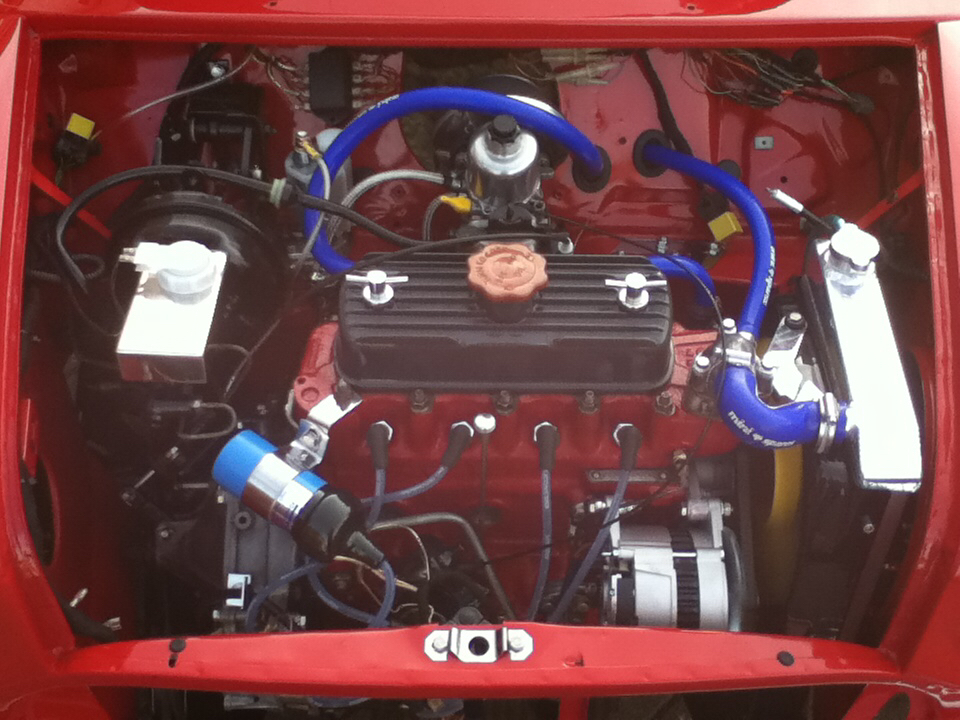
I have ran the engine with the fresh paint on today and all's looking good so far, no cracking/flaking to be seen !
That's all the progress for this weekend, will hopefully be receiving my door cards and sun visors from optimise tomorrow so I'll have some pictures of those then.
