You must be logged in to rate content!
9 minute(s) of a 358 minute read
11-16-2014
Update,
A bit more done today, the headlining is now fully fitted and I'm really happy with how it's came out. Here's a few pictures of how we fitted it.
This is how the Headlining looked around the C-pillar before we started -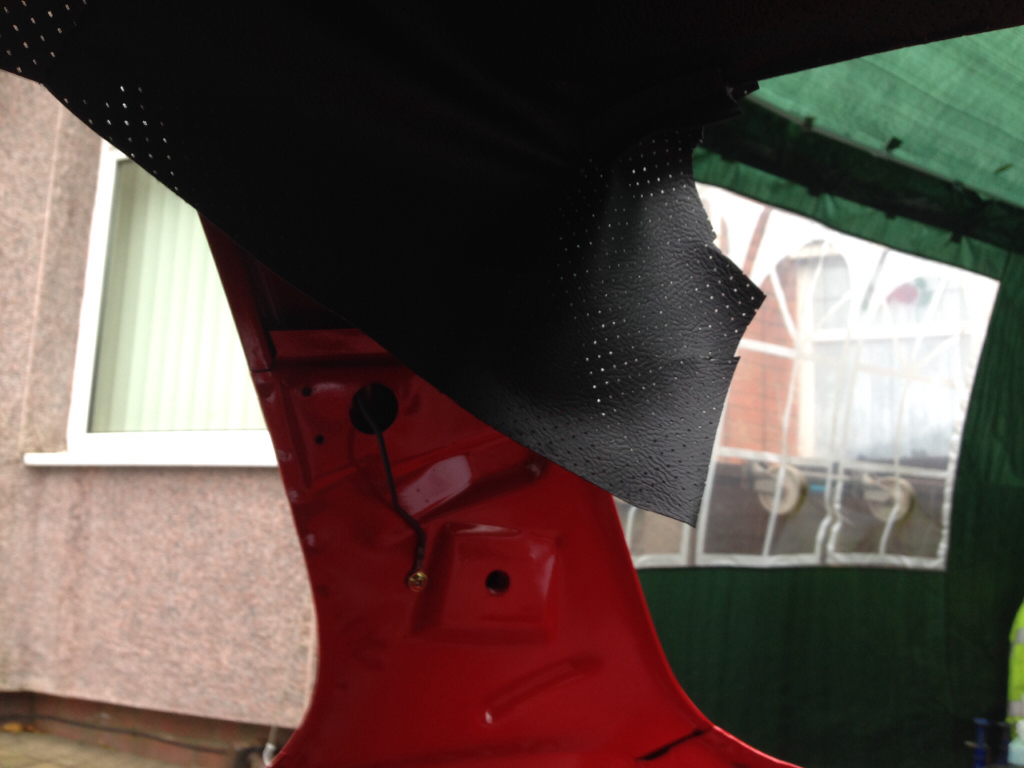
We trimmed the bottom off so it's straight -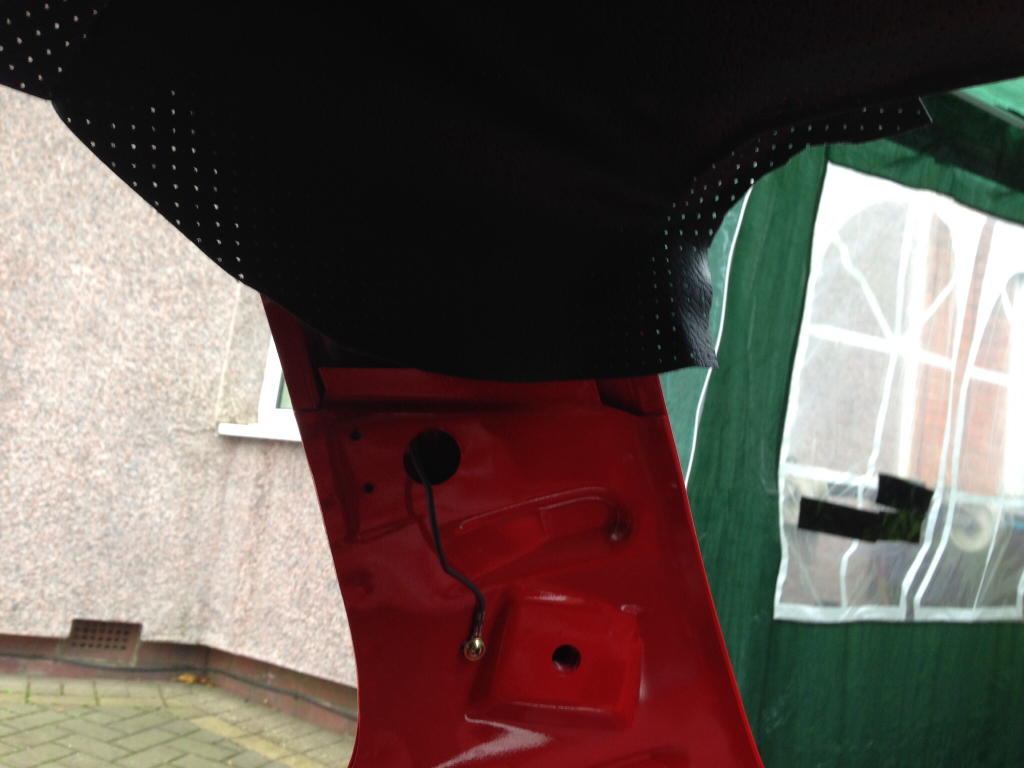
Then we glued the rear and side window flanges and the back of the Headlining. We left that to go touch dry and then literally just stretched the fabric until there's no creases, then stuck it down and placed some old boot rubber on to keep it in place -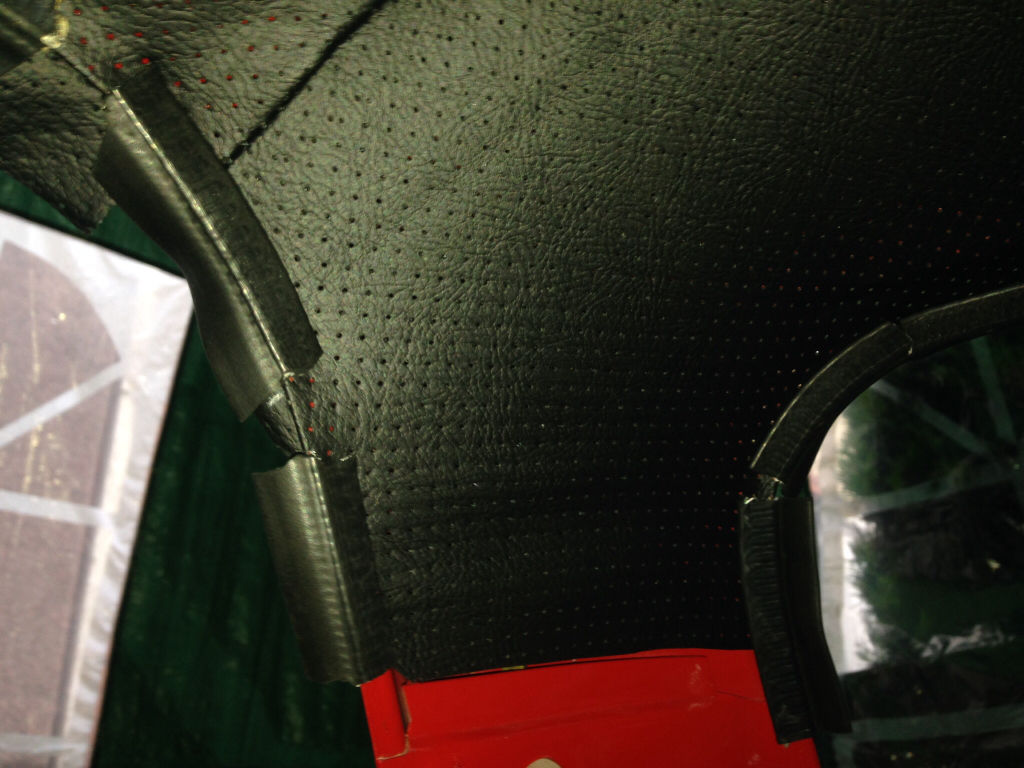
That's literally all there is to it. The same process applied to fitting the headlining around the side window, started off with this -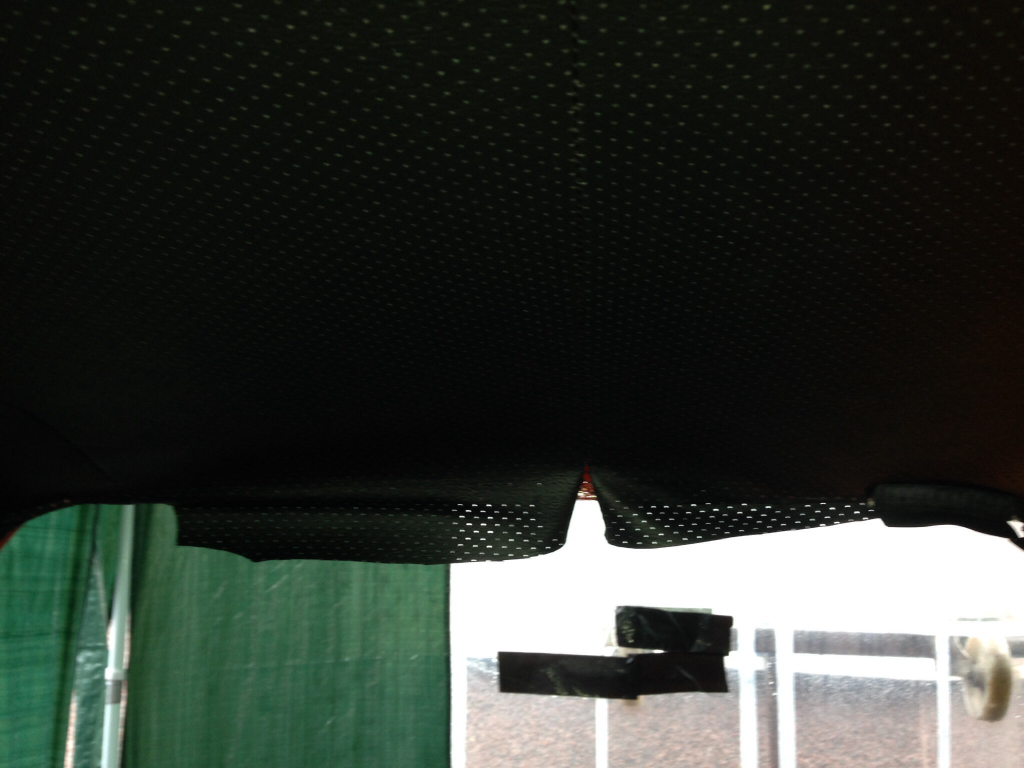
Glued and then stretched into position -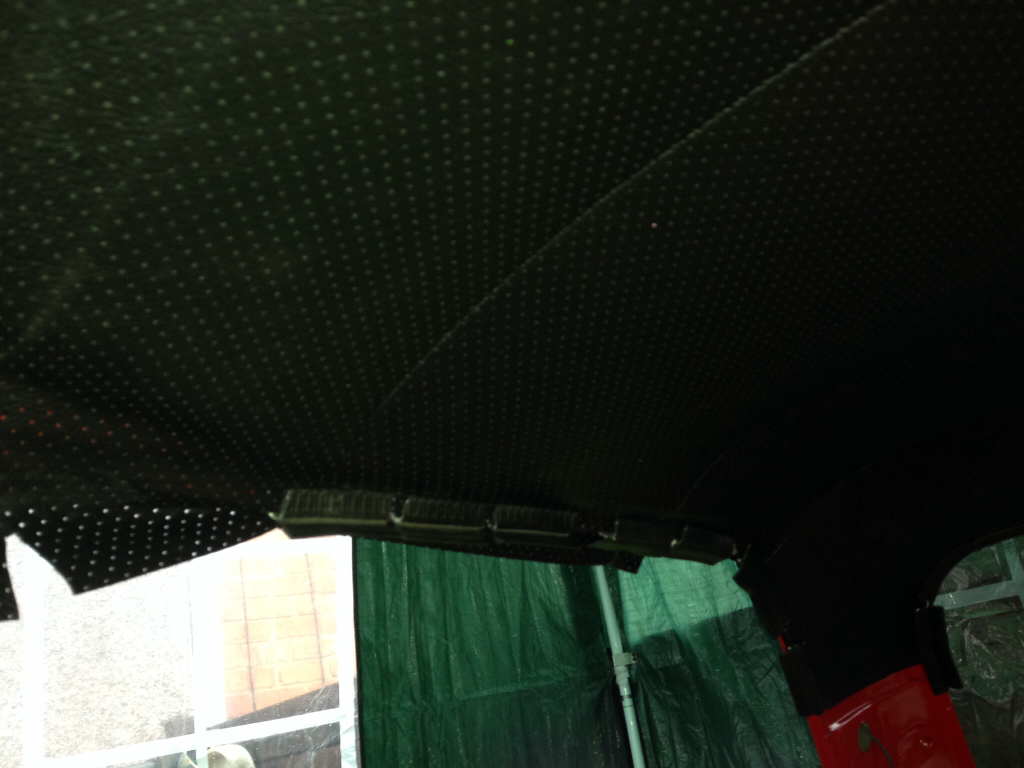
Now onto the more tricky B-post, we trimmed it to fit around the flanges like this -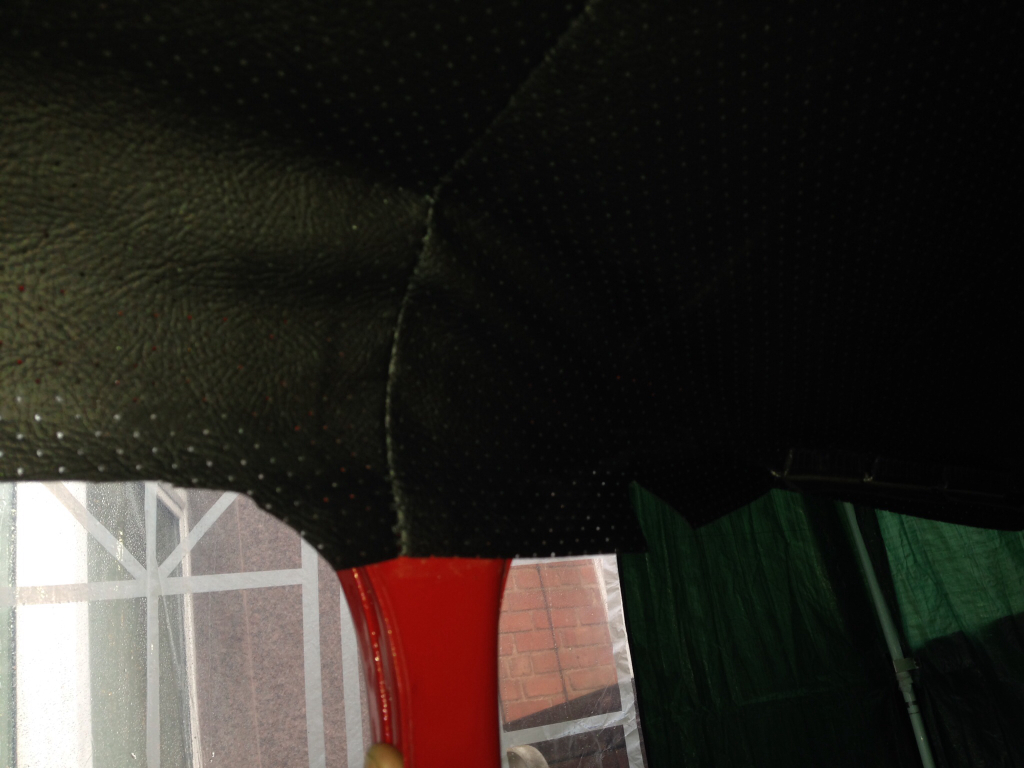
Apply some glue and pull the fabric around each flange and you end up with this when the rubbers are fitted -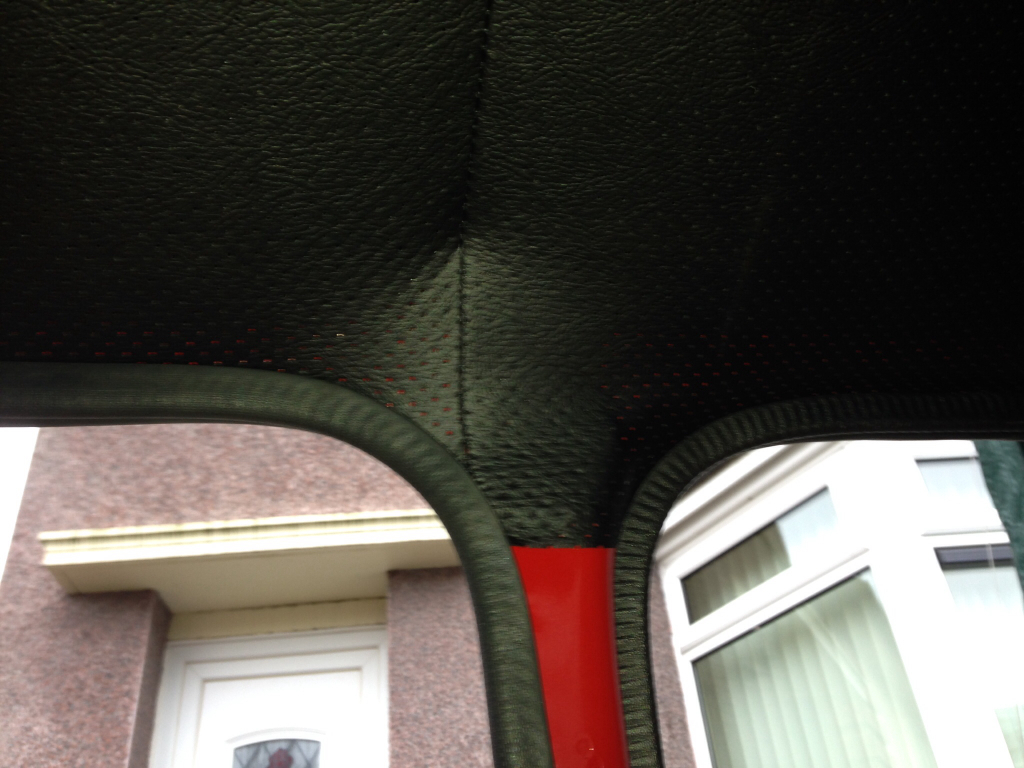
Here's the other C-pillar finished -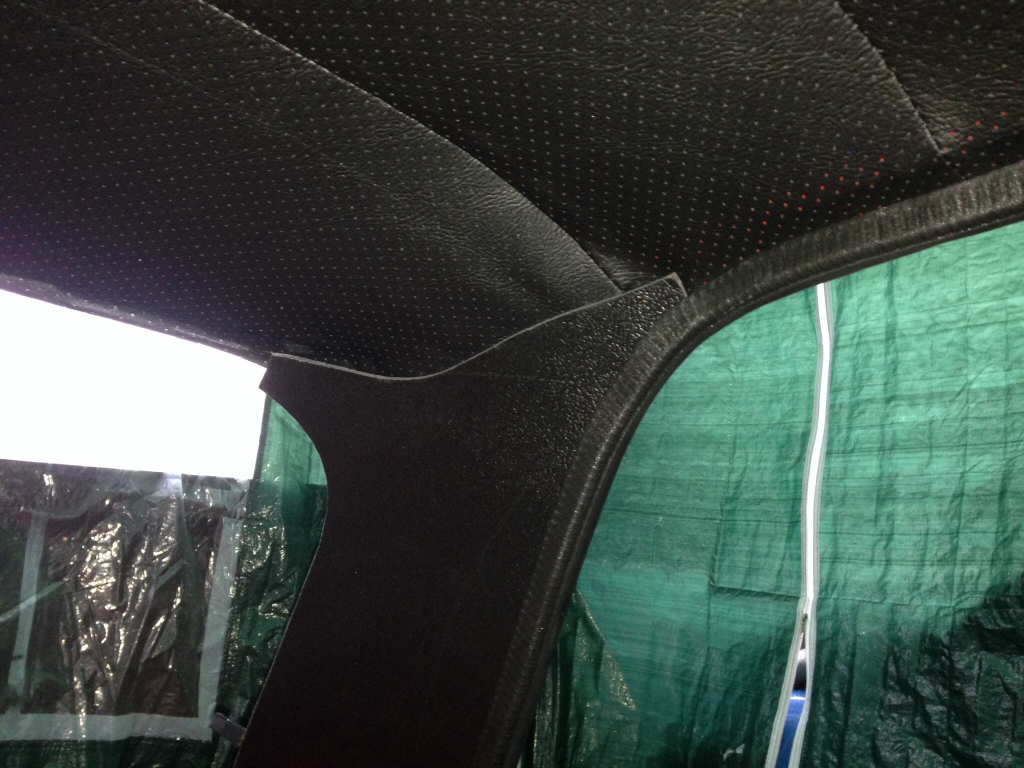
The other B-Post with the interior light fitted -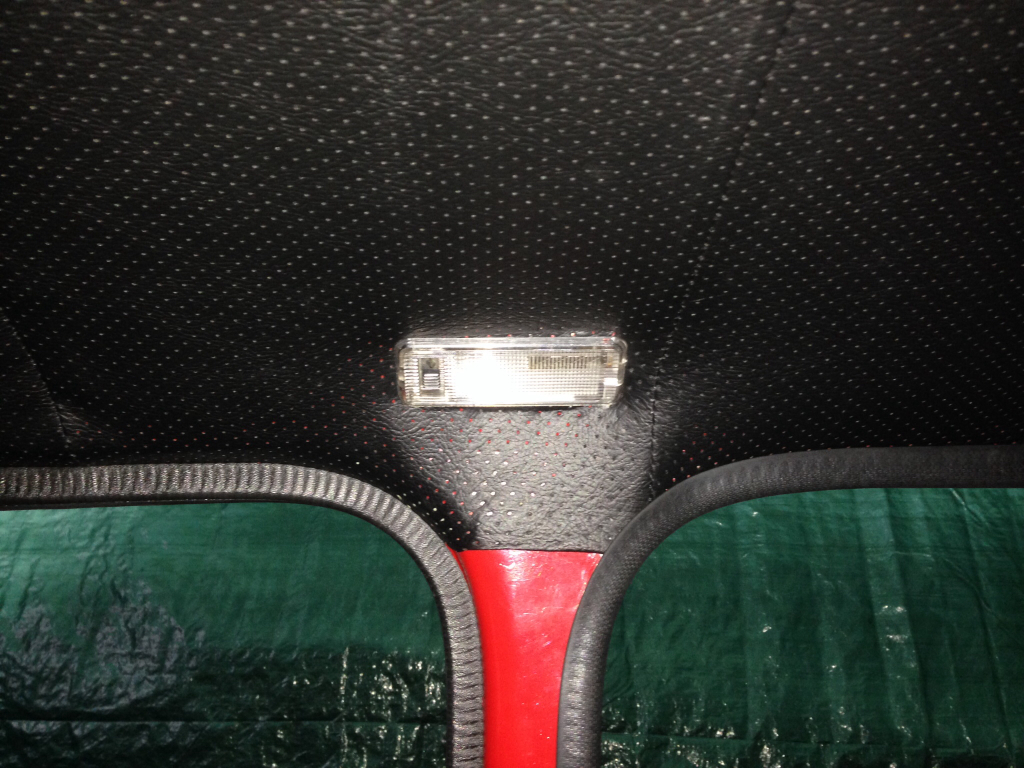
And a few overall shots of the finished thing -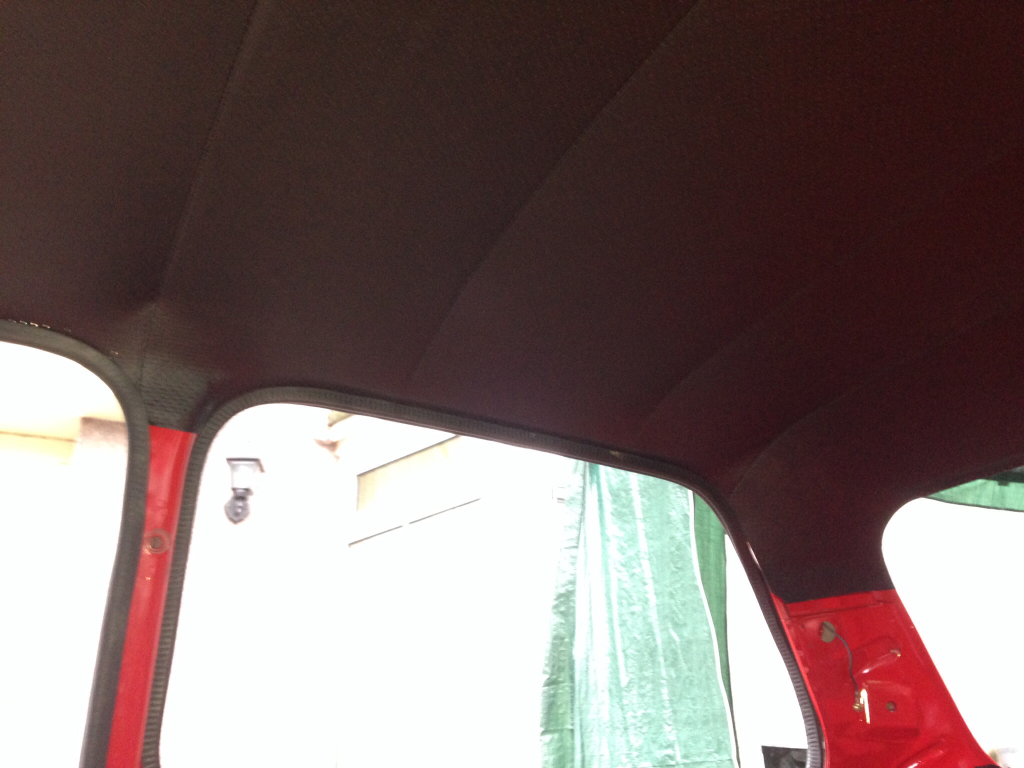
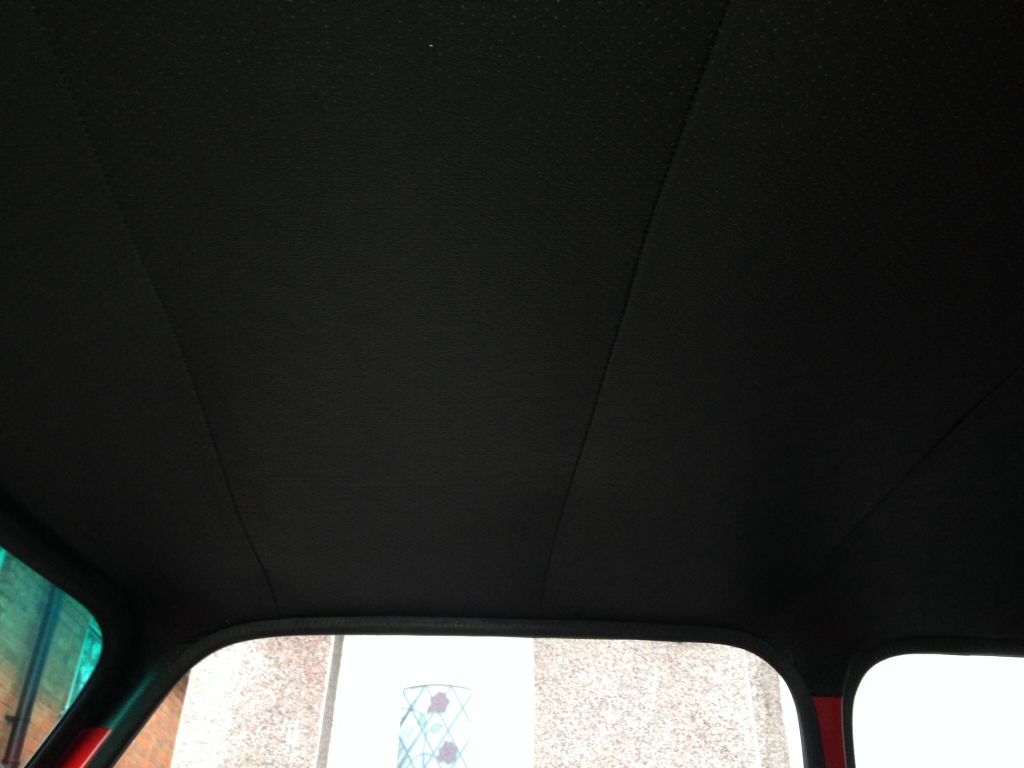
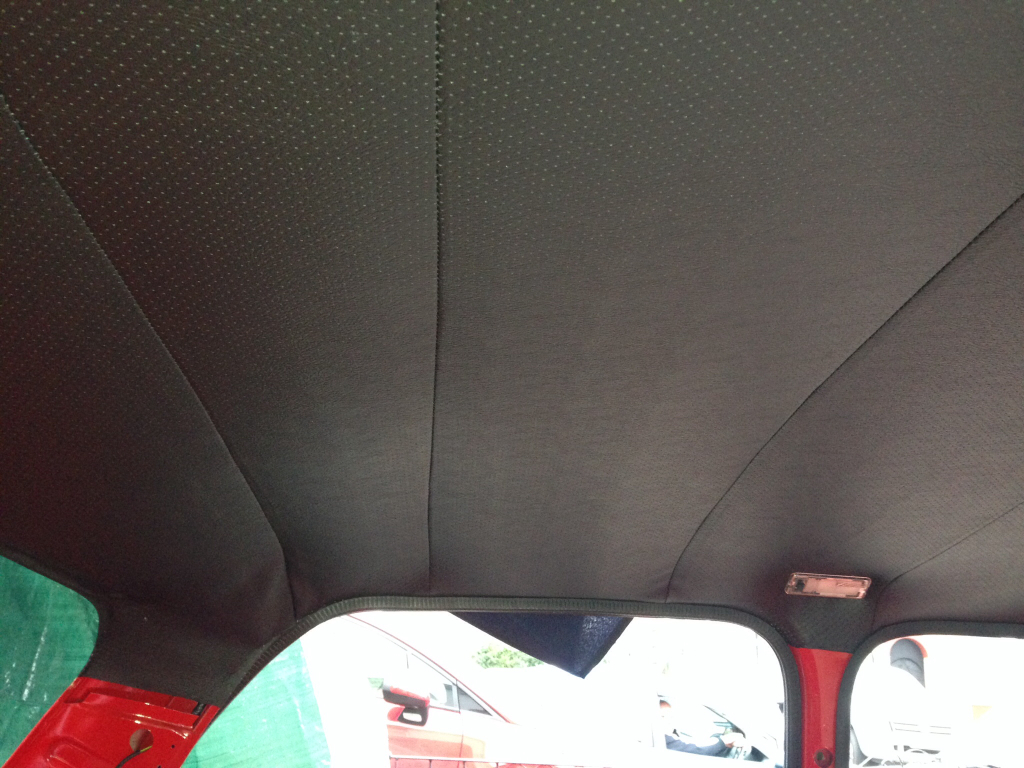
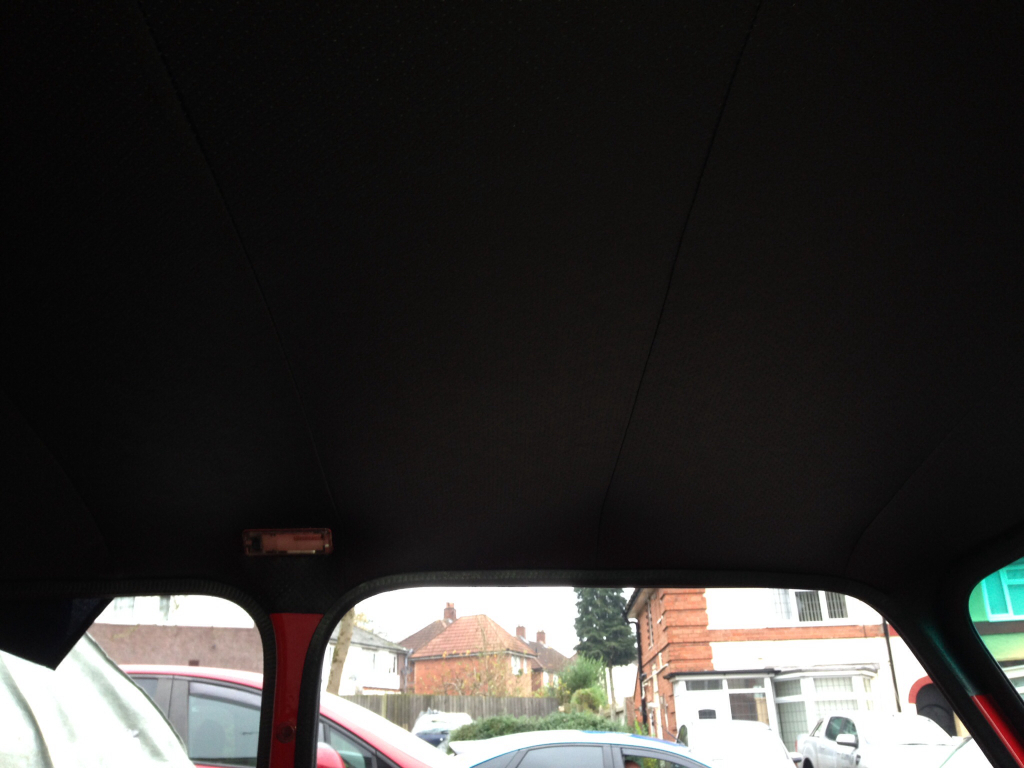
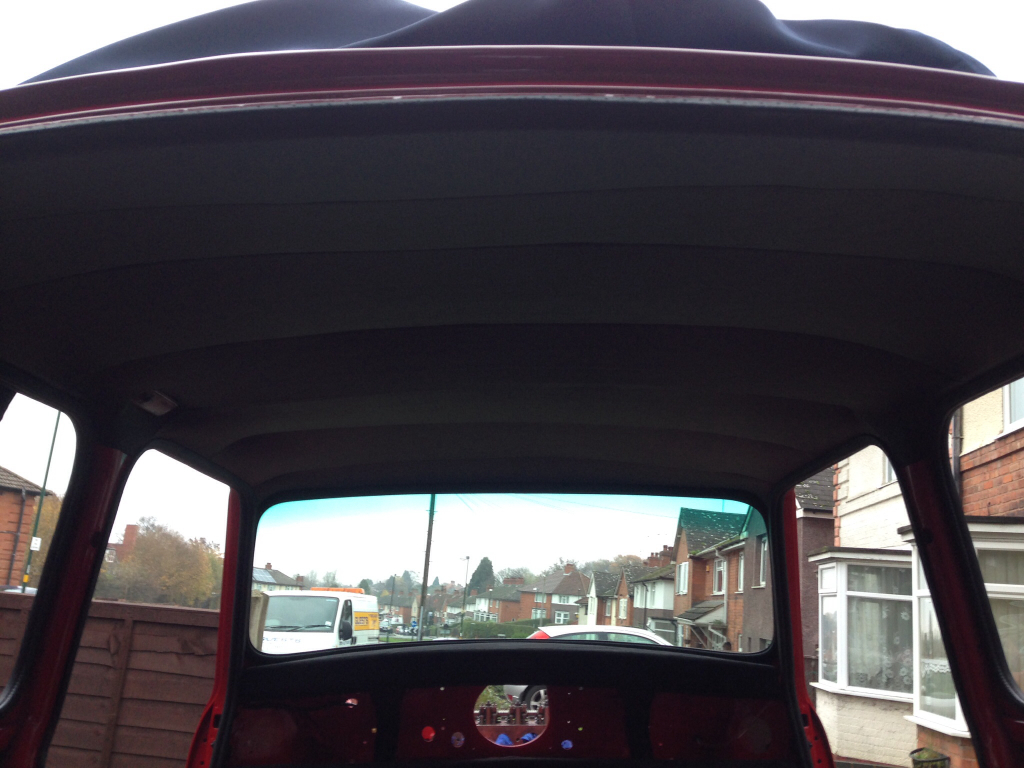
We also fitted the little bit that goes along the parcel shelf -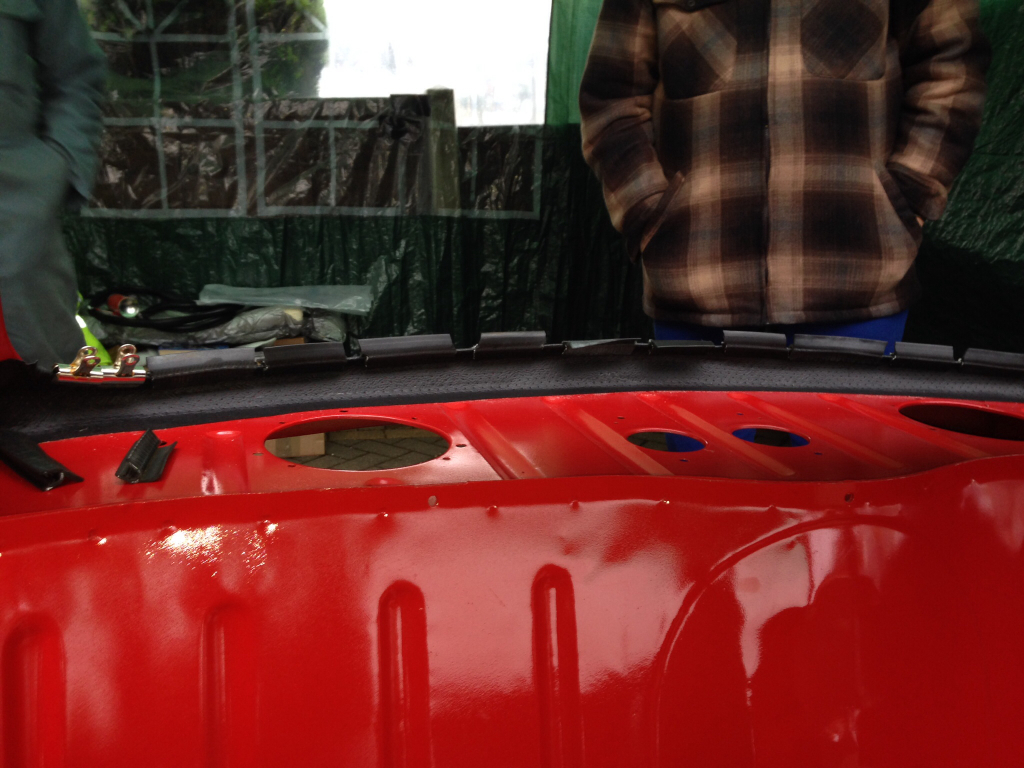
Happy with that I built up my boot lid and got that fitted -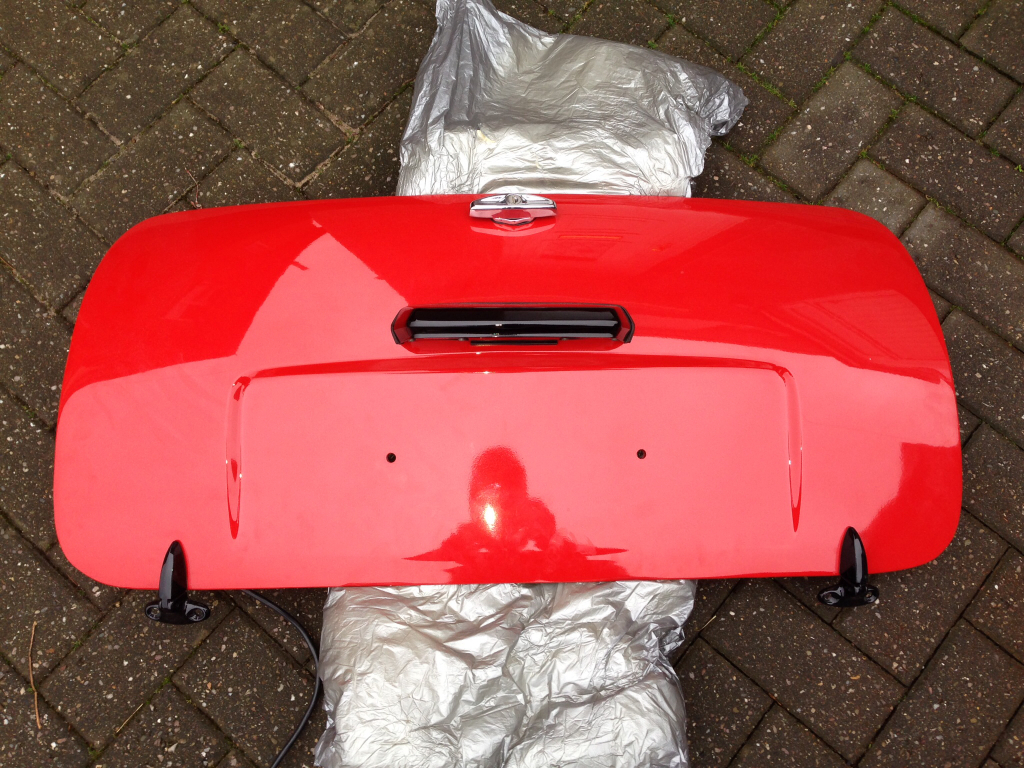
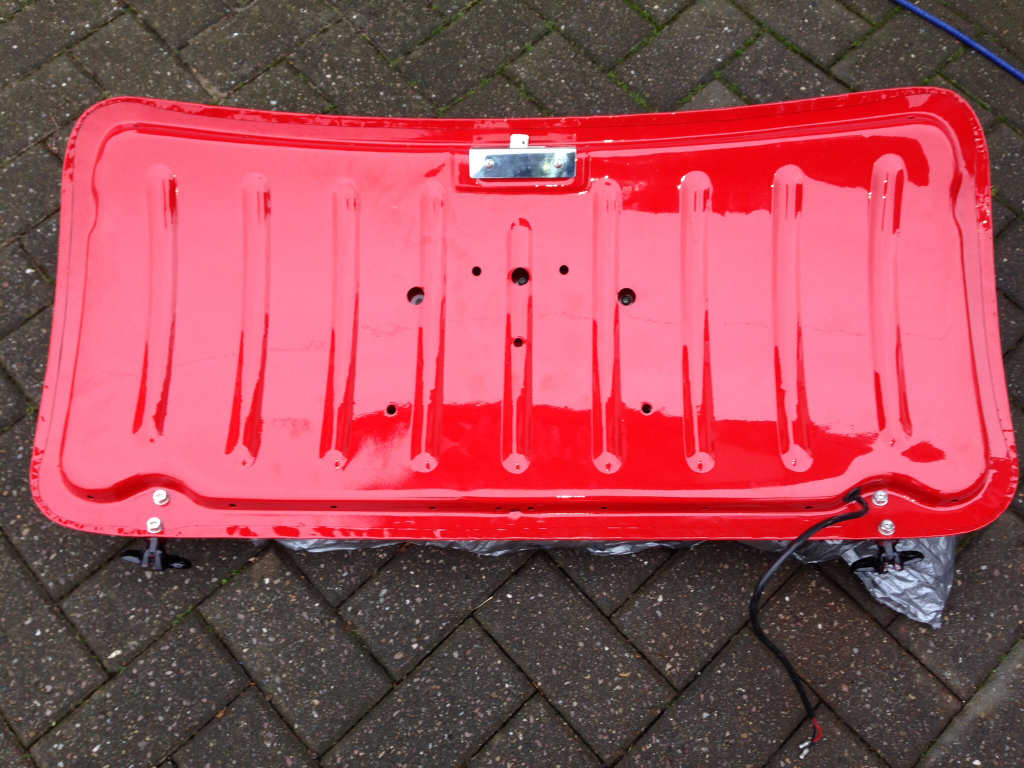
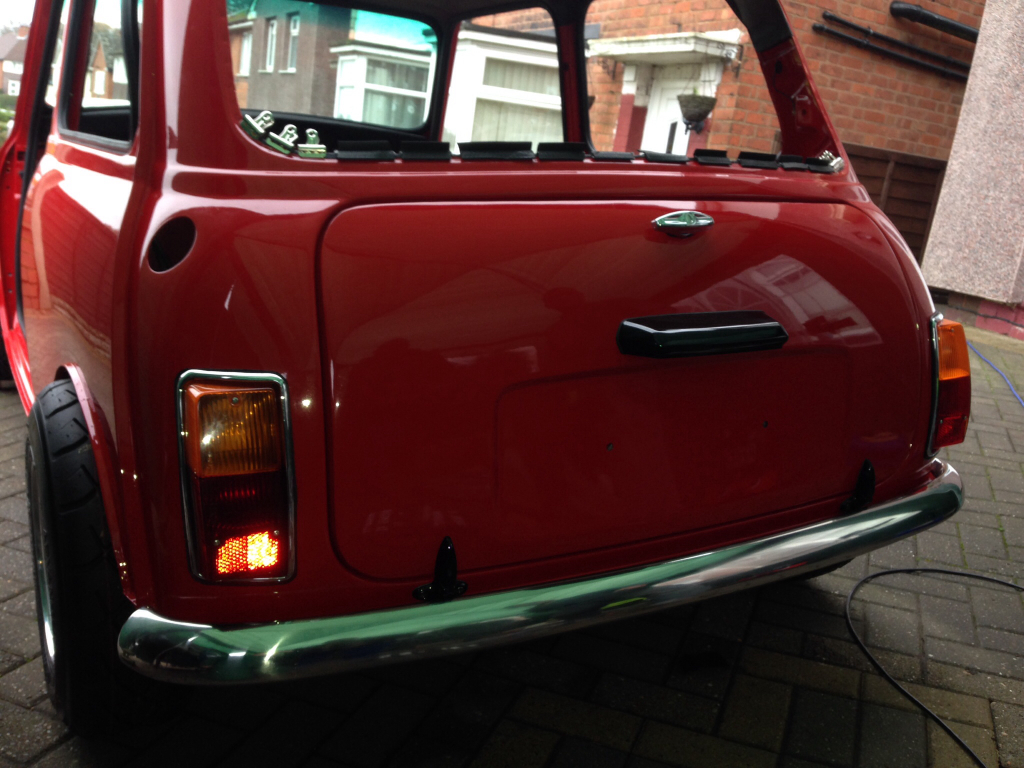
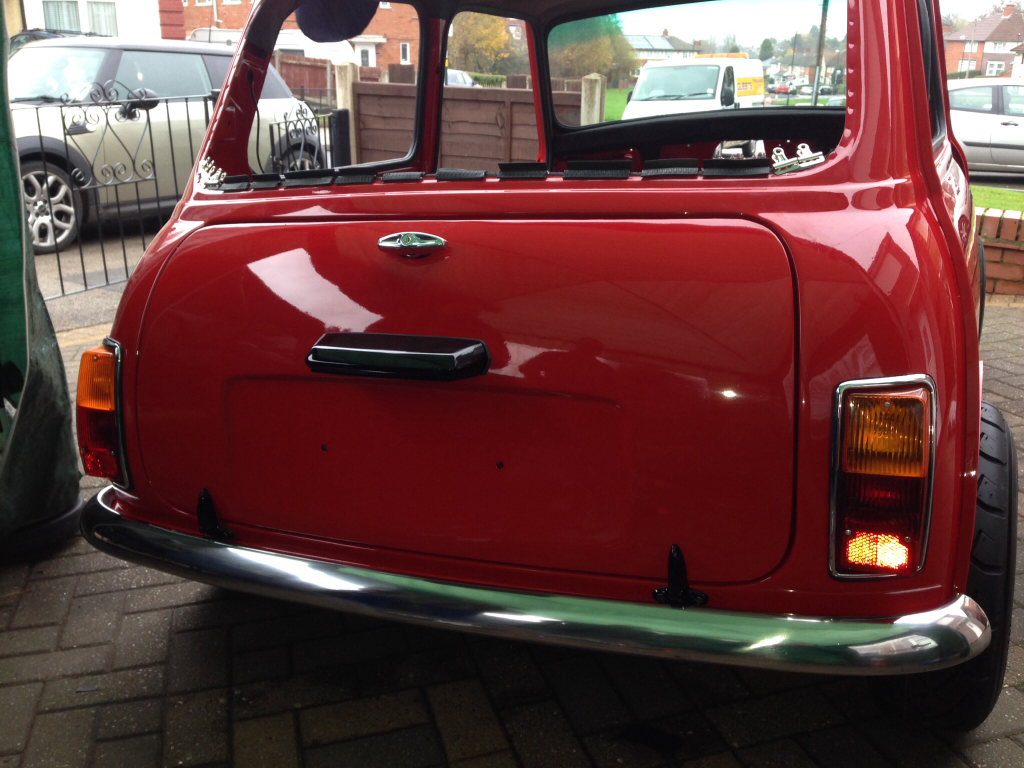
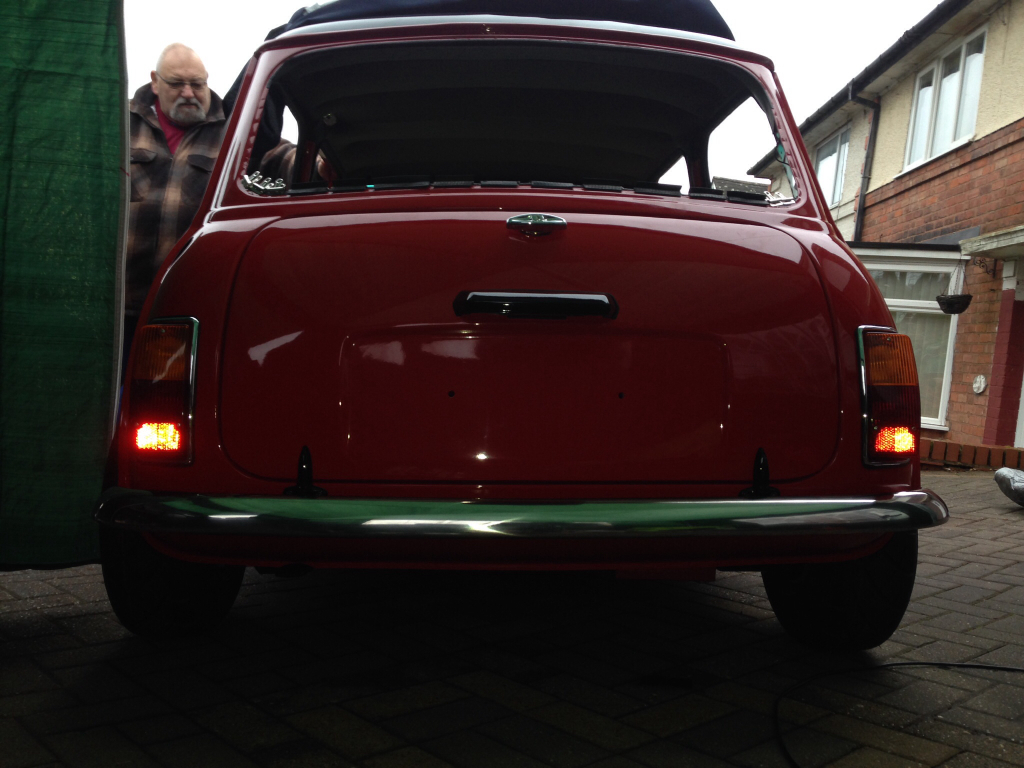
That's all that's been done today, I think the next job will be to get the sound deadening down so will make a start on this tomorrow !
11-24-2014
Update,
After what feels like an eternity, I've finally received my 7.5" brake kit from Minisport. Here's a few pictures -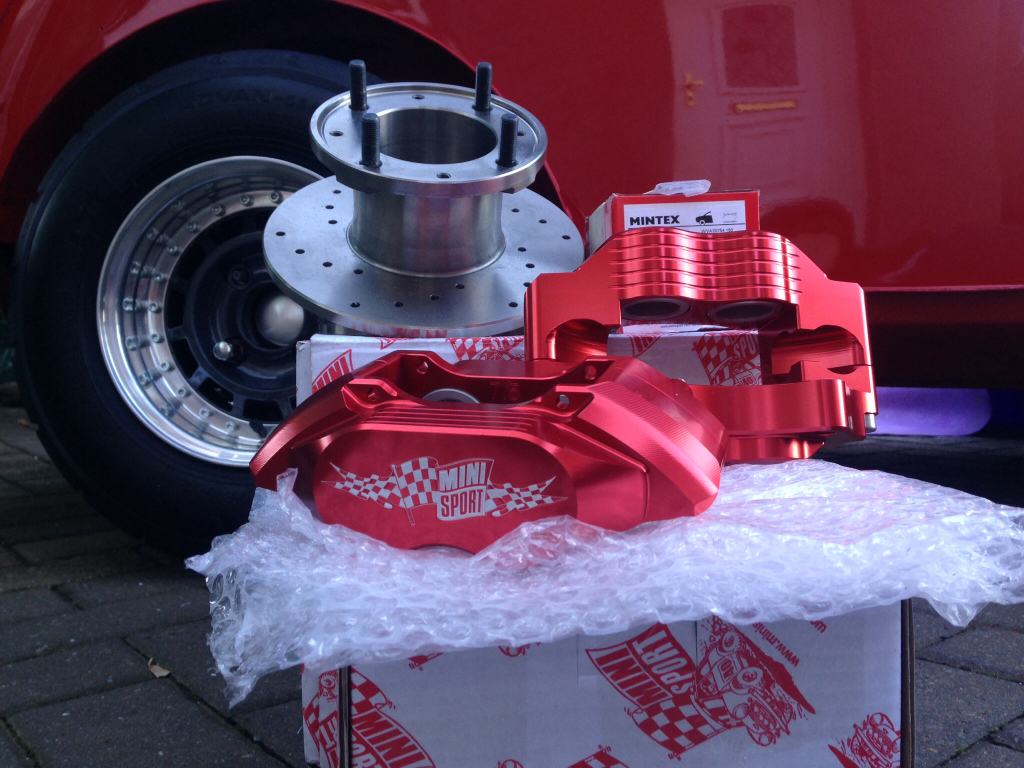
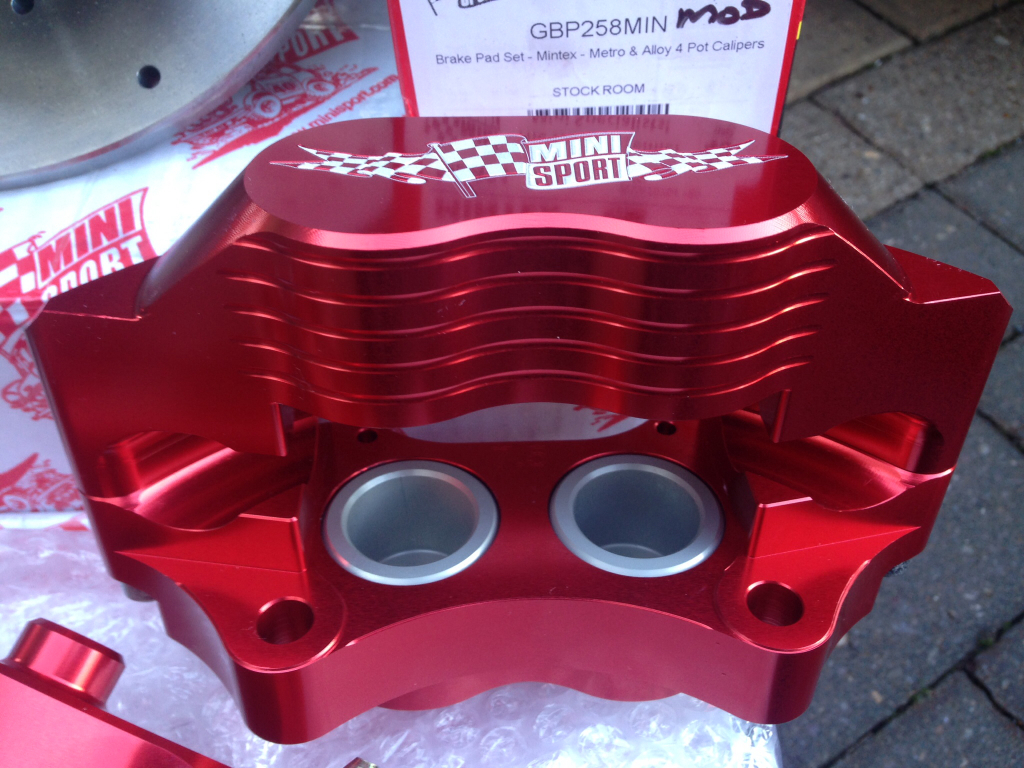
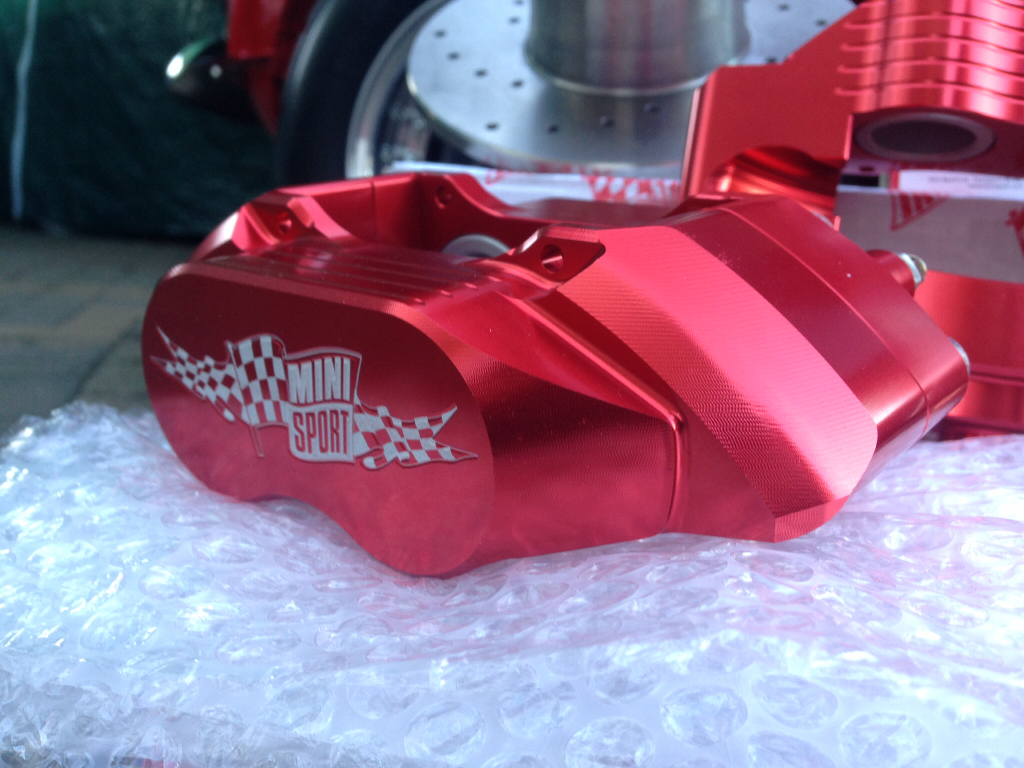
They're a gorgeous bit of kit, it's amazing how light the Calipers are, so glad I went for this kit in the end !
Anyway, I've been laying down sound deadening over the weekend, it's taken three days of laborious labour but it's came good in the end. Here's a few pictures -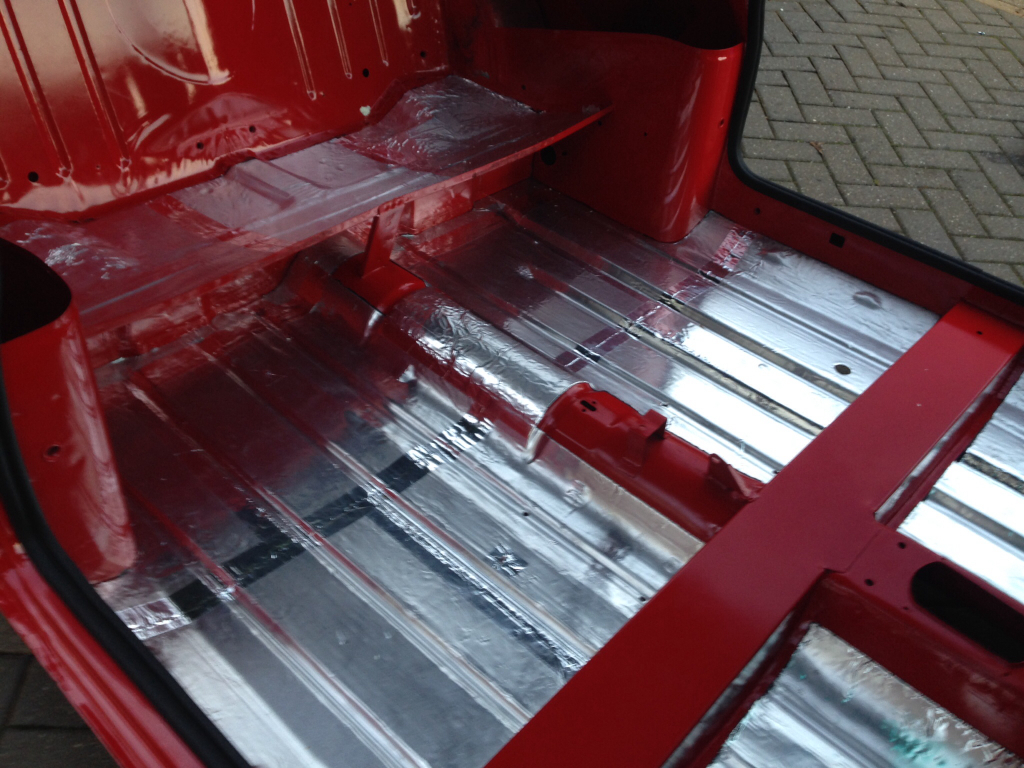
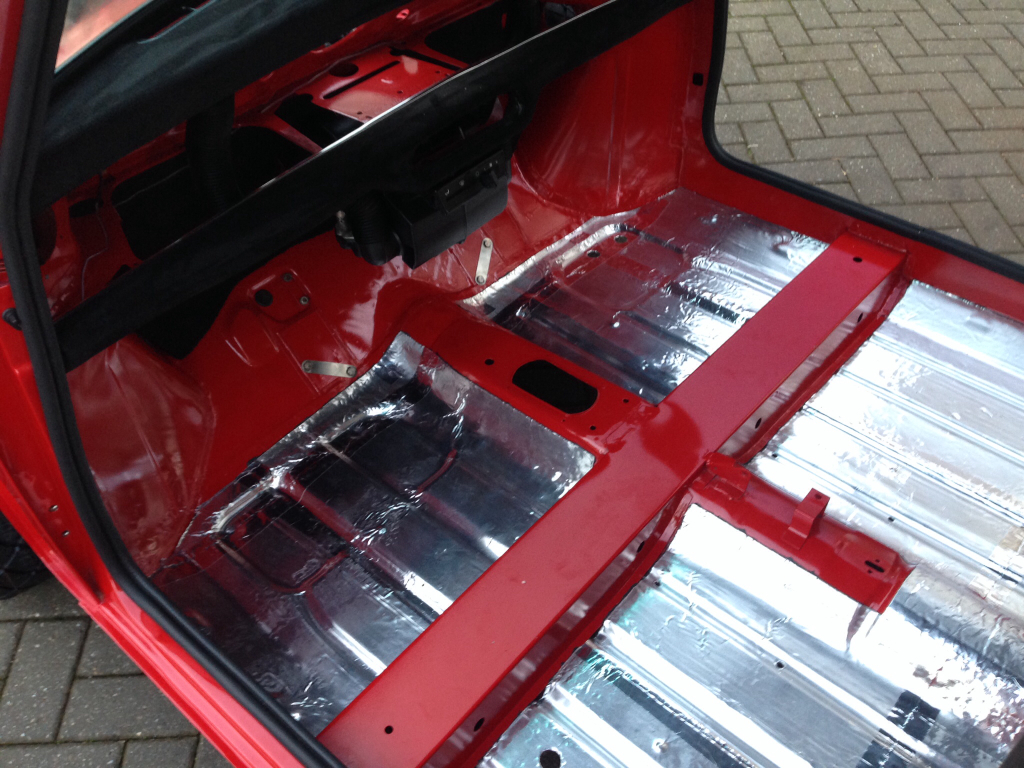
It was a case of warming it up with a heat gun, then laying it down and making sure to push it into all the indentations in the floor, then once I had it all layed down I went over the seams with aluminium tape. It does look like a fairly straight forward job, or so I thought it would be, it's so hard to work with unless it's warm, and even then it's a pita. I've definitely got sore fingers now !
I've pretty much copied where it was put in the factory. I know you can go crazy with it and cover every interior surface but I don't feel it's necessary, and you'd be surprised how heavy the stuff is ! If it was good enough in the factory then it's good enough for me !
11-30-2014
Update,
Git a bit more done today, I'll start with the purchased items though. Ordered a few items from Minispares and Smiffy's Bits during the week, mostly nuts and bolts needed to finish a few things off -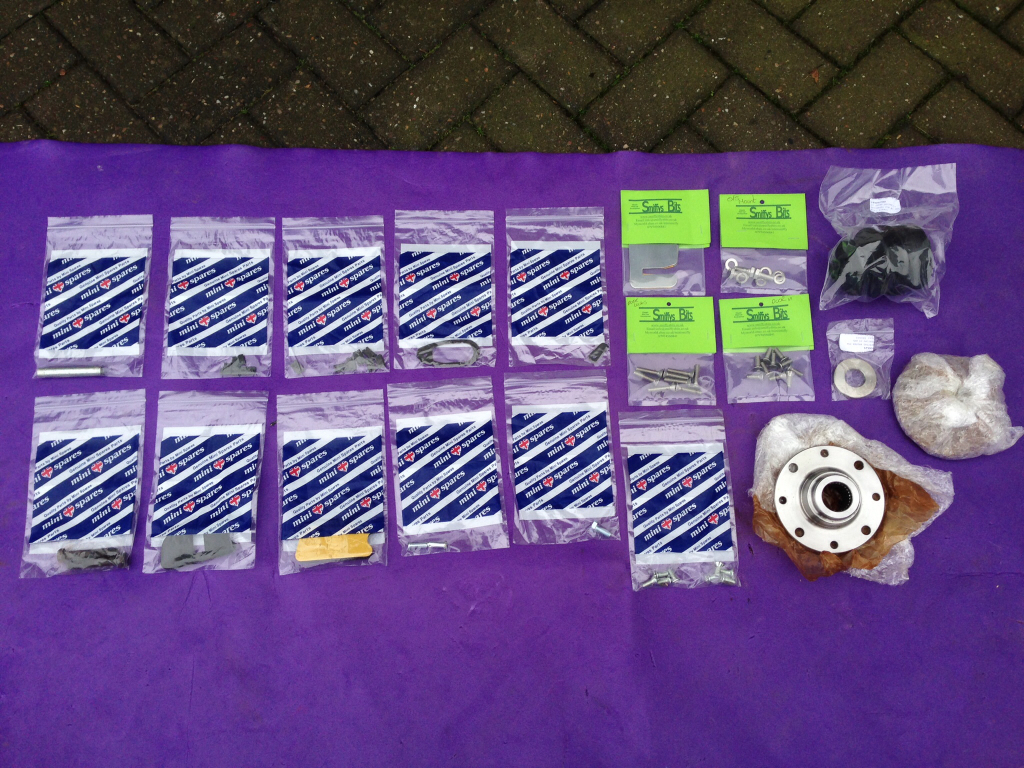
I also picked up this little beauty, couldn't say no really as I got it for a great price -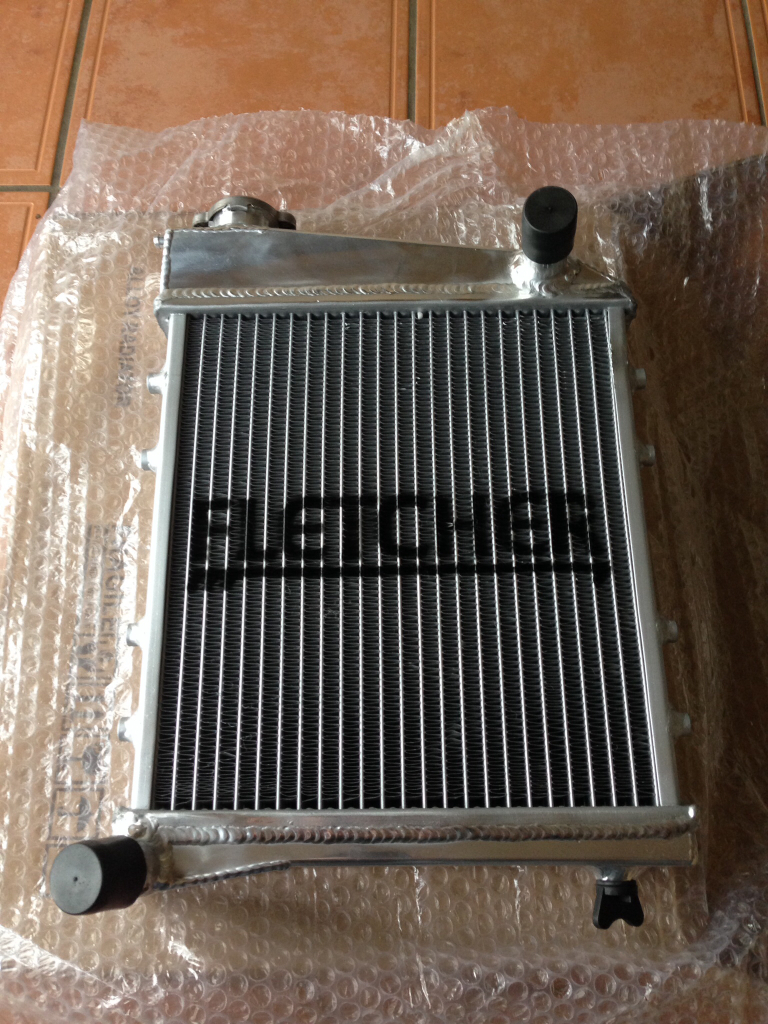
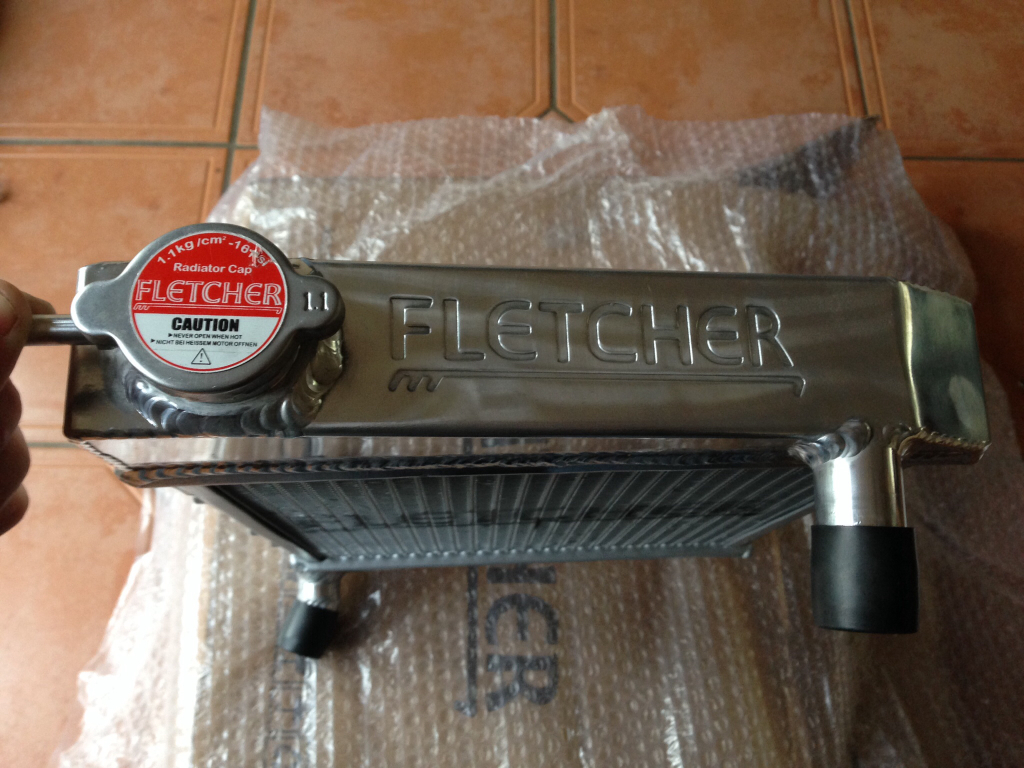
And a pair of window runners too -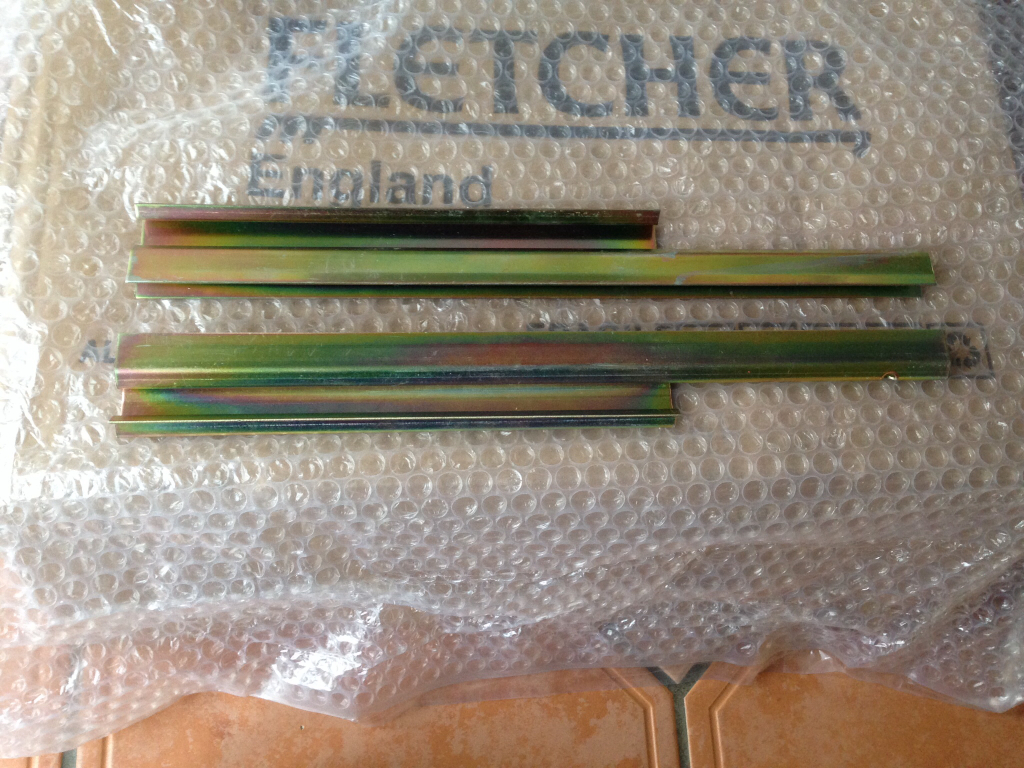
Now, onto today's progress. I wanted to get the doors back onto the car this weekend so the first thing on the list was to sort the hinges out. I took them all down to bare metal using a wire wheel on a drill, like this -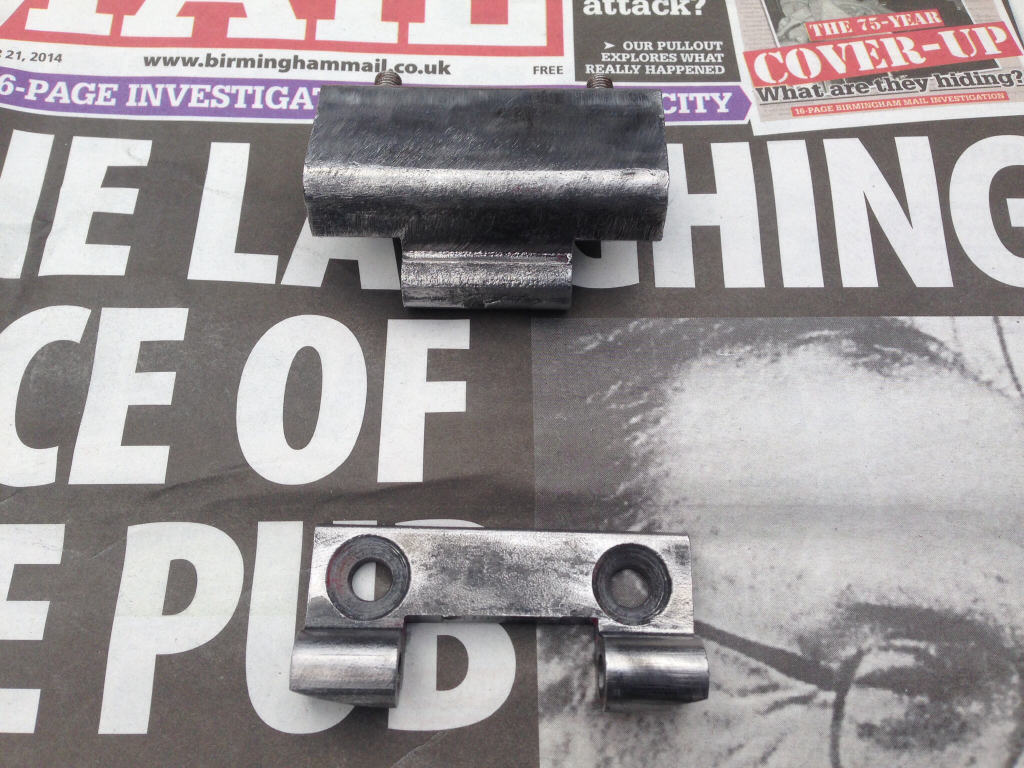
Once I had them all like that they got a good coating of zinc primer -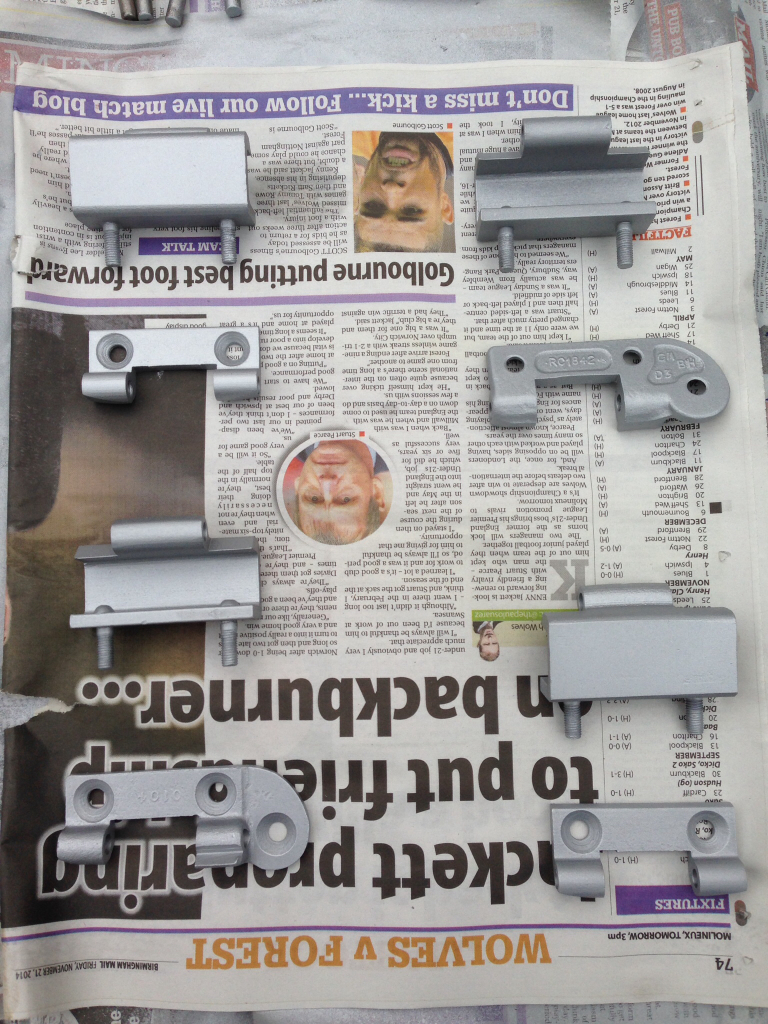
And then a few coats of gloss black -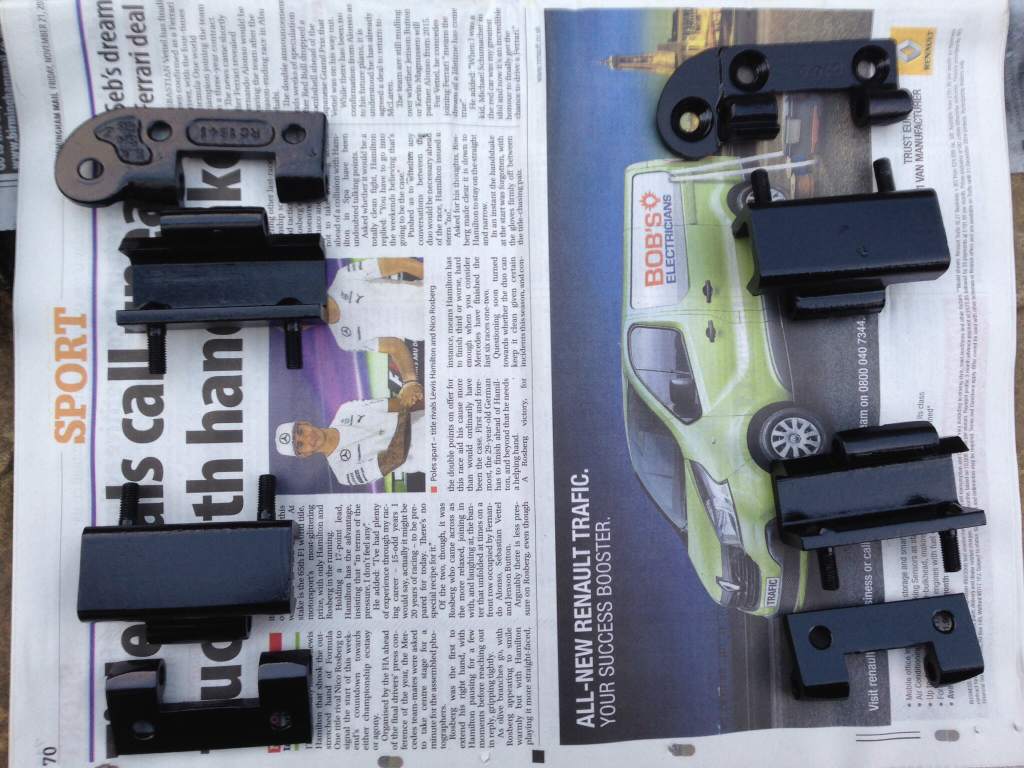
Next job was to knock the pins through the holes in the hinge, but first I sanded a small flat into each pin using a Dremel with a metal sanding wheel so the grease would have some where to sit whilst the pin is inserted. Then I heated the pins up on a gas hob until glowing red, like this -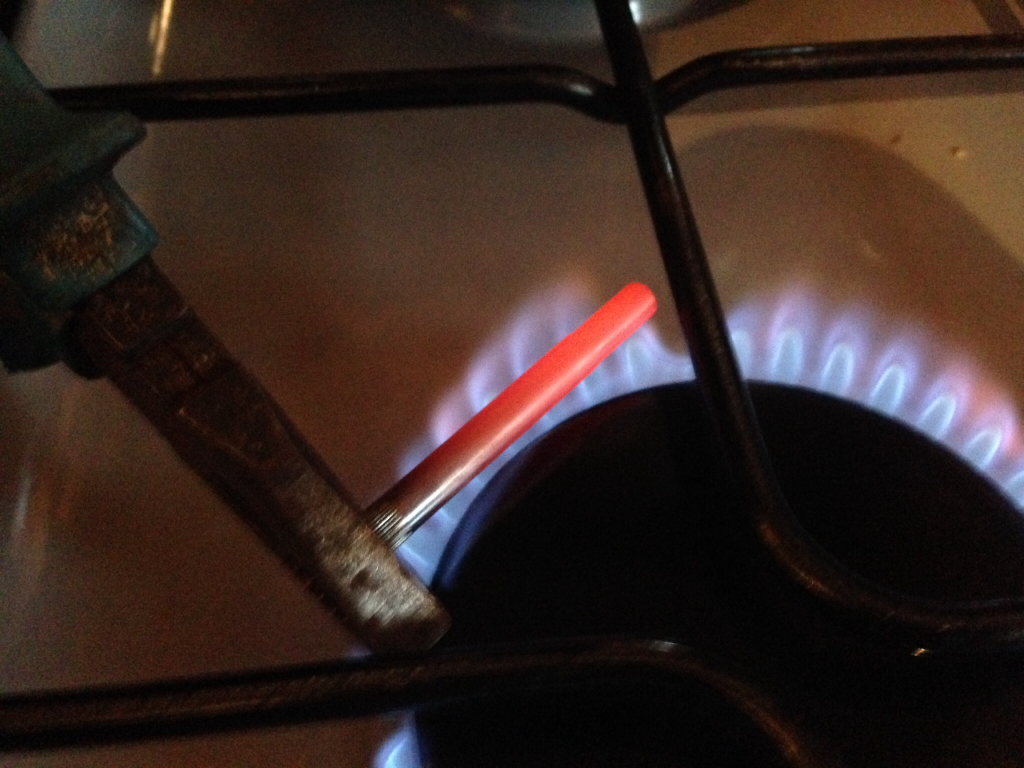
And then dunked them in some ice cold water whilst still glowing. This will harden the steel and increase the life of the hinge.
Here's the hinges built up and ready to go back onto the doors -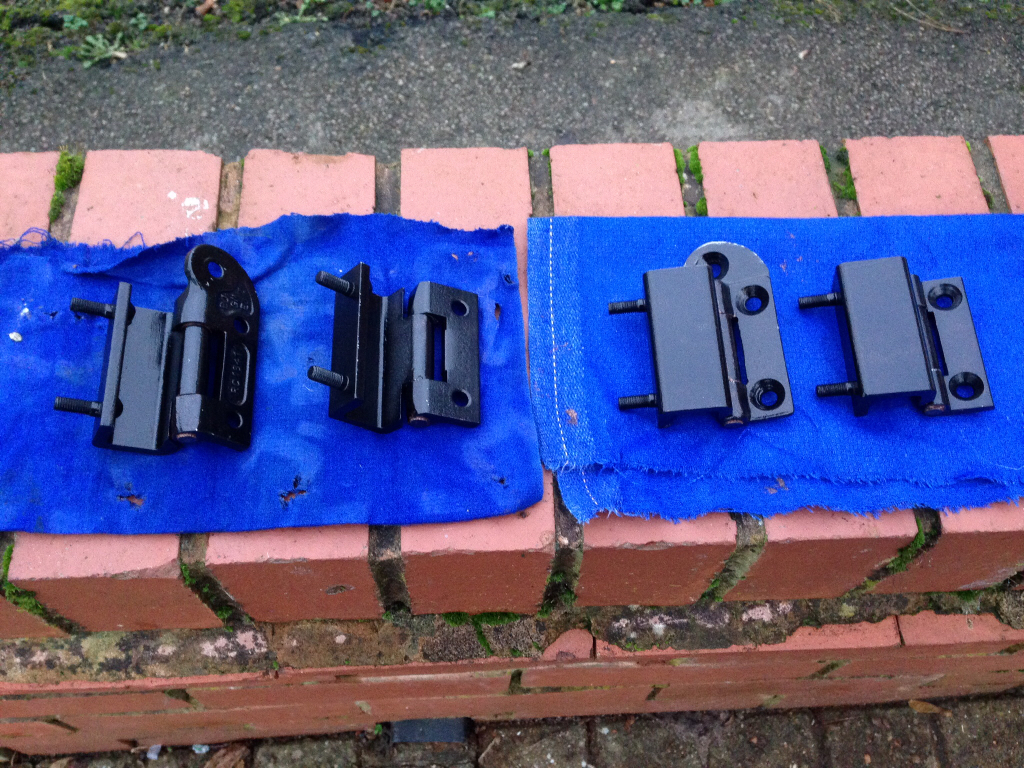
Next, I partially built the doors back up. Handle cleaned, polished and refitted back to the door -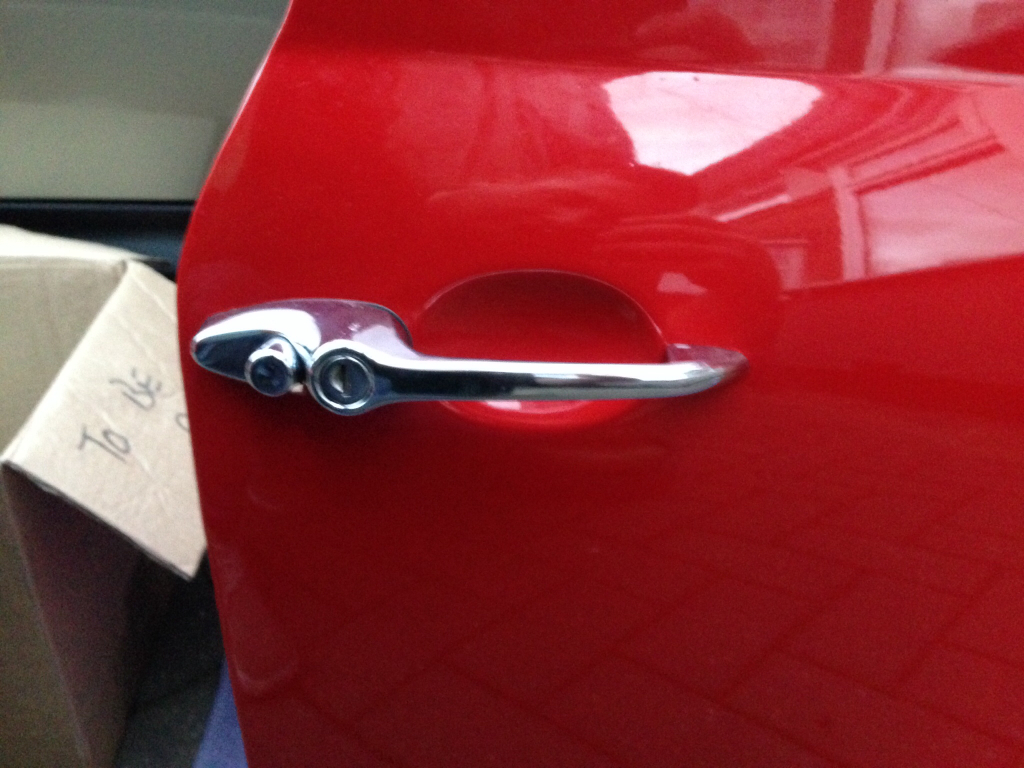
And the inner workings bolted back on -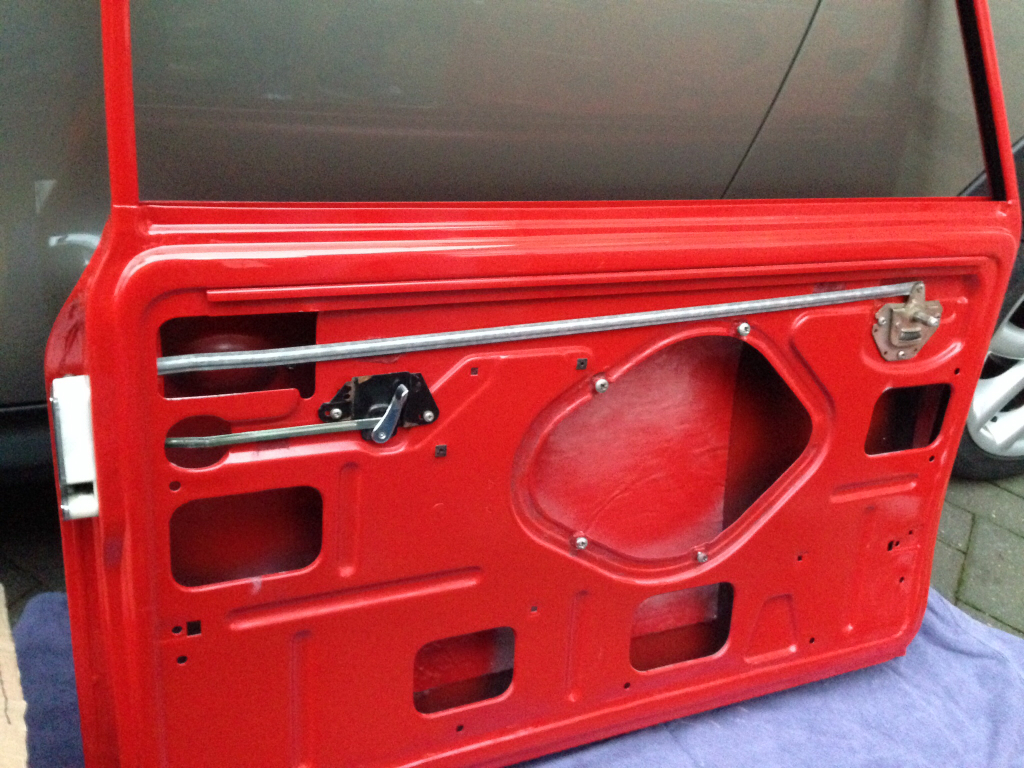
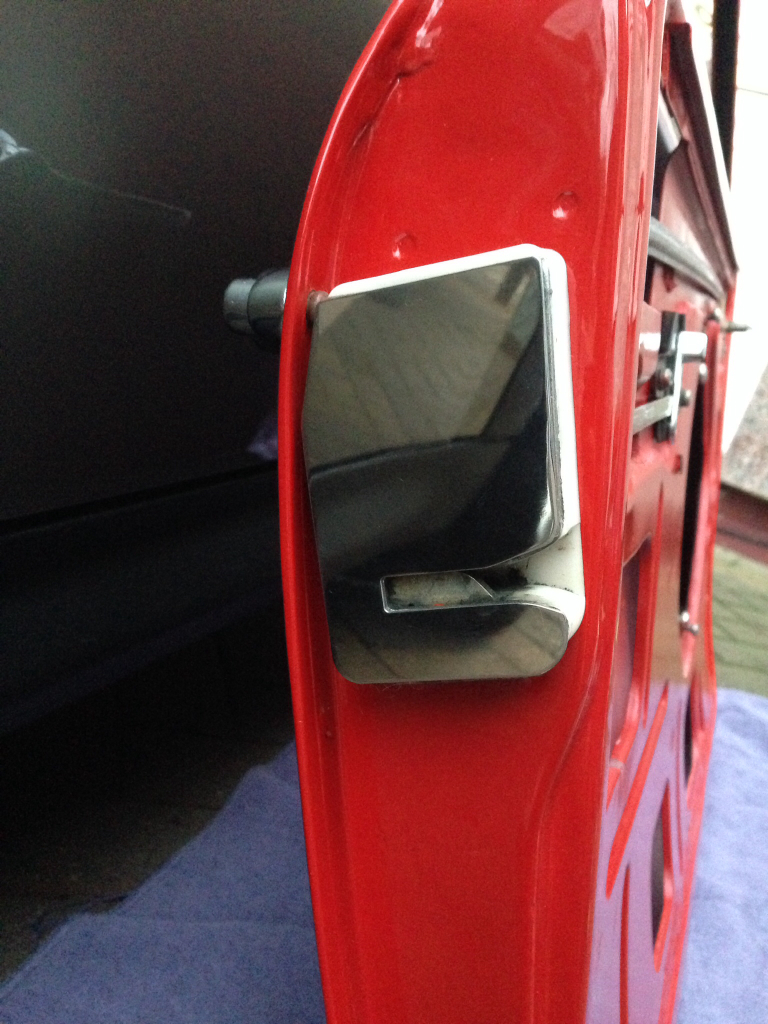
The optional Smiffy's bling -
-
Same applied to the other door, no glass however, its on the 'to purchase' list.
I enlisted the help of my dad to hang the doors, please excuse the pictures as it was getting dark at this point.
Drivers door -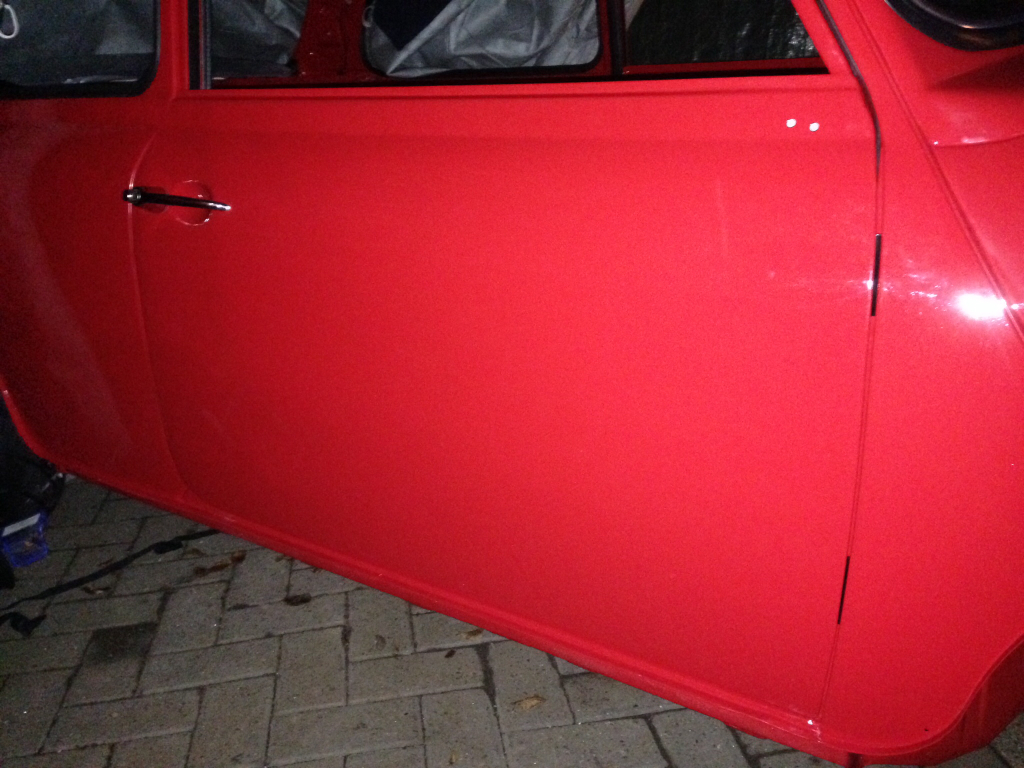
Passenger door -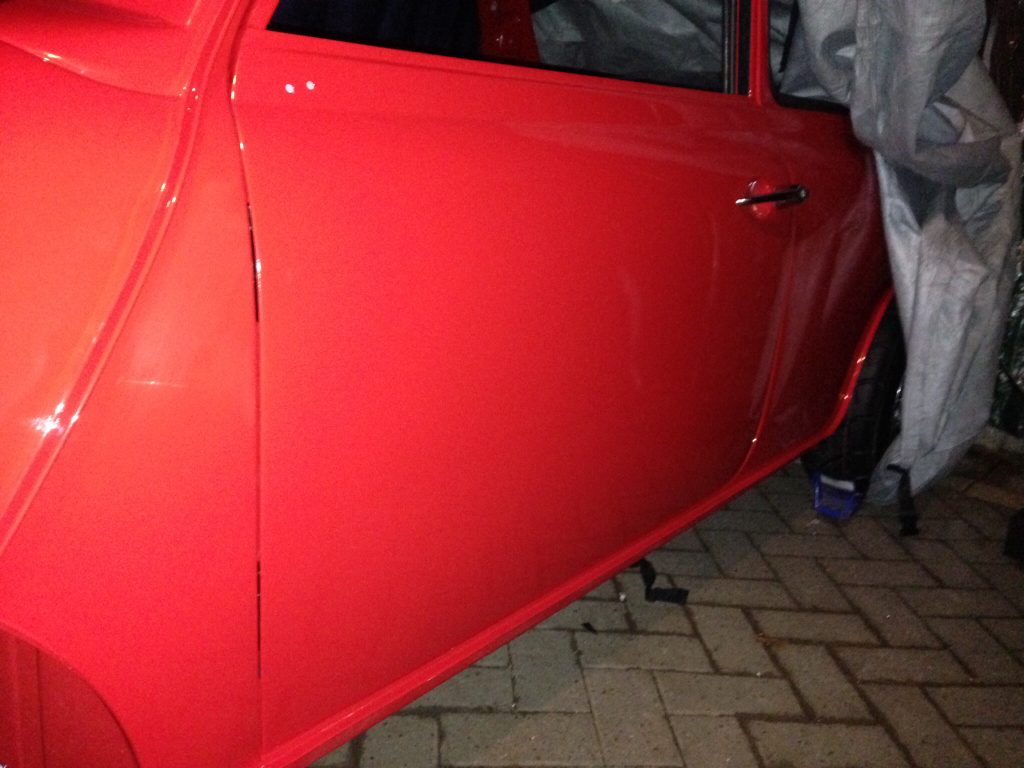
Their not in the final positions yet, I've still got a bit more fetteling to do as it was getting difficult to see and I didn't want anything getting damaged !
Anyway that's all I managed today but I'll upload some better pictures of the doors fitted tomorrow