You must be logged in to rate content!
7 minute(s) of a 358 minute read
11-3-2014
Update,
Nothing major achieved today, just managed to squeeze a quick hour in this afternoon.
Fitted the bulk head sound deadening and carpet -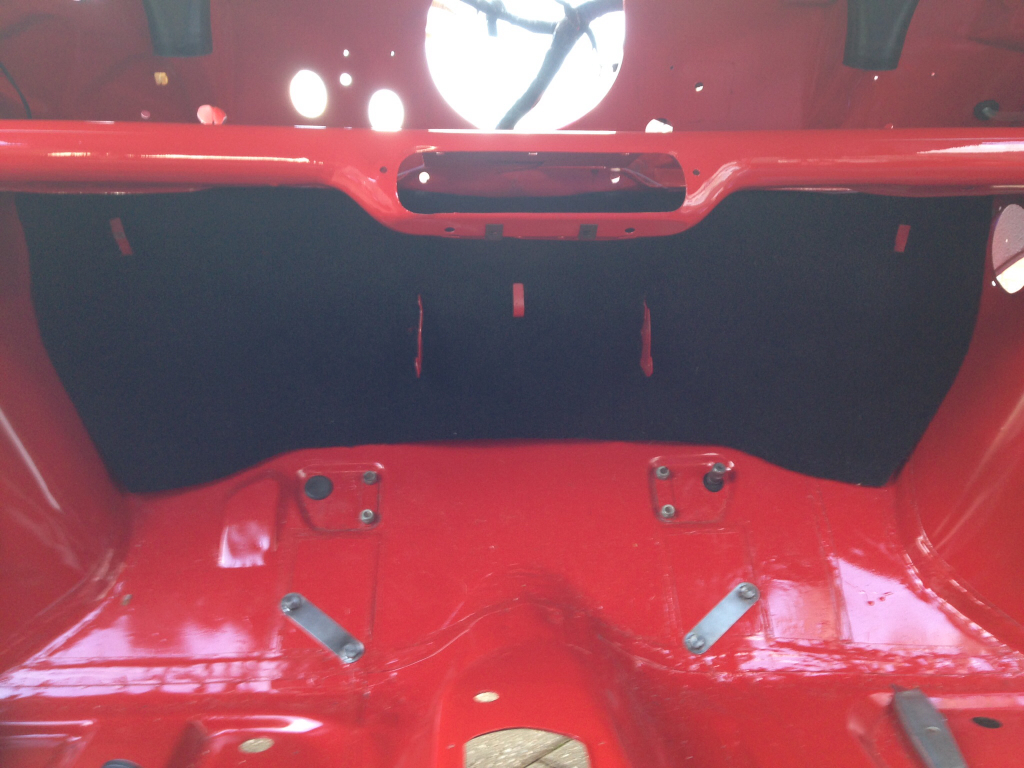
Then the bottom dash rail went in -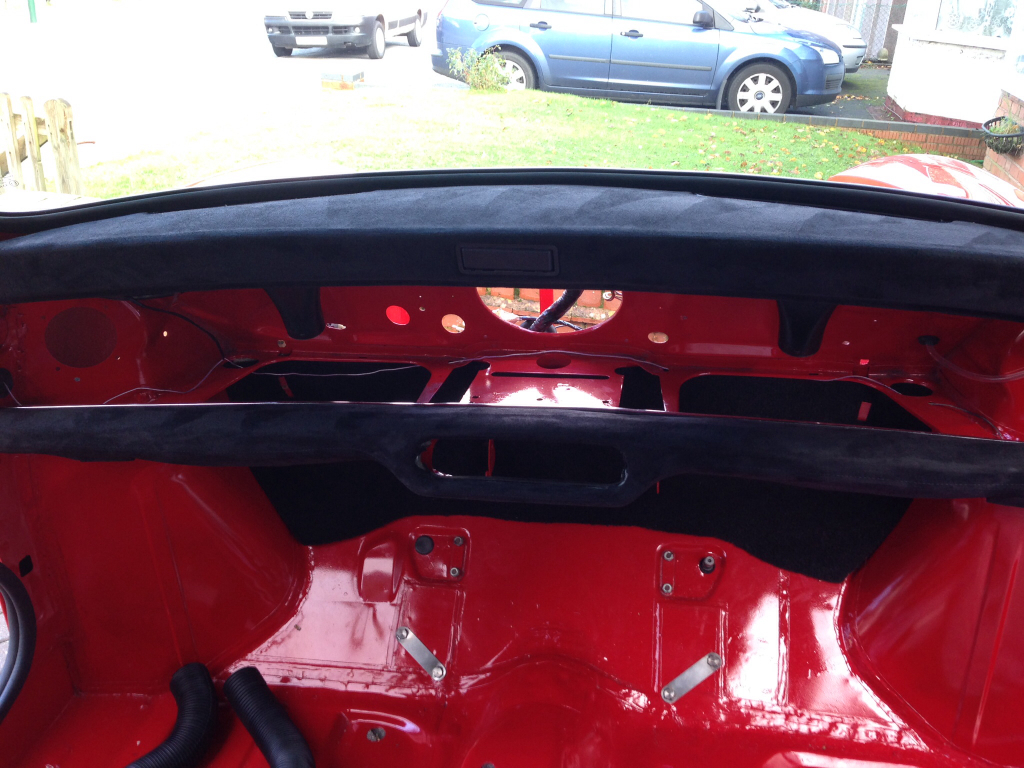
And I also fitted my MPI heater and tubing -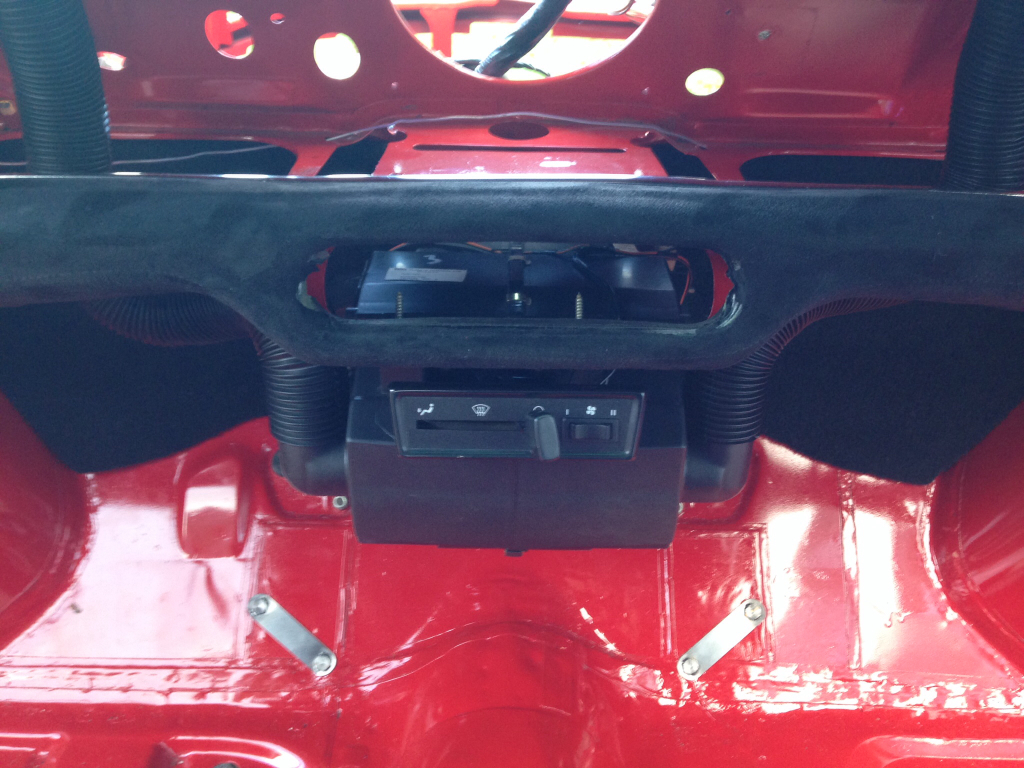
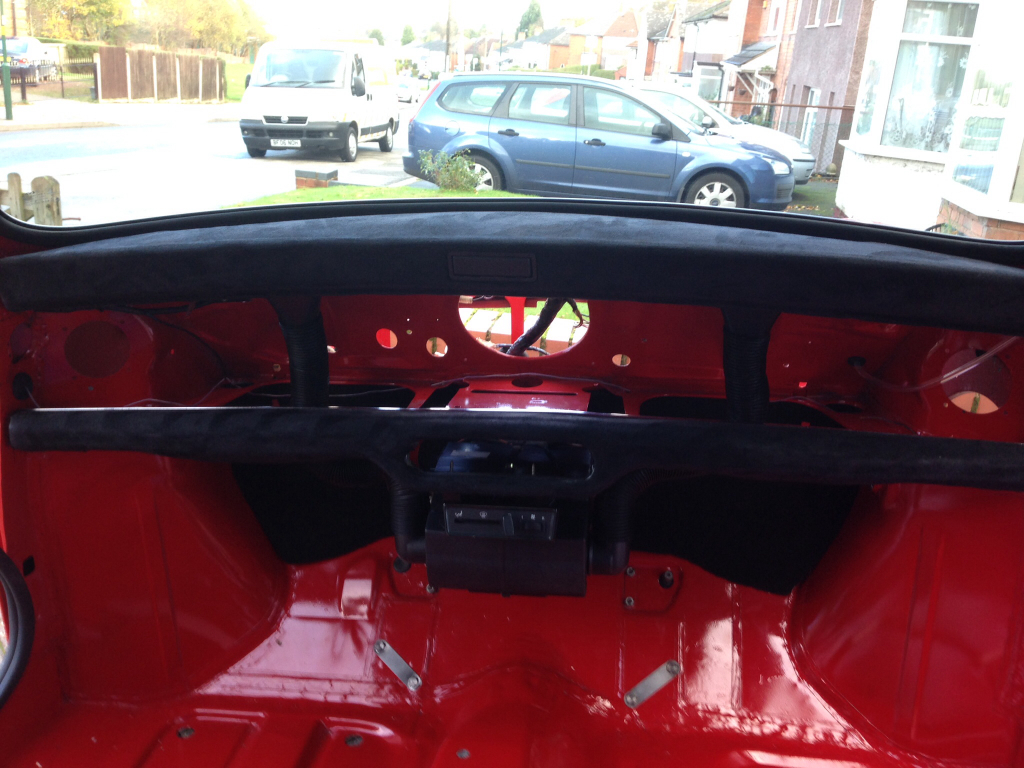
That should do a better job then the old single speed metal heaters, and I may even be able to de-mist my windscreen on those cold mornings !
I've took my wheels down to the powder coaters today so should be picking those up on Friday, I've gone for charcoal grey with glitter speckle and then finished with a coating of lacquer, should look the business hopefully !
Also, I'll be dropping the engine in on Saturday if all goes to plan, can't wait !
11-9-2014
Update,
Well, the plan was to get the engine in this weekend but unfortunately the weather hasn't allow for it, so I've got a few other bits and pieces done instead.
Here's what I bought from Minispares on Friday -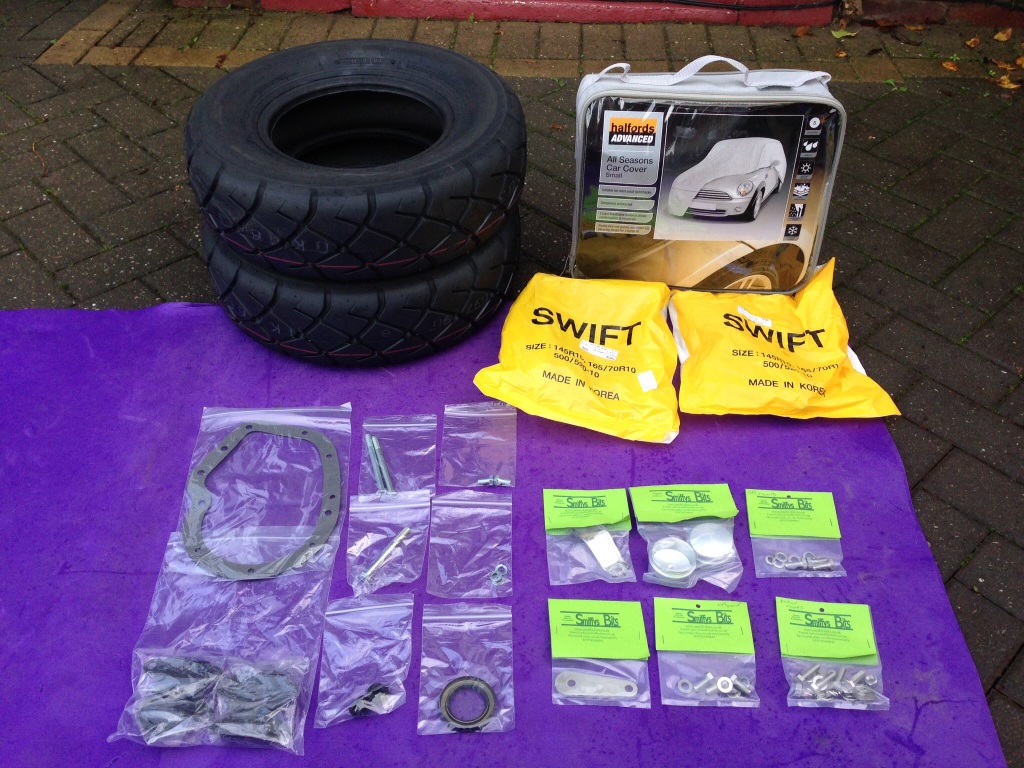
Could only get two tyres as that's all they had in stock, I've ordered two more so should be getting them soon. I've also bought a new car cover as the gazebo is keeping the bulk of the water out, but there are still a few drops getting in.
I also got my splits back from the powder coaters, I went for a charcoal grey with glitter and laquer -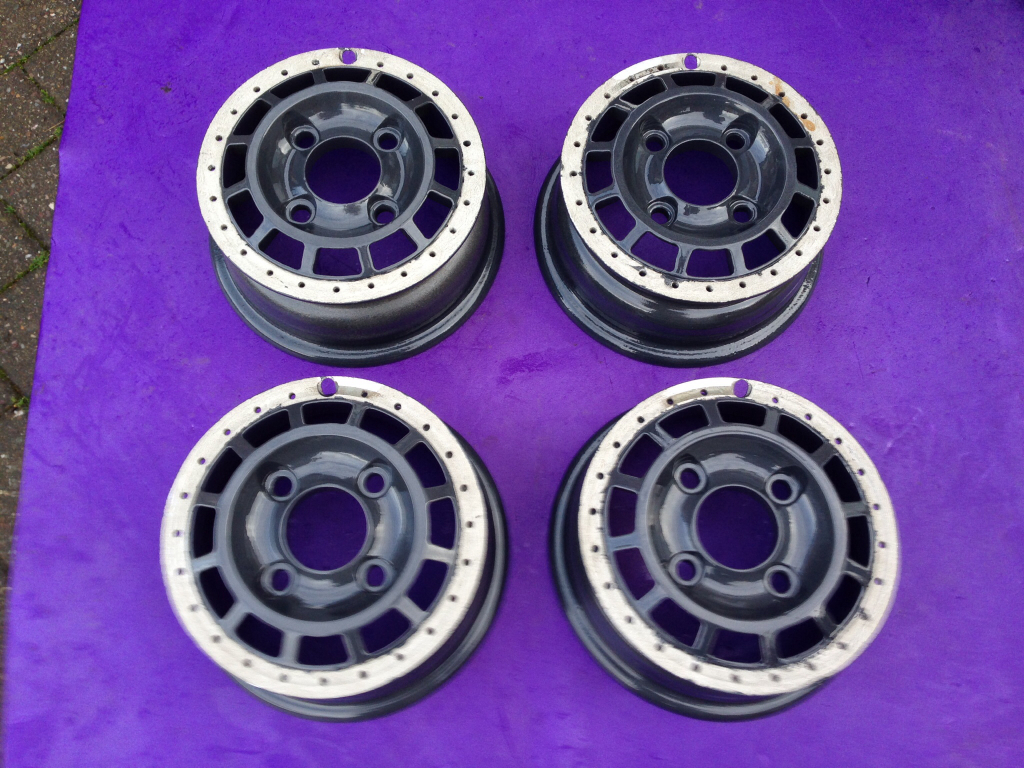
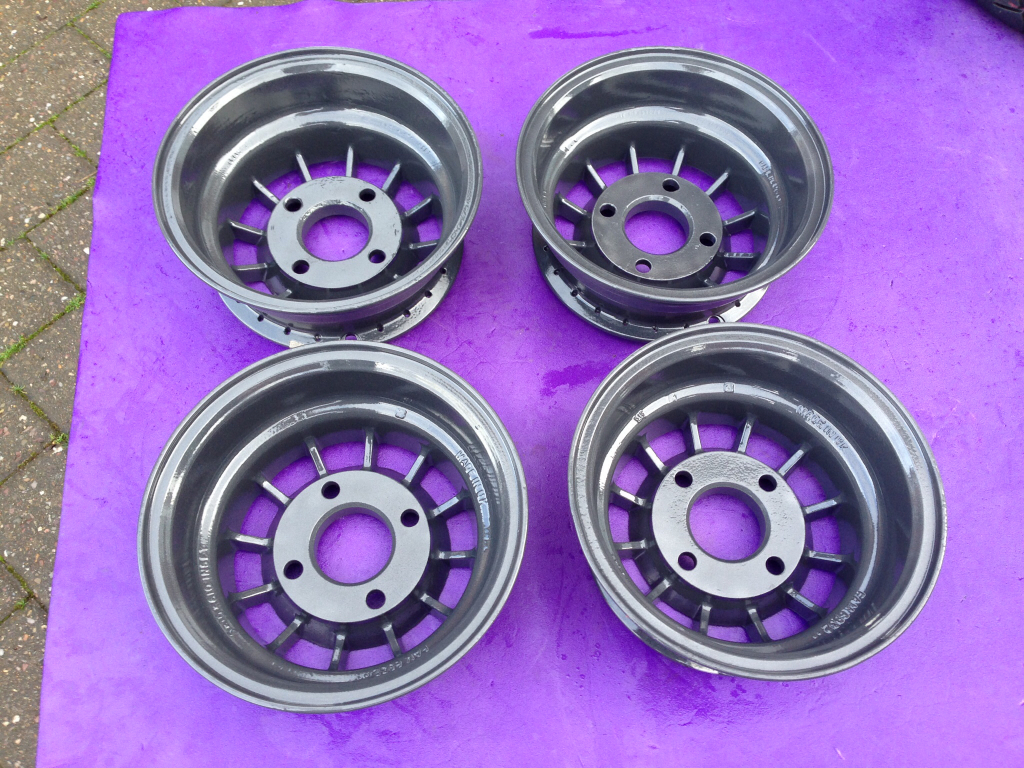
You can see the glitter speckle in this picture, it really pops in the sun light, the picture doesn't do it justice -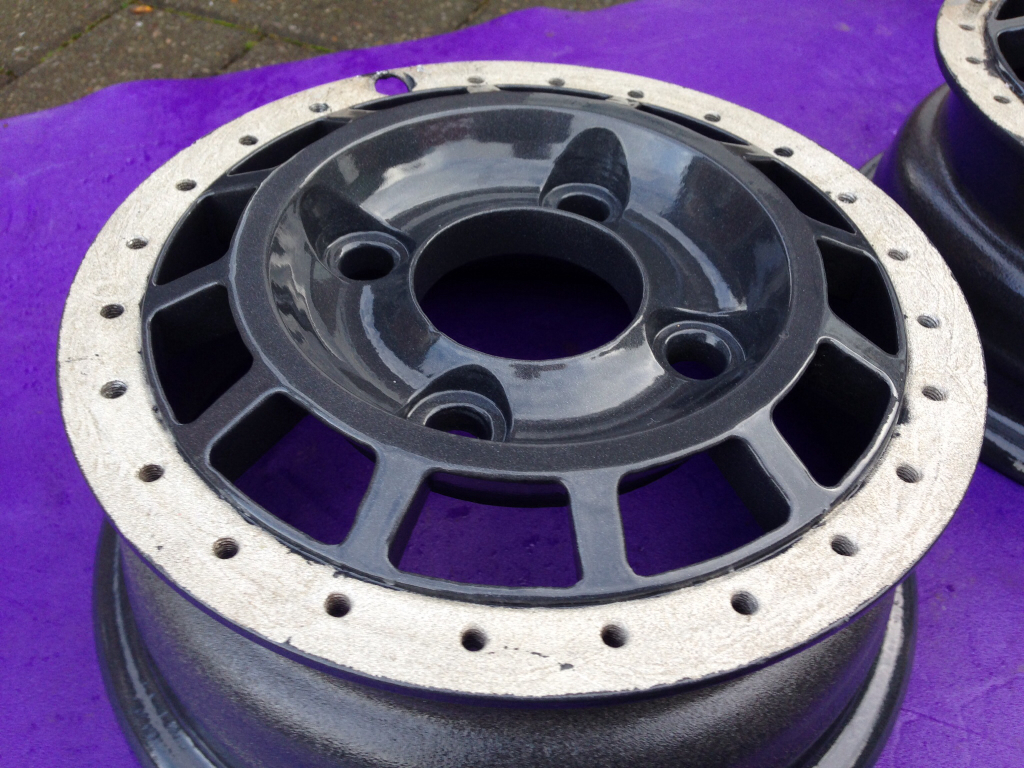
The sun came out today so we pulled her out of the gazebo and made some more progress.
Fitted the rear hub dust caps I got from smiffy's bits -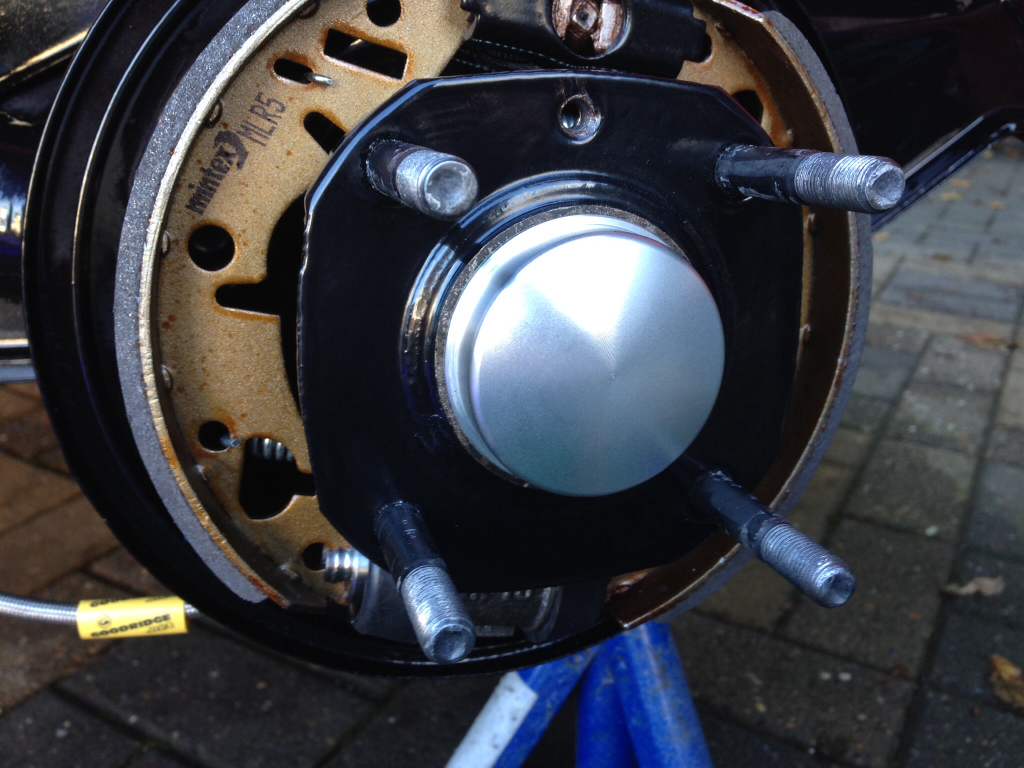
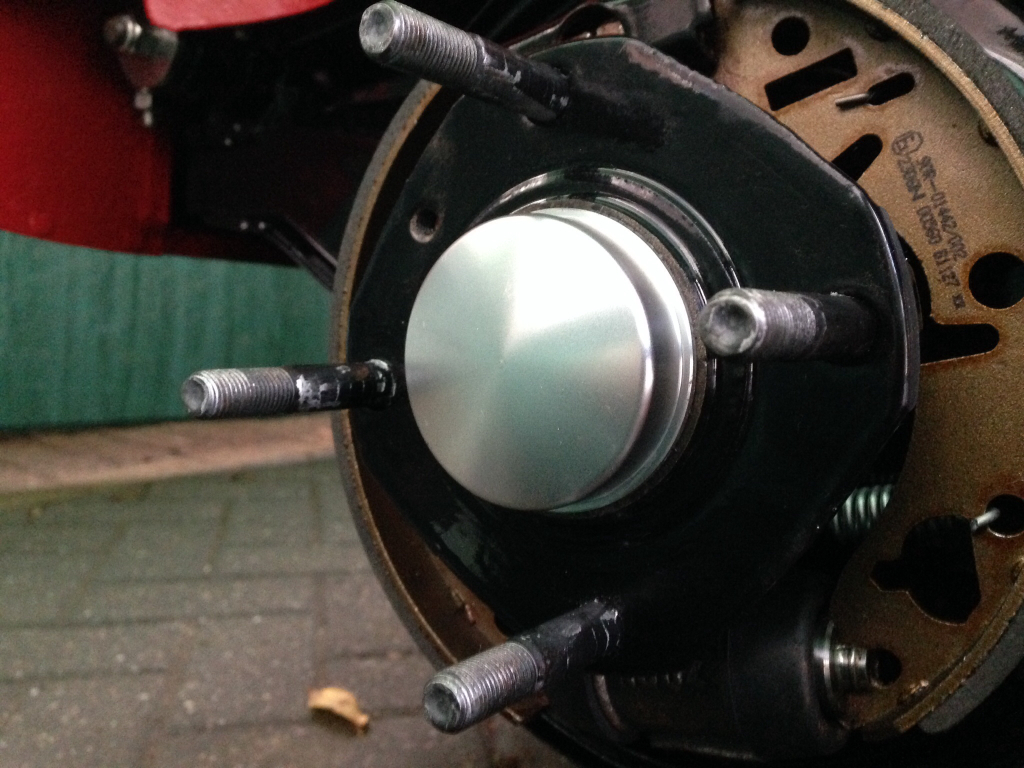
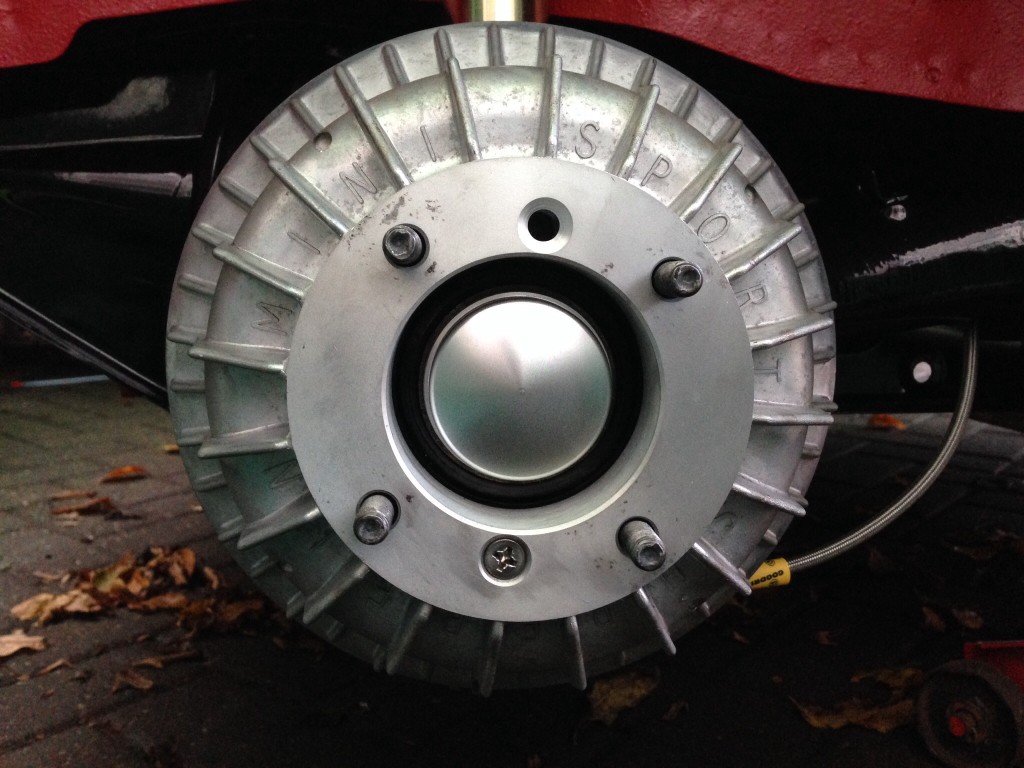
They really finish that area off fantastically with the minifins fitted -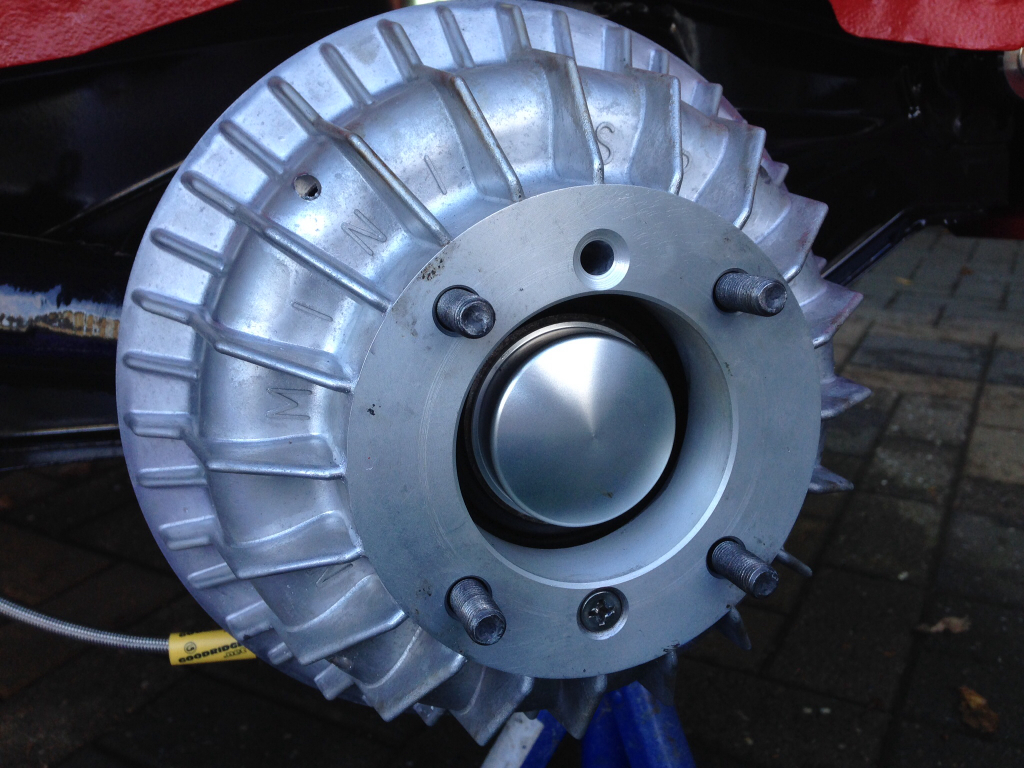
We decided to build up two wheels, here's a picture of the rims being fitted after installing the inner tube and the tyre -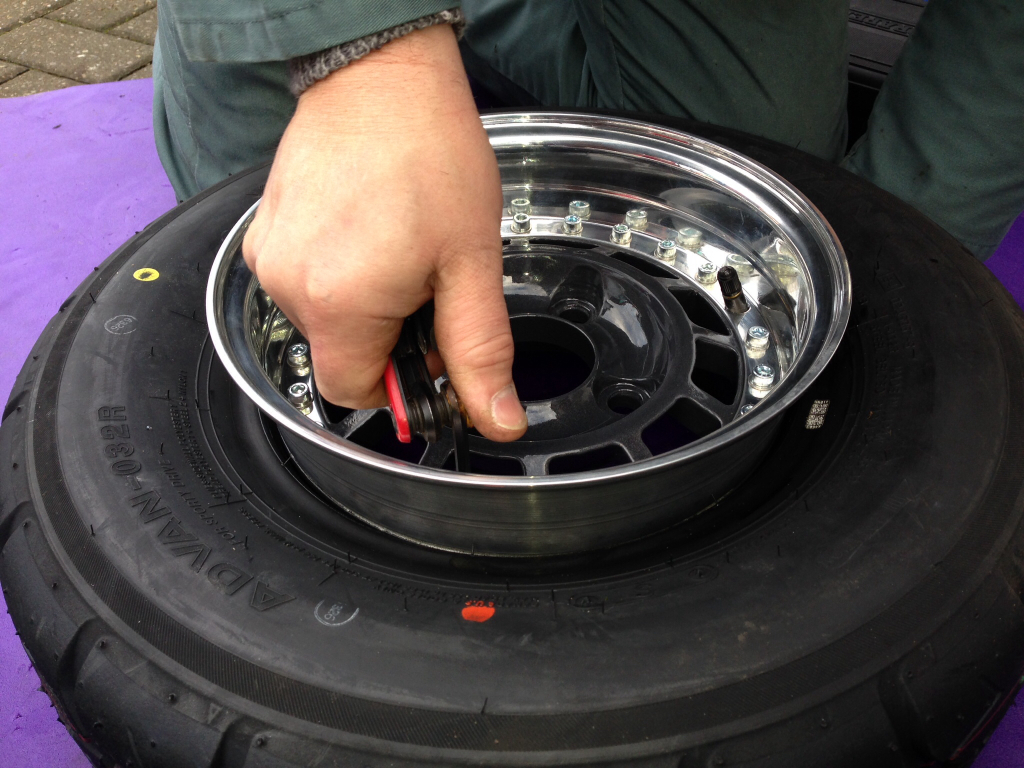
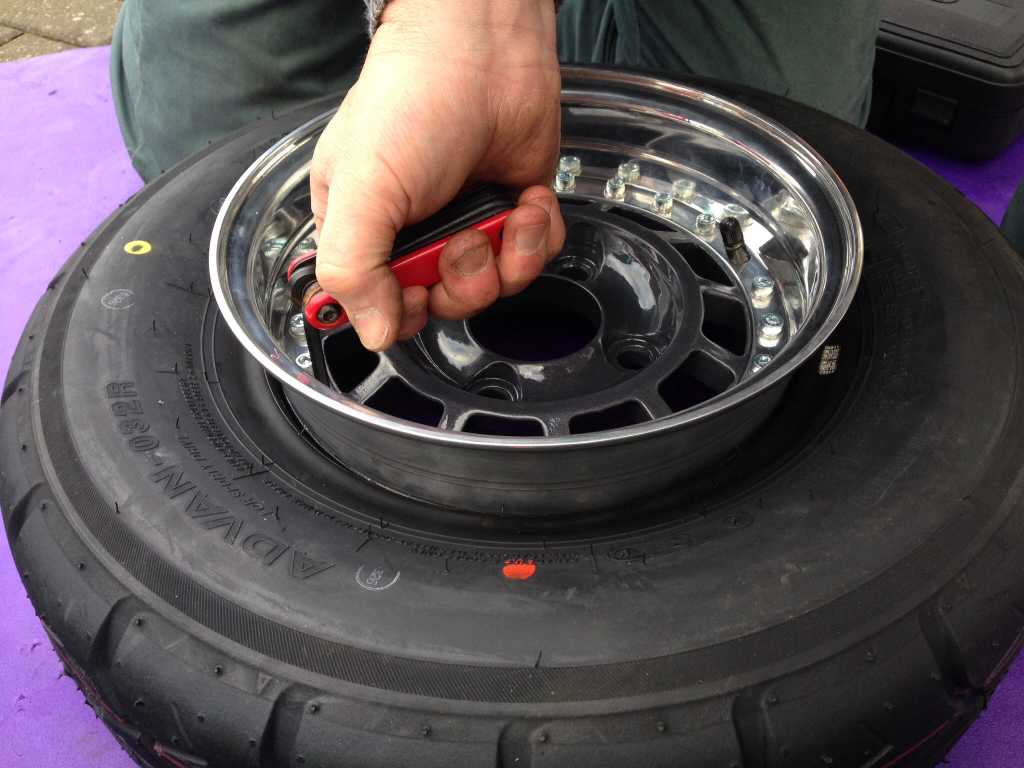
Tyres pumped up -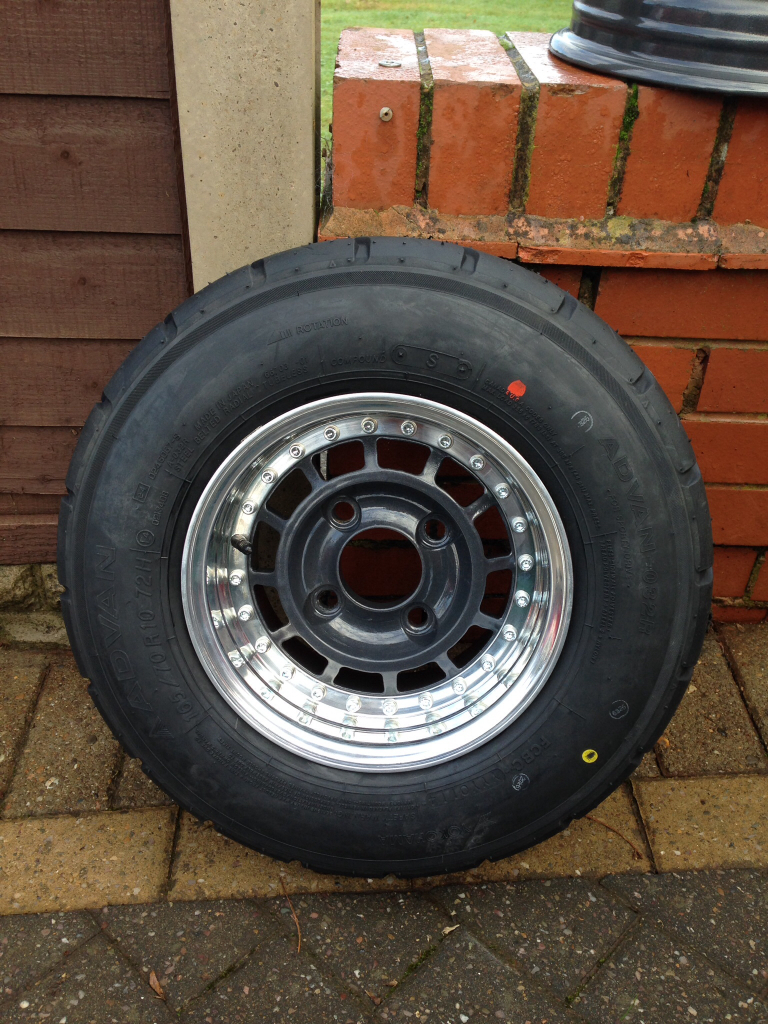
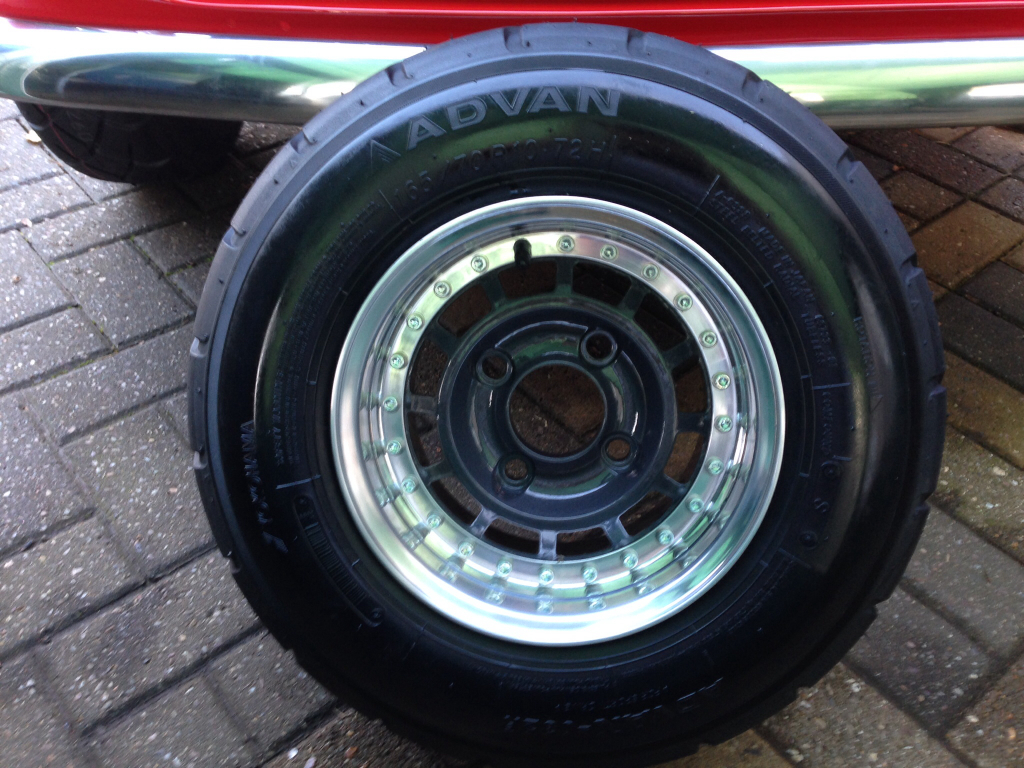
And fitted to the car after a bit of tyre shine was applied -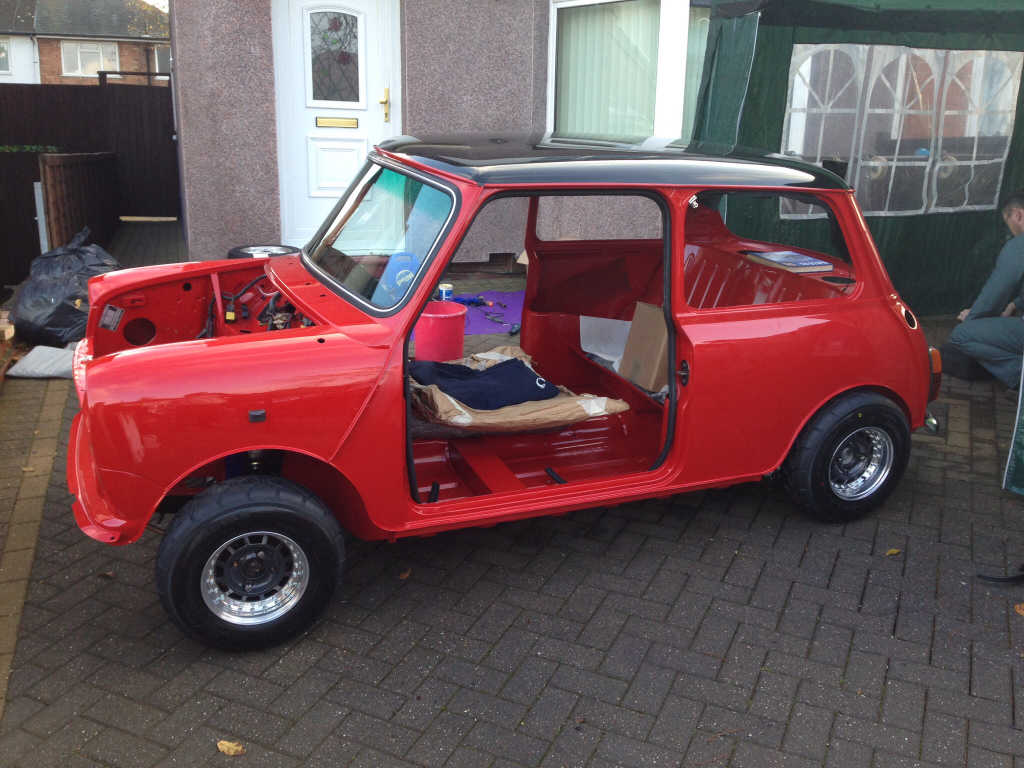
Took the front wheel off and put it on the back of the drivers side as that's where it'll be staying -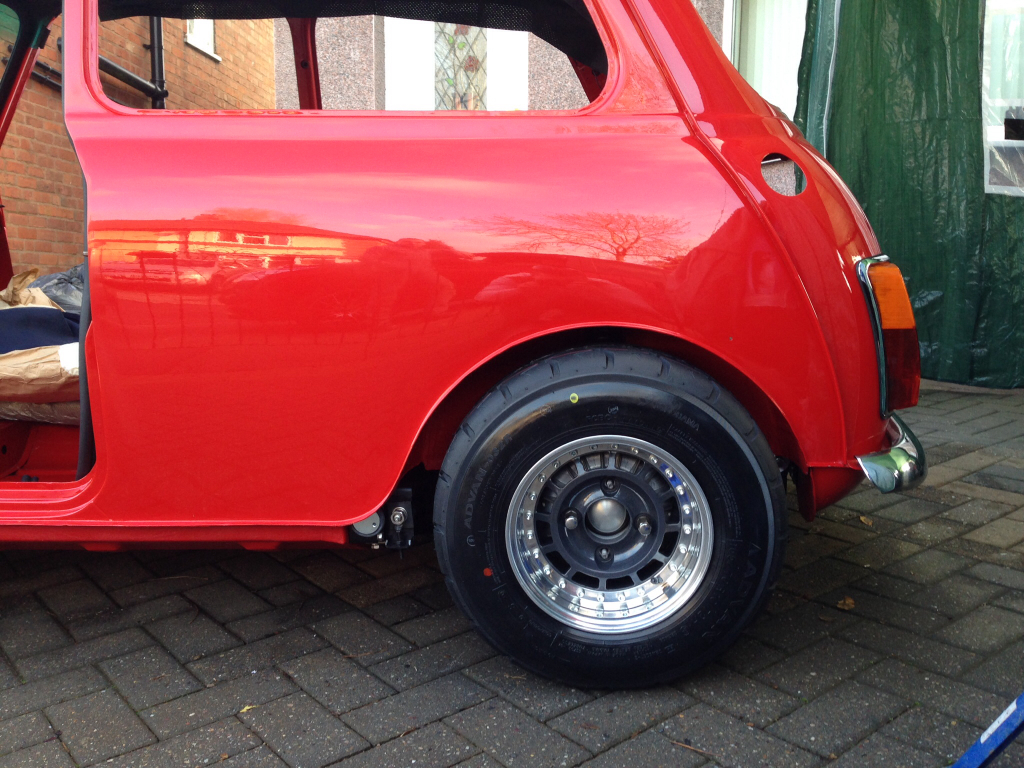
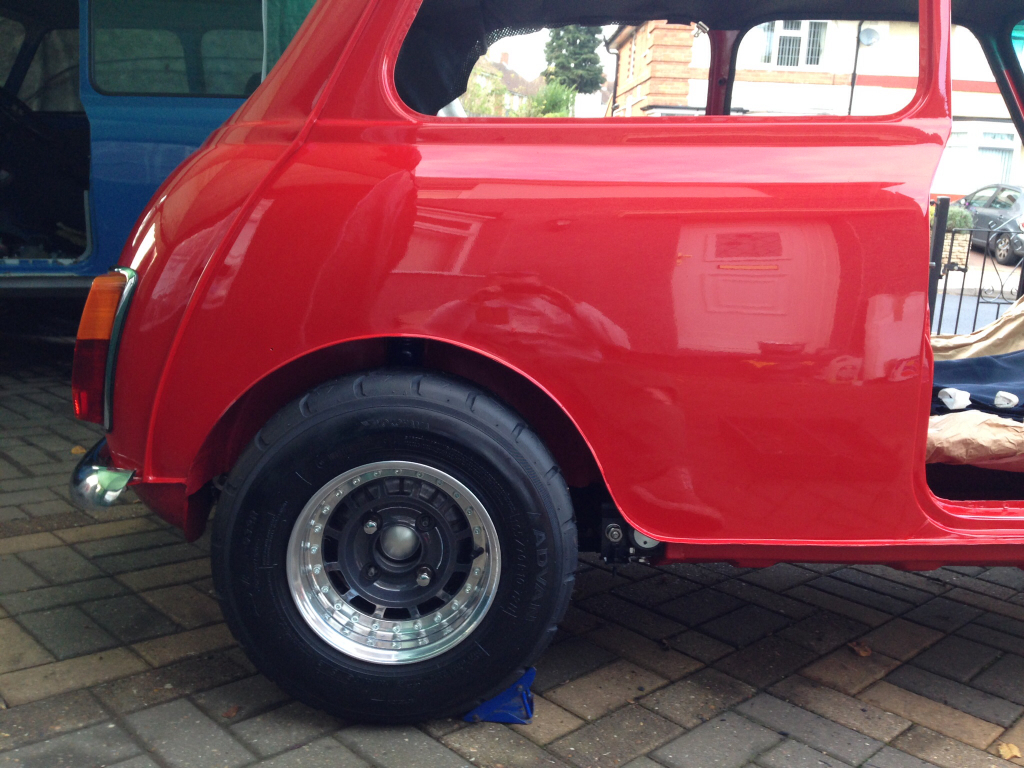
Tyre poke -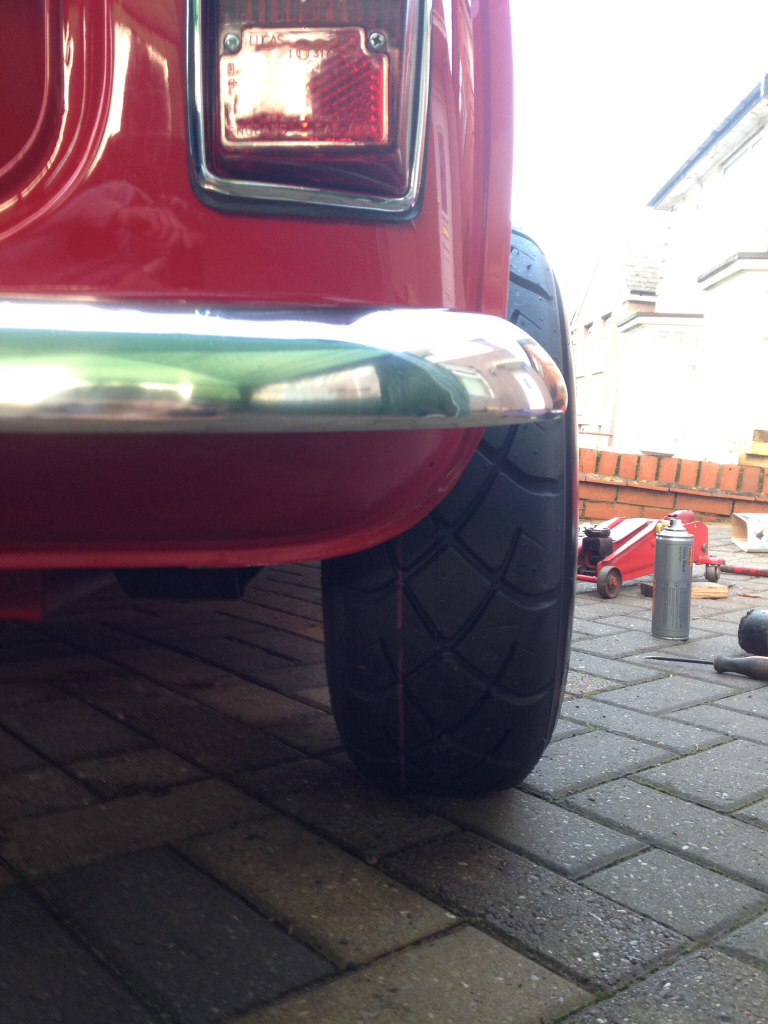
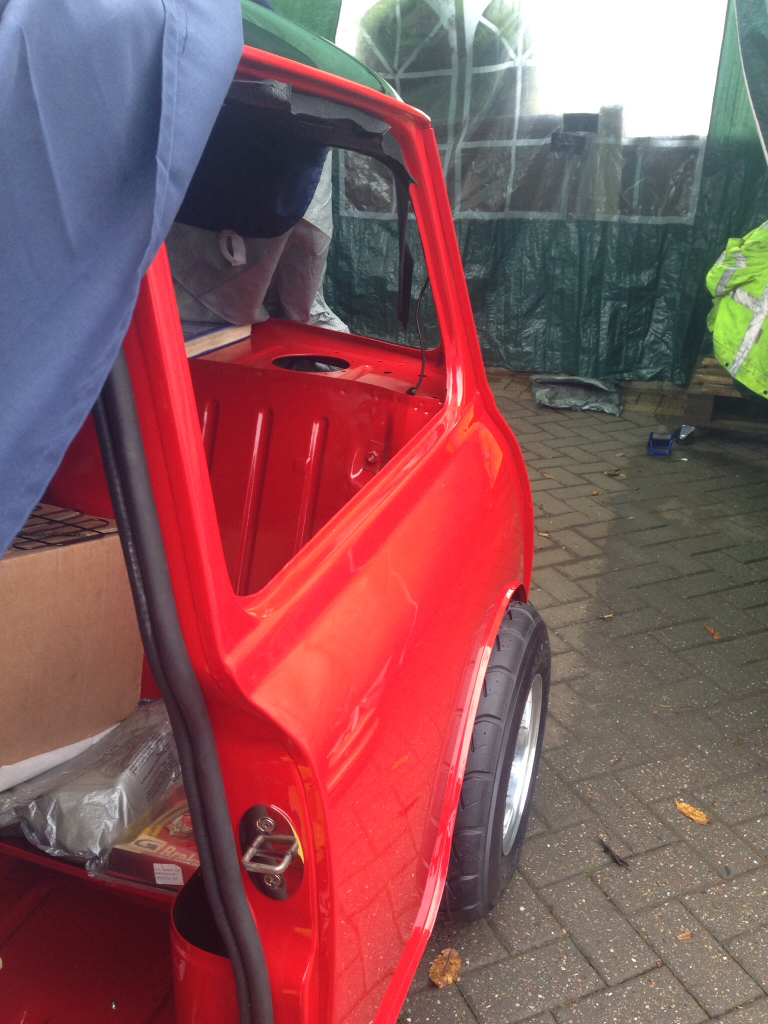
I absolutley adore these wheels, they look really retro and give a chunky look to the car, definitely worth the money and effort !
That's all for today guys, I'll be doing a bit throughout the week though as I need to get the engine ready to be fitted for next weekend !
11-15-2014
Update,
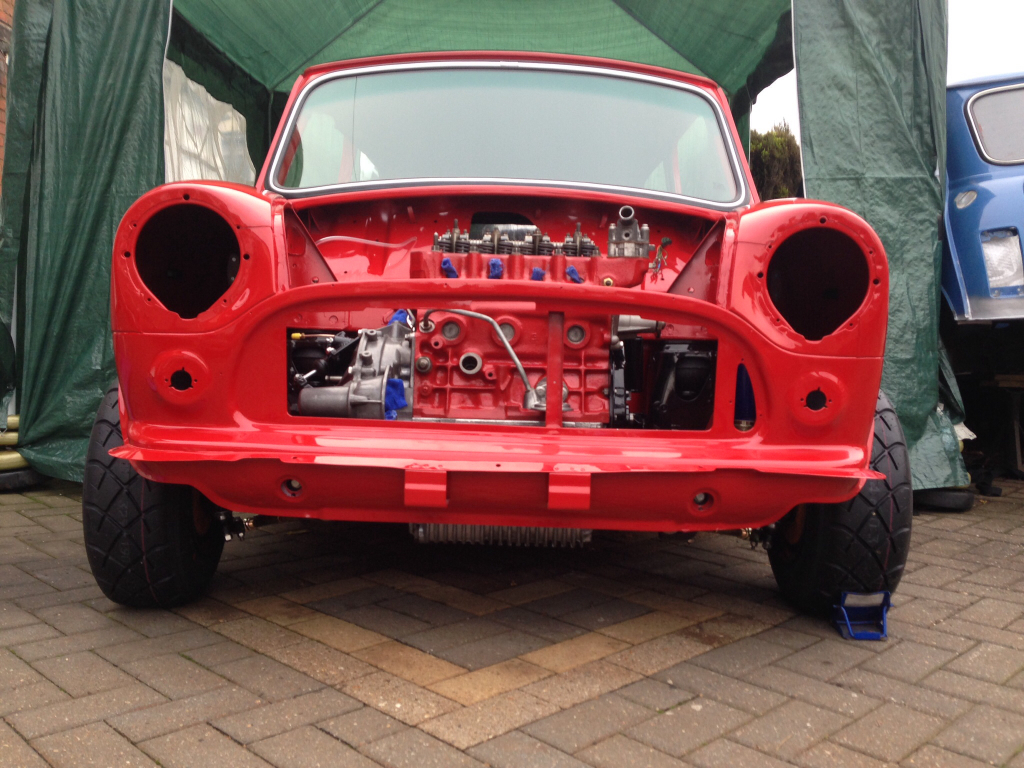
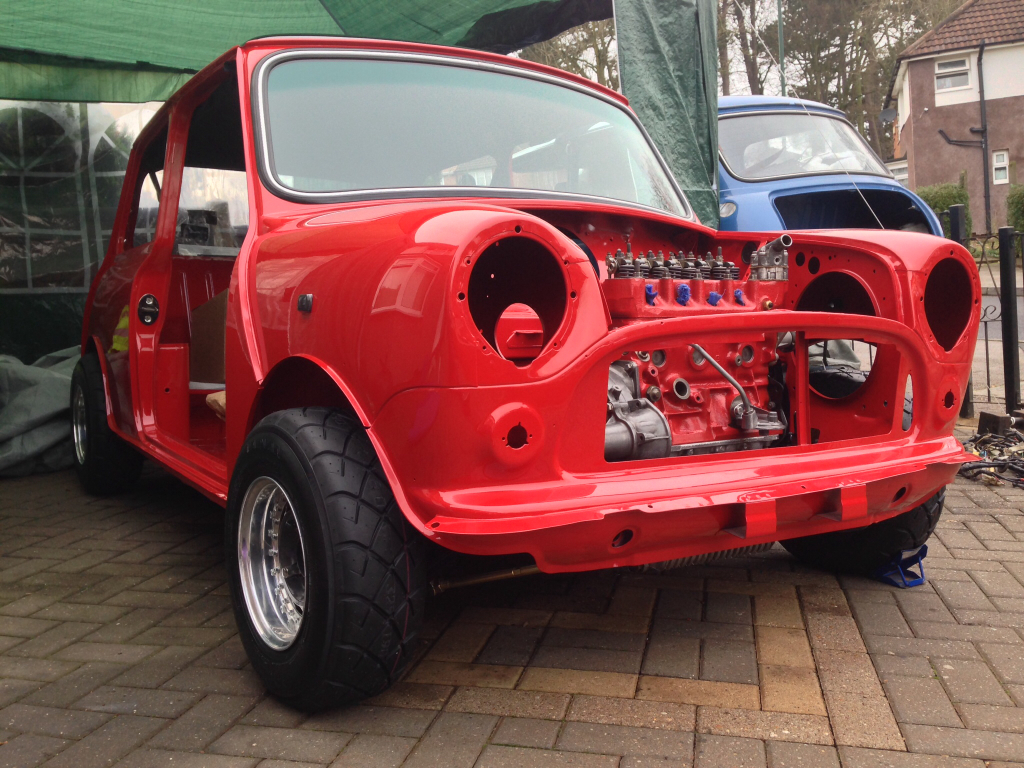
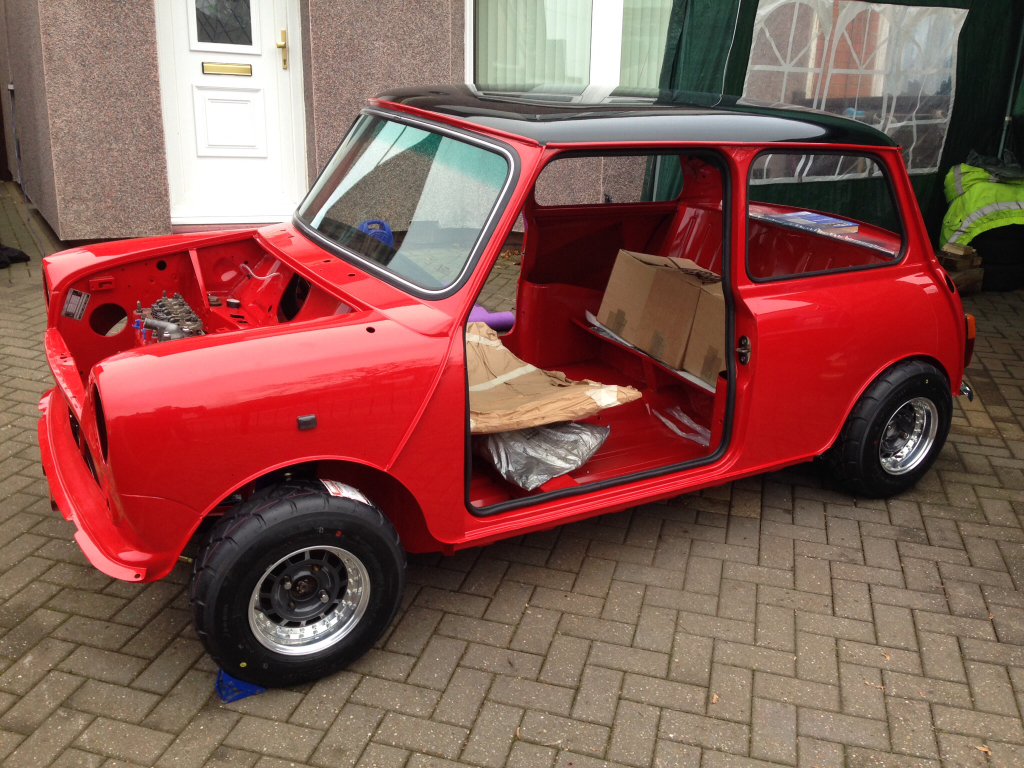
Yet another milestone has been reached today, she now has her engine back in and is rolling on all four split rims.
But first, here's what I got from Minispares on Friday -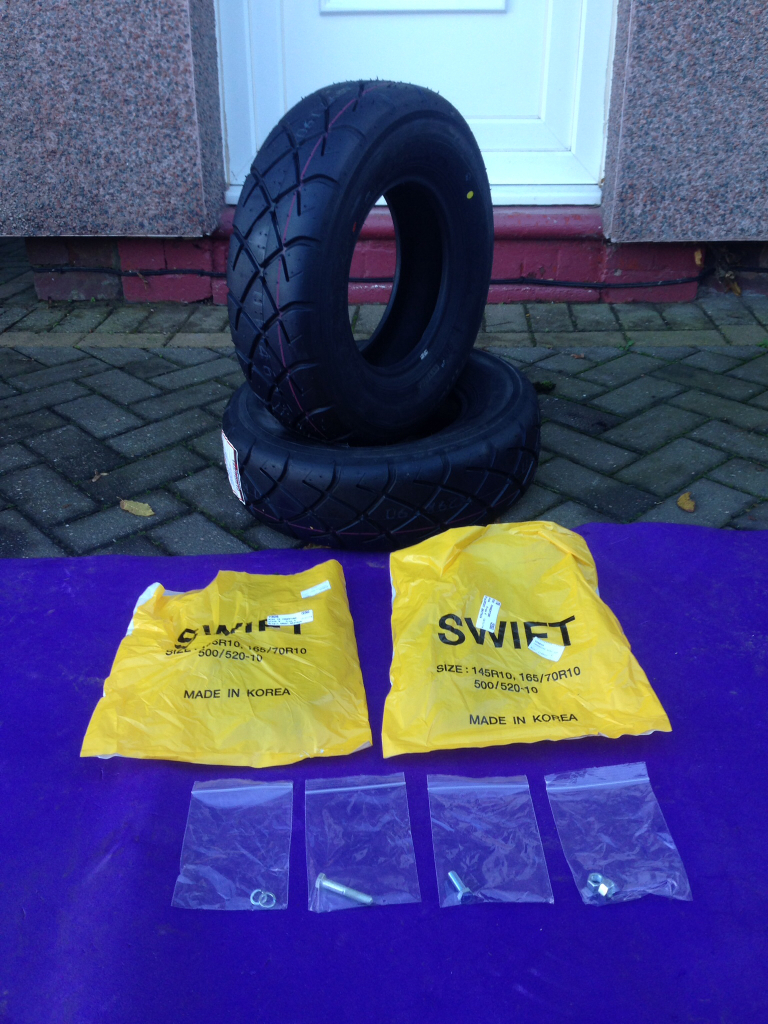
Now onto today, the first job was to get the other two wheels made up ready to go onto the car, so, here's the tyre and inner tube fitted to the back rim -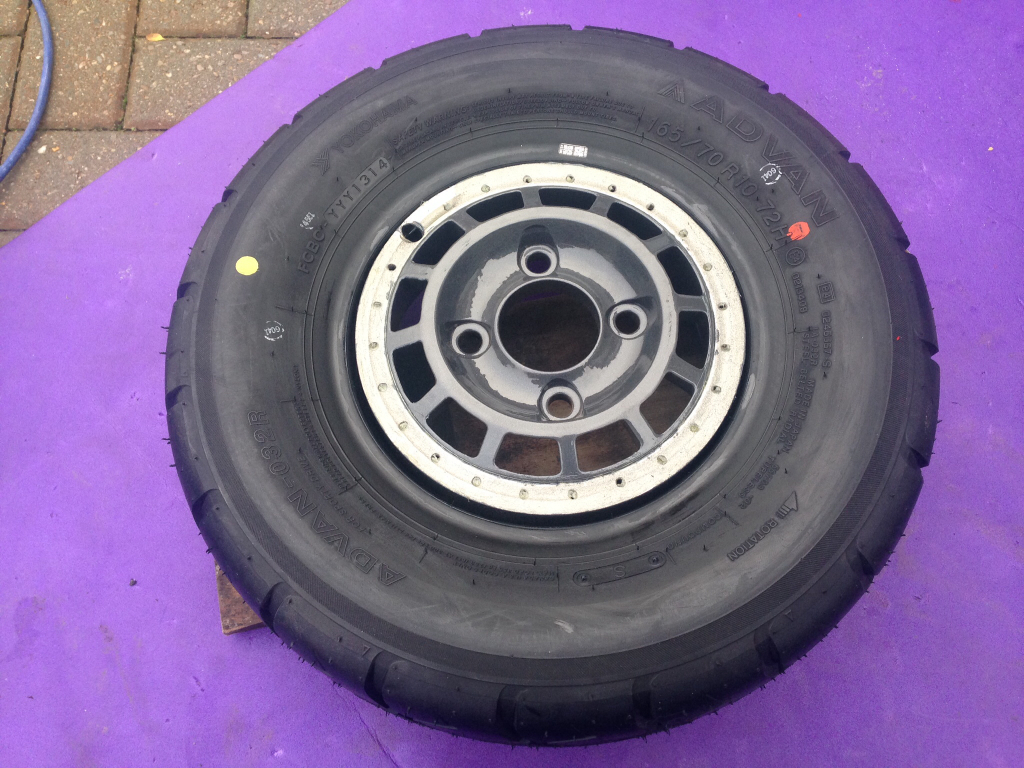
Front rim bolted on and starting to pump it up -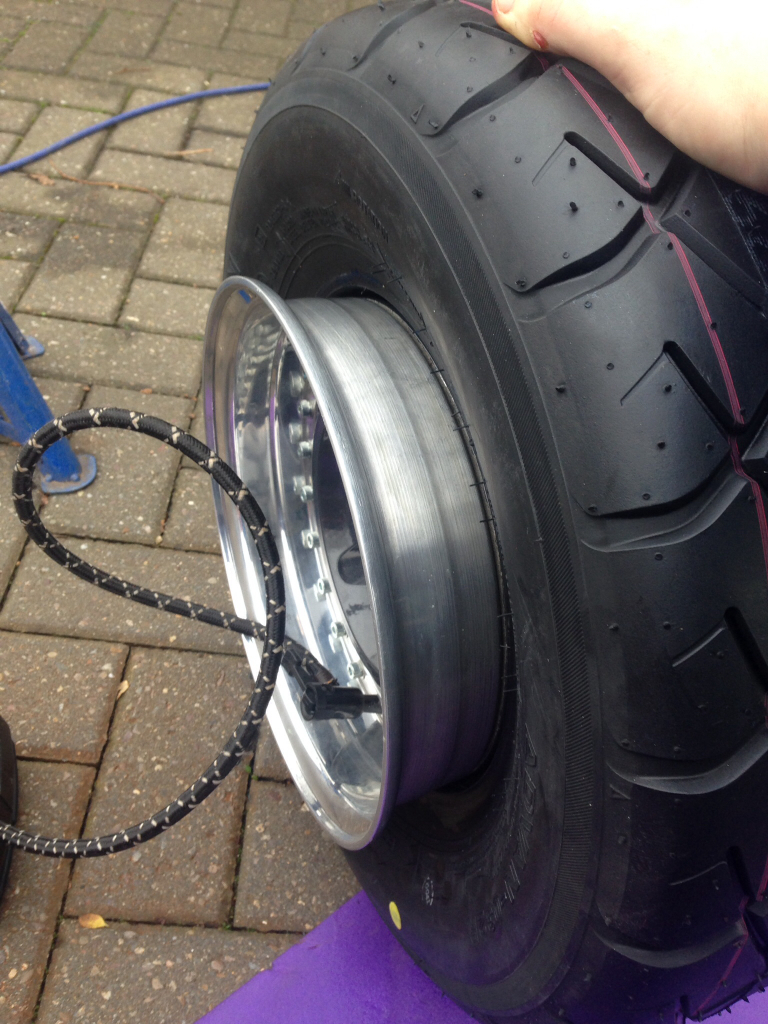
Do the same procedure for the other wheel and you end up with these -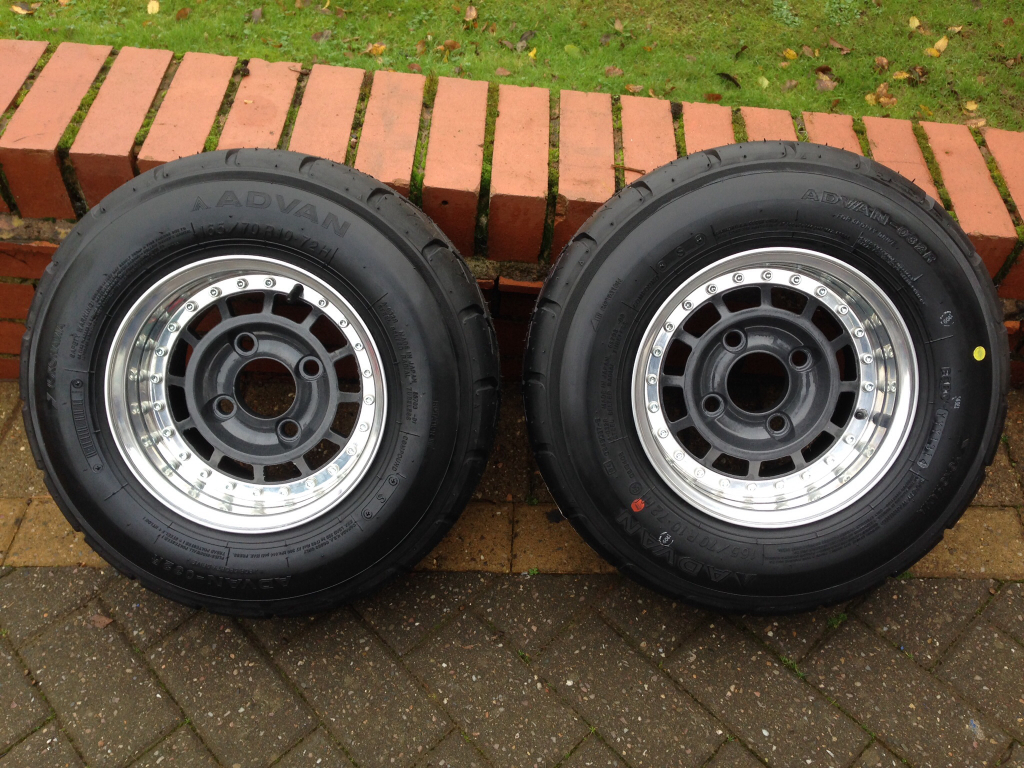
Happy with that we moved onto the engine, we made a pallet and attached some wheels to the bottom so we could move it out onto the drive, here it is ready to go in -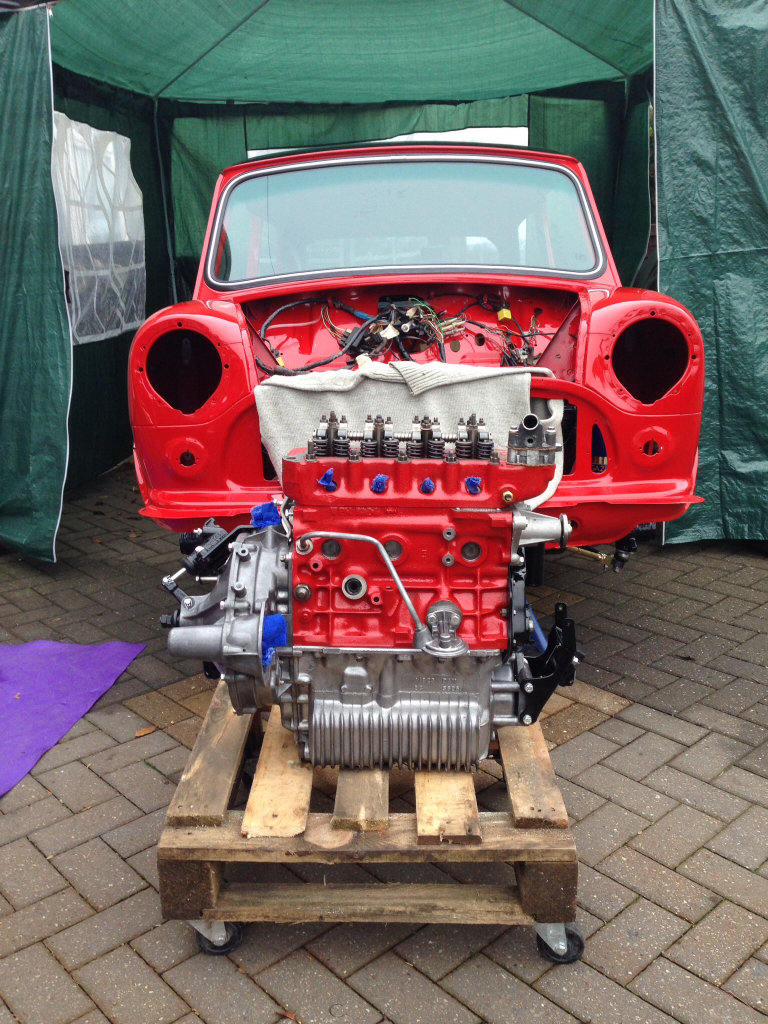
Here's the engine crane we hired for the day -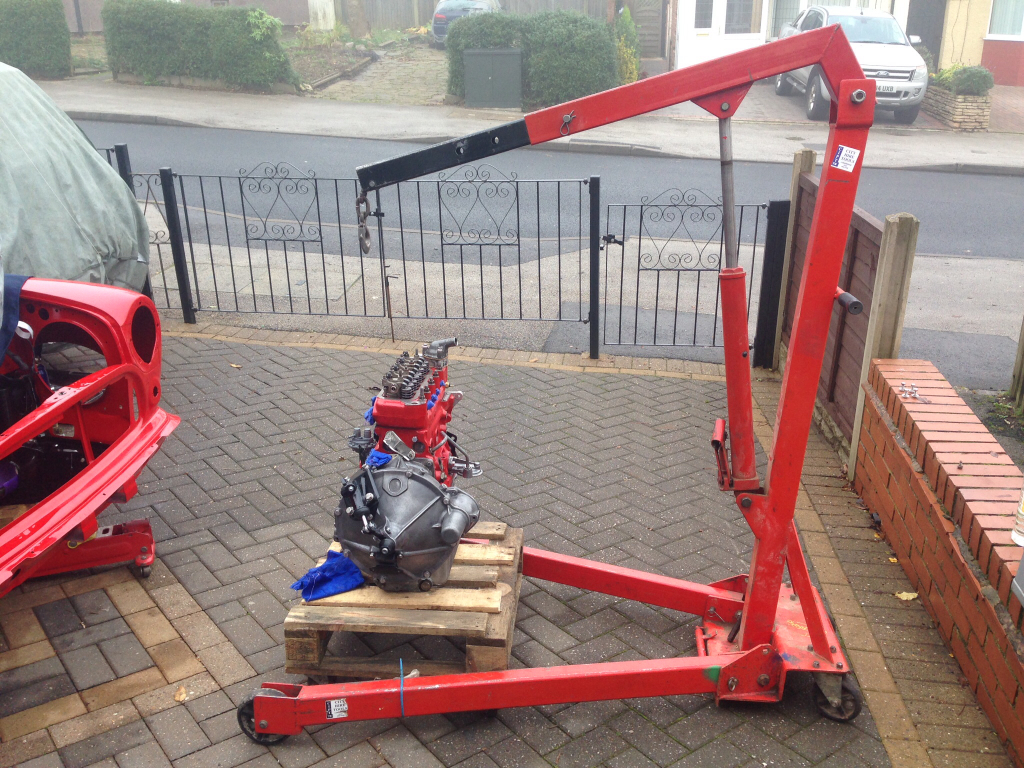
I did have a picture of the engine suspended but have lost it, so I'll have to skip to the engine in the car -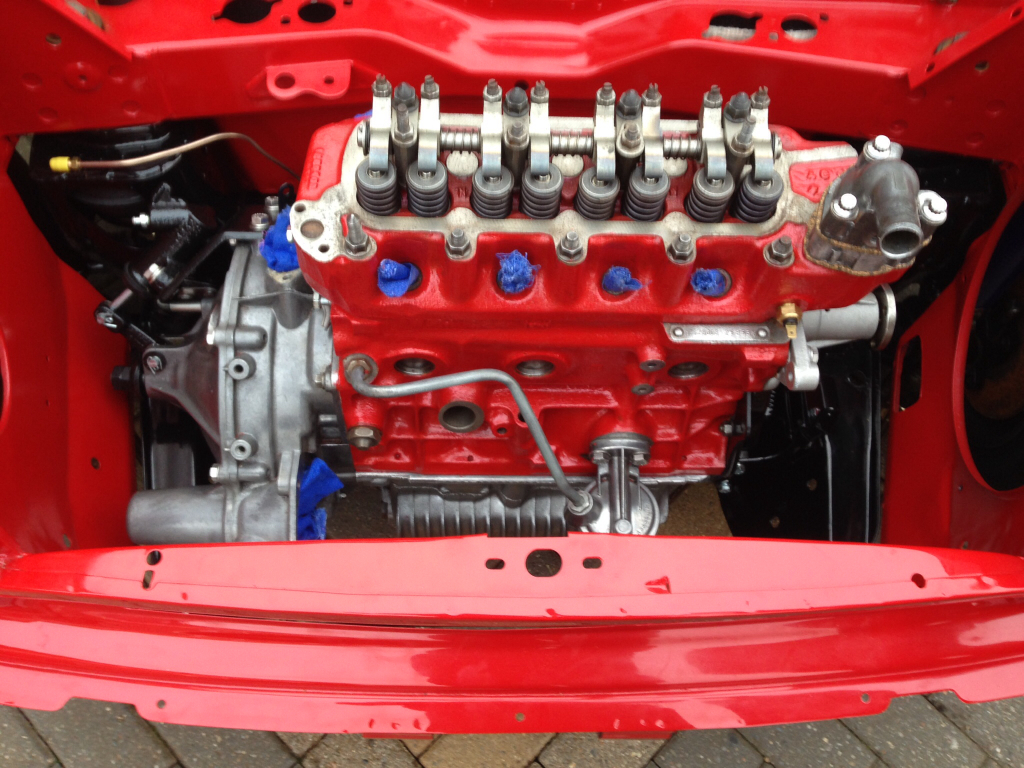
Then it was just a case of popping the drive shafts into the pot joints and putting her down onto the wheels. Here's a few pictures of how she's looking now -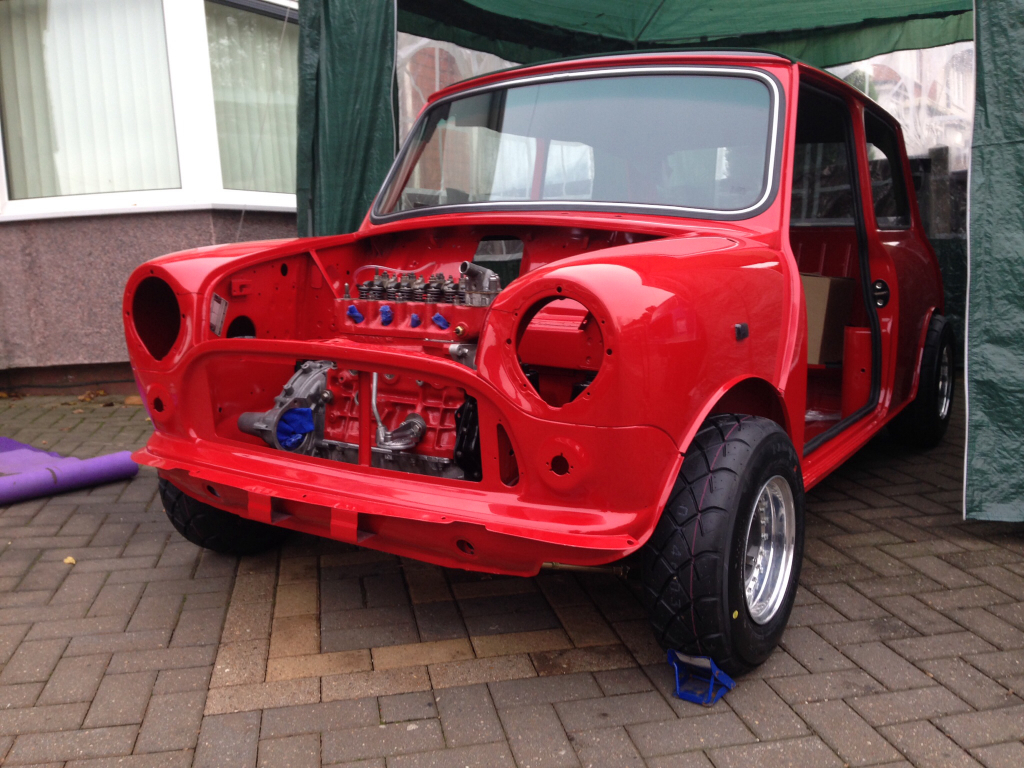
And then back into the gazebo she went -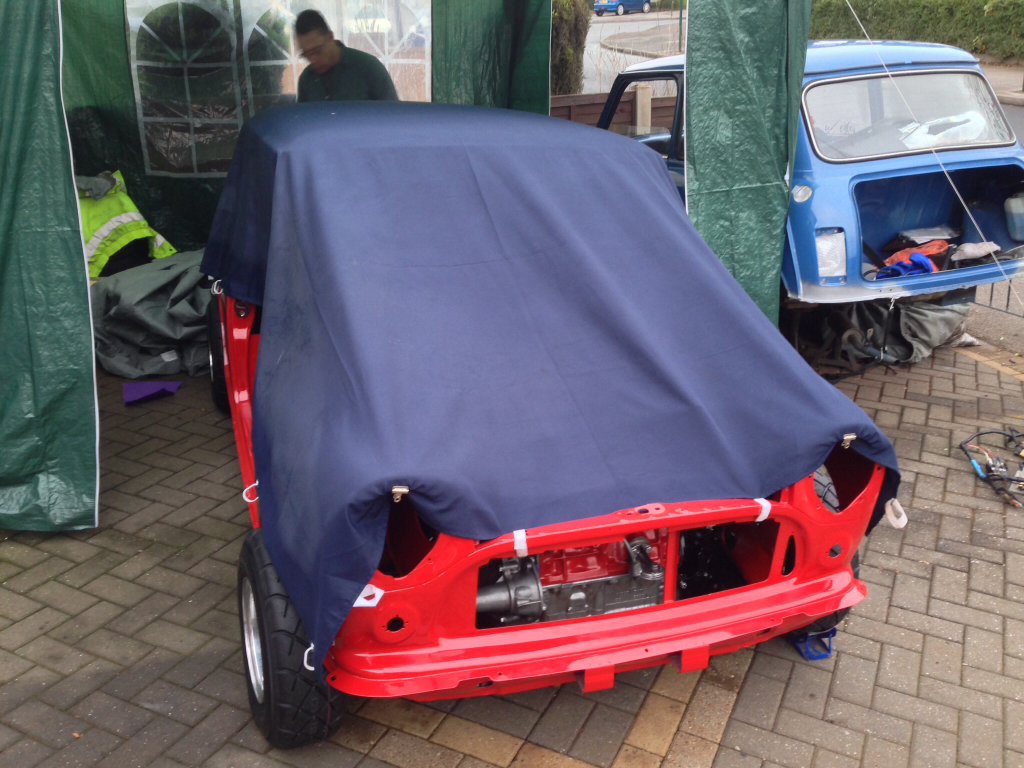
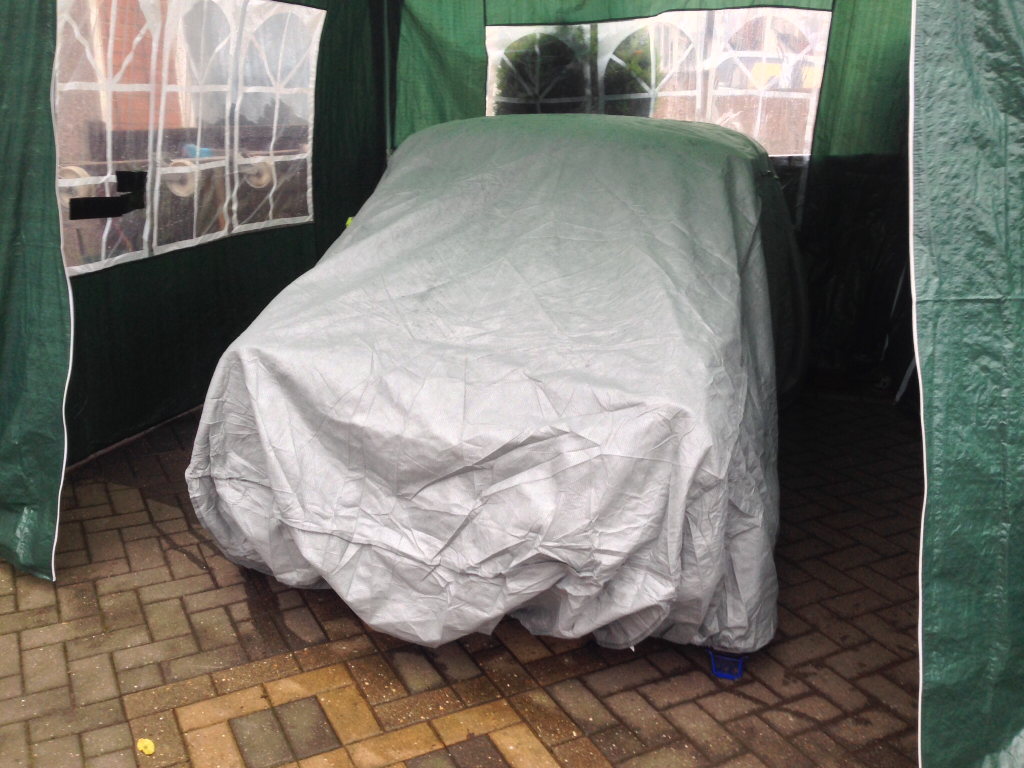
We're going to finish the headlining off tomorrow so some pictures of the that will follow !