You must be logged in to rate content!
8 minute(s) of a 358 minute read
9-13-2014
Update,
Went to the garage today, got some better pictures of the outside of the Mini in primer. Their in the process of flatting it back at the moment, it's also on axle stands ready for the stone chip to be applied underneath.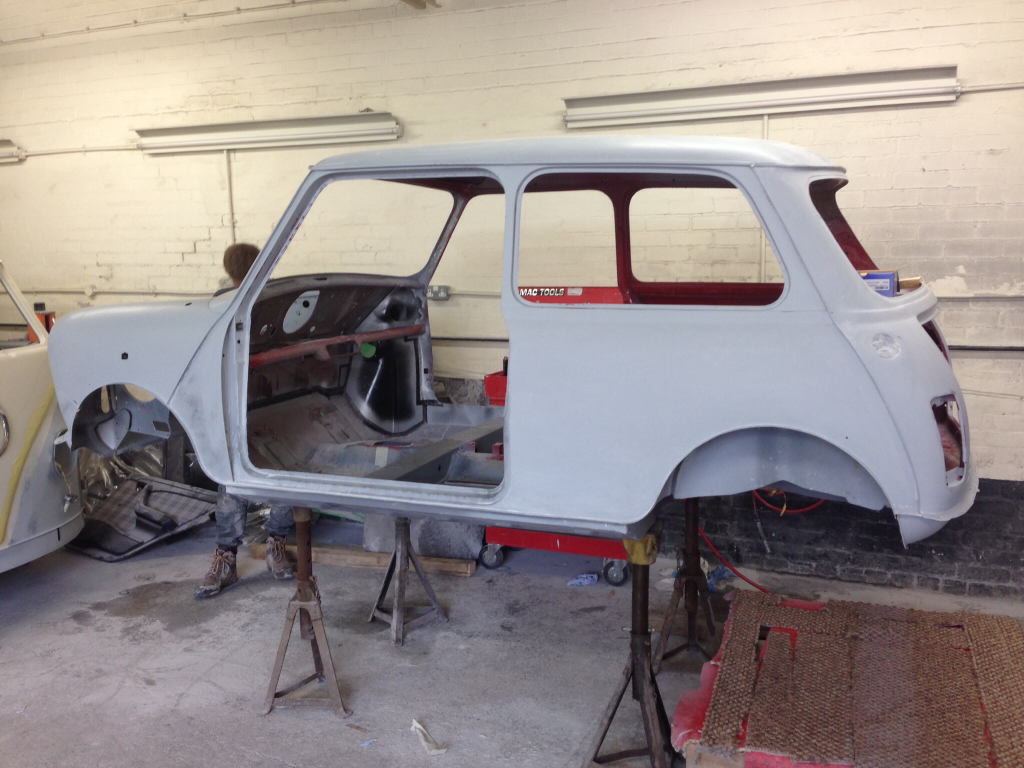
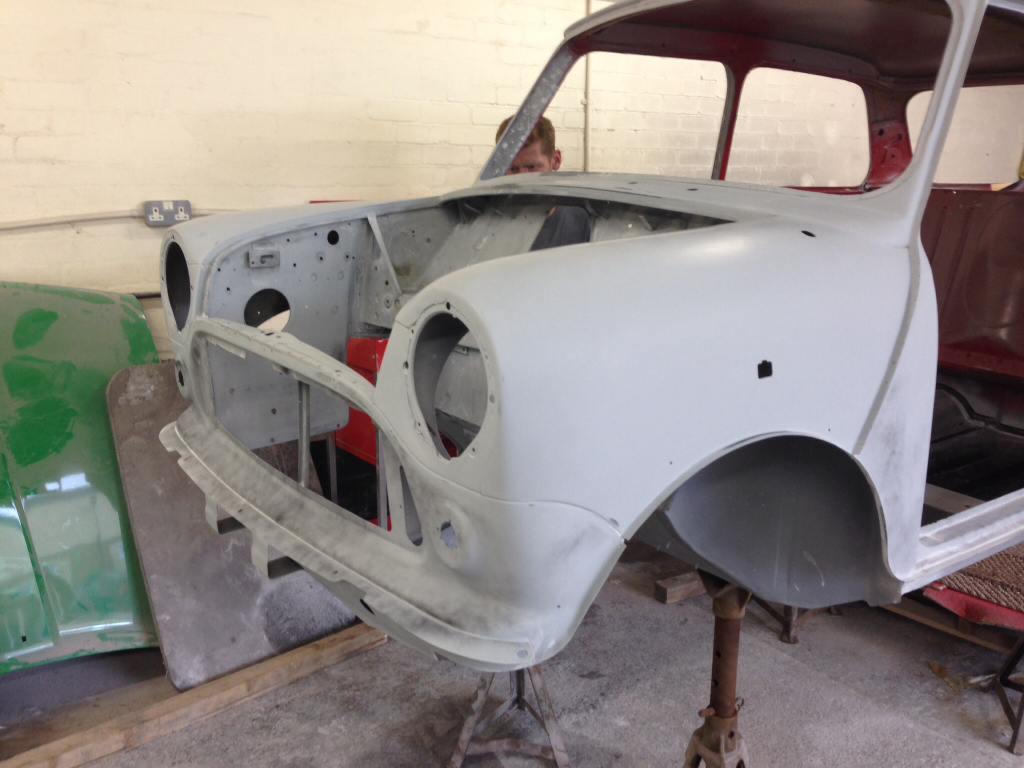
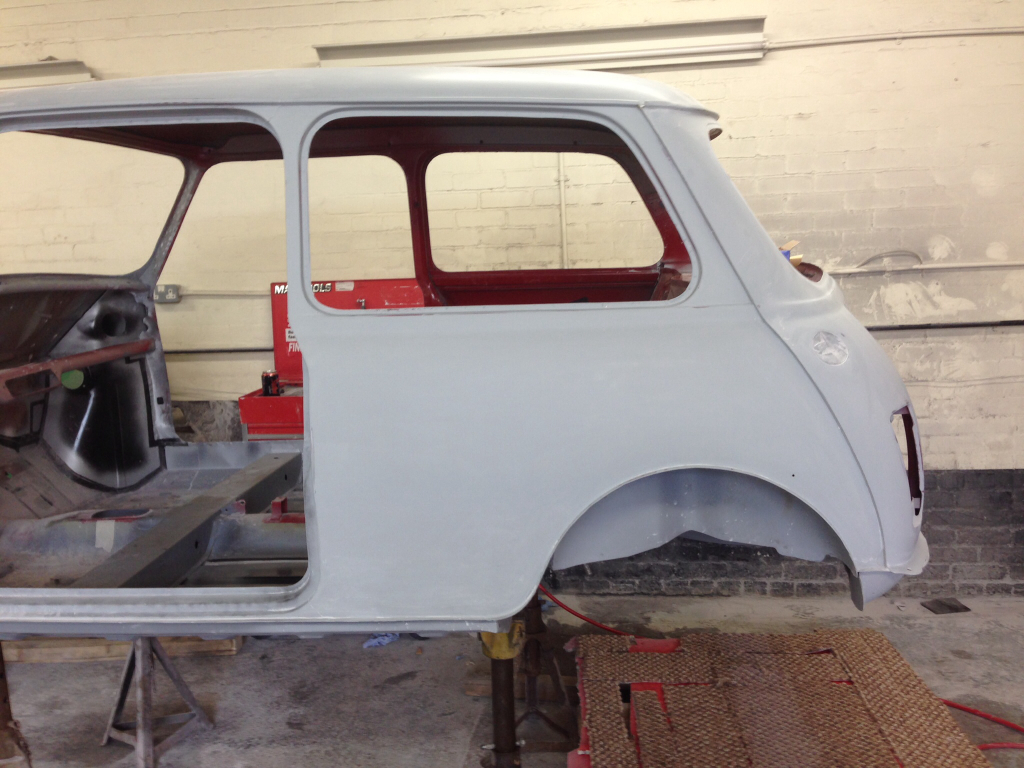
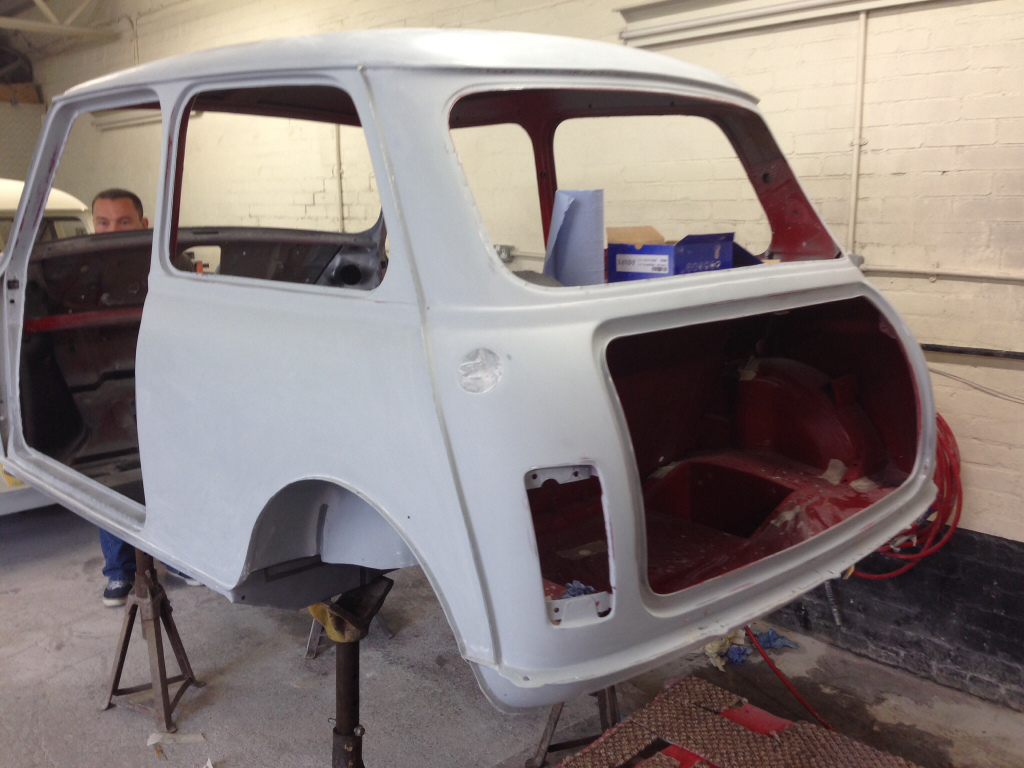
I had a few dents in the roof but they've repaired them really nice. The rear quarters have came out excellent aswell, very happy so far, hopefully should be painted soon !
9-14-2014
Update,
I've flatted back the servo box and gave it a couple of coats of gloss black today, I think it looks great, here's a few pictures.
Flatted back the primer with some wet & dry -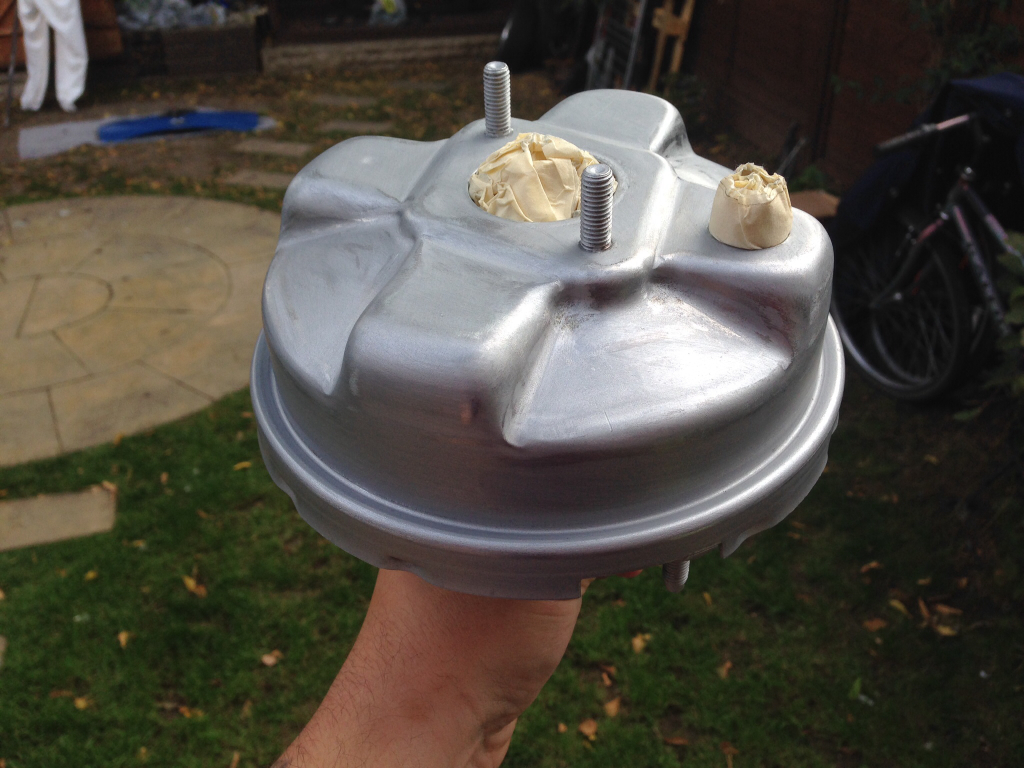
Hung up and painted -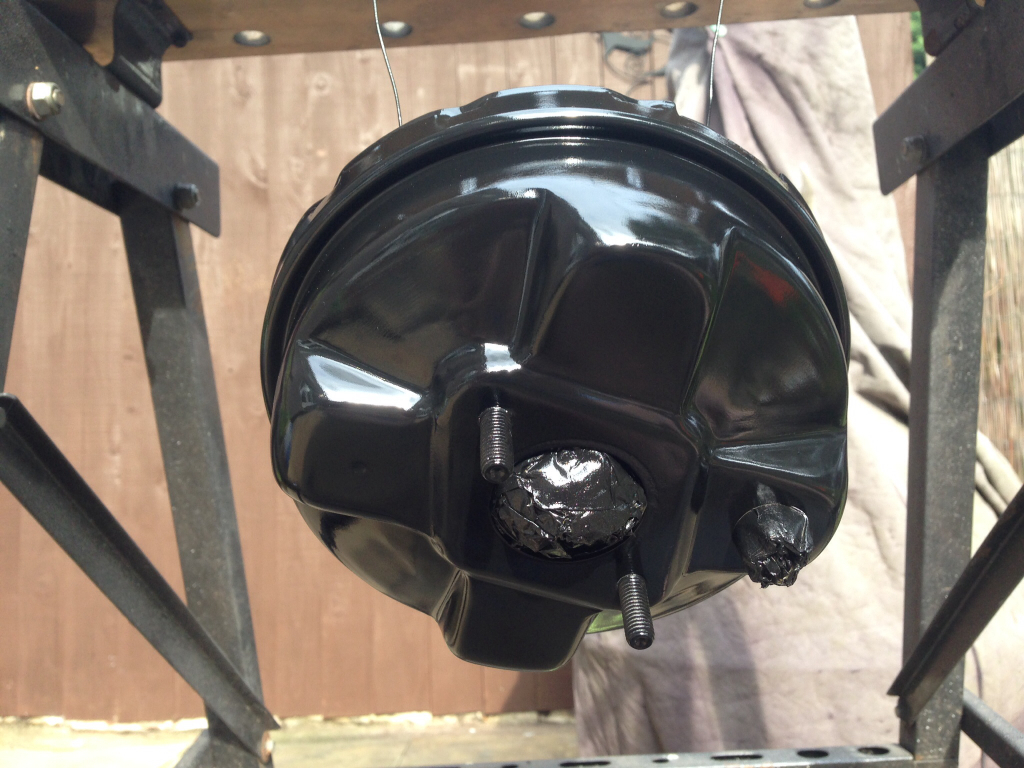
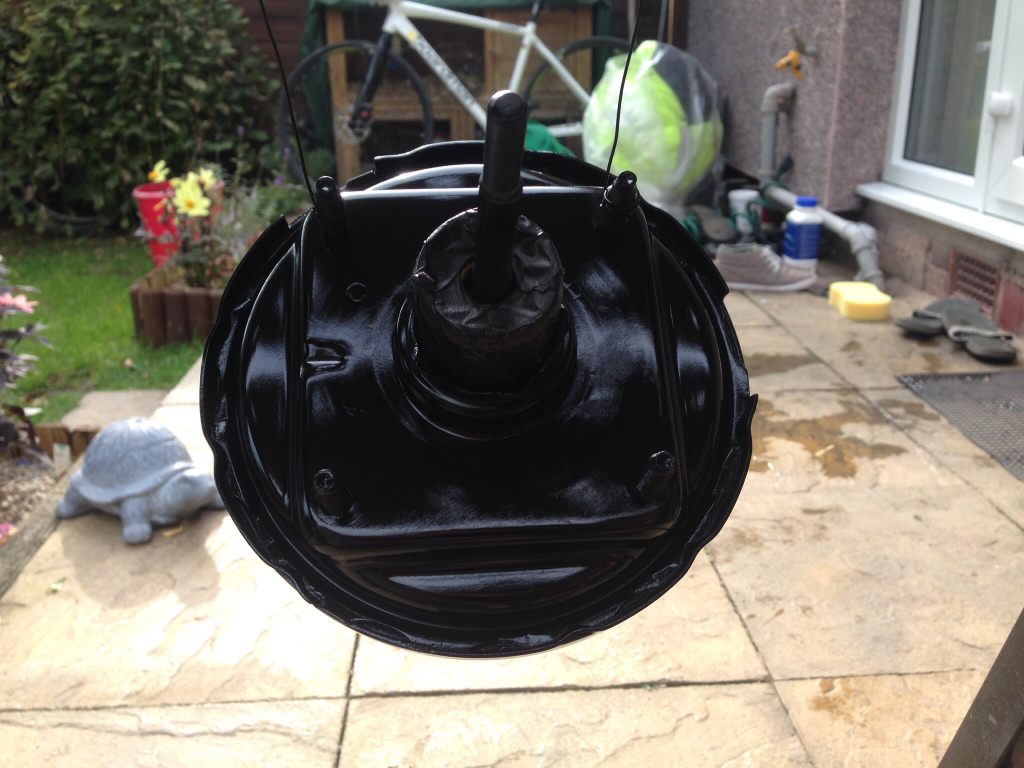
Left that to bake in the sun for a few hours and then started to build it back up, rubber gaiter and bung put back in place -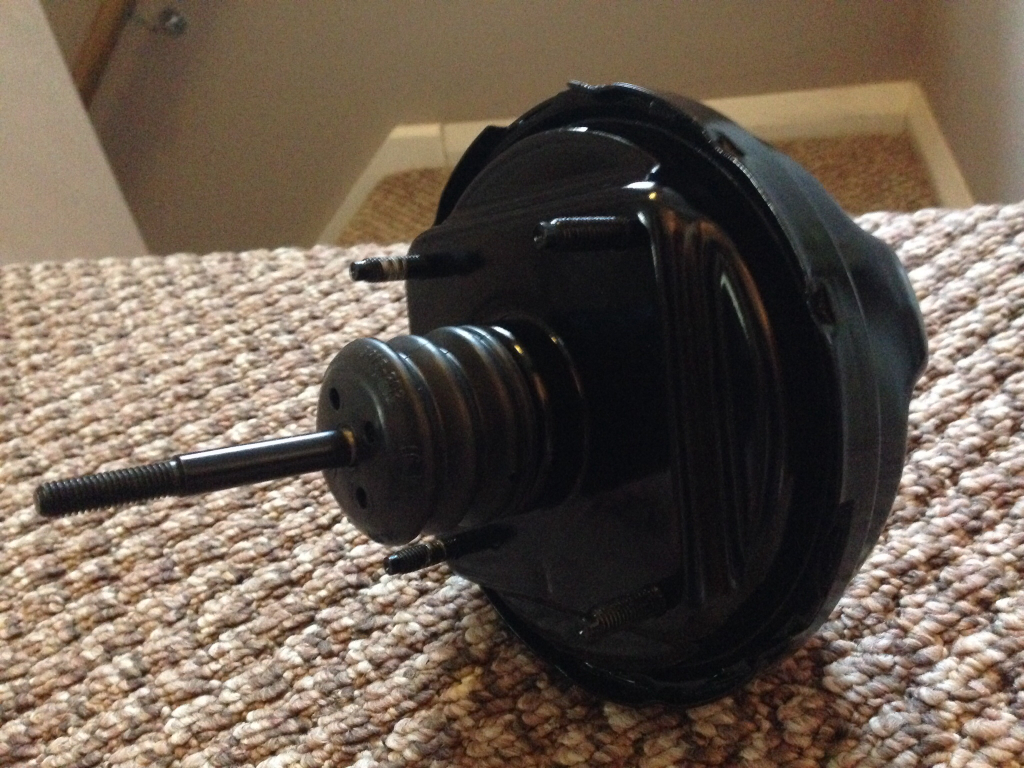
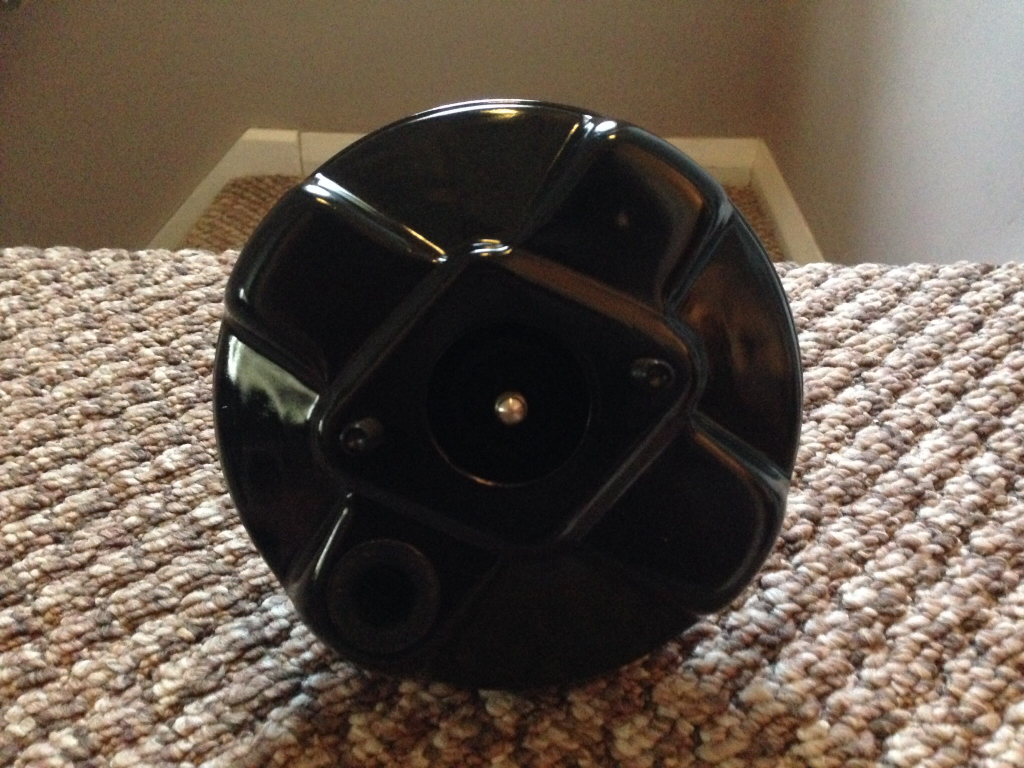
Fitted the reservoir back onto the master cylinder (not easy, a lot harder than it looks) and put the new cap on -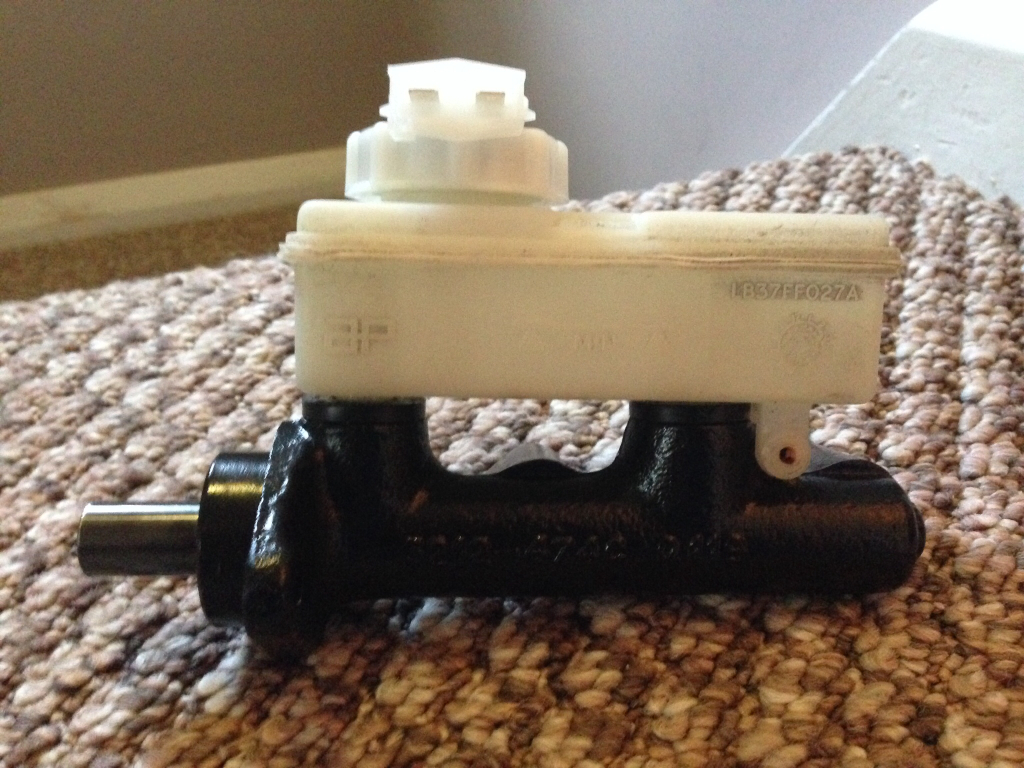
Then I fitted the master cylinder to the servo, and then fitted that assembly to the frame I had powder coated a couple of weeks ago -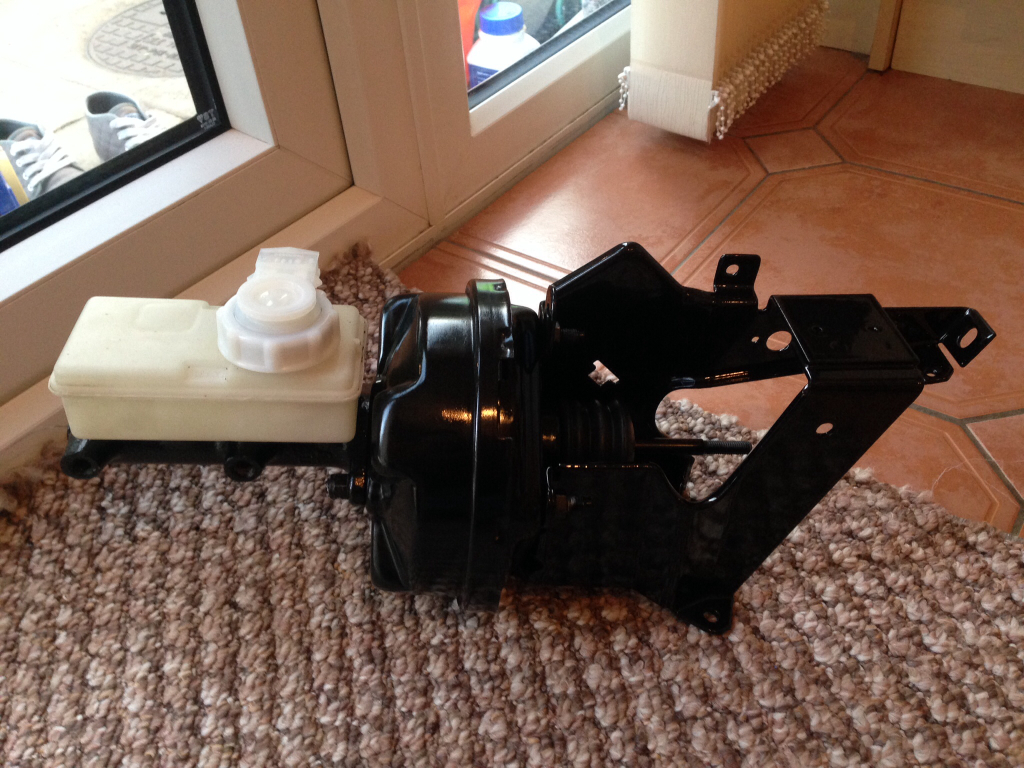
Still got a few more things to bolt to it, but that can be done tomorrow. Very happy with how that's came out !
Not a big update, but an update all the same
9-15-2014
Update,
I've almost finished off rebuilding the servo unit, I've installed the plunger mechanism and cleaned up and re-fitted the vacuum pipe.
Here's a couple of pictures -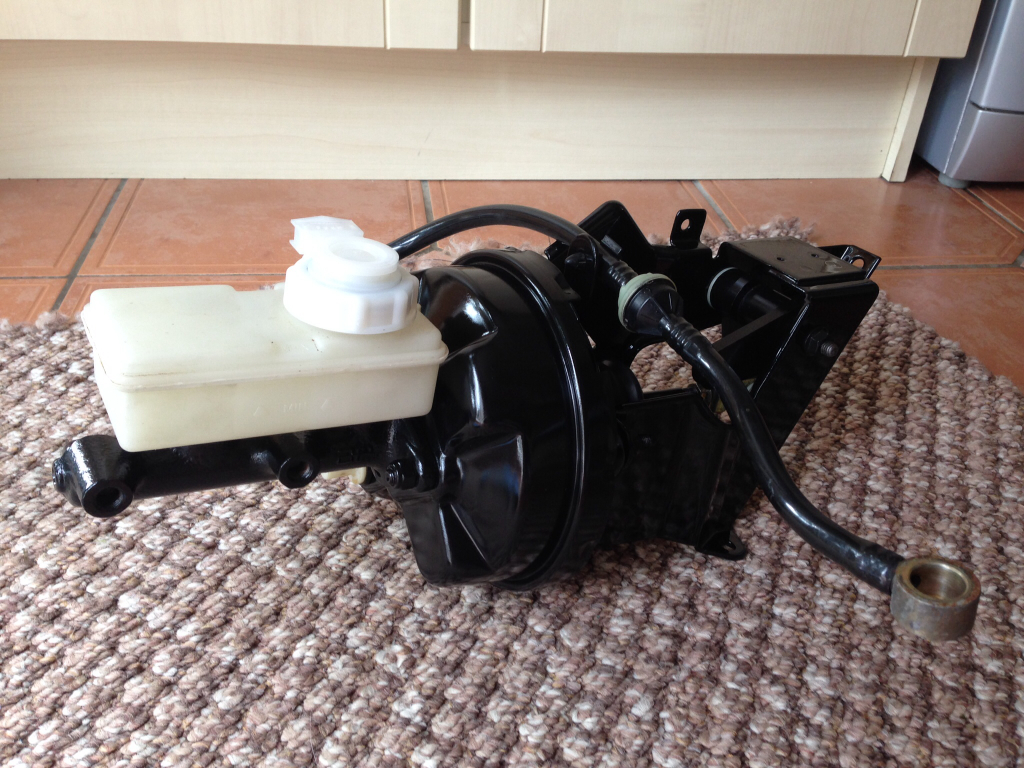
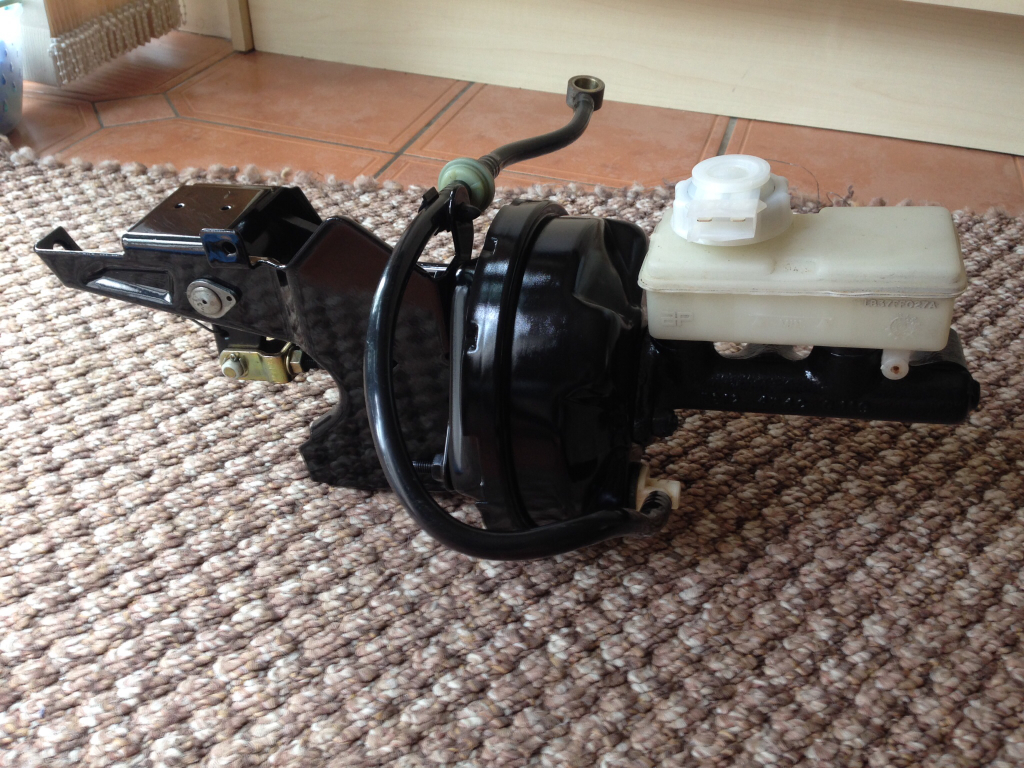
Just got to replace the roll pin that holds the reservoir to the master cylinder with a new one, and that's that finished and ready to be bolted back to the Mini !
I also purchased some MK3 thick frame opening rear quarter windows recently, I received them today, here's a picture -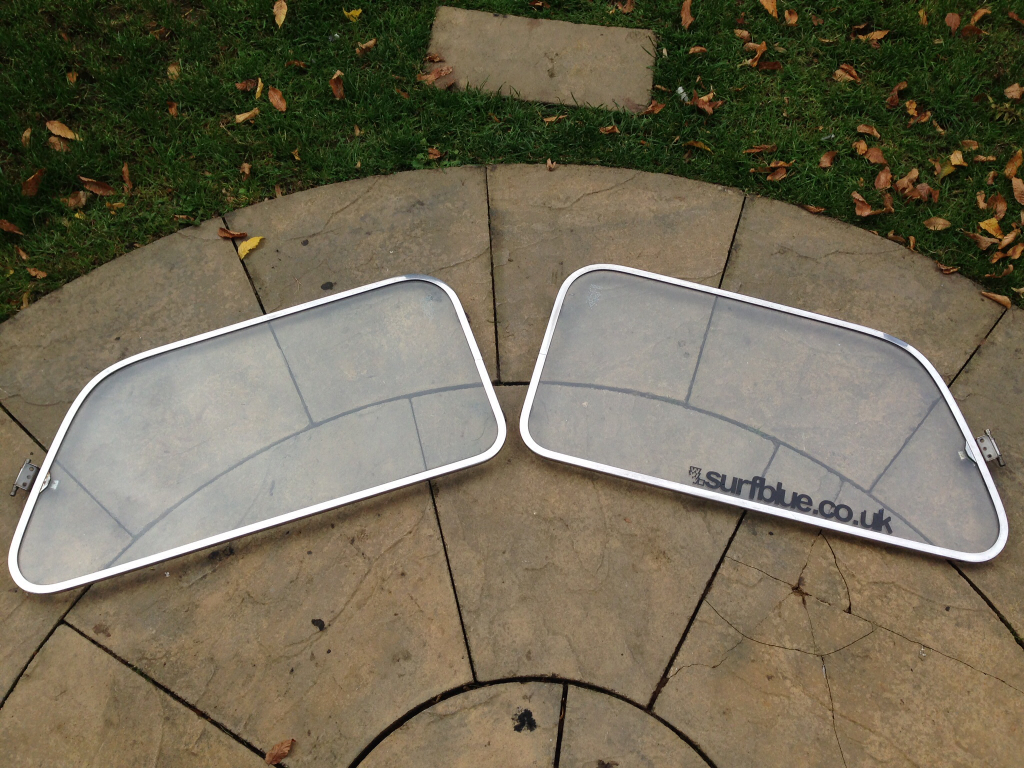
Obviously the sticker will be coming off, and I'll polish up the frames and also have them tinted along with the rest of my glass. They feel a lot better quality than the later type thin frame ones.
9-19-2014
Update,
We have received some pictures of progress from the body shop today, the underside has now been stone chipped, and has also received the top coat of paint.
Here's a few pictures -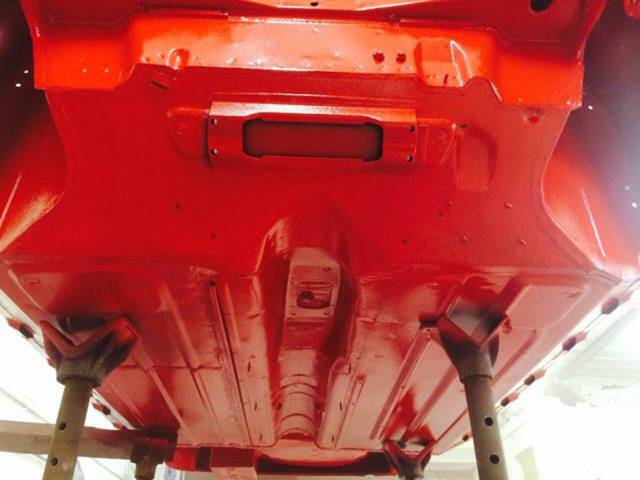
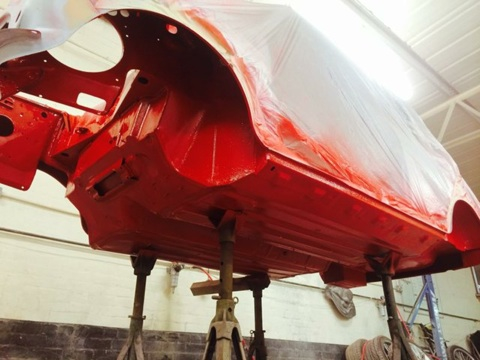
Not the greatest pictures, I'll get some better ones when we go down there tomorrow.
It's so nice to see our hard work paying off, it really does look fantastic !
I also went down to Minispares today to pick up a few bits. I got the adjustable camber kit, which includes the bottom arms, tie rod arms, rear camber brackets and the correct rubber bushes. It's a really smart bit of kit -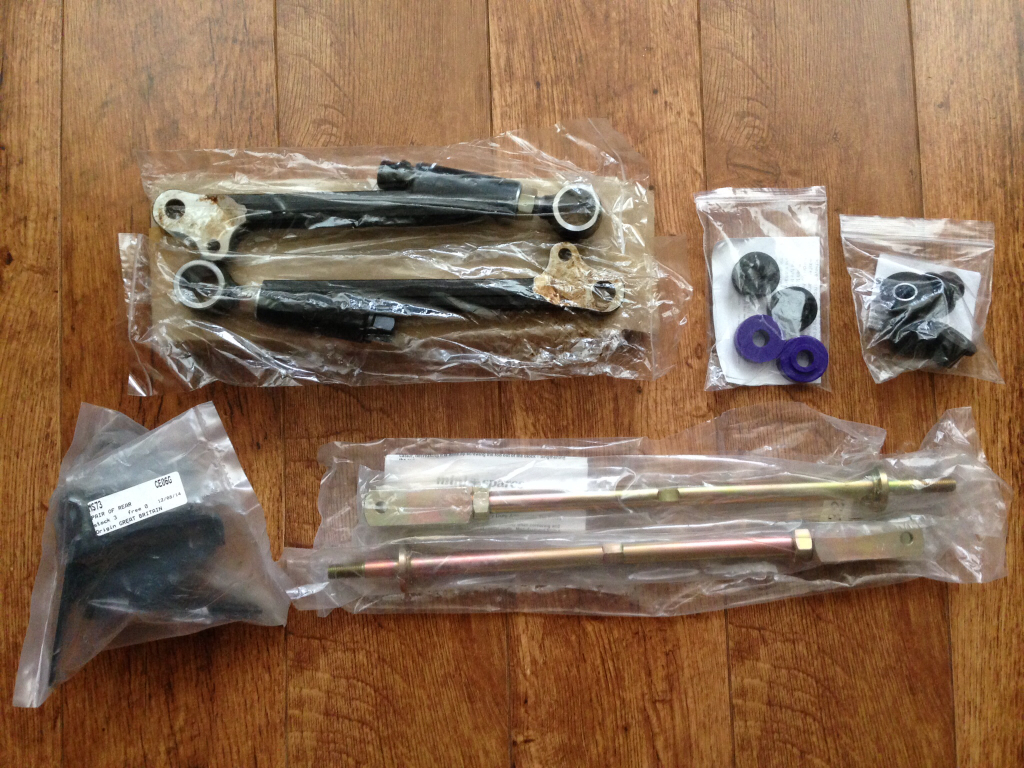
Picked up a brake master cylinder rebuild kit, the gasket to go with it and a new clutch push rod arm for the slave cylinder -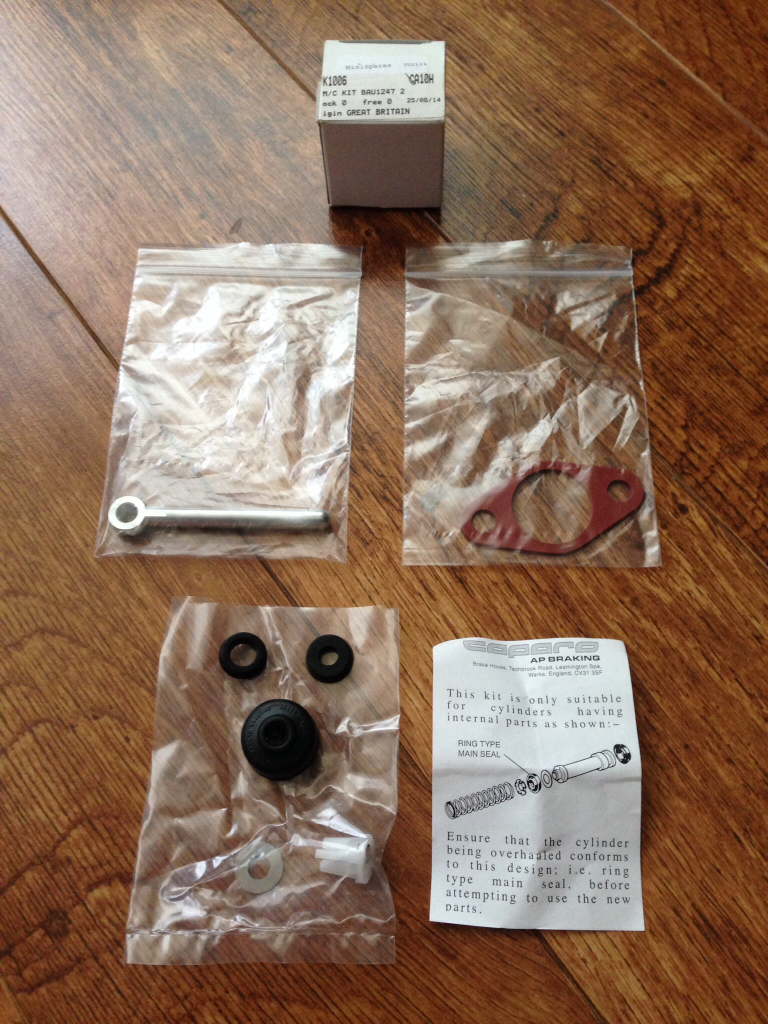
And finally I got some burr walnut door capping's, just the door furniture to get now -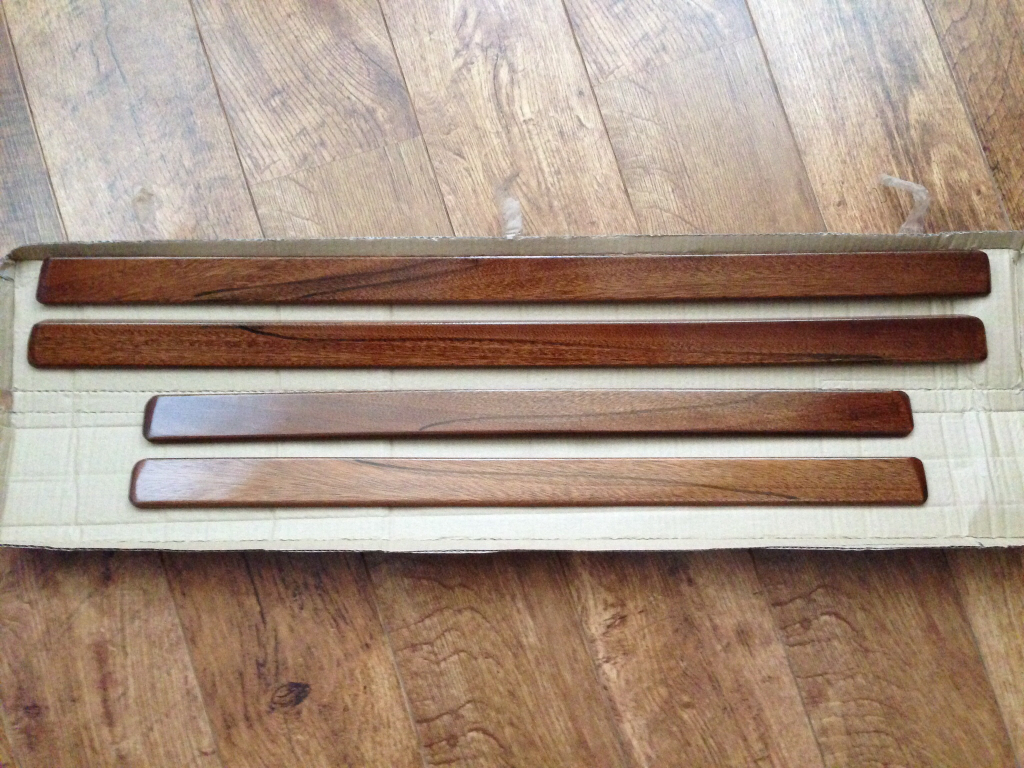
9-20-2014
Update,
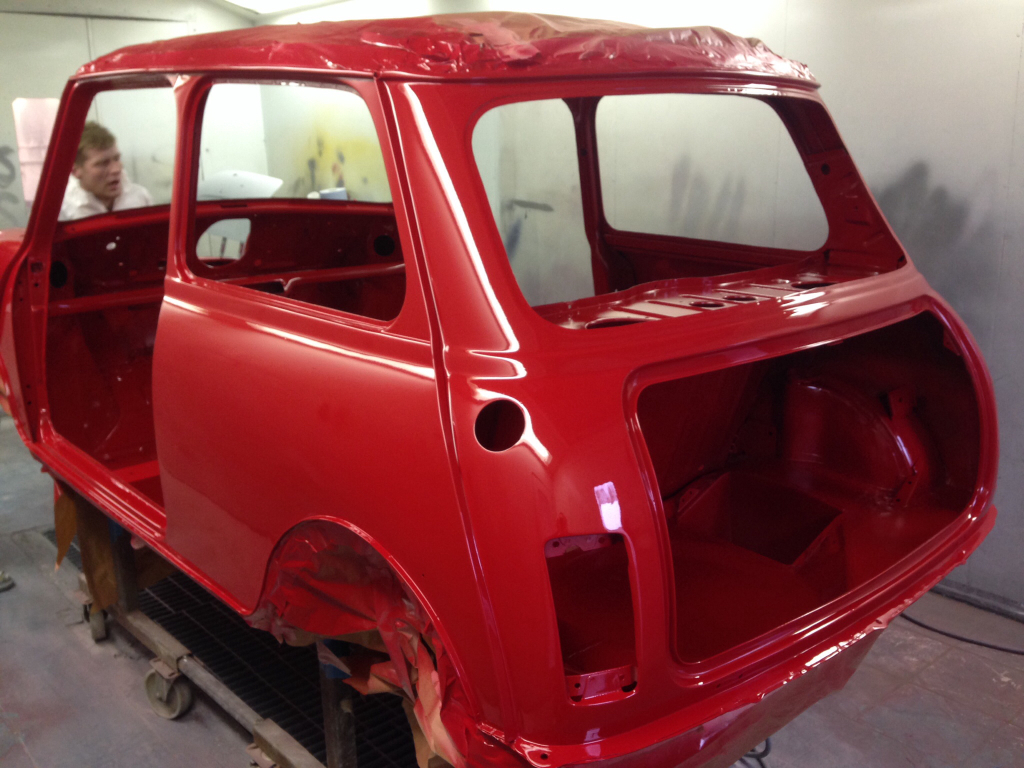
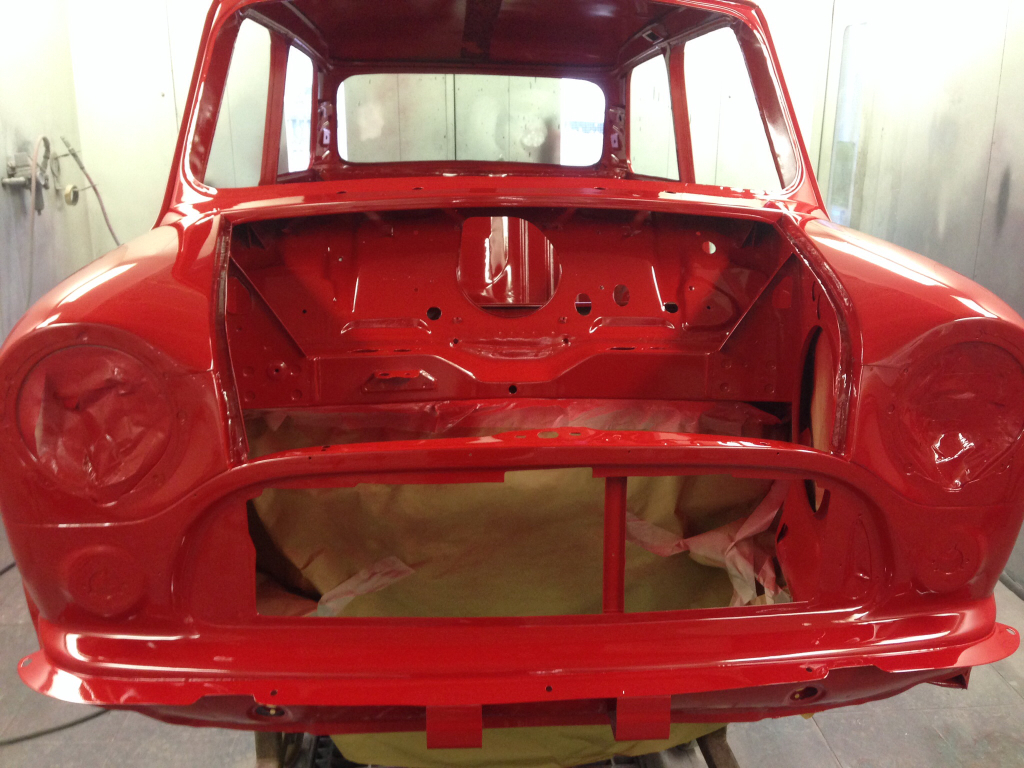
Another BIG milestone has been reached today, the Mini is now wearing her shiny new coat !
We got down there for around 2pm and ended up staying until gone 6pm watching them paint her. I've never seen a car being painted before so found it very interesting, there's definitly a knack to it !
Anyway, here she is up on the frame in the booth having the last few bits done before final paint -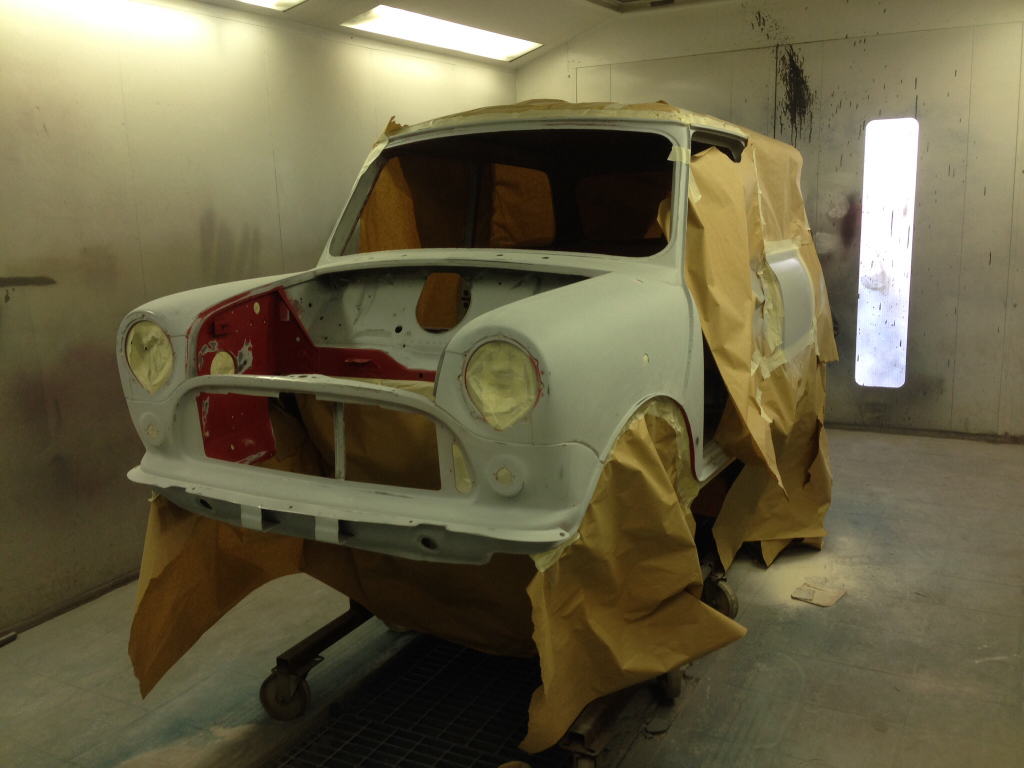
They used an air gun to remove all the dust from in and around the Mini, and then wiped the whole car over with panel wipe. Next they mixed up the paint and put a coat over the joins where the seam strips go on, like so -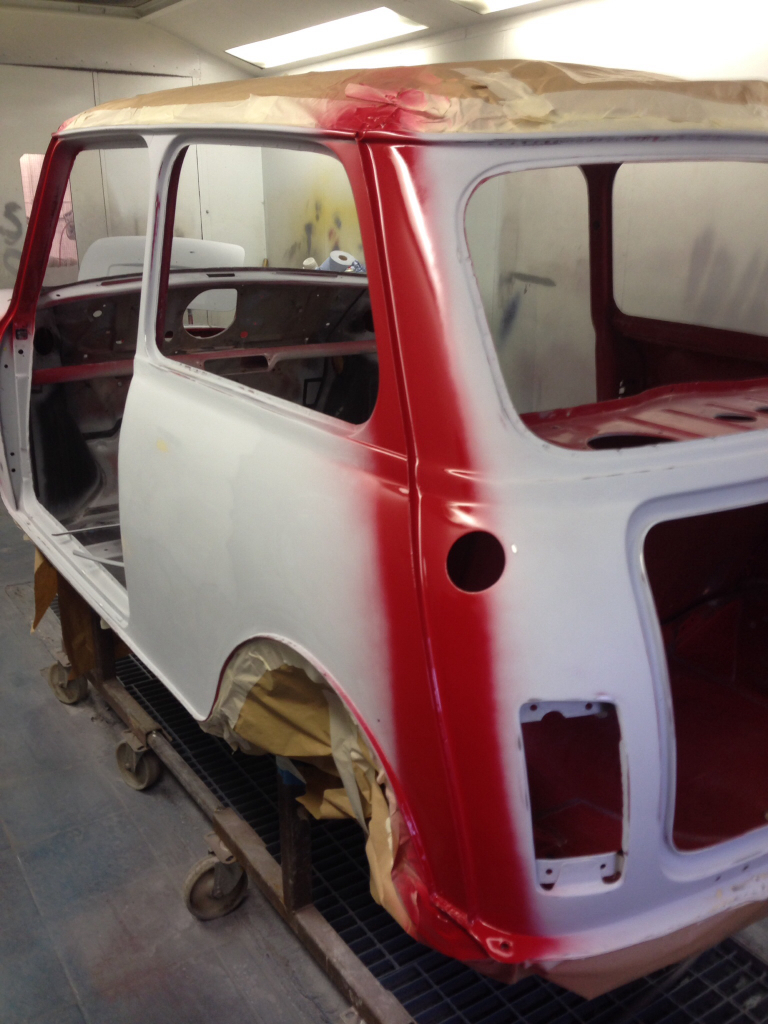
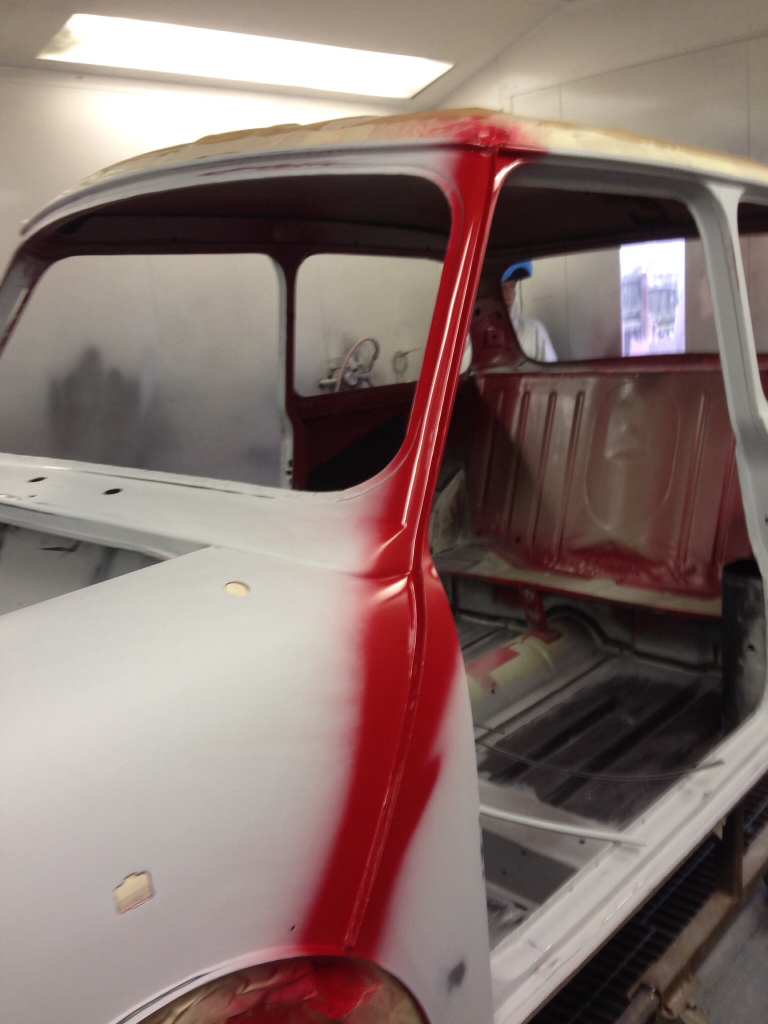
Seam strips being clipped into place -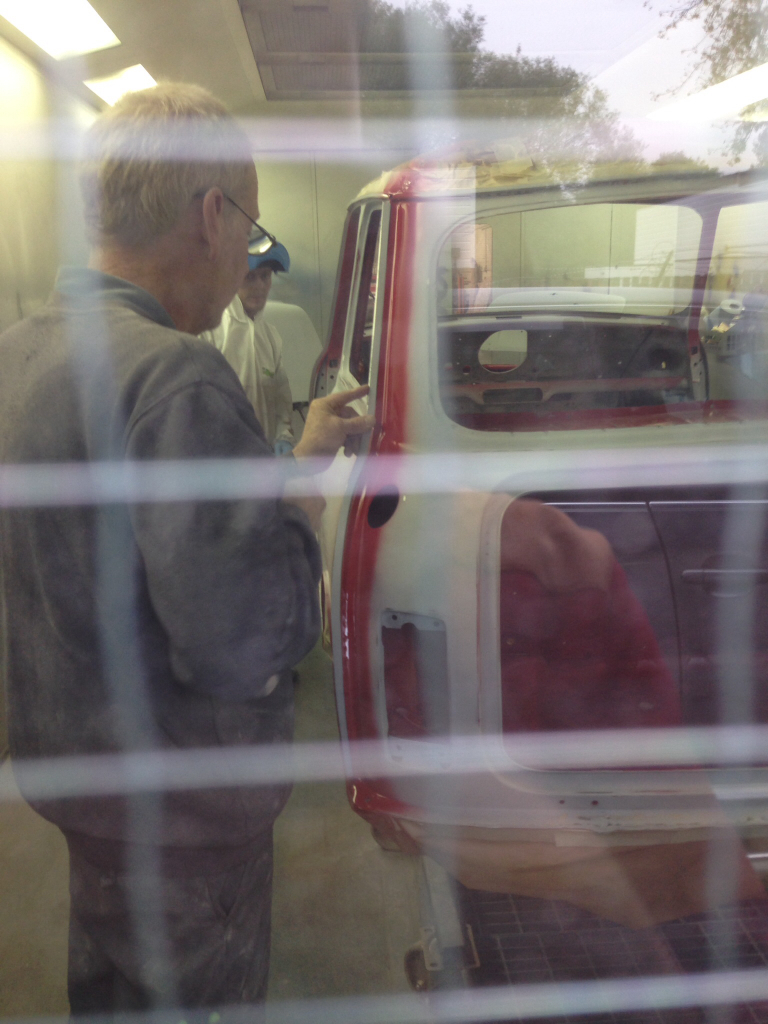
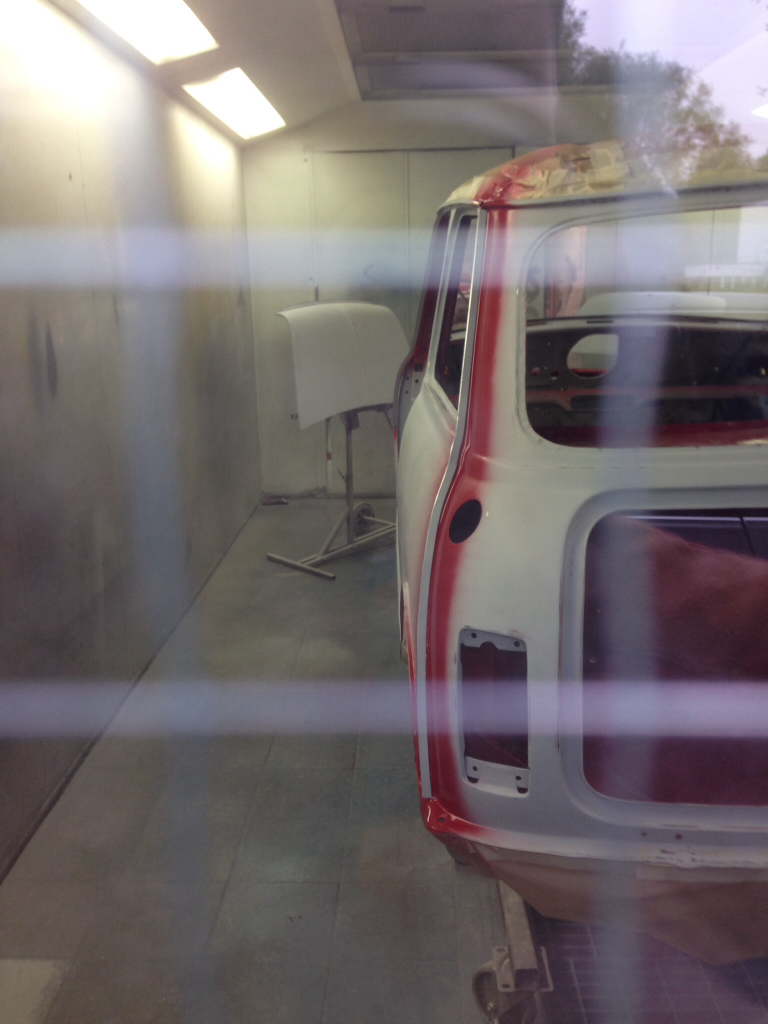
Then he started spraying on the first coat -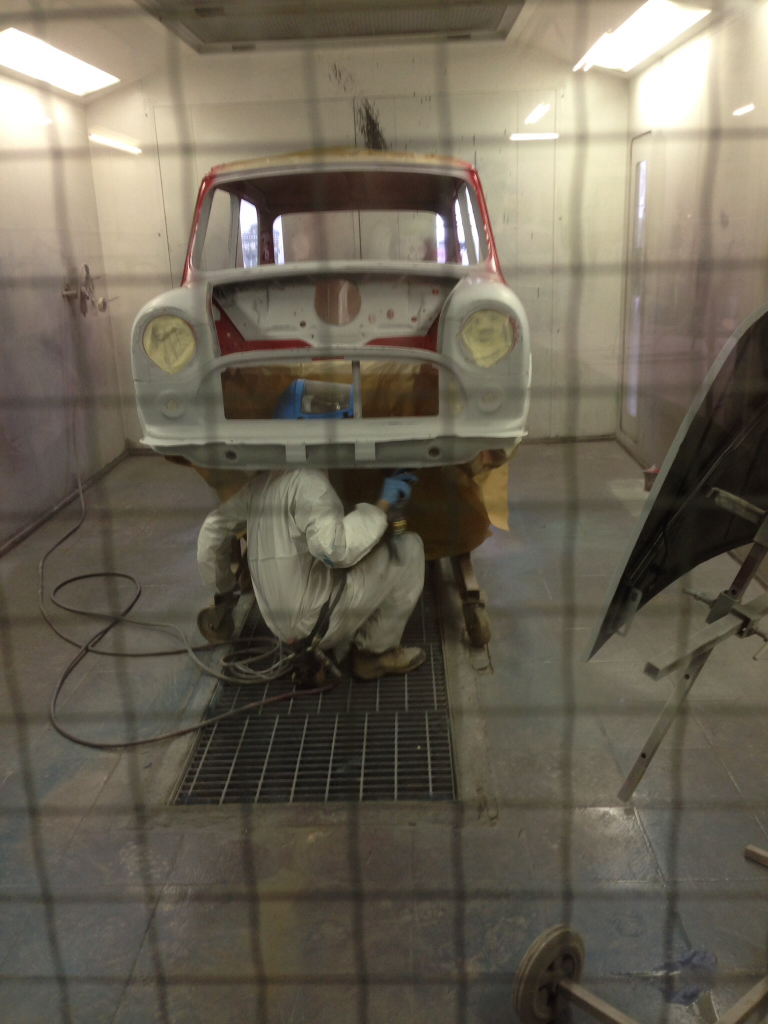
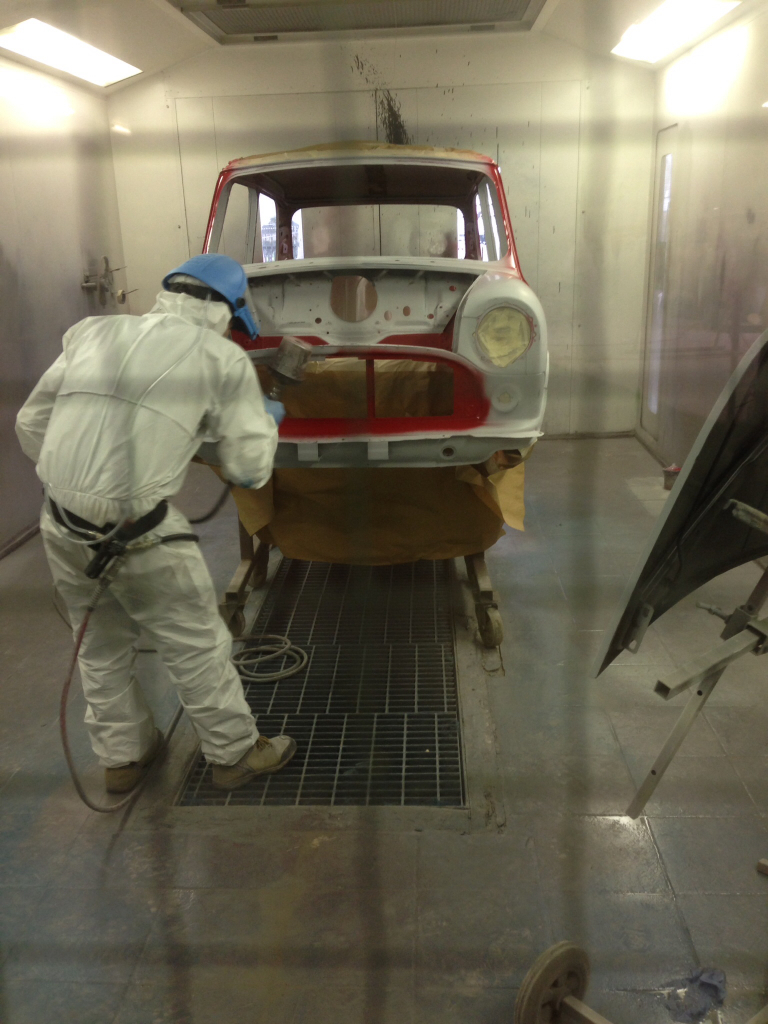
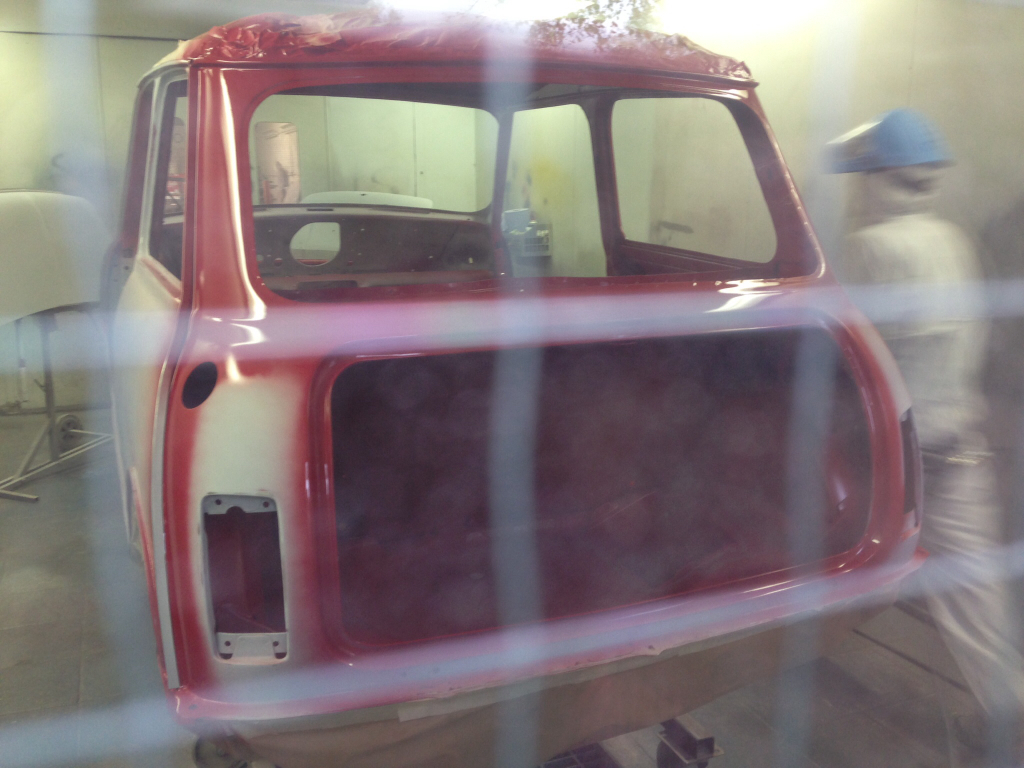
He finished the first coat and then left it to flash off for 10 minutes, then he let me in the booth to take a few pictures -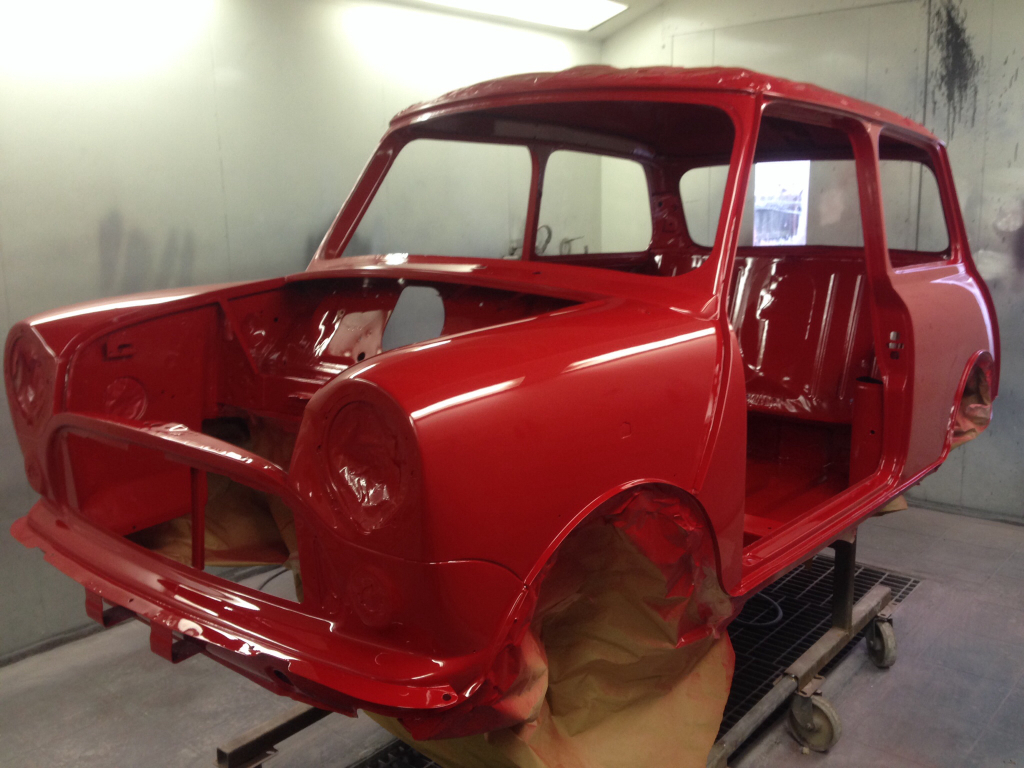
Inside -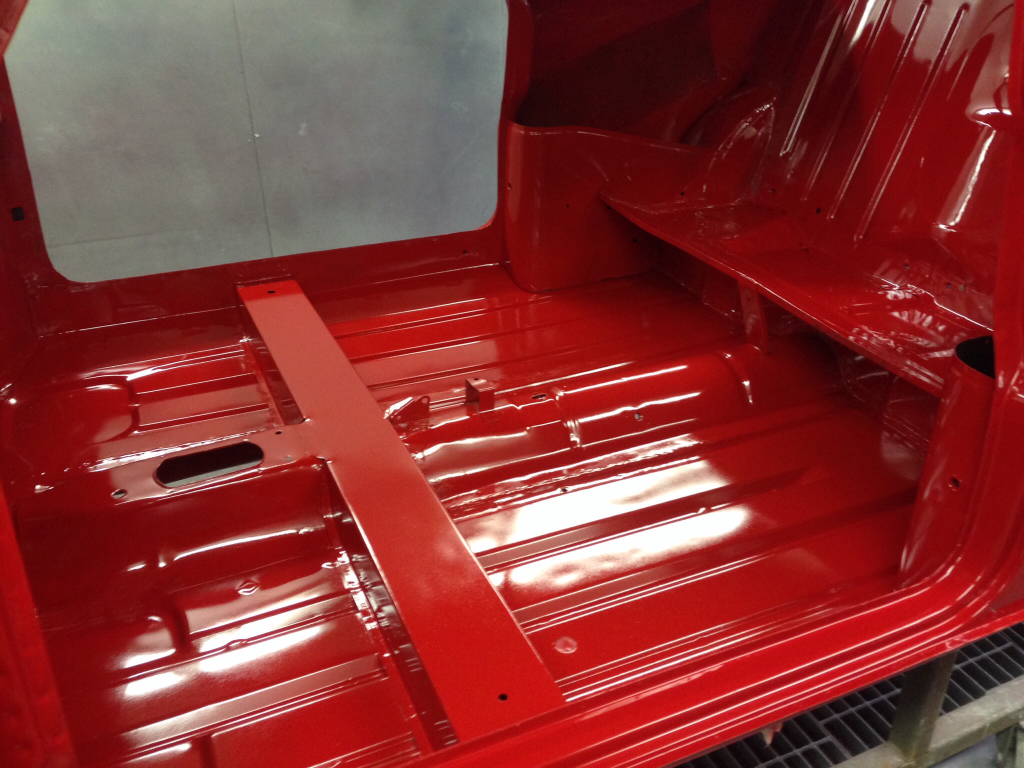
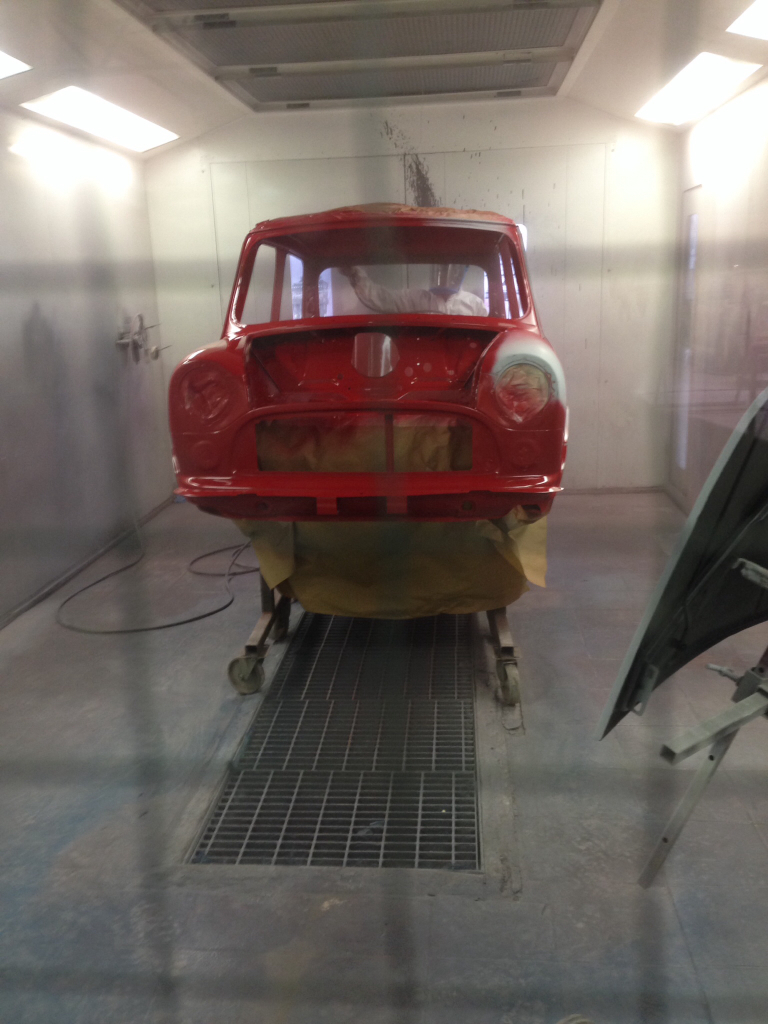
Then he applied the second coat, here's the finished product -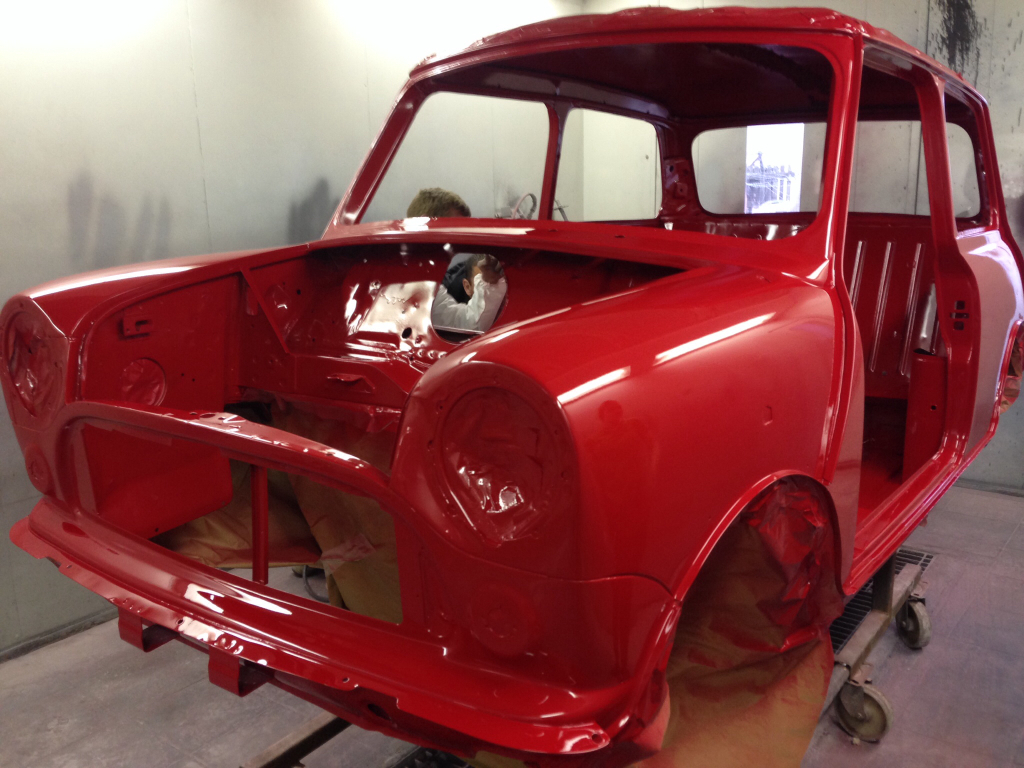
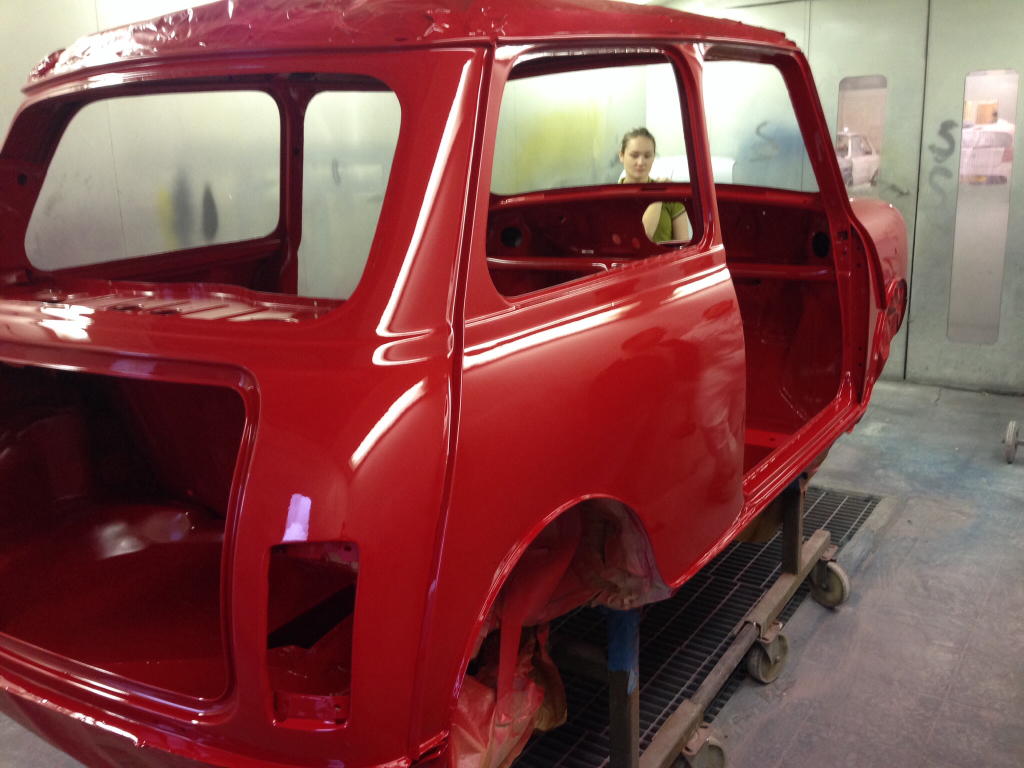
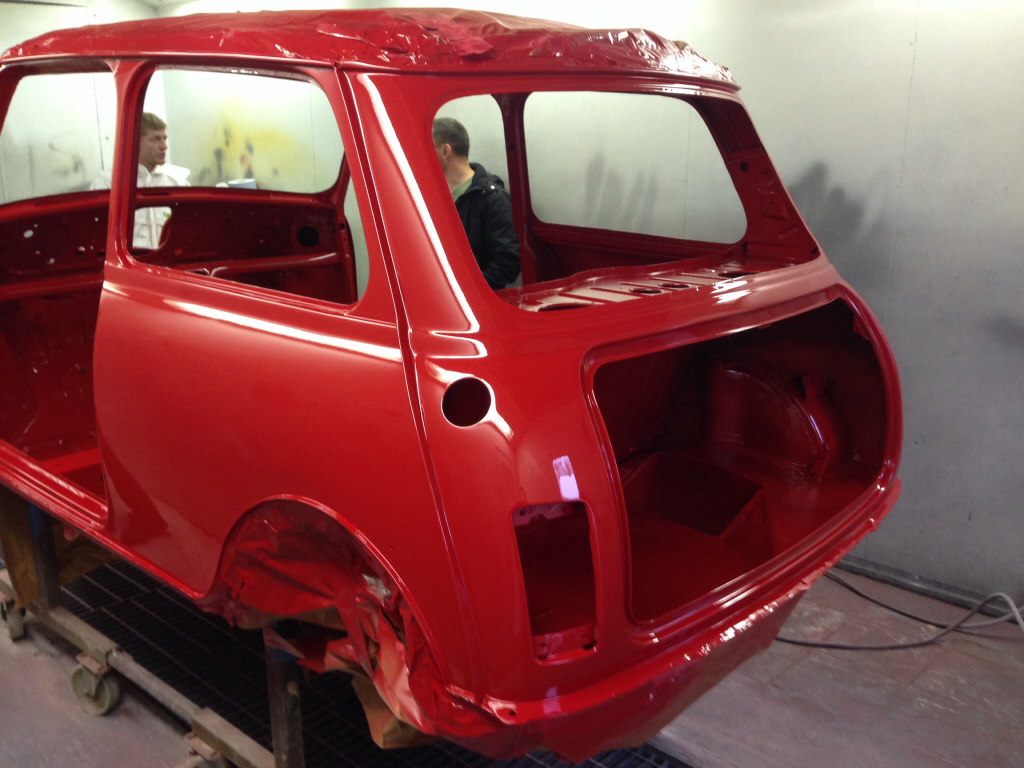
It's came out soo well, the paint is like glass ! Just the roof to do (which is going to be black) and the other panels and she will be finished.
All the months of graft, grinding, welding, headaches, blood and many many swear words have definitley payed off, it's so nice to finally see her in colour. It hasn't quite hit me yet, and I i don't think it will until she's home !