You must be logged in to rate content!
10 minute(s) of a 358 minute read
7-31-2014
Update,
Some more progress on the doors today, here's a few pictures.
Left the Deox Gel over night and it's worked great as usual -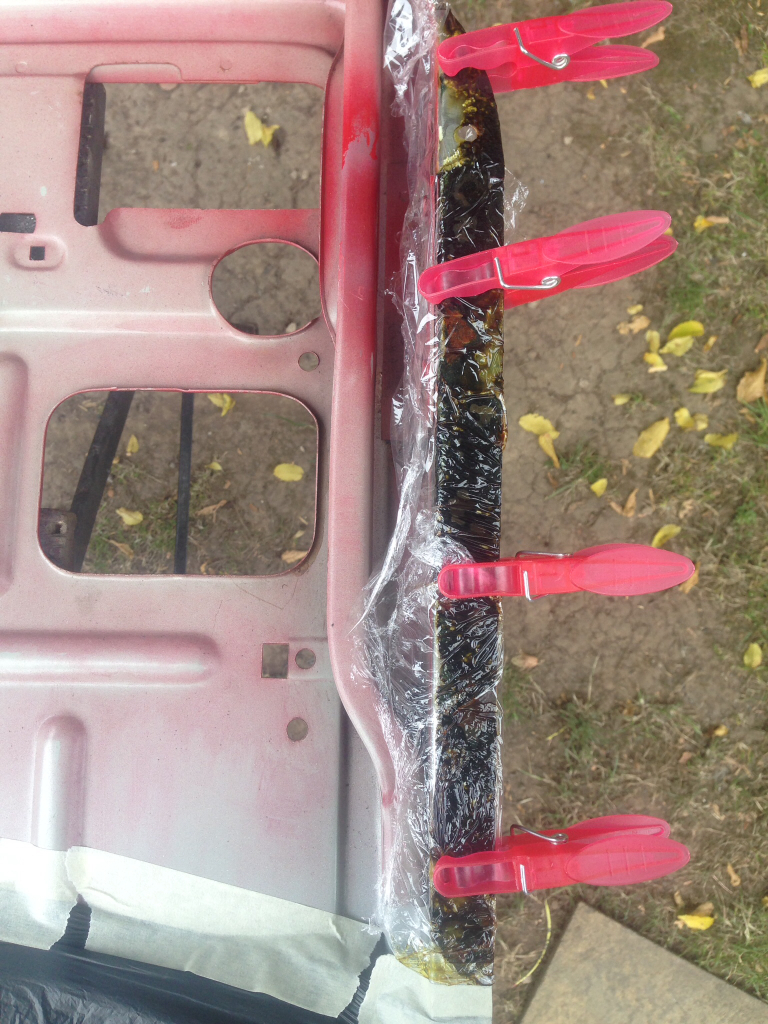
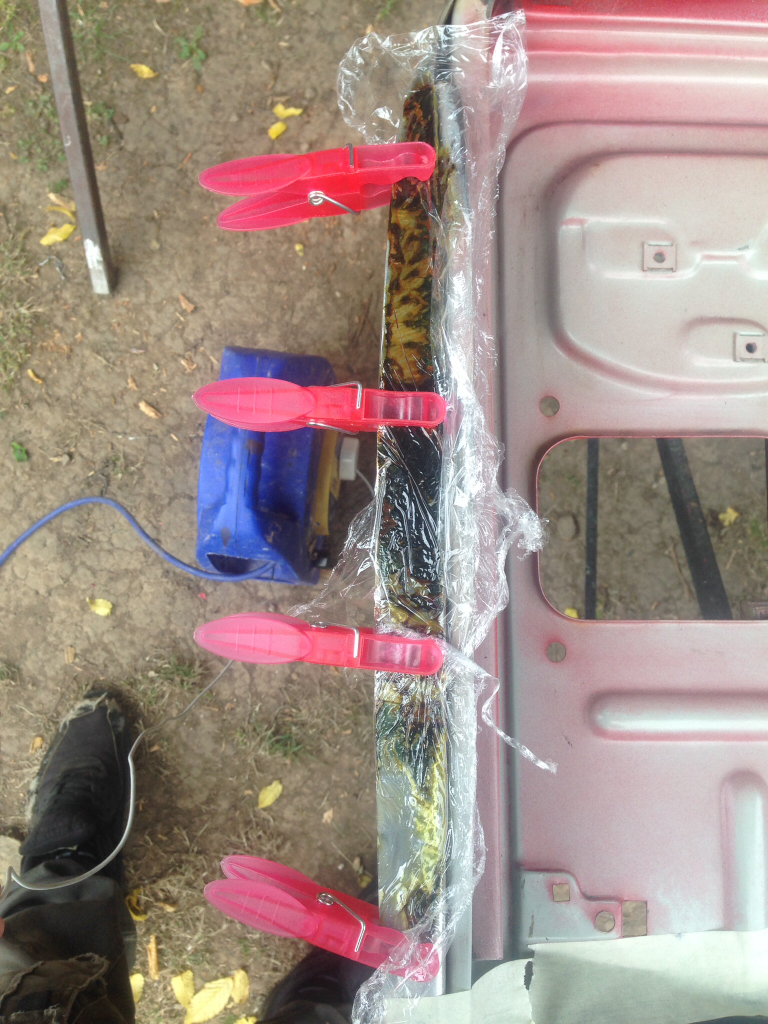
Wire brushed the frame and then wiped off the Deox Gel. Then applied a few coats of zinc primer -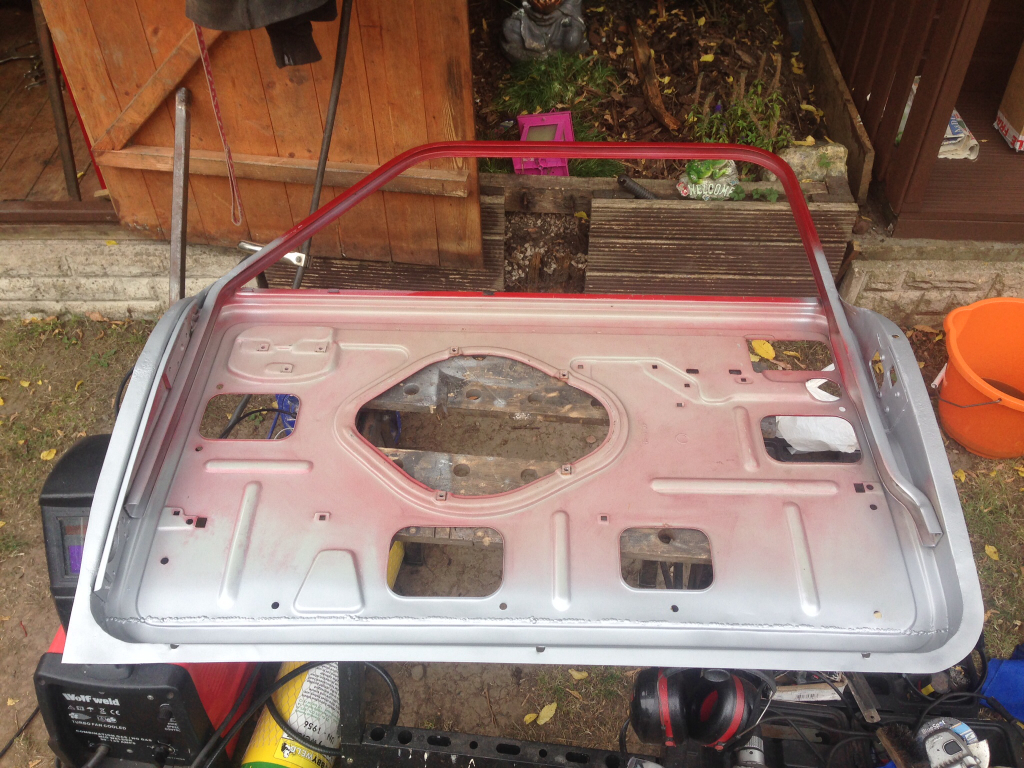
Flipped the frame over and removed the Magnum black paint from the front. Sanded down the flanges and then zinc primed it -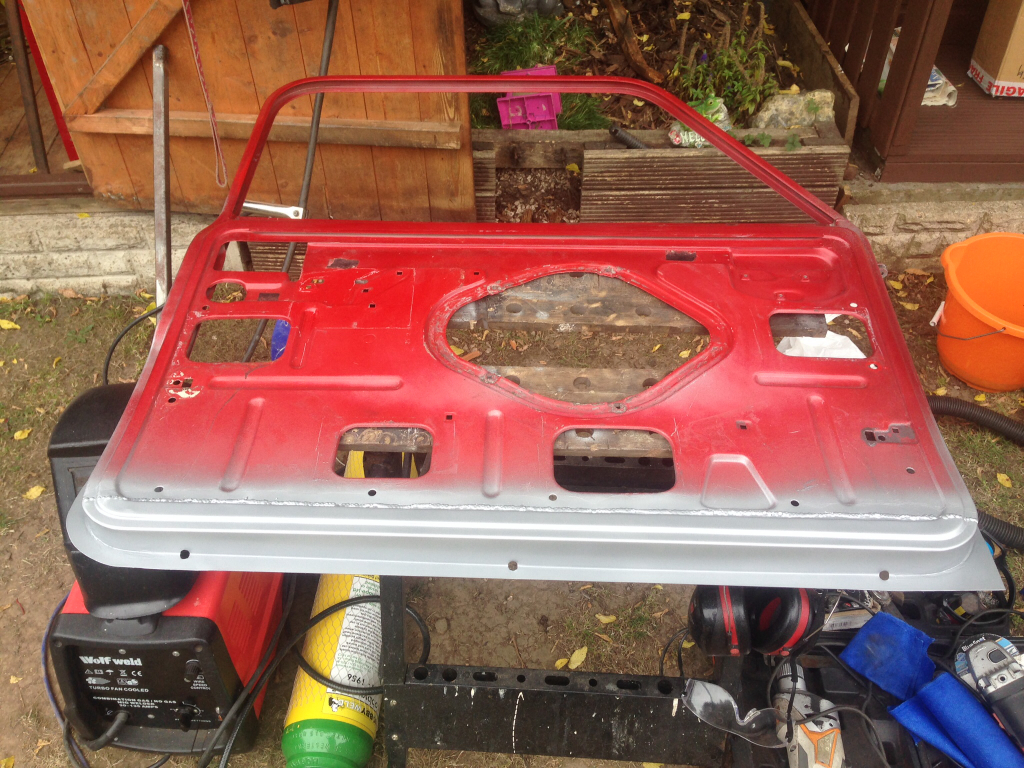
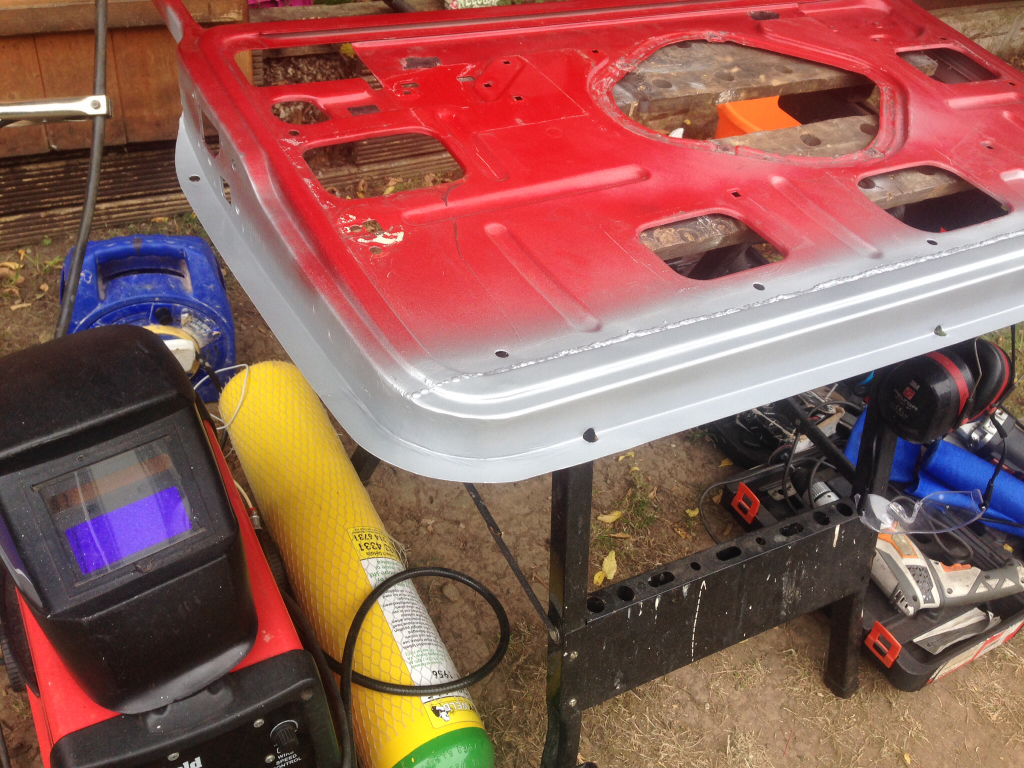
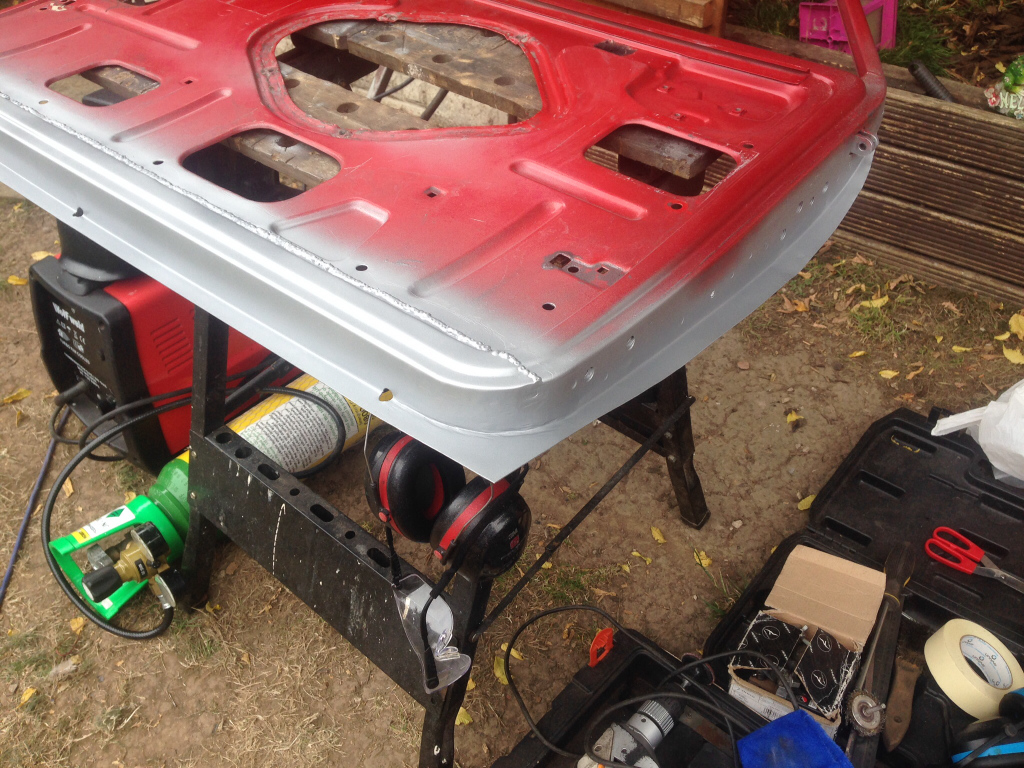
Placed the frame into the skin, positioned it roughly where I wanted it and then closed the edges of the door skin over the frame -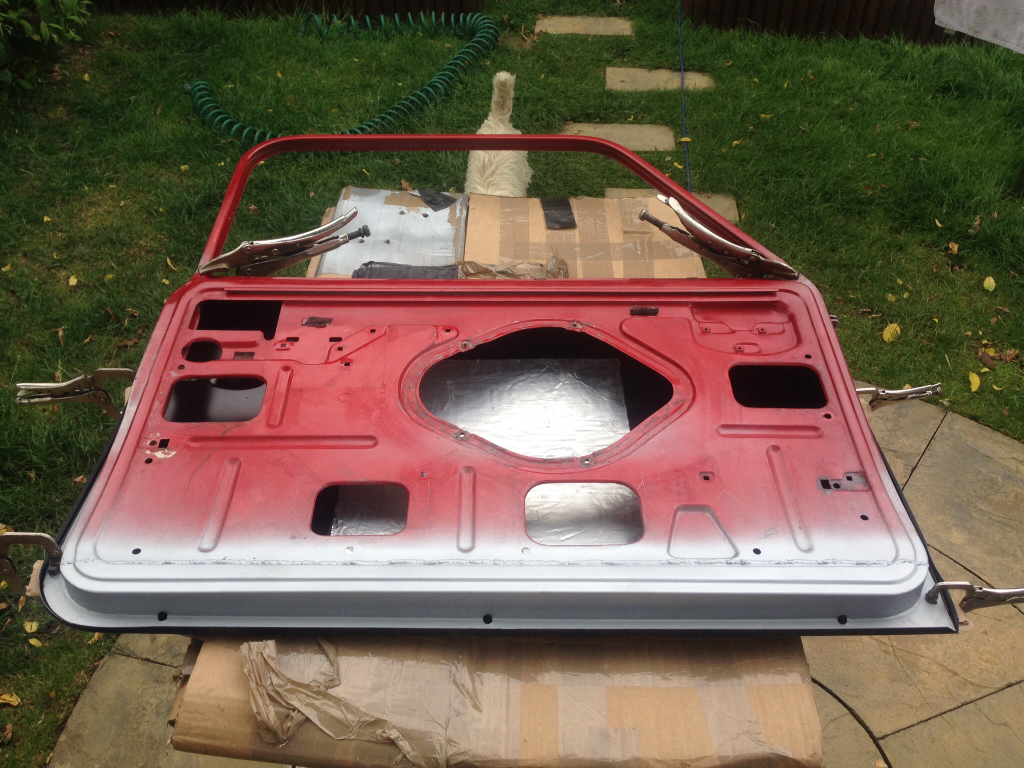
Took it out to the car and bolted it to the A-post, gaps aren't too bad for an initial fit -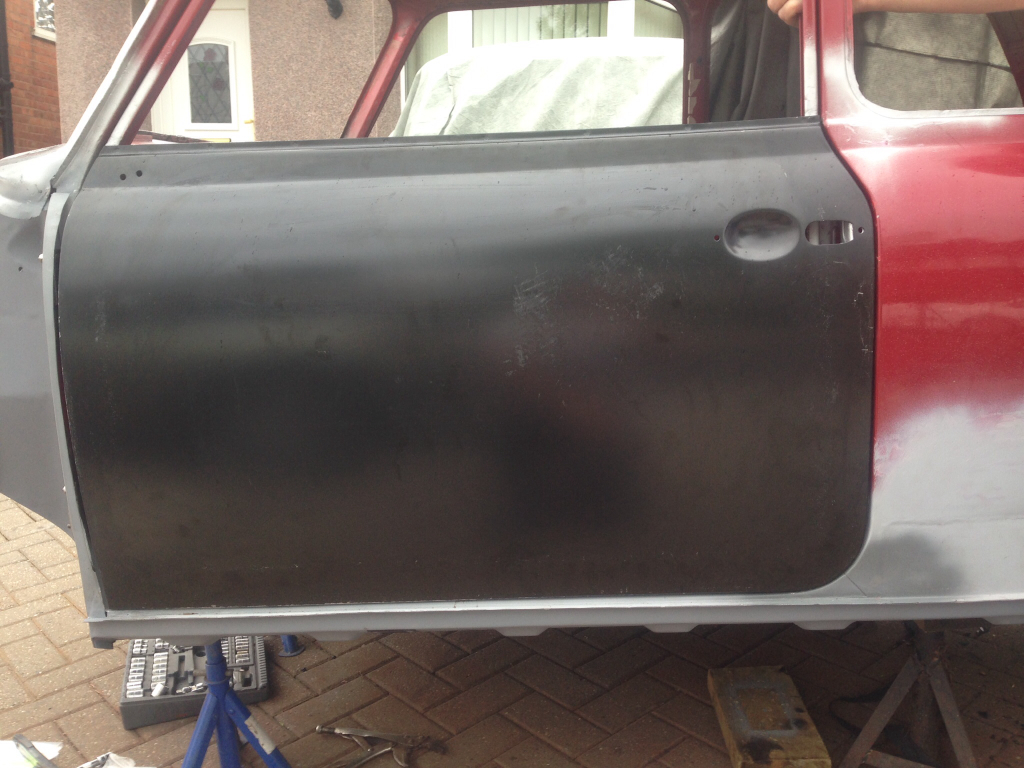
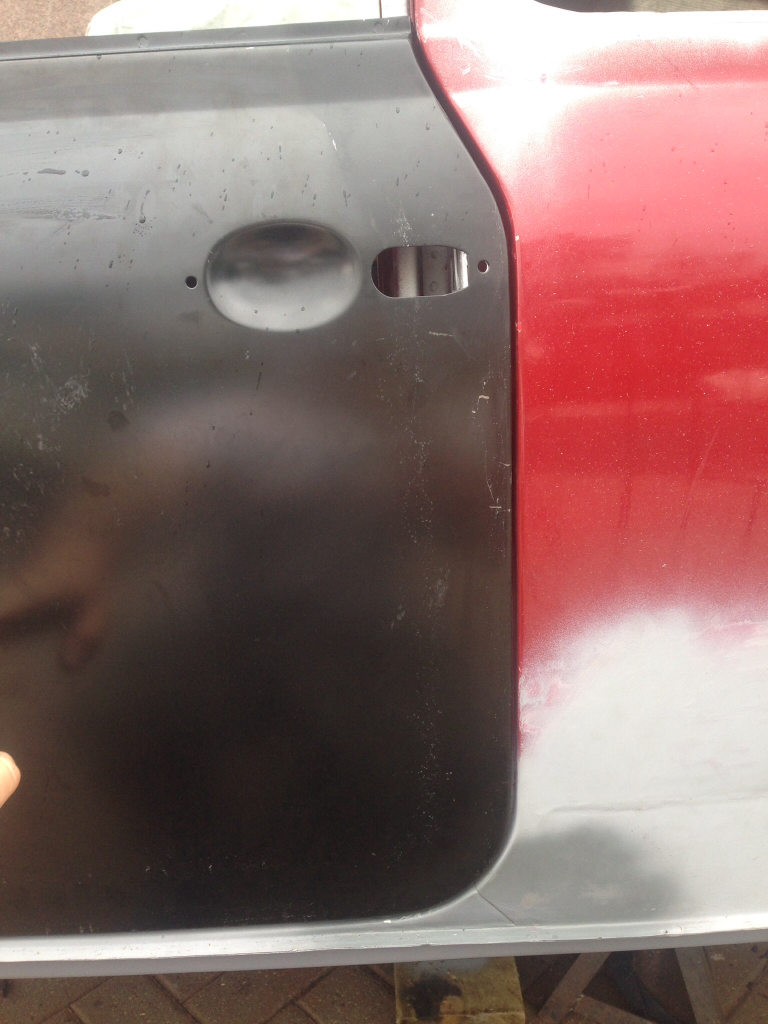
Drivers door -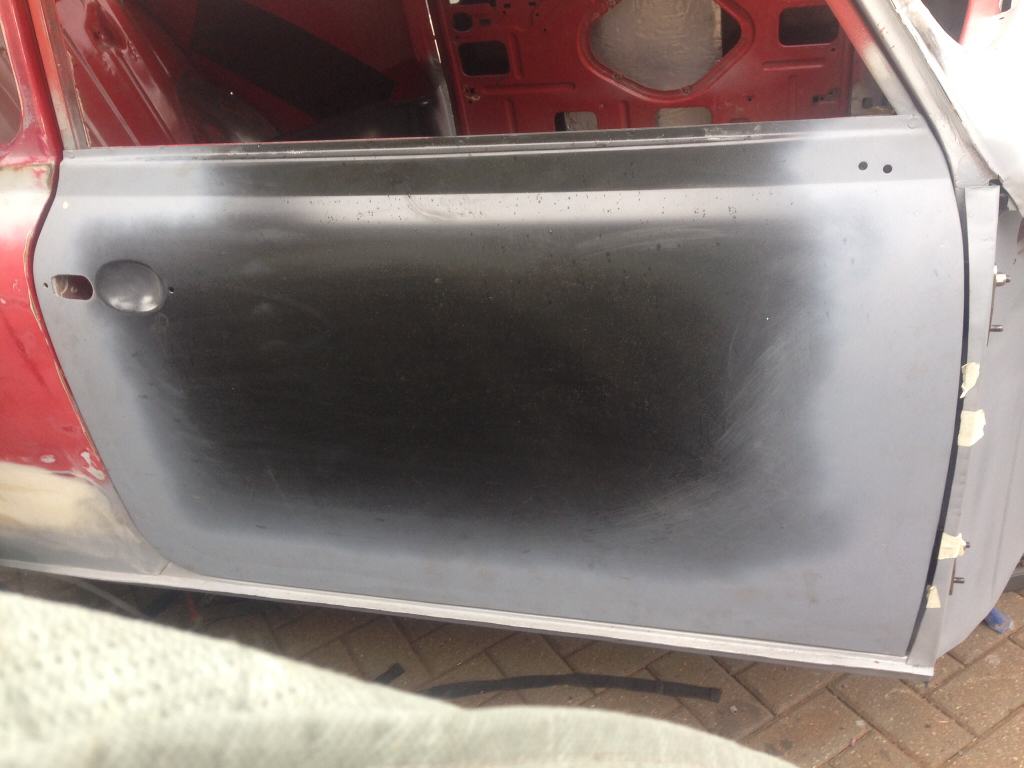
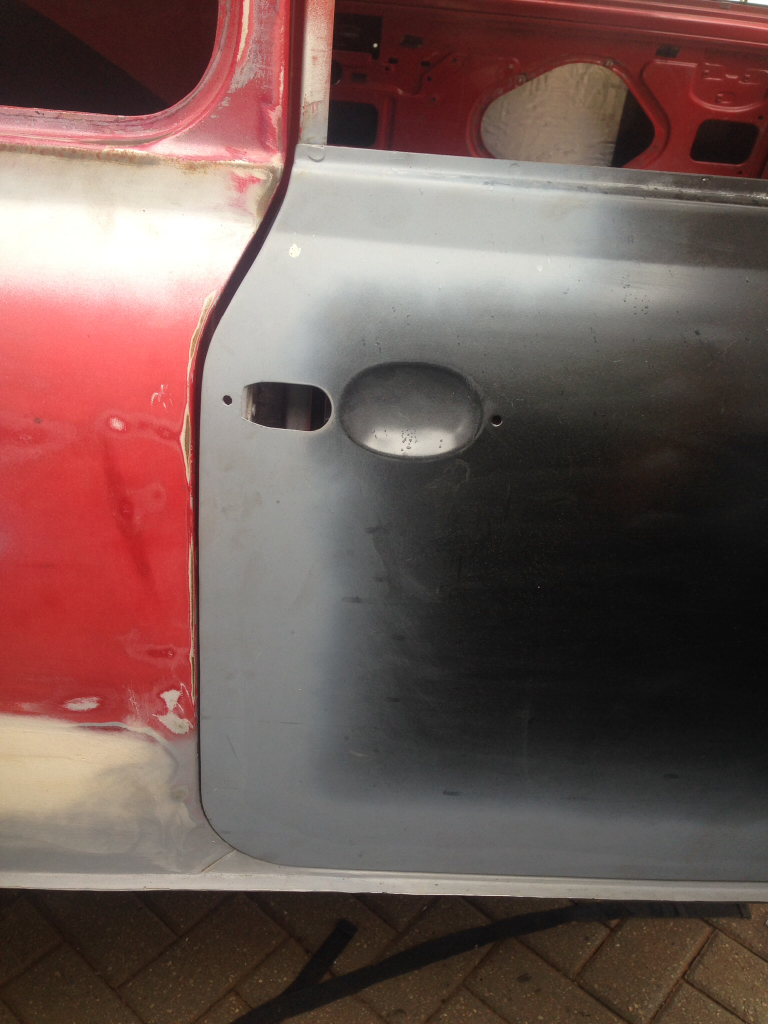
Both still need more work and I've bought some weld rods to get the gaping right. This is where I'm going to spend the extra time because if the gapping isn't right then it'll ruin the whole look of the car. I haven't welded the passenger side door skin to the frame yet though, so I've still got room to manoeuvre that about.
I'm going to set them more or less where I want them for now and then I'll come back to the door gaps after I've got the front end on, should be the last job to do before it goes off for paint !
8-3-2014
Update,
We've been having a play with fitting and lining up the front end for the last couple of days, it's all starting to come together now and the gaps are looking quite good so I'm fairly pleased !
Anyway, here's a few pictures.
Fitted the front subframe back to the car, for the first time in almost seven months, using all new mountings -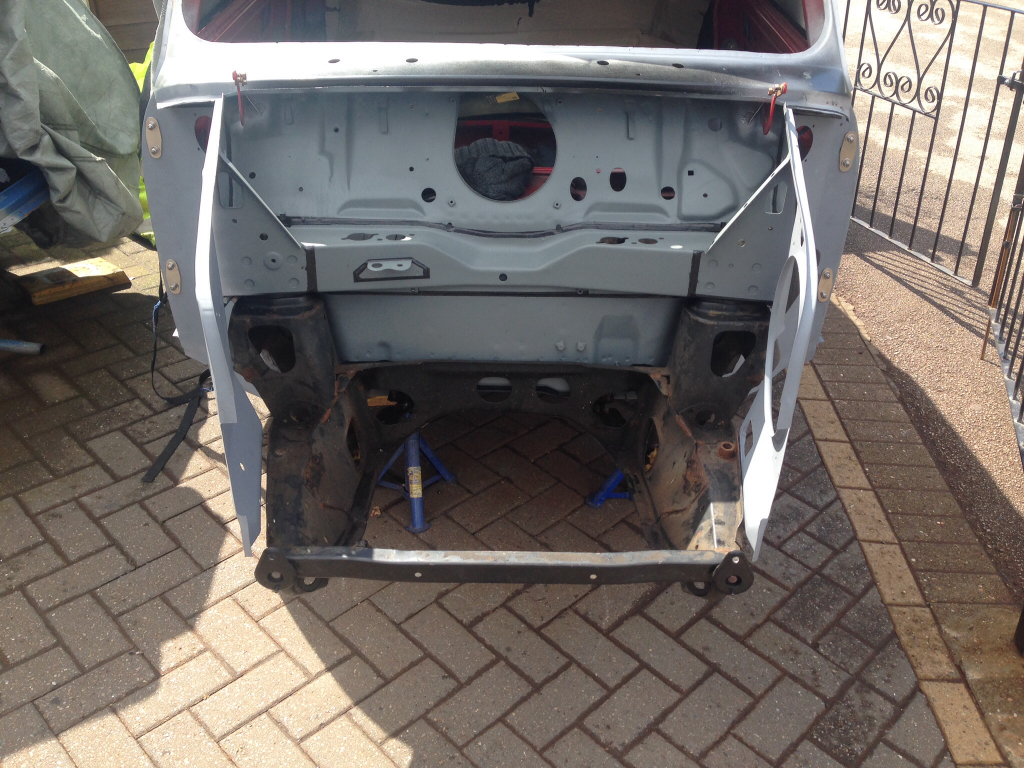
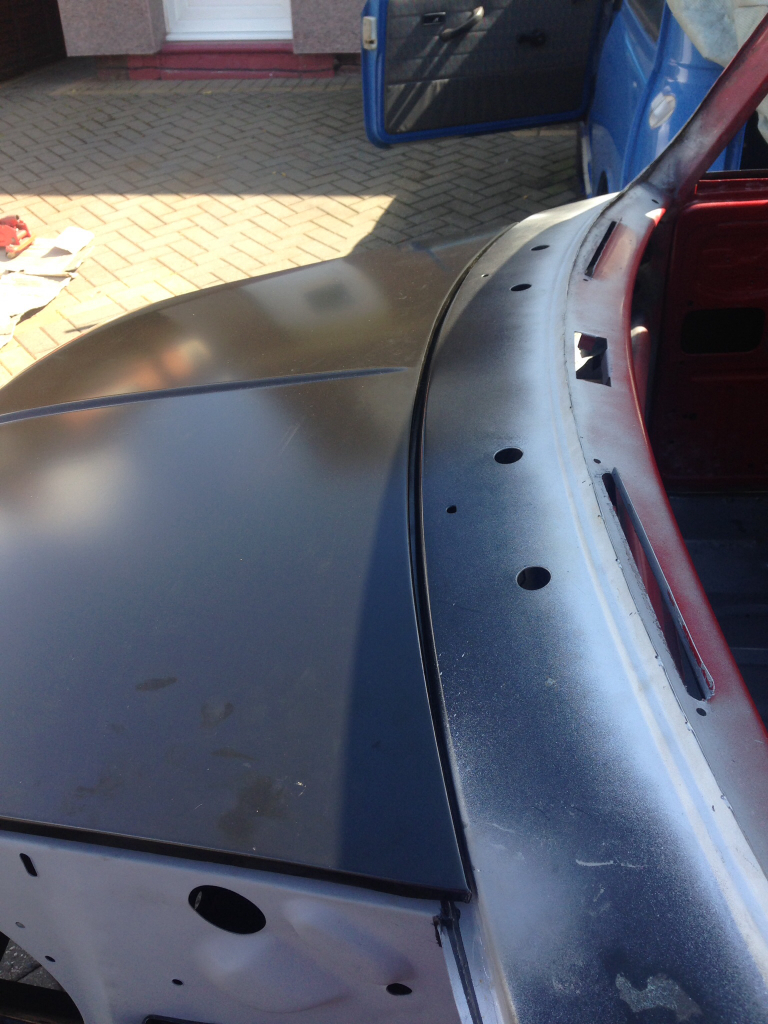
Then we fitted the bonnet and adjusted the gap to the scuttle -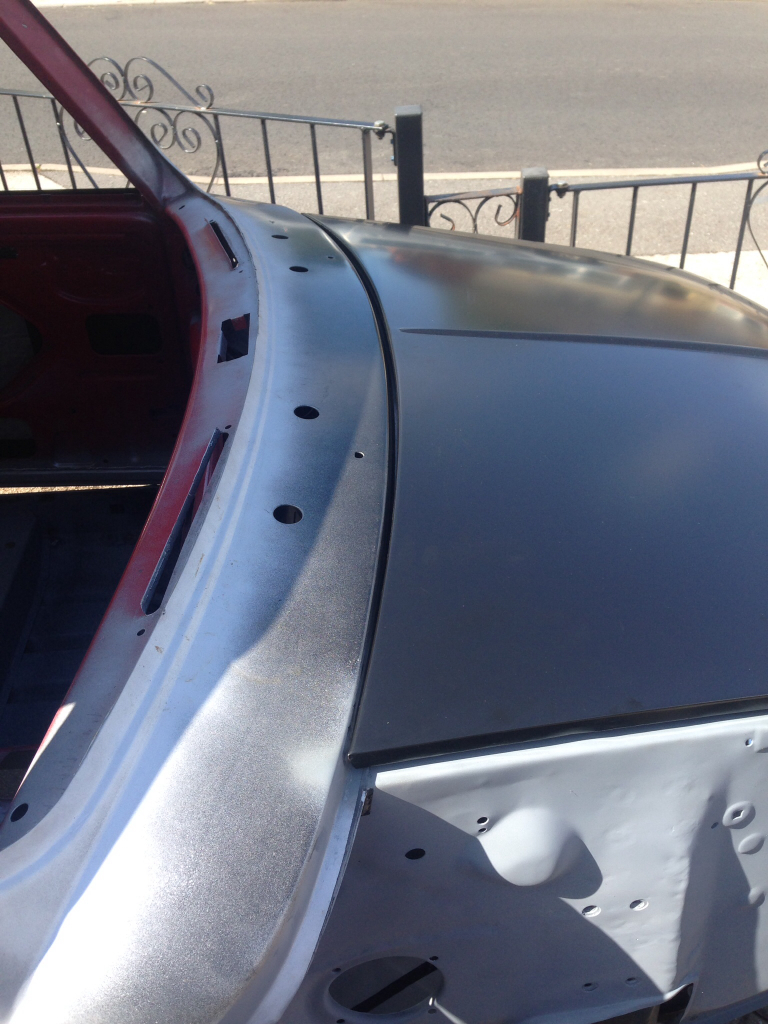
Fitted the front panel and adjusted it until it sat nice with the bonnet -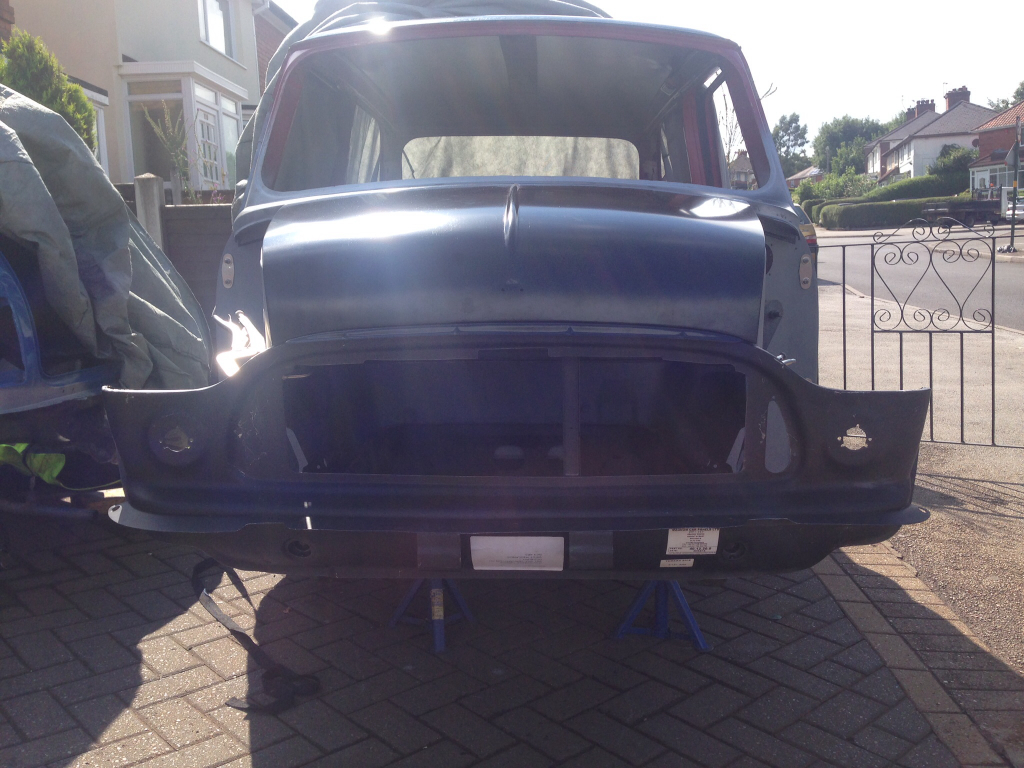
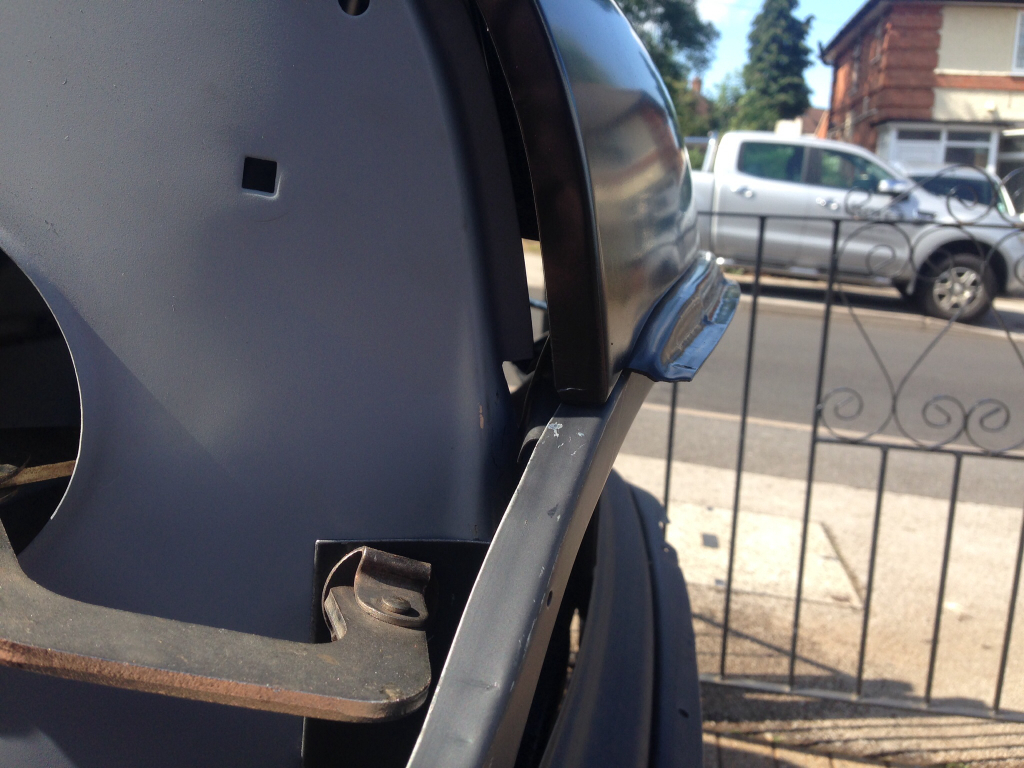
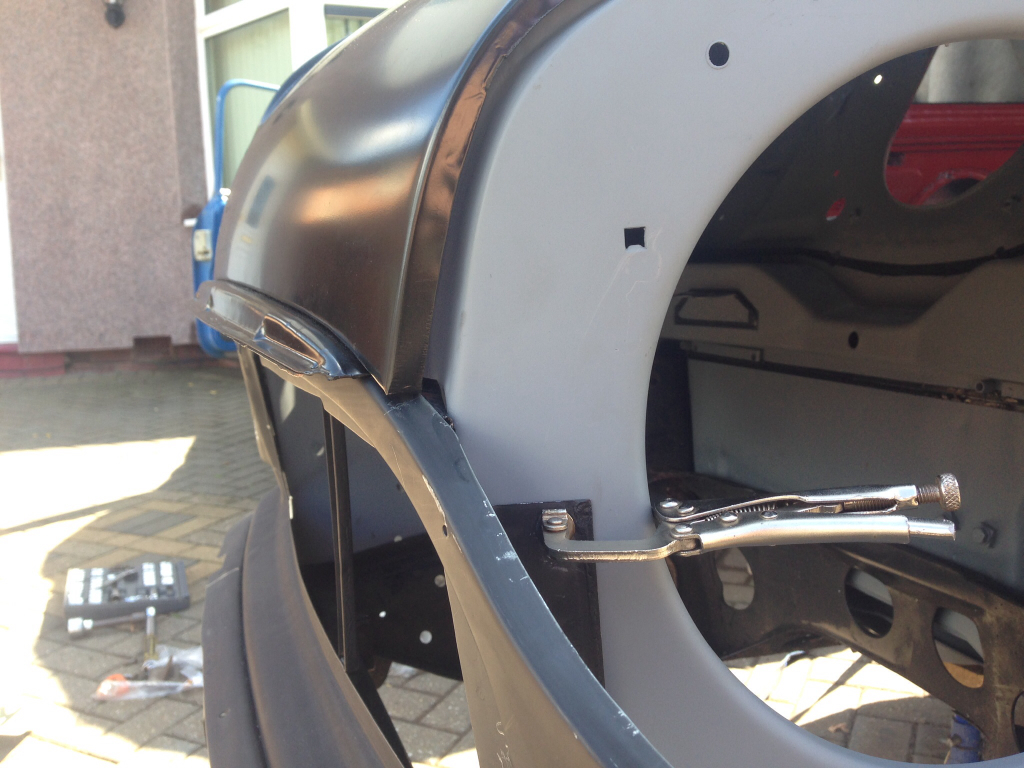
Then it was onto the wings which proved to be a lot more tricky. Took a few hours to wrestle them into position, but the gapping has come good thankfully.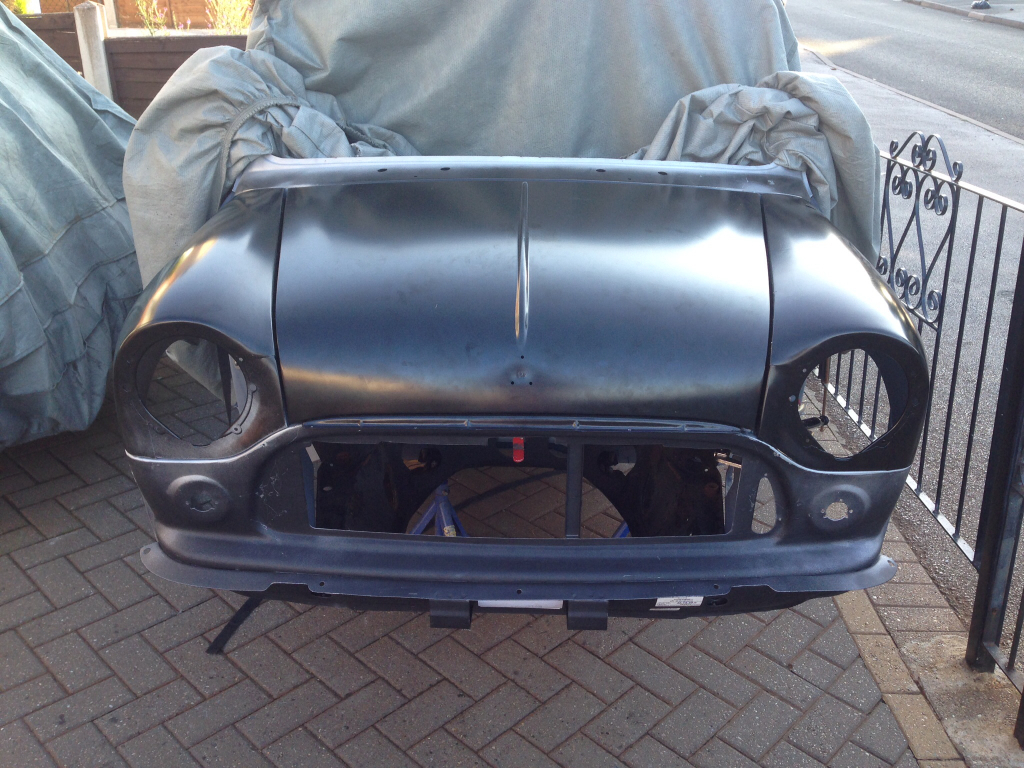
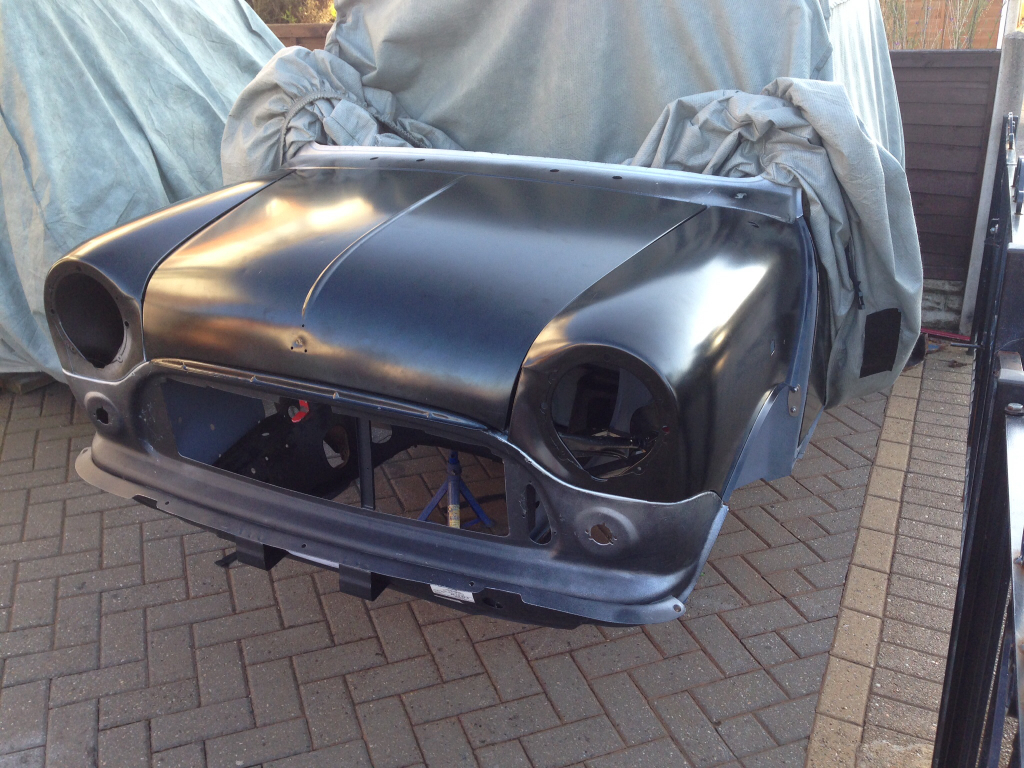
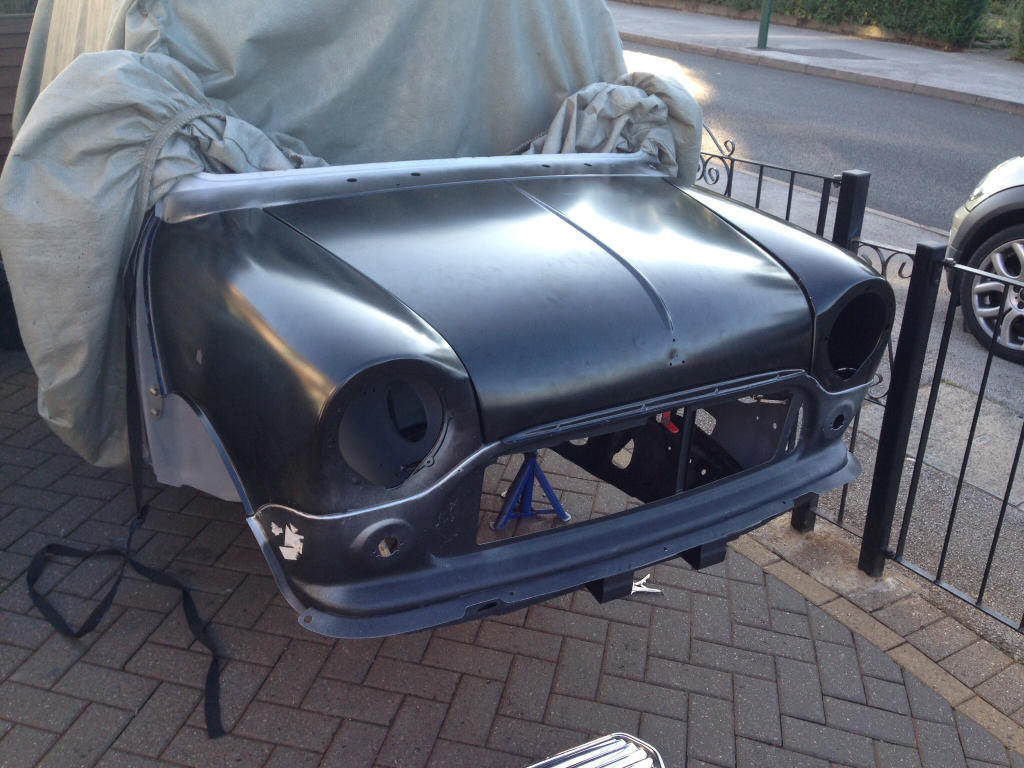
So that's all clamped into place but will still need a touch more fetteling before we're 100% happy to weld it in place. Still got the A-Panels to put on and line up but that's a headache for tomorrow !
8-9-2014
Thanks a lot Jared !
Update,
Well I've put my two week break from work to good use, I've now got a complete front end on the Mini.
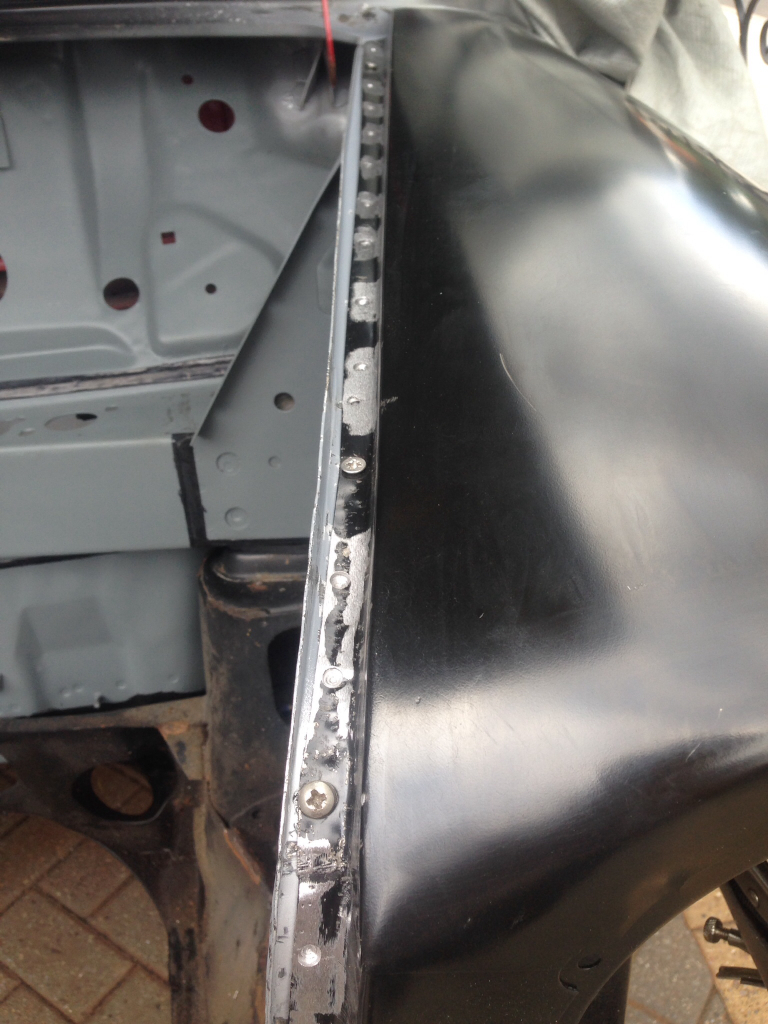
Carrying on from my previous update, I went around the front end panels and tweaked them until I was happy with the position they where in. Then I went about drilling all of the holes required for plug welding.
Wings -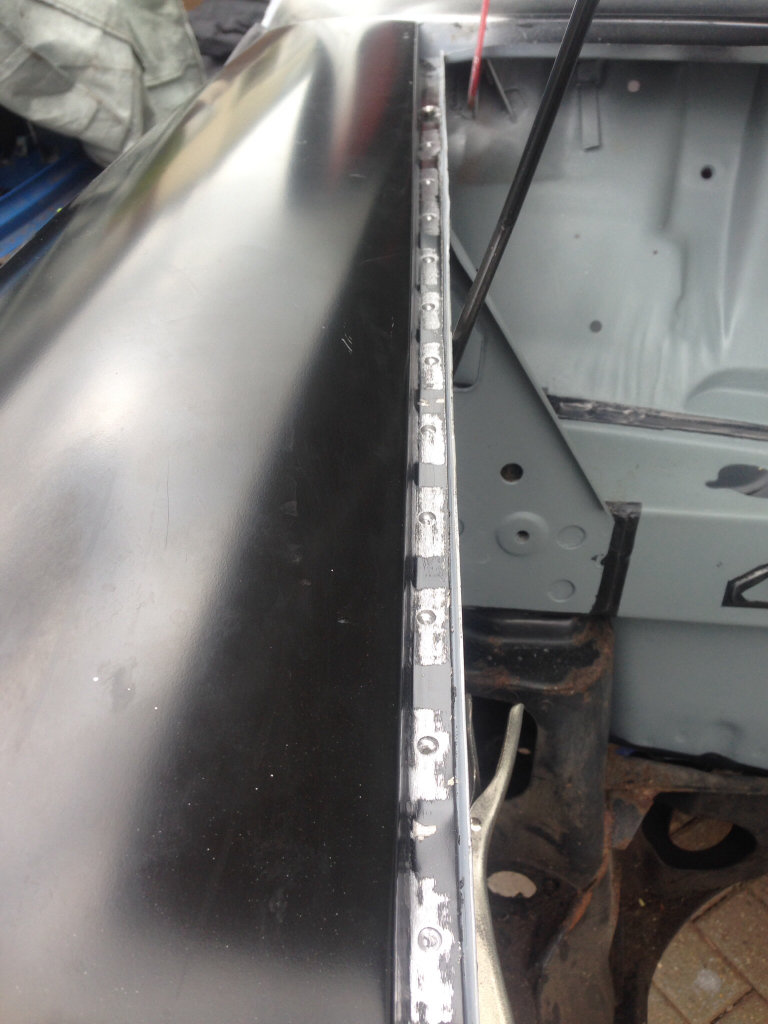
Front panel -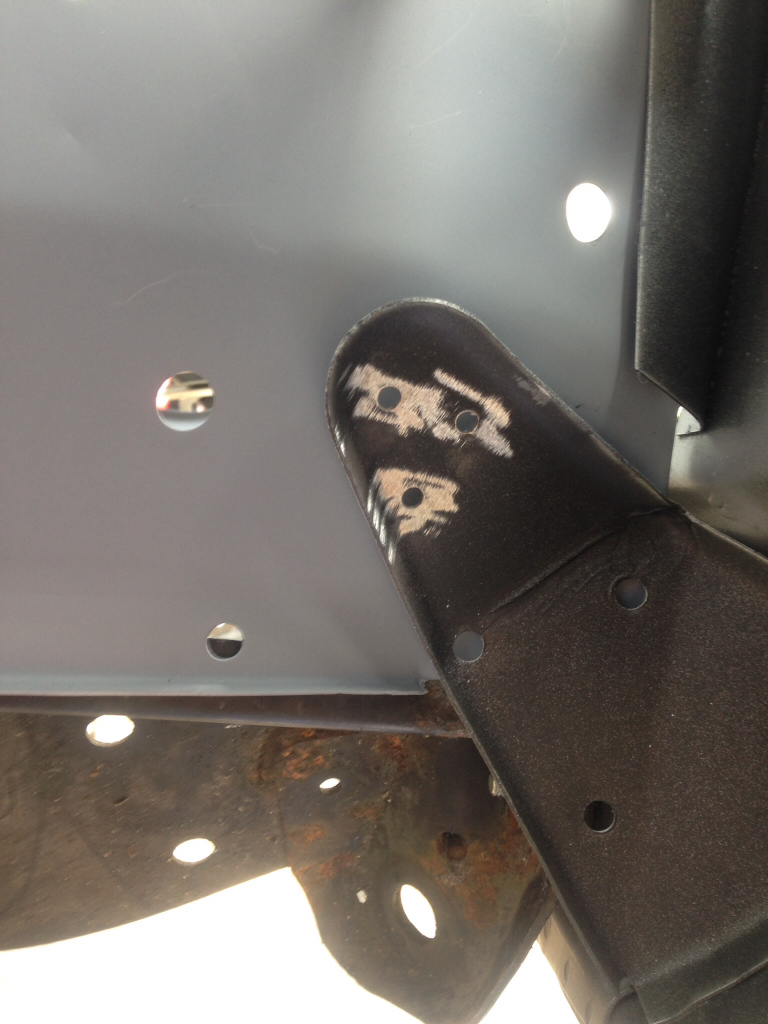
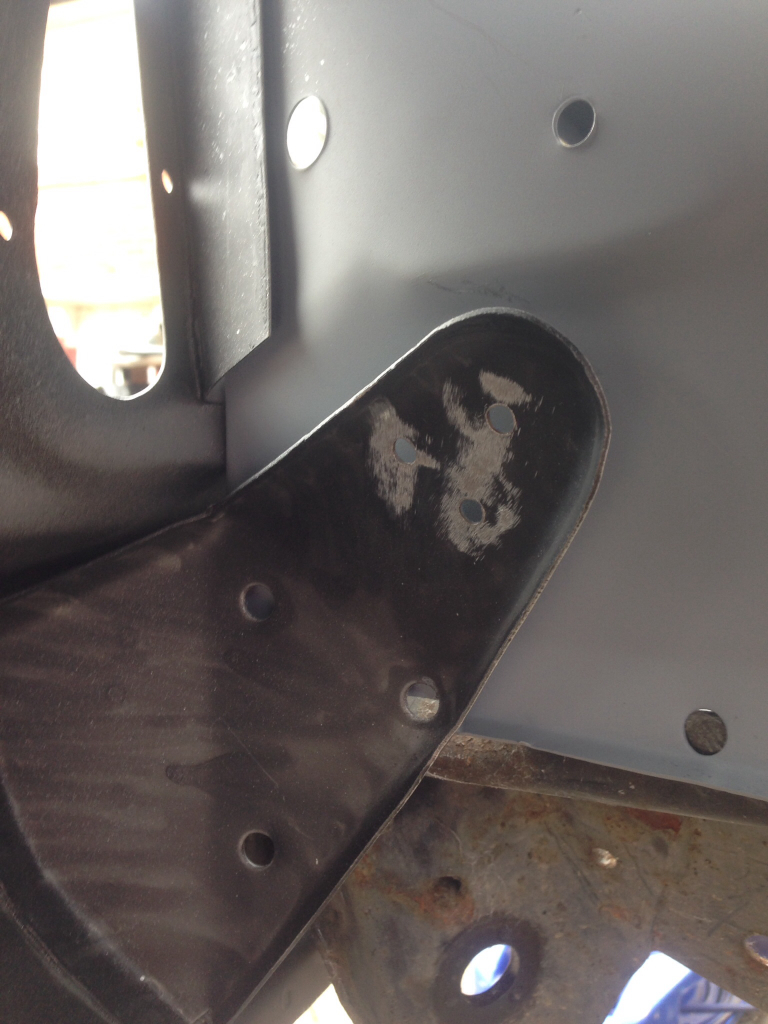
Clamps required to hold the wings and front panel in position -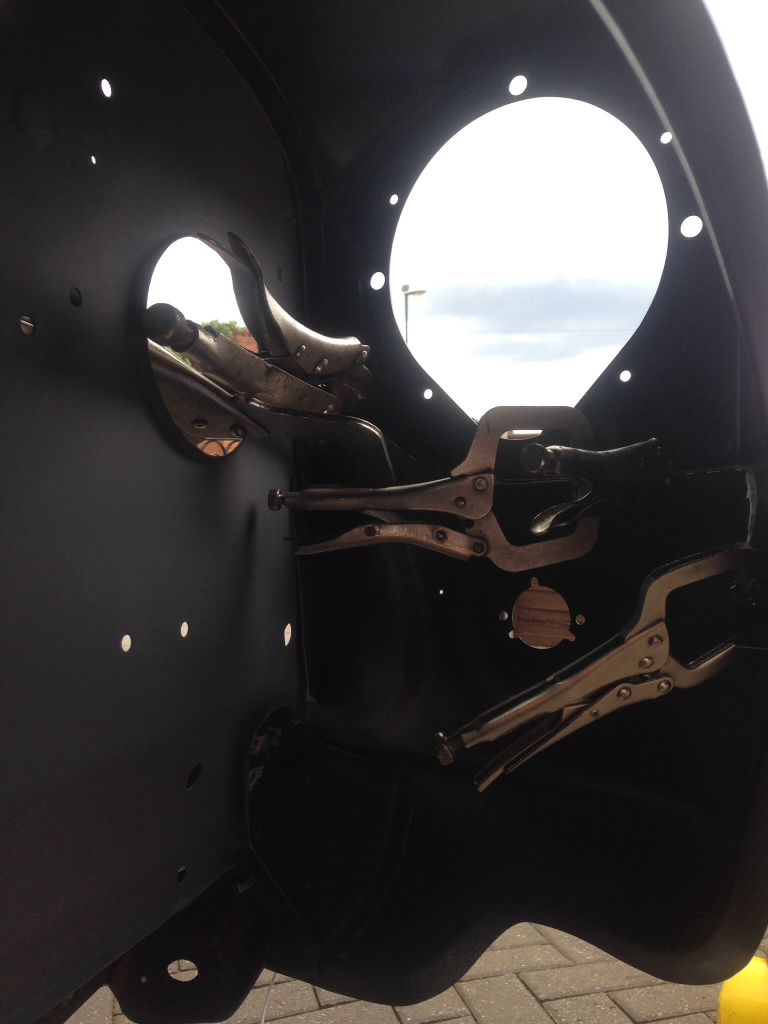
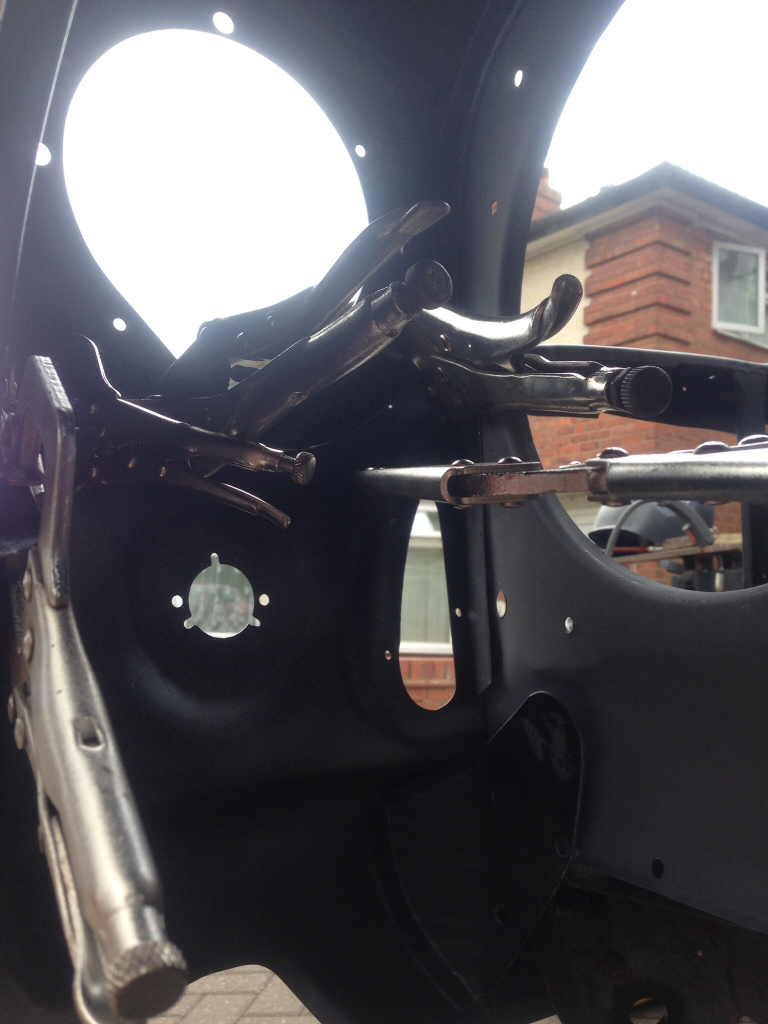
How that looked from the outside -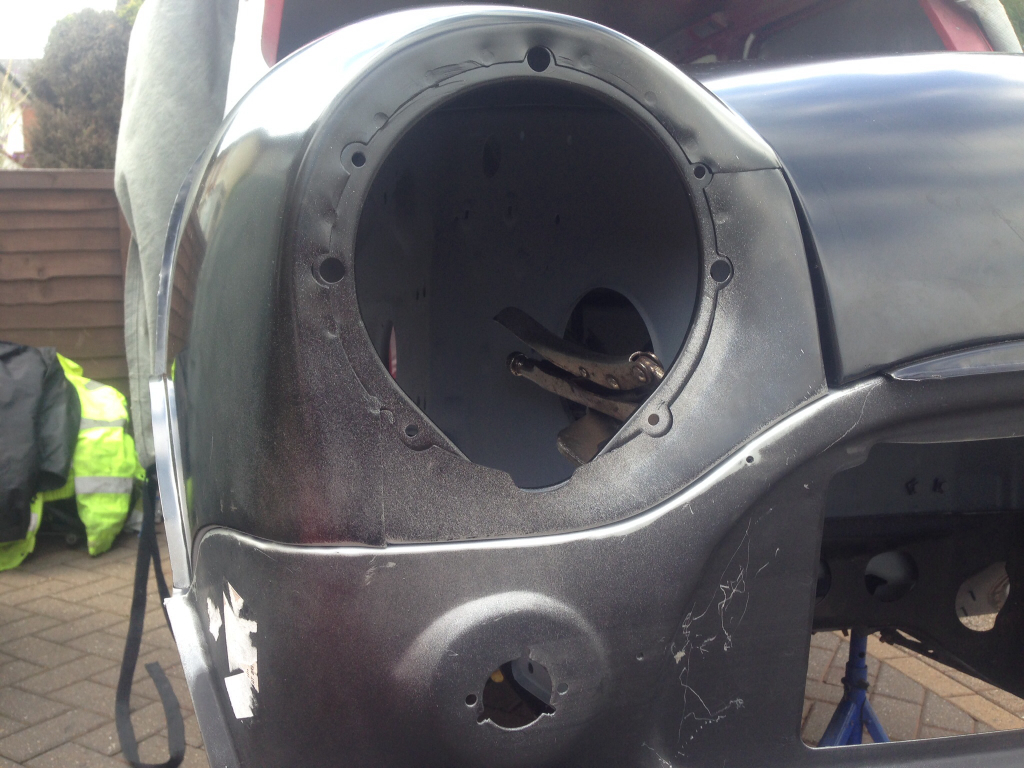
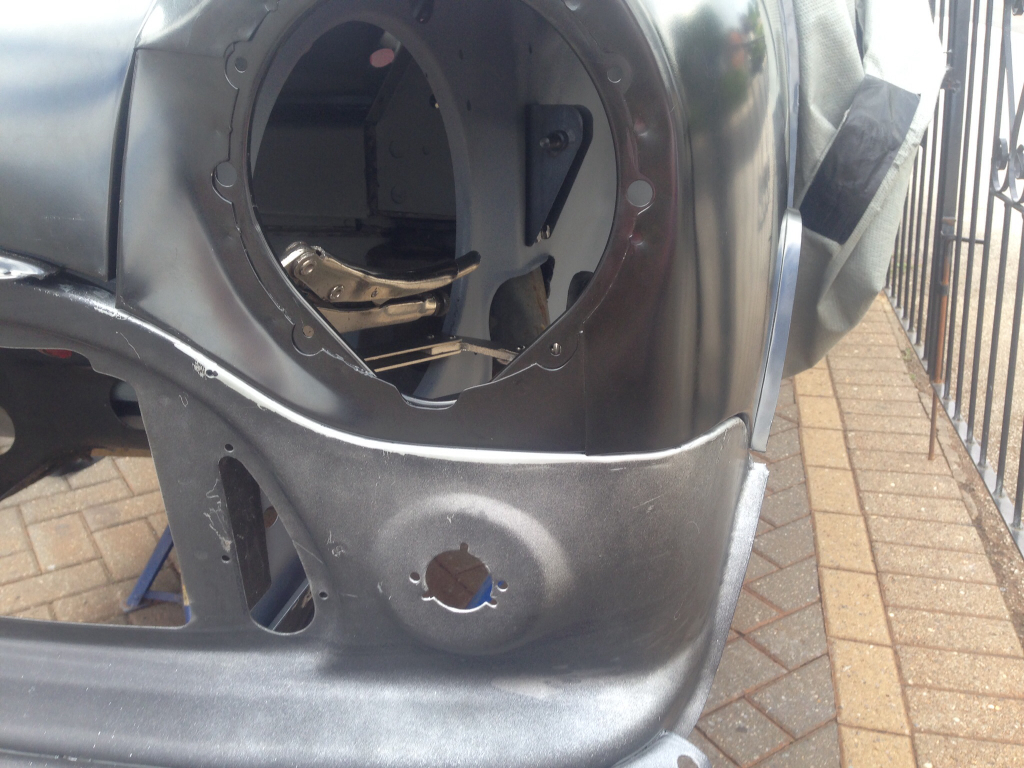
All welded in place -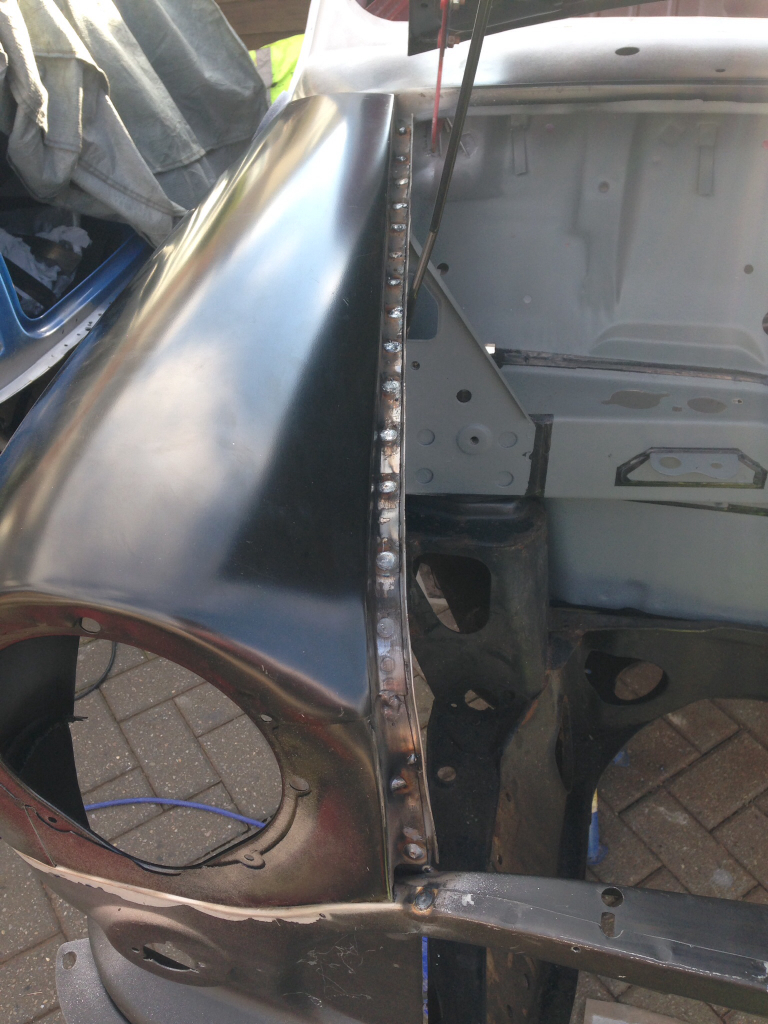
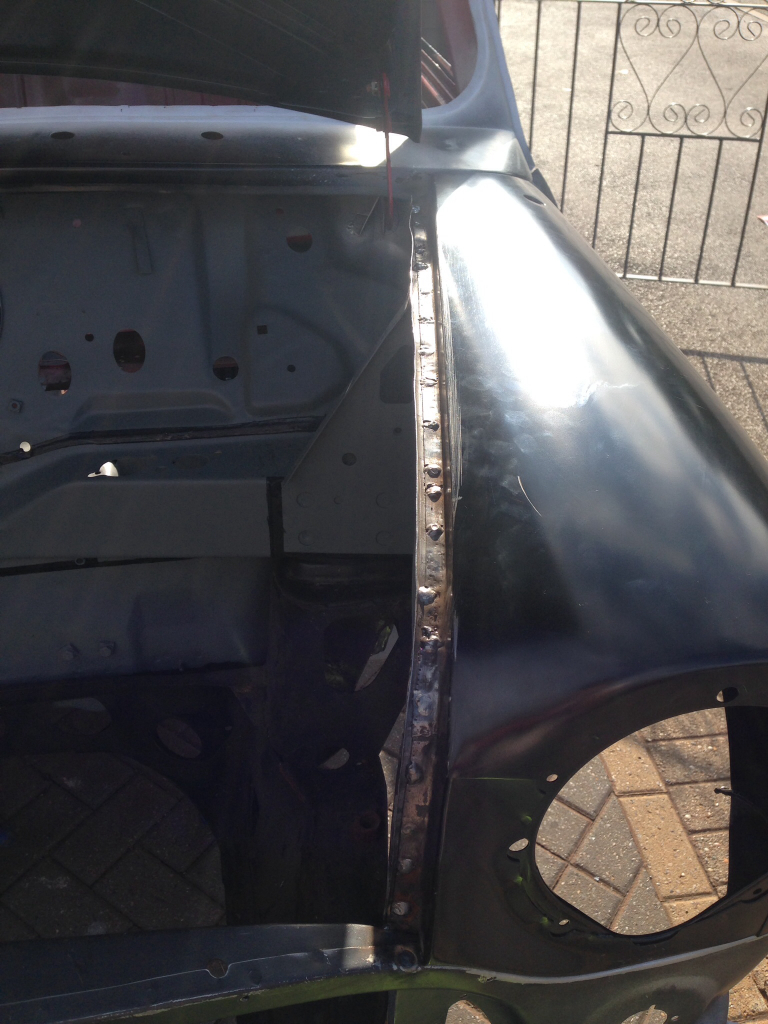
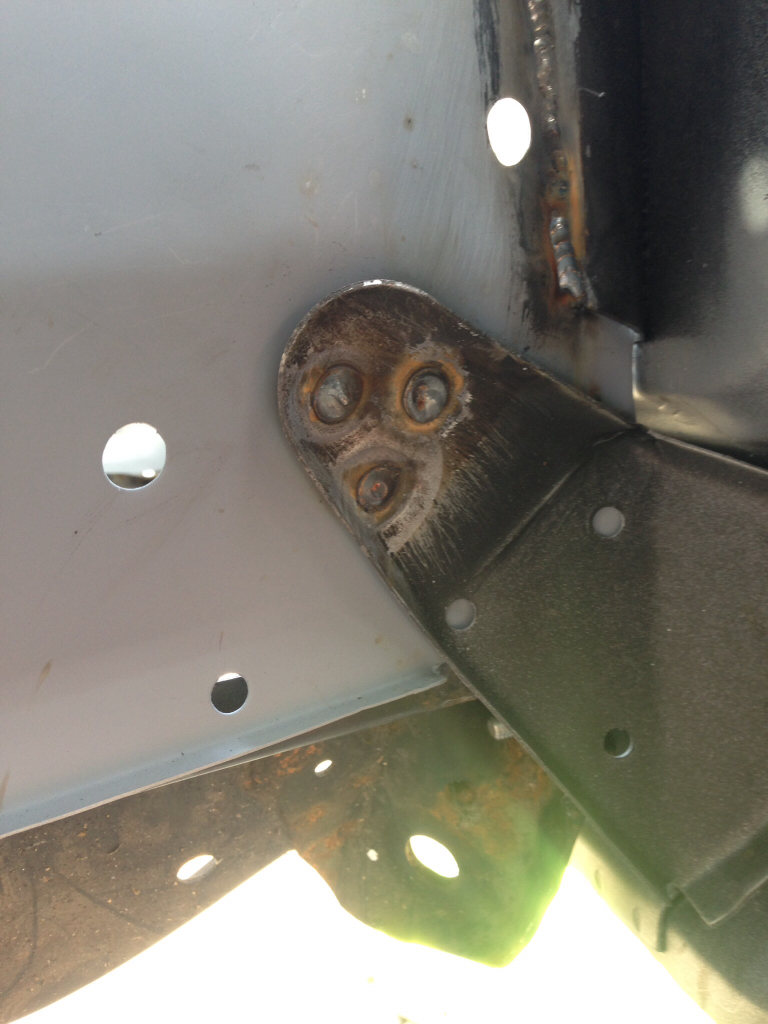
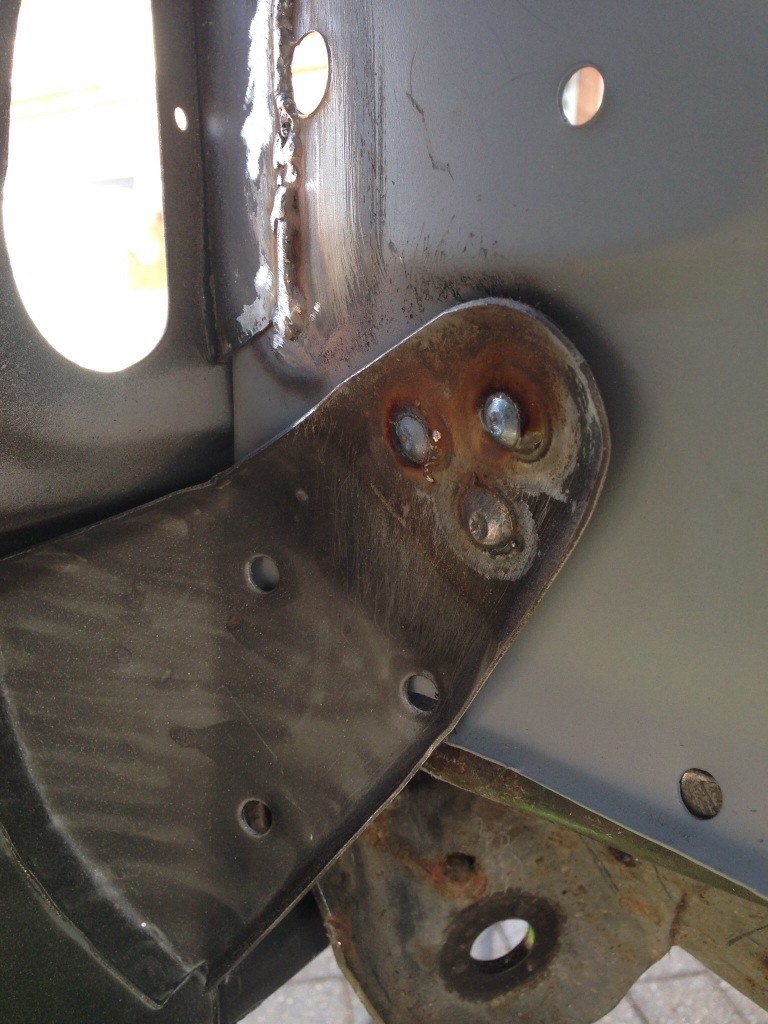
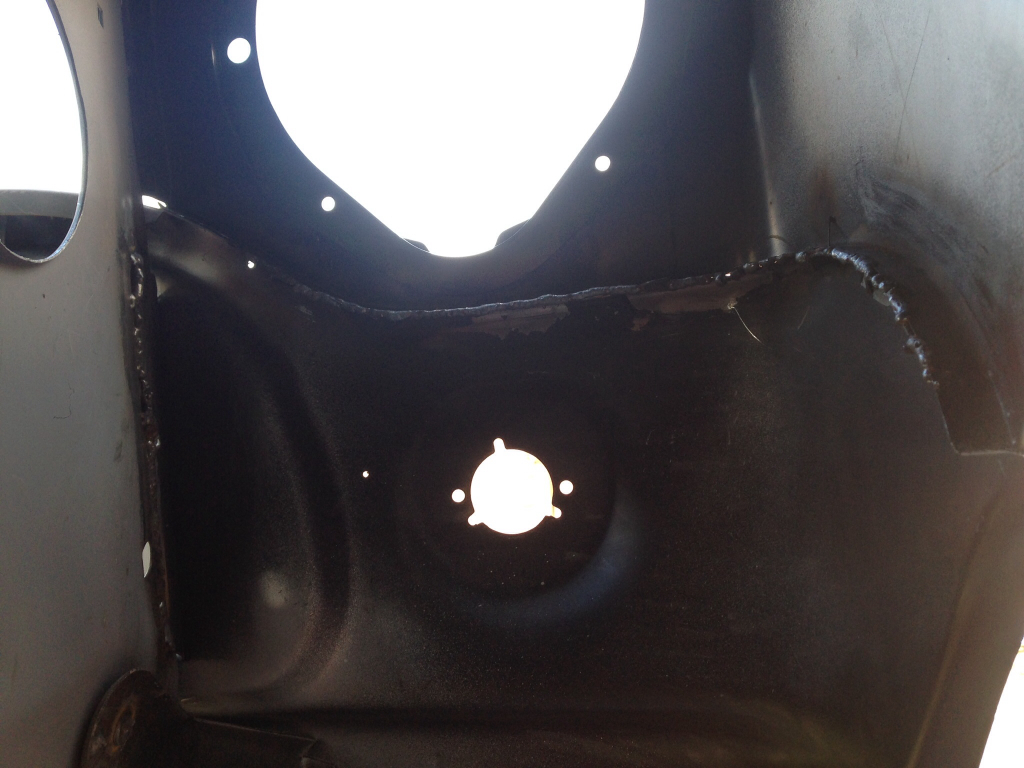
Completely welded the wing to front panel seam to minimise the risk of corrosion -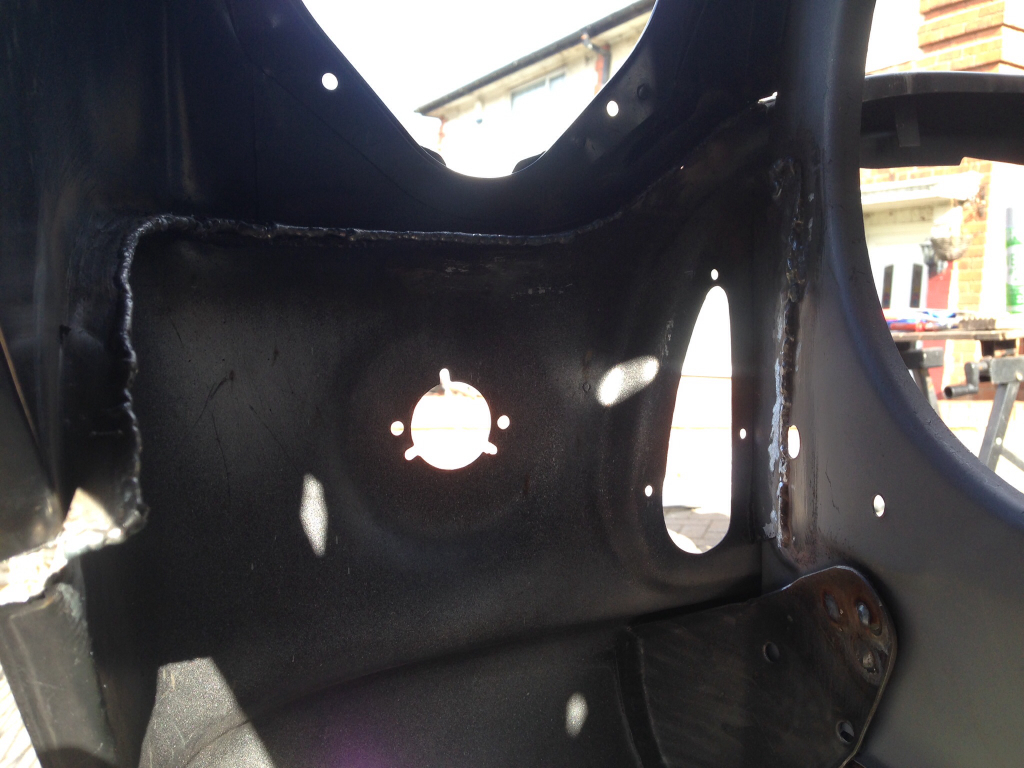
Also had to redo a few of the spot welds Magnum had done on the front panel as they hadn't caught at all -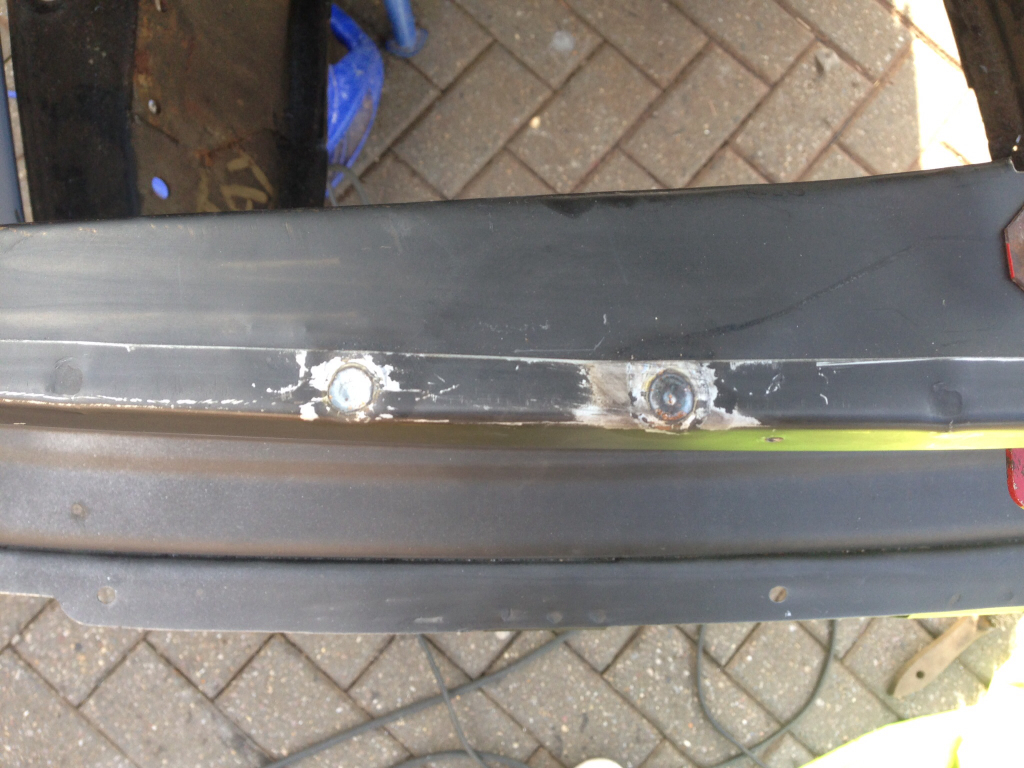
How that all looked with the bonnet placed on -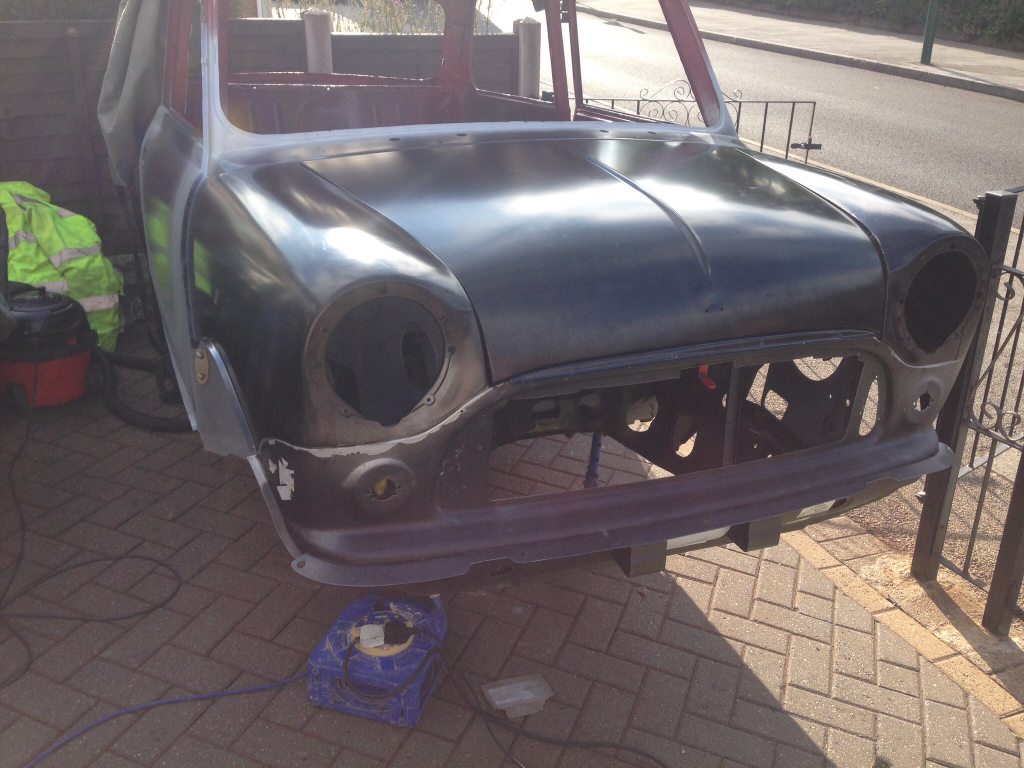
Next up was the A-Panels, zinc primed the door post -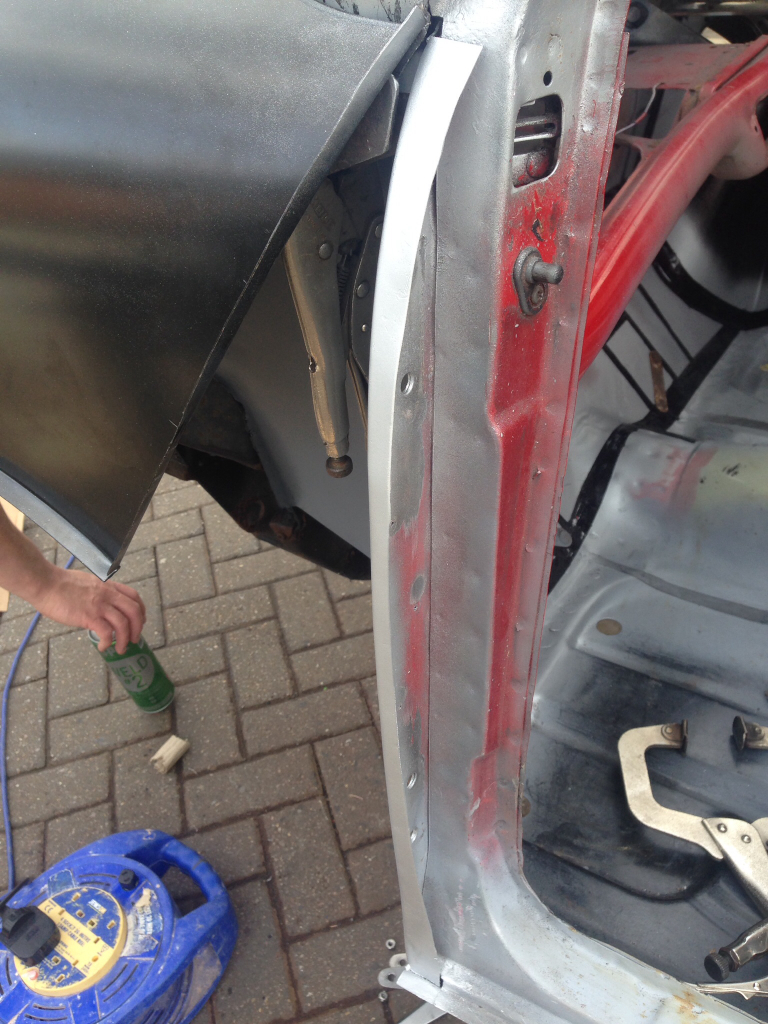
Zinc applied to the A-Panel -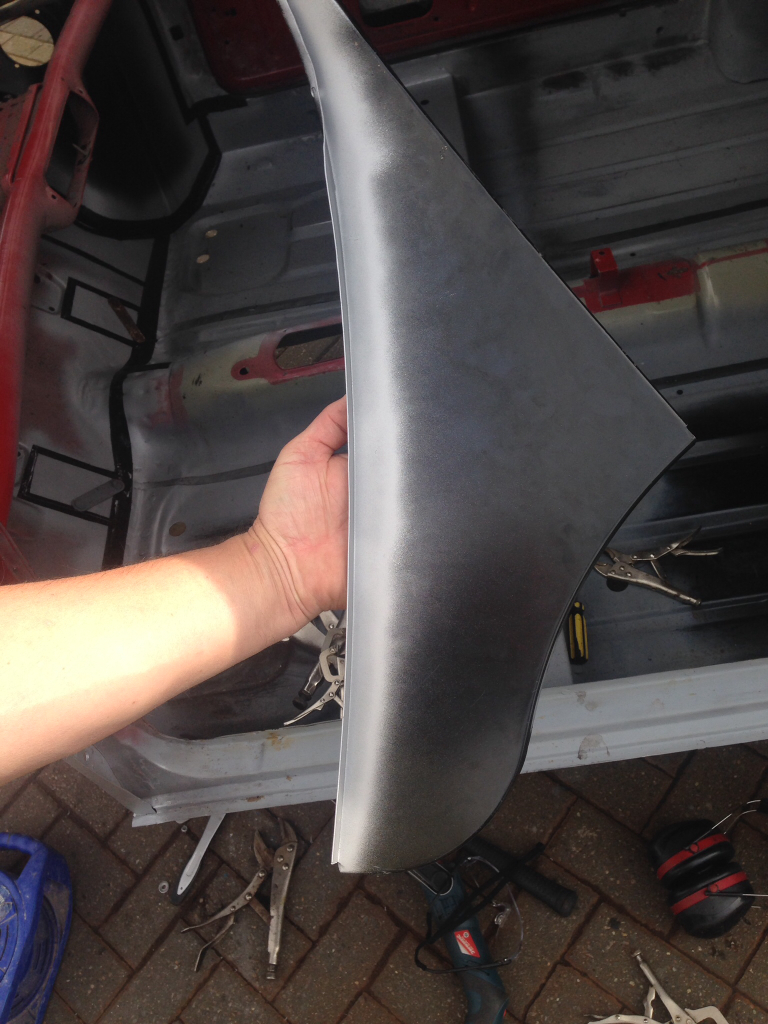
Clamped into place -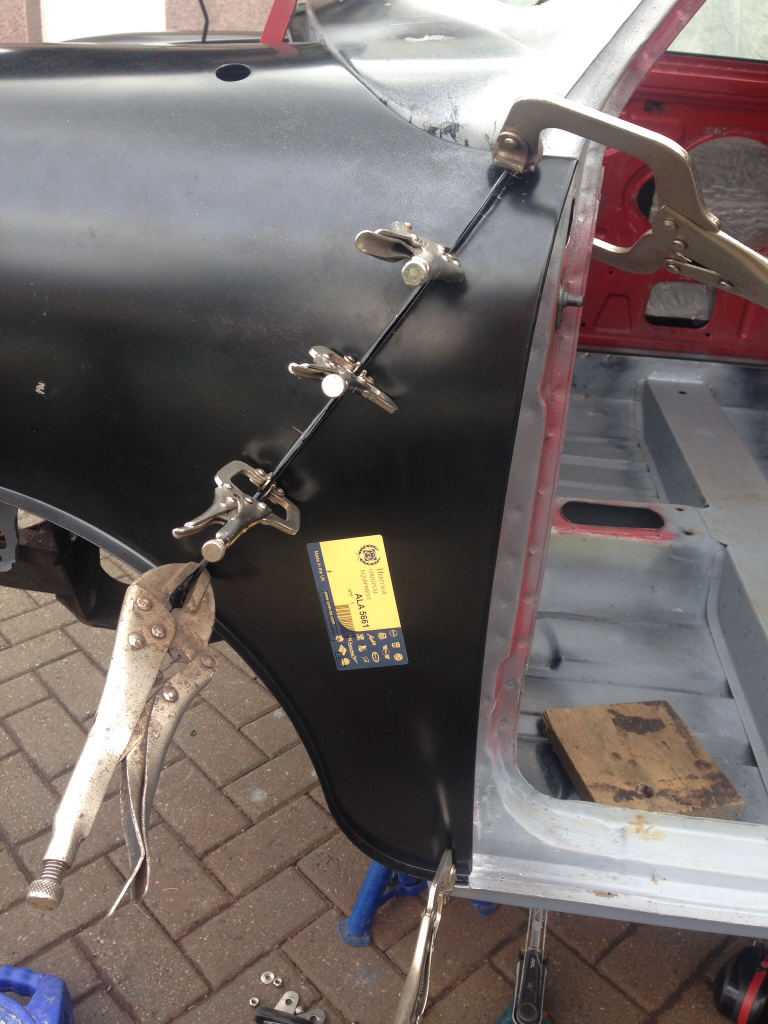
And then folded the lip over using the method shown on this forum, which involves the use of mole grips and a piece of wood. Came out really well -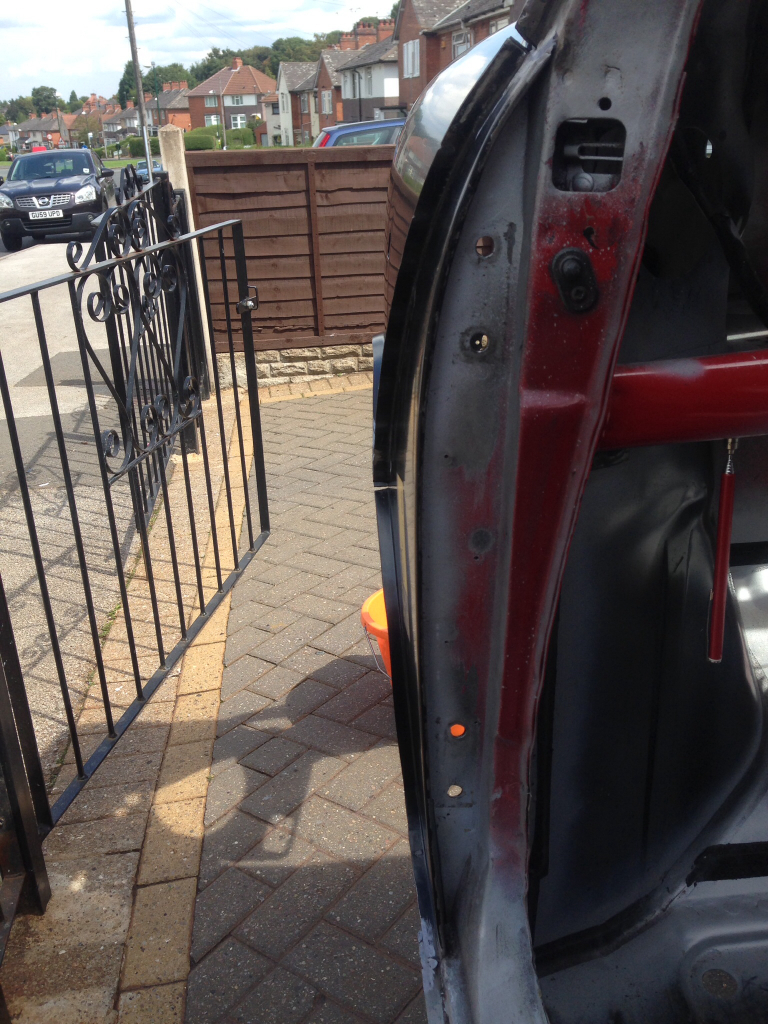
Exactly the same procedure for the other side -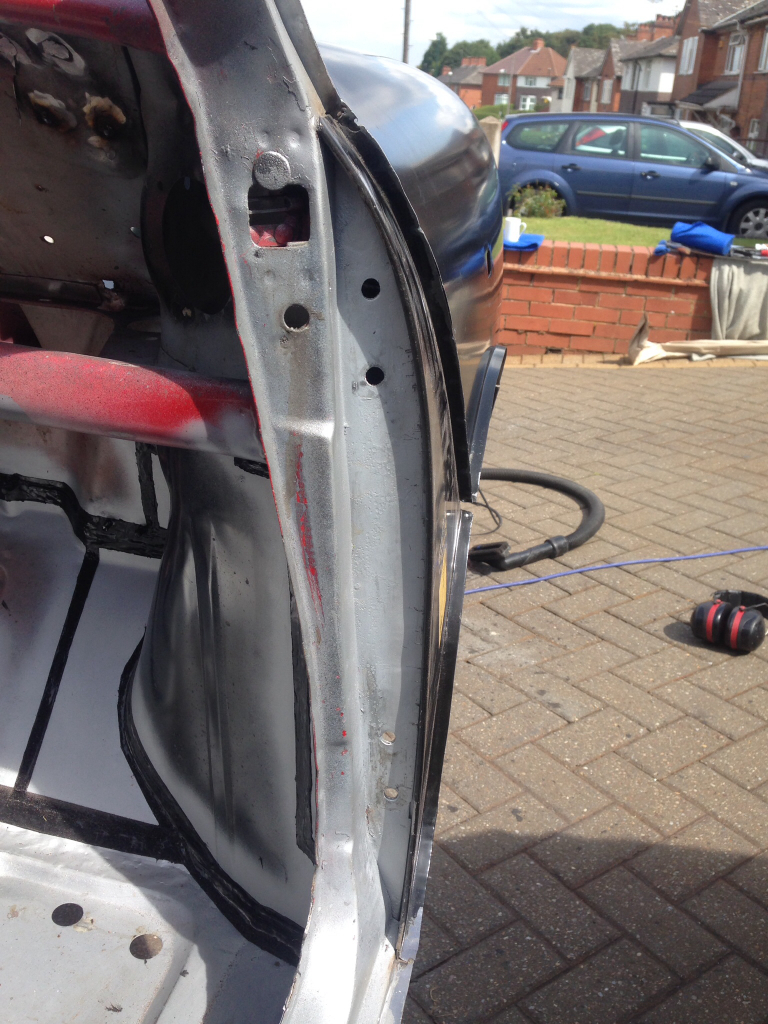
Overall look -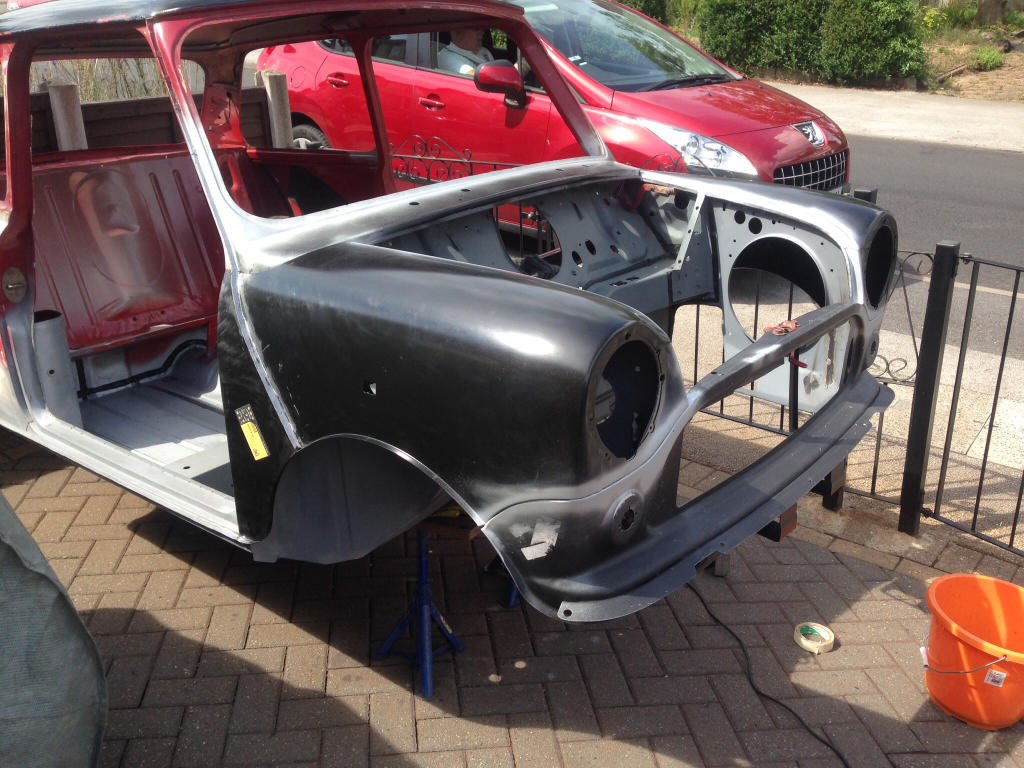
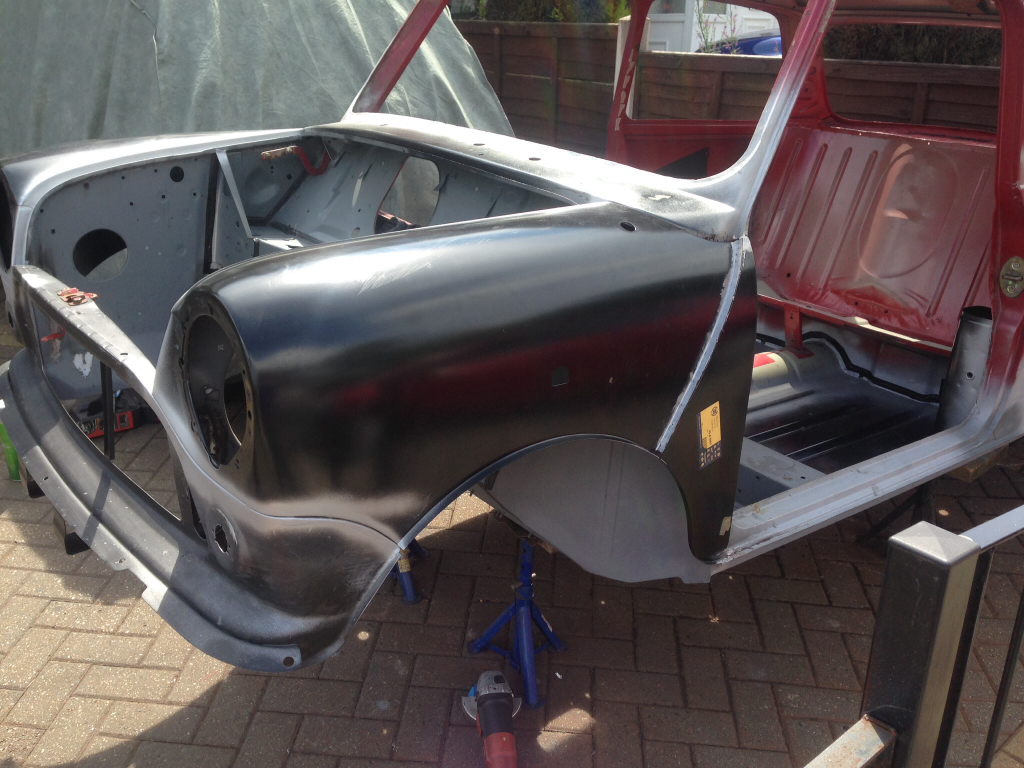
Also gave the welds on the wings a quick grinding down and applied some zinc primer -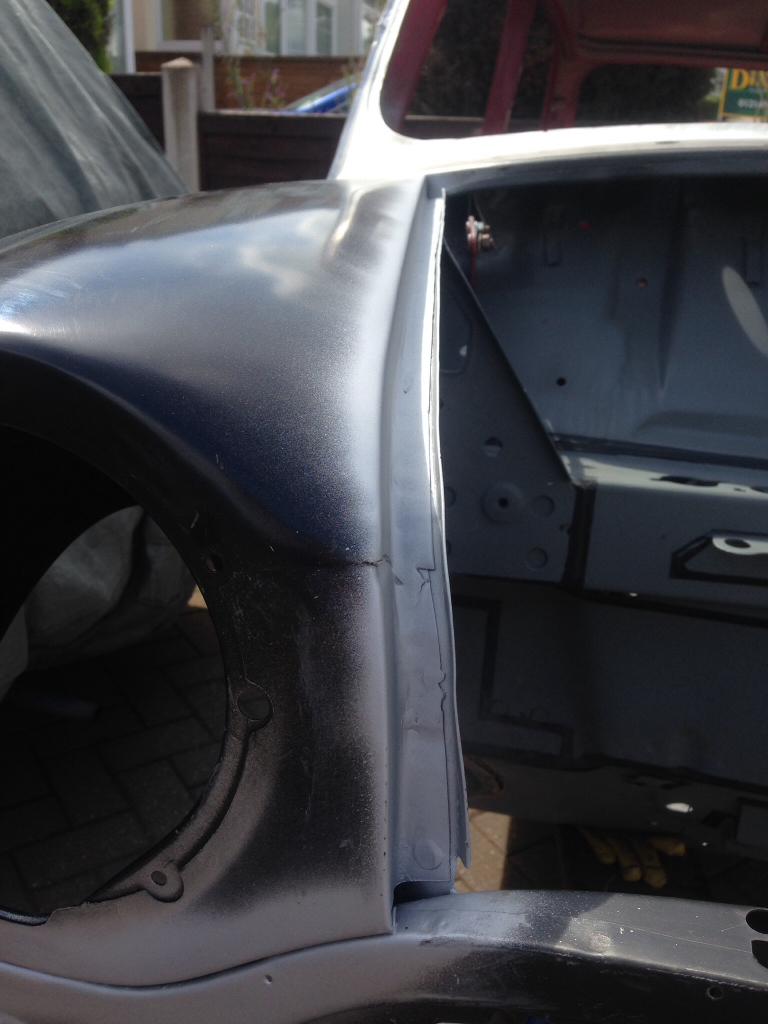
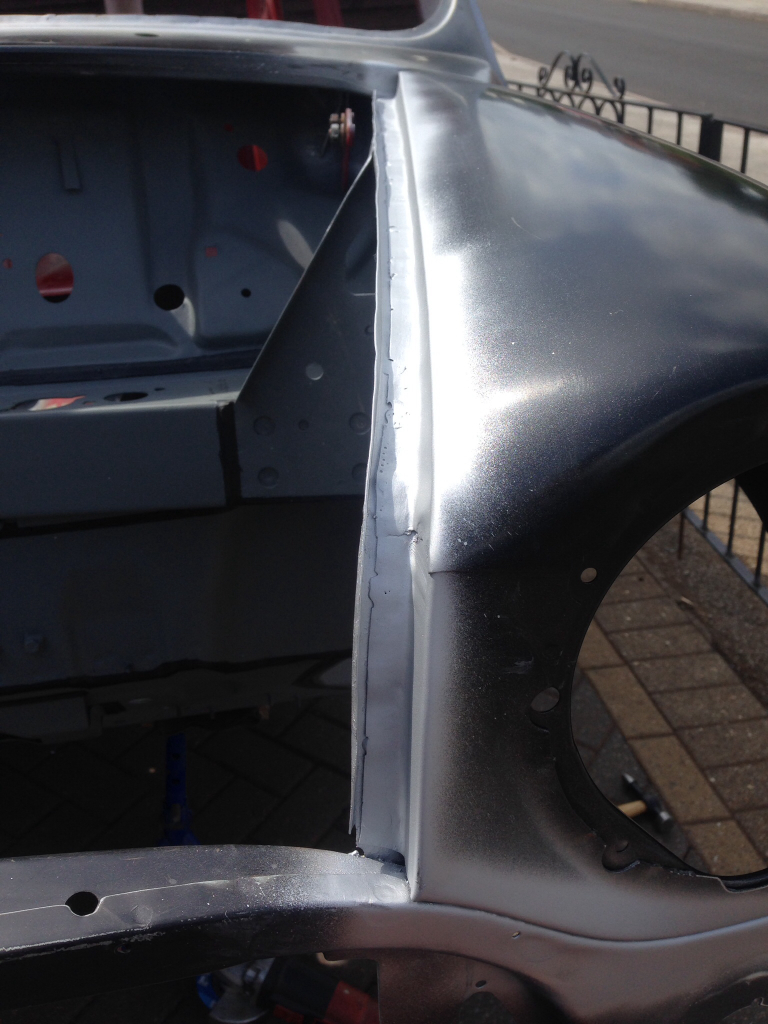
Still not finished with this as I've got a lot of grinding, priming and sealing to do, but at least i now have a complete Mini ! (sort of)
Anyway today we decided to have a look at the door gapping's on the drivers door.
Door to rear quarter -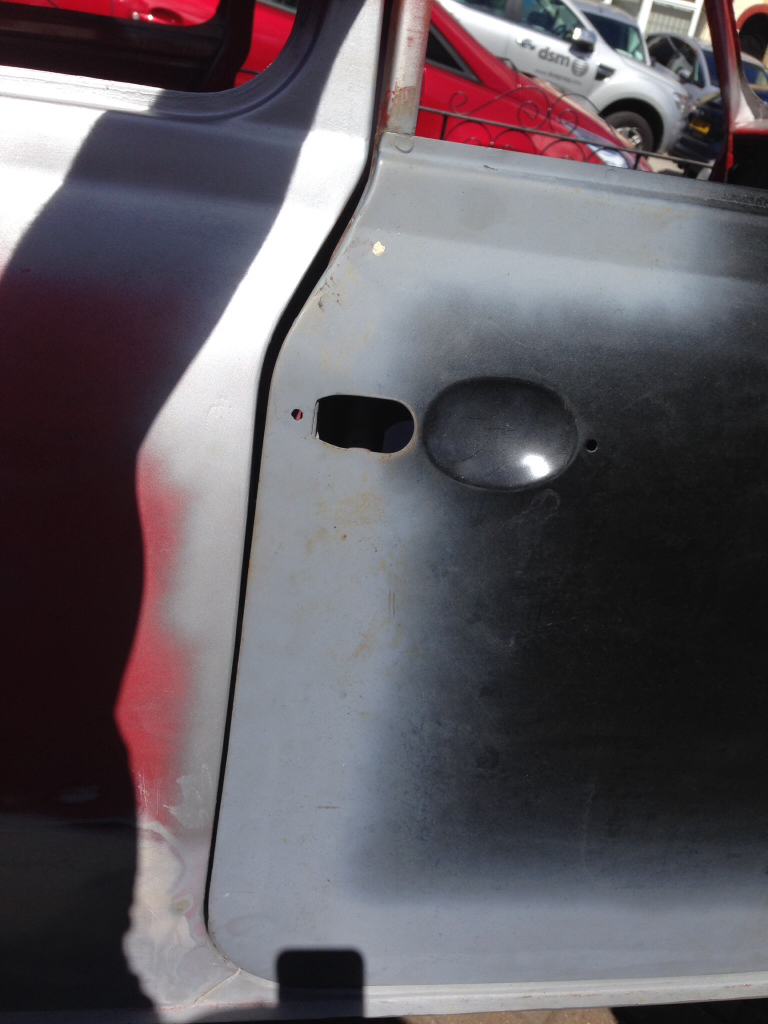
Door to A-Panel, hard to see in the picture as the A-Panel is still in the black E-Coat -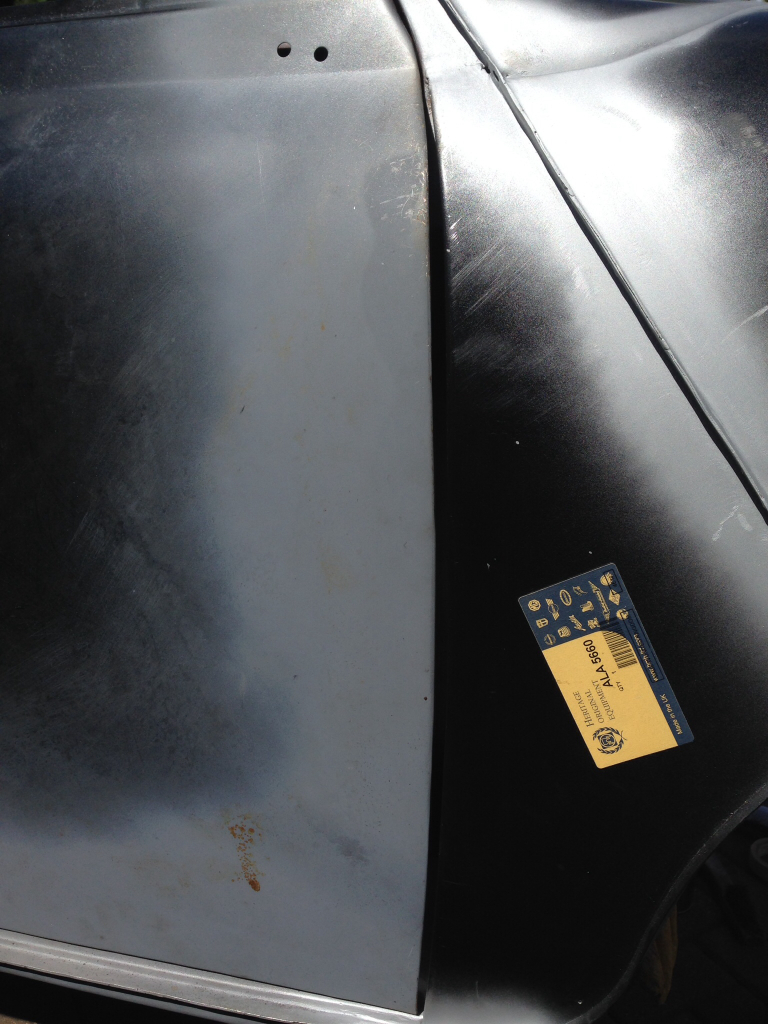
Not brilliant and much to wide for my liking, so we marked out where the problem areas where and tacked welded some weld rod to the door -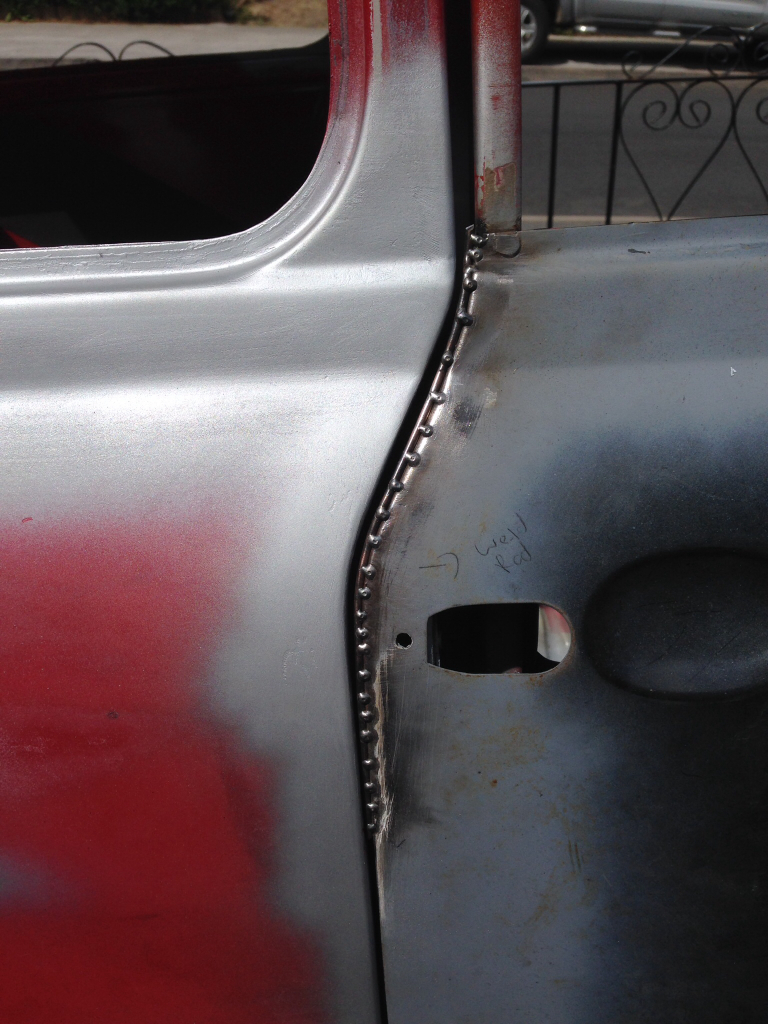
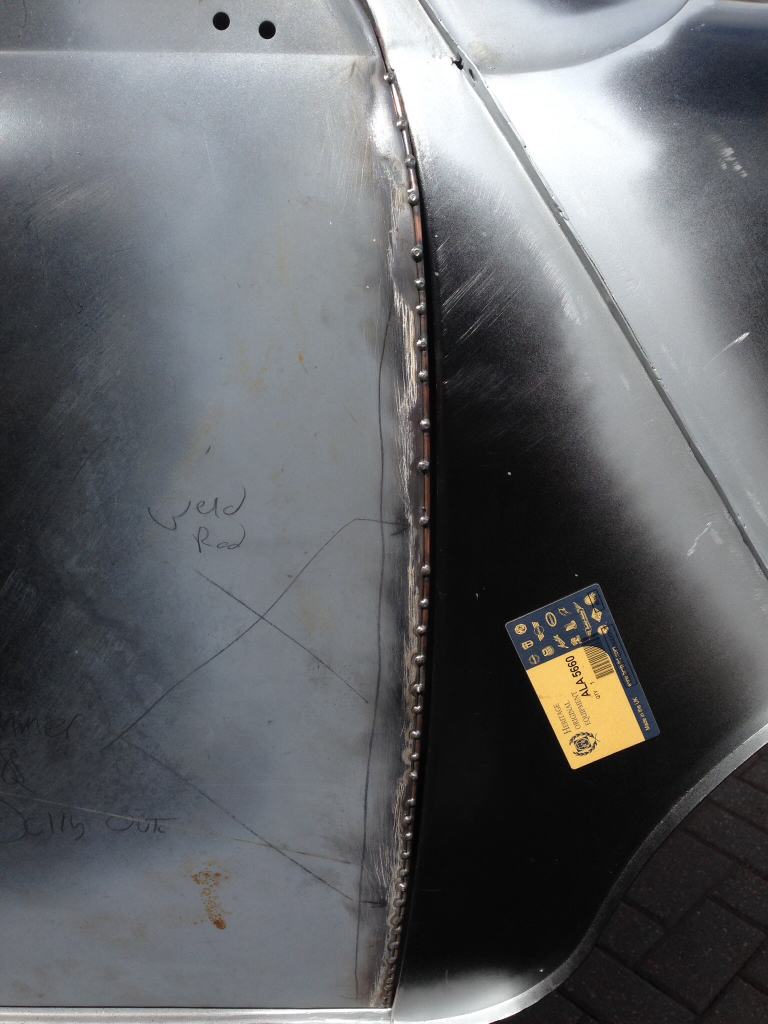
Happy with the general position they where in we took the door off and fully welded the rod to the door front and back -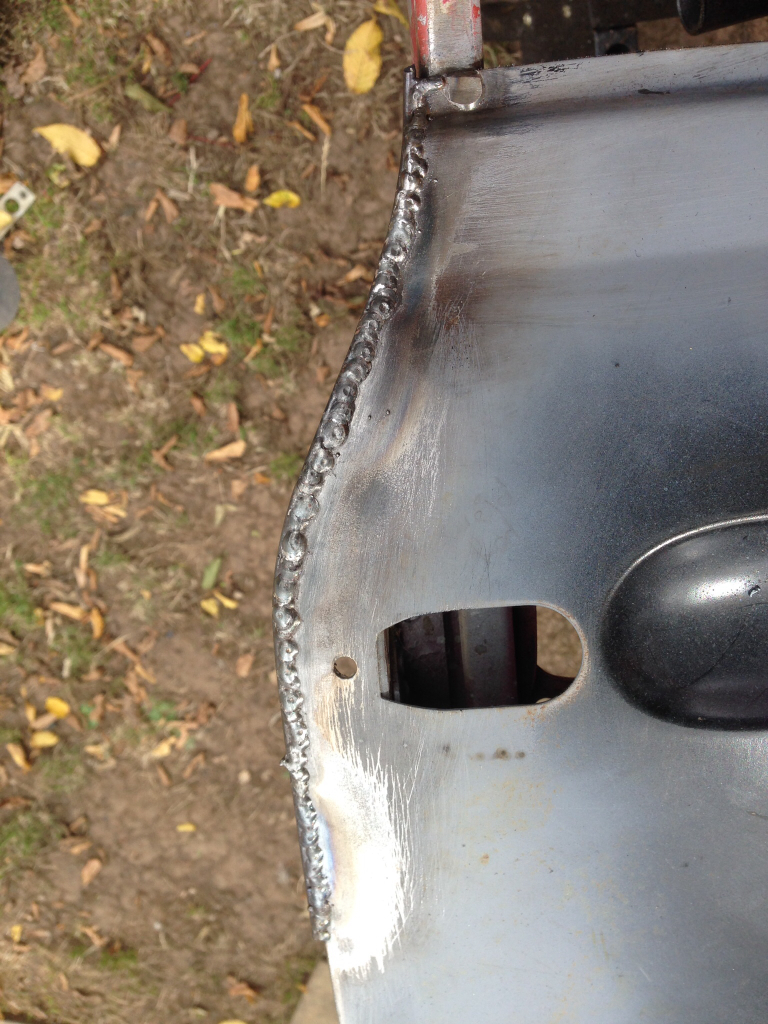
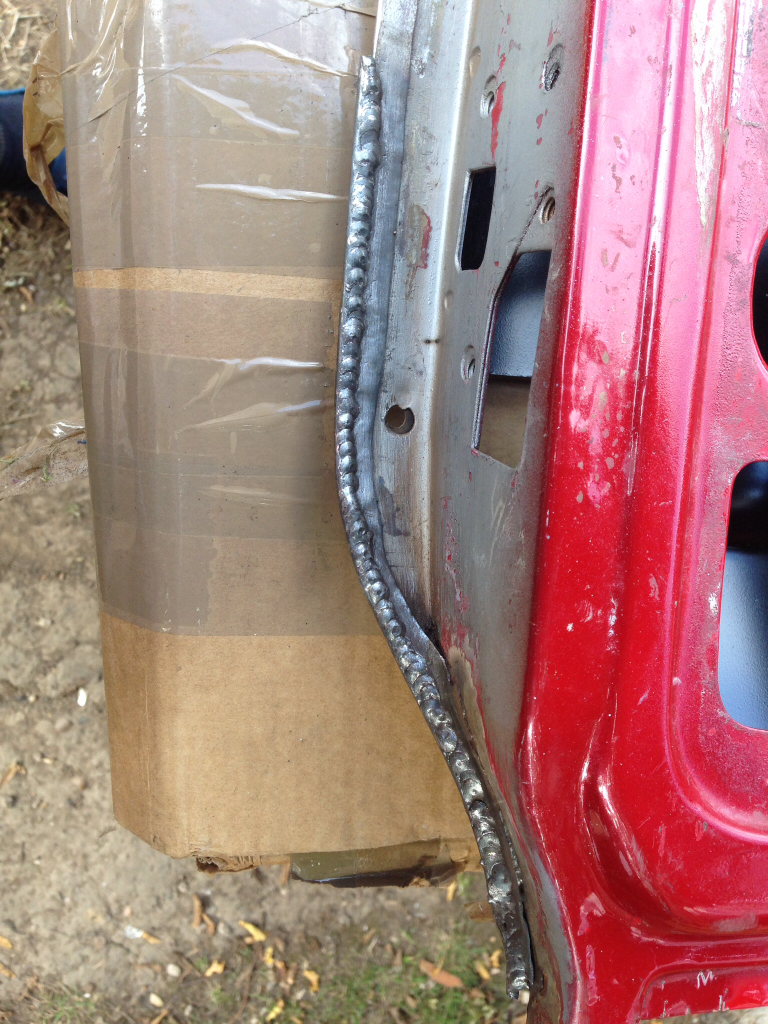
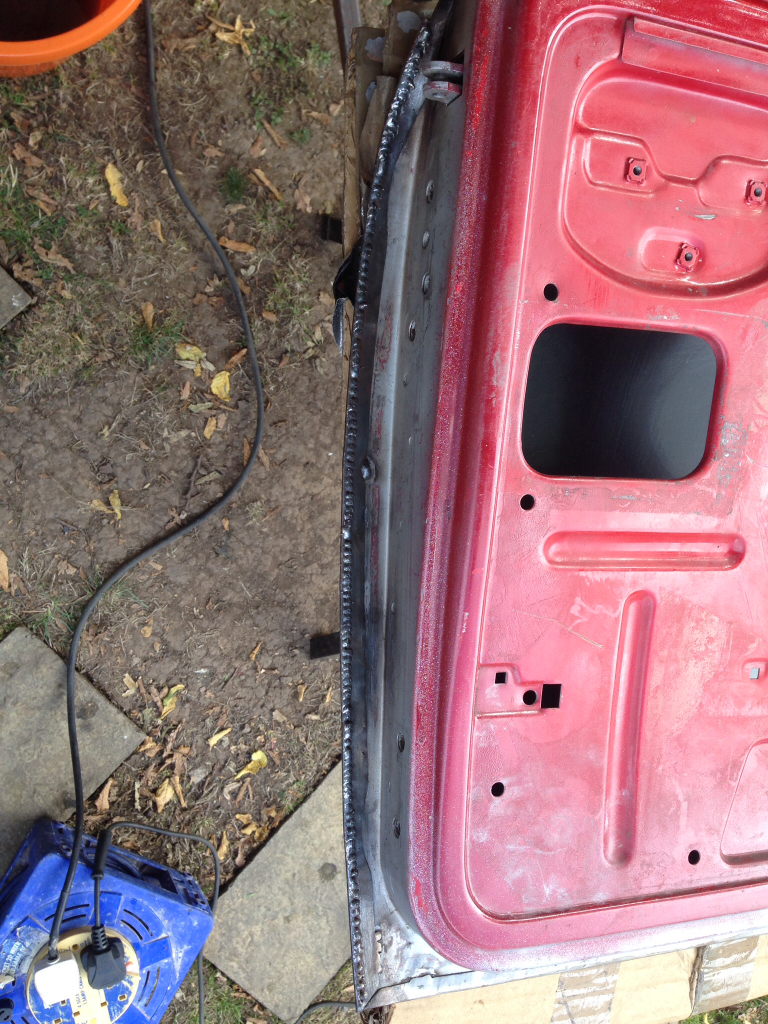
After a quick grind down and a bit of shaping -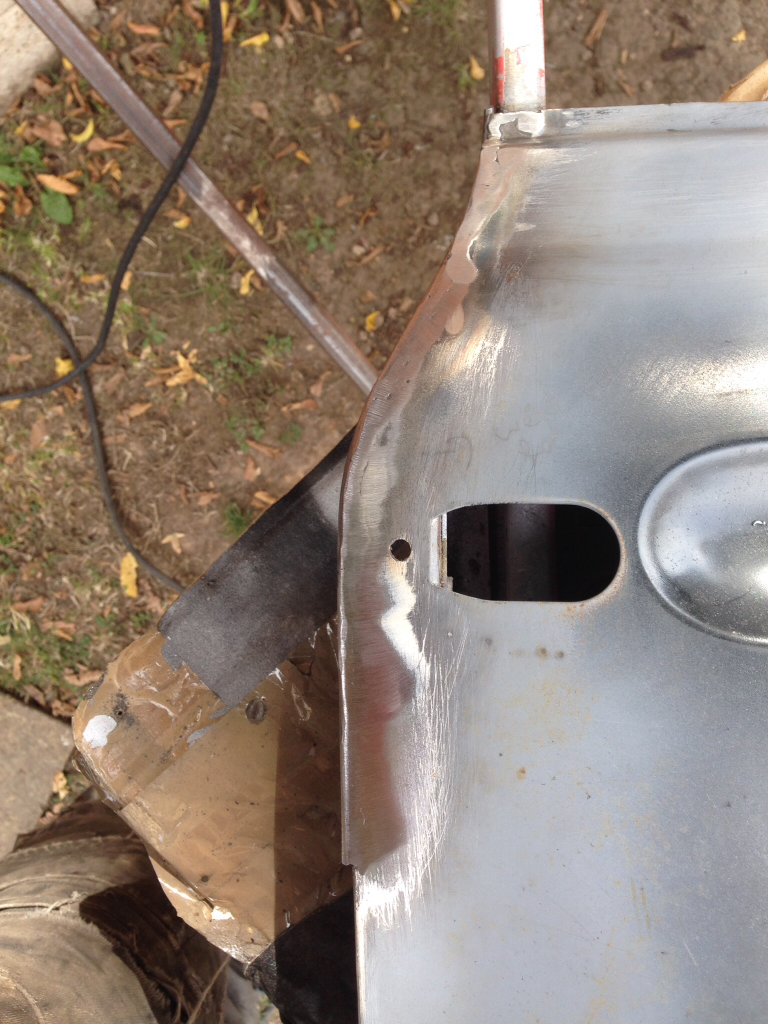
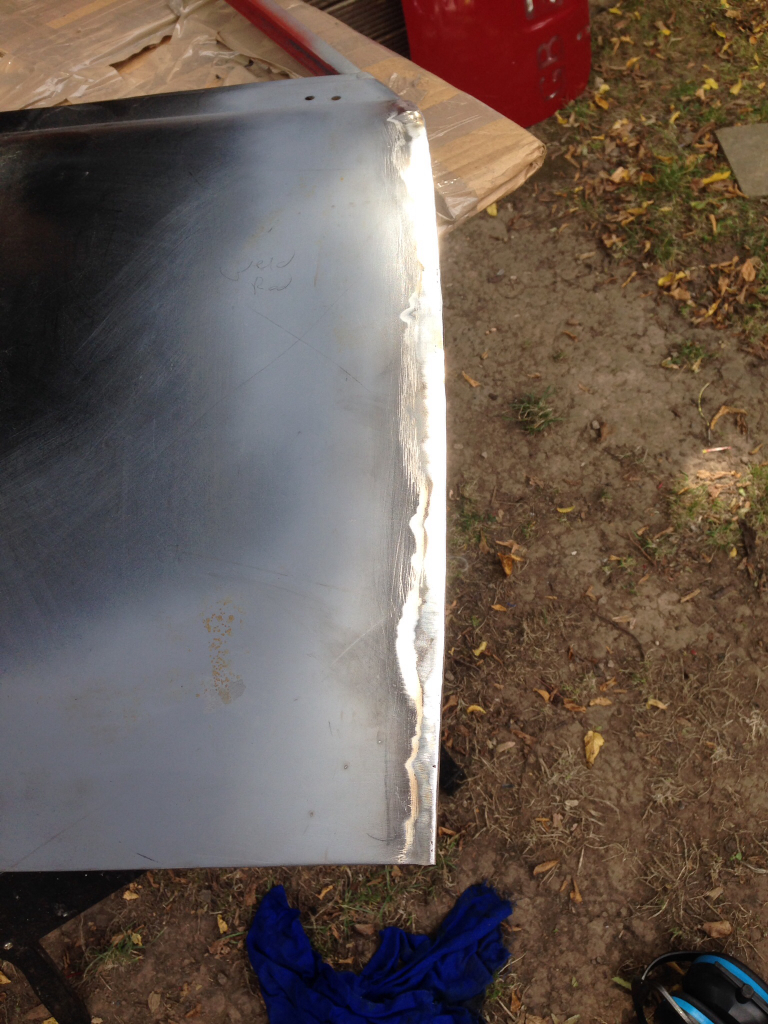
Bolted the door back to the car and we now have this, not 100% finished as I'll still need to tweak it a bit, but a vast improvement non the less -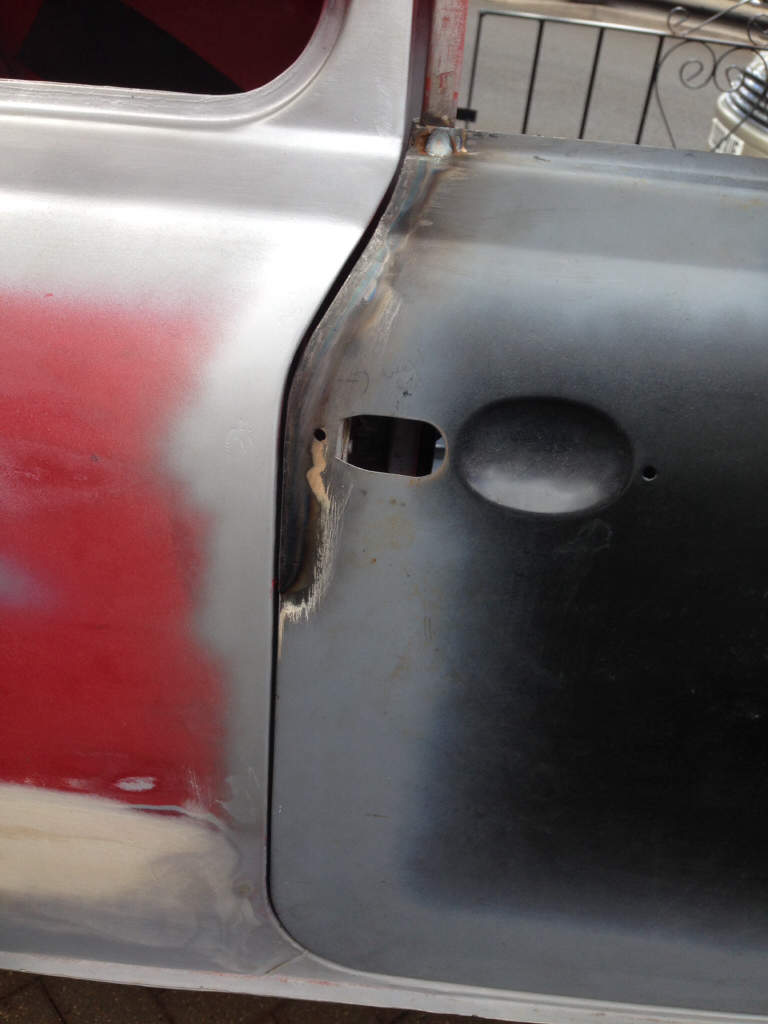
(Again hard to see as the A-Panel is black, will apply some grey primer tomorrow and take a picture, so you'll hopefully be able to see the gapping a lot easier) -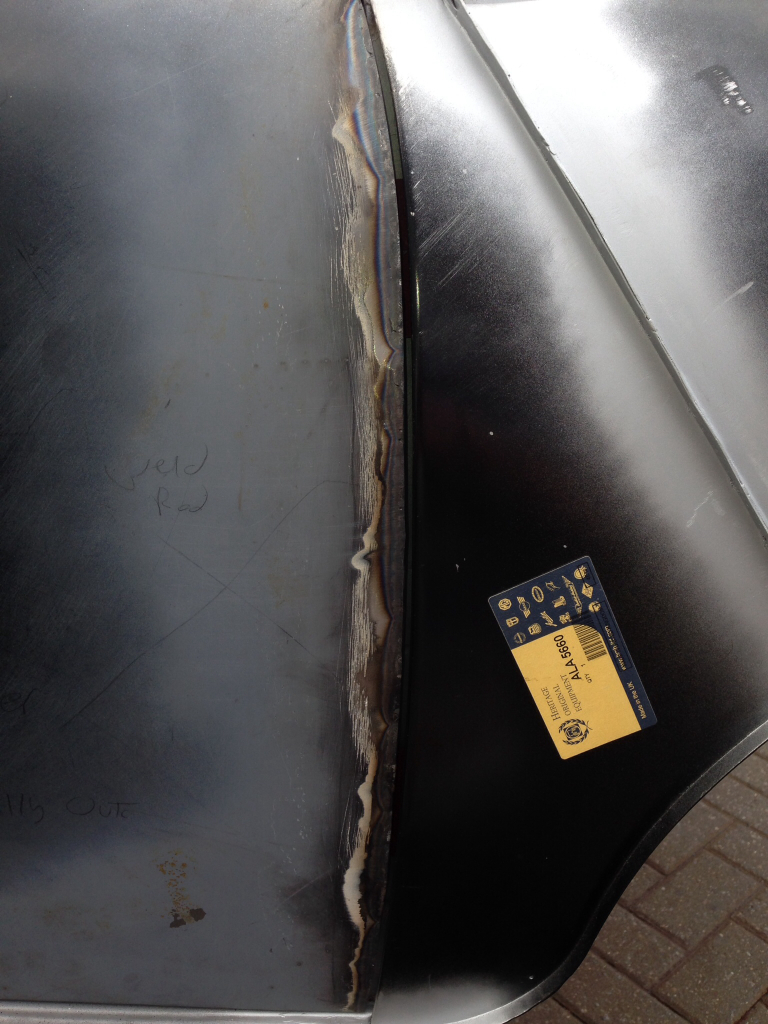
Not to much left to do now, just the passenger door gaps to sort and then all the tedious jobs like sealing and what not.
We'll be phoning the place that's going to be painting her on Monday to book her in, probably looking around the middle of this month so that should give me enough time to finish the last few jobs !