You must be logged in to rate content!
11 minute(s) of a 358 minute read
6-16-2014
Update,
Bit of engine work today as I didn't feel like working on the shell, got a few bits tidied up and back on the engine, starting to come together now
Here's a quick pic from yesterday though, sanded and primed up the outer sill and doorstep -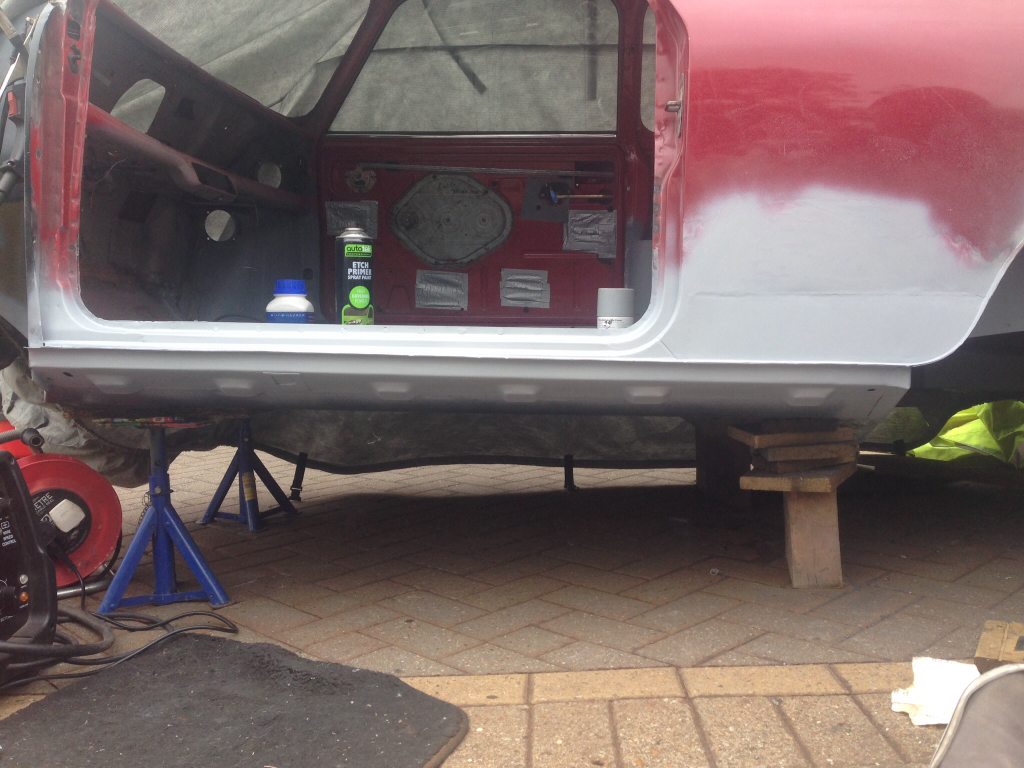
So, to today's progress, wire brushed and painted up the clutch parts, new thrust bearing, new O ring, new pins and new split pins. Also greased up the hole where the arm sits -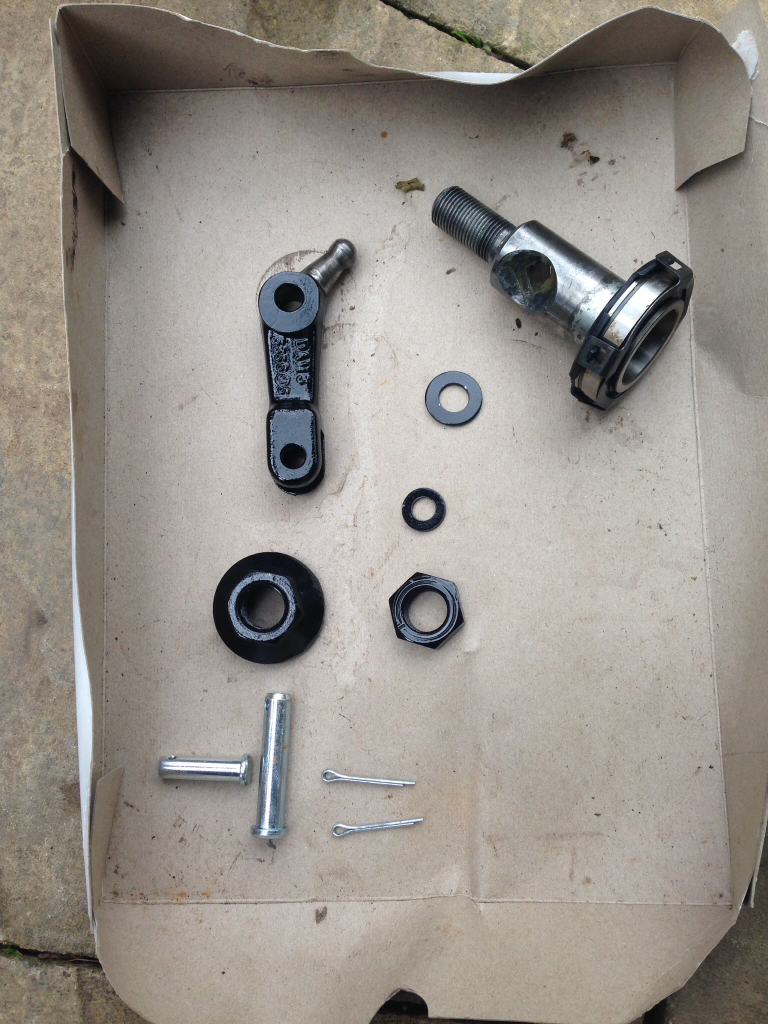
Fitted back into the bell housing -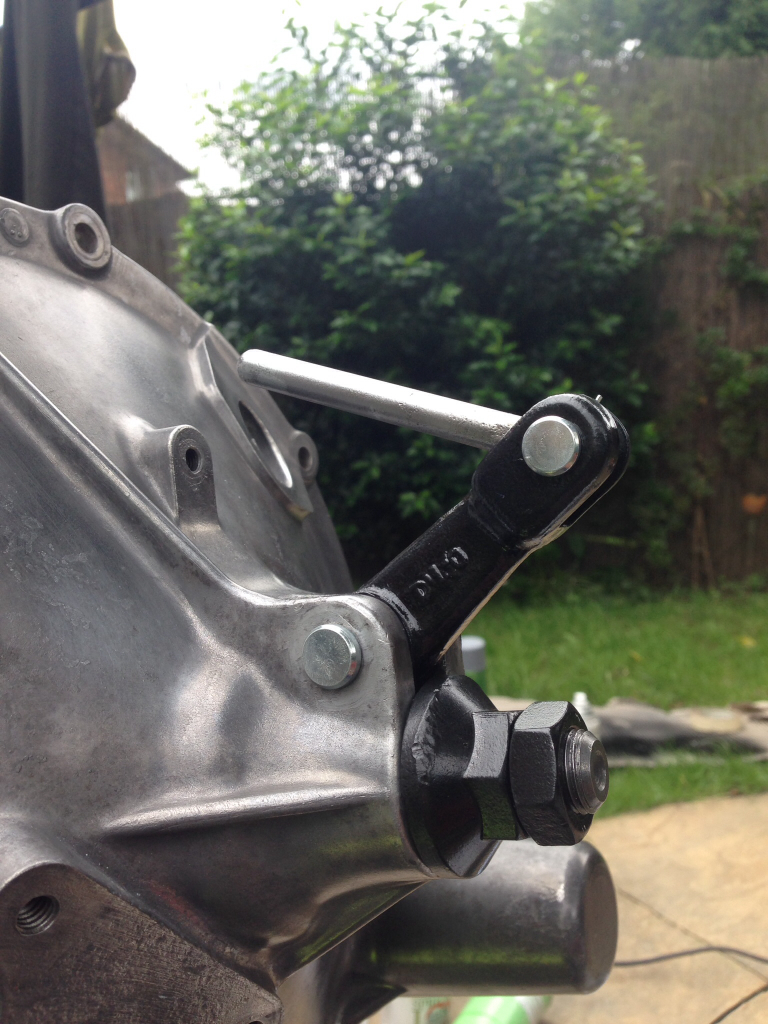
Fitted back onto the engine with new Smiffys stainless bolts, torqued down and the end float set to the correct distance (6.5 mm according to the Haynes manuel) -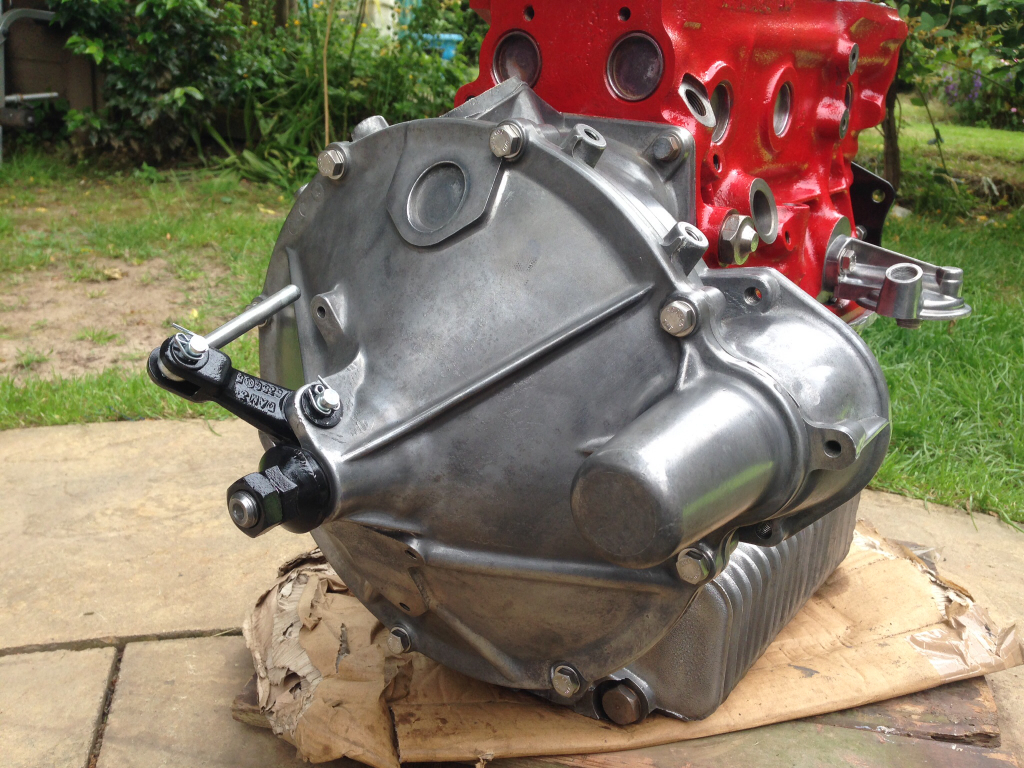
Next up was the timing cover, primed the chain and sprockets with oil and wire brushed all the bolts. Then I centred the cover using the crankshaft pulley and screwed the bolts in finger tight, removed the pulley and then torqued down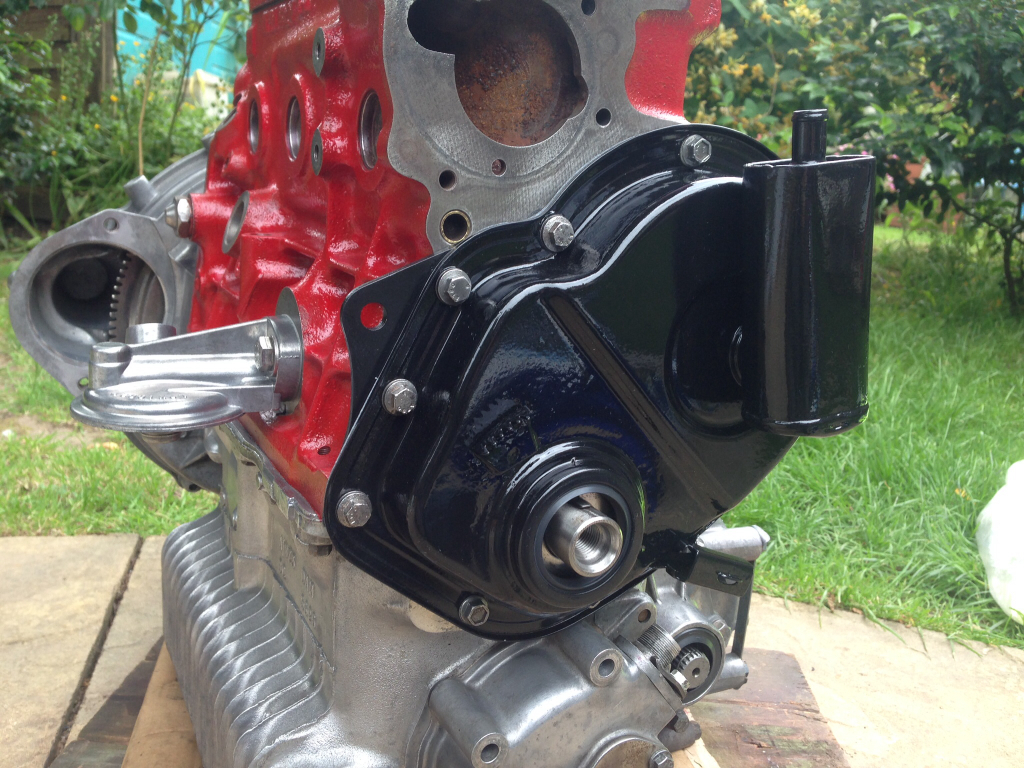
Then I cleaned up the engine mounting and fitted that back to the block -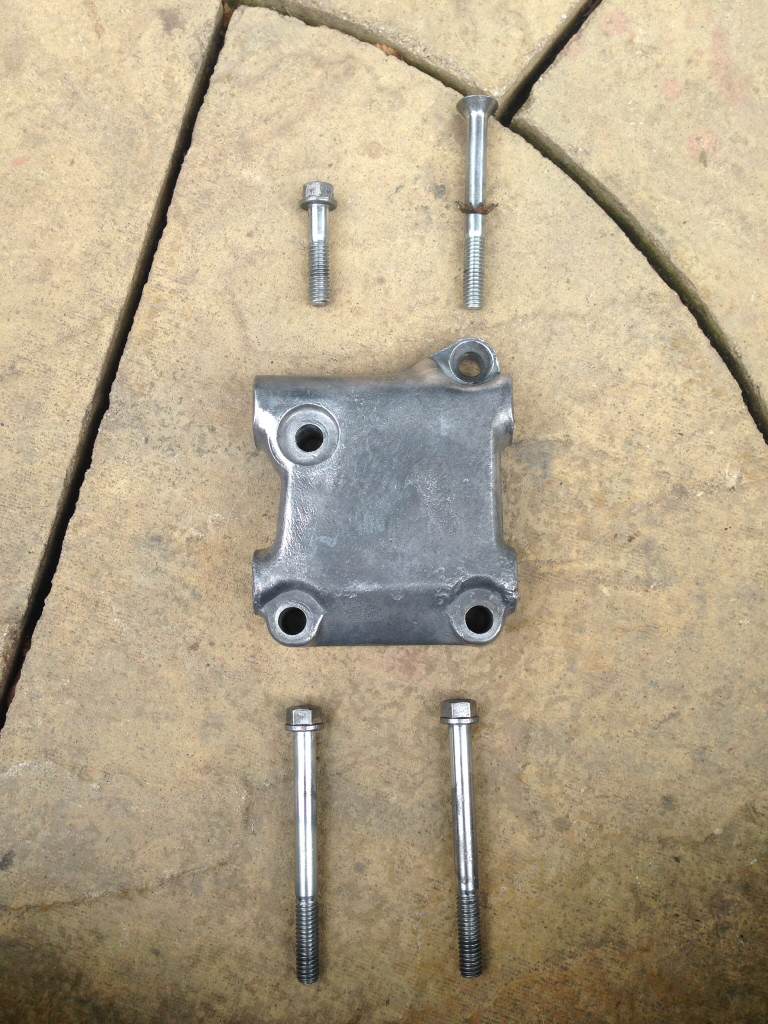
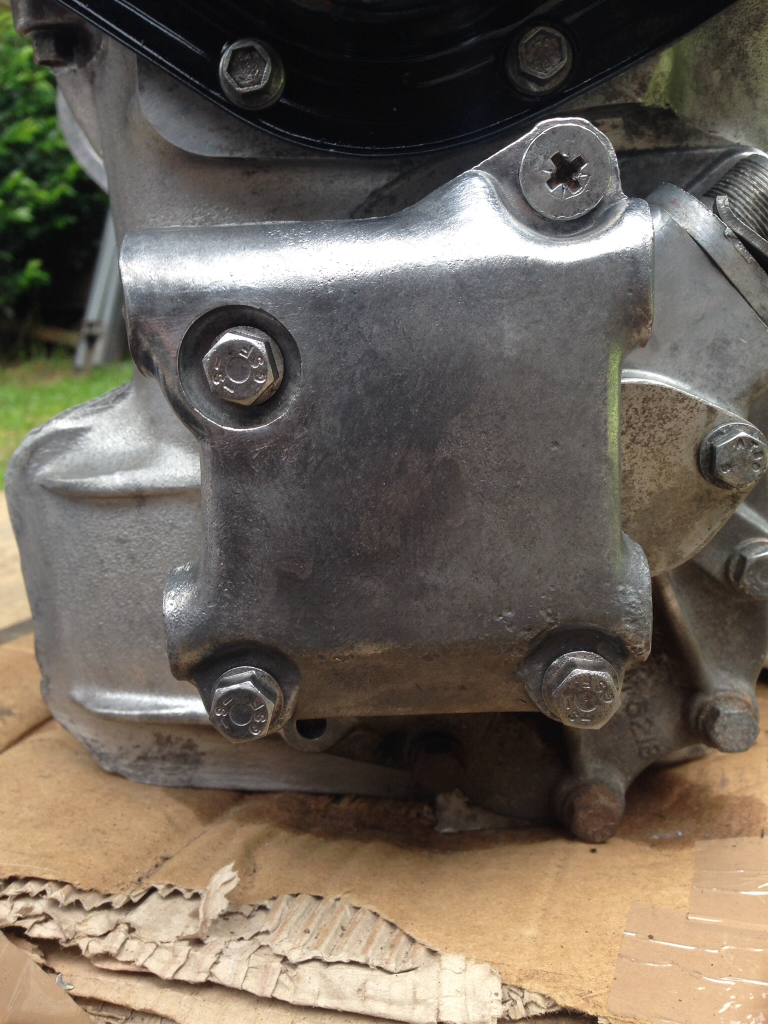
New bypass hose, (new water pump to be bought soon) -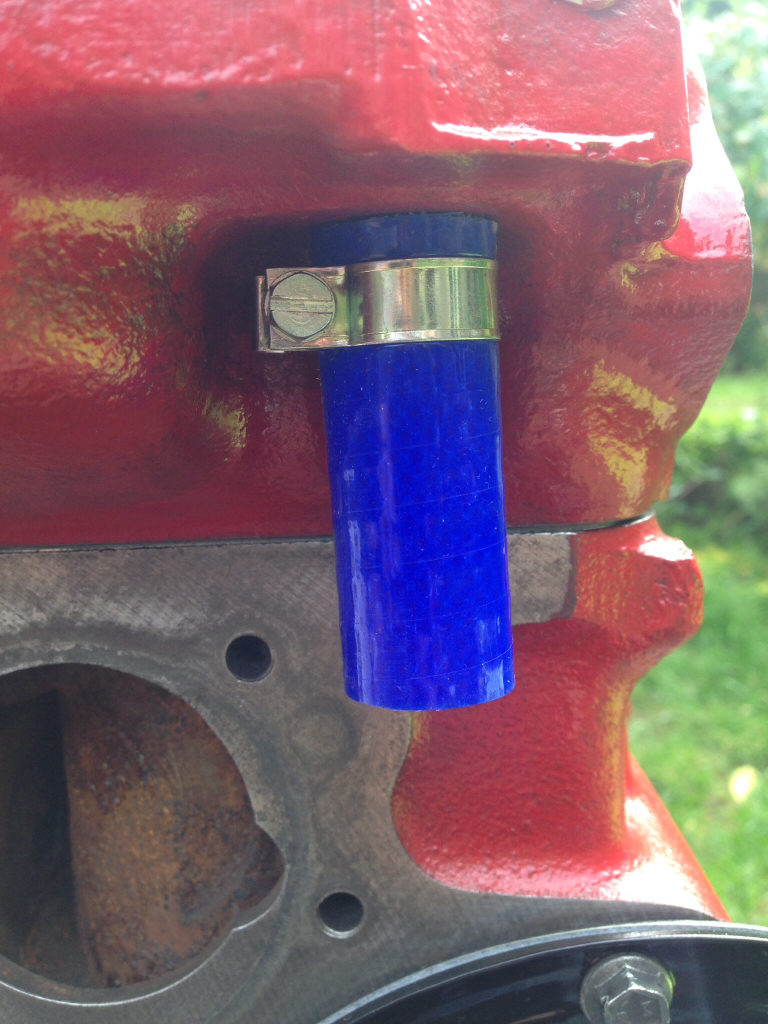
New temperature sender -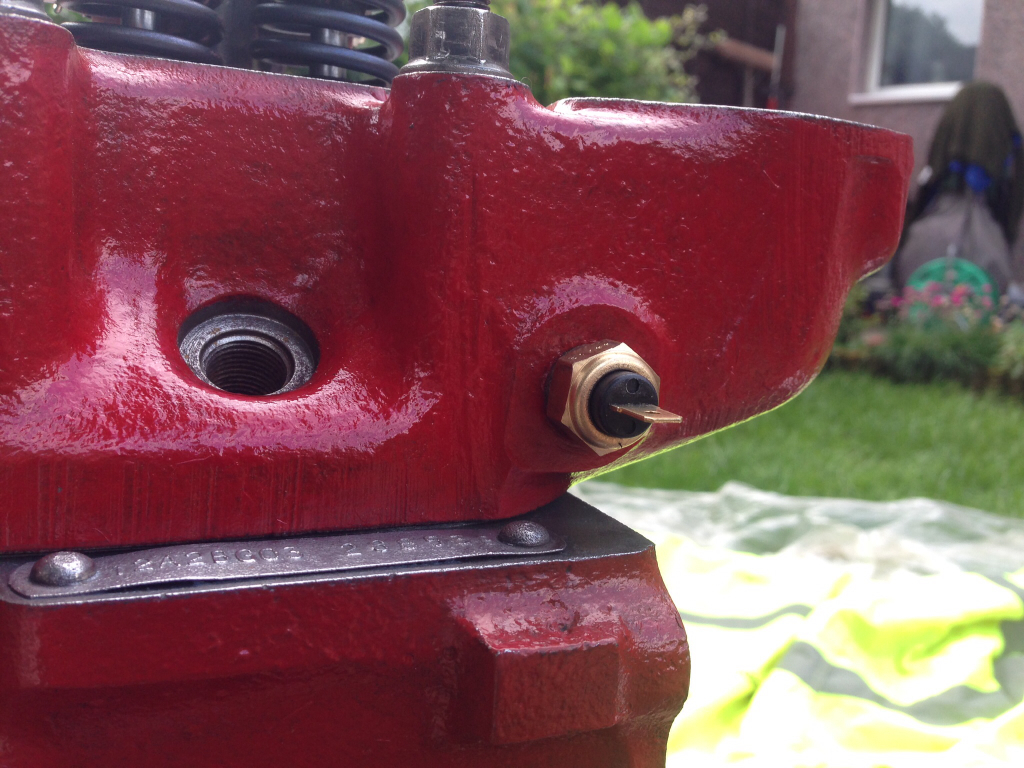
And I also touched up the block with some red paint where it was needed. Here's a few snaps of where I'm at now -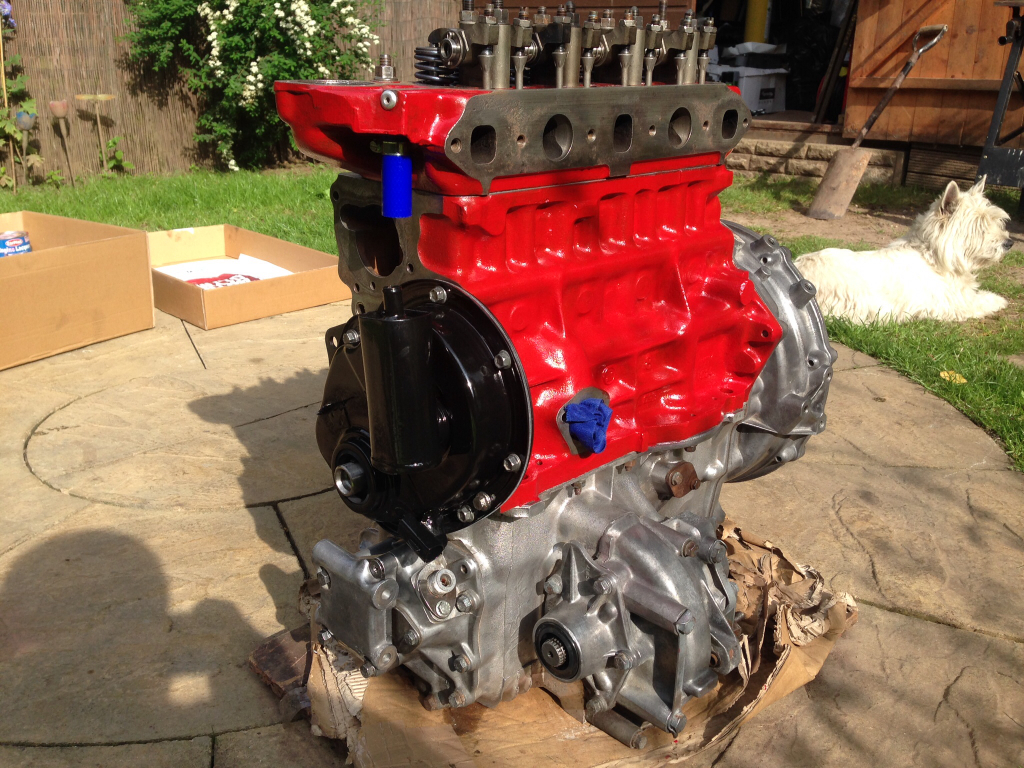
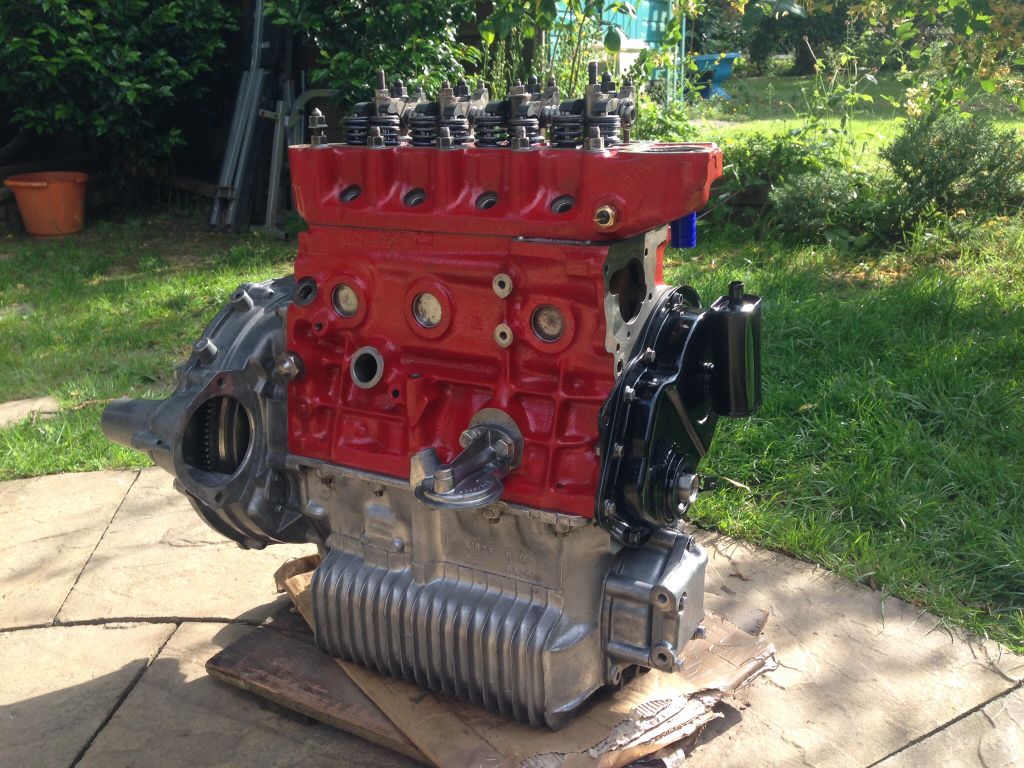
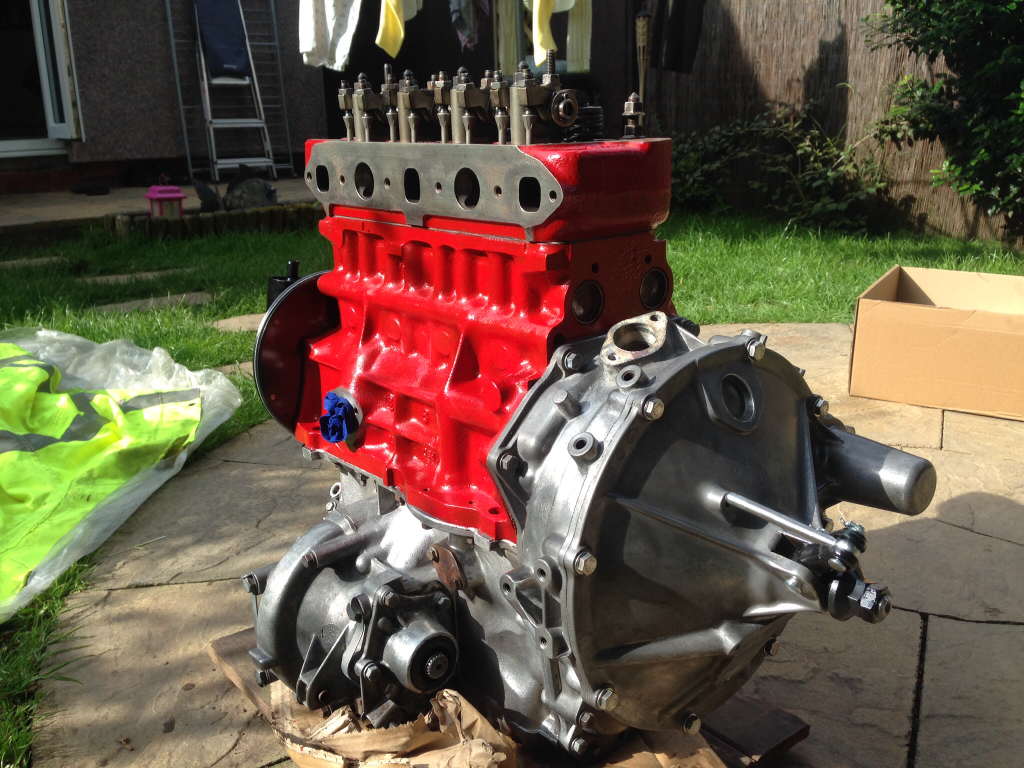
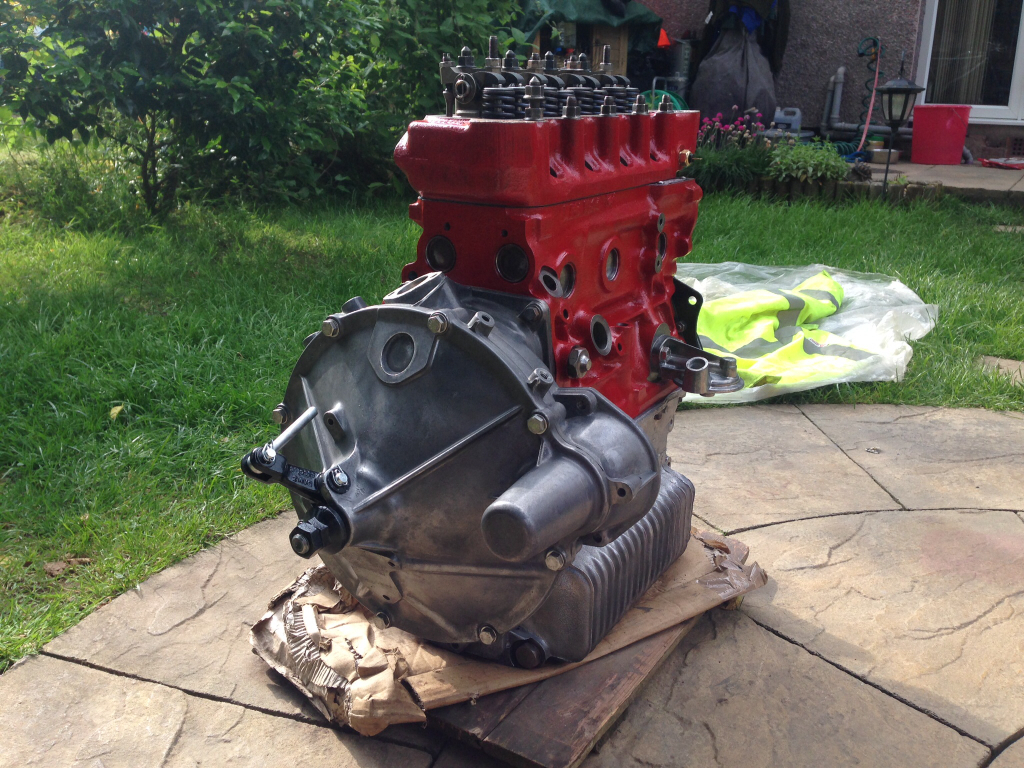
That's all i got done today, spent most of the day looking through the Haynes manual for torque settings !
I've also got a quick question, does anyone know what the torque setting for the timing cover bolts is. There's two settings in the Haynes manual (1/4 - 7nm & 5/8 - 16nm) and I don't know which I need. My bolts need a 3/8 socket to tighten them so are both of those settings above irrelative to me ? If so what do I need to torque them to, as I've currently torqued them to the higher 16nm, kind of confused about this so any help would be great !
6-21-2014
Update,
Removed the drivers side toe board corner today, the rot is a fair bit worse then I expected it to be.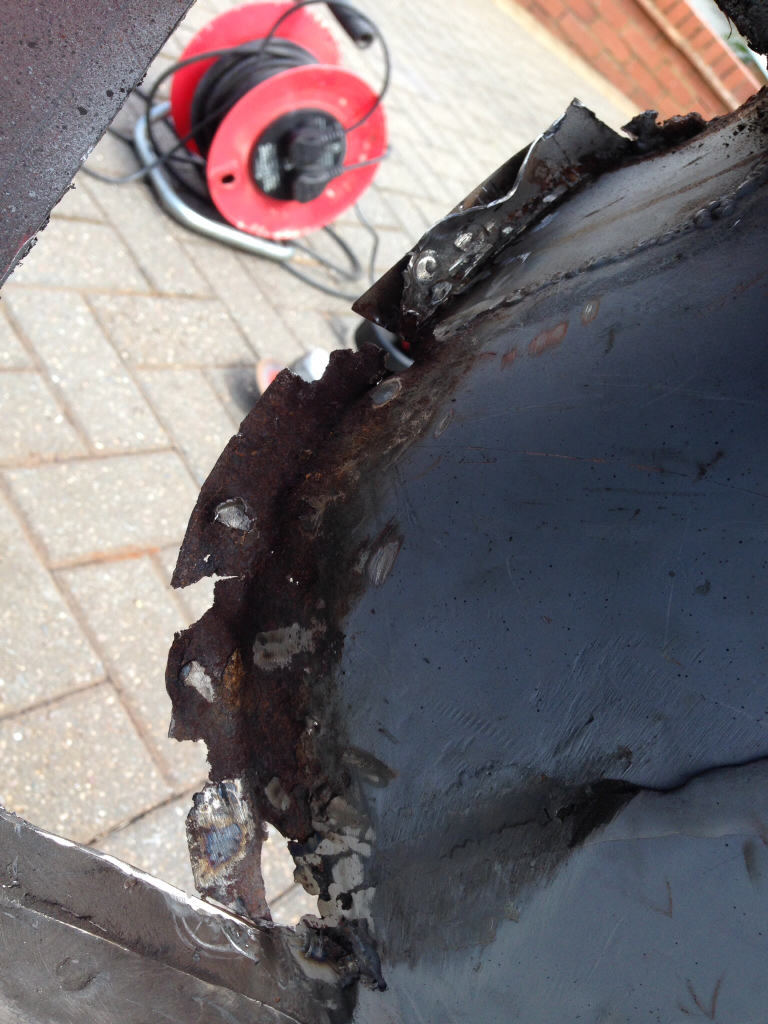
As you can see from the picture, where I've removed the toe board lip it's completely rotted the flitch out. Looked fine from the outside, very deceiving.
View from the outside, the lower bulkhead is going to need a repair as it's also rotten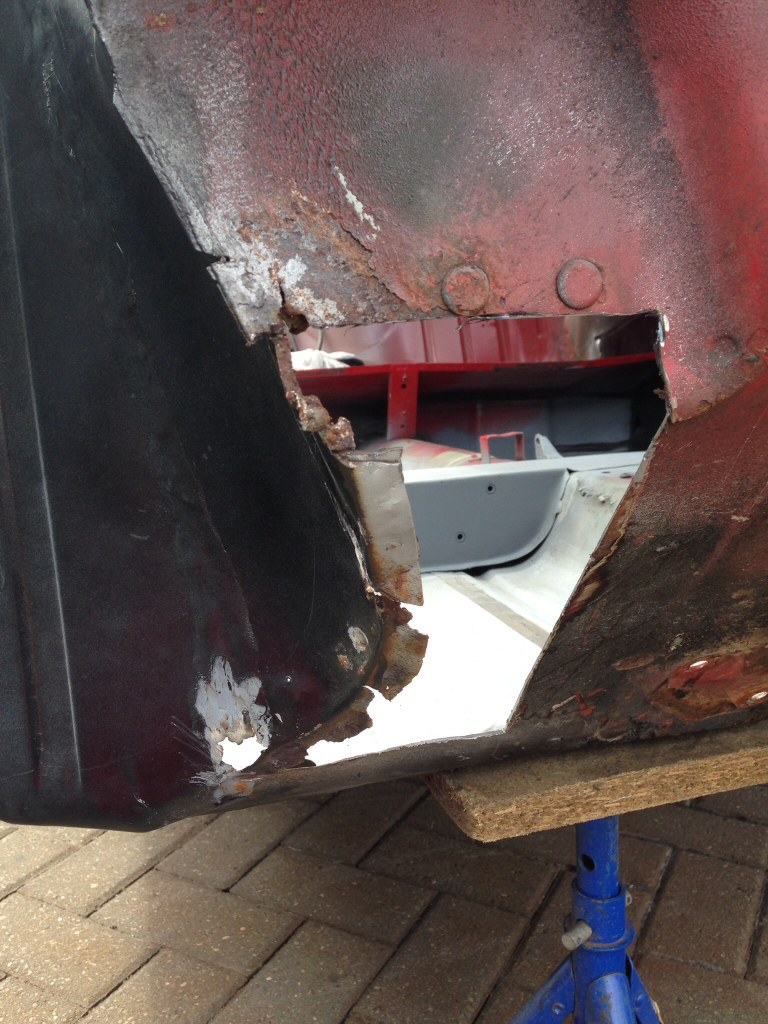
I sat back and had a good look at it, and decided I just WAS NOT happy with the repairs that I've made. Me and my dad have put so much effort into rebuilding this car that I think it's only right that I do the repair properly. It probably wouldn't bother most, but it bothers me.
So I did this -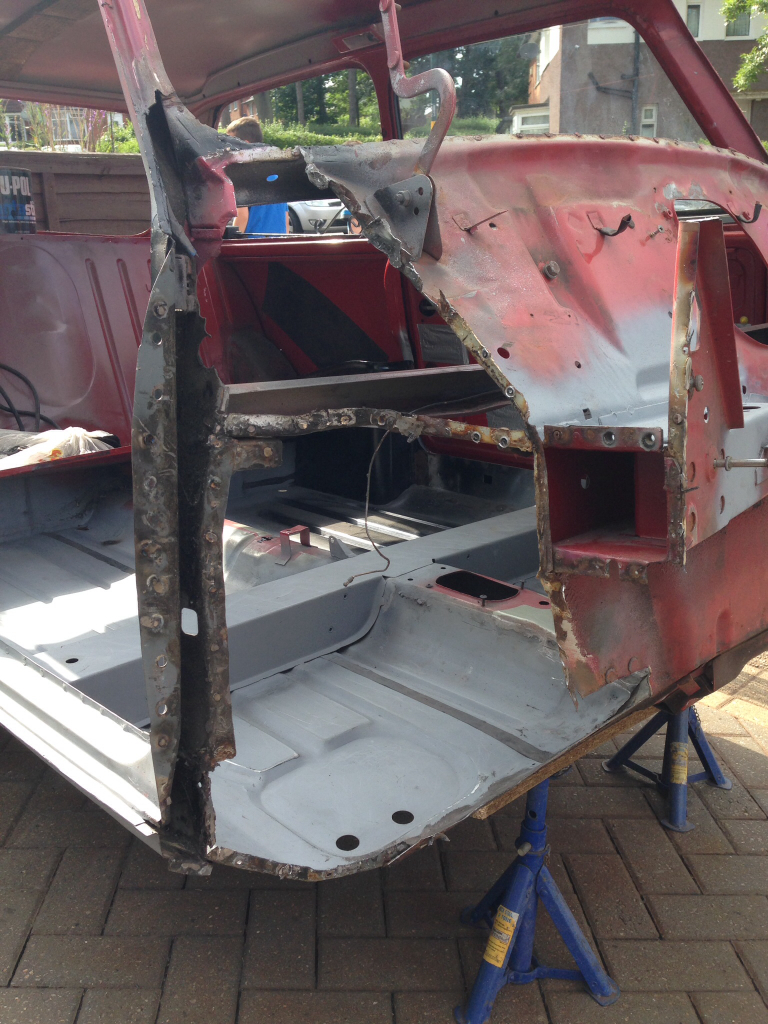
Bit of a step back some may say, but I think that fitting the full Heritage panel, as I have done on the other side, is what this car deserves. I couldn't justify doing the other side so neatly and leaving this side 'patched up' so to say.
So I'll be sending back the half inner wing repair panel I bought from M-Machine, and I'll be ordering the full inner wing / flitch Heritage panel.
On a lighter note, had a little trip down to Minispares on Friday and picked up a few parts for my engine -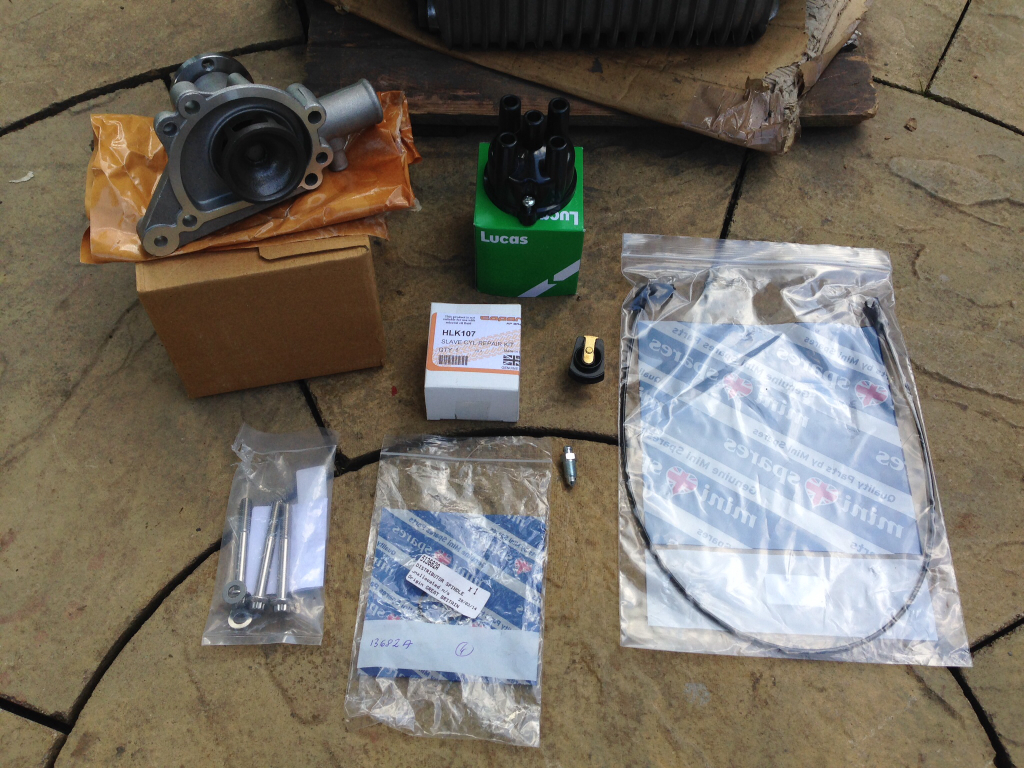
And a couple of bits from Smiffy Bits came through the post -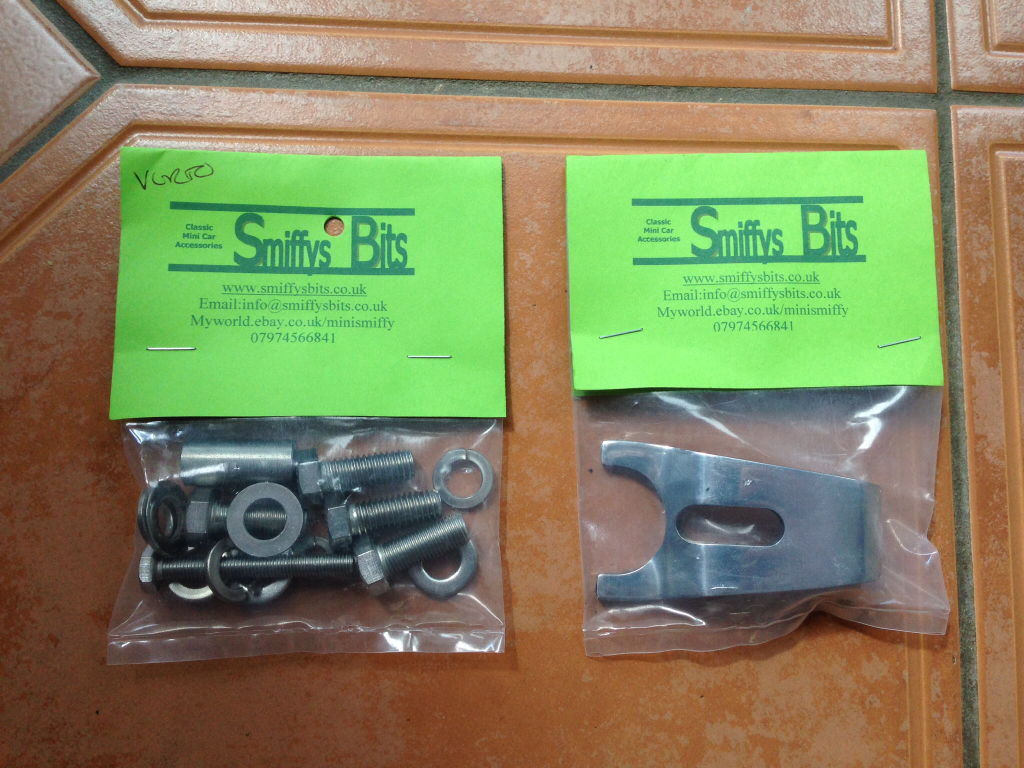
That's all for today but I'll hopefully be getting the toe board corner repaired tomorrow.
6-27-2014
Update,
Got a fair amount done since my last update, I'll start with the bodywork.
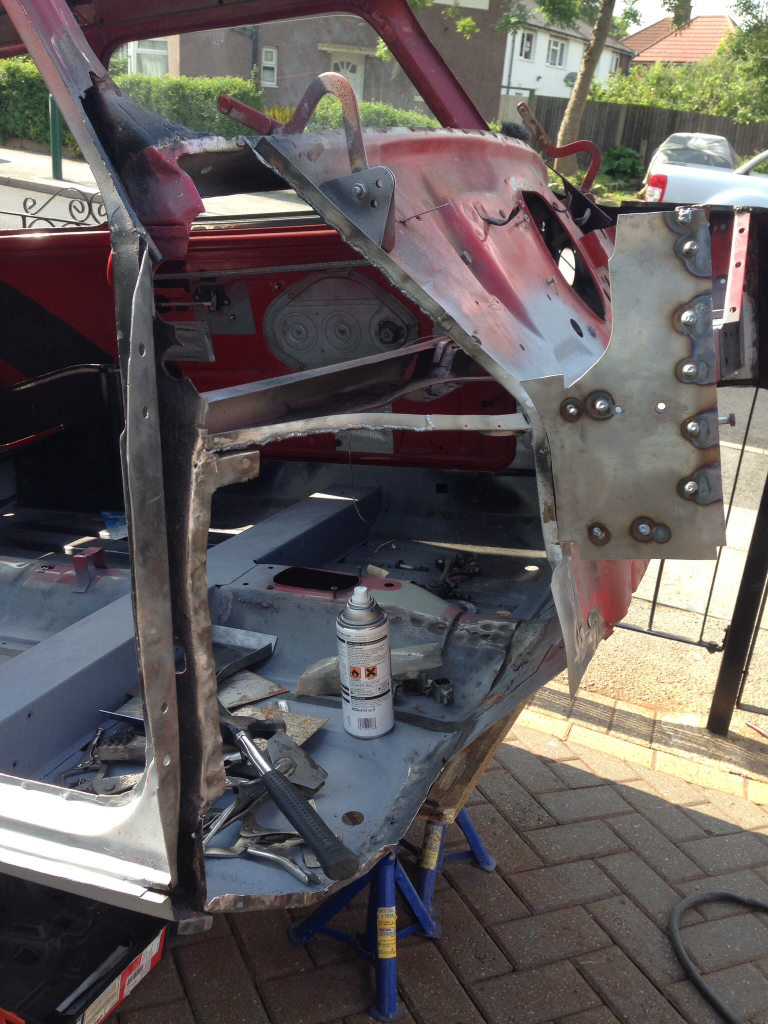
Had to remake the flanges for the dash rail and bulkhead as they were thinned out to much when I removed the old inner wing. So, chopped them off and made some new ones, then welded those in and made a new back plate for the shock mount. We clamped that in place and then welded that in place, here's a few pics of the process -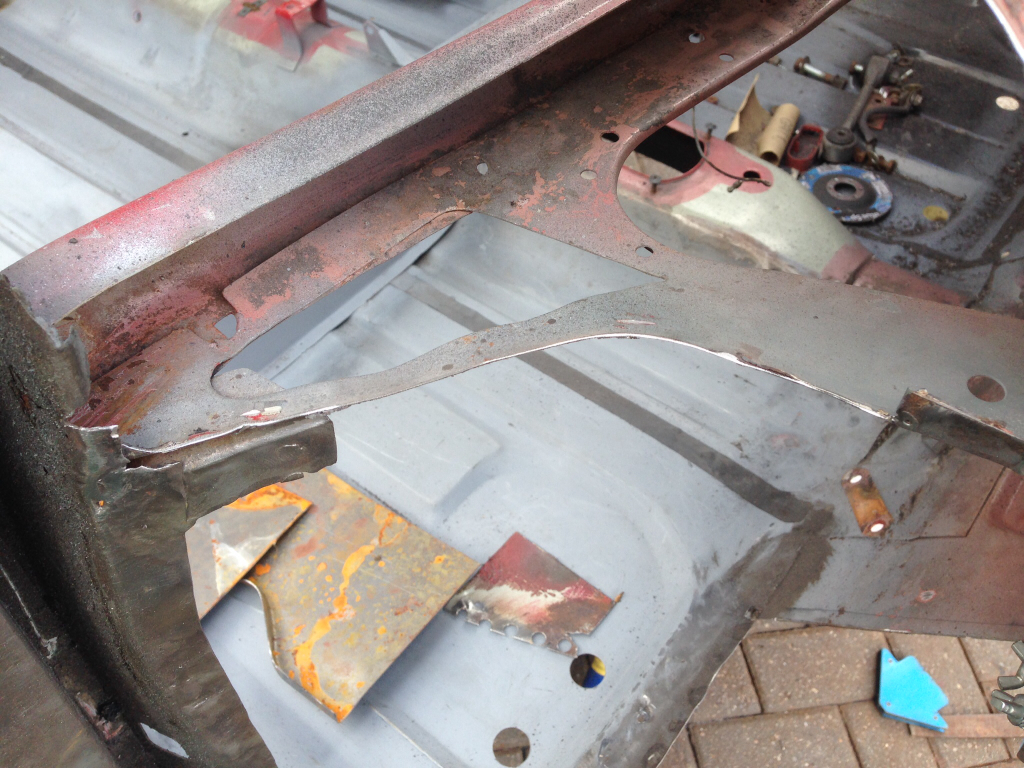
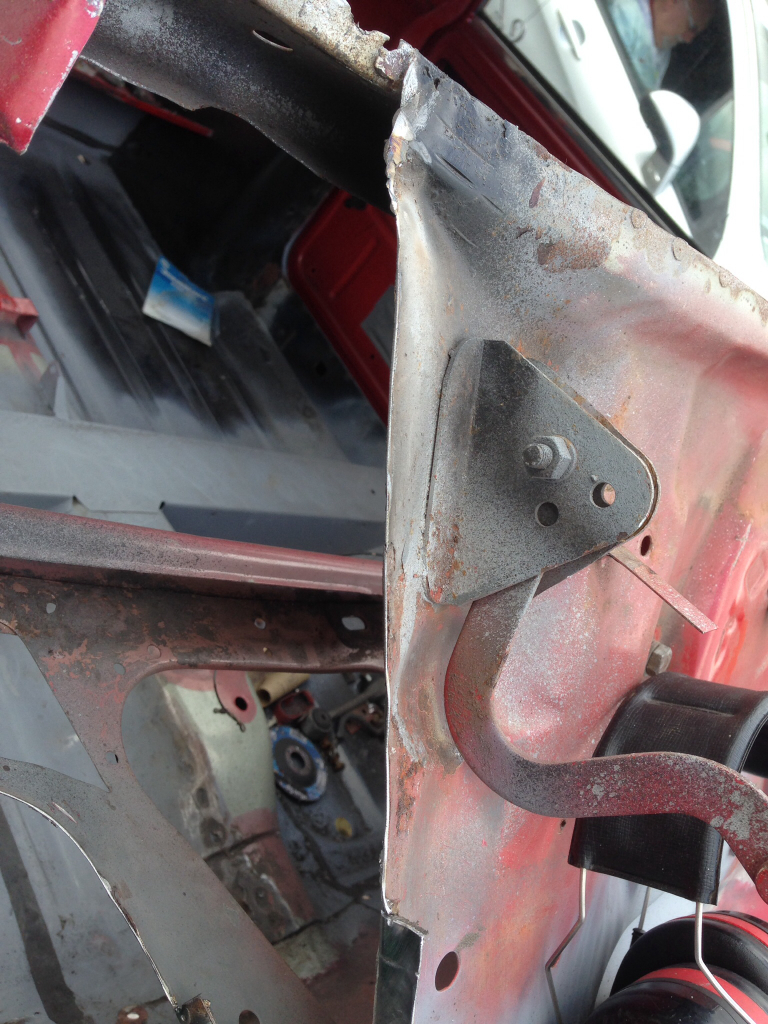
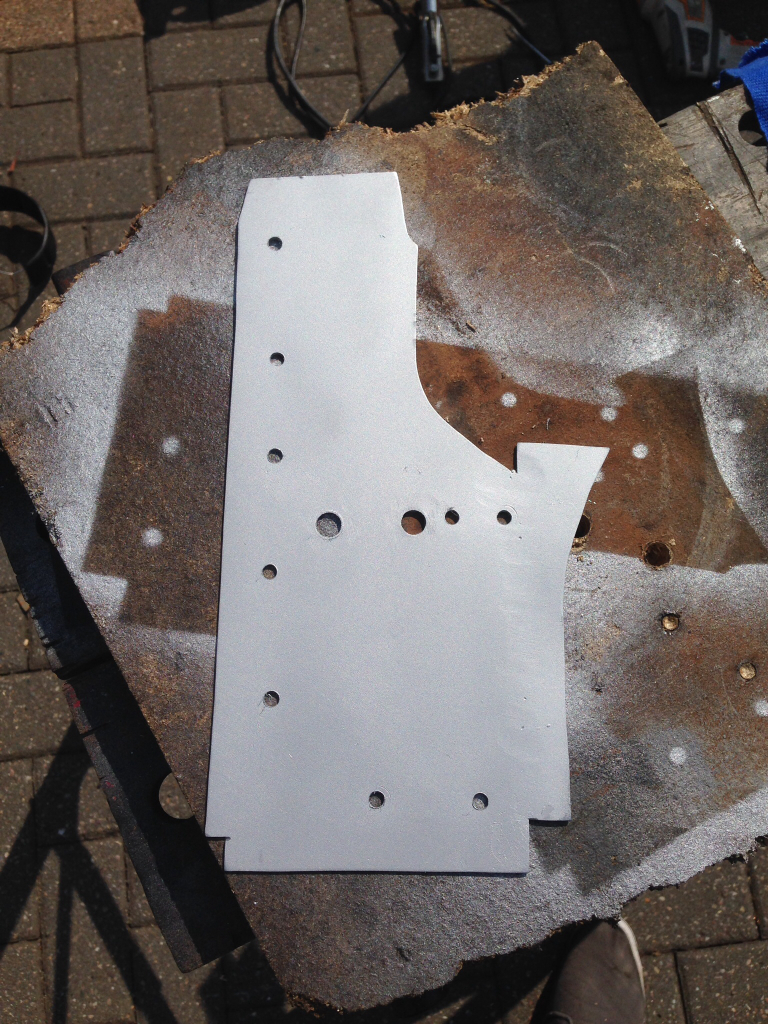
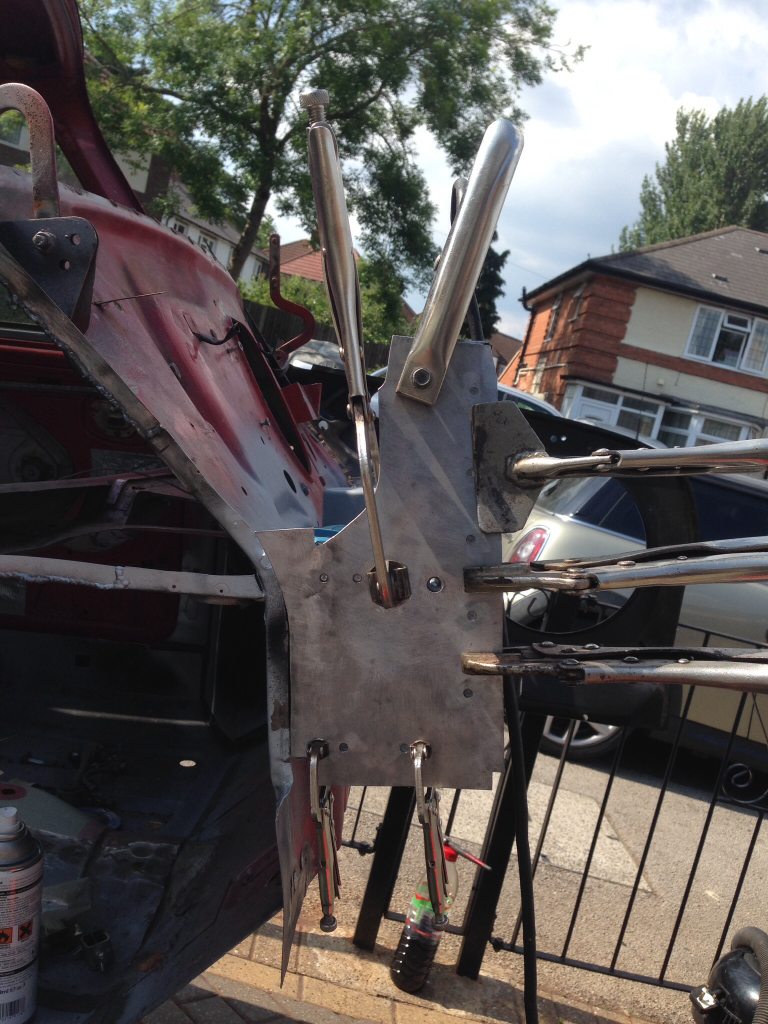
Ground down the welds on the flanges, and then shaped the backplate to fit nicely, then gave the whole thing a good few coats of zinc primer -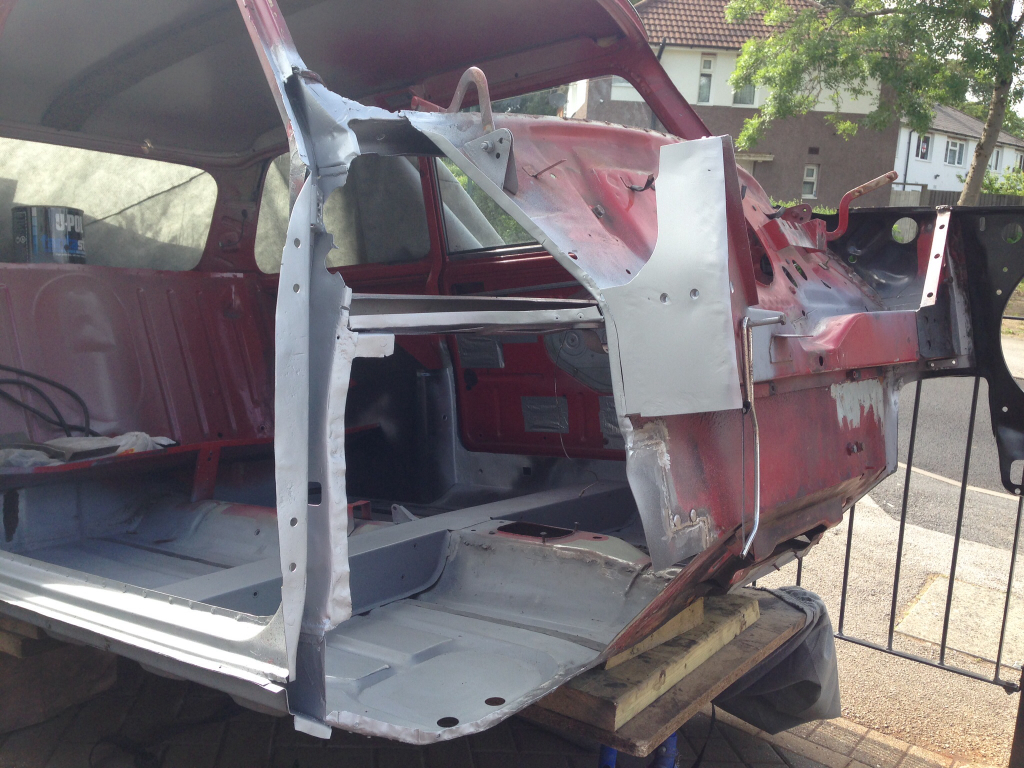
Then some black top coat -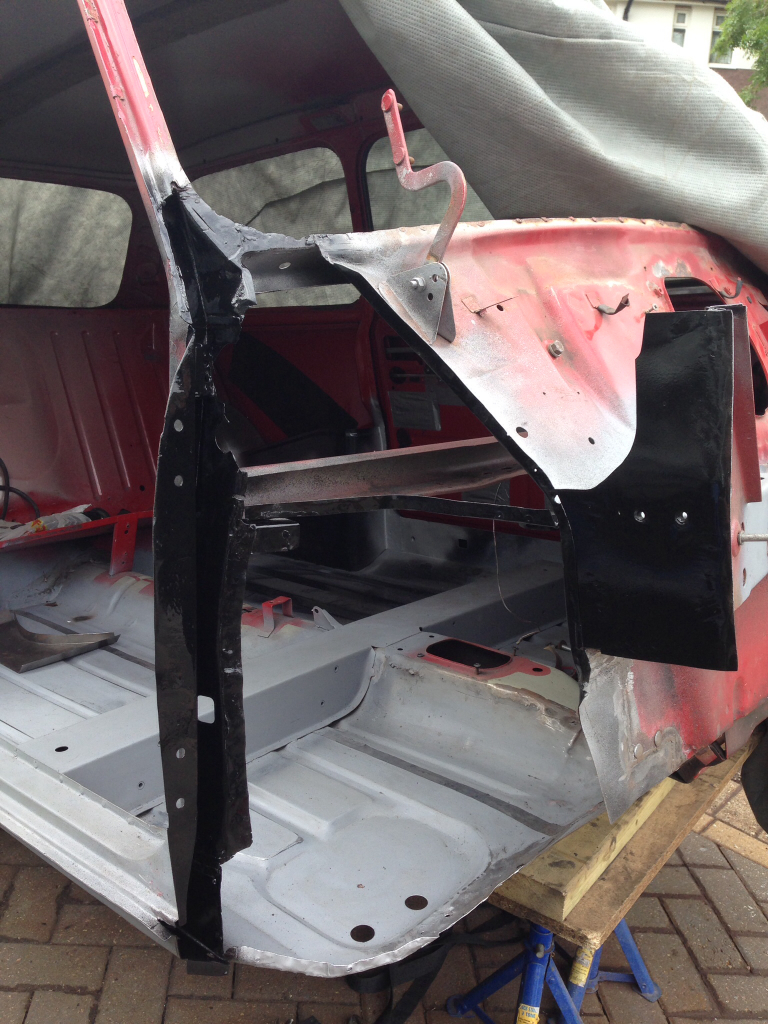
That's all the bodywork I got done throughout the week, doing a bit each day before work as usual. Also received the RH inner wing I ordered from M-Machine -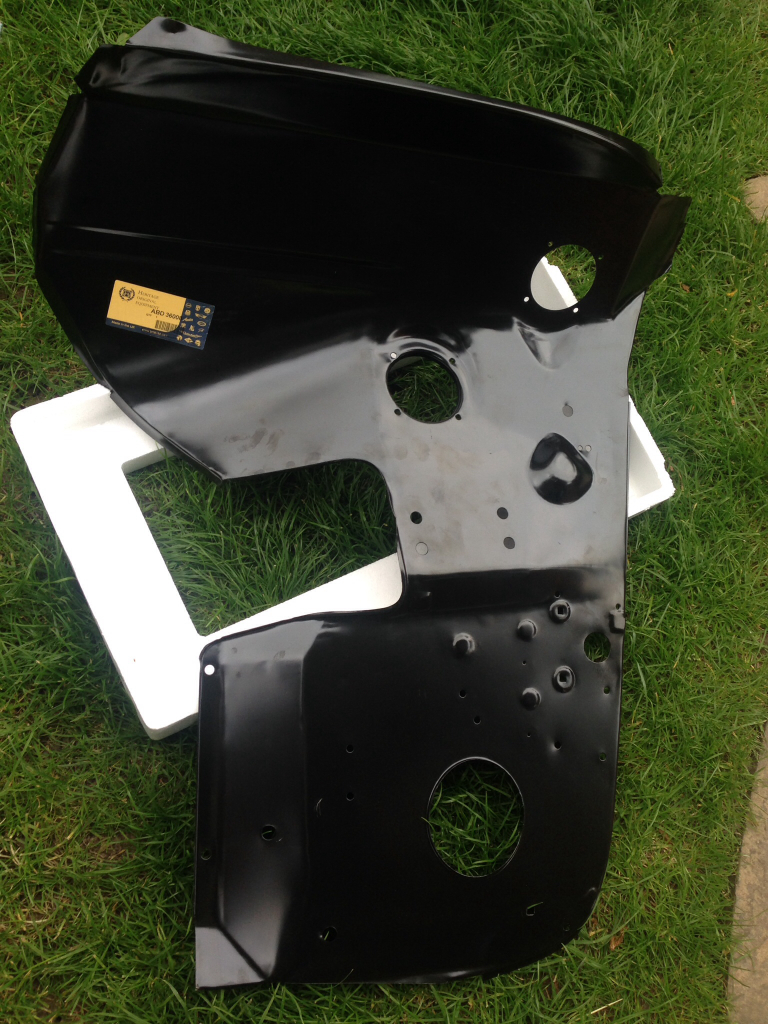
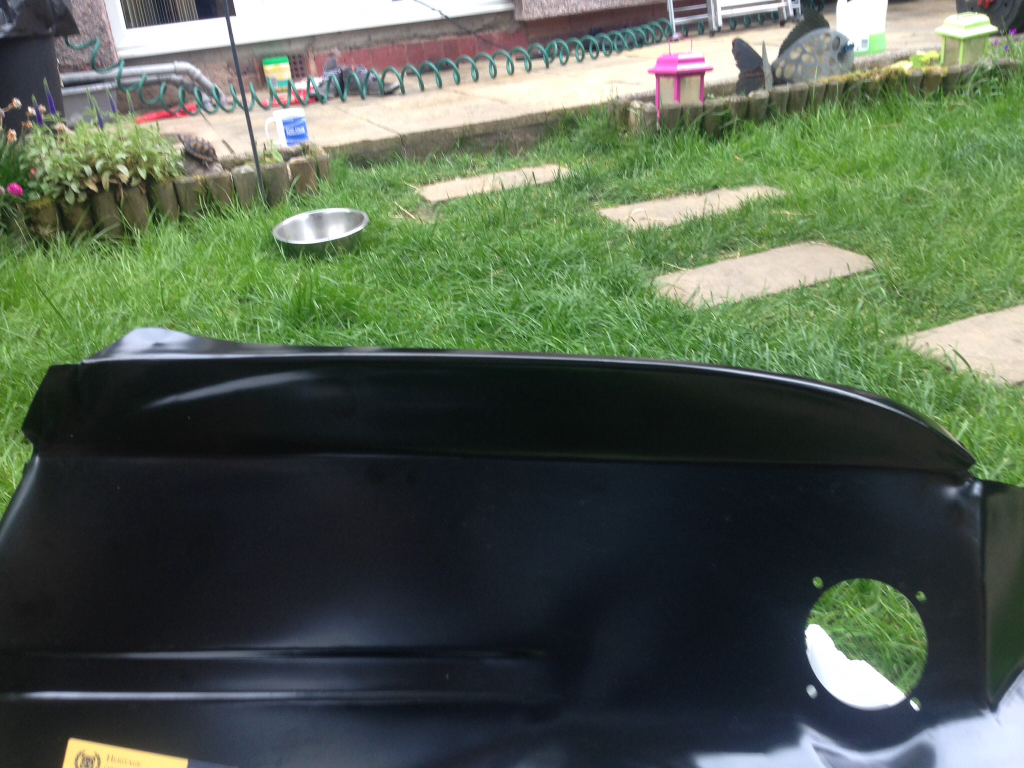
It came without any hinge holes, and after putting a question on here , nobody knew why. So after a few calls to the heritage panel company, I got no where and gave up. So I decided I was just going to fit it and take my time getting it right.
So, trial fitted and it's not too bad at all, just had to do a little fetteling and it was in place -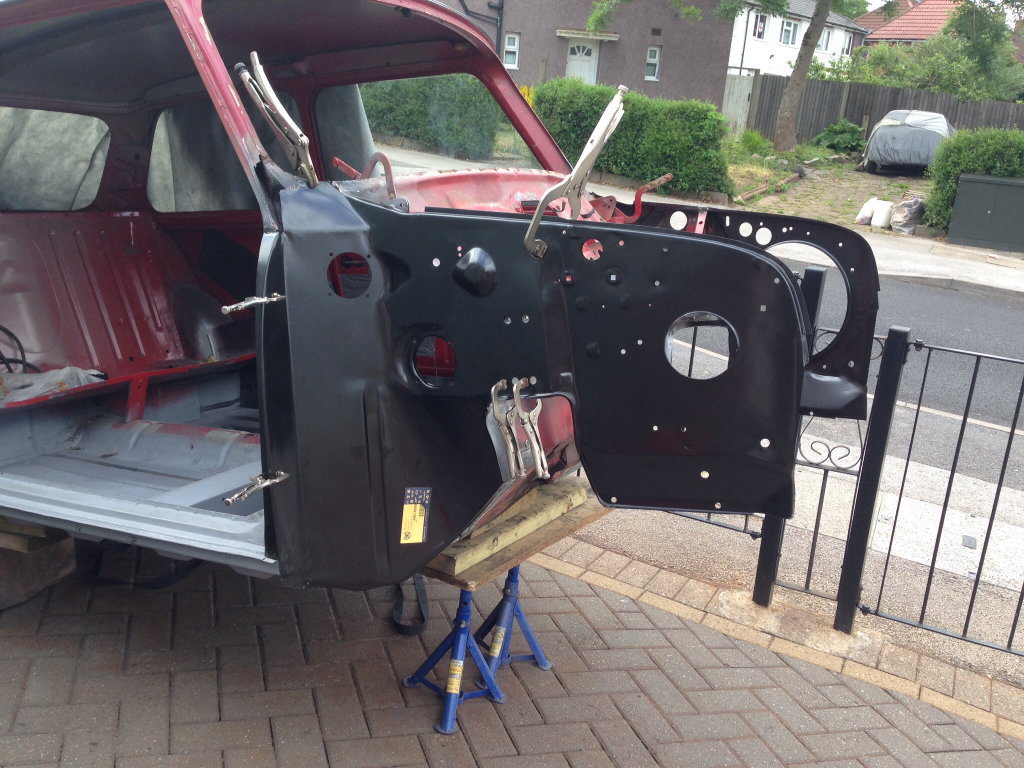
Drilled all the holes for plug welding (already started welding and then realised I hadn't taken a picture) -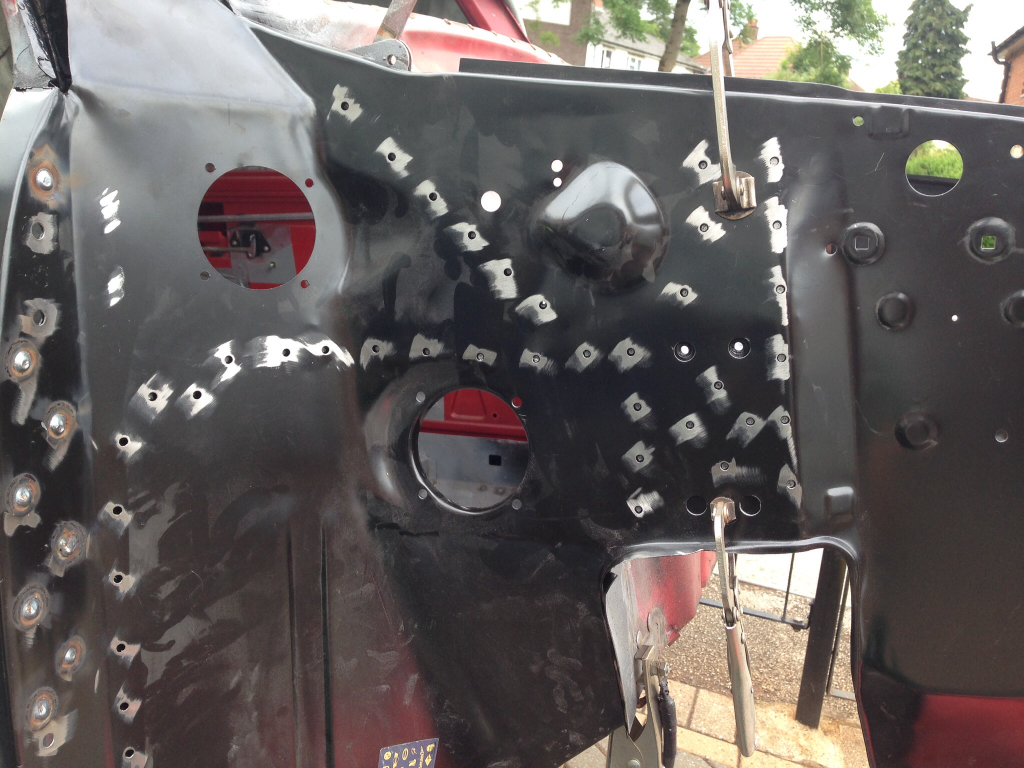
Fully plug welded -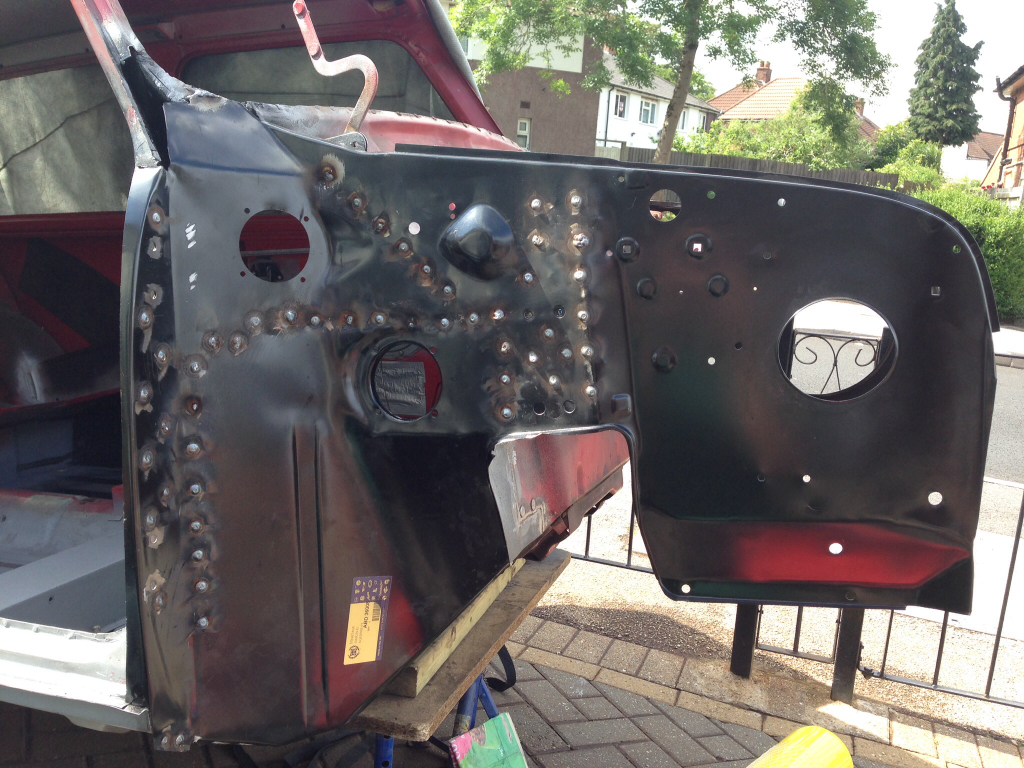
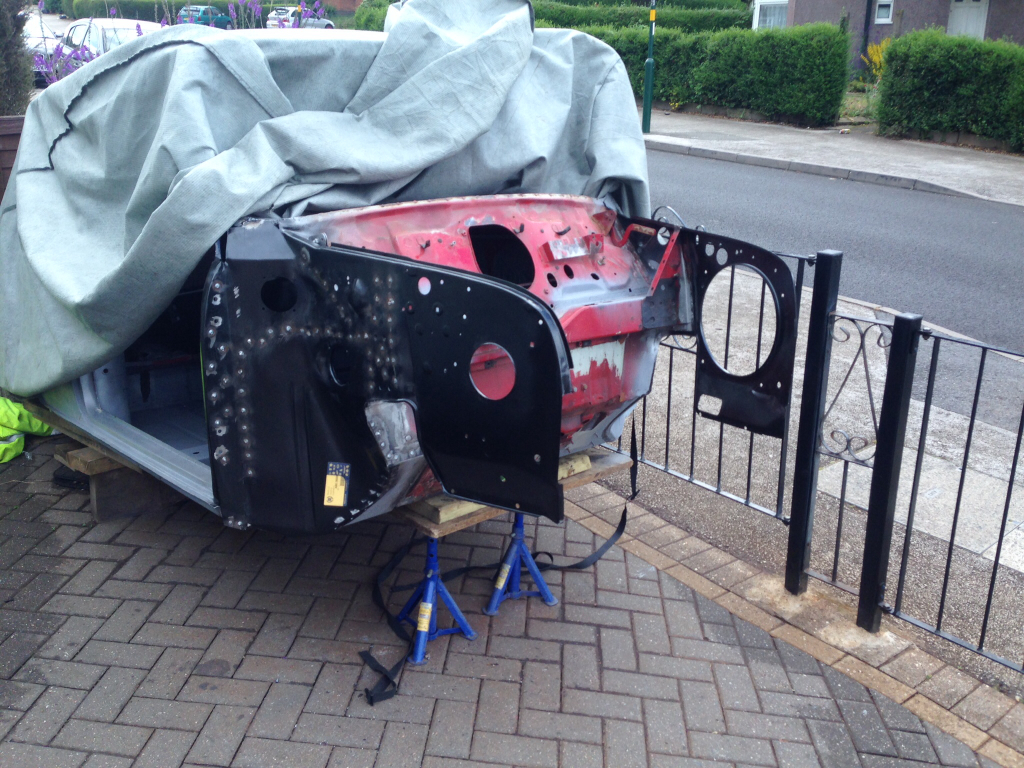
Then we got all the holes drilled and cut the toe board to fit, will be welding this in tomorrow -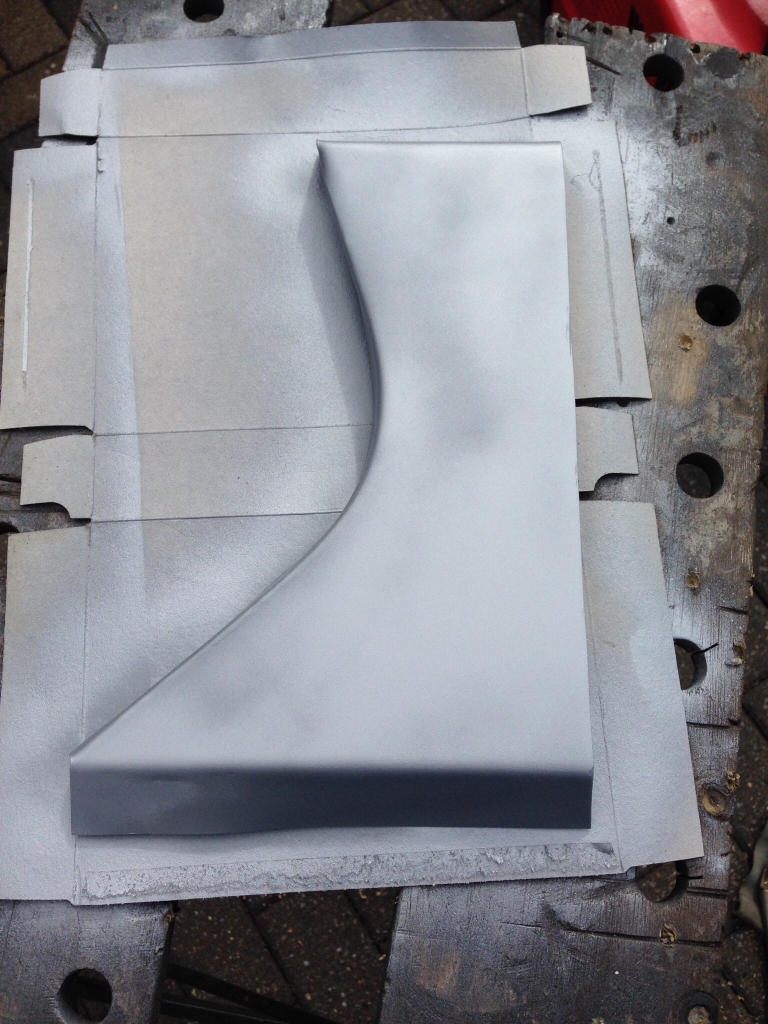
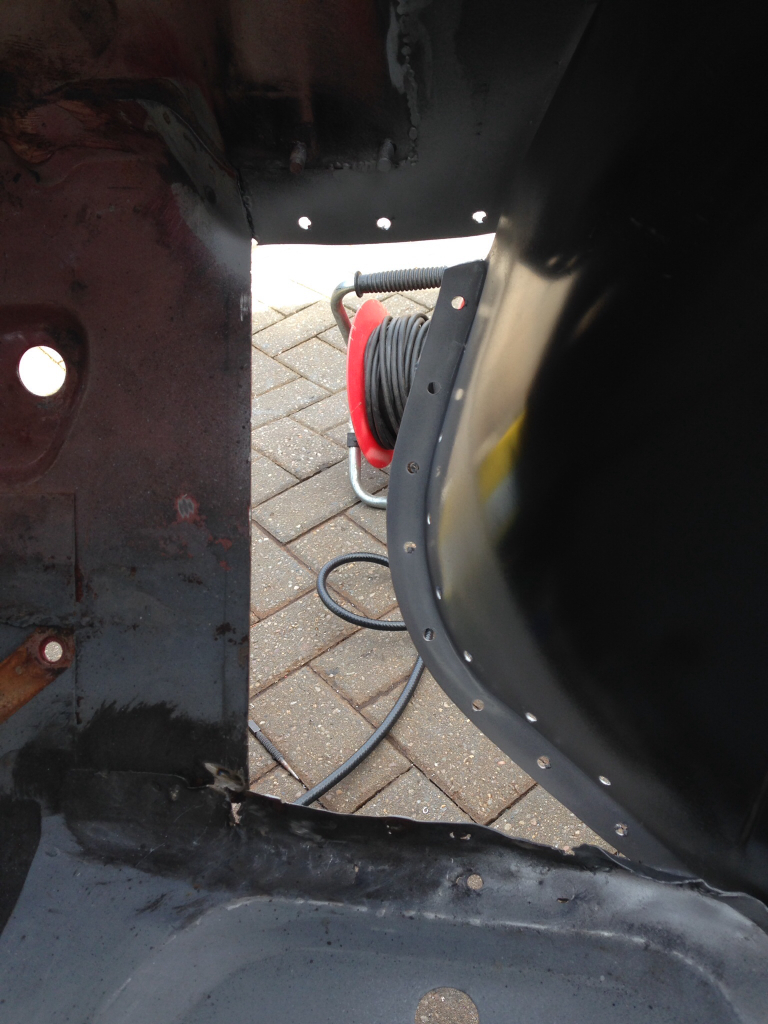
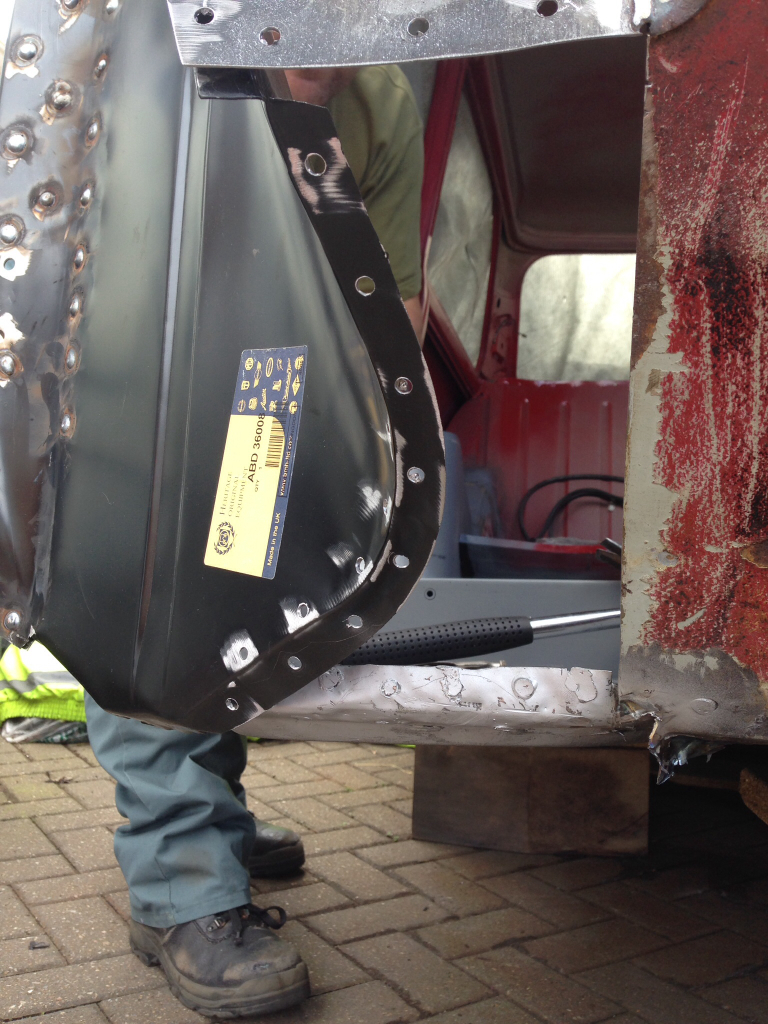
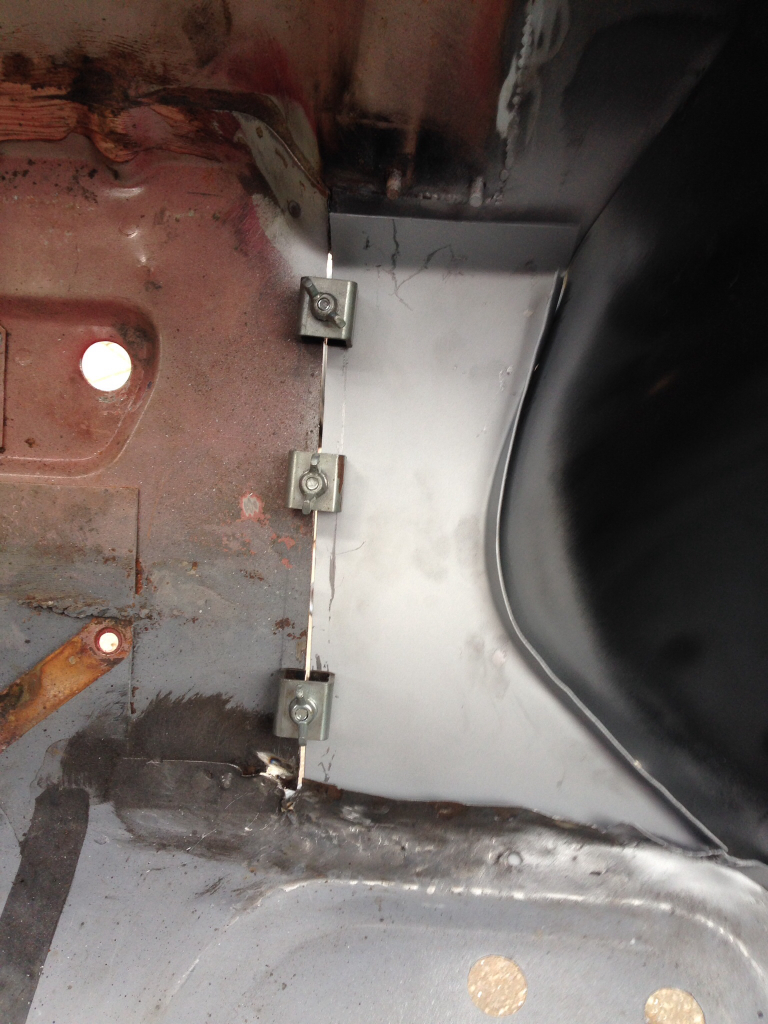
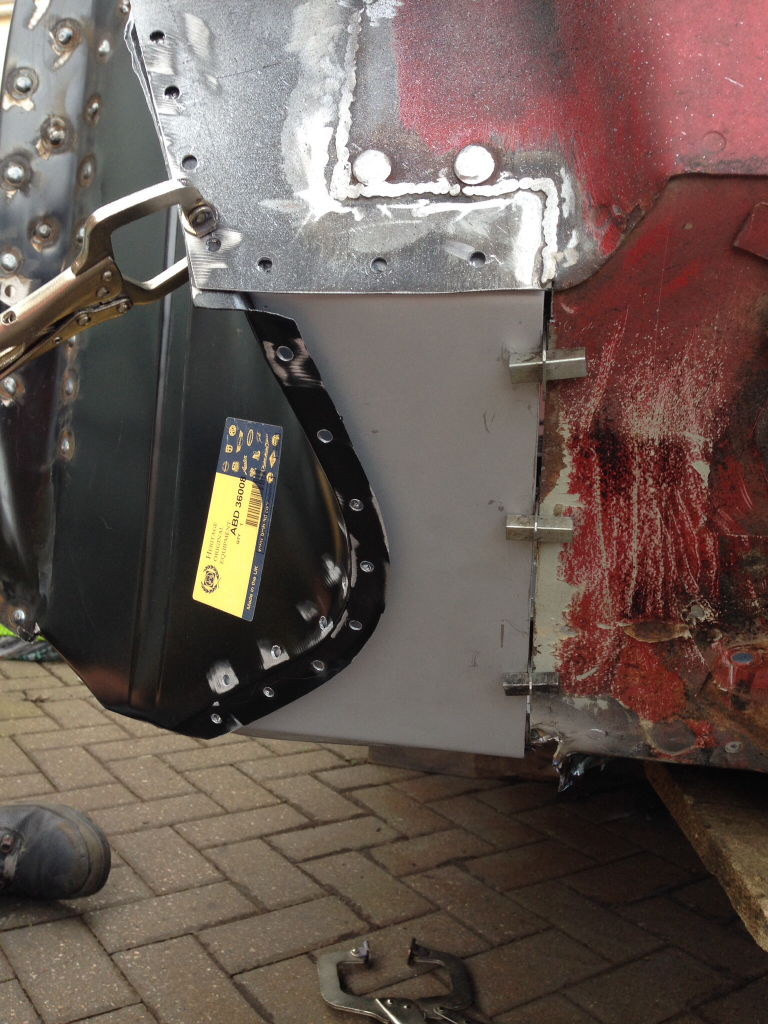
That all the progress on the body up until today. Now for the engine work. Just been cleaning a few parts up and fitting them back to the engine. Ill start with the slave cylinder.
Before, very rusty and pretty much seized -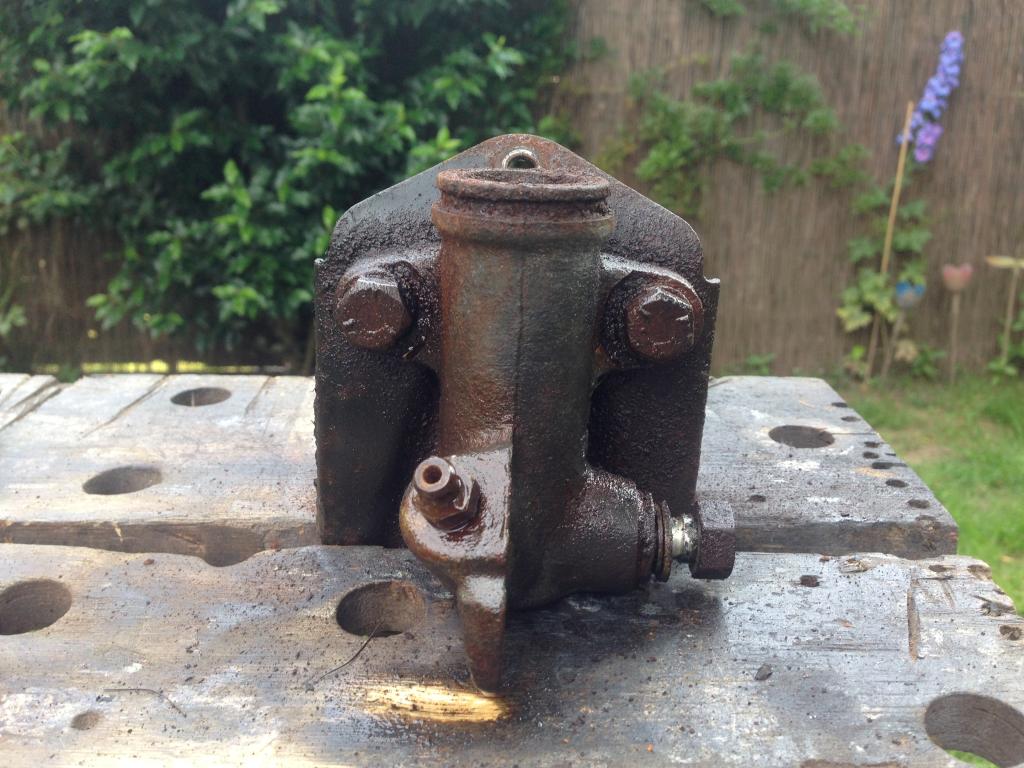
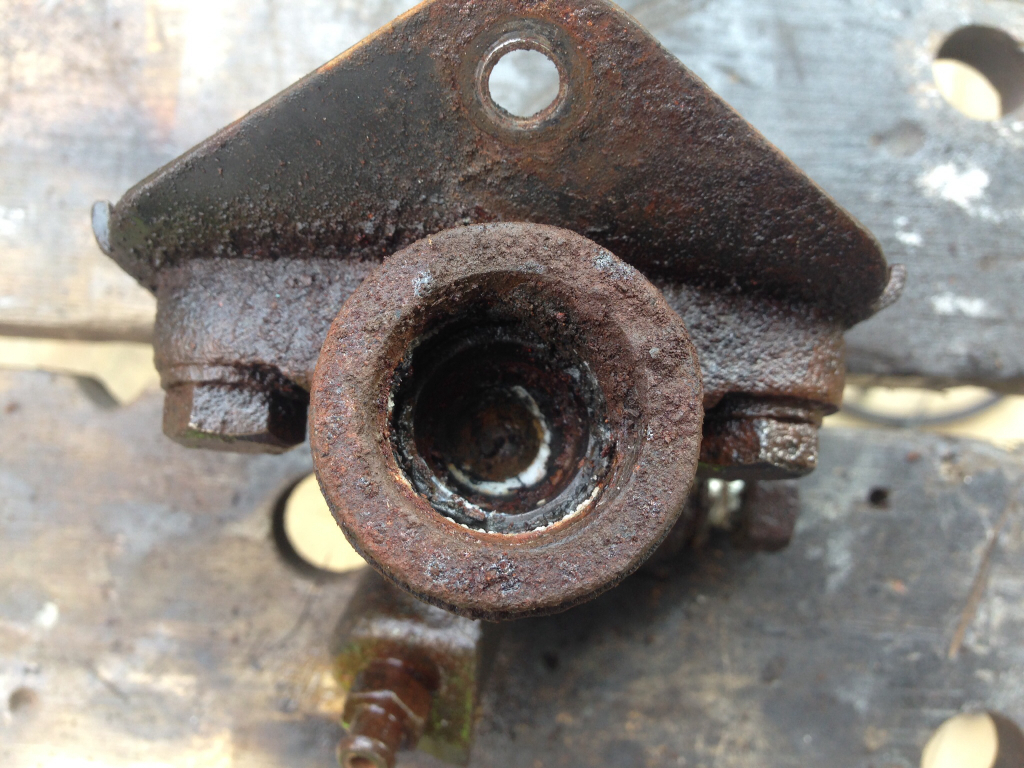
Degreased the cylinder and the back plate, then dismantled the cylinder and gave both a good going over with the wire wheel -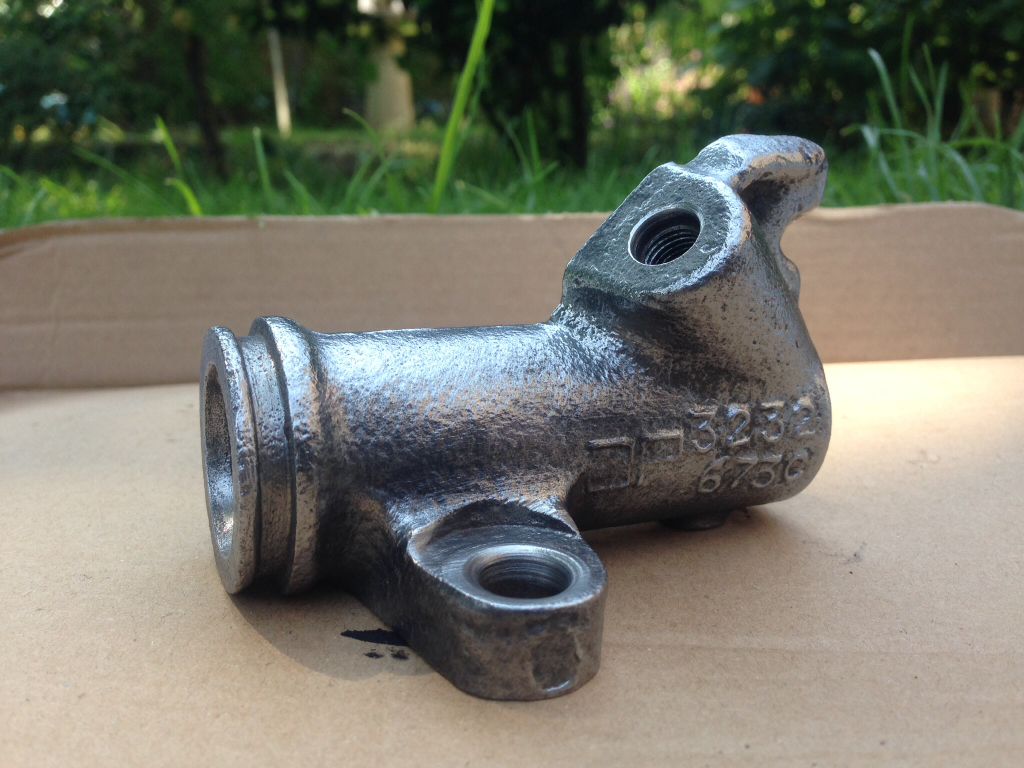
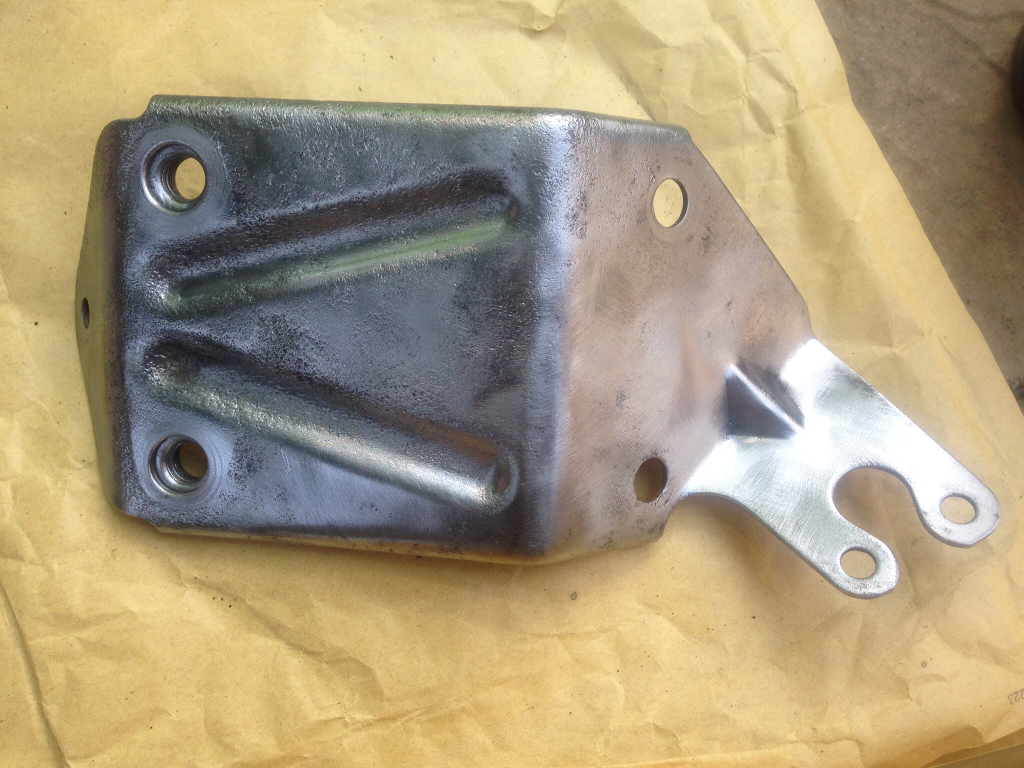
Zinc primed -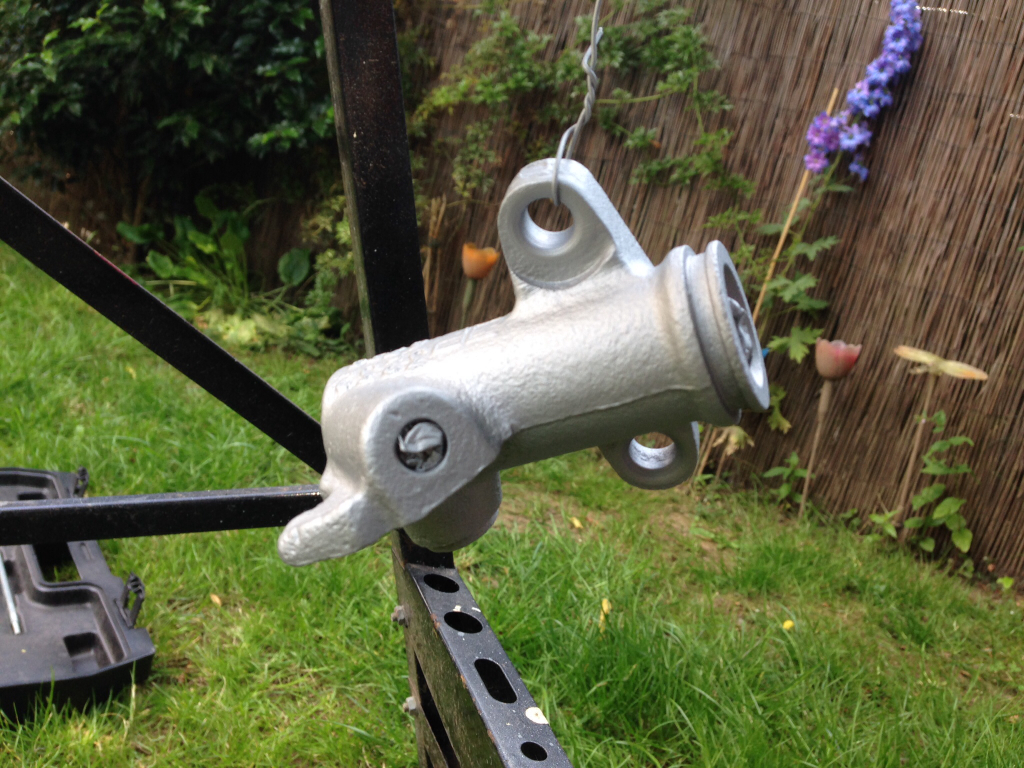
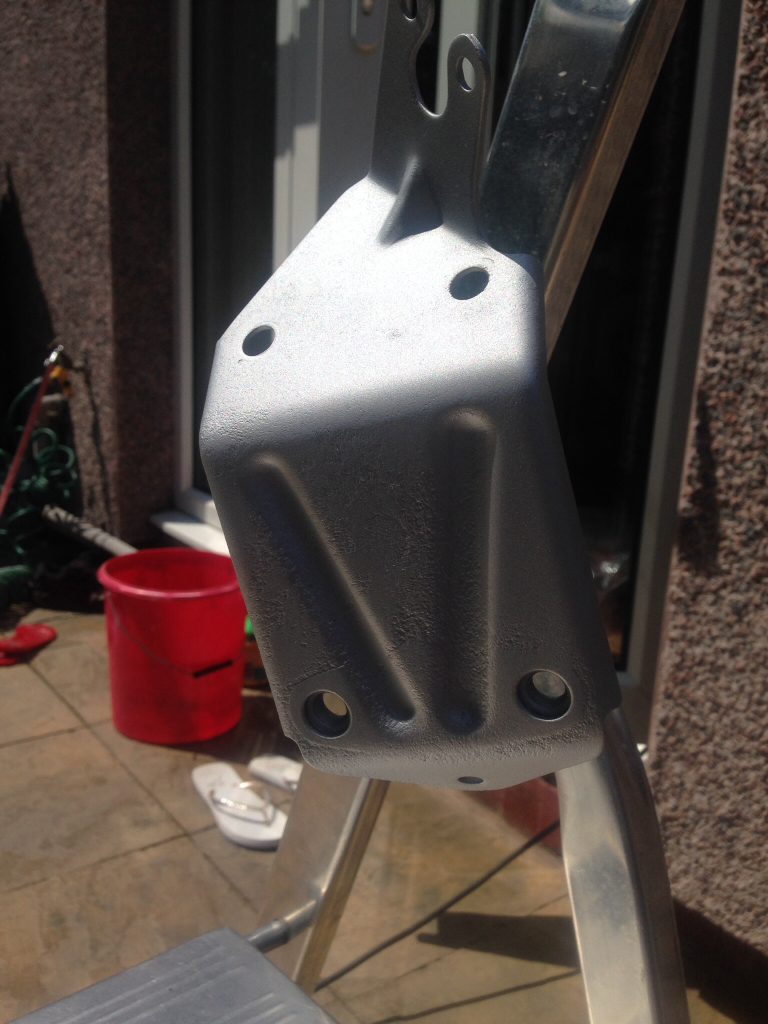
Then painted with a few coats of gloss black -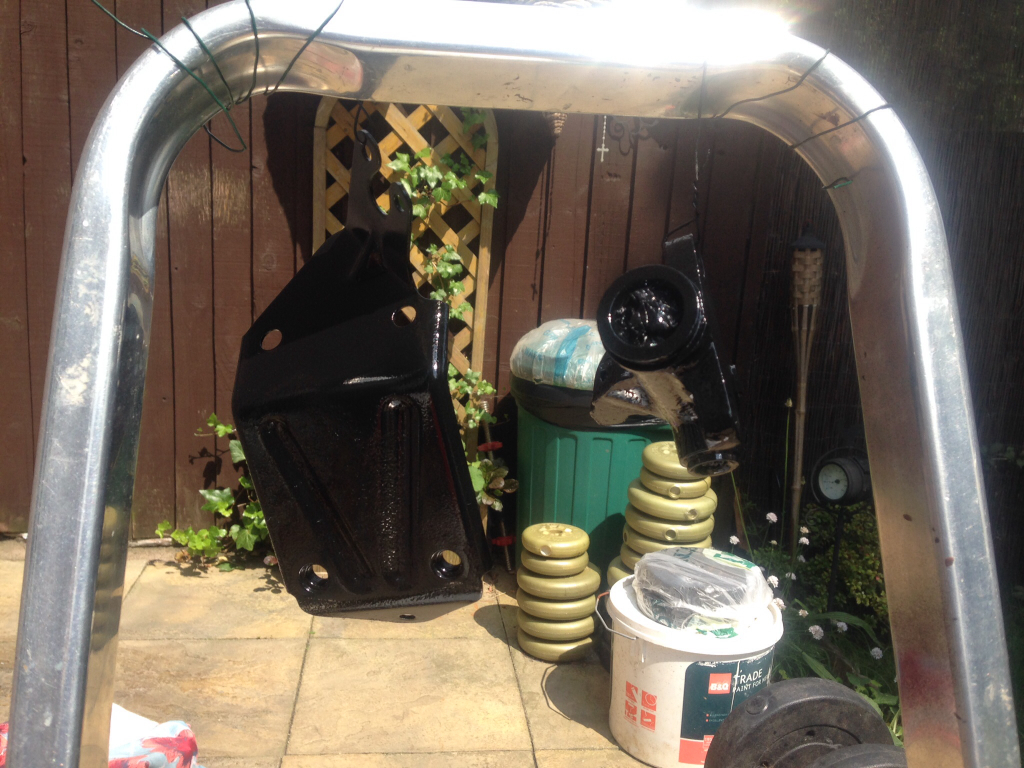
Reassembled the slave cylinder with a rebuild kit, and a new bleed valve -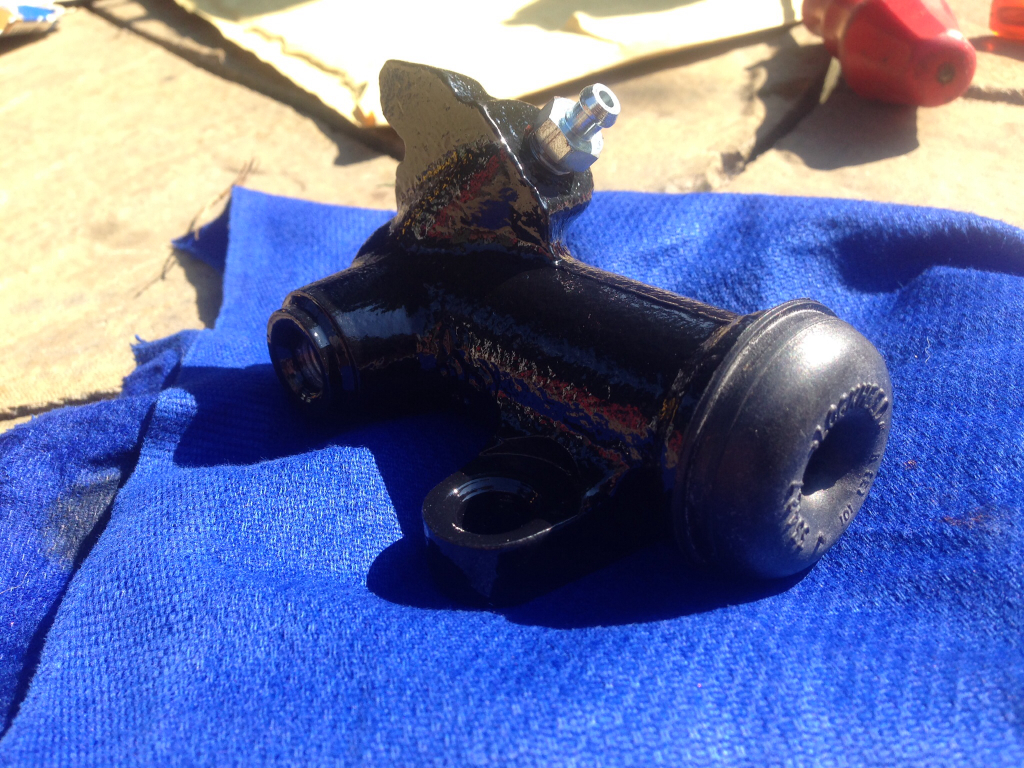
Then put back on the engine with a a Smiffys Bits stainless fitting kit -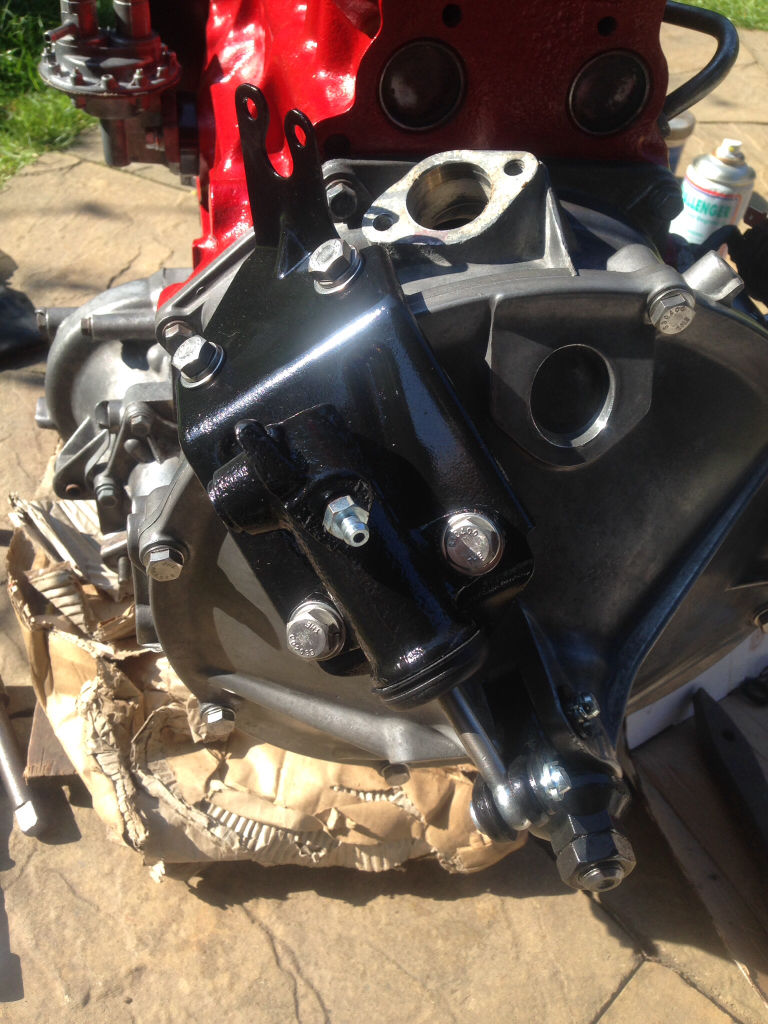
Happy with that, I got to work cleaning up the distributer -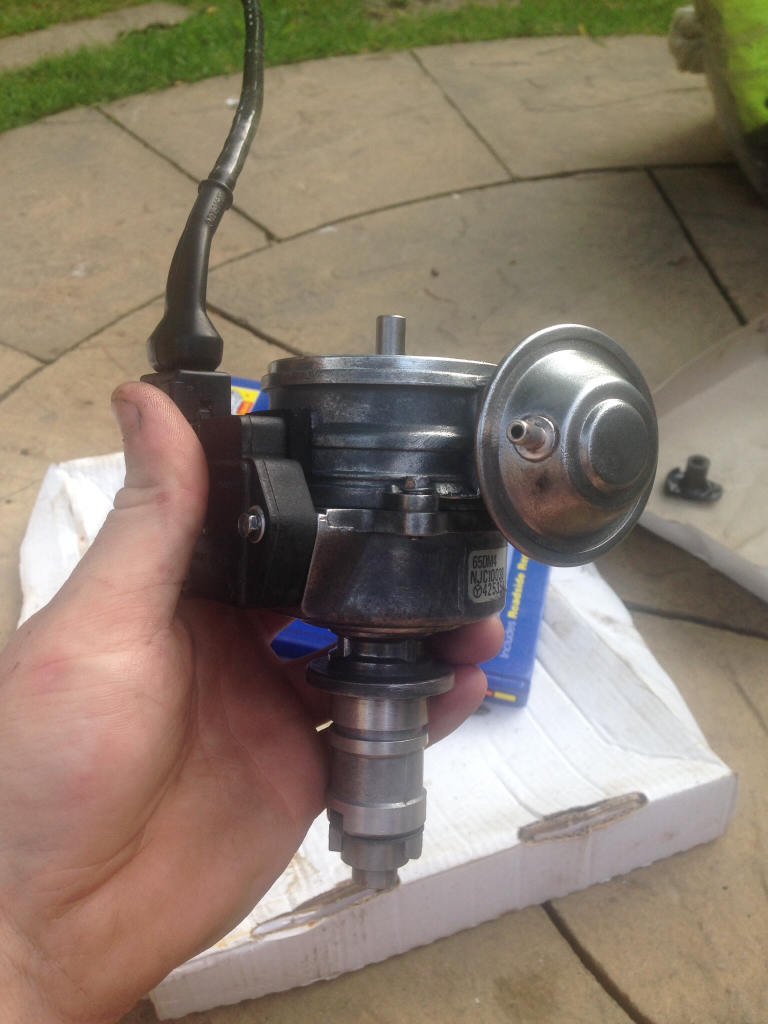
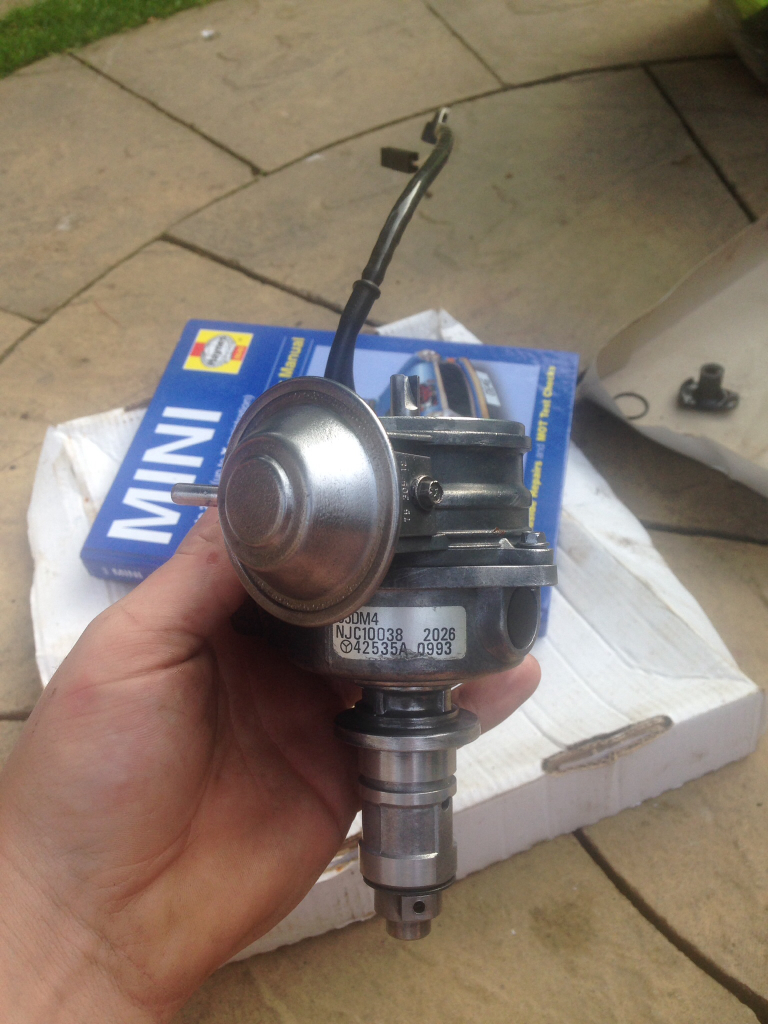
New rotary arm -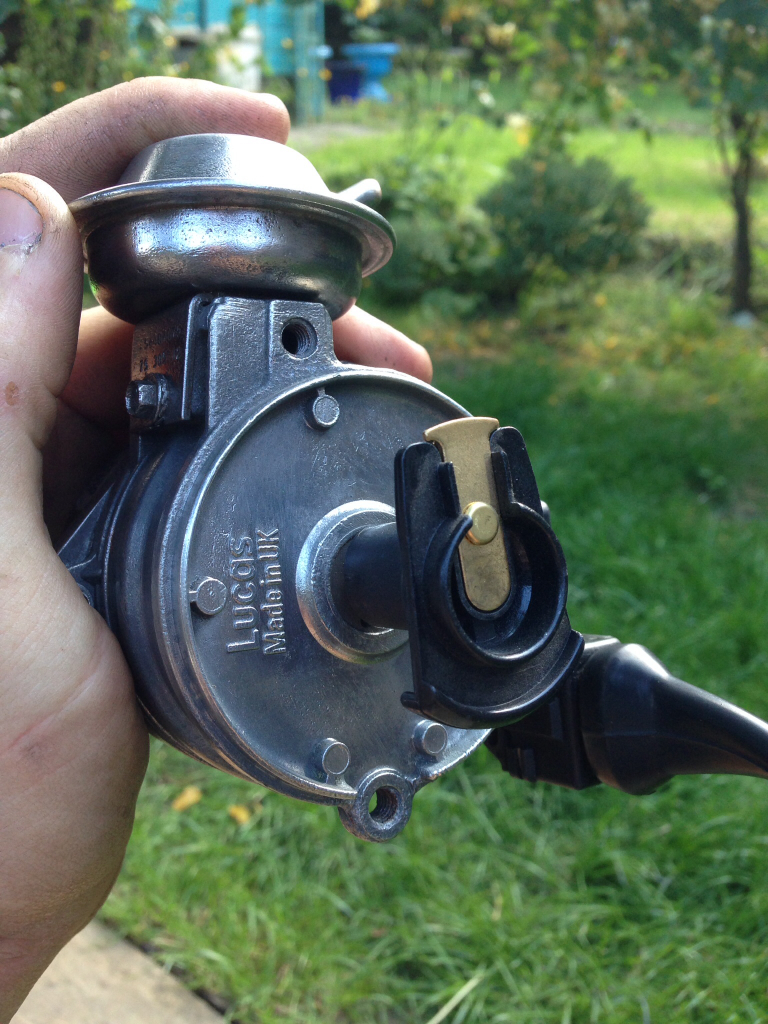
New O-Ring -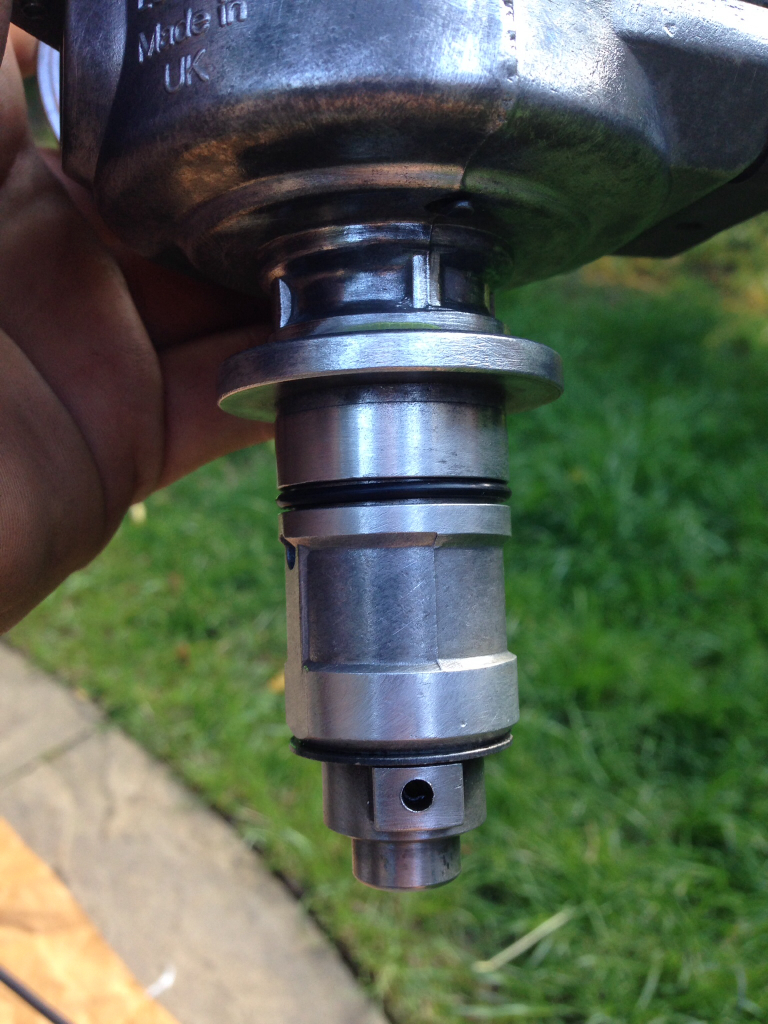
And I've also fitted a new cap as well, no picture of this though. Next I fitted the fuel pump back to the block -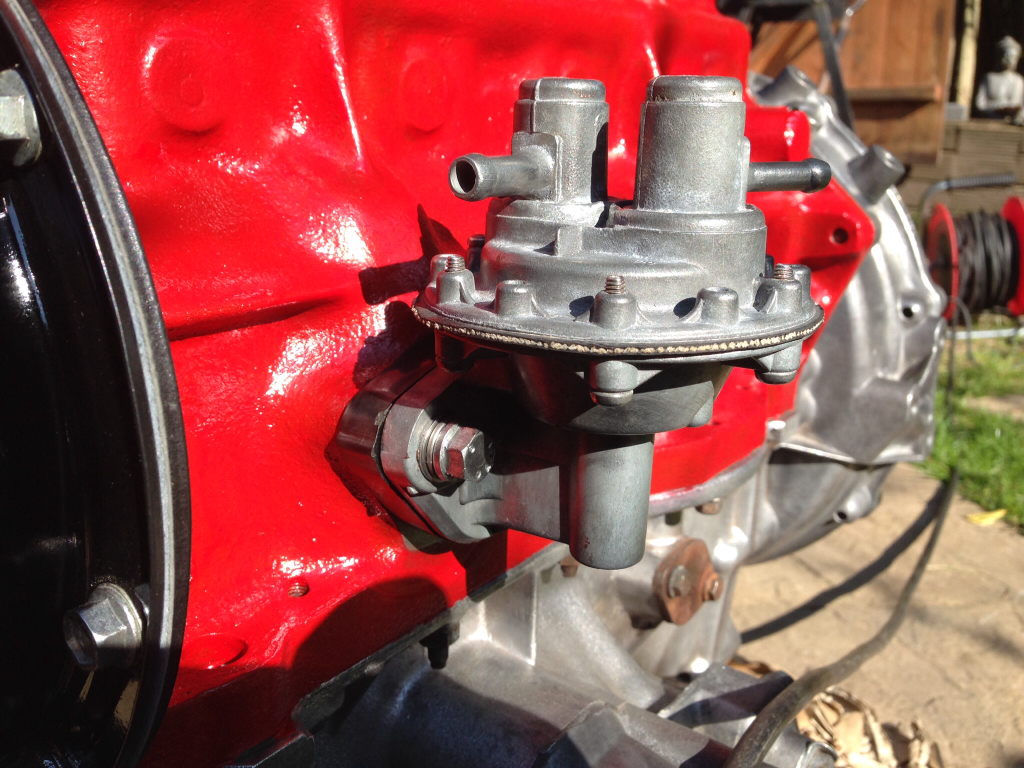
Cleaned up the oil feed pipe and fitted that back in place -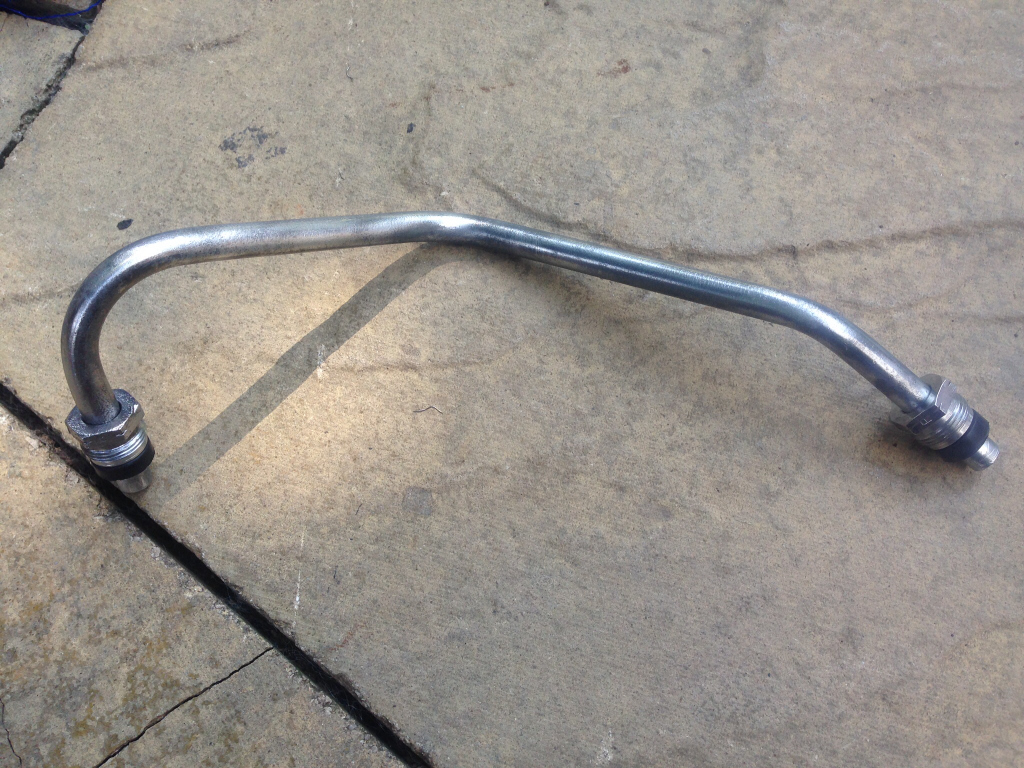
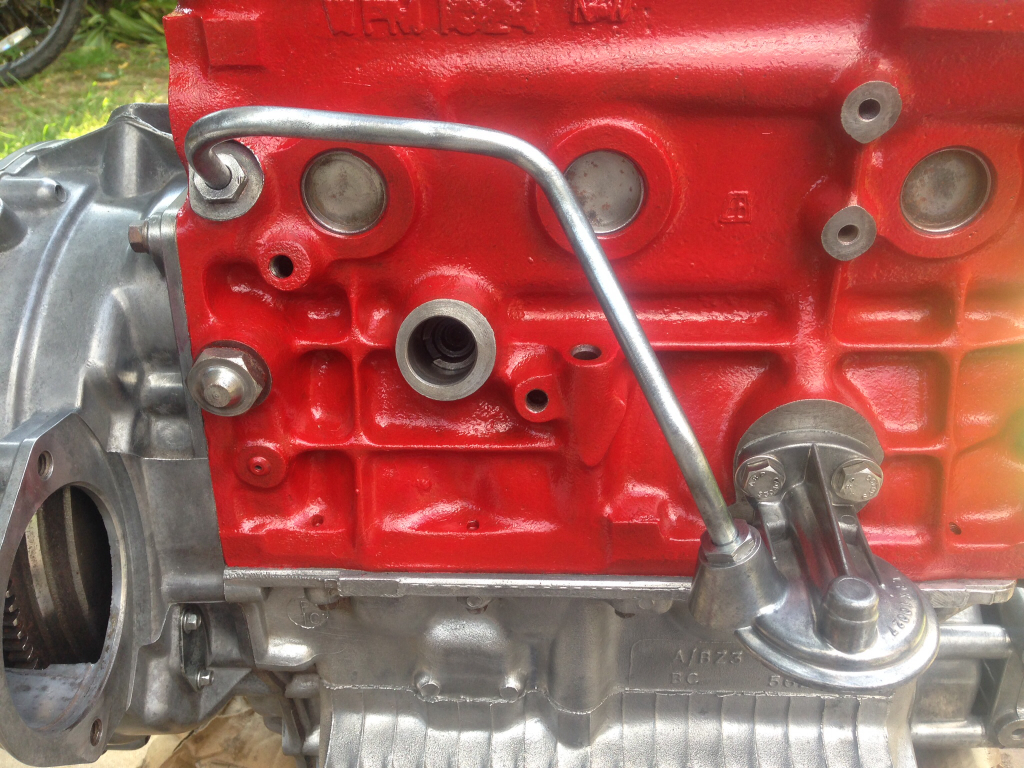
and cleaned up and refitted a gear box to block nut and bolt -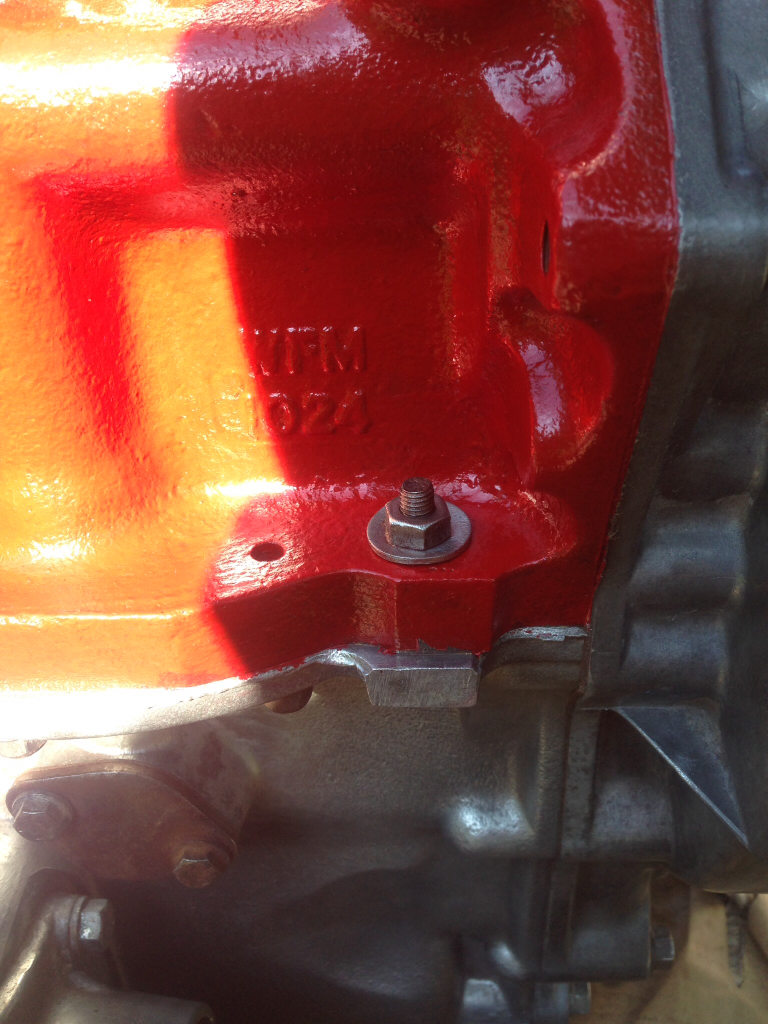
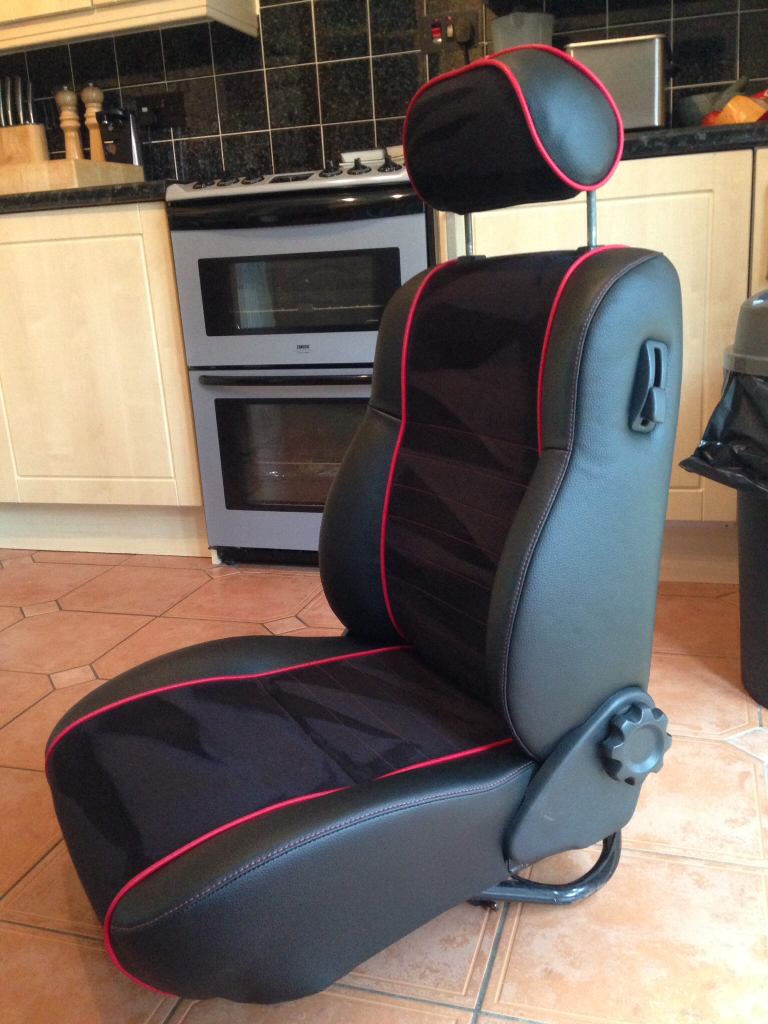
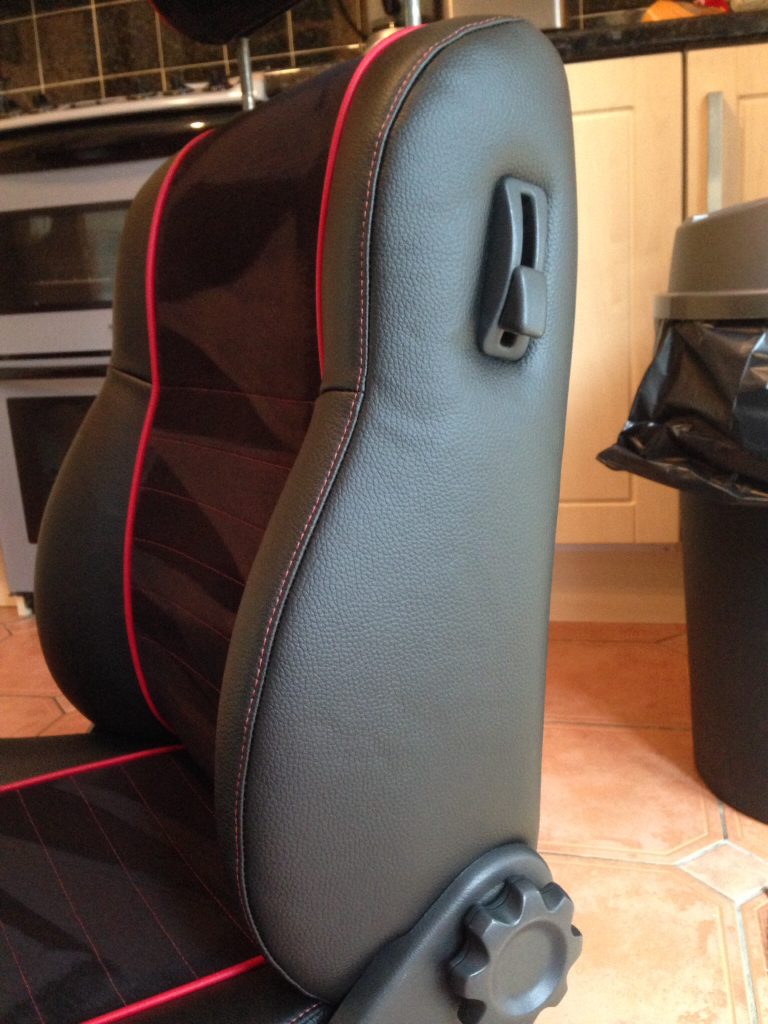
Just waiting on some bypass hose clamps then I can fit the new water pump. And finally, I received my seat cover back from the trimmers, so my dad gave me a hand and we re-fitted it, very happy with it, took some steam to get the creases out of the new panel, but got it looking good in the end -