You must be logged in to rate content!
8 minute(s) of a 358 minute read
6-11-2014
Update,
Nothing major really, just a bit of painting and sealing.
Painted the timing cover -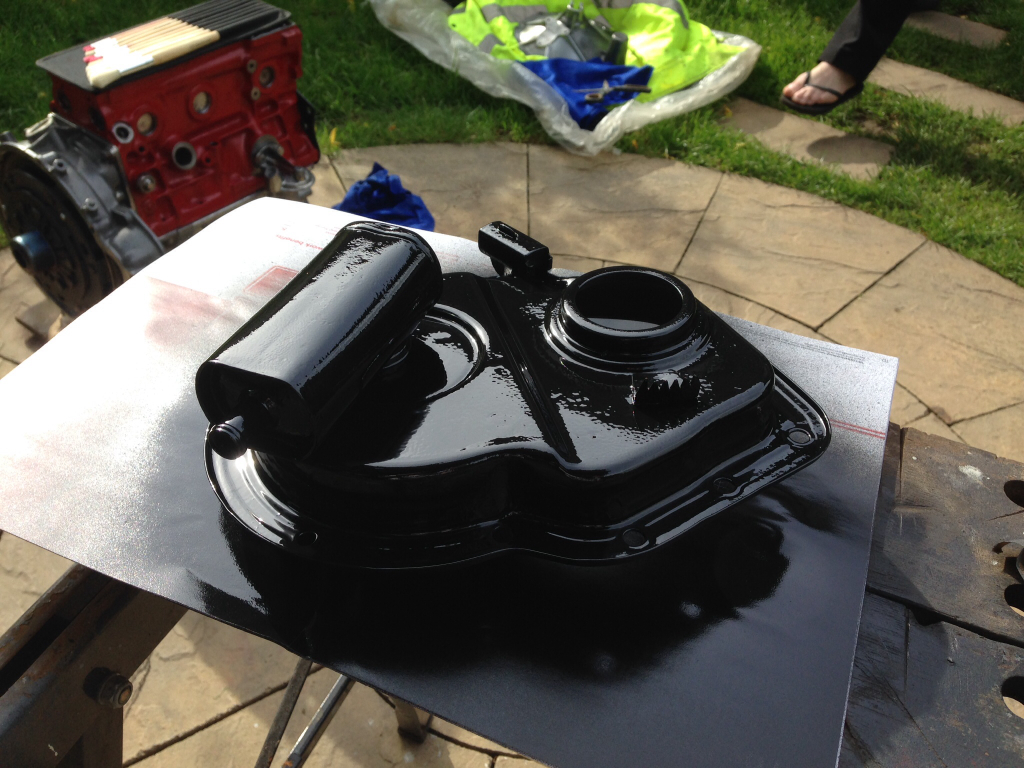
Ground down all the plug welds on the inner wing and applied a bit of primer -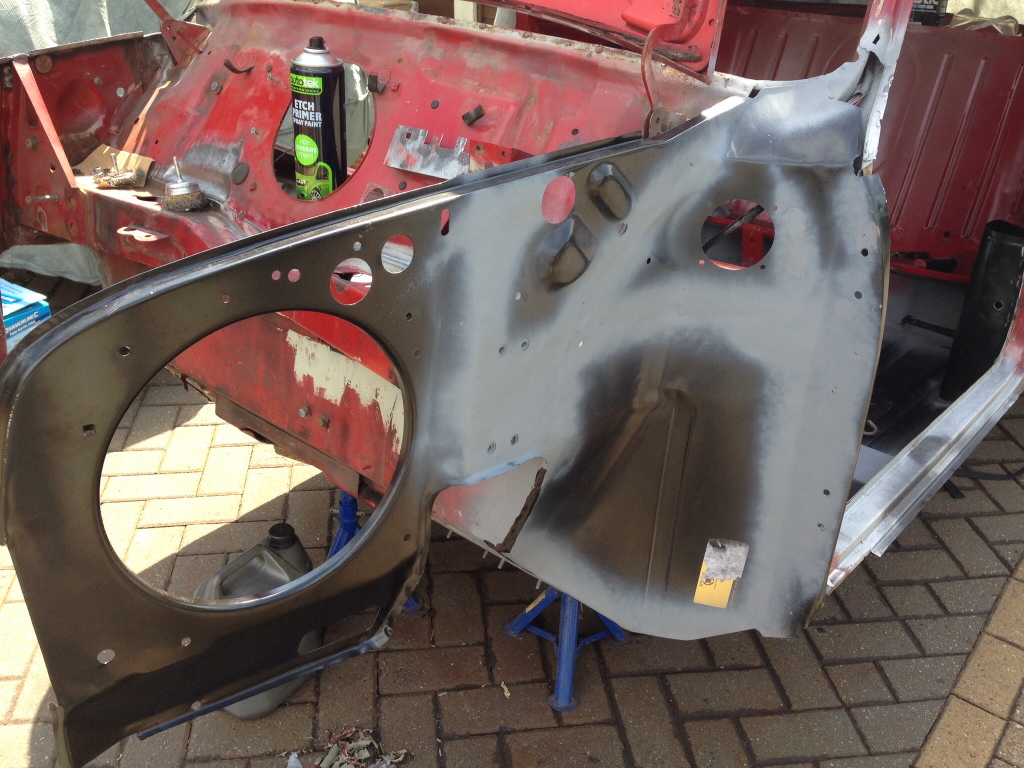
Sealed the underneath of the flitch -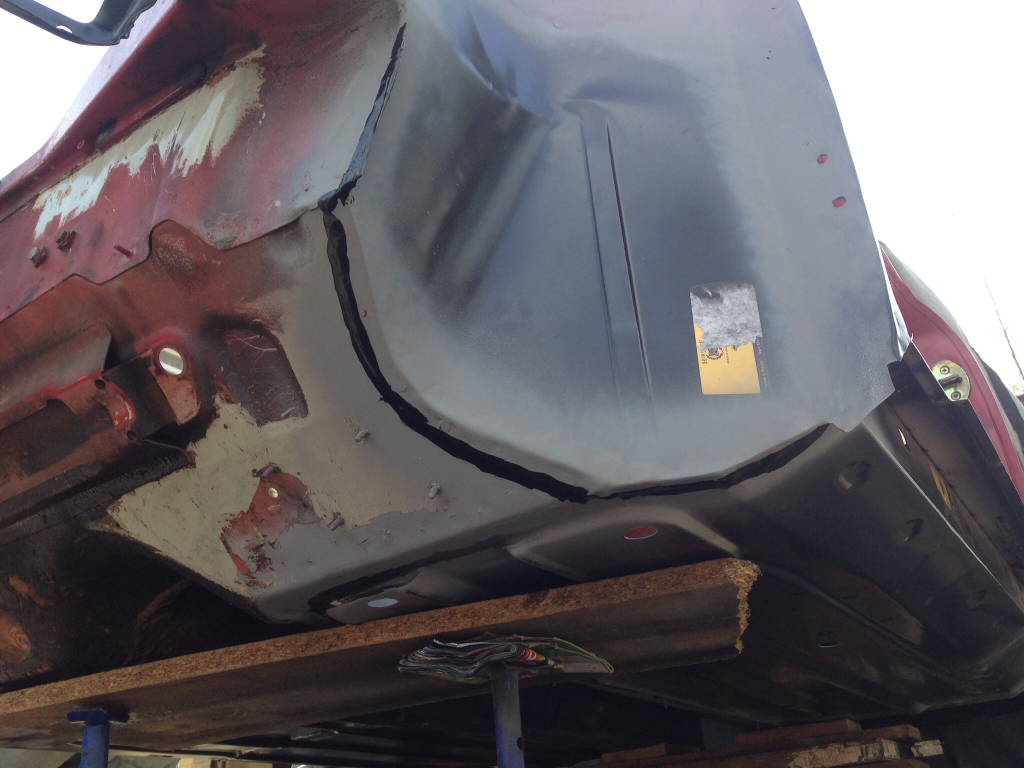
Sealed up the inside -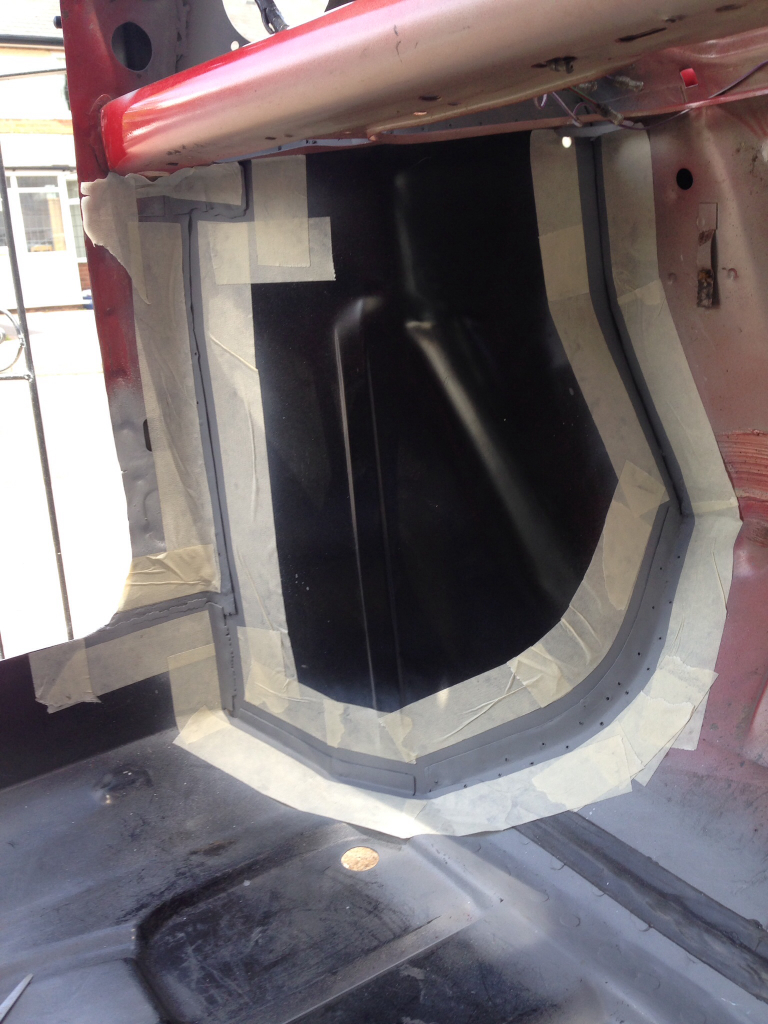
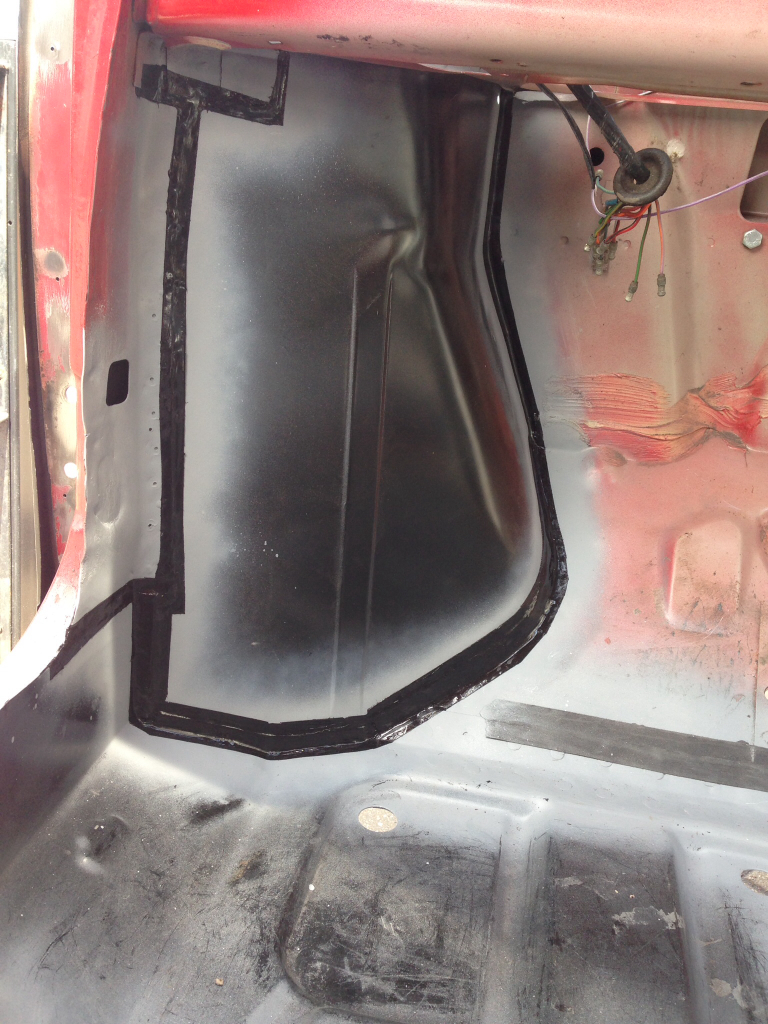
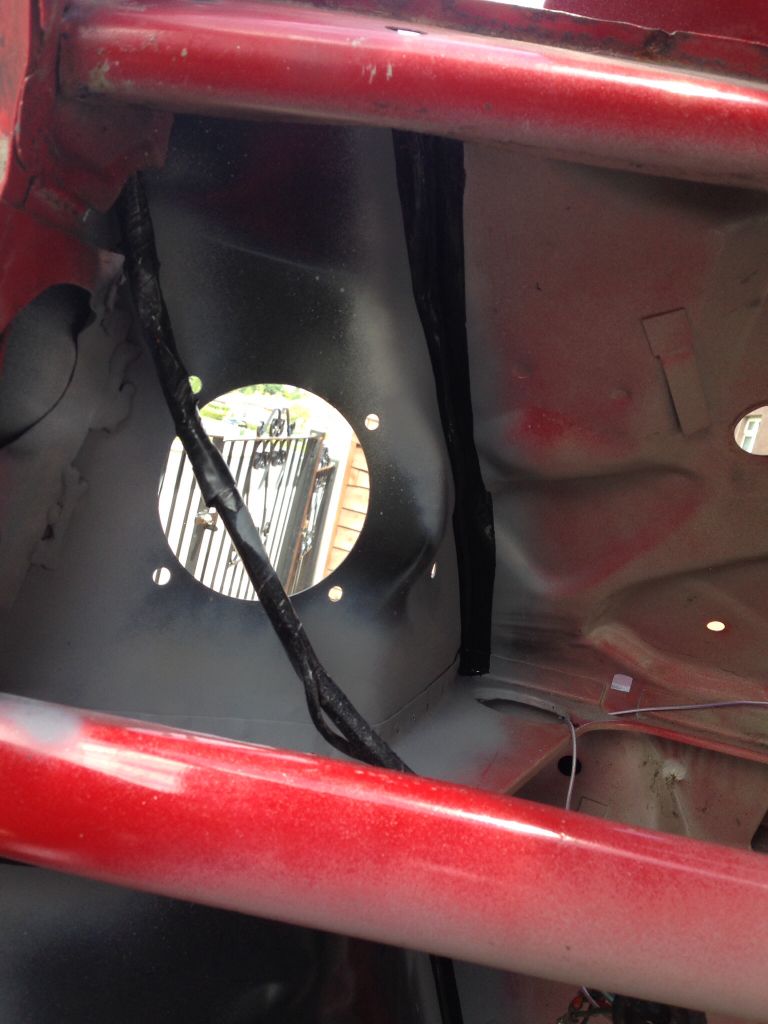
Ordered a couple more panels from M-Machine today so they should be here by the weekend hopefully !
6-14-2014
Update,
We've had a productive day today and got a fair bit done. I'll start with the items I've received.
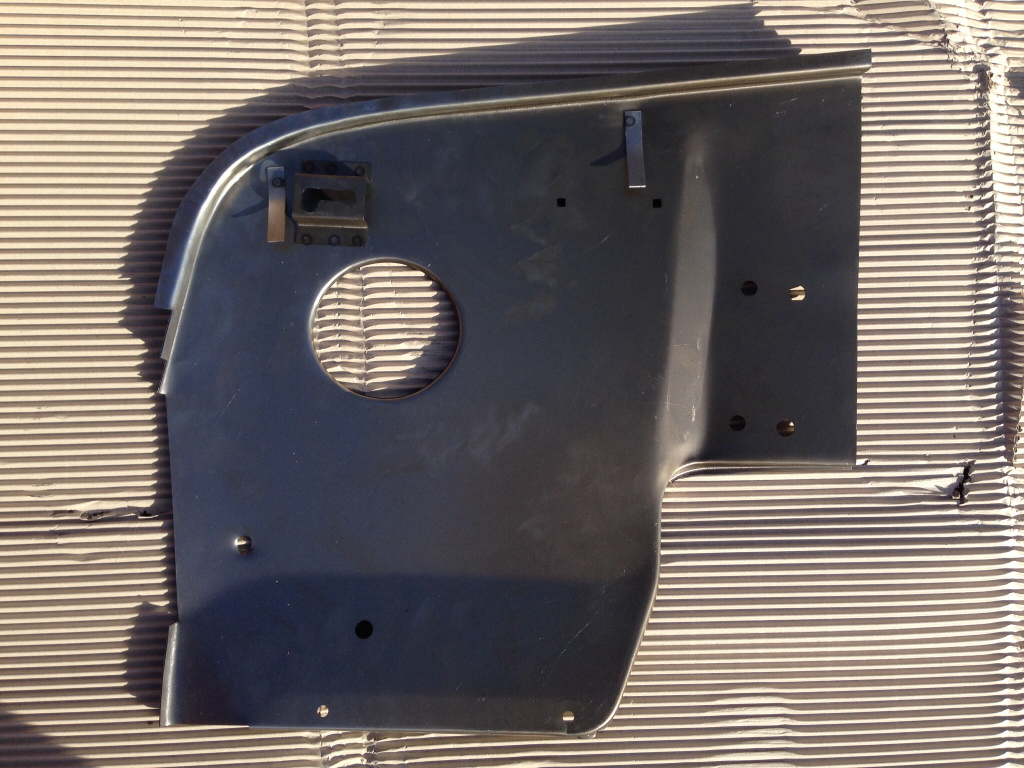
Toe board corner piece and a half inner wing from M-Machine -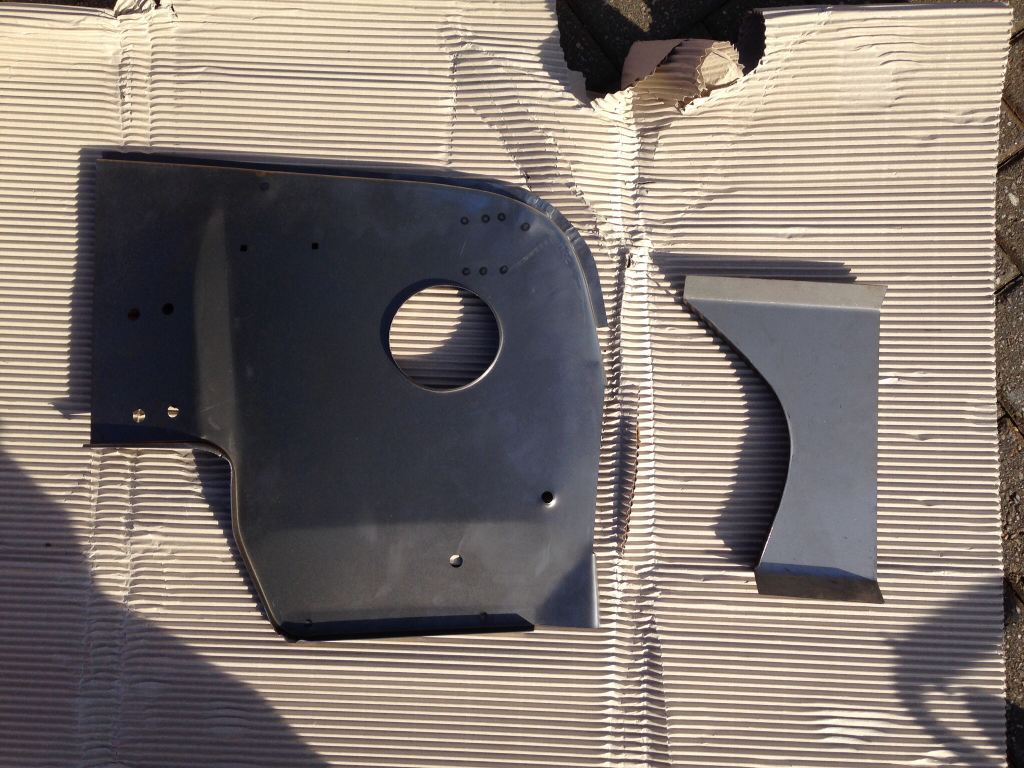
Popped to minispares this morning and picked up a few bits and pieces to keep the engine build moving -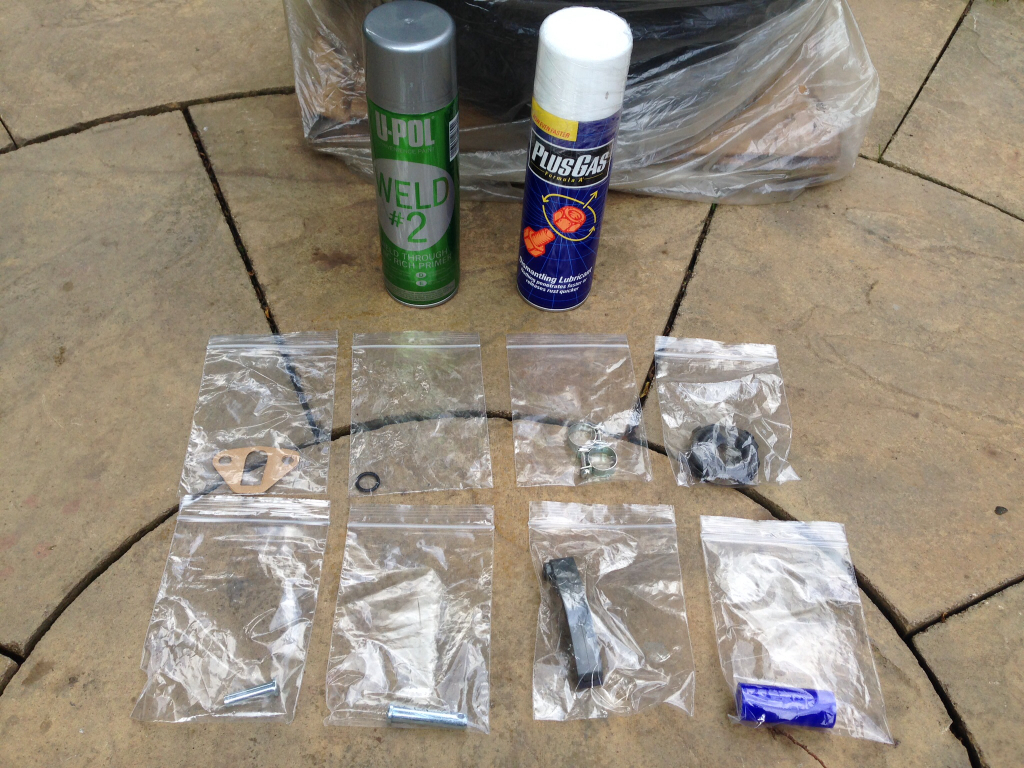
Got back home and got cracking with a bit of engine work as it was too early to unleash the angle grinder. Firstly I fitted a new timing chain tensioner, no picture of this, and then I got started on de-cokeing the block. After a good half an hour it looked like this -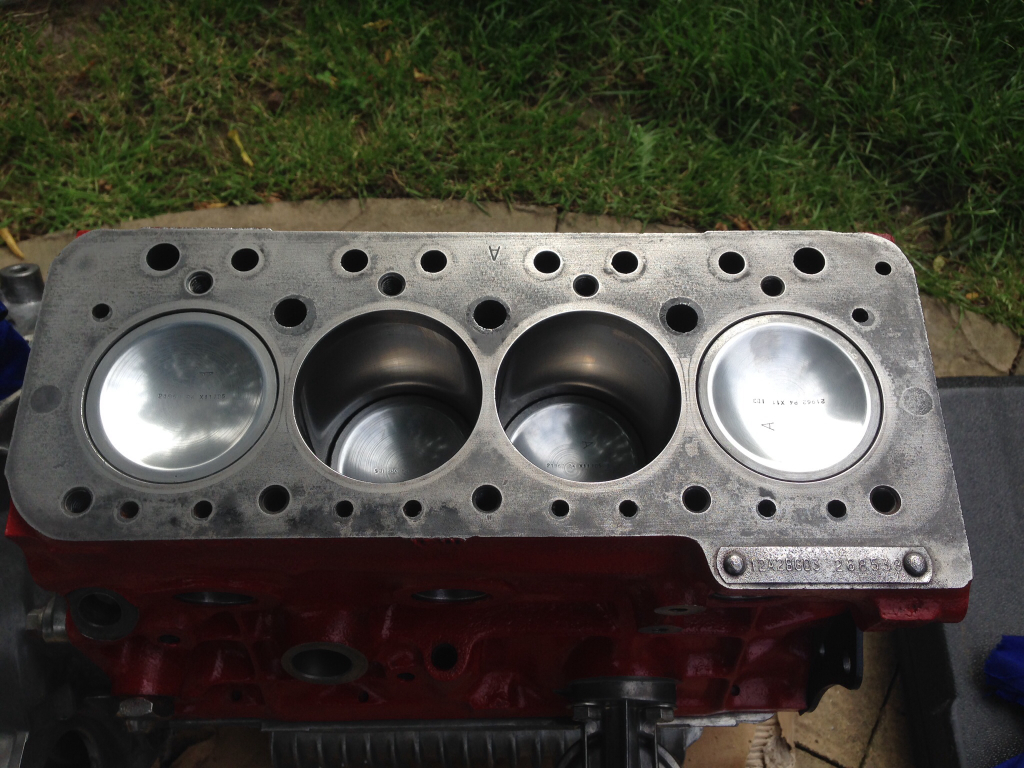
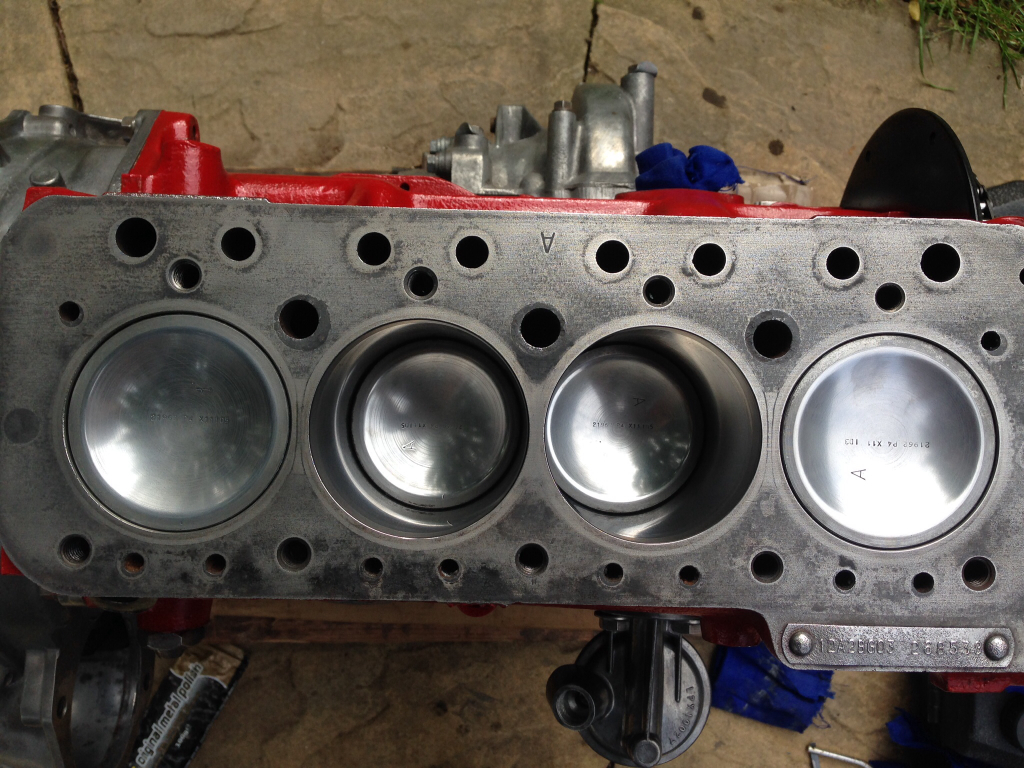
Amazing what a bit of plus gas and metal Polish can do !
Fitted the studs back into the block -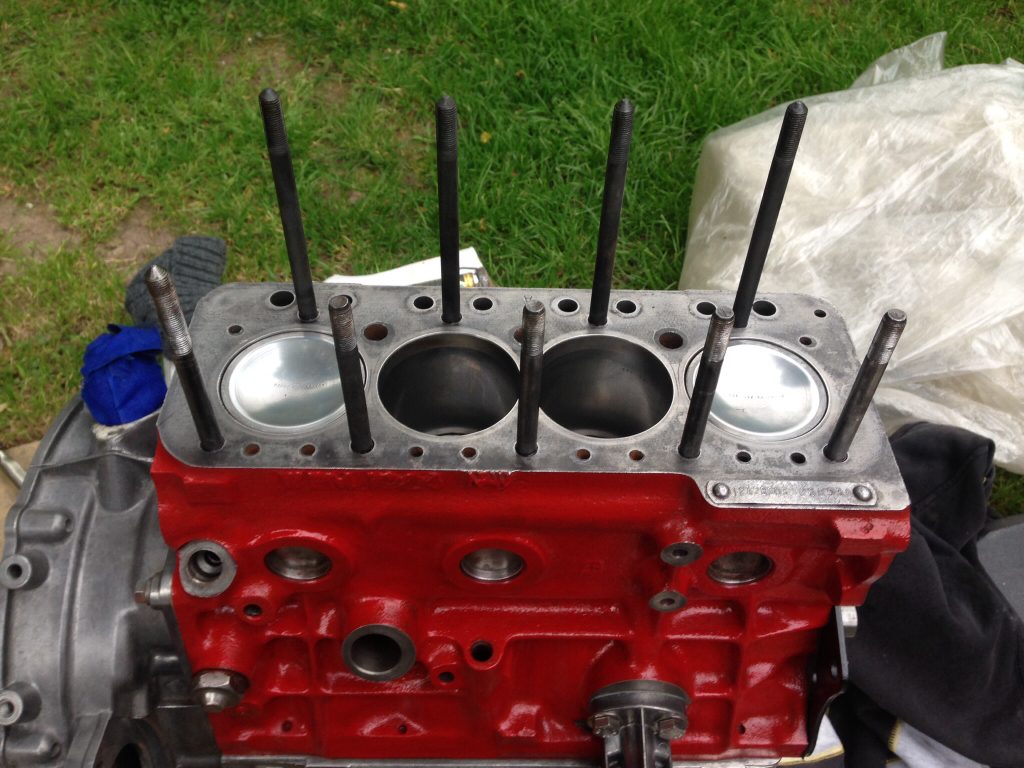
Placed on a new head gasket -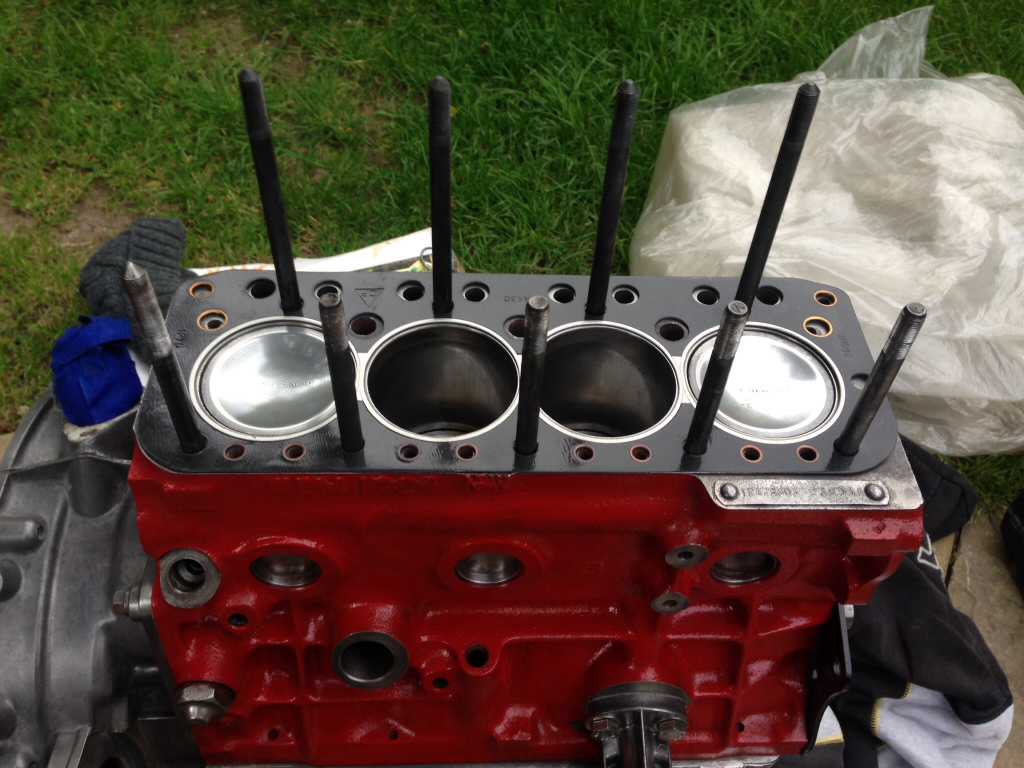
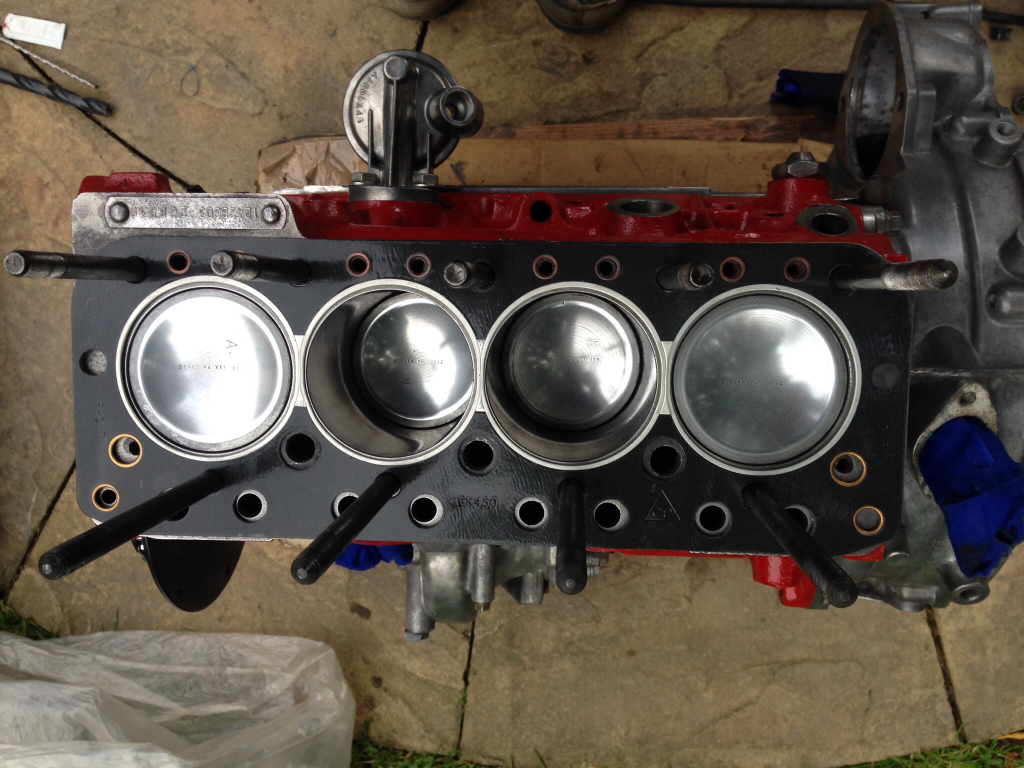
And the cylinder head fitted and torqued down -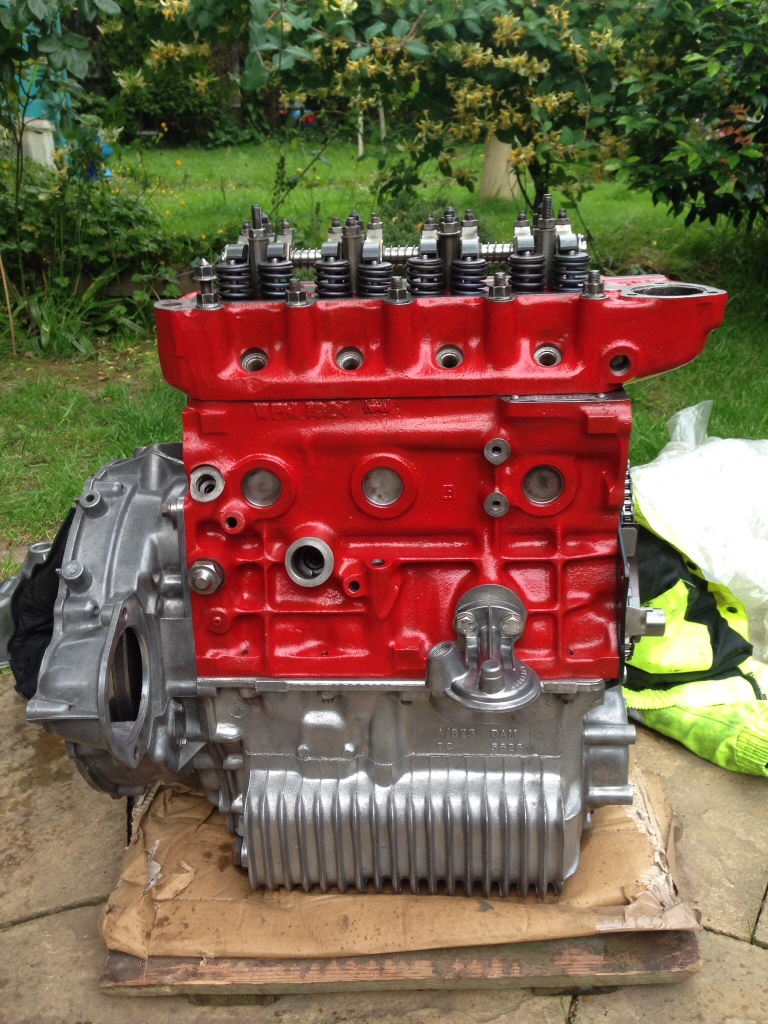
That took me up till midday so I decided to go and make a start on the bodywork. Cut out the rot in the quarter panel and uncovered about an inch thick layer of filler to go with it -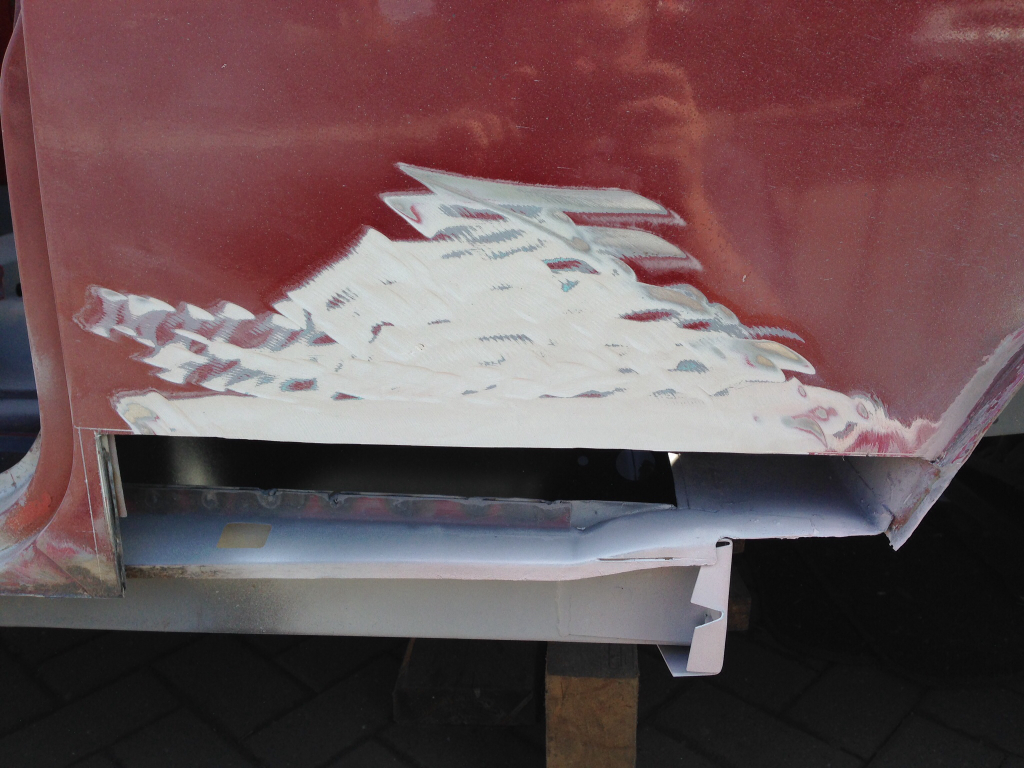
Removed the filler and found the quarter panel to be perfect underneath, no idea why it was spread so high up the panel ! Then made a small lip for the subframe closing panel -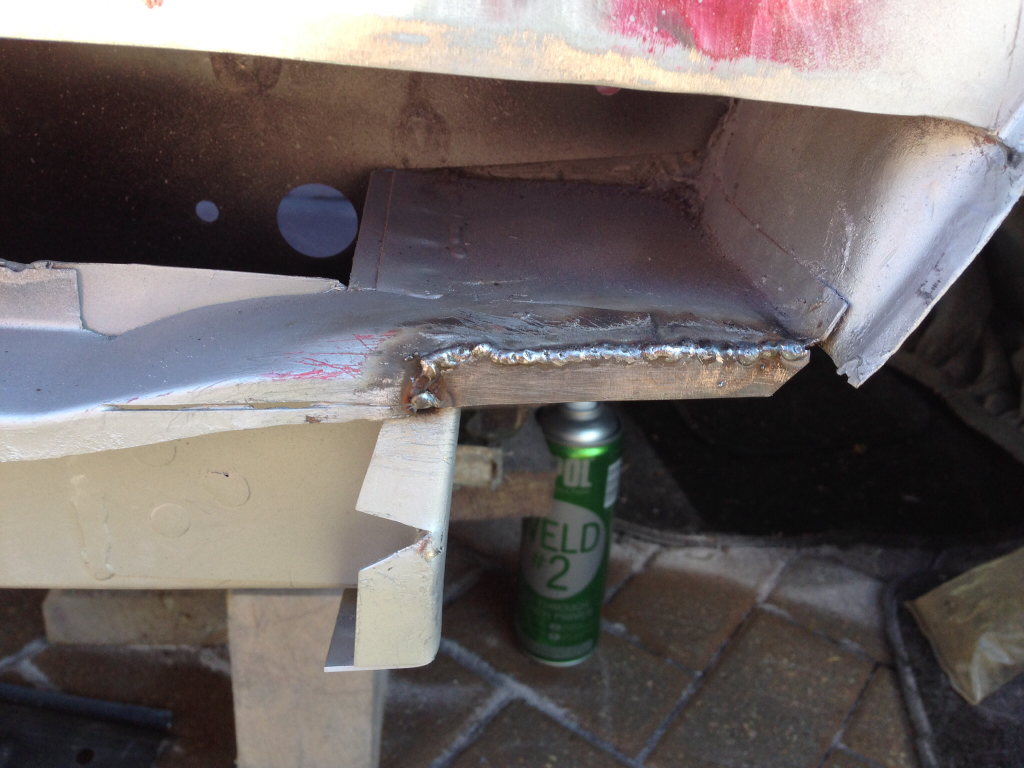
Tided that up and welded the small closing piece in place -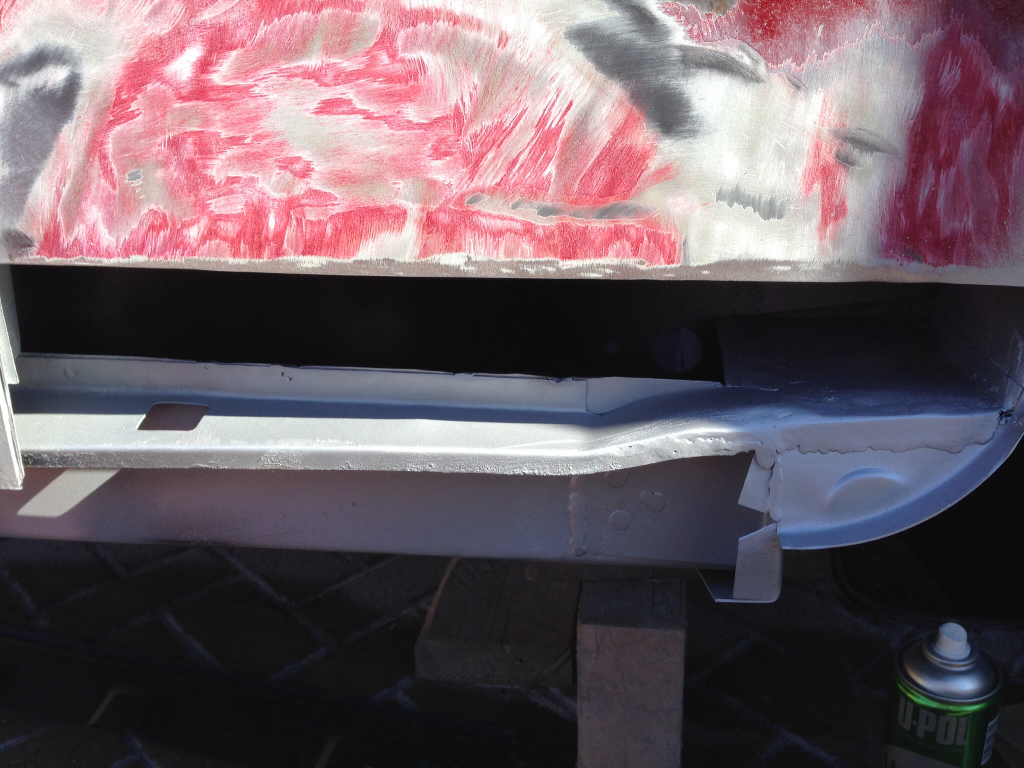
Tacked in the rear quarter repair panel -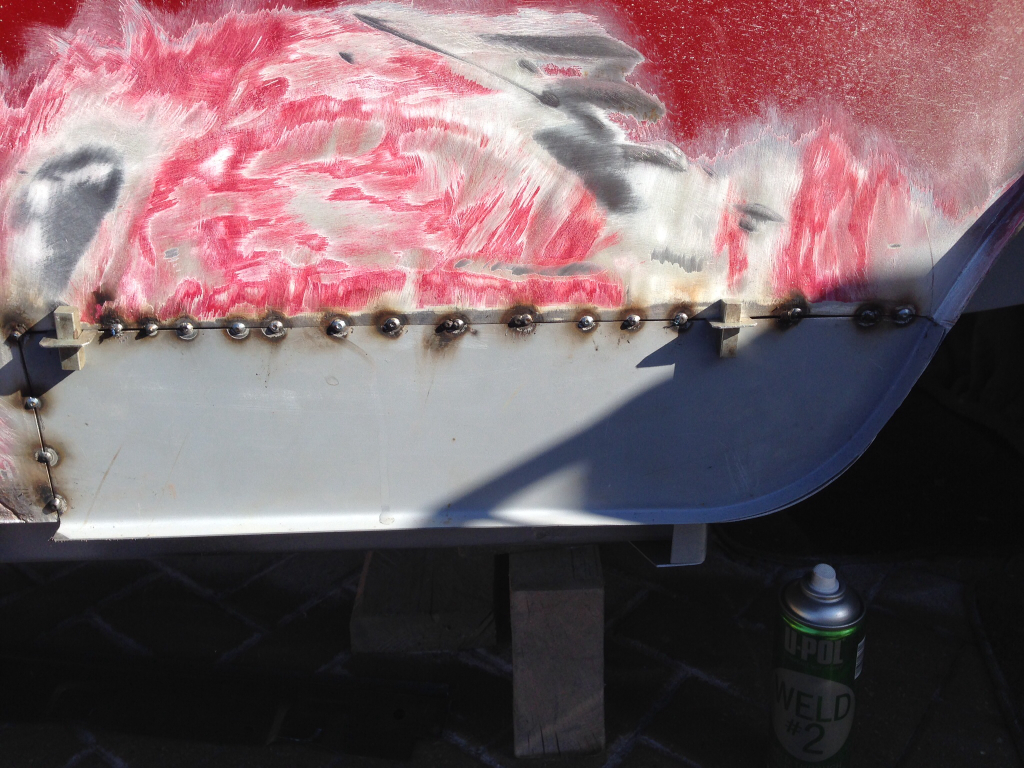
Fully welded, took a while as I wanted to avoid distortion to the panel, so had to keep cooling it off with a wet cloth -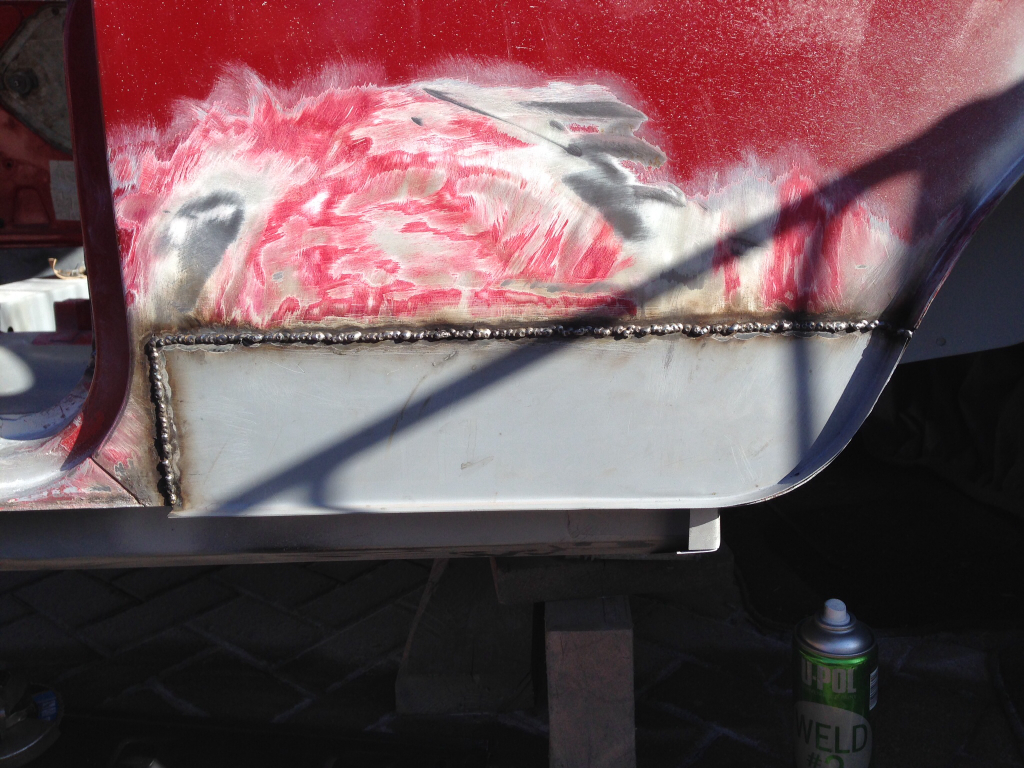
Ground down, will need a lick of filler but pretty happy with it -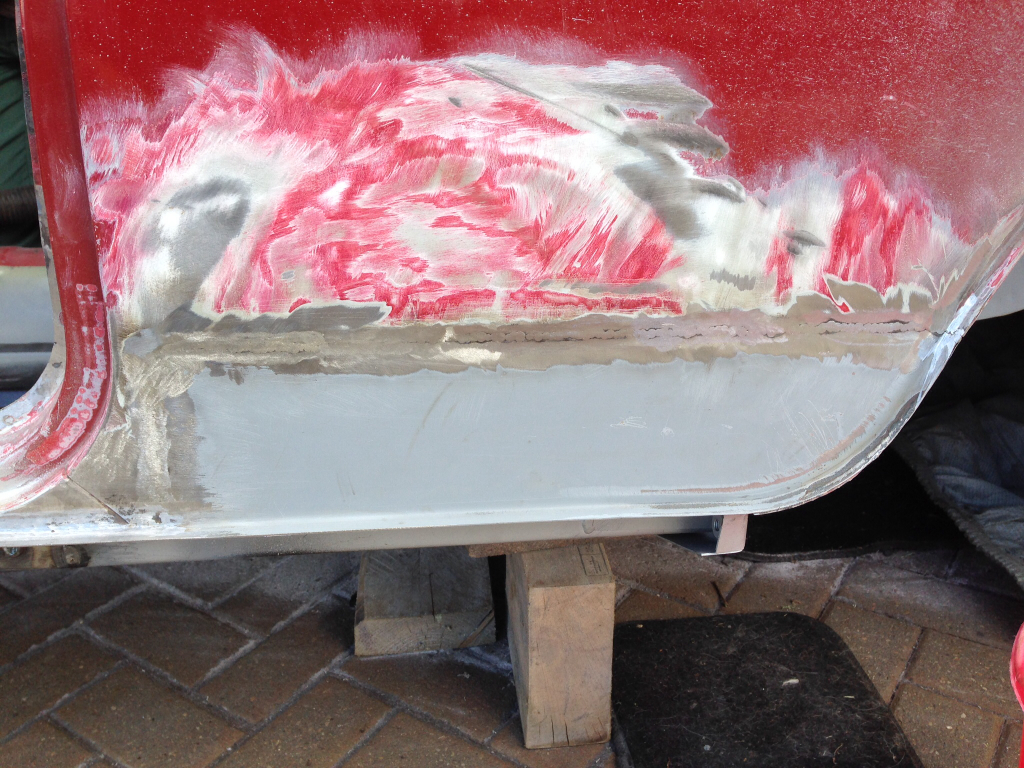
Then made a new piece for the lip -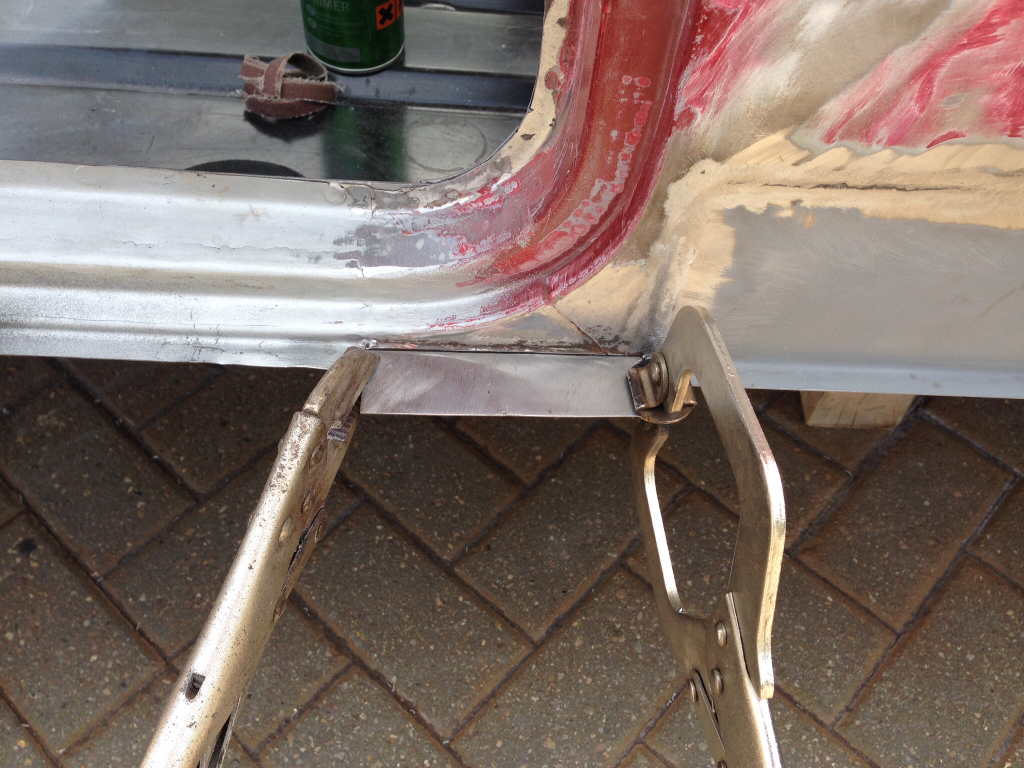
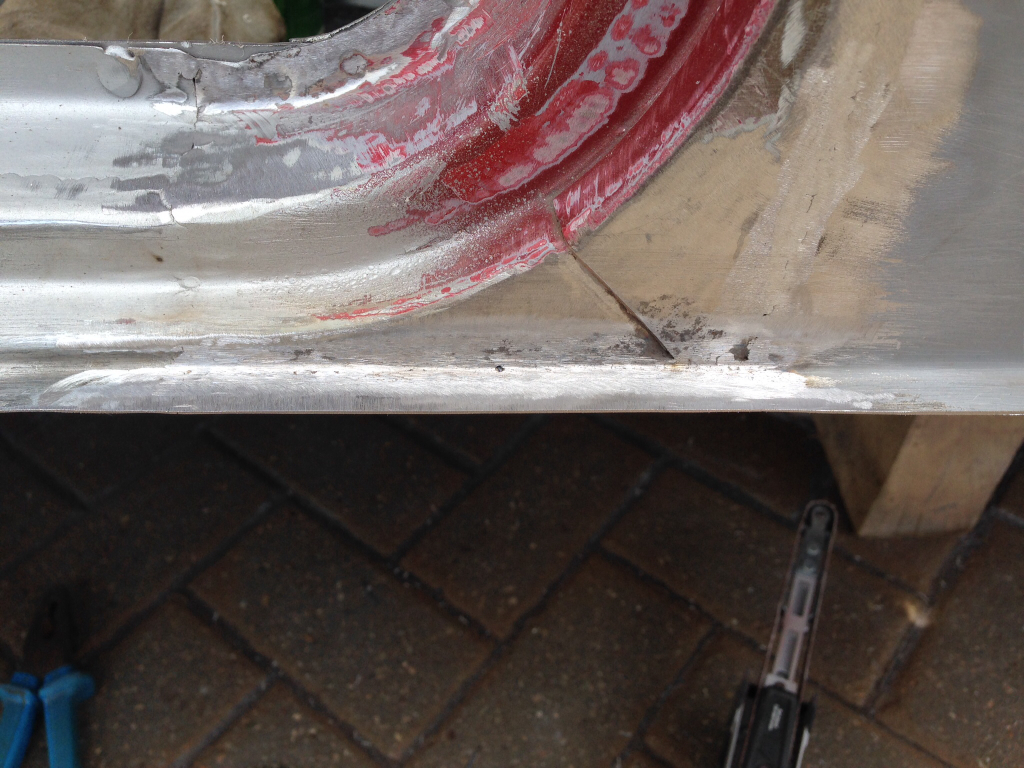
Same thing for the front of the doorstep lip -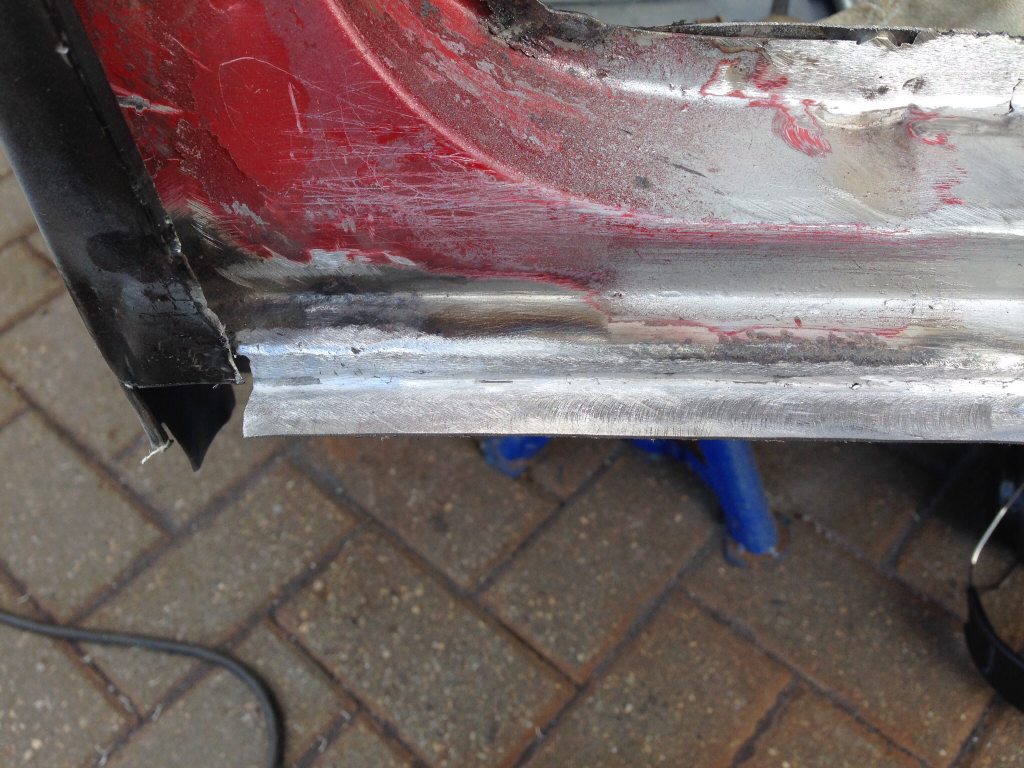
Then made a new seatbelt bracket as the heritage panel doesn't come with one, funnily enough the other side, which is an M-Machine panel, does -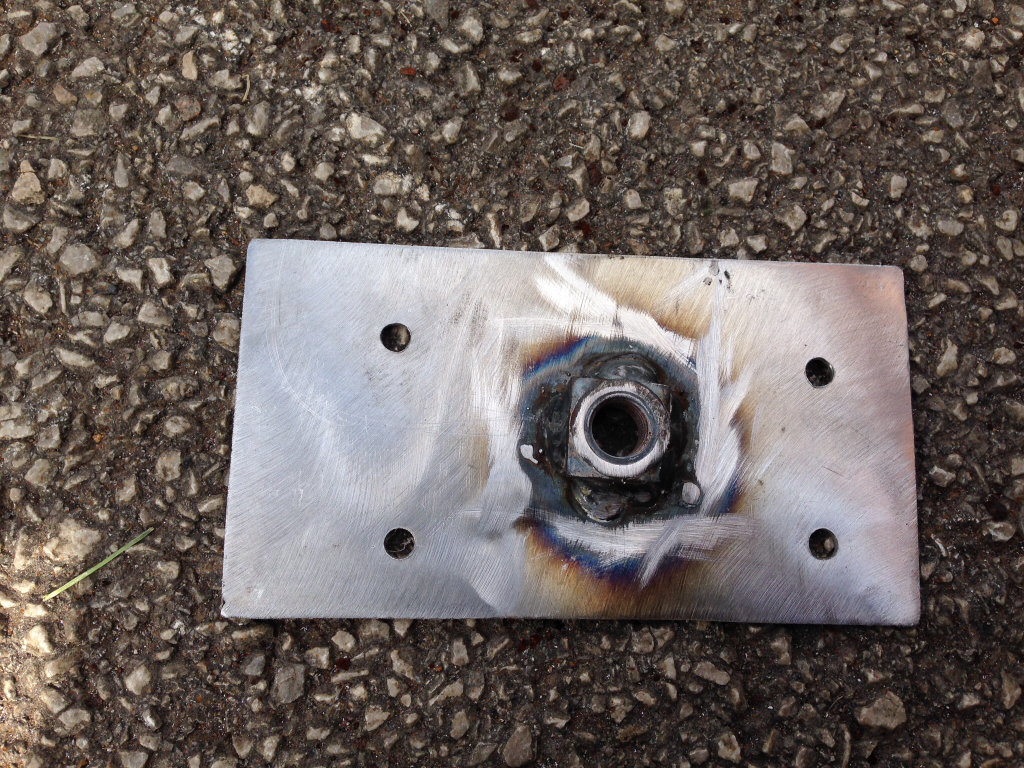
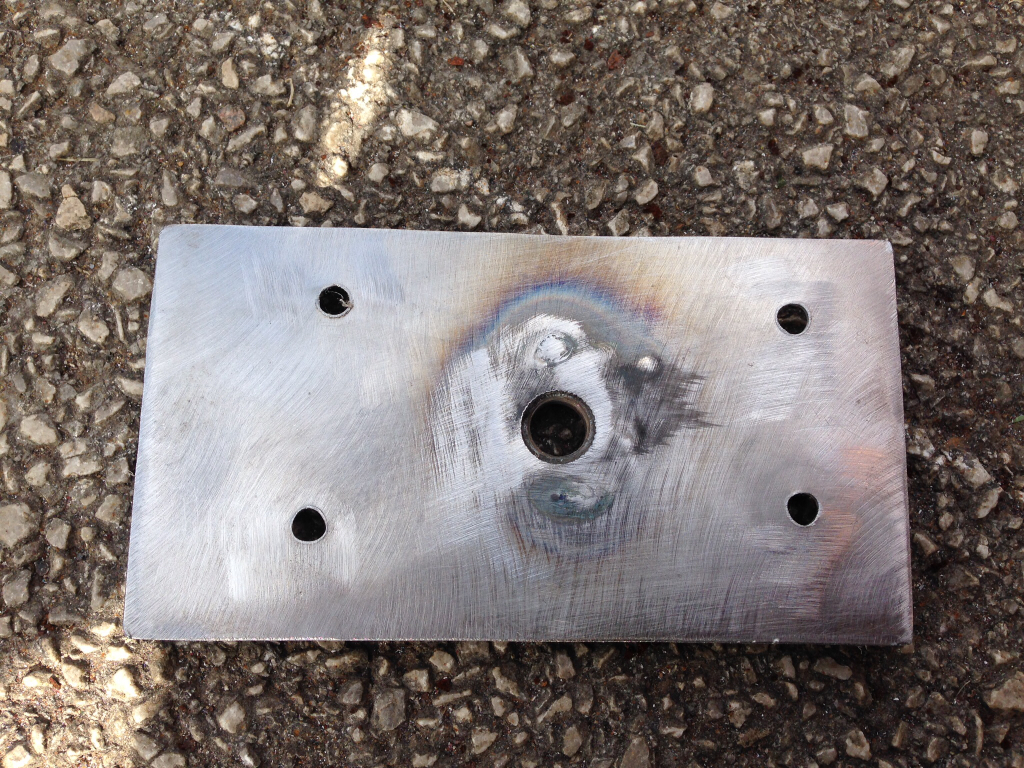
Welded in place -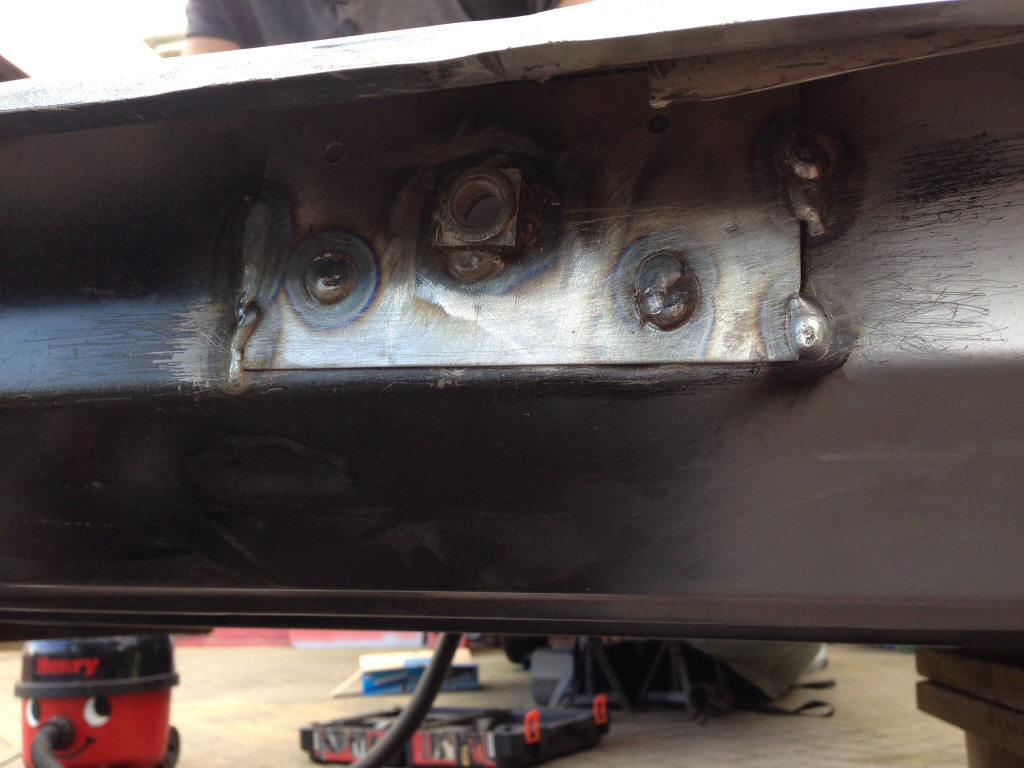
Then sanded and prepped the inner sill ready for the outer sill to go on, zinc primed and then regular primer applied -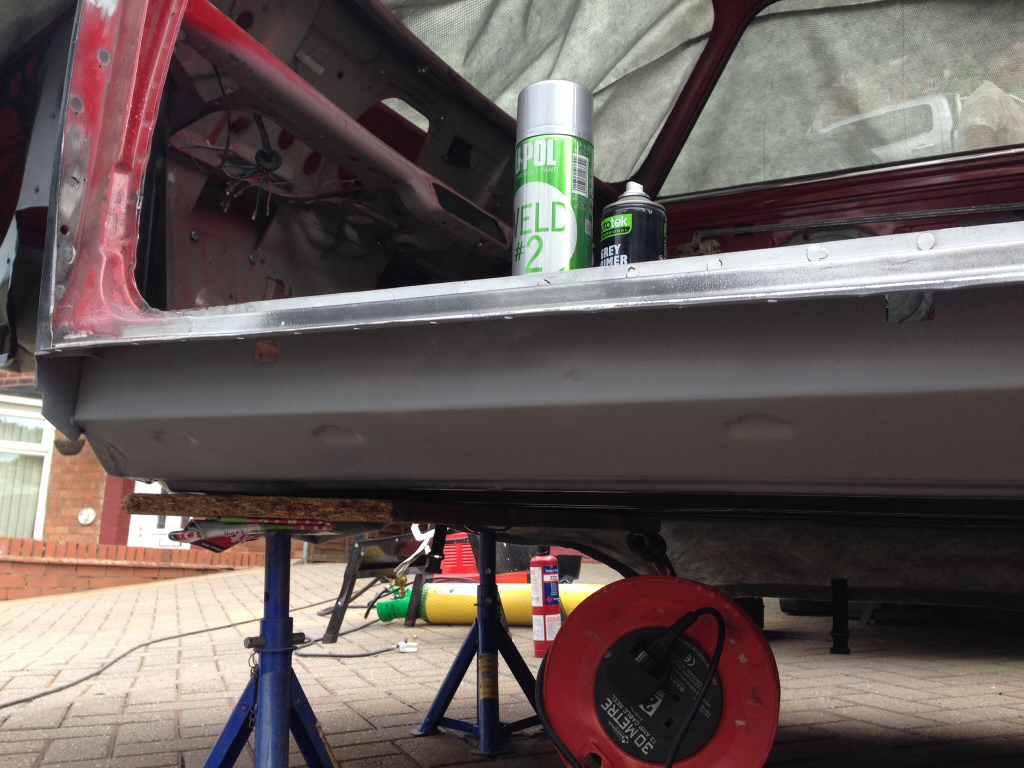
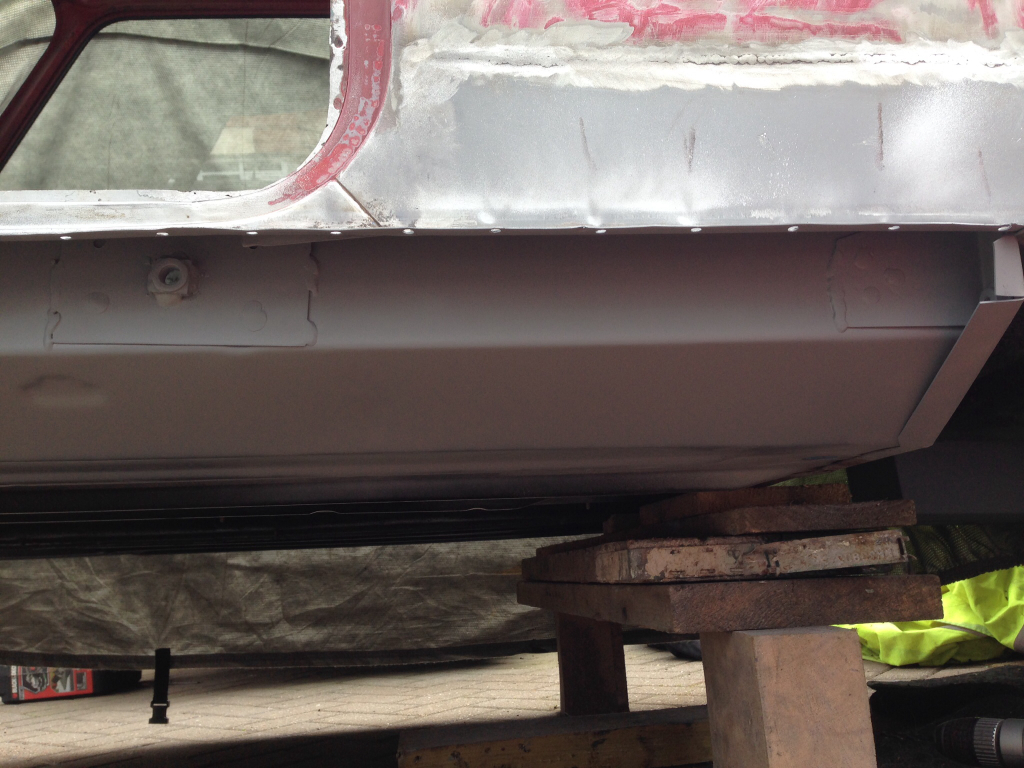
Then I did top coat this with a good few layers of black paint but forgot to take a picture.
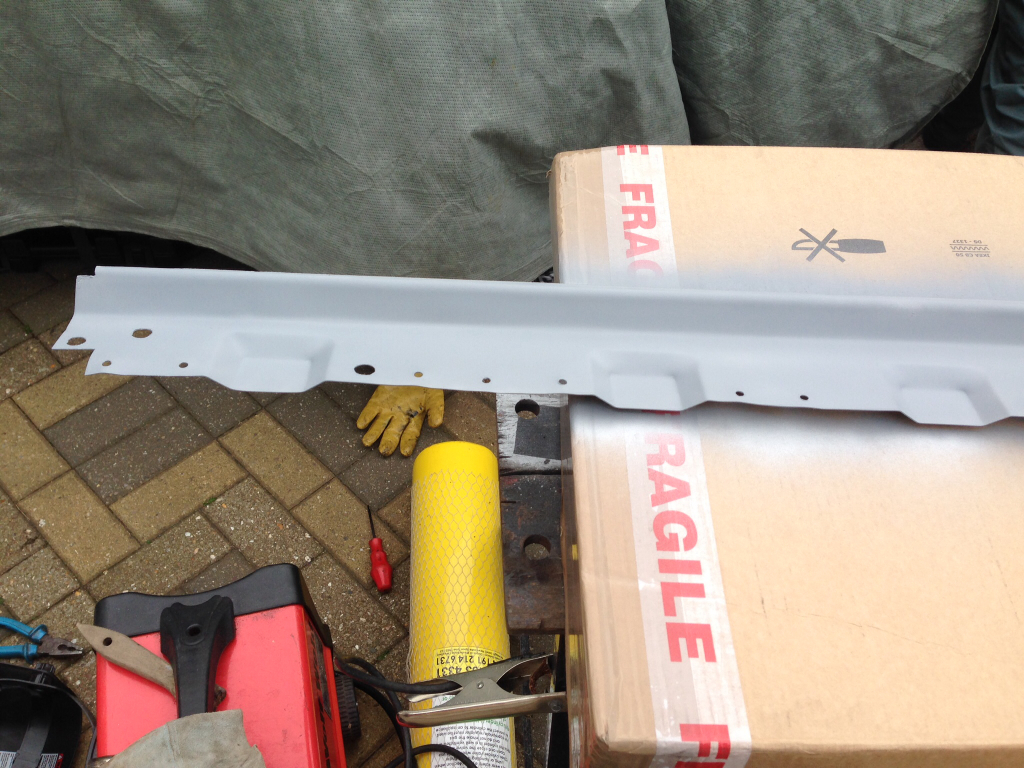
Prepped the outer sill, stripped all the nasty magnum coating, holes drilled for plugging, welded up the jacking point hole, zinc primed, primed and top coated -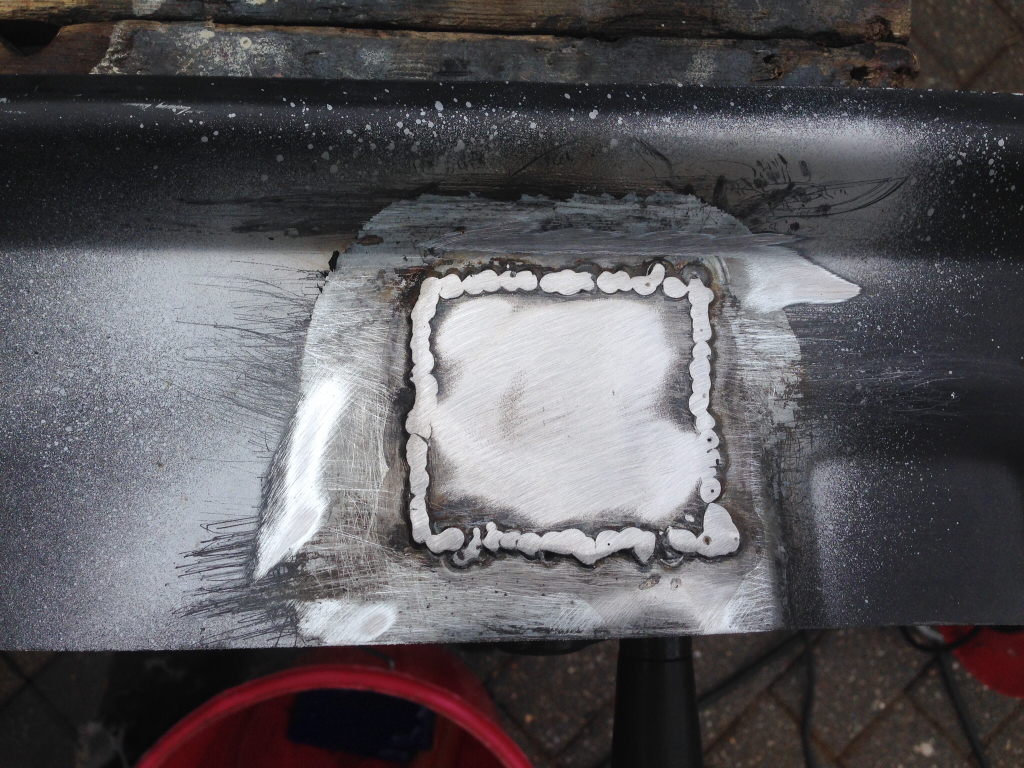
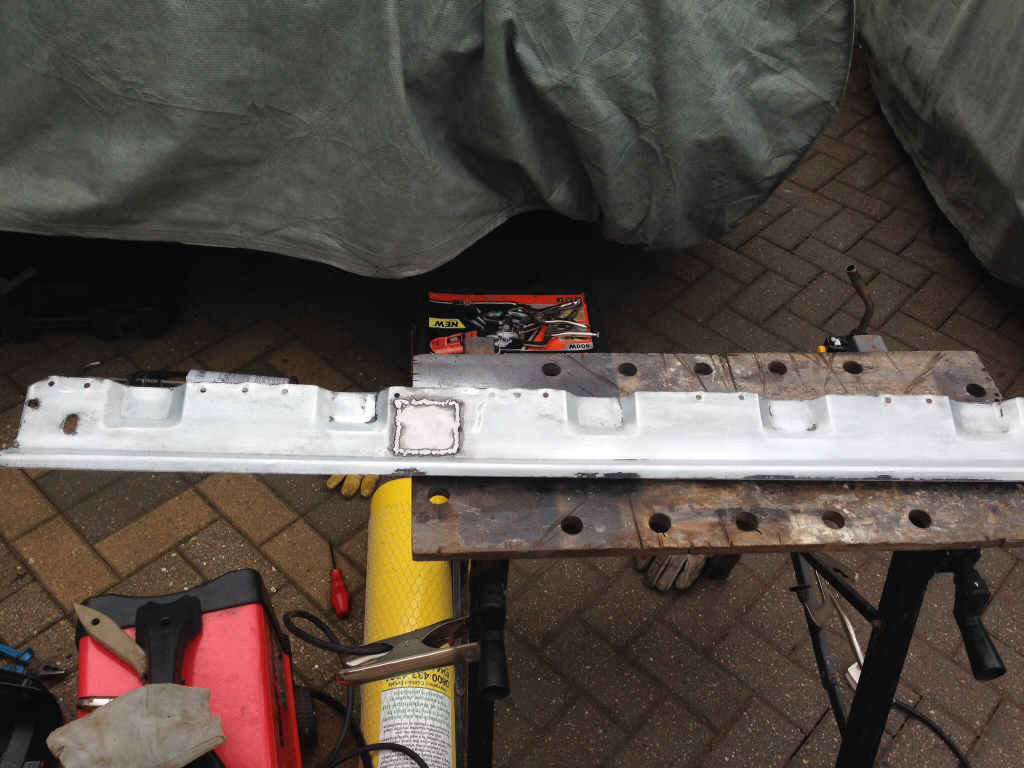
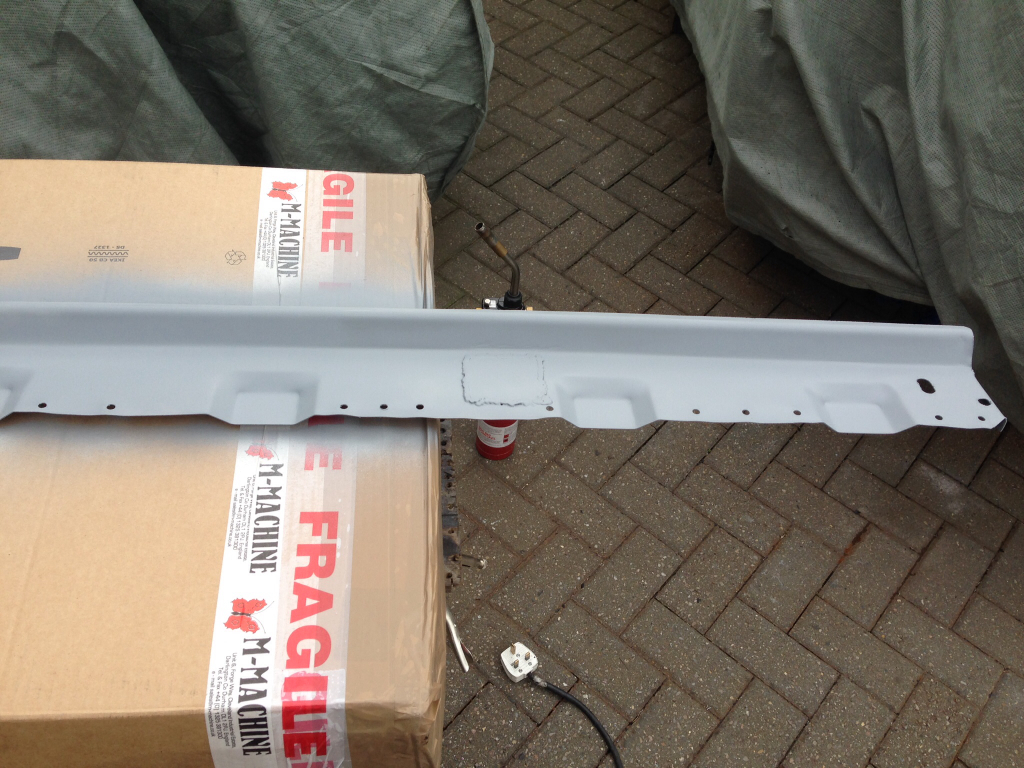
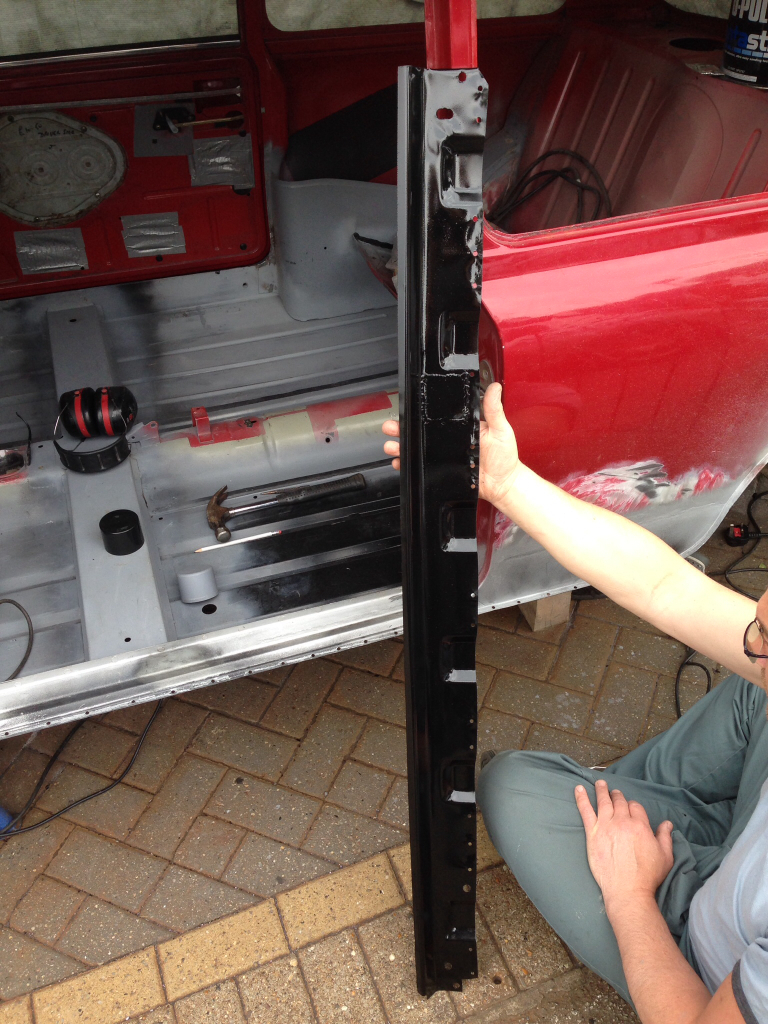
And welded that in to place -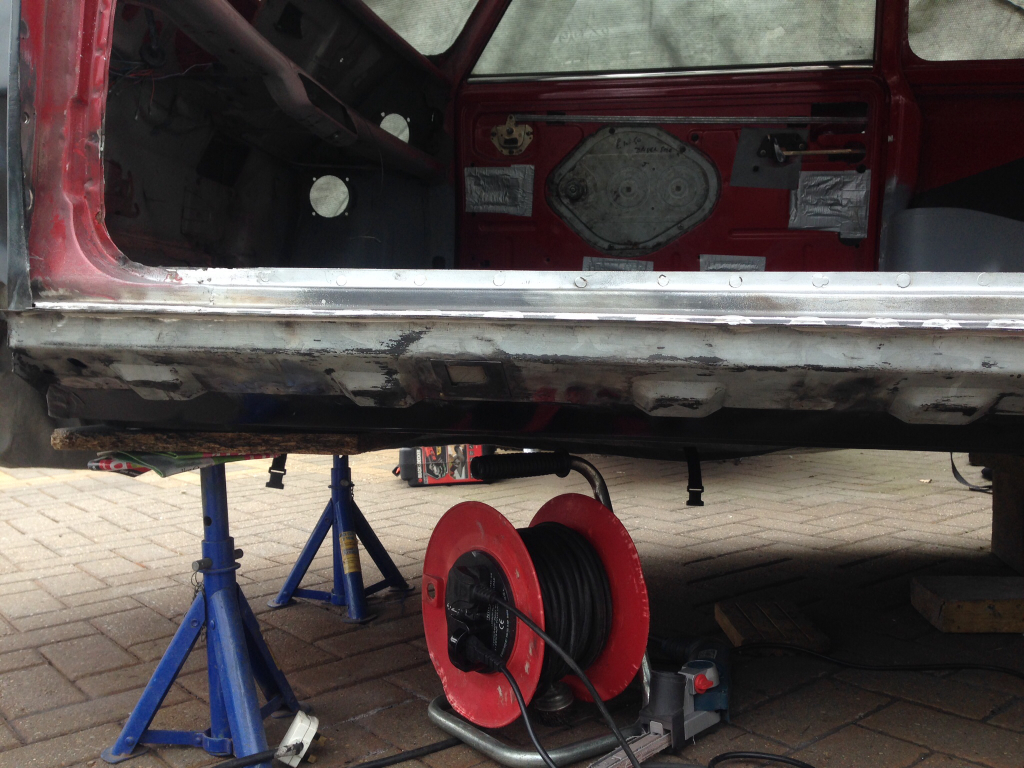
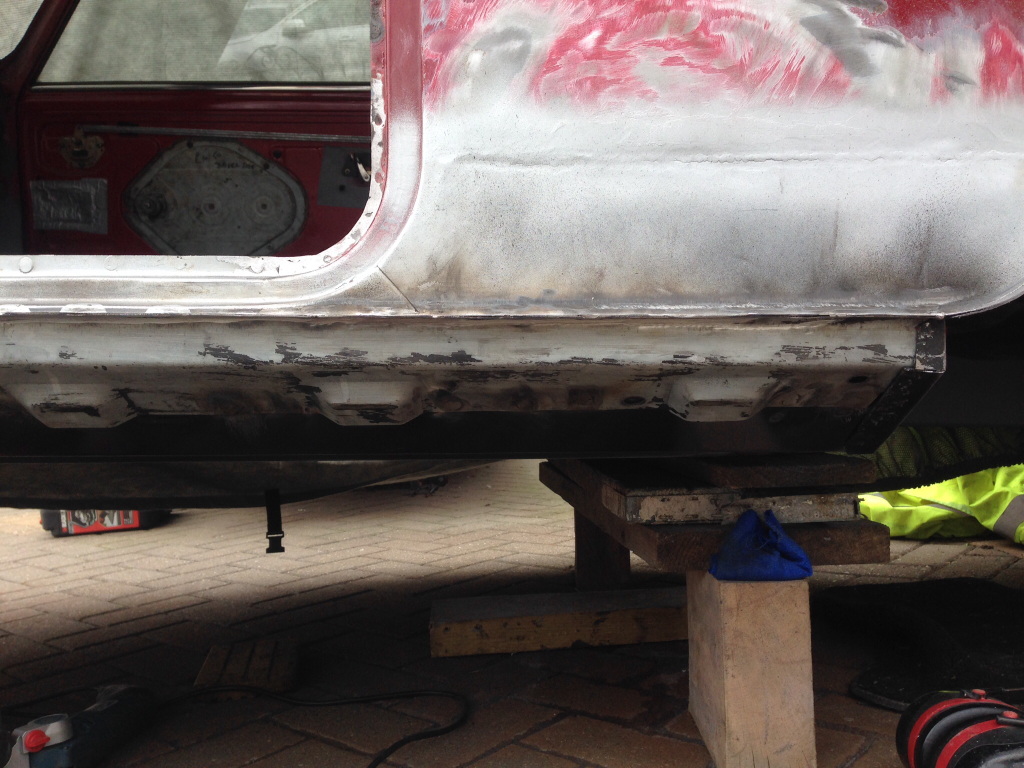
The outside of the outer sill needs a good flatting down and some primer putting on as it looks a bit rough in those pics, but ran out of energy / time so will be done tomorrow ! That's all for today
6-15-2014
Thanks for the kind words ! As for panels, I would have liked to use all heritage panels of course, and even though I have used a fair few of them, they are quite expensive for what they are. M-Machine panels are absolutely spot on, closest you can get to the heritage panels, I've used a lot of them so far, and have had no problem with the fitment what so ever, I wouldn't think twice about using their panels.
As for magnum panels, I've not had the best experience with the ones I've used. Their doorsteps are poor and require a lot of modification to make them fit and their boot repair section is also poor. However, I've used magnum outer sills on both sides of my car and have had no problem with them. In hindsight I wouldn't have used any magnum panels but I was just a novice and didn't know much about welding or car restoration when I started this build. But now I've had a chance to work with panels from different company's, M-Machine seem to be far superior, the quality of the metal just feels better.
I will be using heritage panels where it matters though i.e, scuttle, door skins etc just so it looks right. As for the panels you'll be replacing, i'd be using heritage rear quarters as I've not heard great things about the magnum version. I'd use M-Machine for the outer sills and front panel. Of course a lot of this depends on your budget, if you can afford the heritage stuff than go for it, if not don't be worried about using M-Machines stuff as it's excellent, I'm sure plenty of people will agree with me.
Hope this helped you a bit !