You must be logged in to rate content!
8 minute(s) of a 358 minute read
3-28-2014
Parts update,
I've purchased two valance closing panels and a Heritage valance from M-Machine, they arrived today and I'm very happy with them.
Some pictures -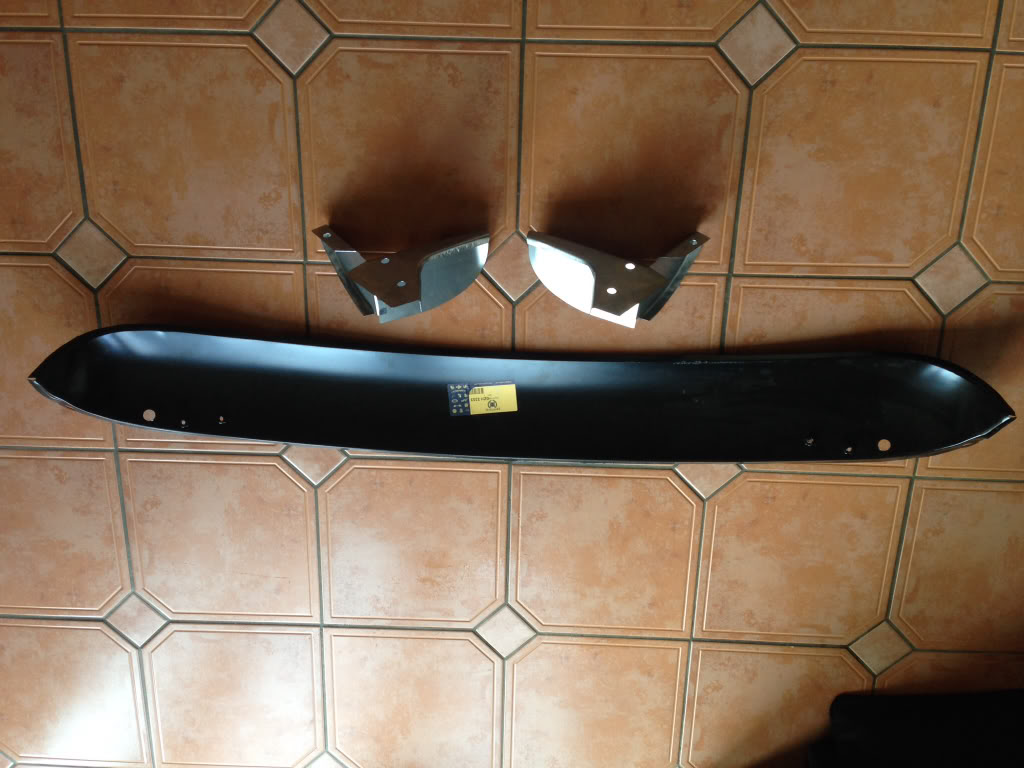
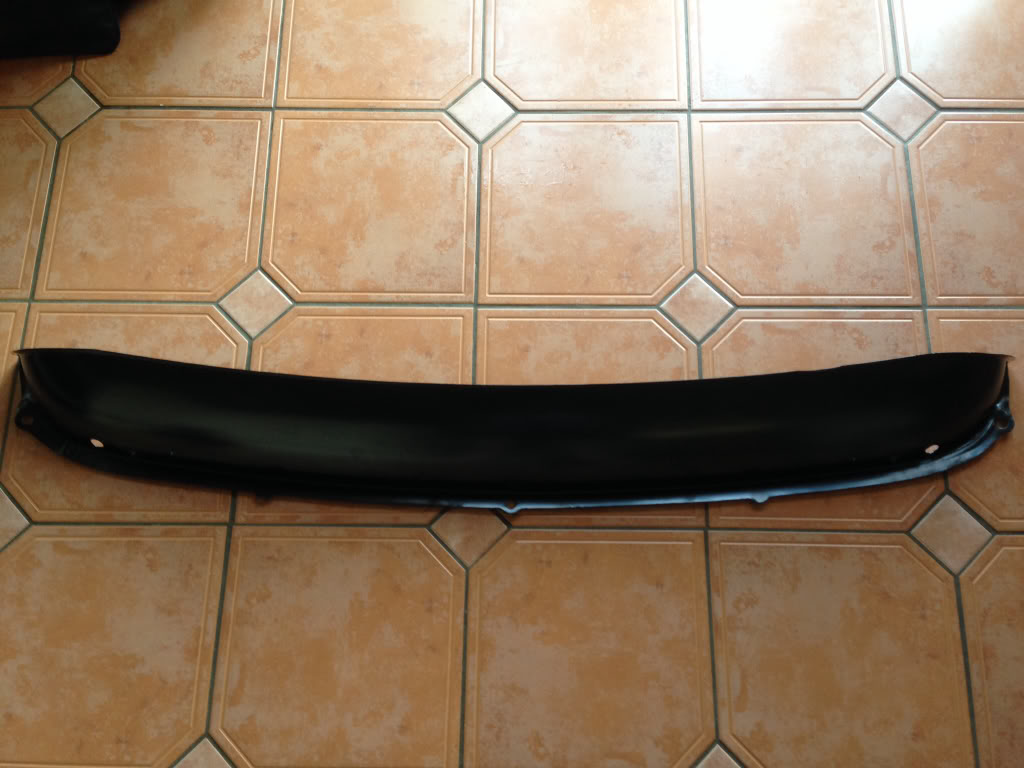
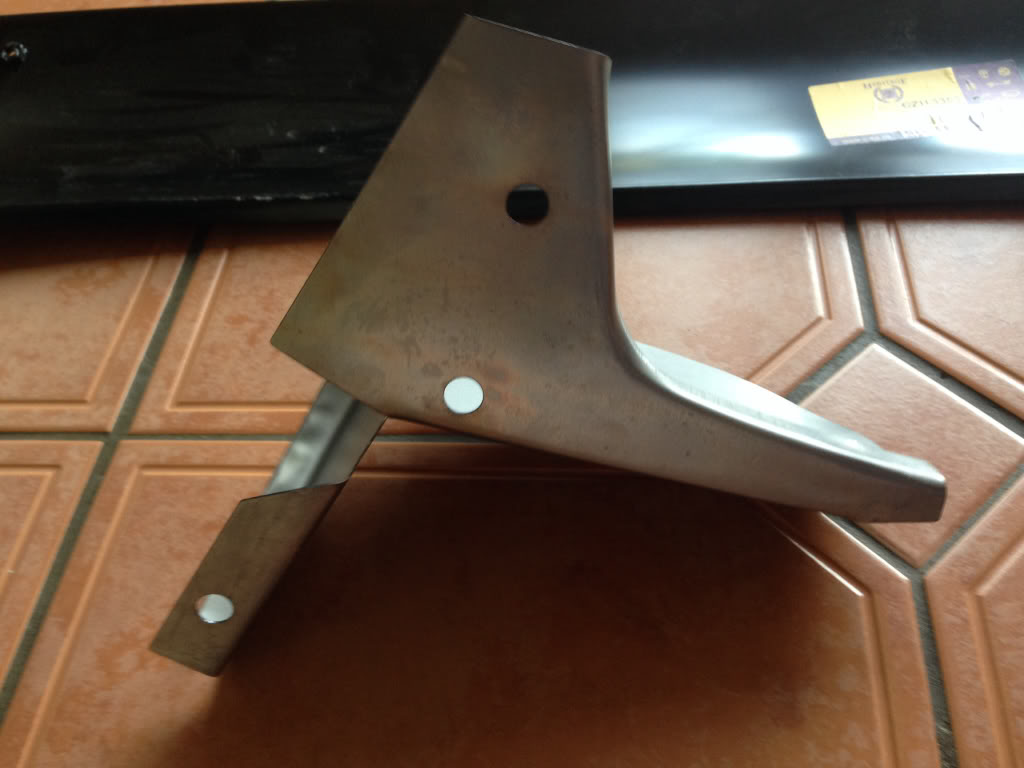
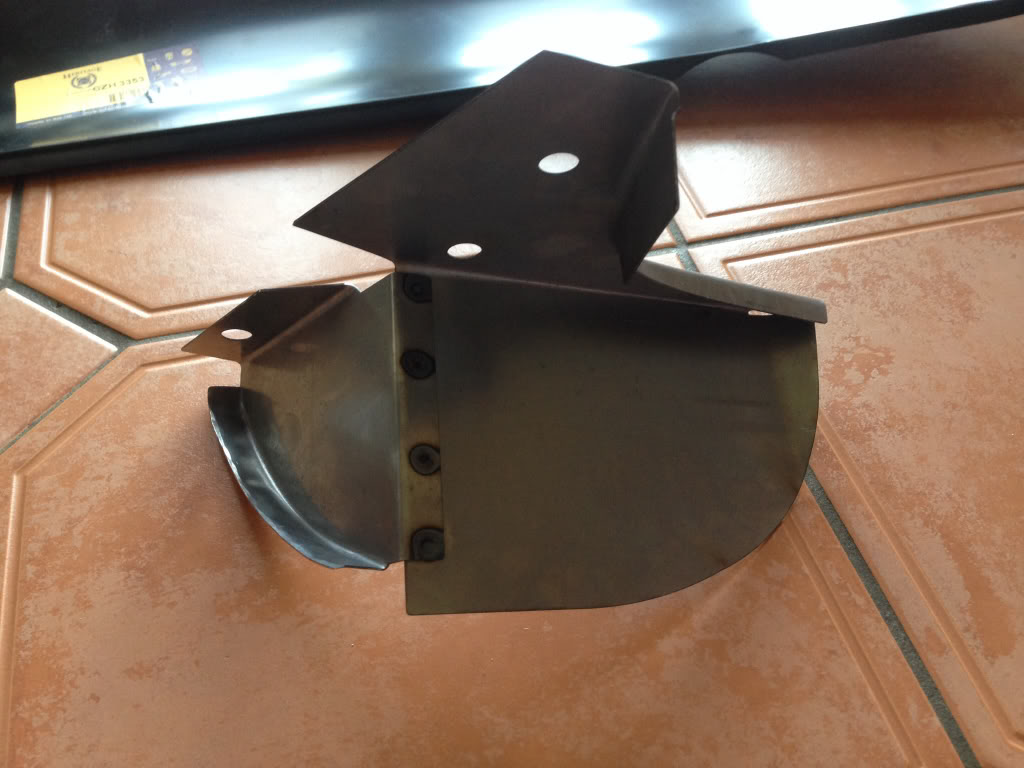
I wasn't to sure if the closing panels came with the strengthening panels already attached like the Heritage ones do but unfortunately they don't so I'll have to fab some up myself out of thicker gauge steel.
I'll be cracking on with this tomorrow, hopefully I'll get all the welding on the back end finished this weekend as I want to make a start on the passenger side.
3-29-2014
Update,
I've got quite a bit done today, the one corners now finished and there's not a lot left to do on the other. Here's some pictures of today's progress.
I started off by getting the closing plates in primer -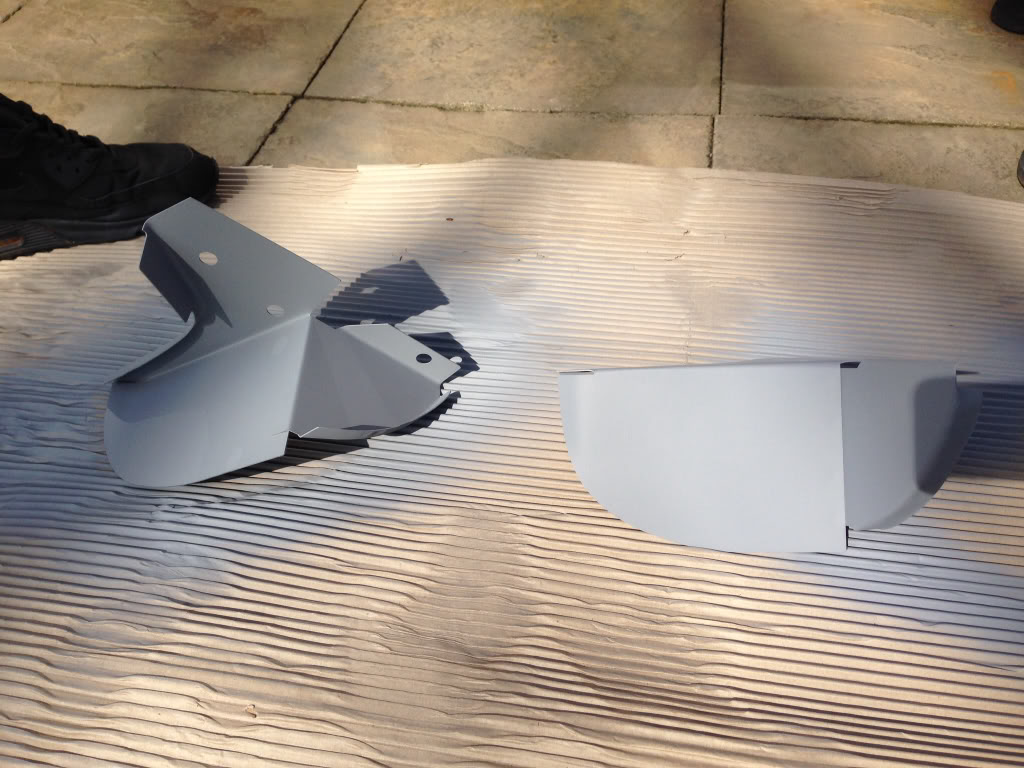
Then some black paint was applied -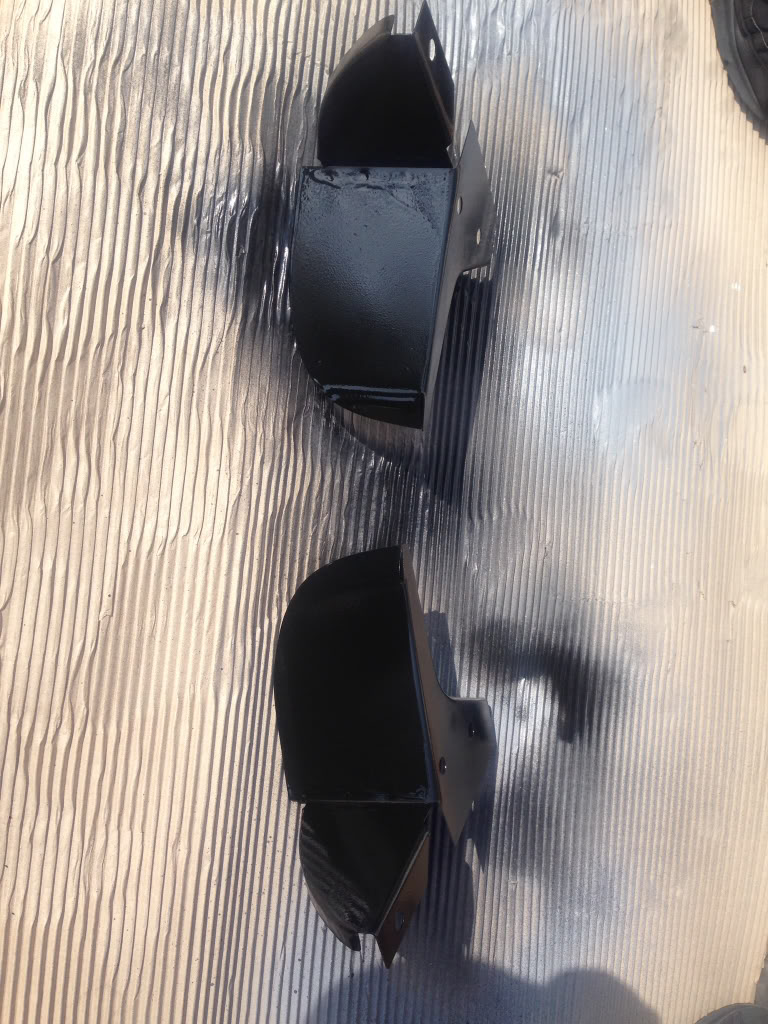
Next I trimmed the boot repair piece, applied some zinc primer and fitted it into place with some inter grips -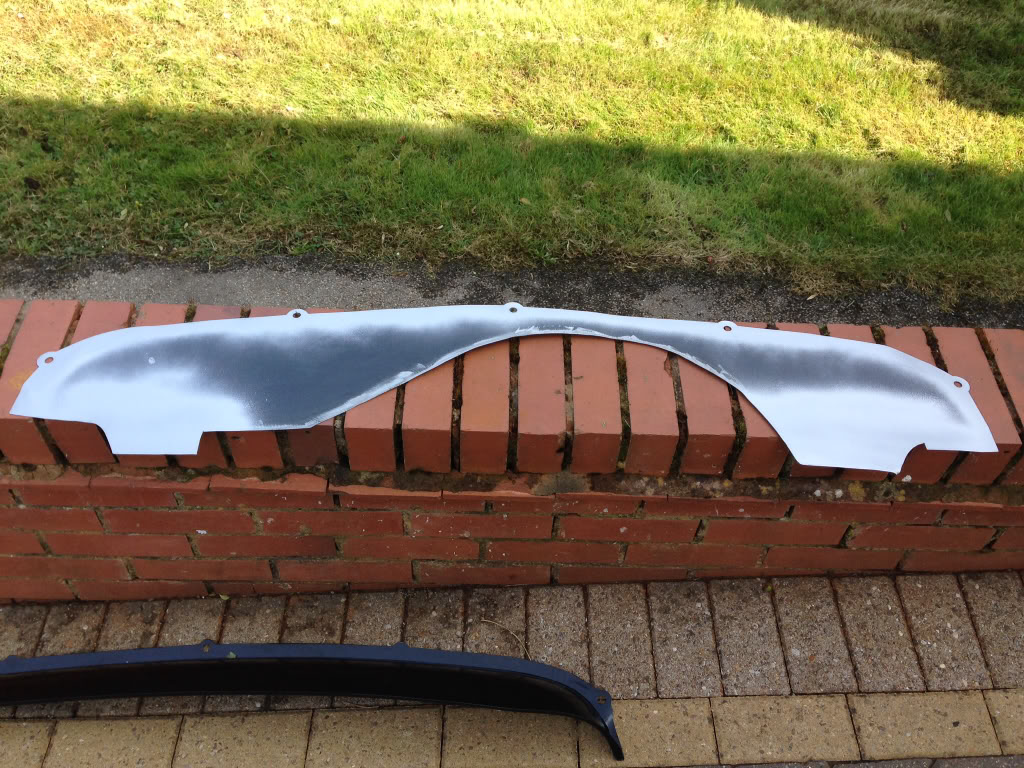
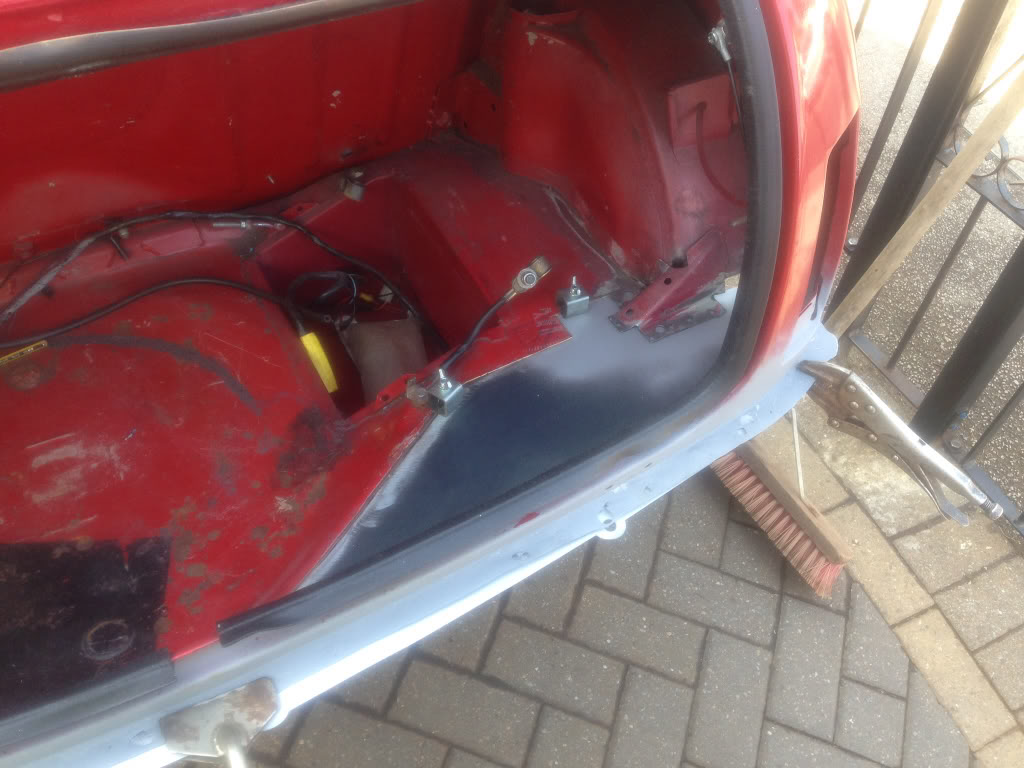
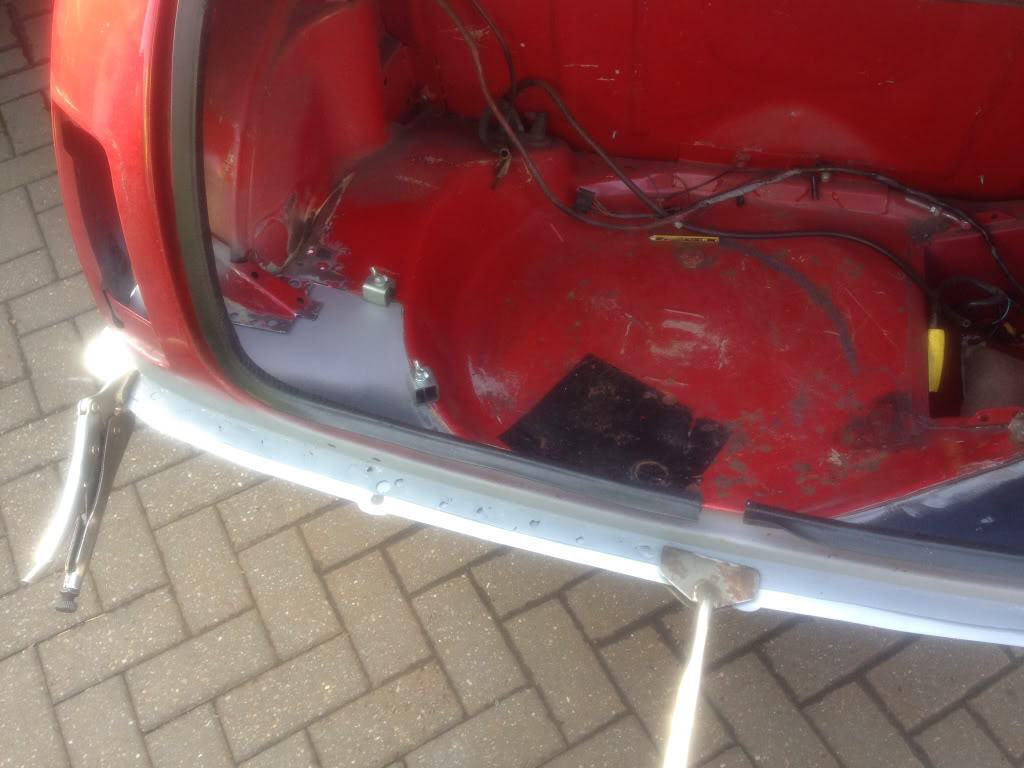
Welded in and tidied up a bit, this Magnum panel is a terrible fit by the way, i know it an aftermarket panel and all but it's shocking how they can get away with it, will be the last Magnum panel I buy if I can help it -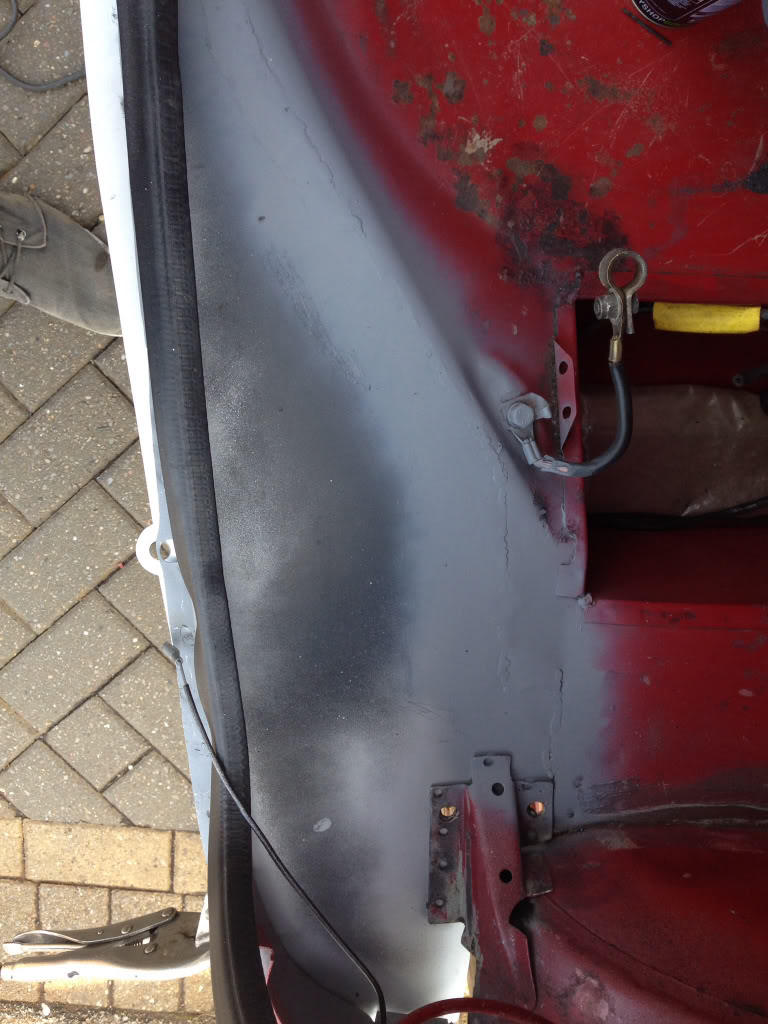
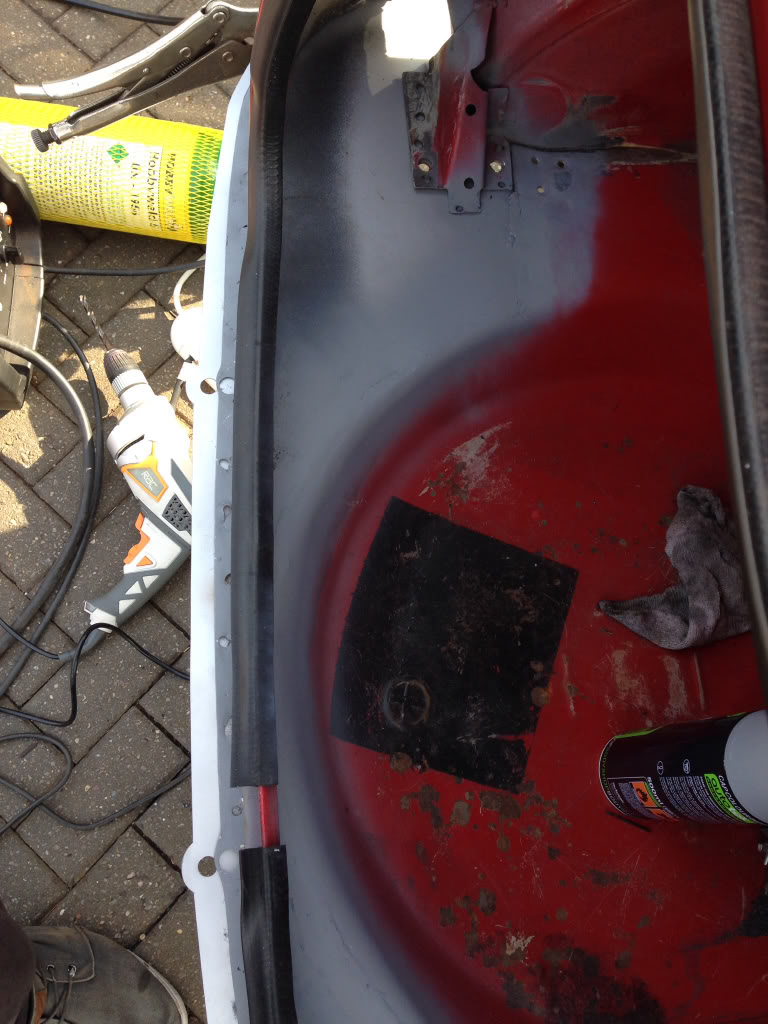
Next I drilled the holes for the subframe bolts into the boot floor and made some stiffener plate -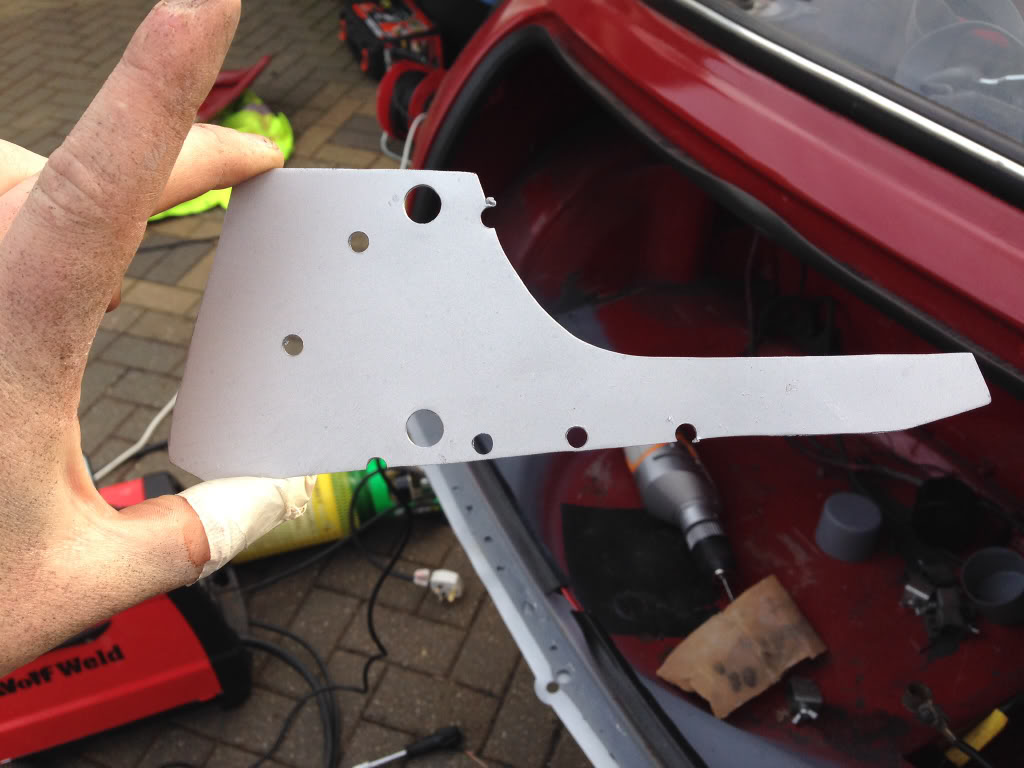
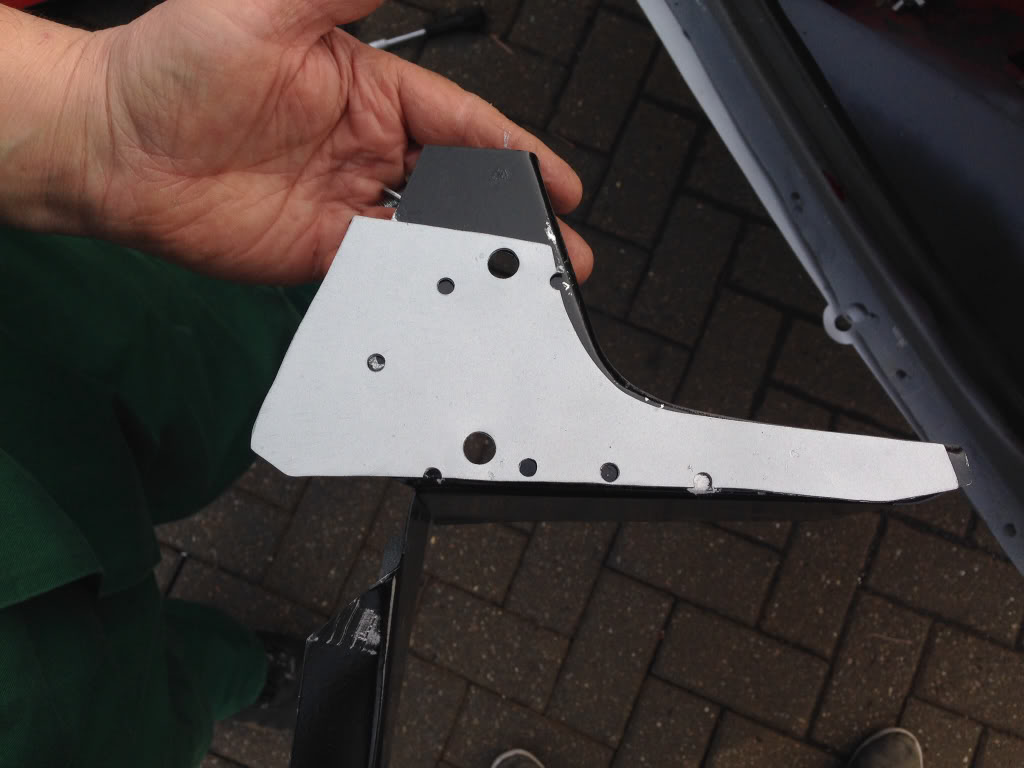
You may notice it's short at the top but that's because some of the original strengthening plate is still in place and I wanted to keep it as there's nothing wrong with it.
Next I welded it all together -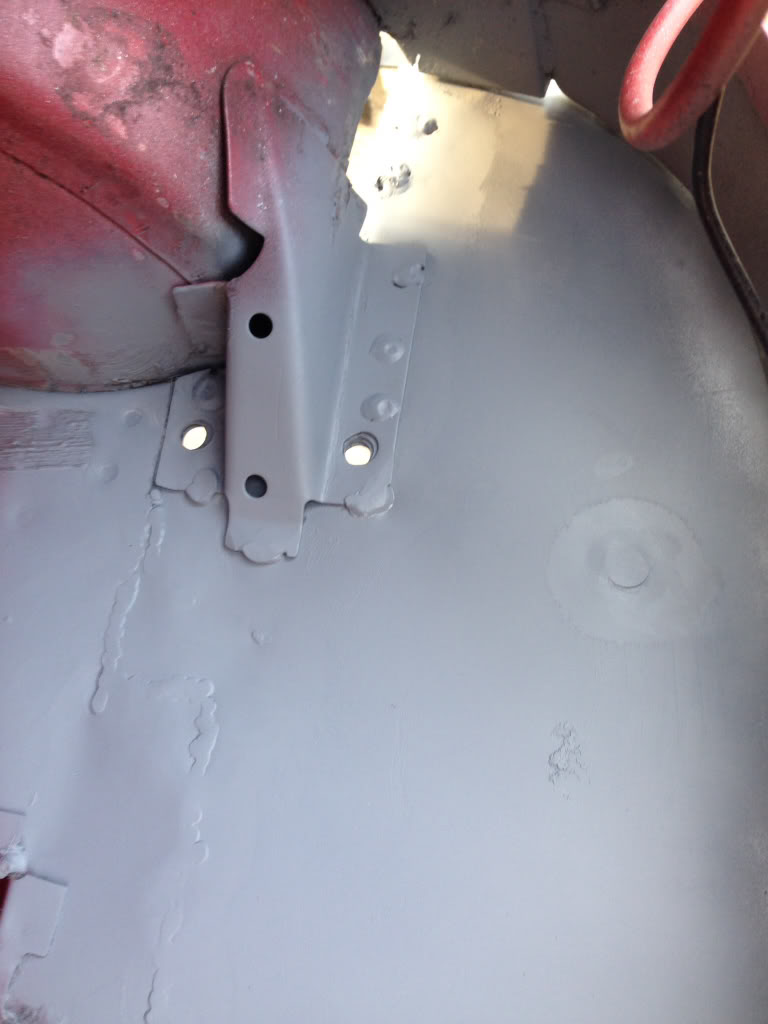
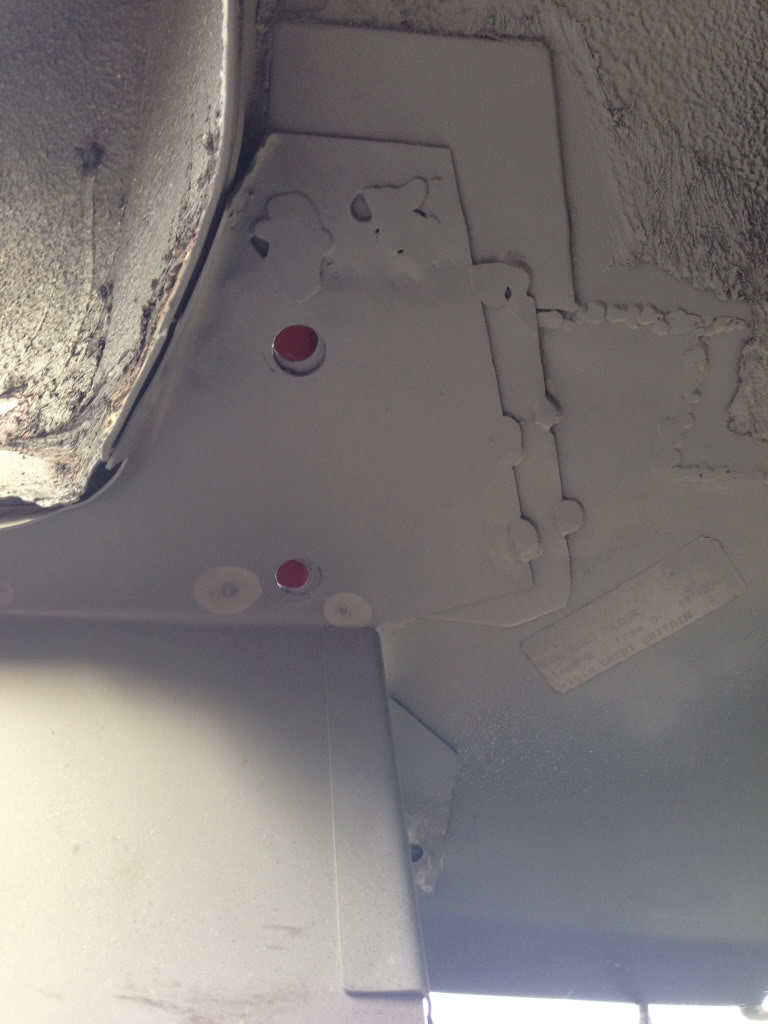
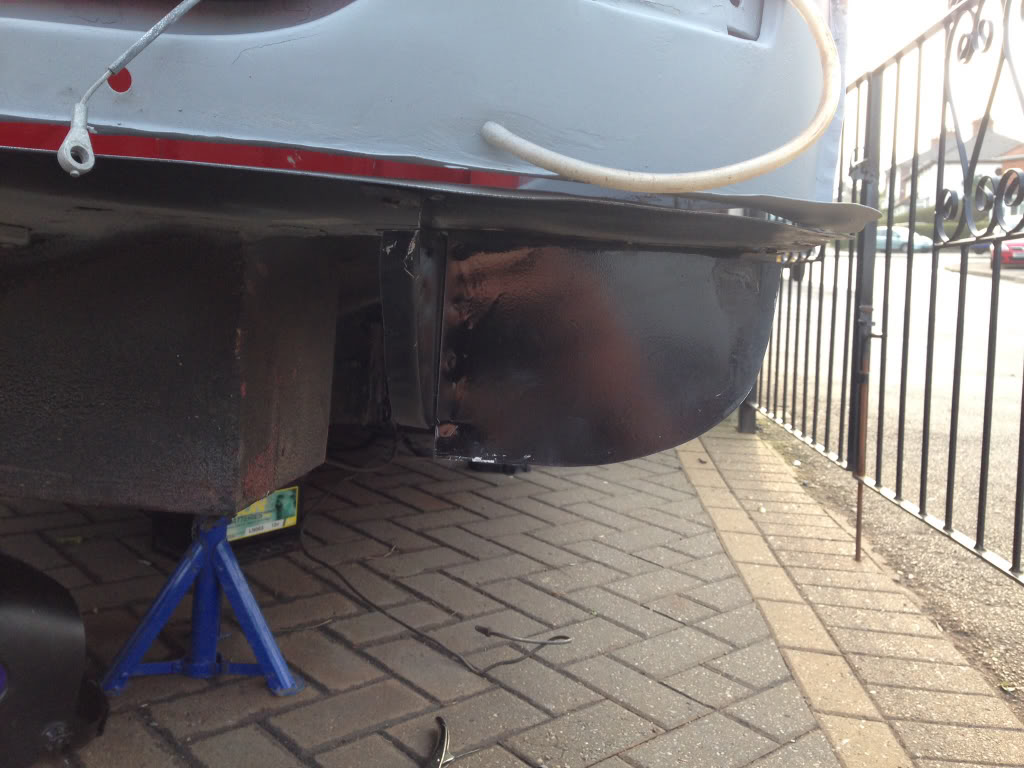
I've still got a few pin holes to fill up and I'm not welding the hinge panel to the boot floor until the very end as I need to put the boot lid back on to check the fit and make sure everything's where i need it to be.
All in all not a bad days progress, will hopefully be getting this finished off tomorrow.
3-30-2014
Update,
I've got the other closing panel fitted but didn't get chance to put the valance on as I had to paint and seal everything. Anyway here's some pictures of today's progress,
I made another strengthening piece and test fitted it to the car -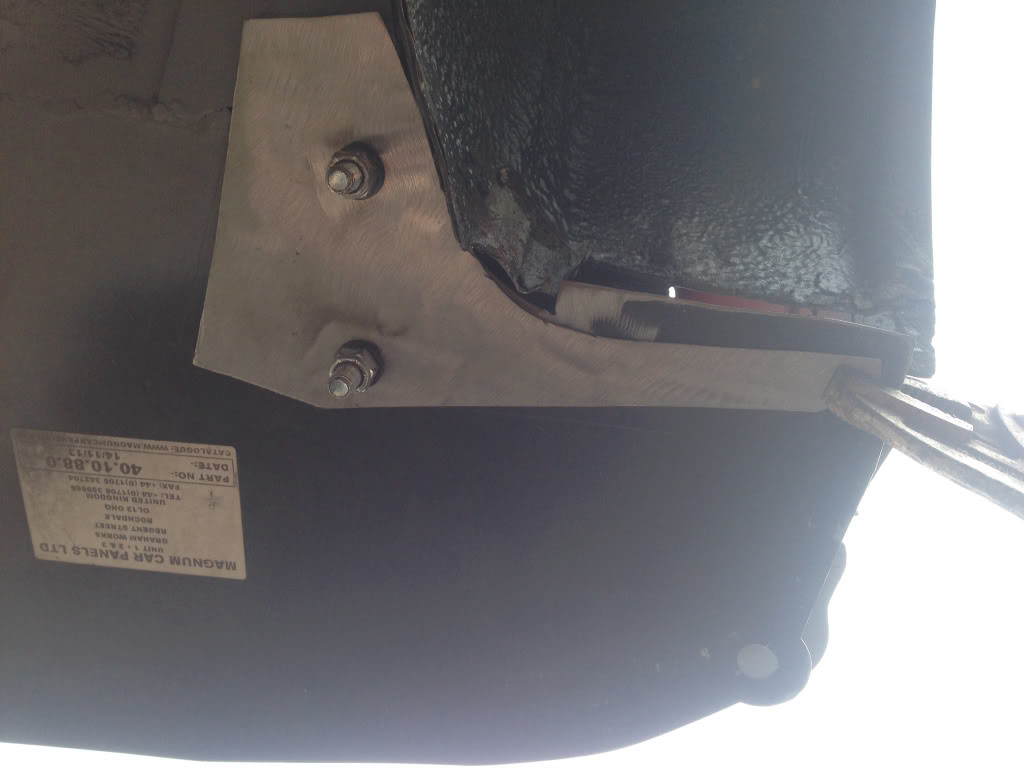
I then drilled the holes for plug welding and welded the closing panel on, it's not particularly pretty but it's strong -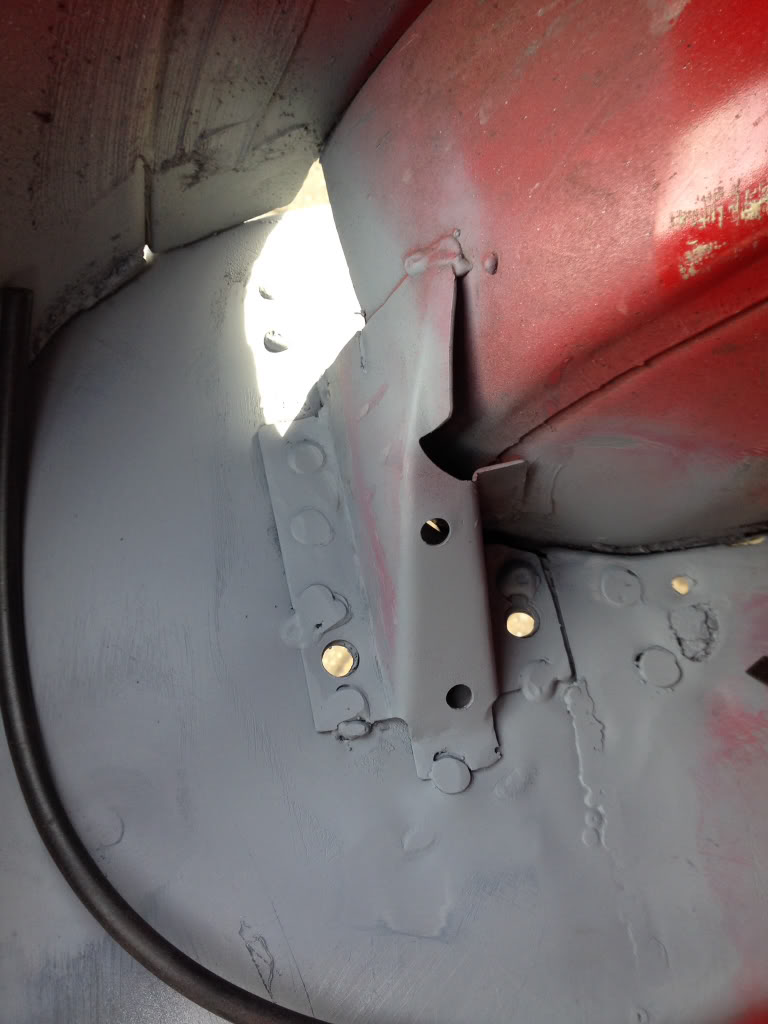
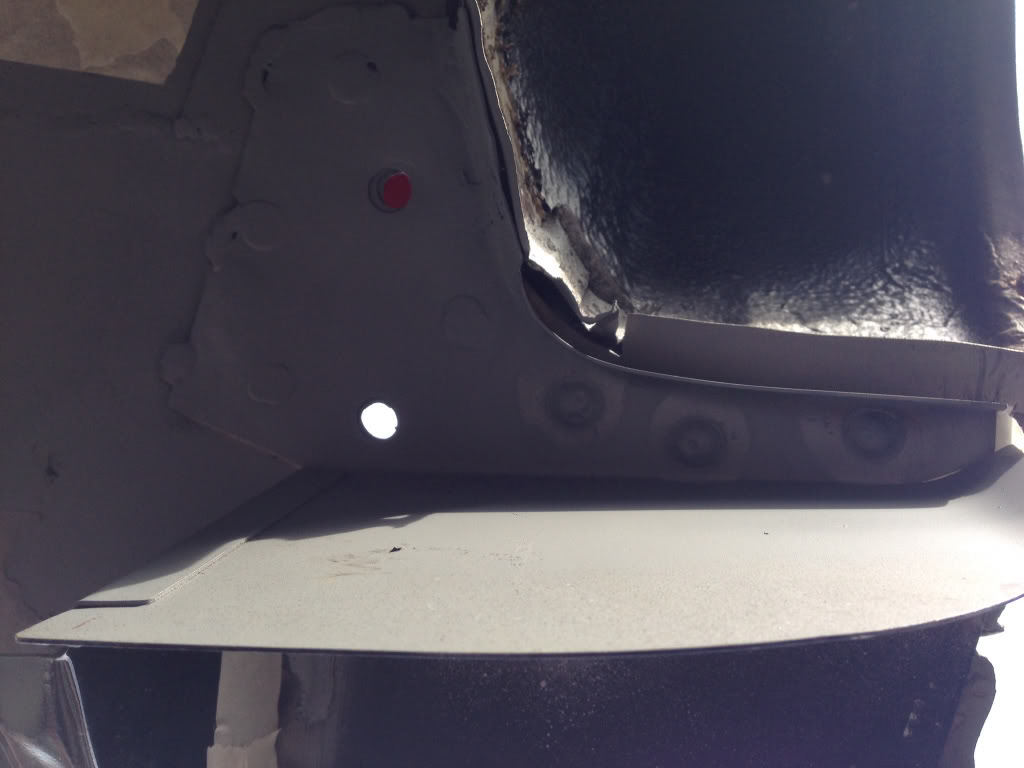
Mocked the valance up and it fits beautifully -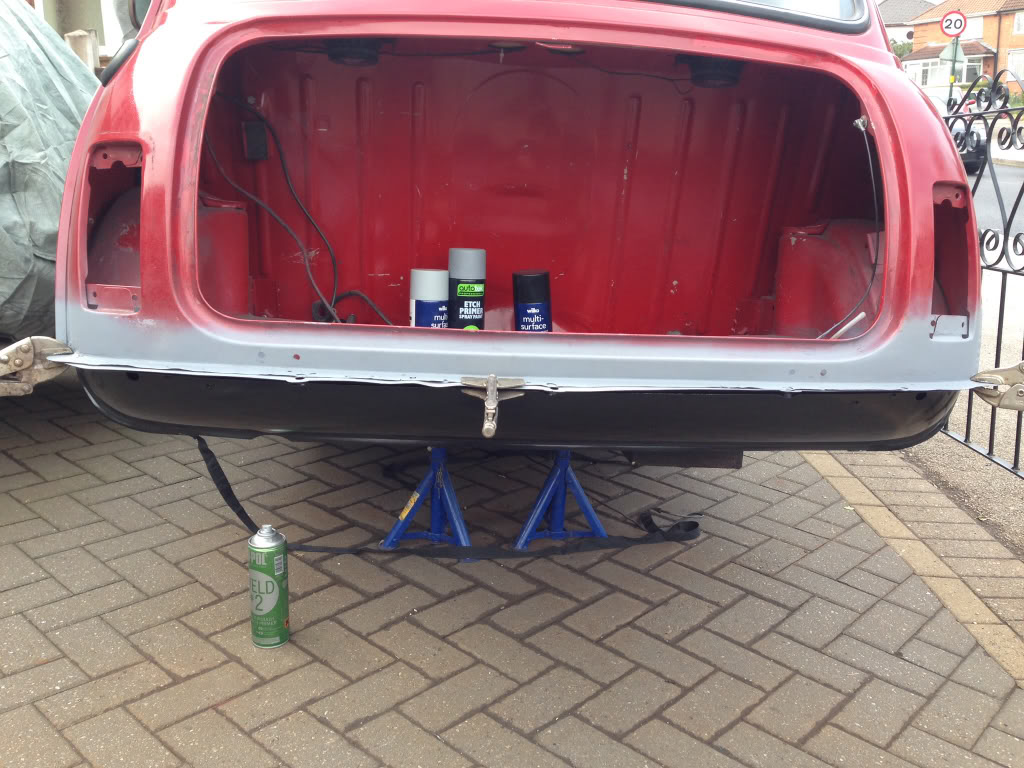
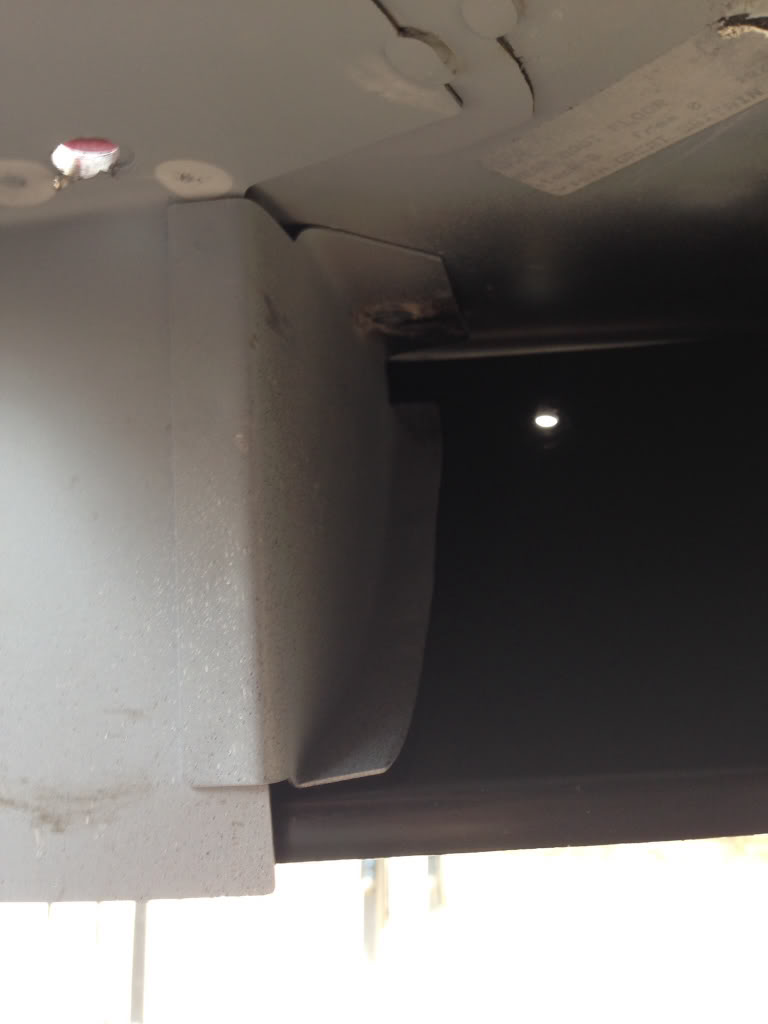
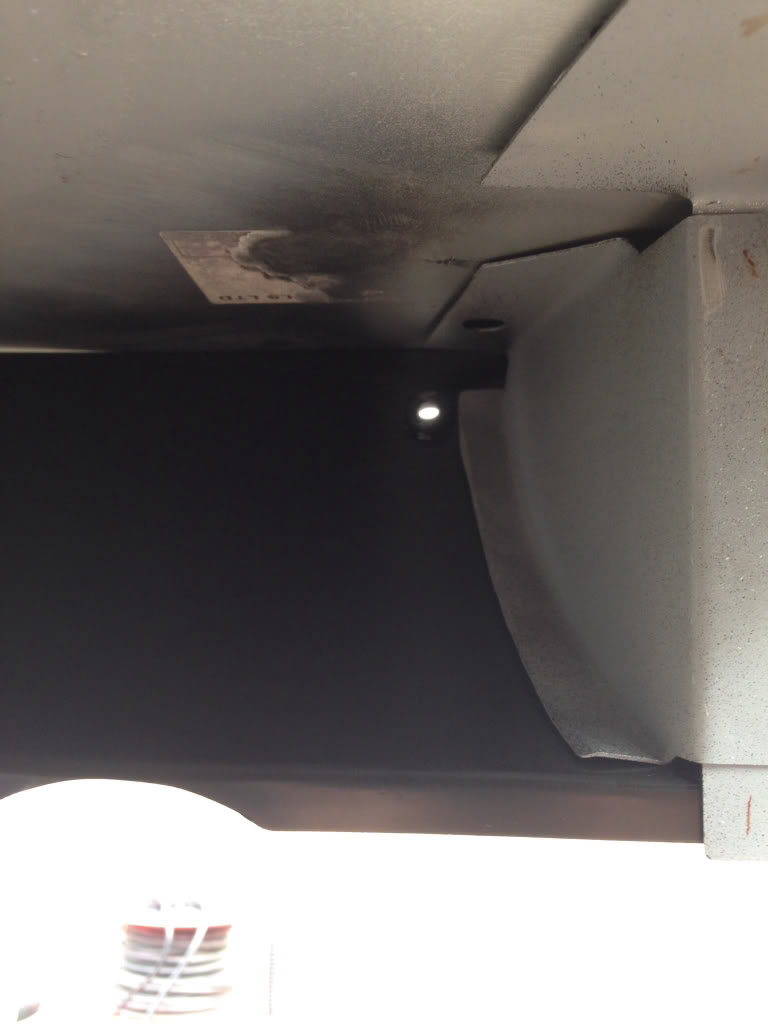
Then I got the Nitromors out and stripped the paint from the whole area that's been repaired, never used this before but I'm quite impressed -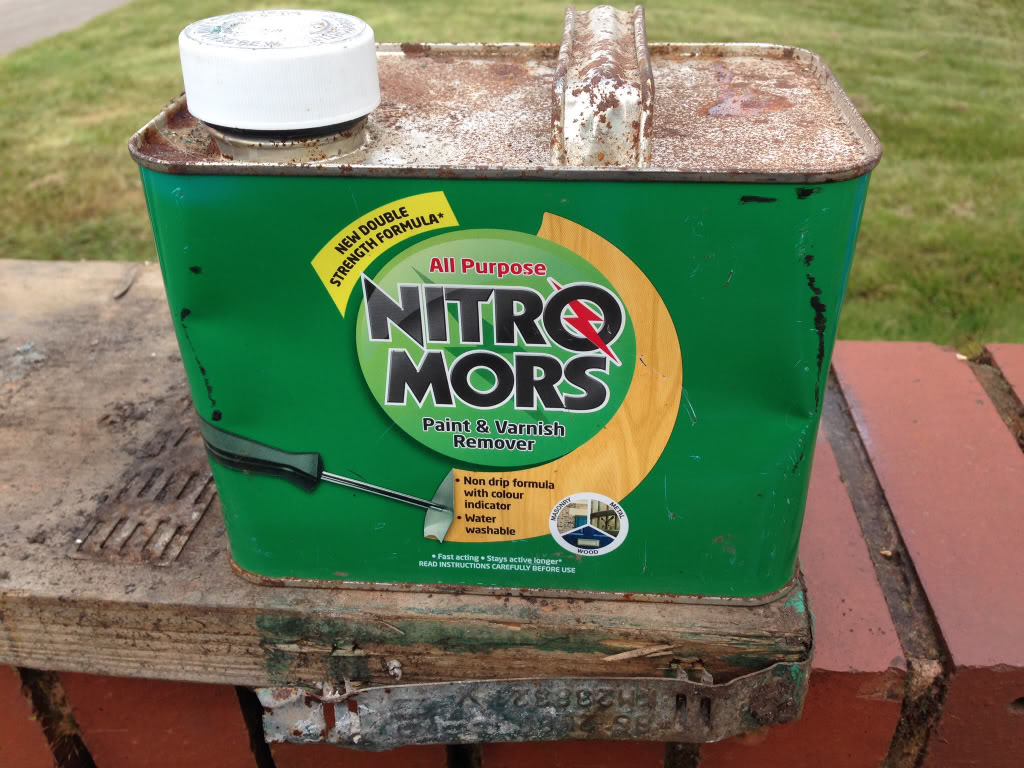
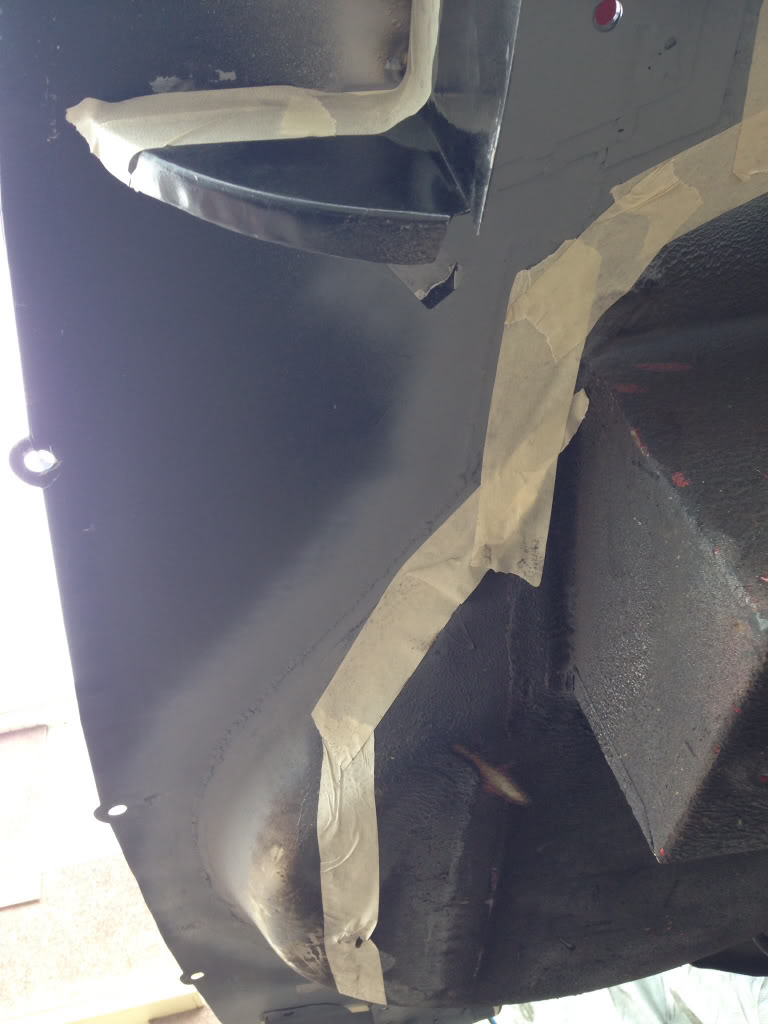
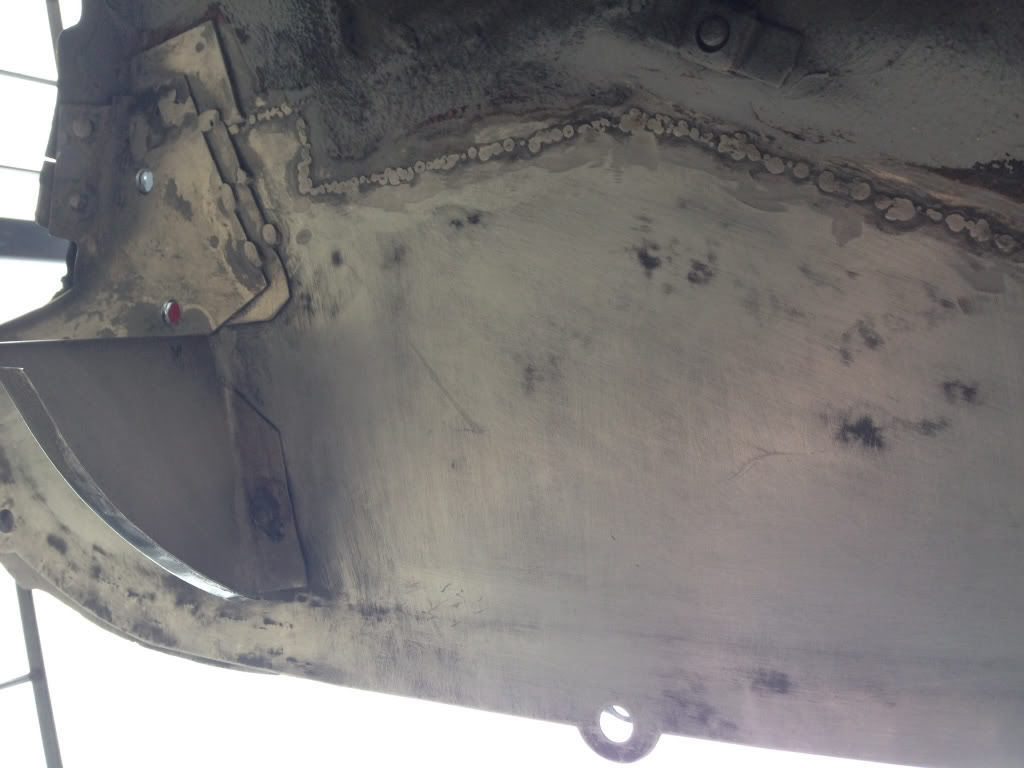
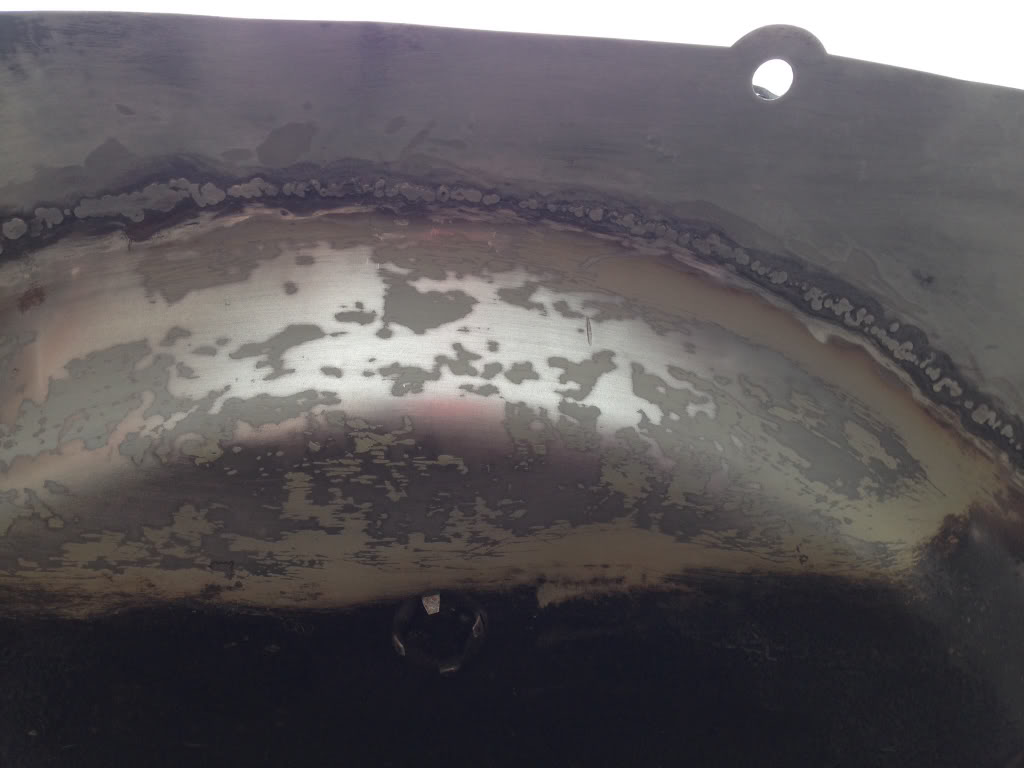
Then Etch Primed and Tiger Sealed -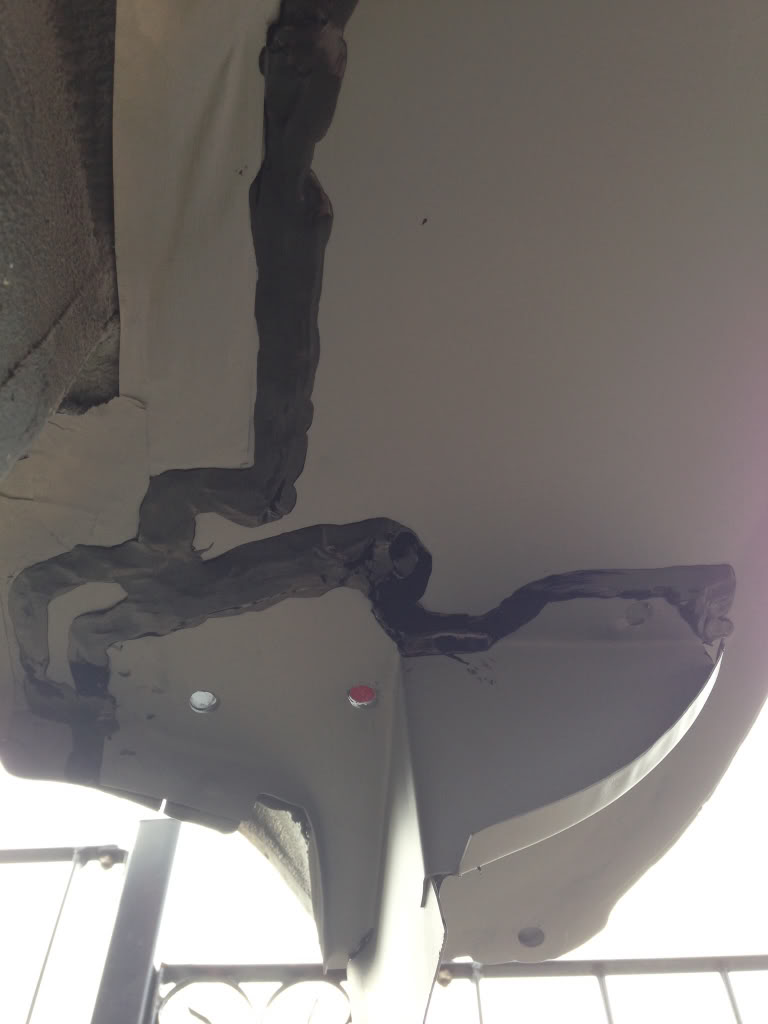
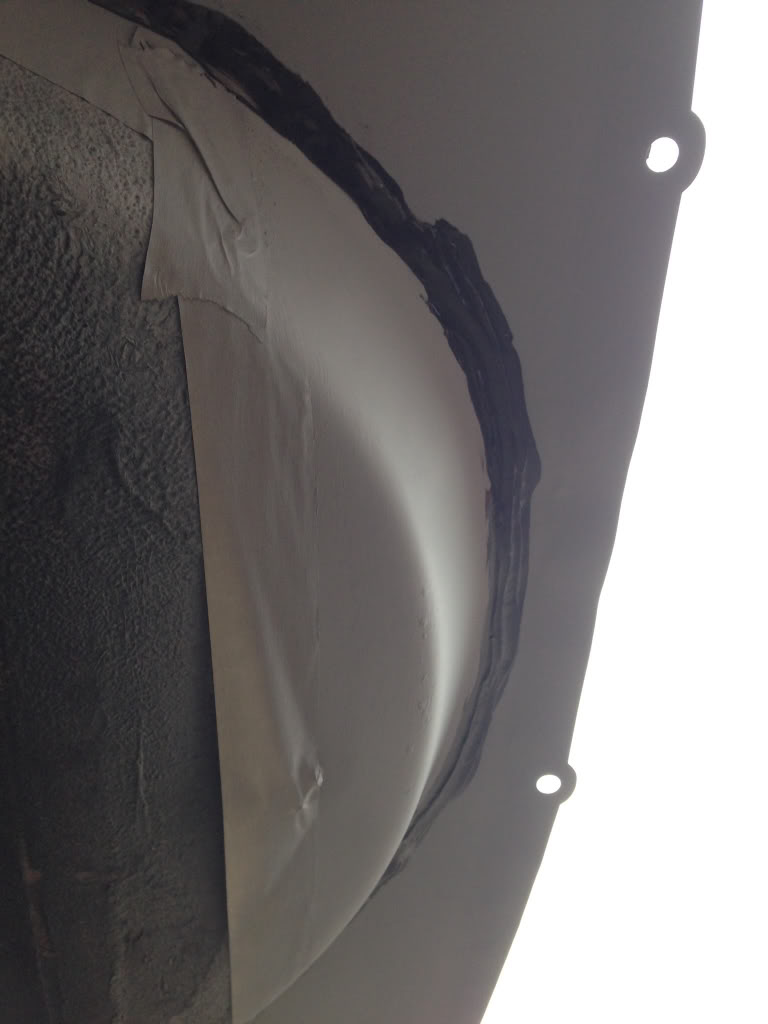
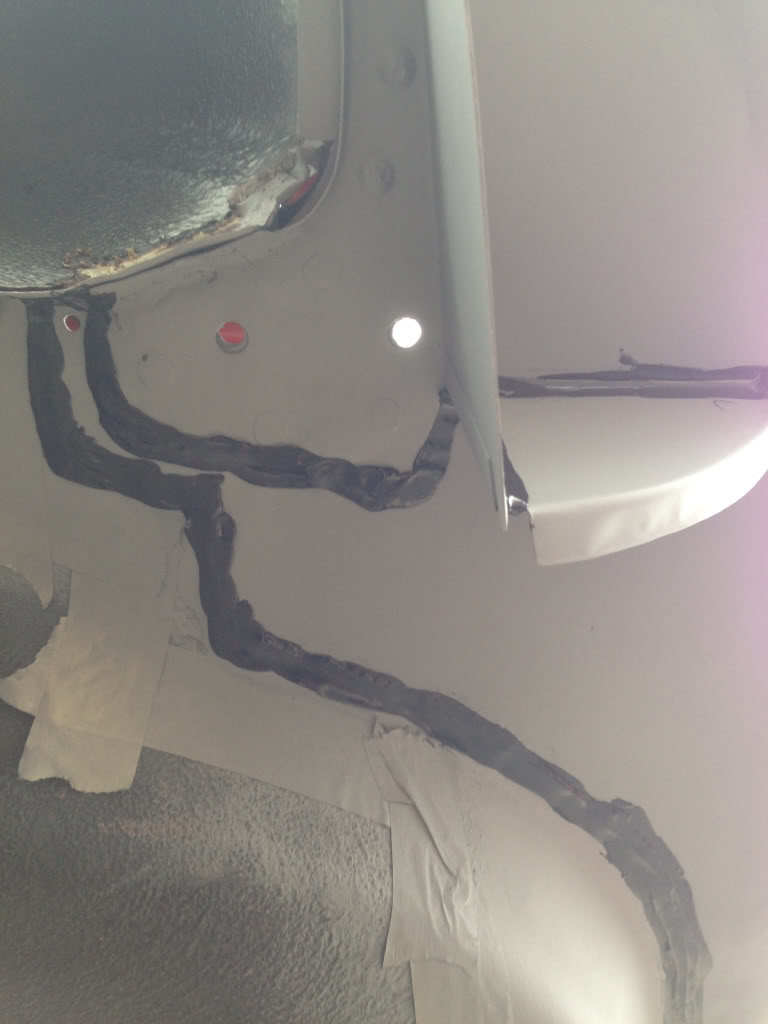
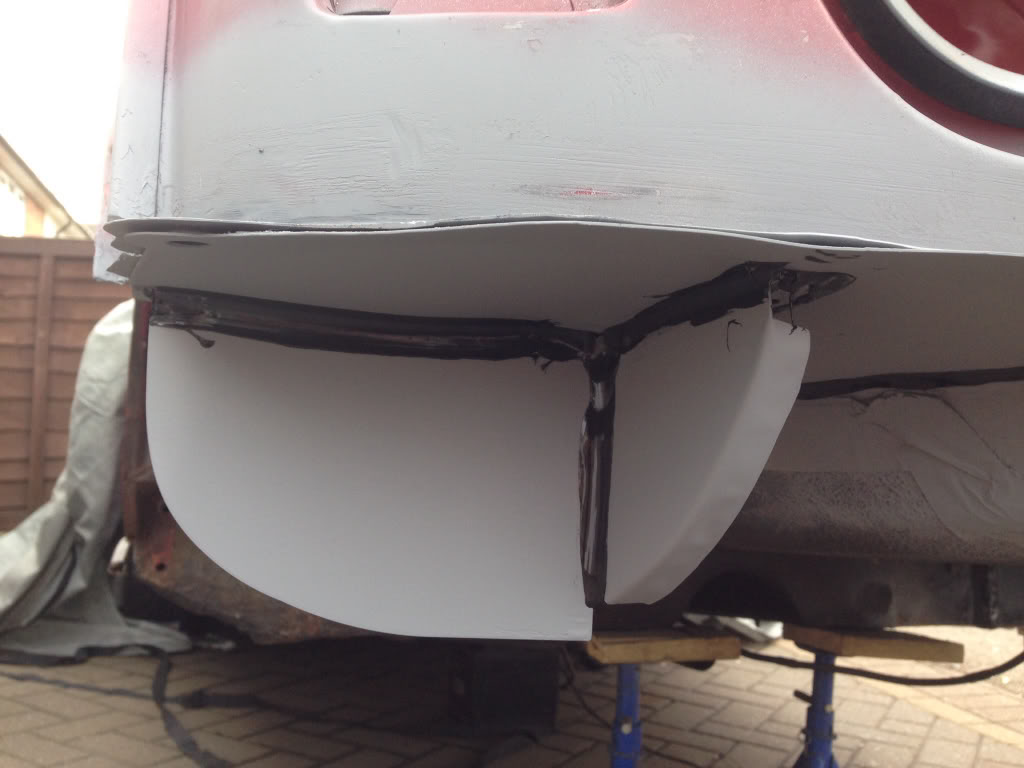
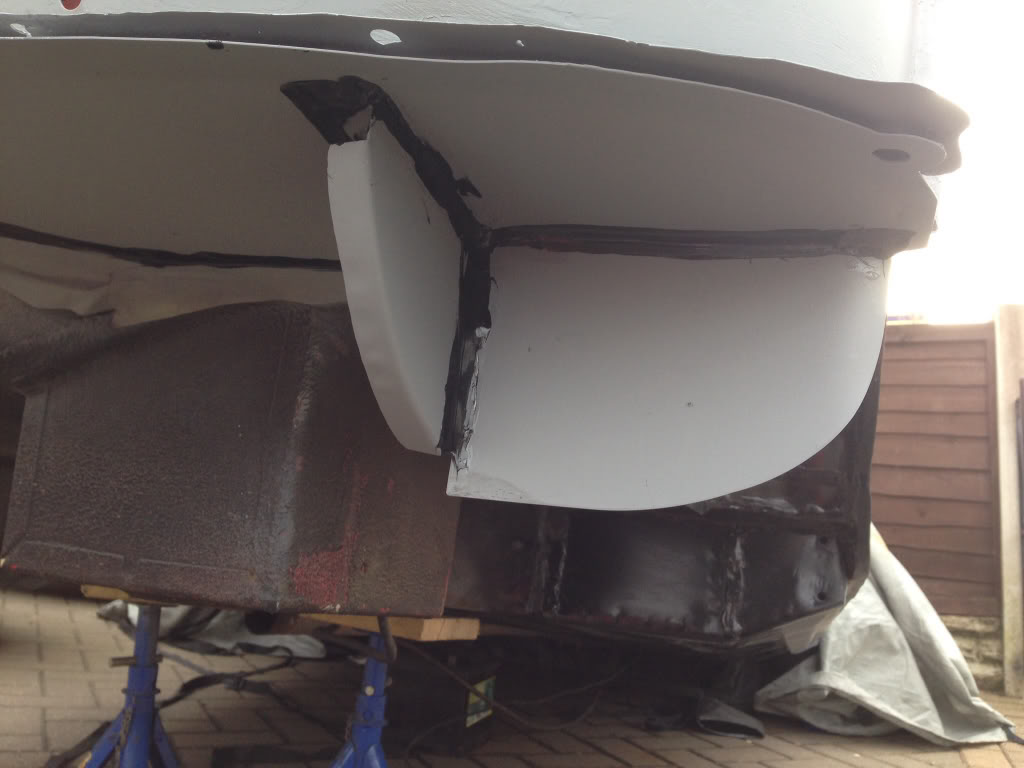
That's it for today but may go outside and top coat it before work tomorrow. I will be stripping the rest of the underseal of the boot floor at some point as I want to use Dynax UB underneath the whole car.
I know my works nothing amazing but at least I'm having a go, I don't think I'm doing to badly for an amateur
4-7-2014
There Vinyl and Suede mate, to keep the price sensible.
Update,
I've got the valance welded on now, so there's not to much left to do on the rear end, should only be a couple of small patches to make.
I'm slightly lacking in pictures of this repair, but I'll show what I've got anyway.
Painted the underneath of the repair with some black top coat -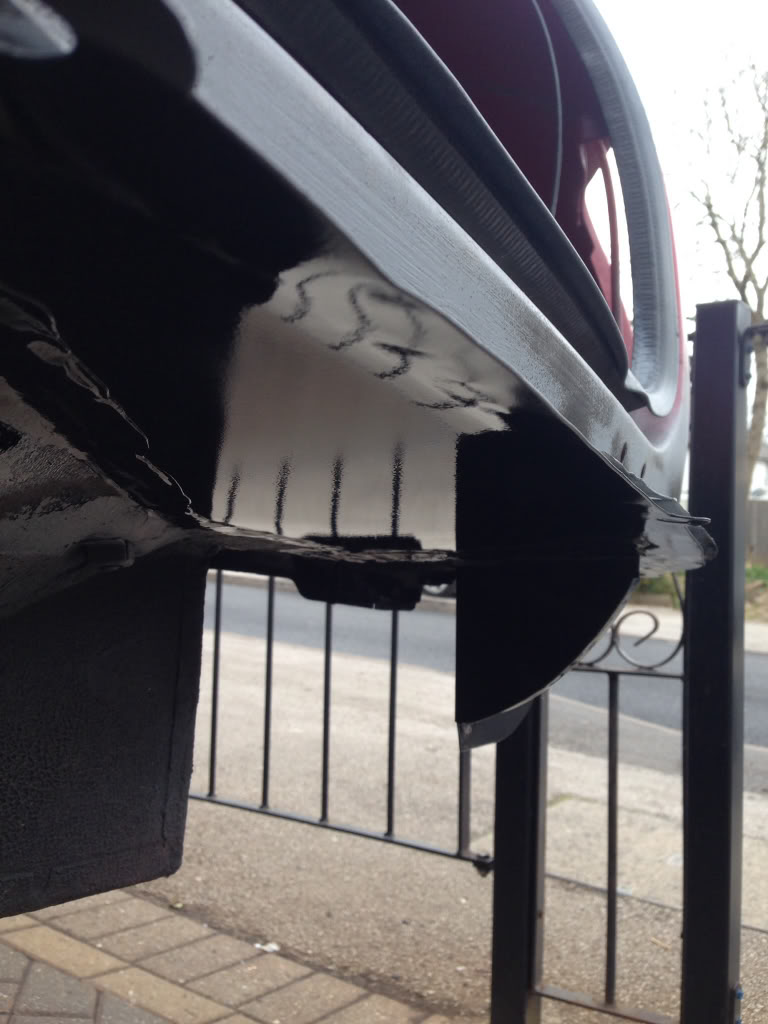
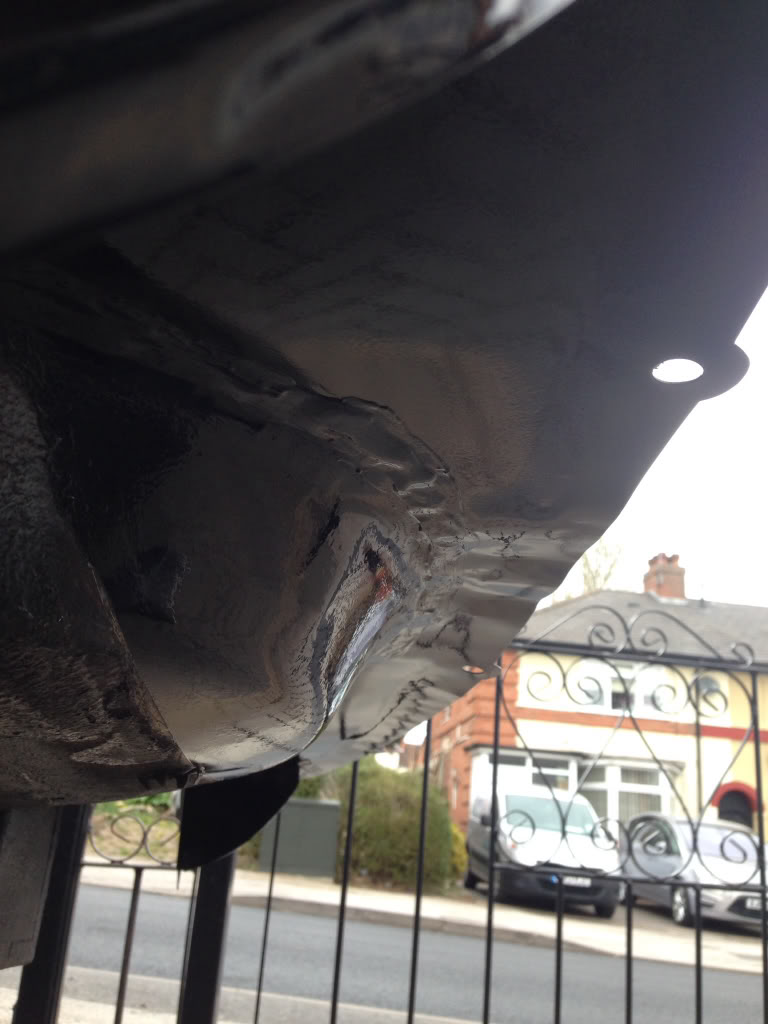
Drilled the holes ready for plug welding -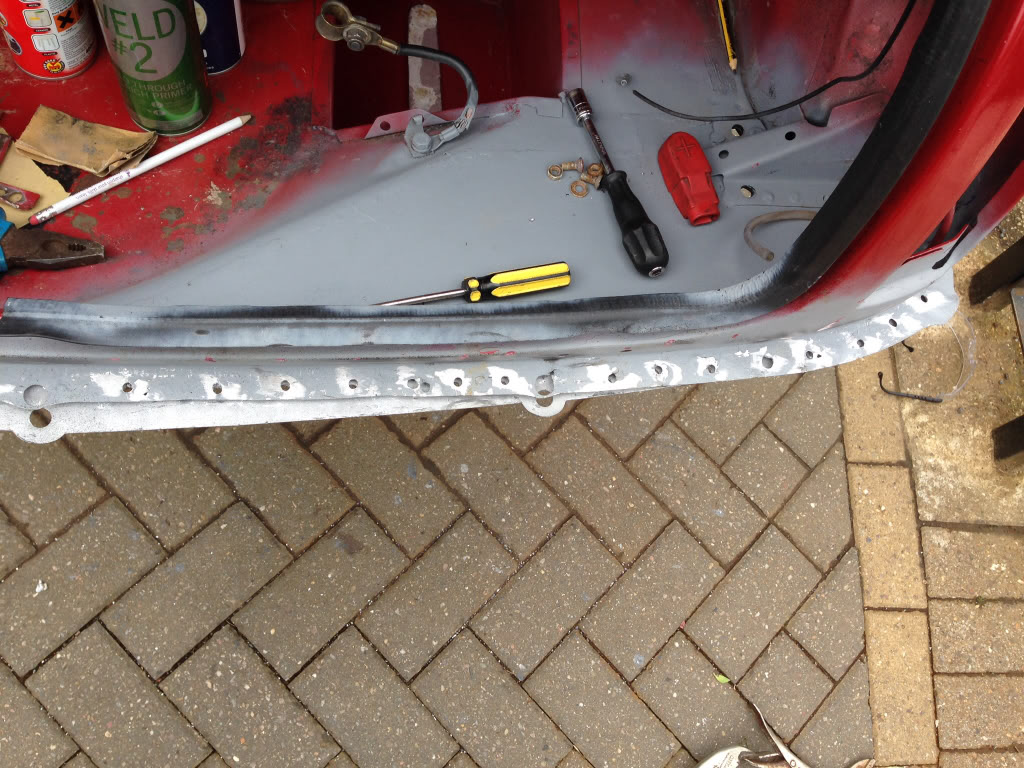
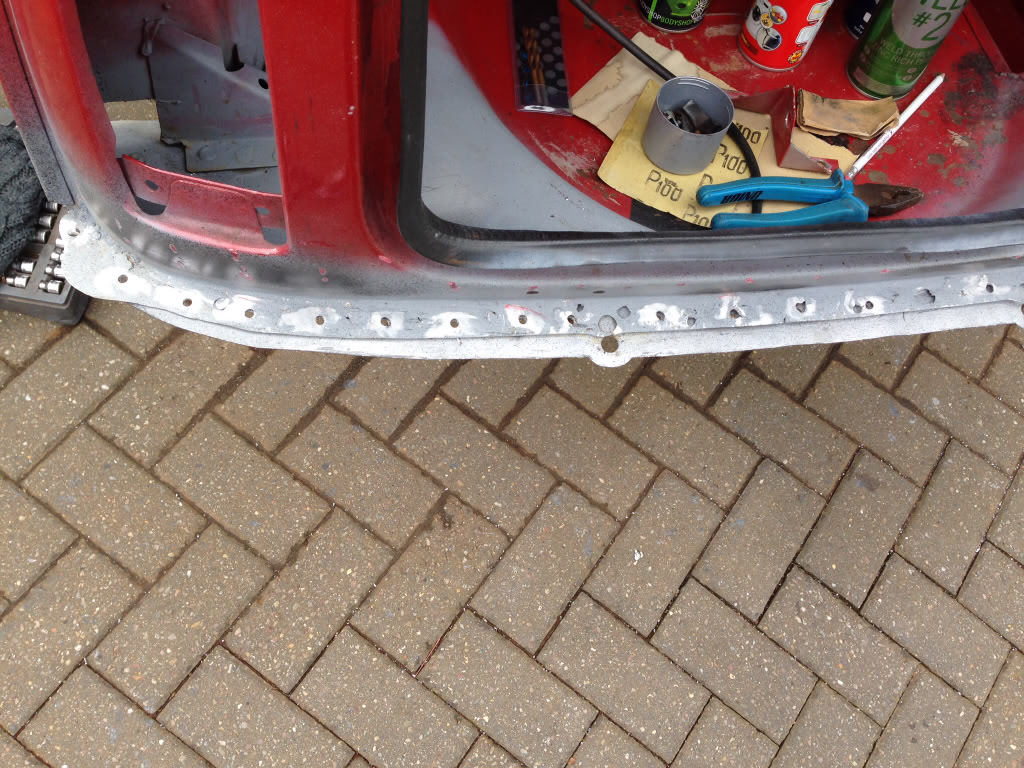
Sanded the inside of the valance down and I did prime and paint it but I forgot to take a picture of it painted -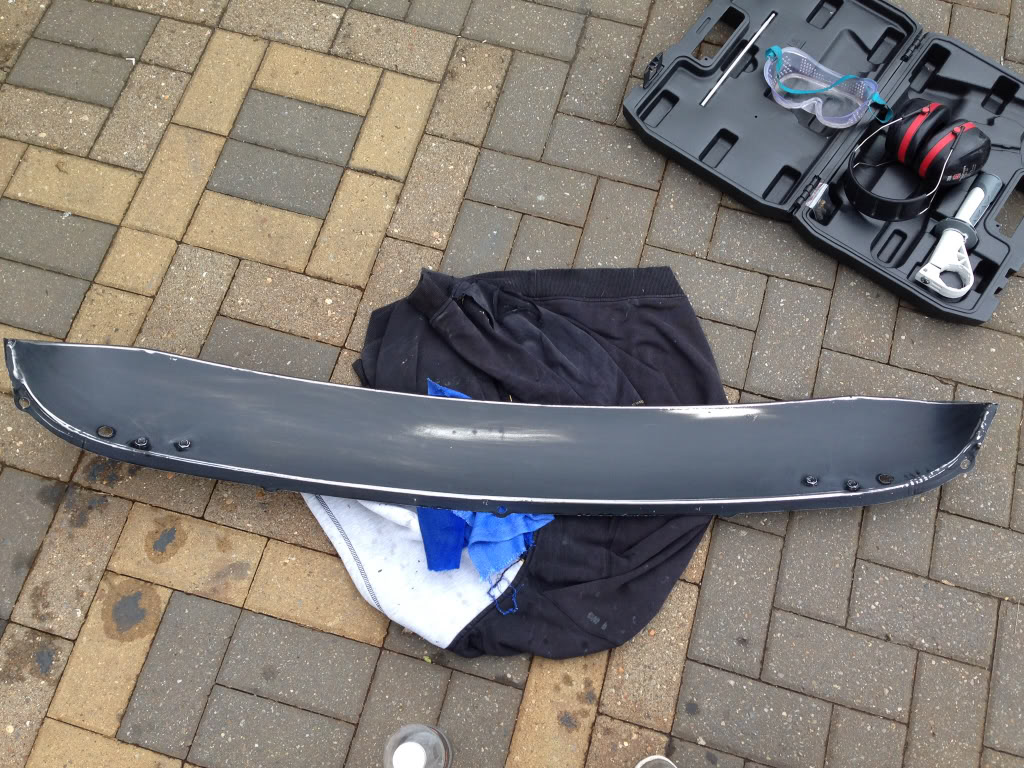
Welded in place and dressed -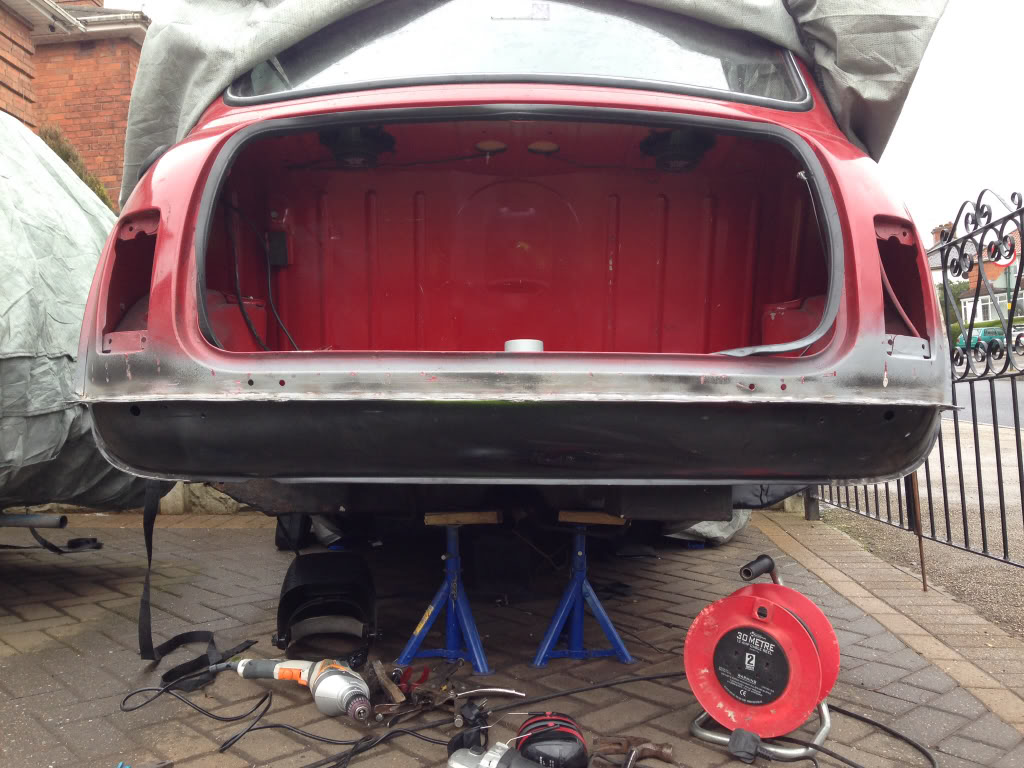
I will take more pictures of the finished thing when I've sealed and what not behind it. I've applied some Dynax S50 Wax to the closing sections today and have begun repairing the holes in the arch's. I'll put the photos up next weekend when I've finished them.
Should be starting the passenger side soon, but I'm going to paint, filler and seal everything on the drivers side and rear end before I start as I've already got surface rust coming through on my nice new fresh panels on the drivers side, which is very annoying !
Anyway that's all I got done this weekend as I've been quite I'll as of late and had to take it easy