You must be logged in to rate content!
5 minute(s) of a 767 minute read
5-30-2019
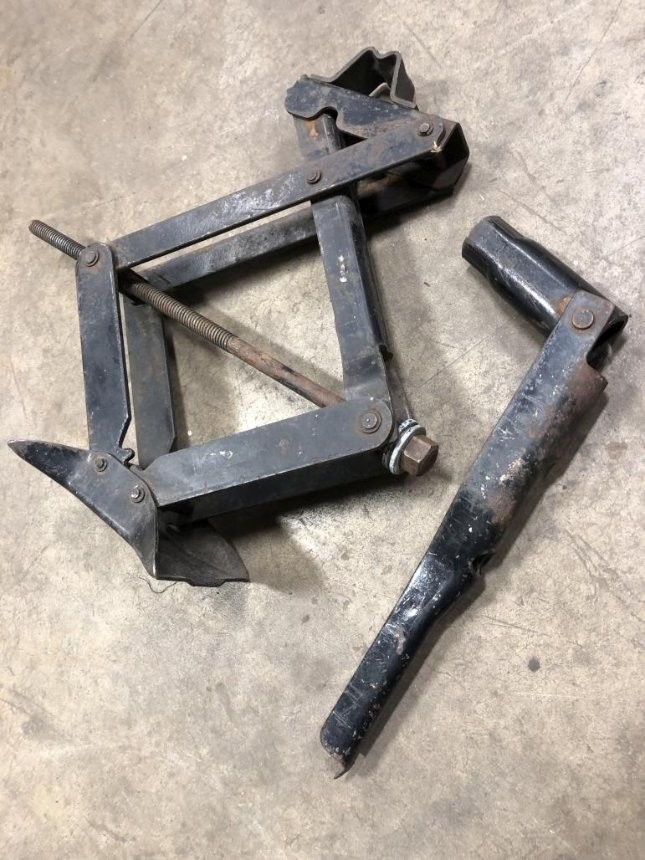
Details, details... amazing how much there still is to do even when it seems mostly done. This past weekend I did a couple of cosmetic projects, the easiest of which was to restore the original jack.
Before:
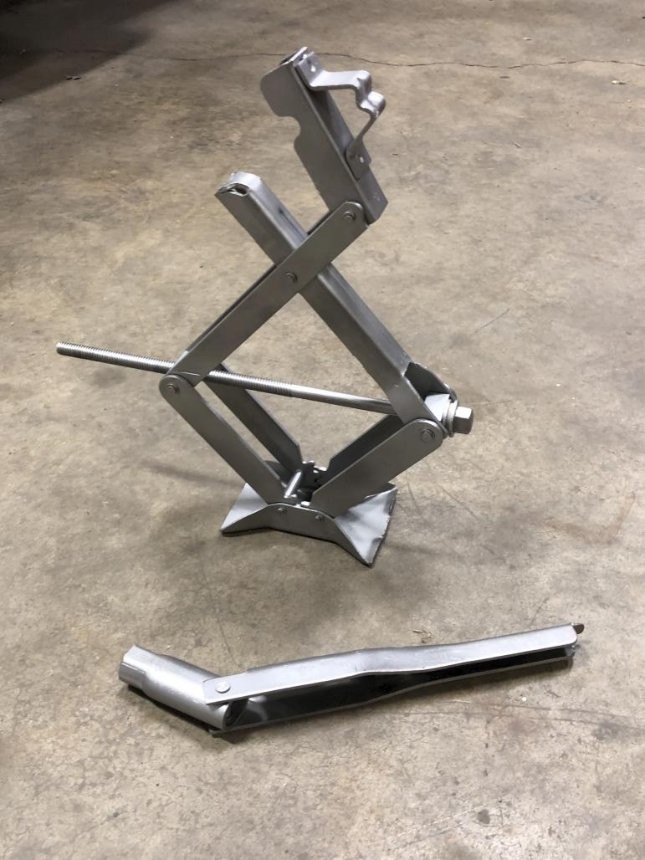
Bead blasted:
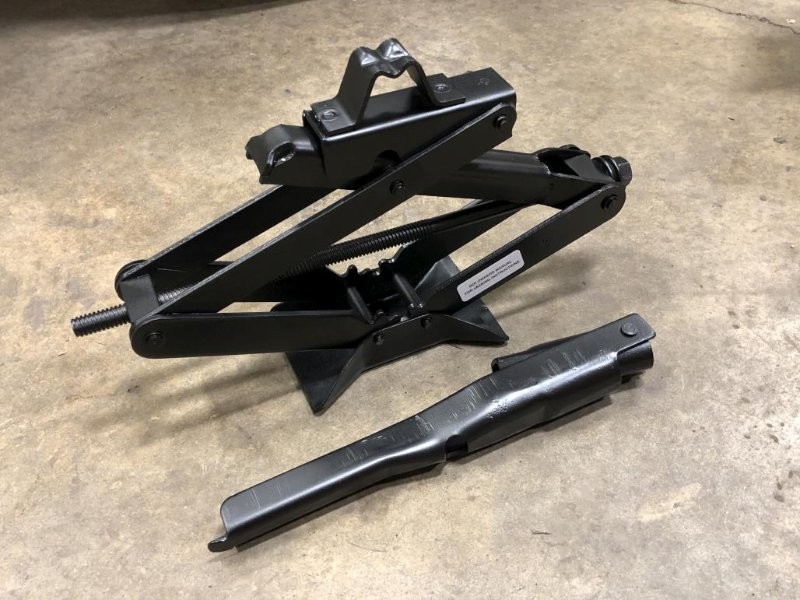
All finished, after painting with VHT Rollbar & Chassis paint (it's been a good go-to satin black paint) and applying the little "See owner's manual for jacking instructions" decal.
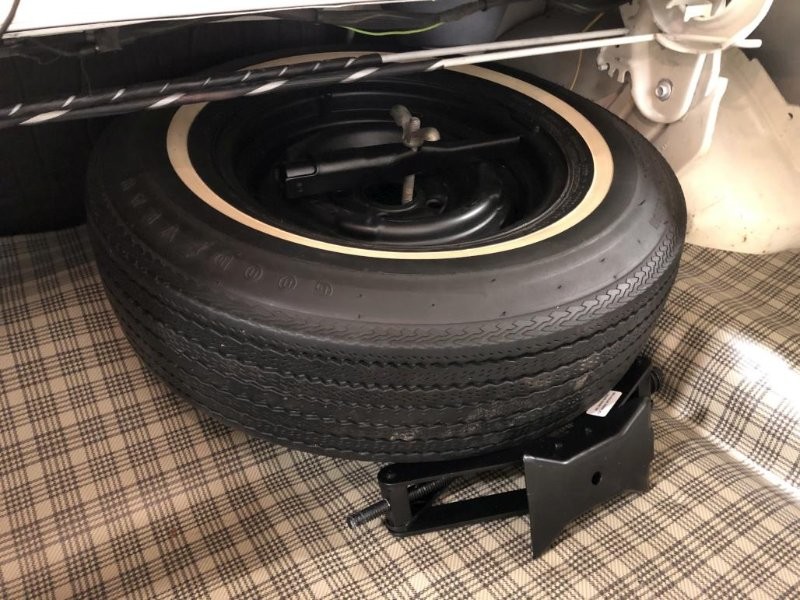
So now I can never use it again. :lol: But I did put some grease on the threads just in case I'm in a pinch sometime. Guess the various joints on it should be lubed too, but anyway, the plan is not to use it if I can avoid it. Here's everything installed in the trunk. I scored a nice spare wheel & vintage tire from Don. Obviously all of this stuff is mostly for looks. I'm not exactly sure how old the tire is, but it would probably be best not to drive long distances on it.
Next for a little nerdy touch... I splurged and got a NOS gas cap from someone on ebay.
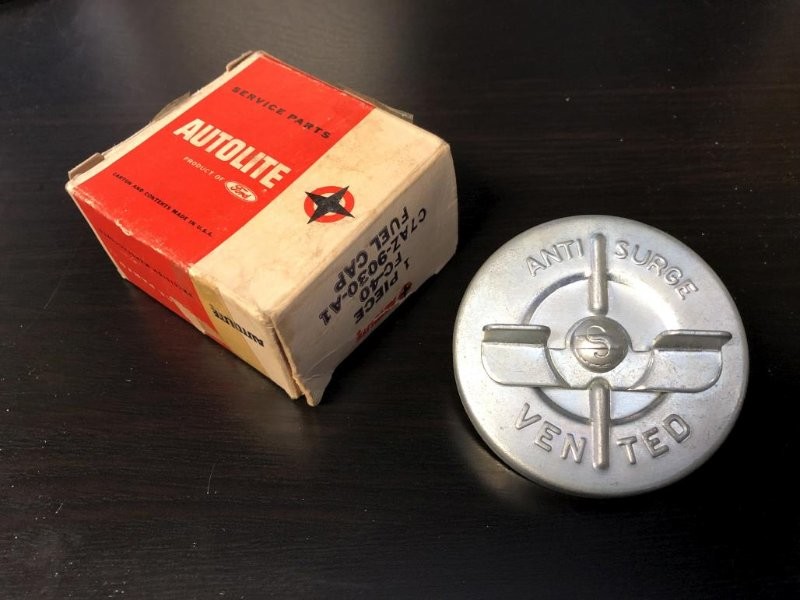
The main reason for getting an original is that the repros don't vent in both directions, which I learned from Kurt Lawrance at the 2018 WCCC open house (there's a little segment on it in the video). Here's the thing, though. I don't think this NOS one vents in both directions either. I just drove to the gas station yesterday to fill up, with this cap installed, and as soon as I popped it off, there was a WHOOSH of pressure being relieved. Not sure in which direction. But there shouldn't be a pressure buildup if this cap worked correctly, right? Ironically, I've never had that happen with the repro cap that I had on previously. :wall:
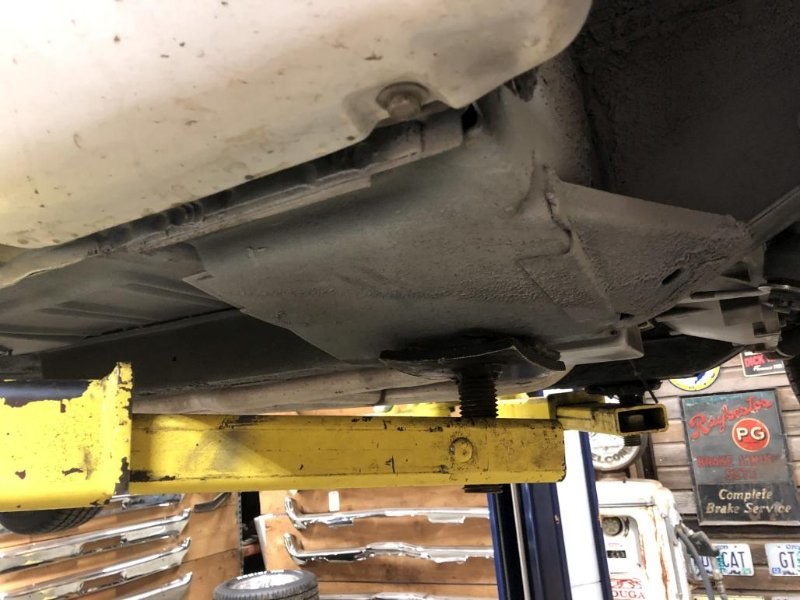
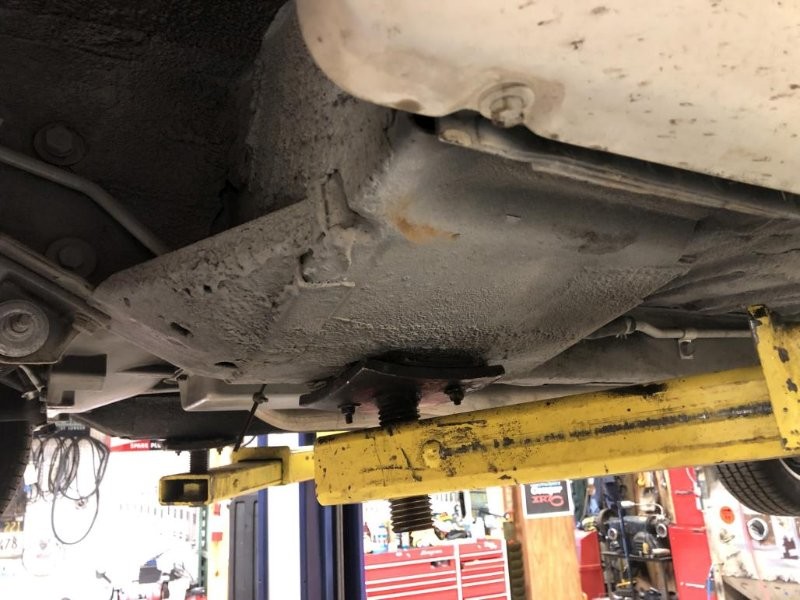
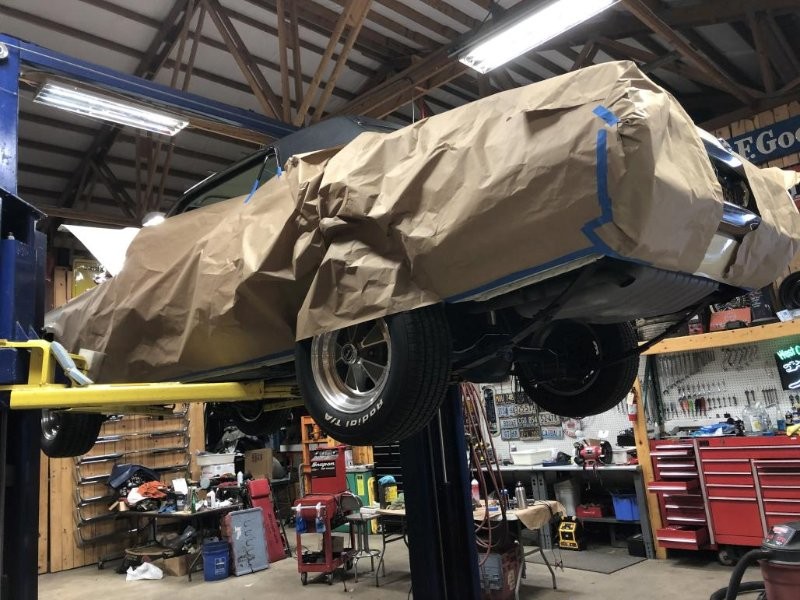
Anyway, on to the bigger project of the past weekend. I've been wanting to do this for a while. It's another case of deja-vu, since I did this after the first time the car was painted. Point is, I wanted to black out the pinch welds, and while I was at it, fog over some of the white paint overspray that got on my previously nice looking undercarriage. Here are some before pics, pardon the dirt.

Let the masking marathon begin again...
More to come in next post.
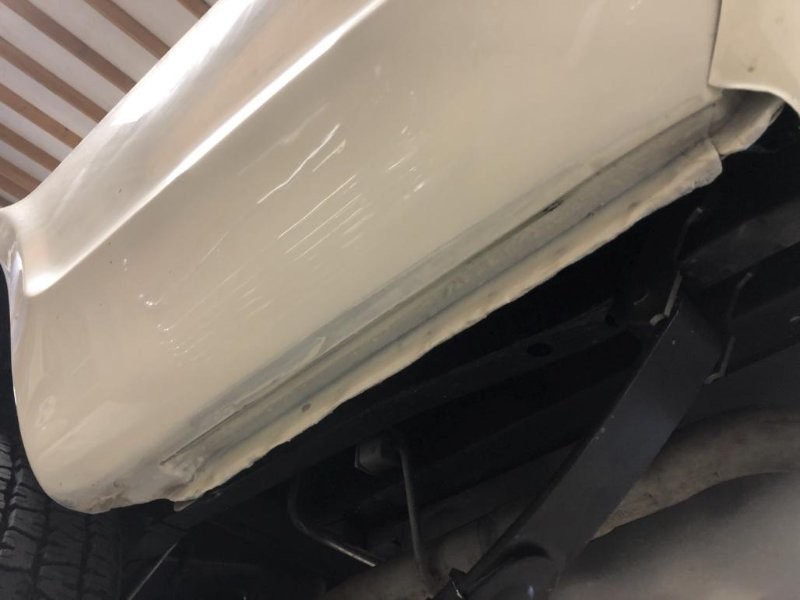
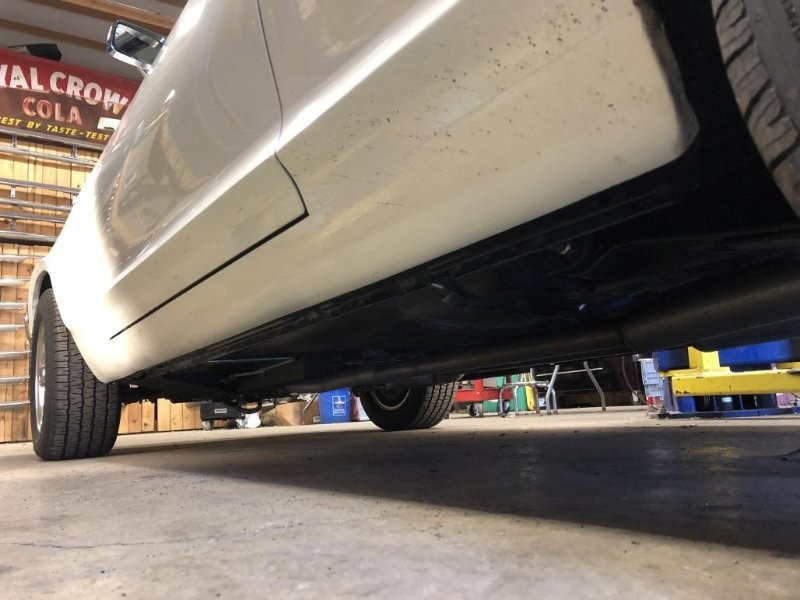
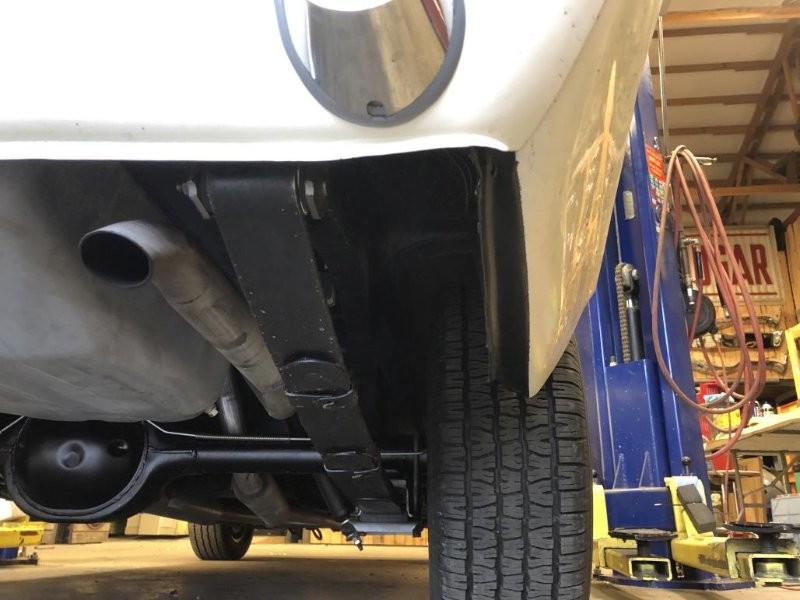
So this time around, I decided to go a little further outboard with the black paint than the factory did. I basically wanted to black out the whole horizontal bottom surface on the rockers, quarters, and fenders. Part of this choice was to hide thin paintwork, but I also thought it would provide the cleanest body line when looking at the car from the side. The fenders originally did not get any blackout paint on the bottom, but I went for it, in order to follow the same line that was established on the rocker panels. This worked out well on the quarters too, because it ends up creating perfect-looking corners where the valance meets the quarters.
A couple "pre-spray" pics:
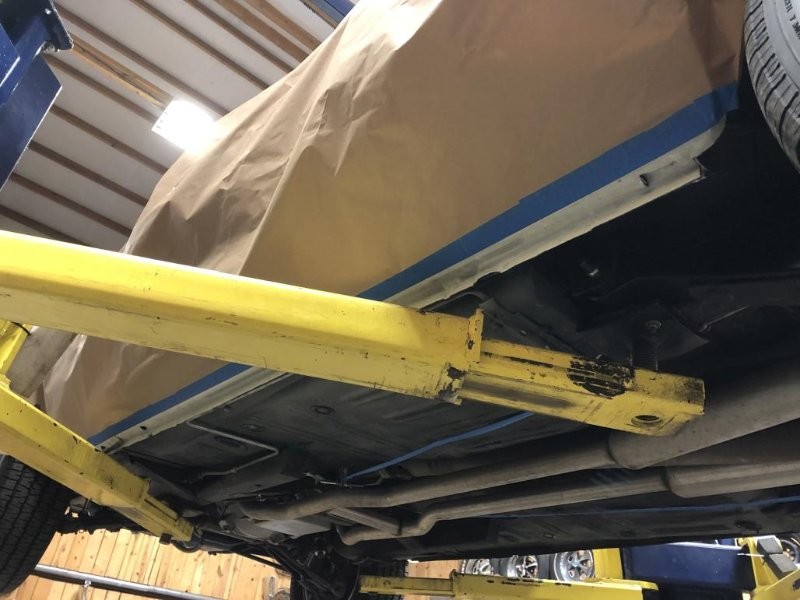
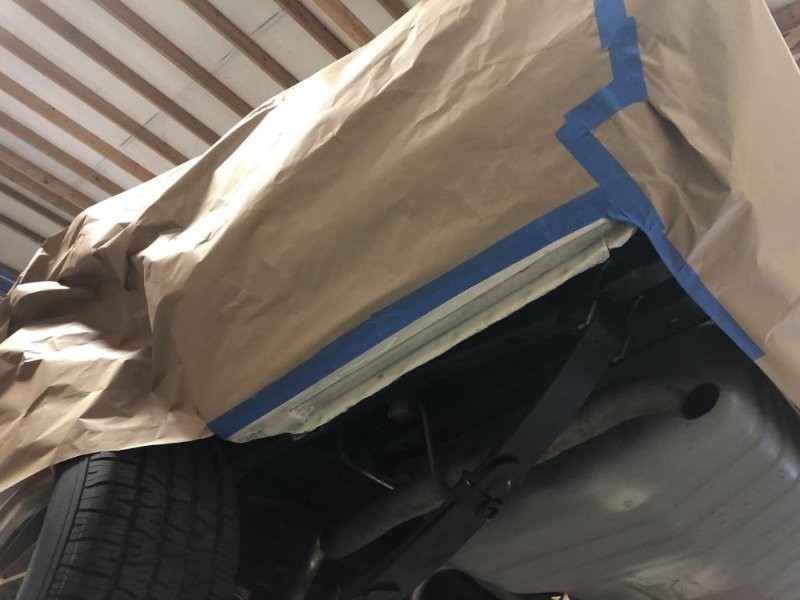
This one shows the section of the fenders that got painted, and the beginnings of improving the underside.

This is a much-improved floor area after fogging with black. I did partially mask the front part of the fuel line, but it ended up being easier to quickly wipe it off with wax & grease remover while the paint was still wet. I did put masking tape over the parking brake cables. You know you're a nerd when...
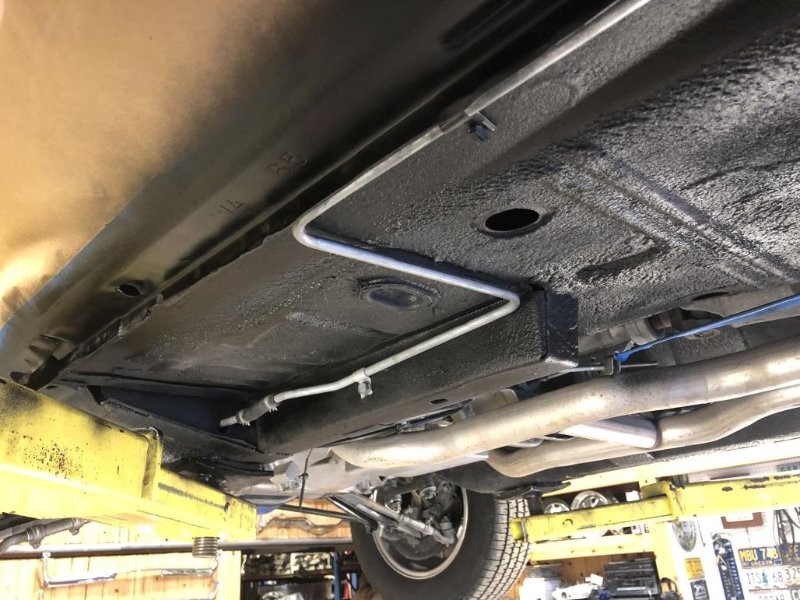
Here are some initial "finished" shots on the ground. You won't get the full effect until I can get some good full-body pictures outside, but I'm really glad I took the time to do this detail. It makes the bottom body line look clean and crisp.

That's it for now!

So nice in honor of your grandparents.
Posted by Diggymart on 1/3/20 @ 8:04:16 PM