You must be logged in to rate content!
6 minute(s) of a 767 minute read
12-18-2018
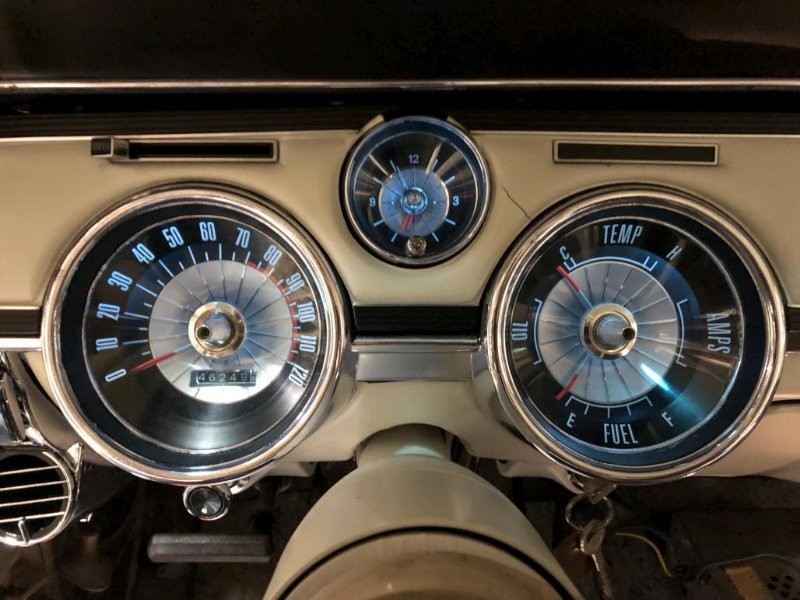
Thanks guys. I've still been making headway but my end of year goal isn't gonna happen. Oh well! That's okay. In other news, I may have to pull my instrument cluster back out - the fuel needle goes all the way up beyond Full when I turn the key on, and there's hardly any gas in it. So could be a ground issue or IVR. No way to really know without pulling it back out. :wall: Will cross that bridge a little later. Also no turn signals. Blah.
But all I wanted to share for now is this new video! It sure is nice when you can get free labor from Don Rush. :lol: I shot the video for free too, so it was a win-win. This is the windshield installation, and it went easier than I thought it would. I think it's one of those things that seems intimidating until you do it, as long as you know a few basics.
Anyway I'm taking a break for the holidays, but will be back at it in January.
2-11-2019
Well, probably time for another update! It always feels like I haven't gotten much done, but then I look back at where I was the last time I updated this and realize that I have made some good progress.
I'm going to start using the attachments feature for images since Flickr has now decided to limit their free accounts to 1000 images... I already have 900-something on there so... yeah.
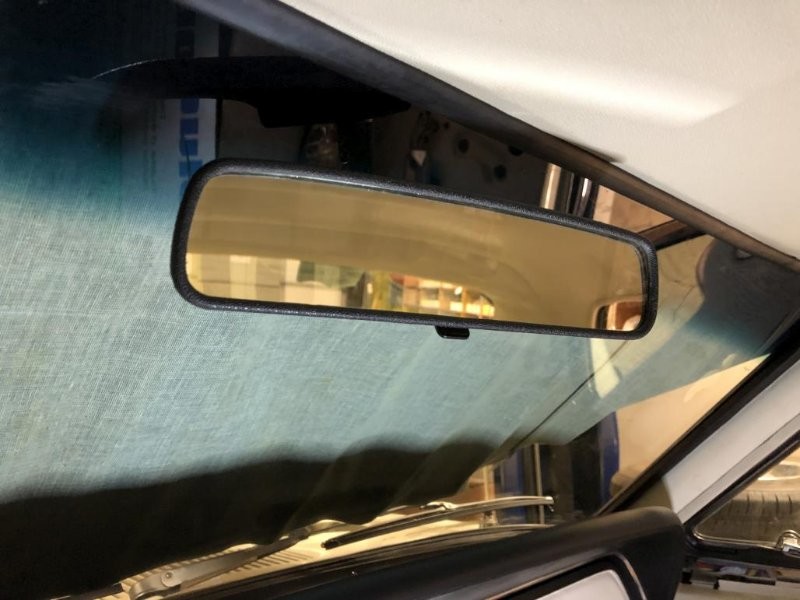
Rear view mirror glued on. I reused my original housing but installed a re-silvered lens. Also replaced the mirror mount and arm with new ones.
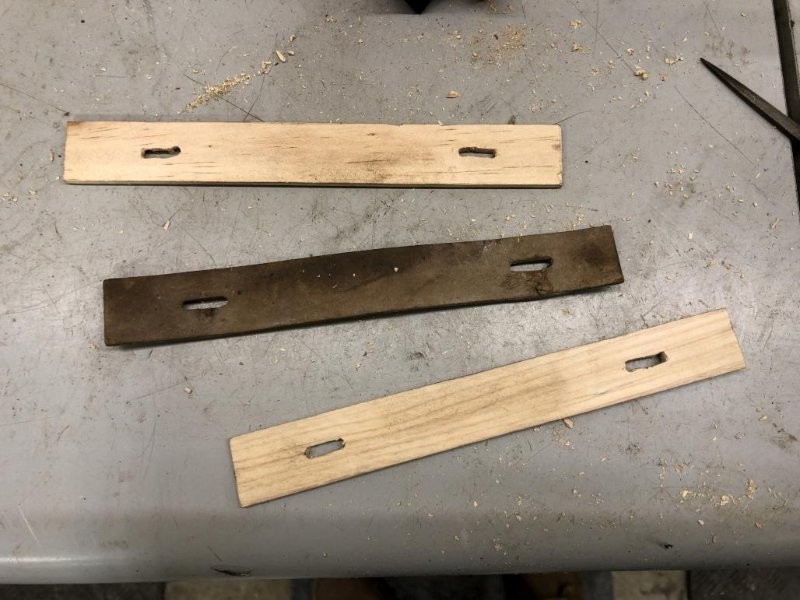
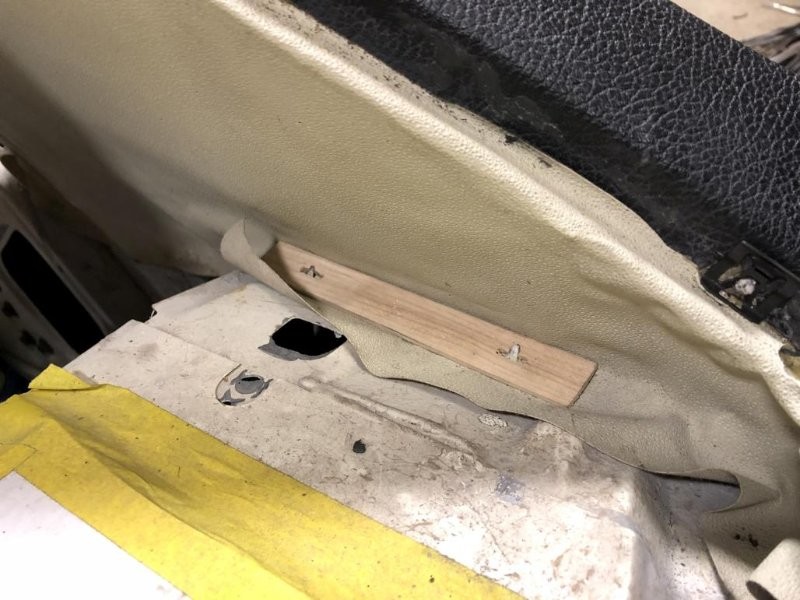
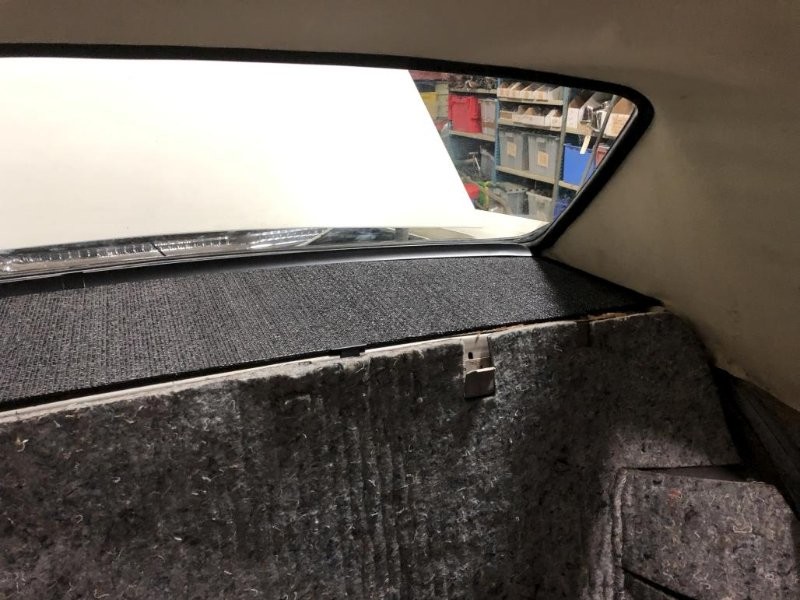
Next, I was getting ready to install the rear window, but had one little loose end to finish first. I was reminded about the little headliner hold-down strips by Royce's build thread. So I found an original from a parts car and used it as a template to make new ones out of wood (free paint sticks from Lowe's). Originals are some kind of cardboard, I figured wood would be a bit stronger.
They are held in place by two pointy metal tabs built in to the package tray.
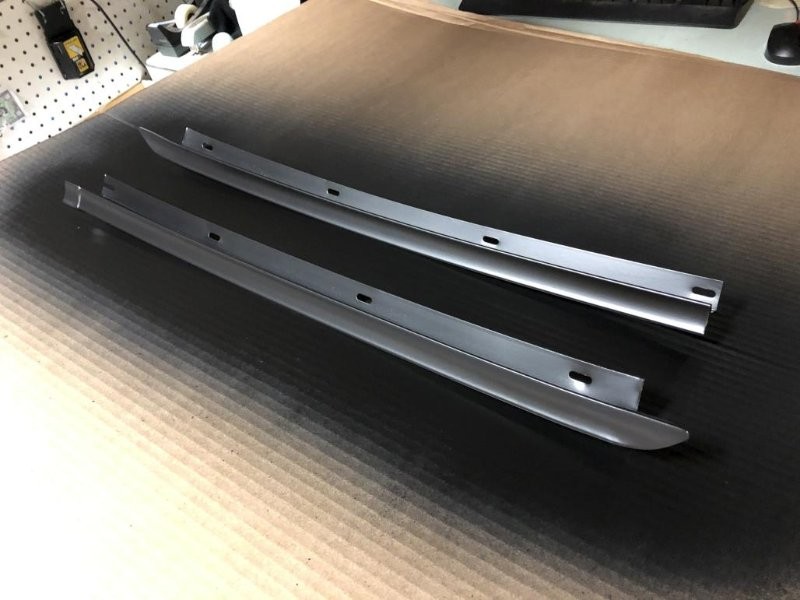
Then the rear window went in, using the same basic method as the windshield. We didn't put the goop in yet, but at least got the rubber & glass installed in the car. So the next order of business was to blast & paint the rear trim pieces and install them along with the package tray.
This is still the package tray I made back in high school (or early college?) out of masonite and garden shade screening. It does a nice job of hiding the 6x9 speaker cutouts while being basically transparent for sound. That said, I'm not worried about wiring up the full stereo system now, just trying to get the overall car finished and together.
I used new clips for the front of the package tray since my old ones were missing. Used ones might be better quality. You can also see I installed the rear seat back insulation, which was part of this kit. It's held in place with pointy metal tabs just like the headliner retainers. No glue or extra fasteners were needed, the factory attachment points seem to work well. There are a few along the top, and a couple on the diagonal support pieces.
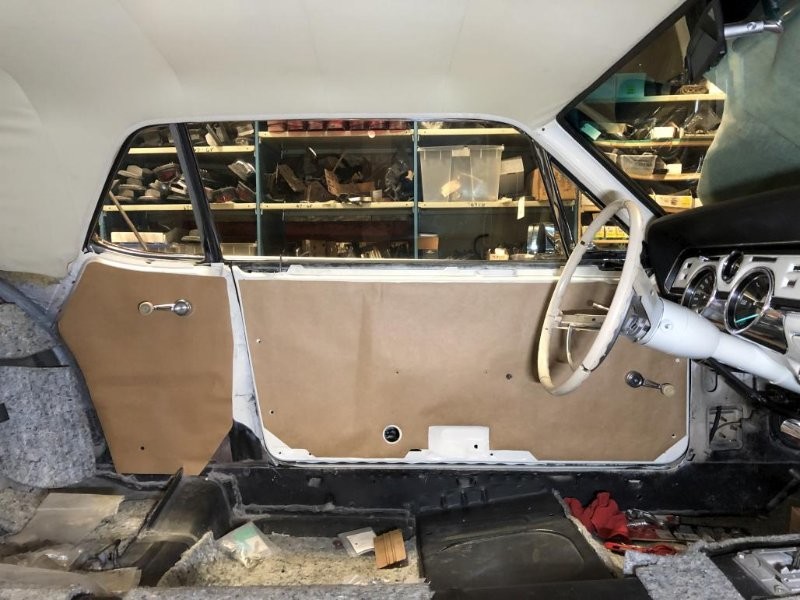
One of the next things I did was to install the vapor shields for the doors and quarters. I used the 3M Strip-Caulk all the way around the perimeters to attach them. I almost got through the whole restoration with one box of the stuff, but had to get a second. It has come in handy for a lot of things. Anyway, those circular holes on the doors were covered over with gaffer tape after this pic. Being a Standard, I have no lights in the door panels.
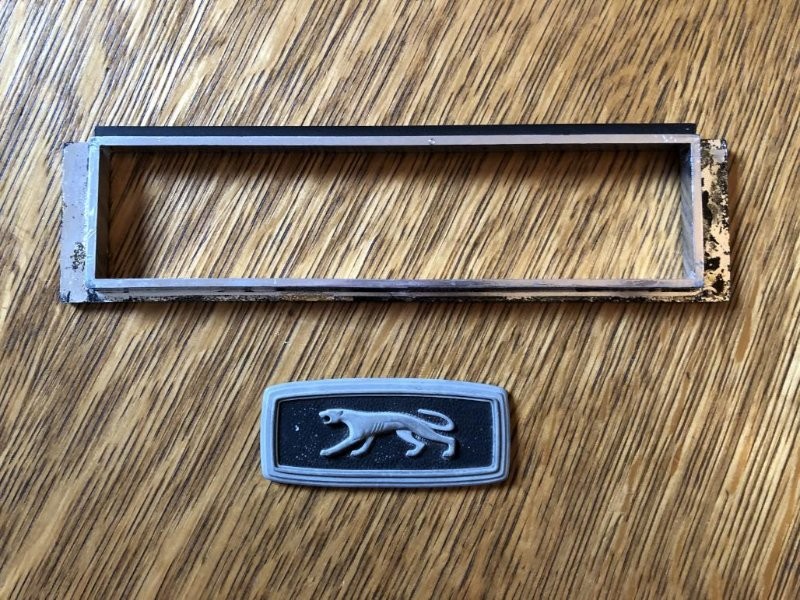
Meanwhile, there were a couple small plastic pieces I wanted to get "chromed". Since there's still no good spray-on-chrome service that I trust, I sent them to get vacuum metalized by Vacuum Orna-Metal in Michigan. Here's a before shot. Steering wheel center emblem and A/C center vent bezel.
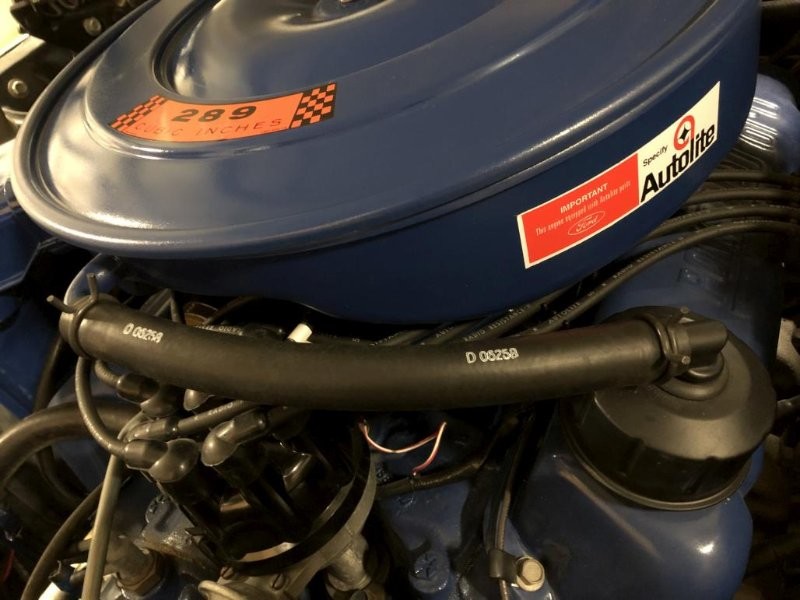
Now a couple random things to fill in the rest of the 10 attachments per post. My old breather hose was rock-hard and starting to crack. Luckily, these new date-coded breather hoses just became available, so I got one that was close to my build date (actually coded for about a week after my car was built, but close enough for me). Also installed these clamps even though I haven't noticed clamps on other cars. Just means I'll have to take the oil cap off with the air cleaner, which might be annoying.
Another example of all the little things that eat up time. I cleaned up and repainted my original sun visor bracket, using SEM "Super White" (which in my case matches my whiter-than-stock interior pretty well). New ones are available in black but my original seemed ok.

Finally here's a shot of the LED dash lights in action. Also you can see the beautiful crack in the face pad, right in my sightline. Not ideal. I may end up taking this stuff apart again, at which time I may try to fix this. Not sure how, though.
More to come in next post.

So nice in honor of your grandparents.
Posted by Diggymart on 1/3/20 @ 8:04:16 PM