You must be logged in to rate content!
14 minute(s) of a 767 minute read
7-18-2018
Well, it's time for an update! I've been staying busy, trying to do a little something to the car every night after work, and on Saturdays too. We just had our Open House at WCCC this past weekend too, so that added to the chaos. And I just found out I have to move out of my house in a month, but that's another story...
So, I got the quarter windows in along with the new regulators and little slide pieces. Don't forget the two stops on each window and the stop that attaches to the regulator.

Also don't forget the lower L-shaped bracket on each side. I blasted and painted these because they were a bit crusty, but still in good shape.
I ended up using the Sil-Glyde grease and it seems to work well. I still need to adjust these windows but at least everything is in place now.
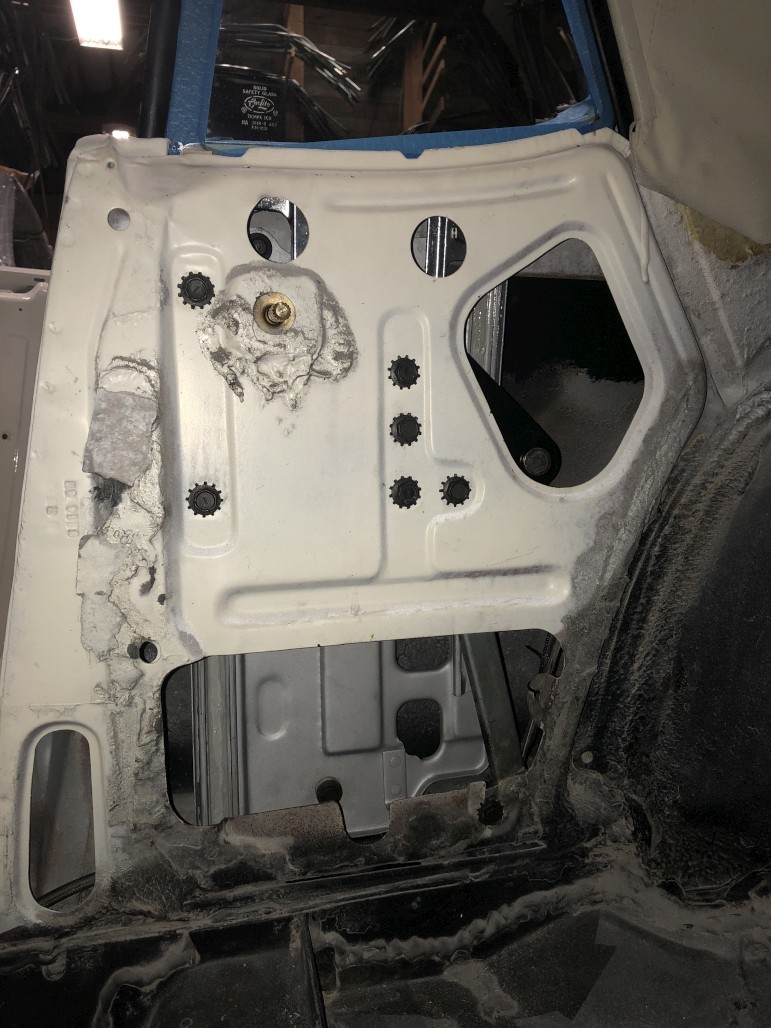
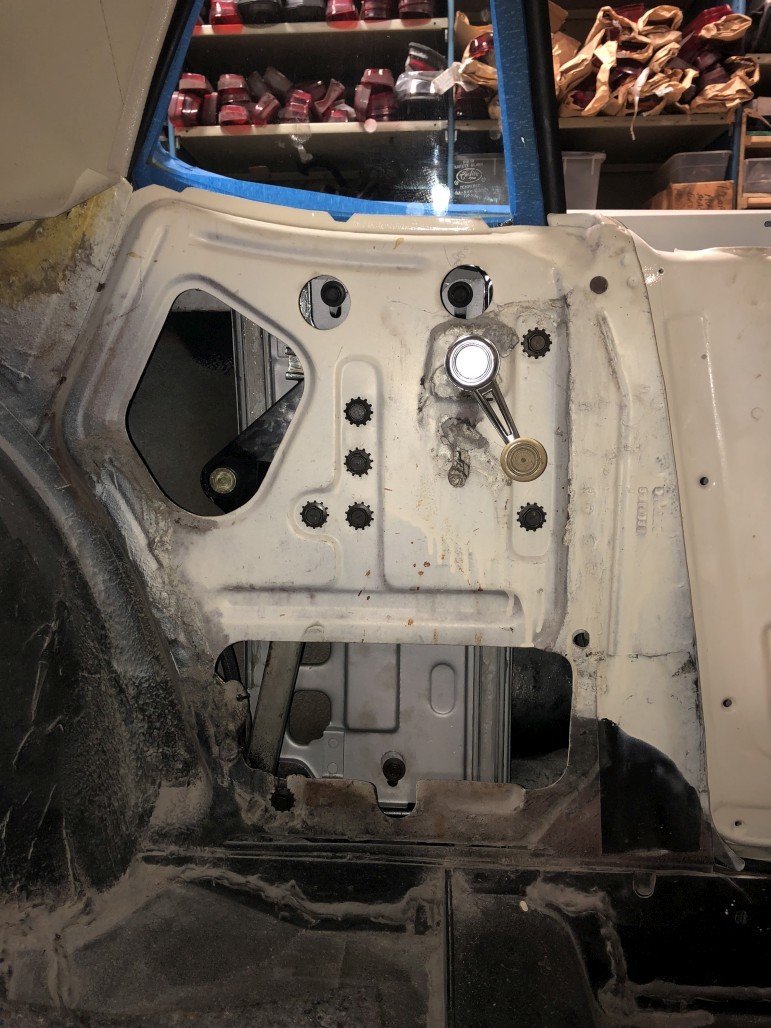
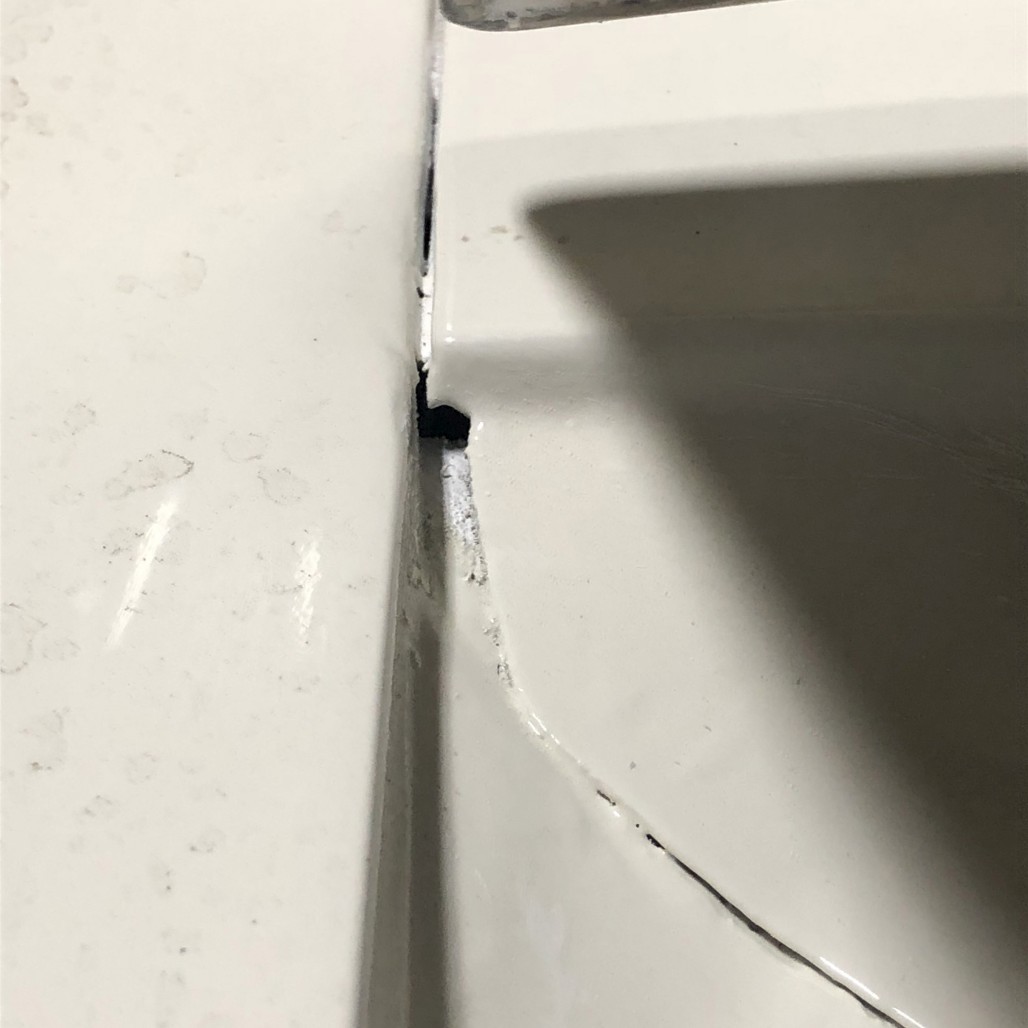
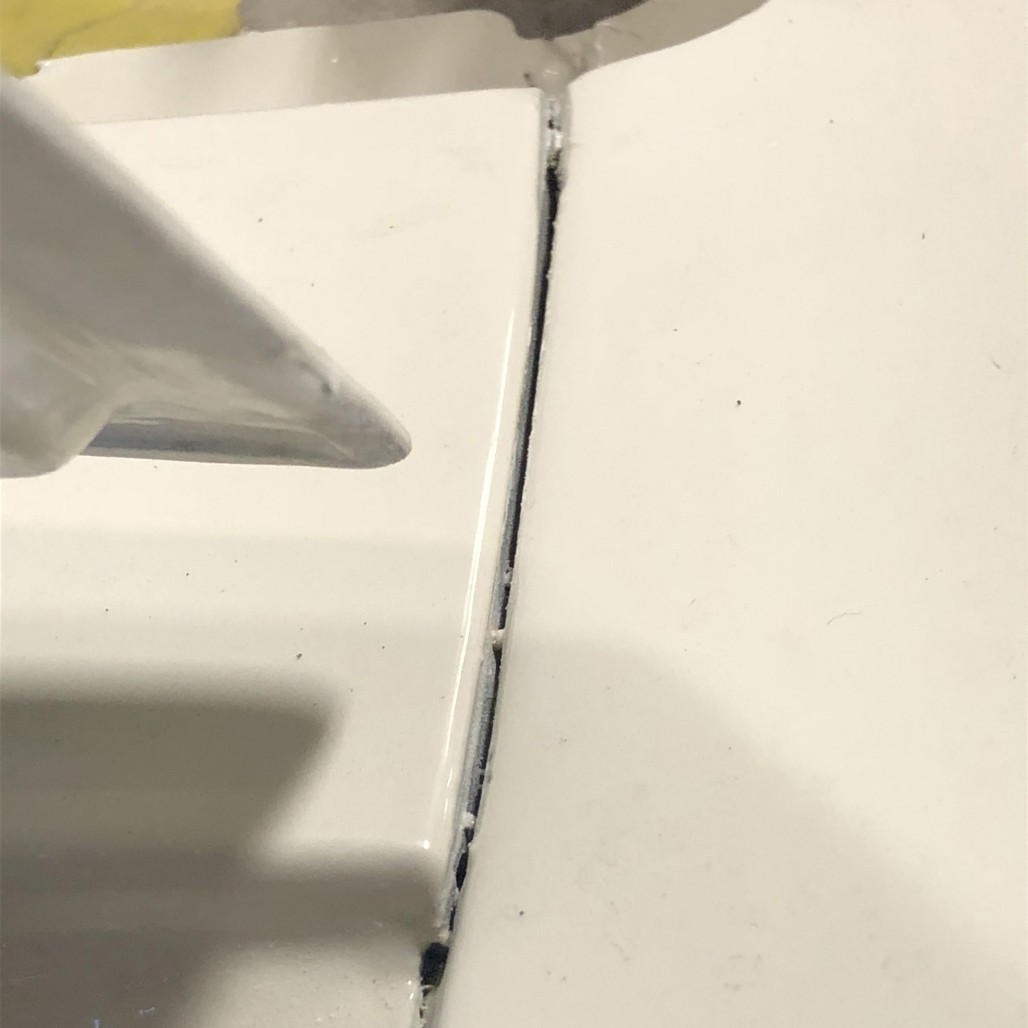
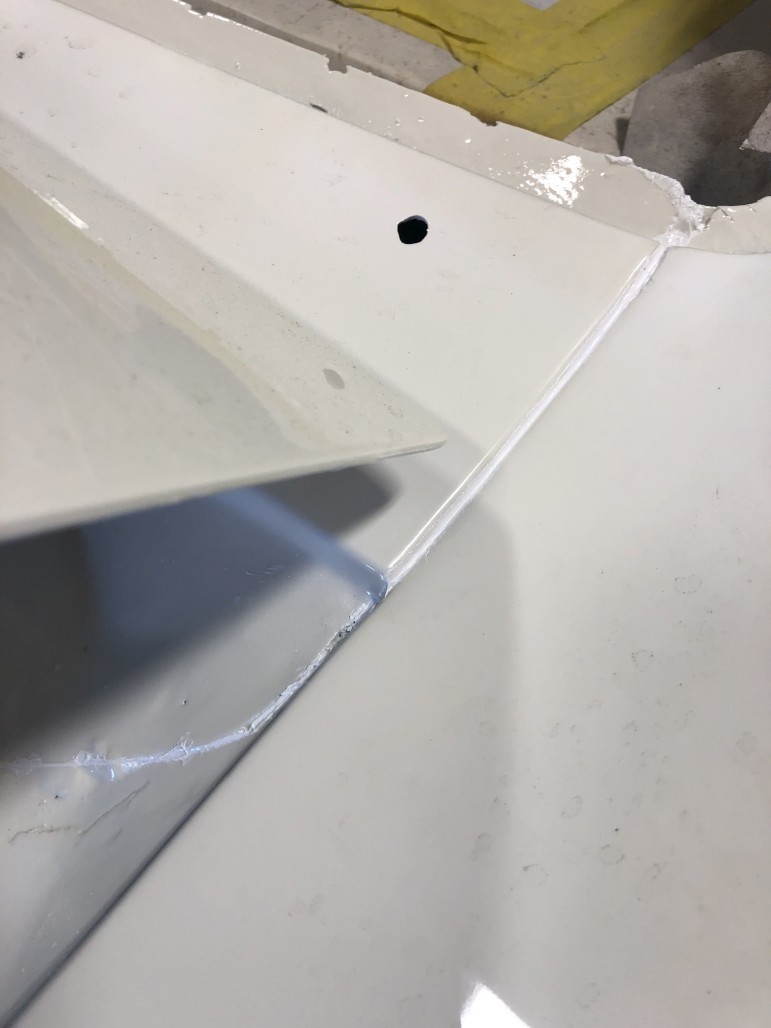
Next I tackled a little project that I was apprehensive about but turned out to be easy. So when the rear window patch panel was installed, nobody ever sealed up the seams, and somehow neither I nor my painter noticed before paint. These are the gaps and holes that were present
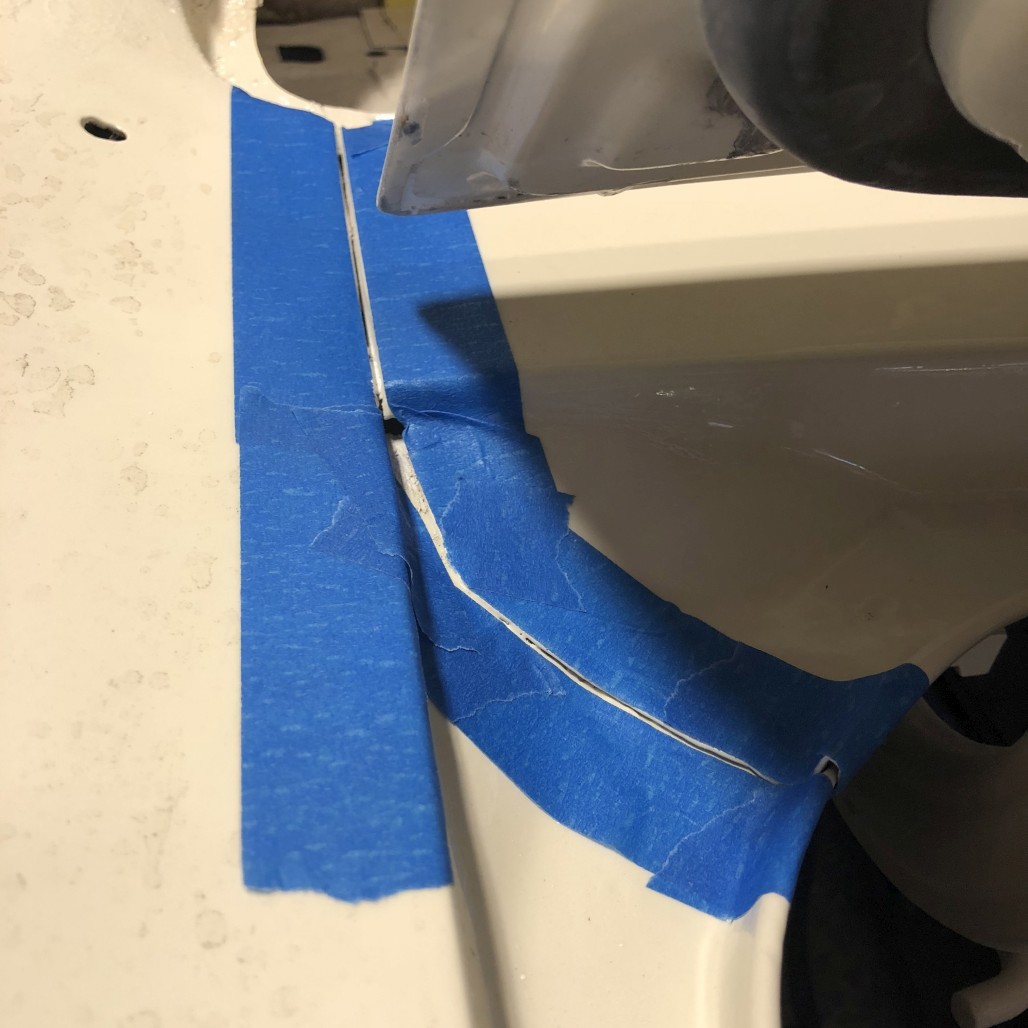
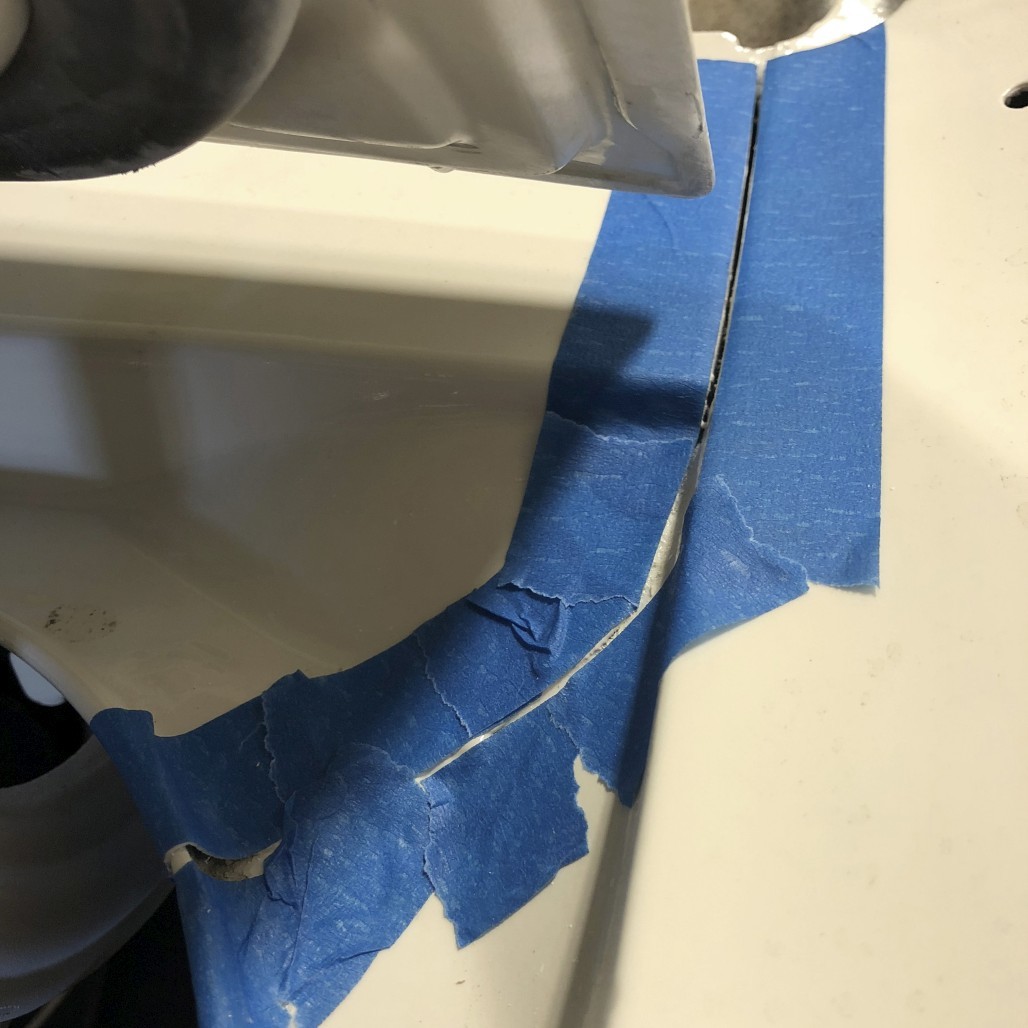
So, out comes the masking tape. I'm starting to think there's not much you can't accomplish with masking tape.
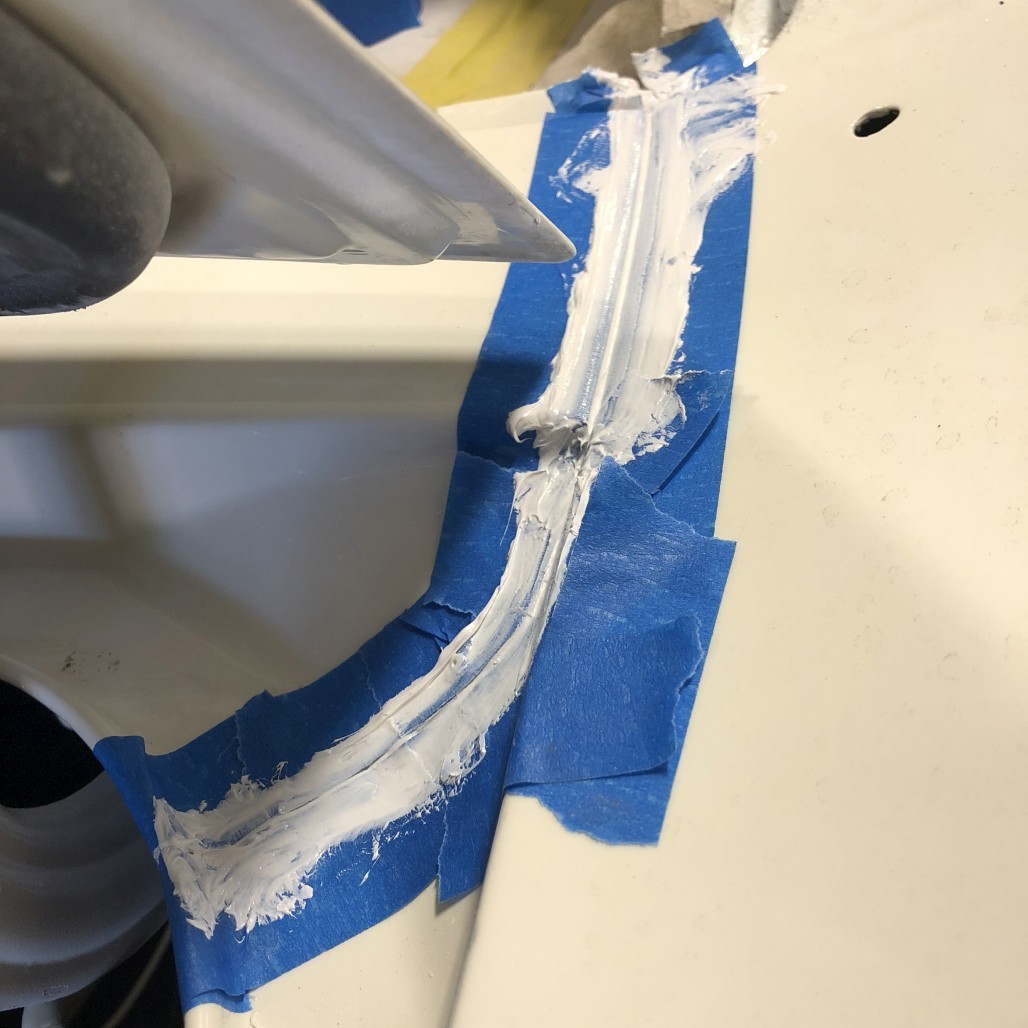
I got a tube of SEM white seam sealer from my local automotive paint supply store. Just had to lay it in there and smooth it over with a gloved fingertip. The consistency was nice and thick, easy to work with.
Looks messy, but here it is after pulling the tape:
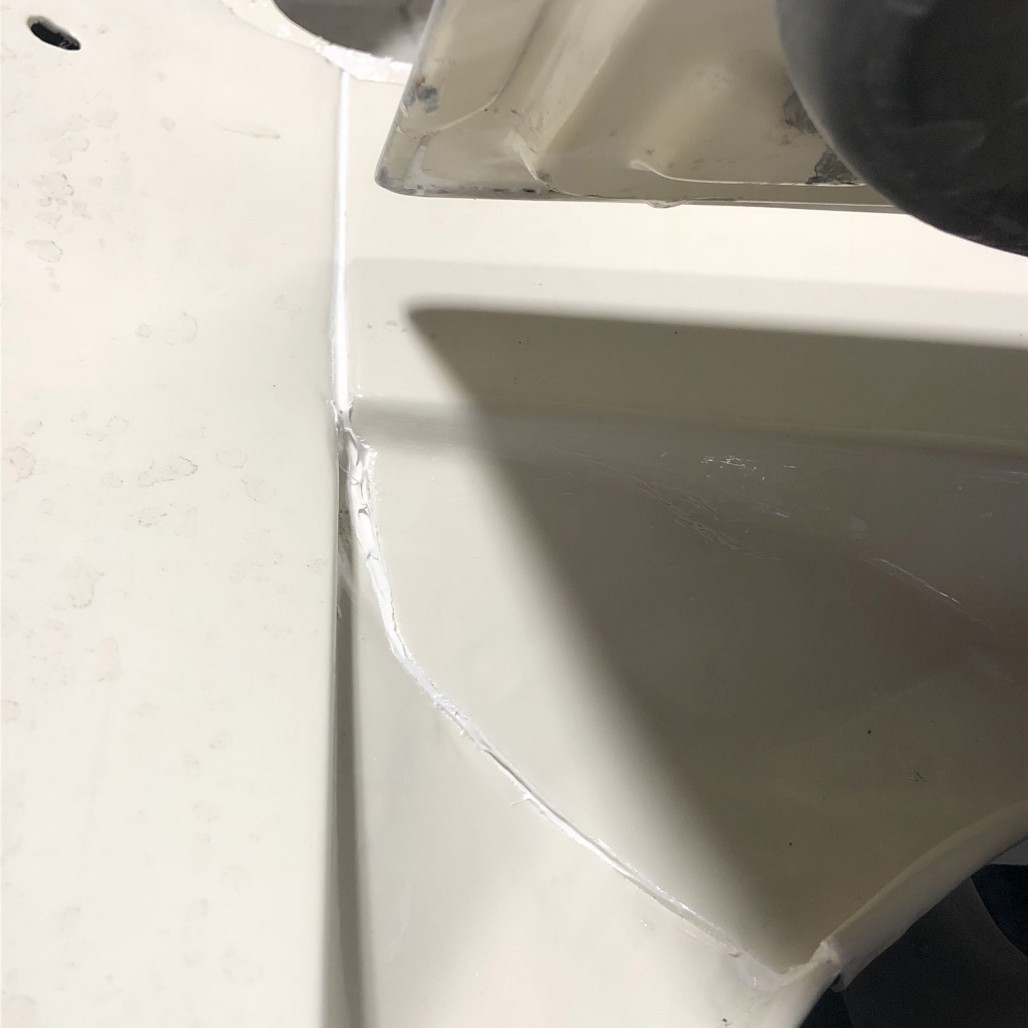
Not bad! I think the color is close enough that I'm not gonna worry about painting over it, but it would be pretty easy to get in there with a tiny brush and touch it up if I ever feel it's needed.
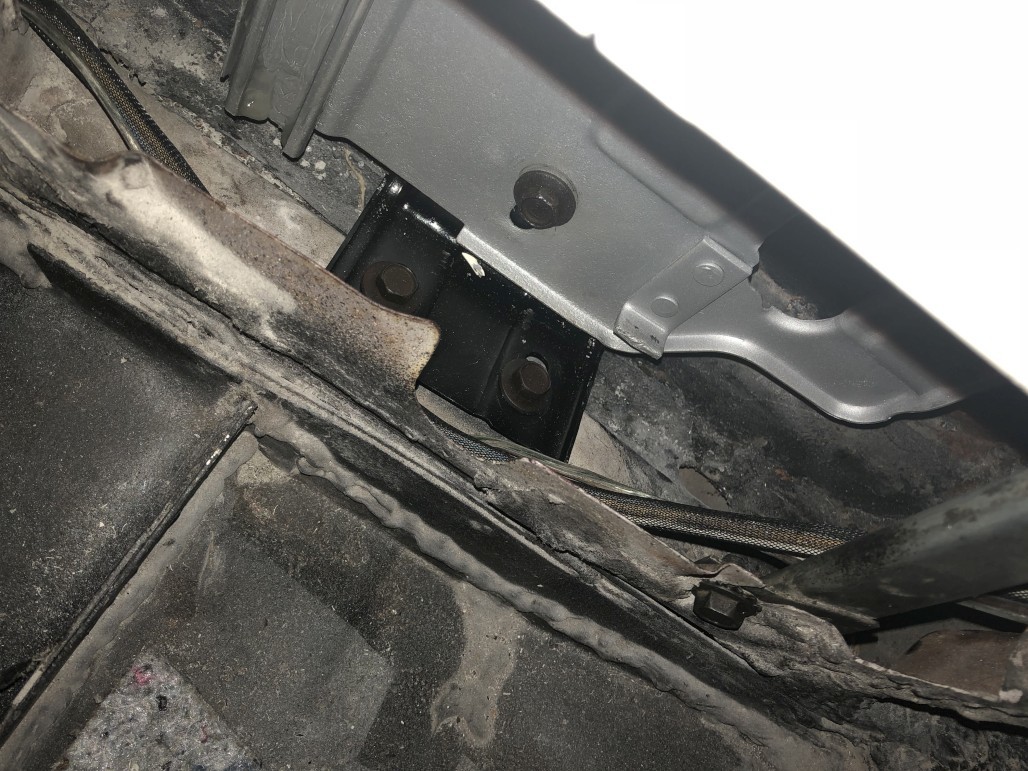
Next, I continued working on the back end by installing the rear valance. Using the correct hardware kit, this is how the studs on either end go:
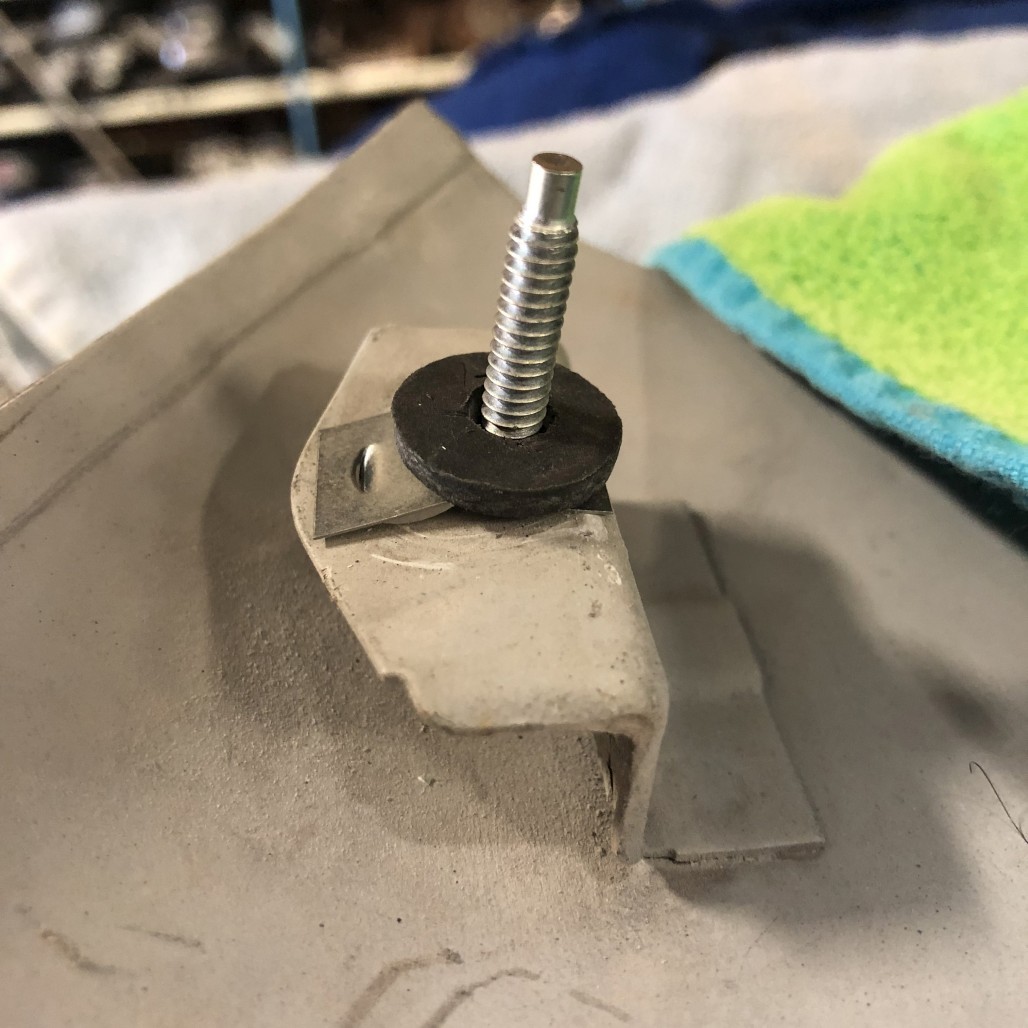
Installation went pretty smoothly. Like most things like this, it's best to keep things somewhat loose at first, tweak the panel around until it's in the right spot, then tighten things down.
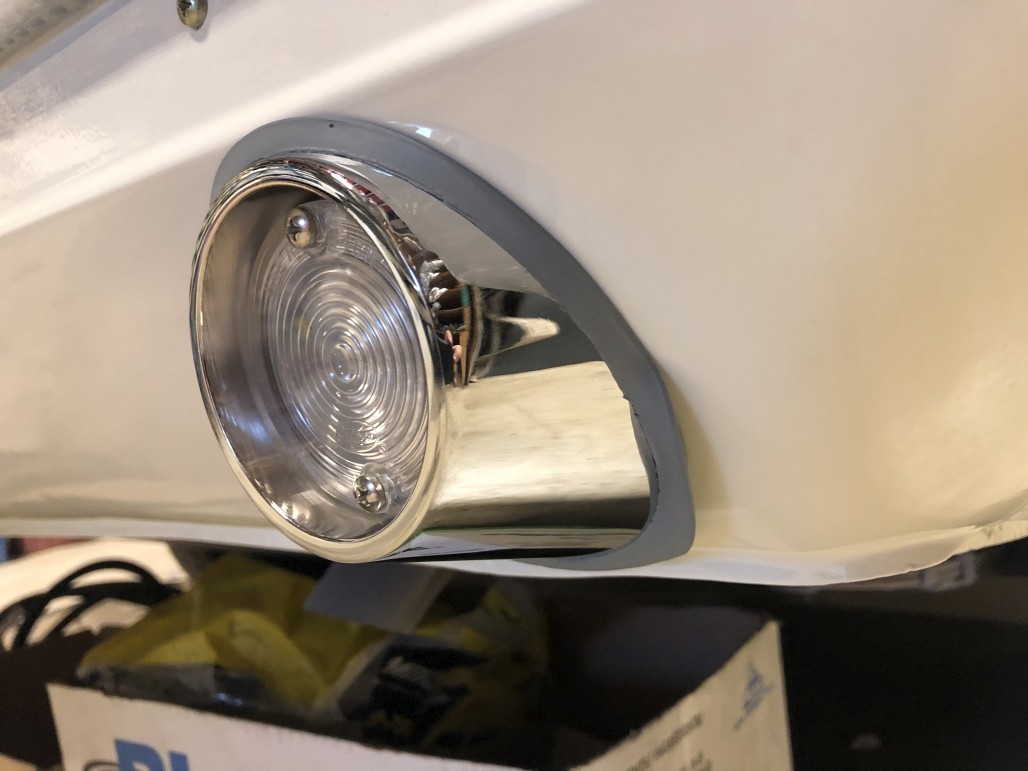
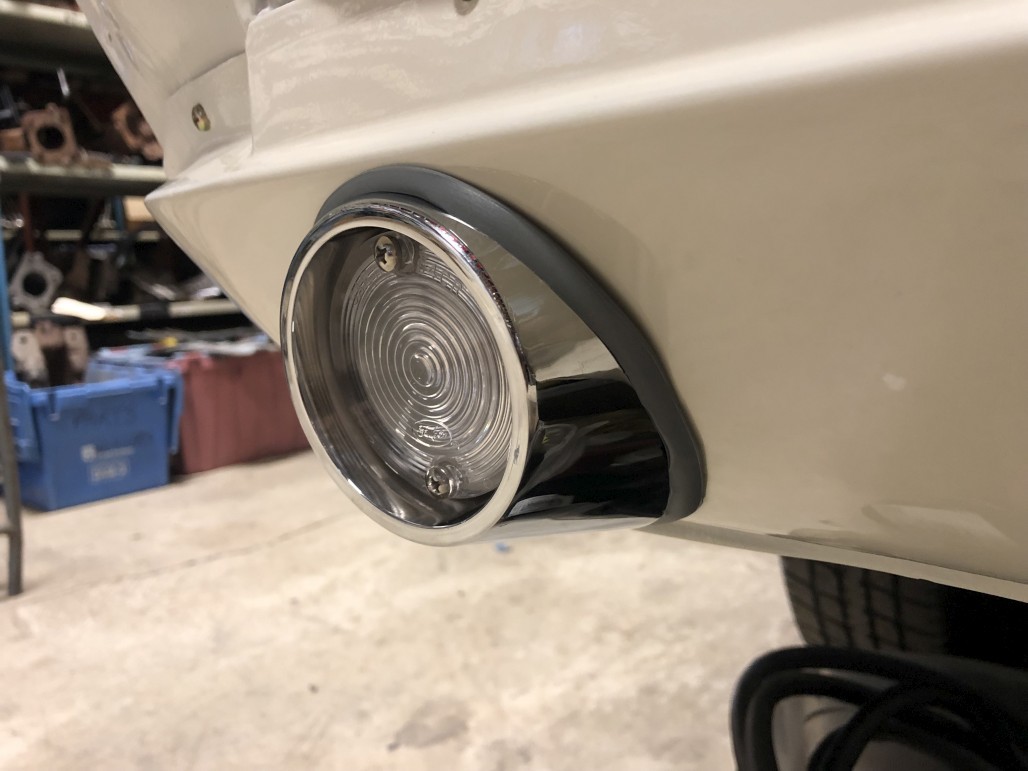
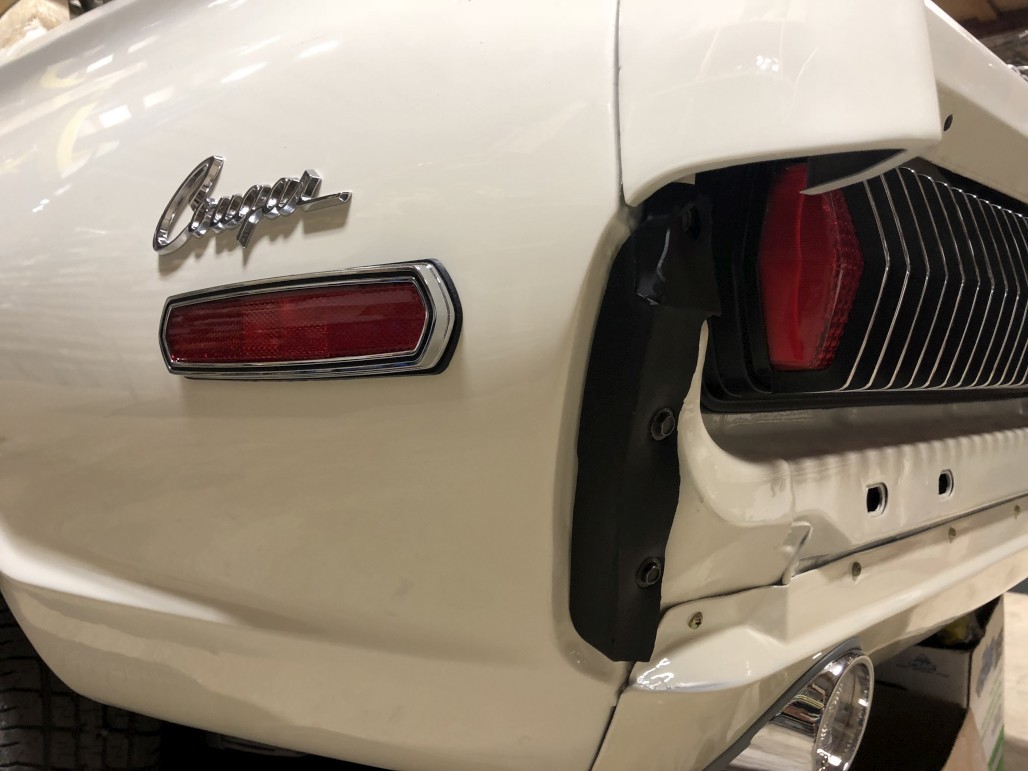
As you can see, I also installed new reverse lights. I did this after putting the valance on. Quality looks nice and installation went pretty well aside from the gasket fitment. I still need to mess with these to get them to fit better.
So after getting that stuff on, there was an obvious empty spot, and I was excited to put on a shiny rechromed bumper. First step was to clean up my rubber fillers. I'm lucky that my originals were in good shape, though be advised that new reproductions are just around the corner! Here they are before any cleaning:
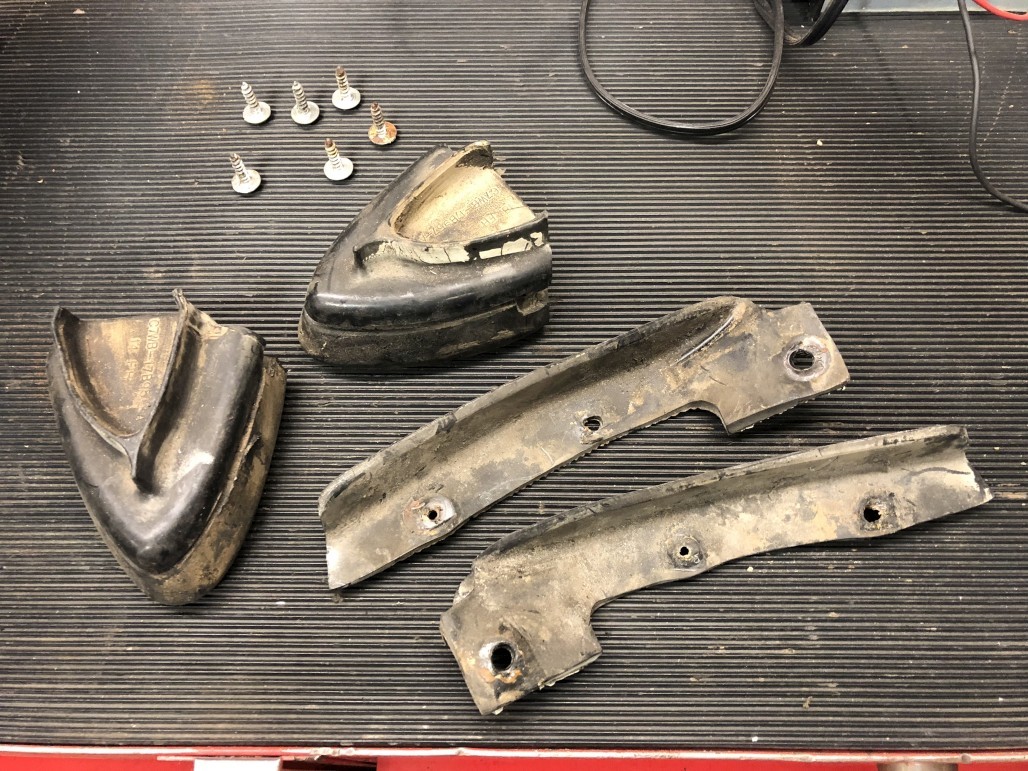
All they needed was a light sandblasting and a good cleaning with a rubber conditioner.
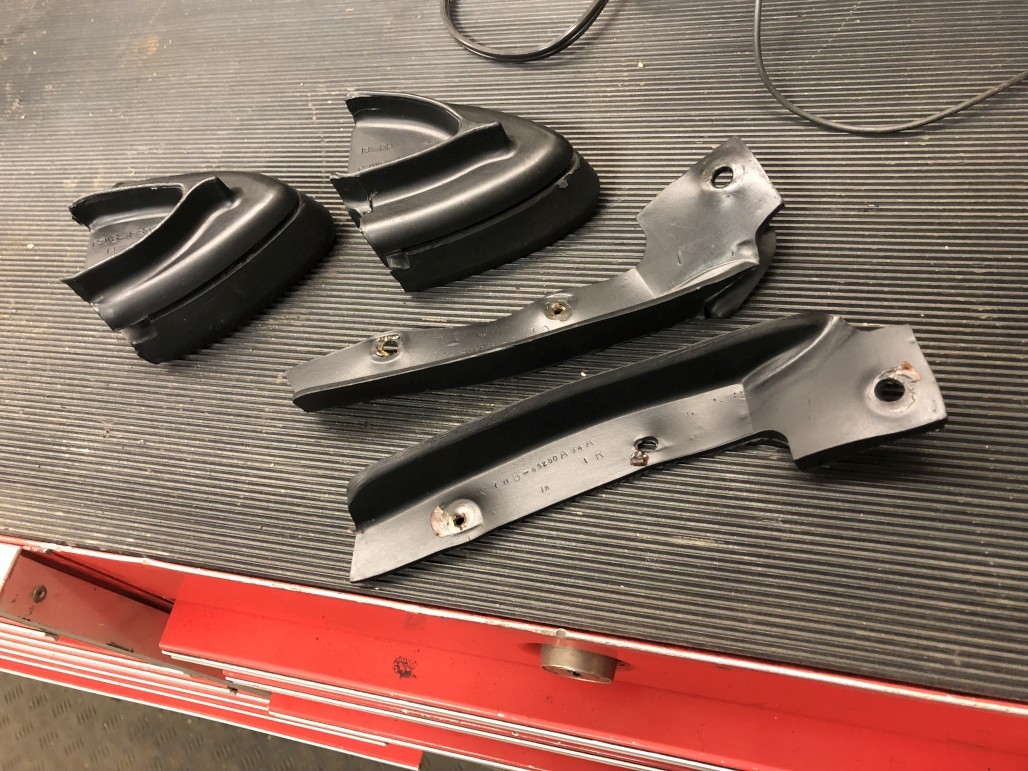
Install these on the car first:
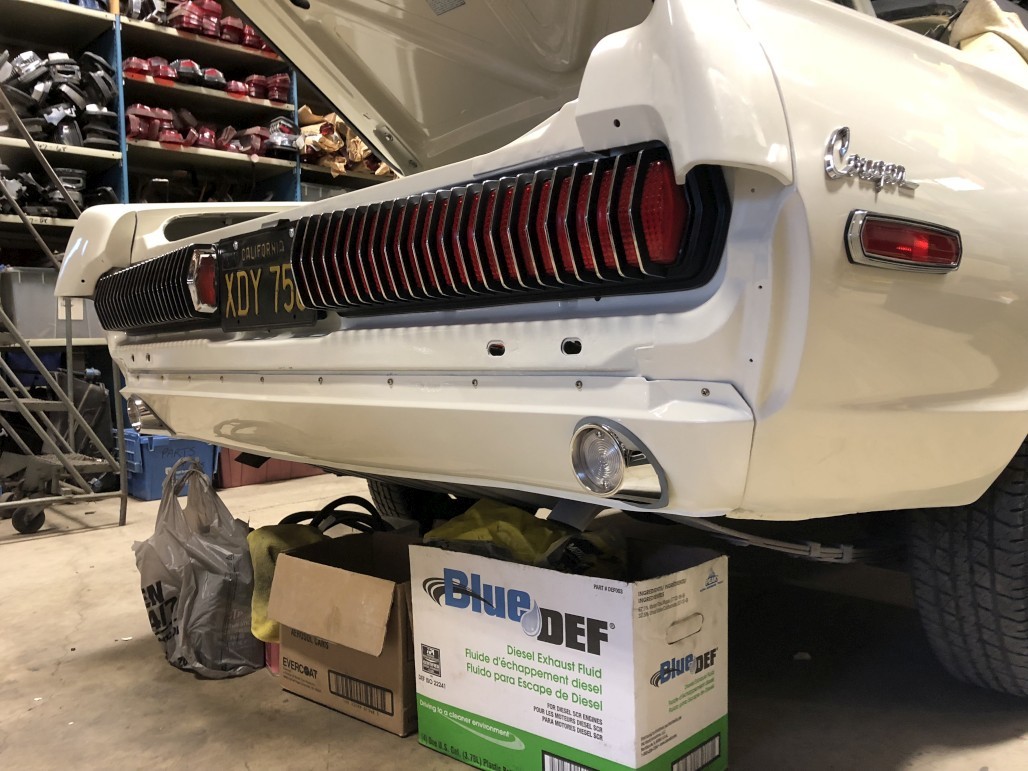
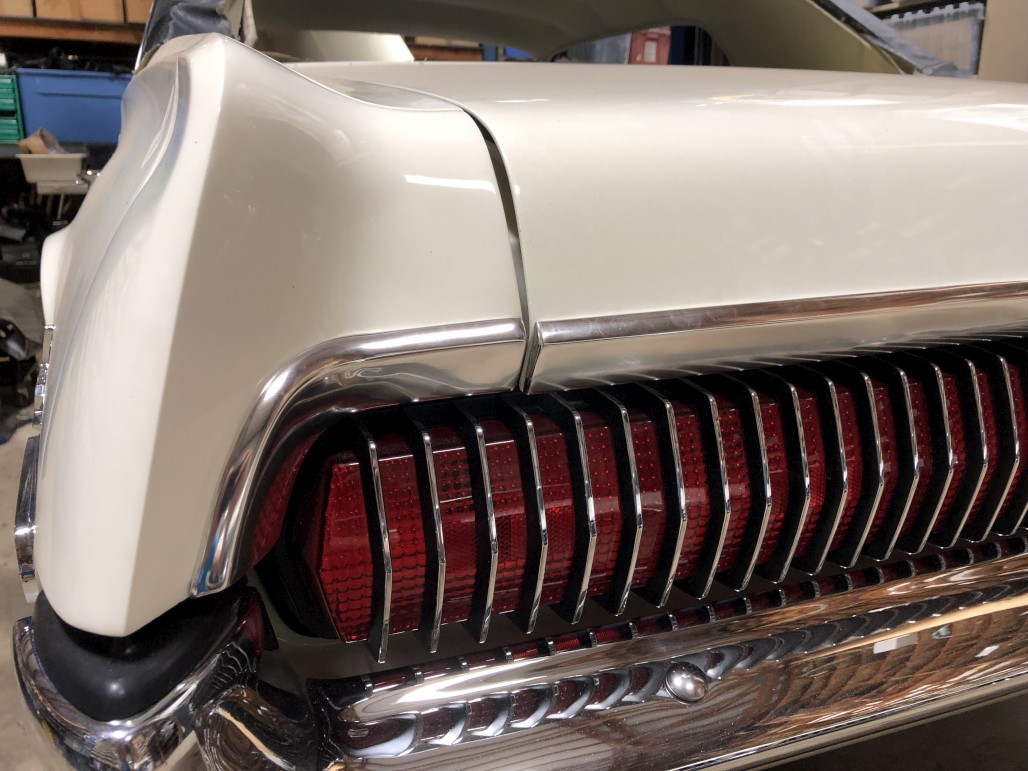
Then slide the upper corner fillers into the bumper before installing. I had retained my original rear bumper brackets and blasted / painted them, and used a new bumper hardware kit. I was able to get it installed by myself without incident, but I'd recommend having a helper if you can! I also chose to remove the quarter extensions for this task, so there wouldn't be any interference with the rubber pieces.
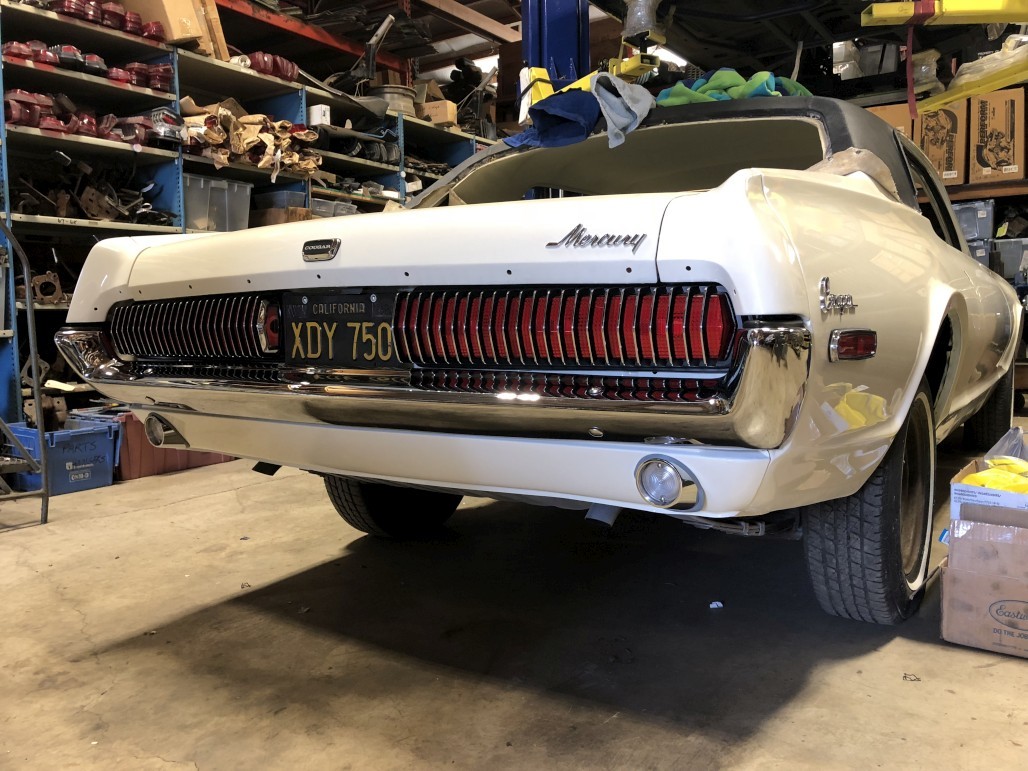
Woo! It looks awesome. I'm not gonna lie, after doing this and taking a couple steps back, I couldn't help but grin and stare at it a while. It's so shiny, and makes the car look so much more finished (at least from the back).
So, next I had a Saturday to mess around, so I wanted to clean up the dirty engine bay. So I pulled outside and covered the windshield opening...
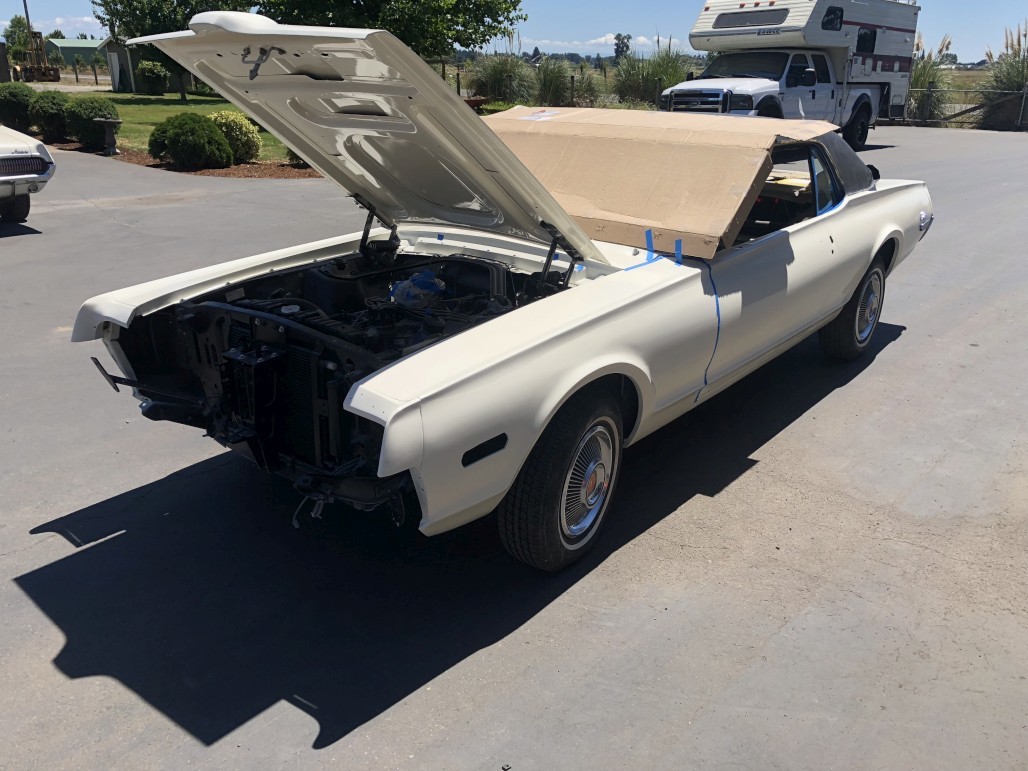
... and pressure washed the engine bay (after covering up the carb and every other opening I could find). Below is a before and after:
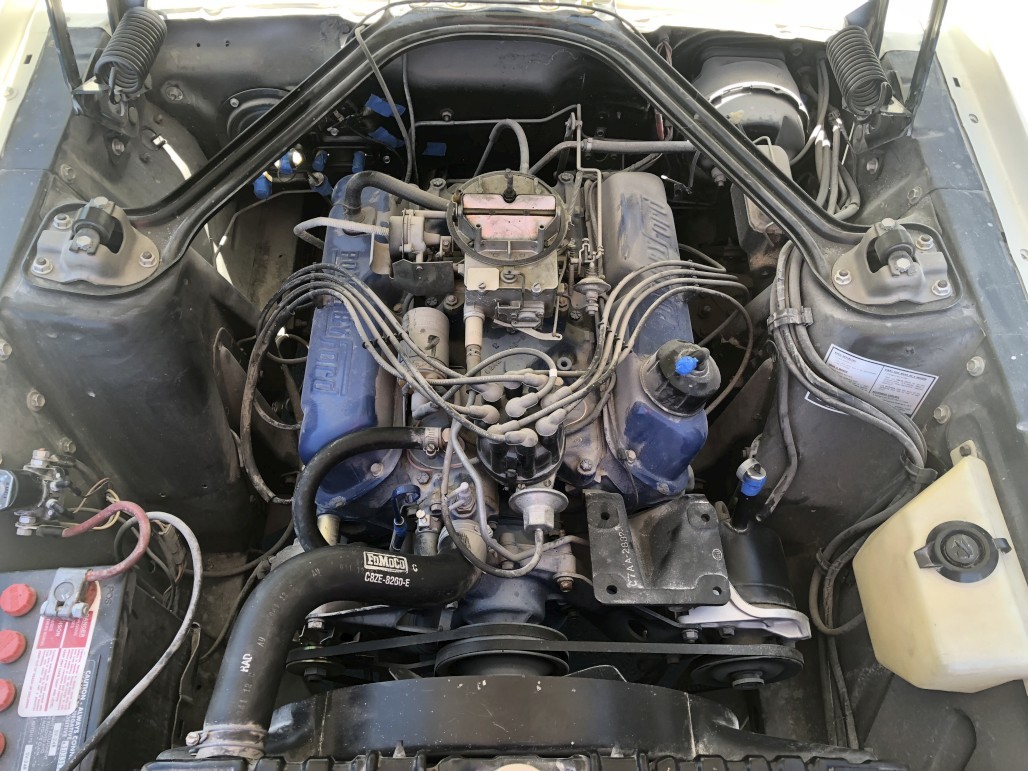
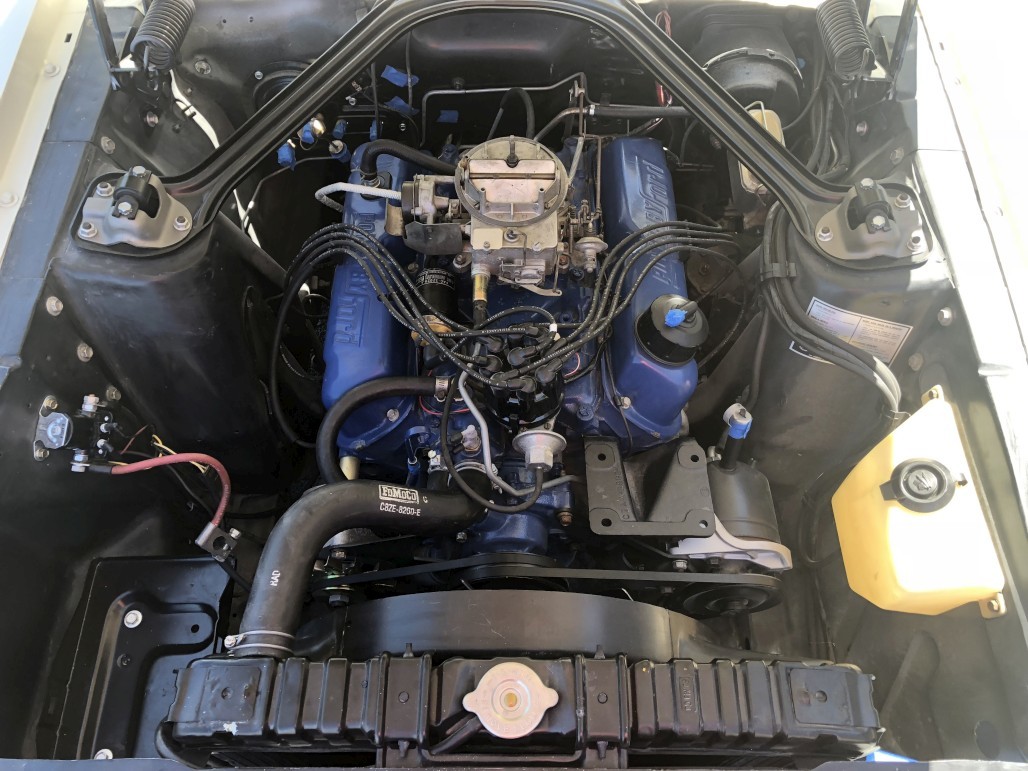
Better! Still not as fresh as it once was, but maybe some additional detailing will bring it back close to looking new again.
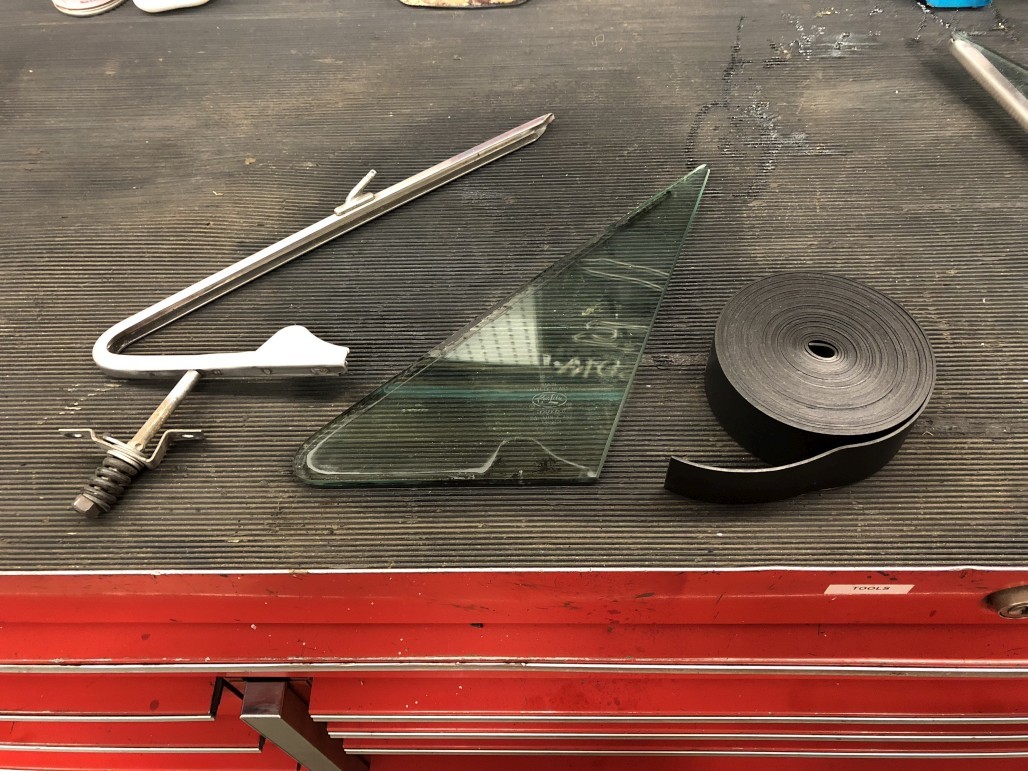
Okay. Next project was to continue on the windows. I had separated all my windows from their frames because I wanted nice shiny restored frames. On the vent window frames, WCCC doesn't currently offer a restoration service, so I did those myself (more on that later). First step was to reinstall the glass into the frames. In hindsight, I really didn't need to remove the vent glass from the frames in the first place, but here we are. I did a little research and found that 1/16" glass setting tape was supposed to be the right stuff to replace the old rubber surrounds. I got mine from Bob Drake, but notified Cleve here at WCCC that it's something we should look at carrying, so look for that sometime soon hopefully.
Note that you'll have to make relief cuts for the corners:
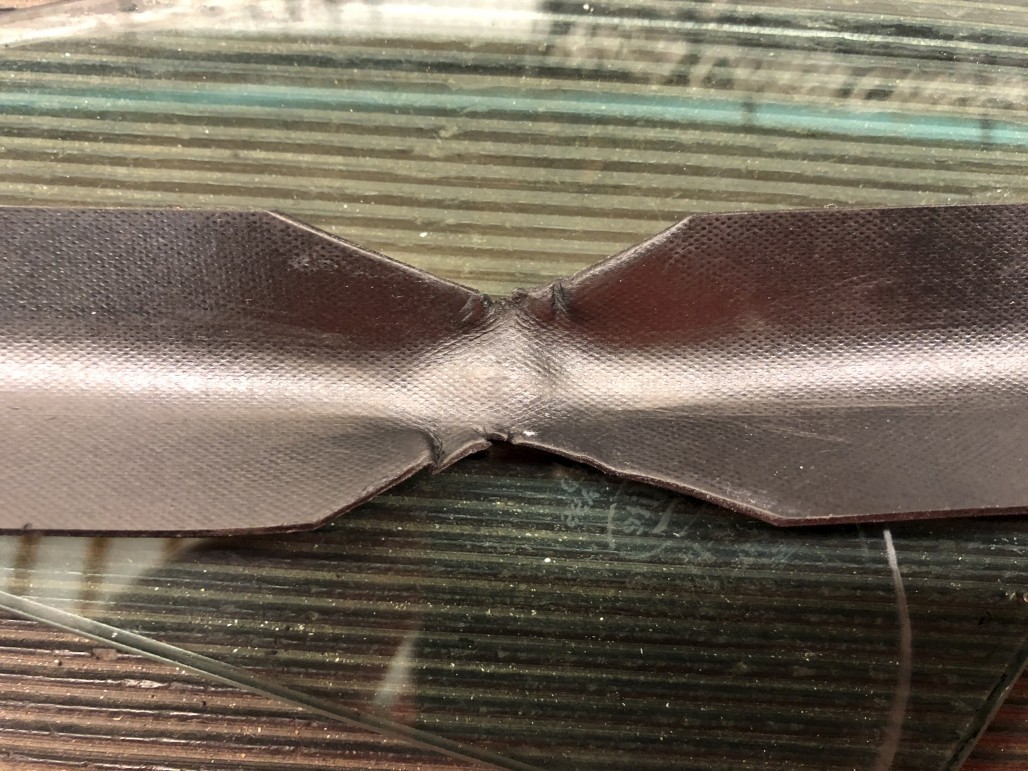
So it'll fit without overlap like this:
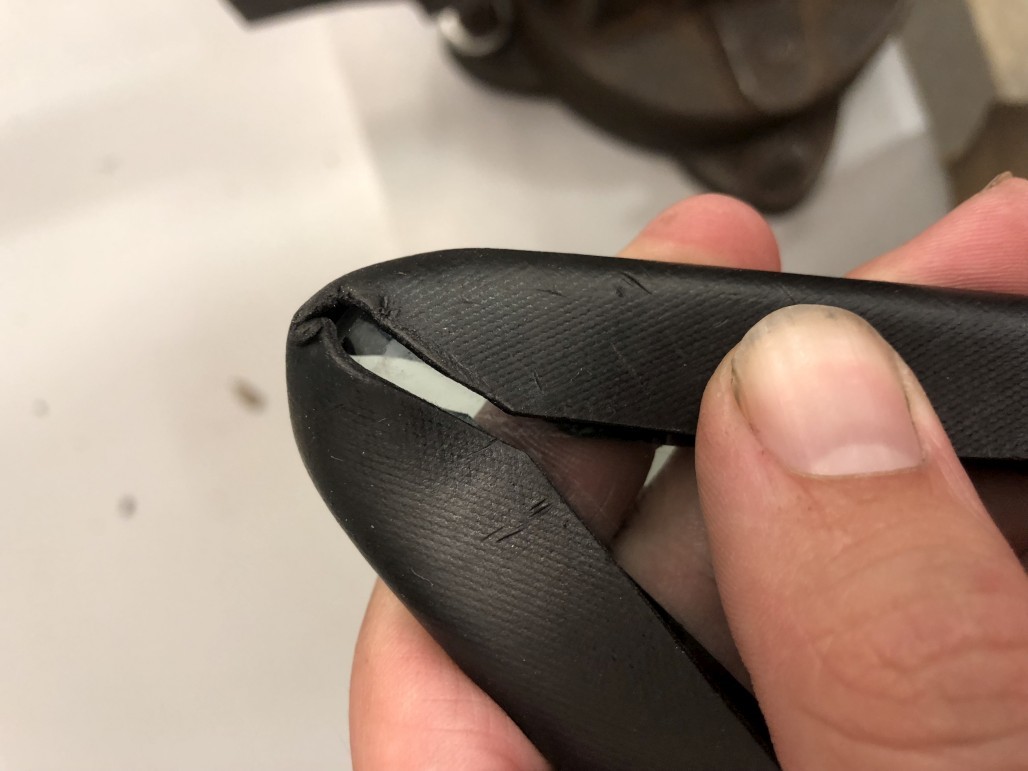
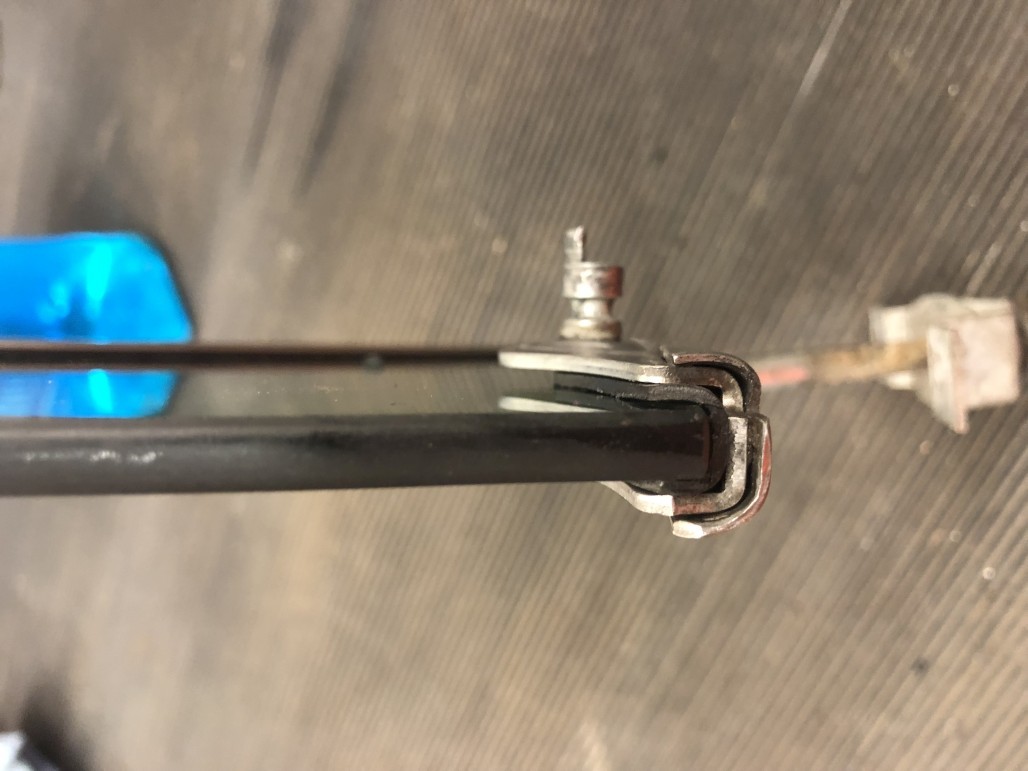
I used a little glass cleaner for lubrication, which may or may not have been needed, and pressed the glass and rubber into the frames.
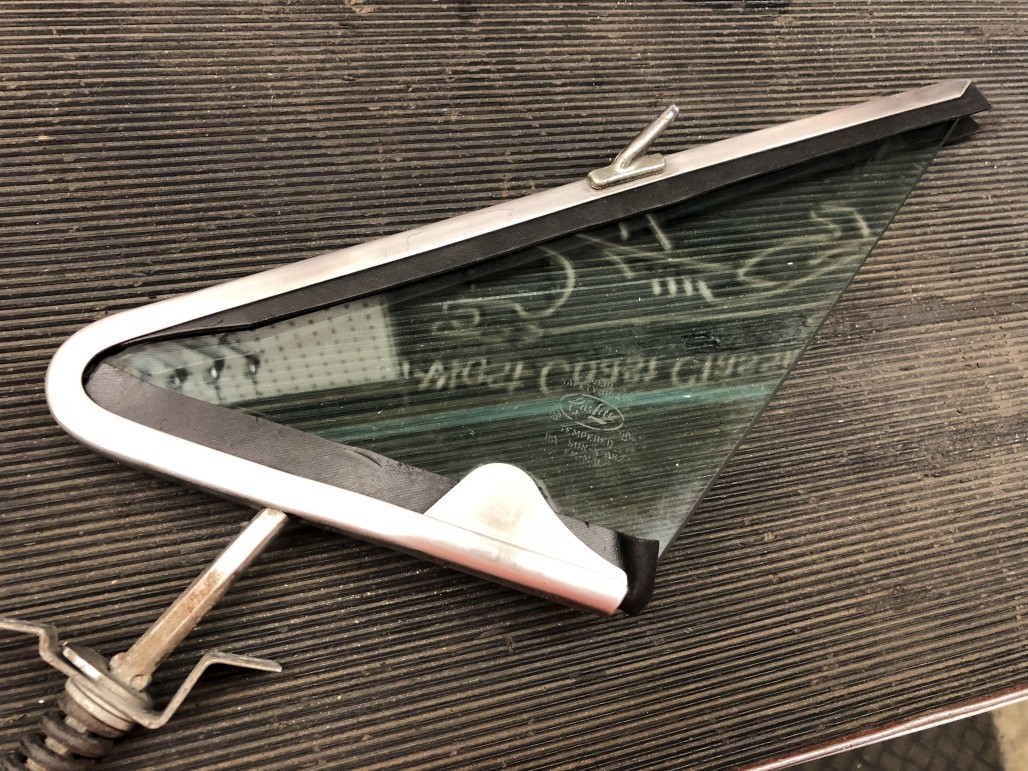
Then trimmed off the excess:
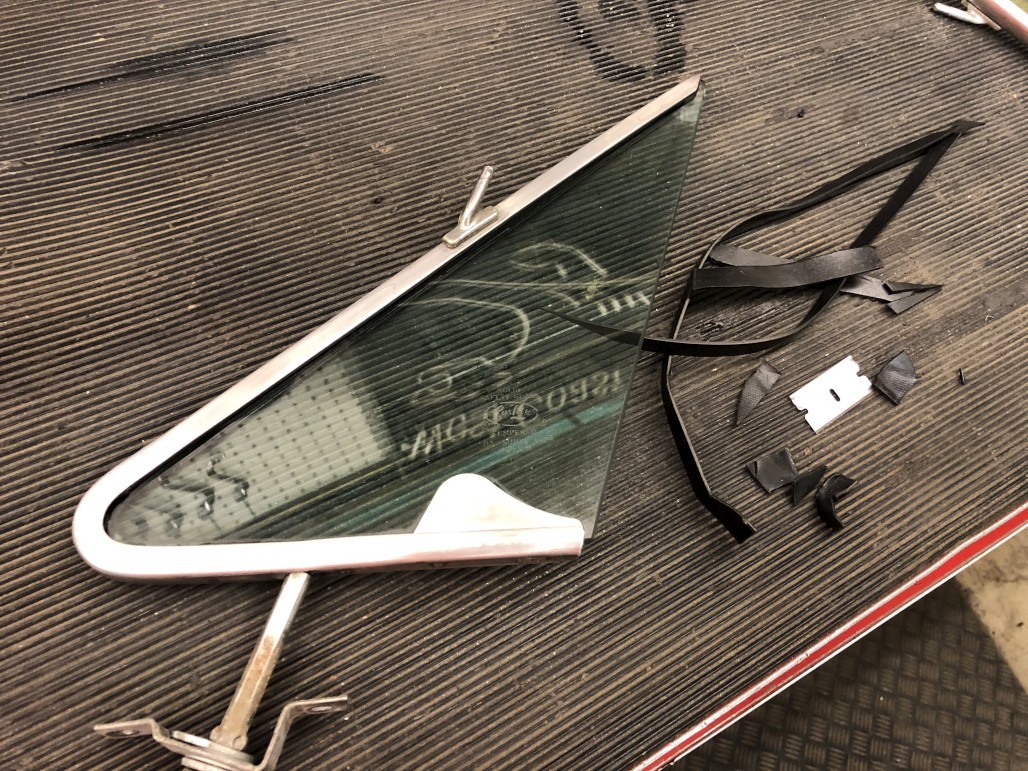
In this shot you can see that it fills the gap nicely, but isn't wide enough to come all the way up to where the handle is. Oh well, nobody will ever know...
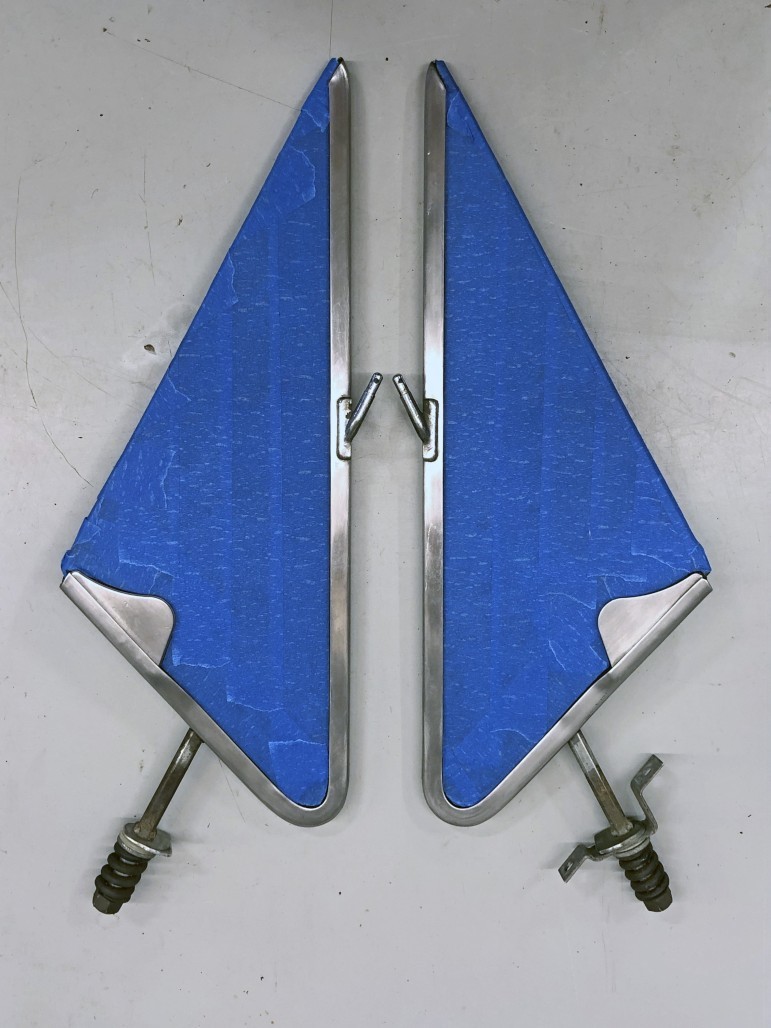
Next I went to town with my favorite tool, masking tape, in preparation for buffing the frames. If these look dull, it's because I had already sanded them down a bit in preparation for polishing. May not have even needed to do that, but anyway...
Fast forward to another day when I went over to Brian's to use his buffing wheel. That thing is awesome. Thanks Brian!

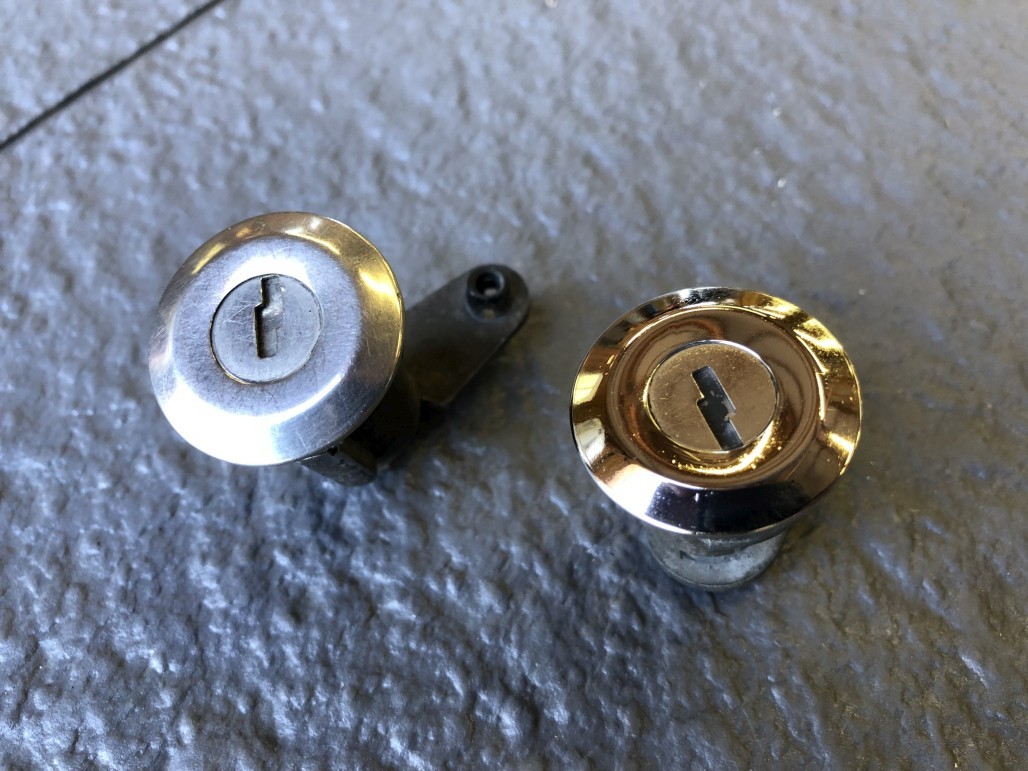
While I was at it, I brought along my door locks. This shows a before and after. I didn't do any sanding on these, just went for it. Not absolute perfection, but nice and shiny! I'm happy.
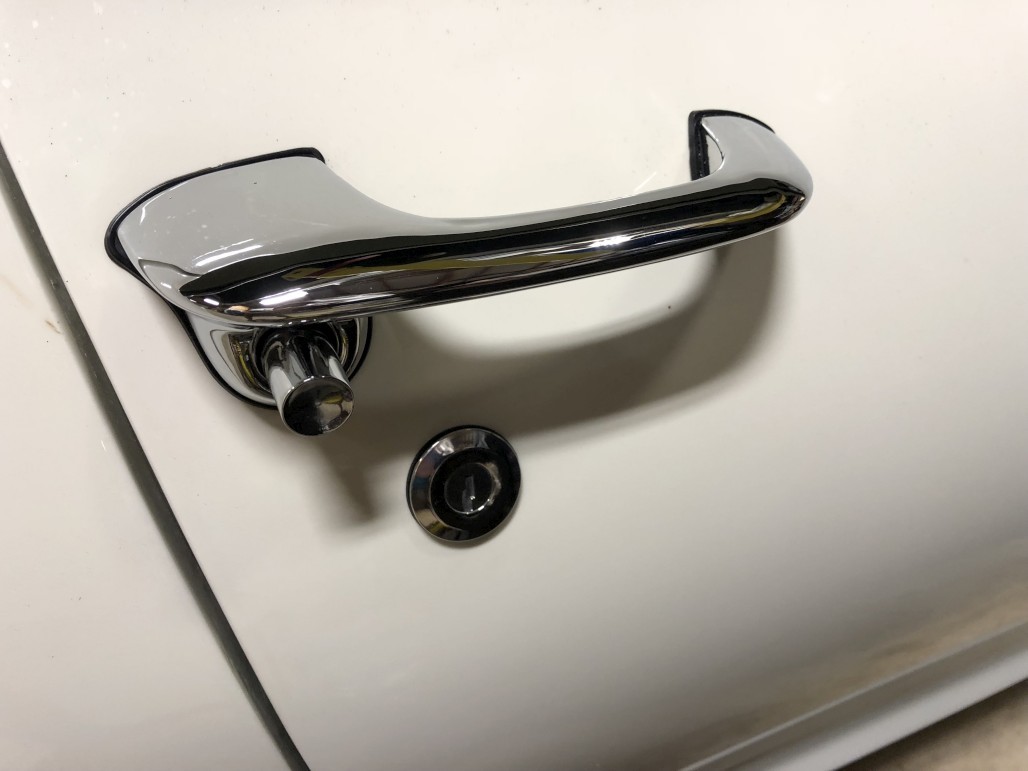
Another day, I went ahead and installed the locks along with new repro exterior door handles.
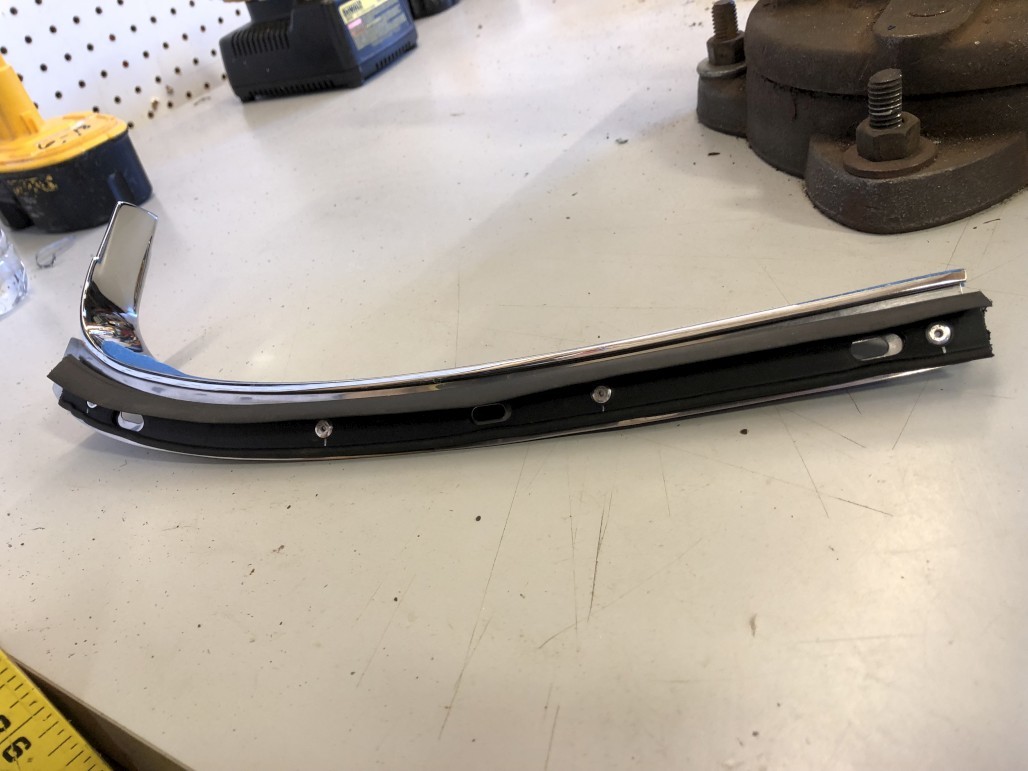
Back to window stuff... I started the process of installing new hockey stick trim pieces by digging out my original brackets and cleaning them up. Here's a before / after (steel wool is all it took):
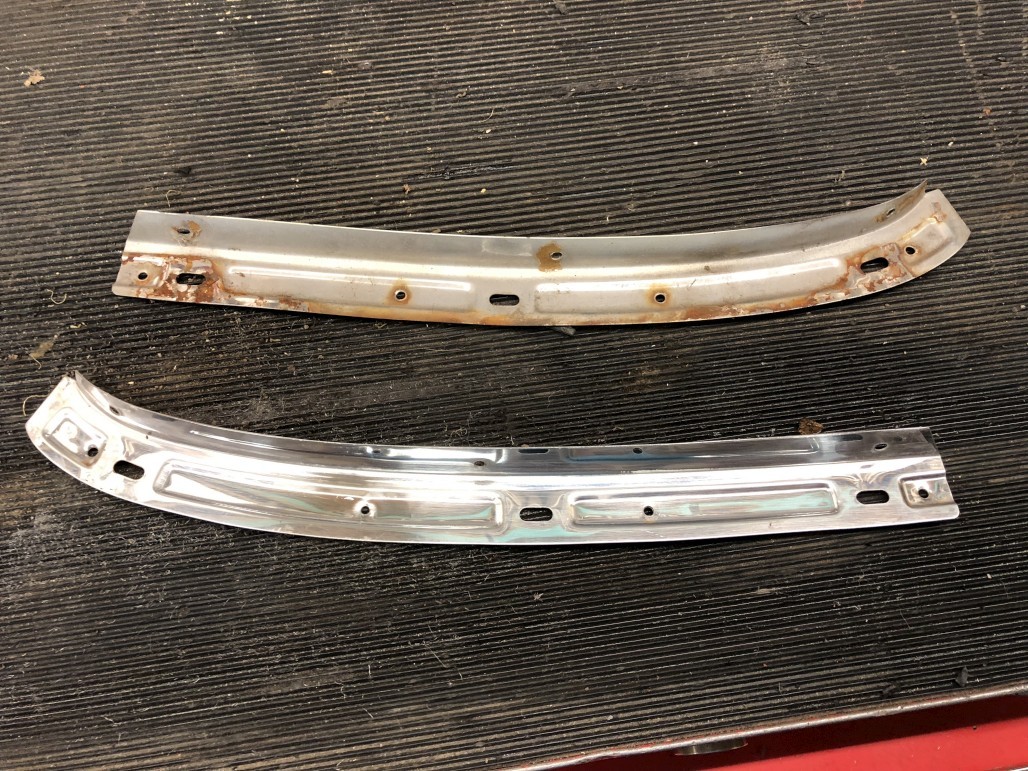
I'll make a note here: make sure to test the fit of the new trim against the original brackets, as well as the car itself. I found that the curvature of the new pieces was a little off, and had to gently bend it by hand before securing the brackets in place.
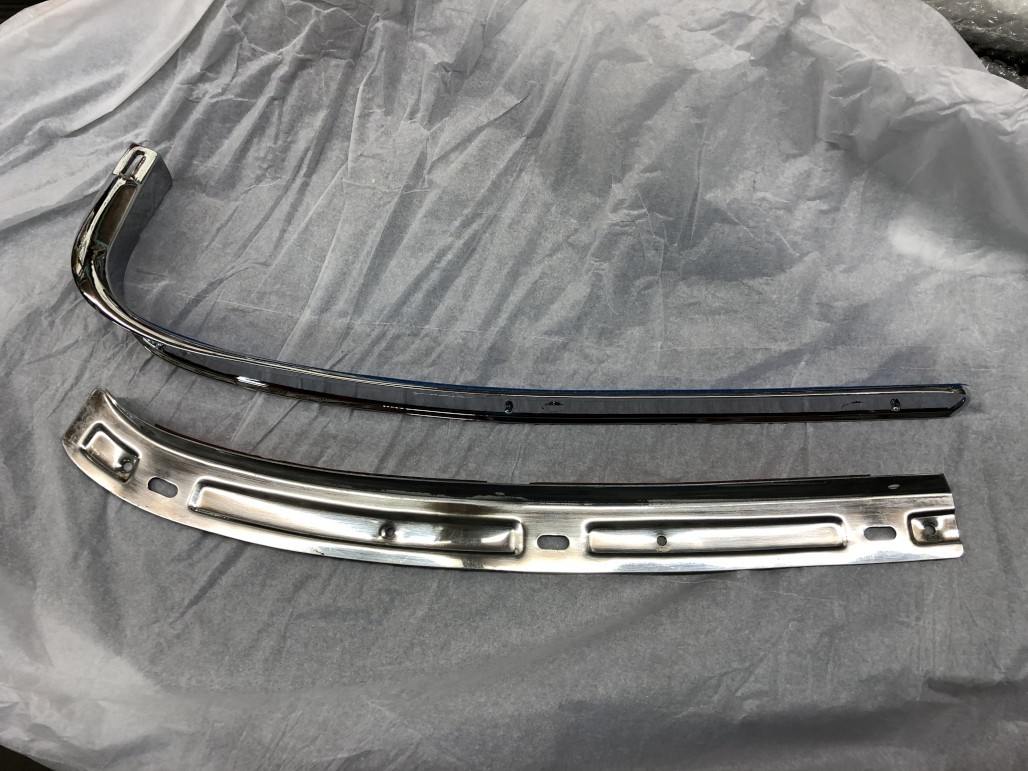
Next I used the double-sided 3M tape that comes with the new trim pieces to attach the brackets. I pressed it firmly in place but also went to town with clamps, which may or may not have been necessary...
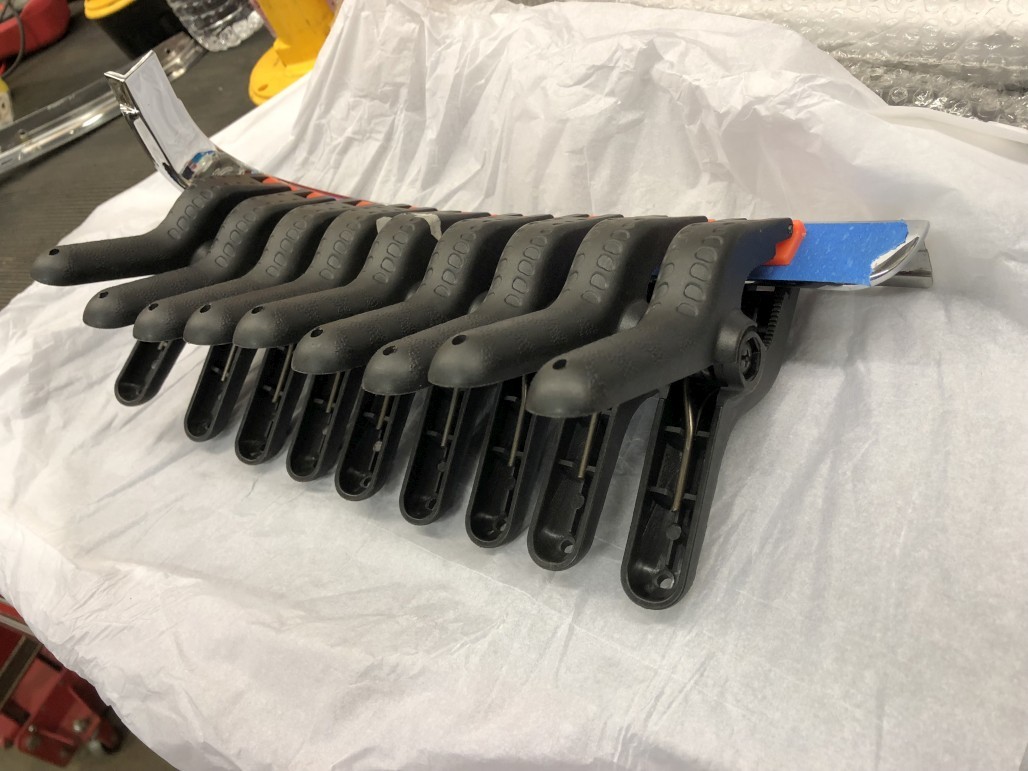
Next it was time to get a beltline weatherstrip kit and install the pieces that go on these sticks before putting them in the car.
Here's how great they fit when you get the first few rivets in...
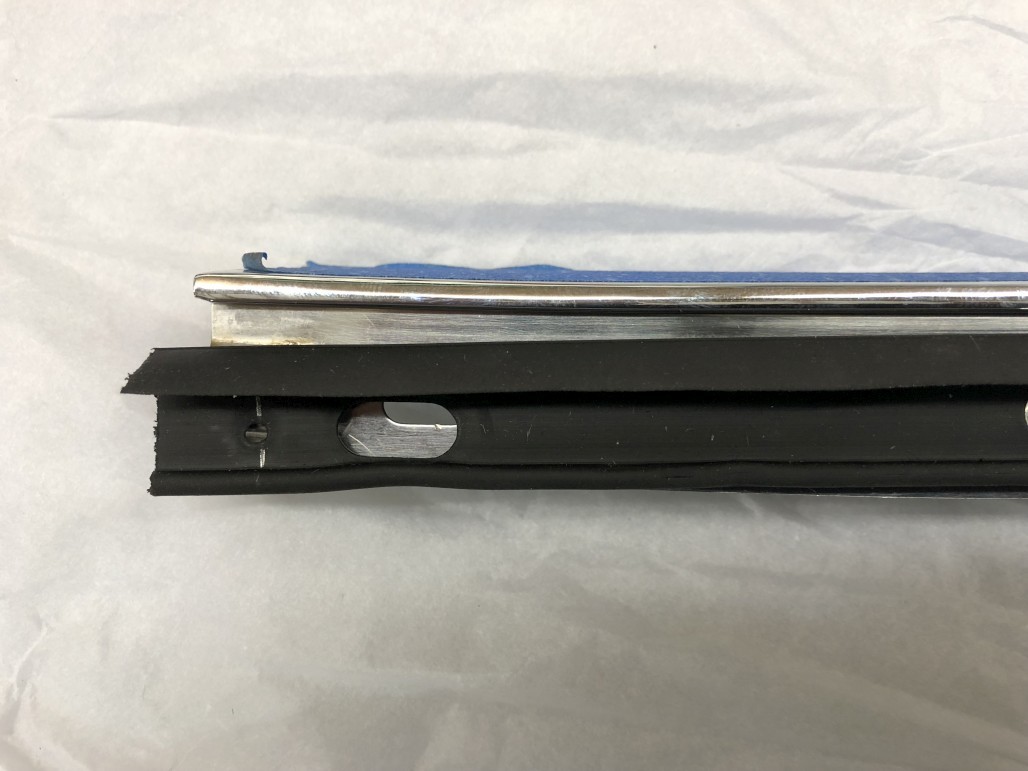
But I was able to bend it up into place and it fits okay. Also the kit did not come with rivets, so be prepared to get your own. Speaking of rivets, I had trouble getting any of mine to squish over entirely...
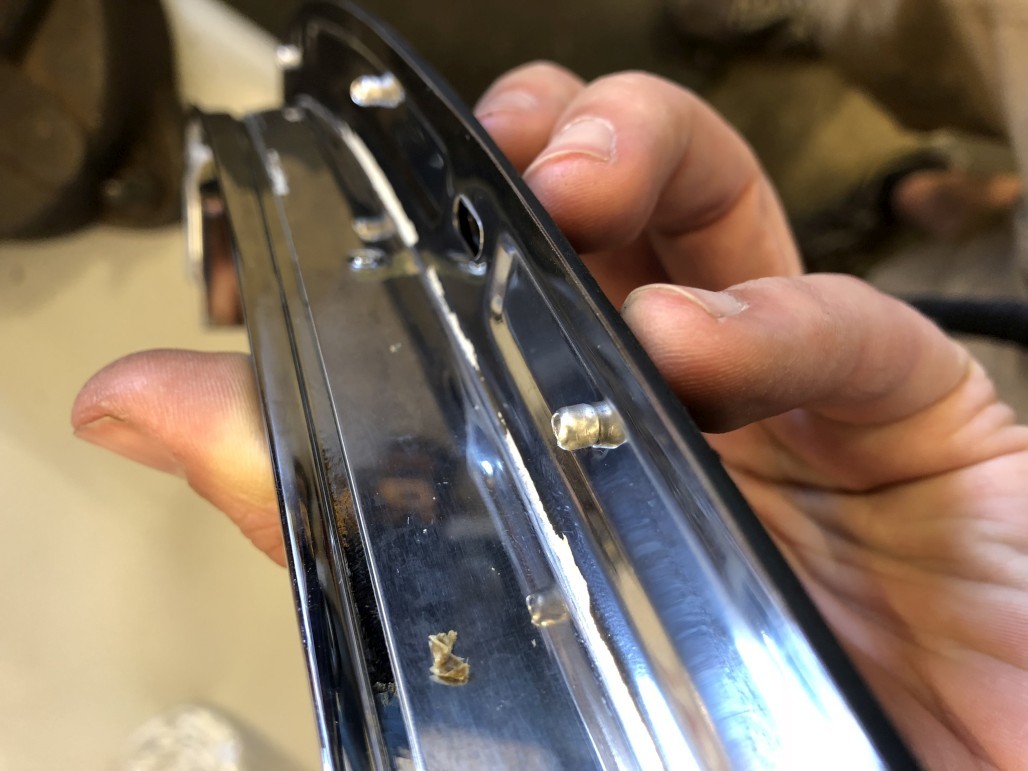
...so I gently smashed them down with a small hammer.
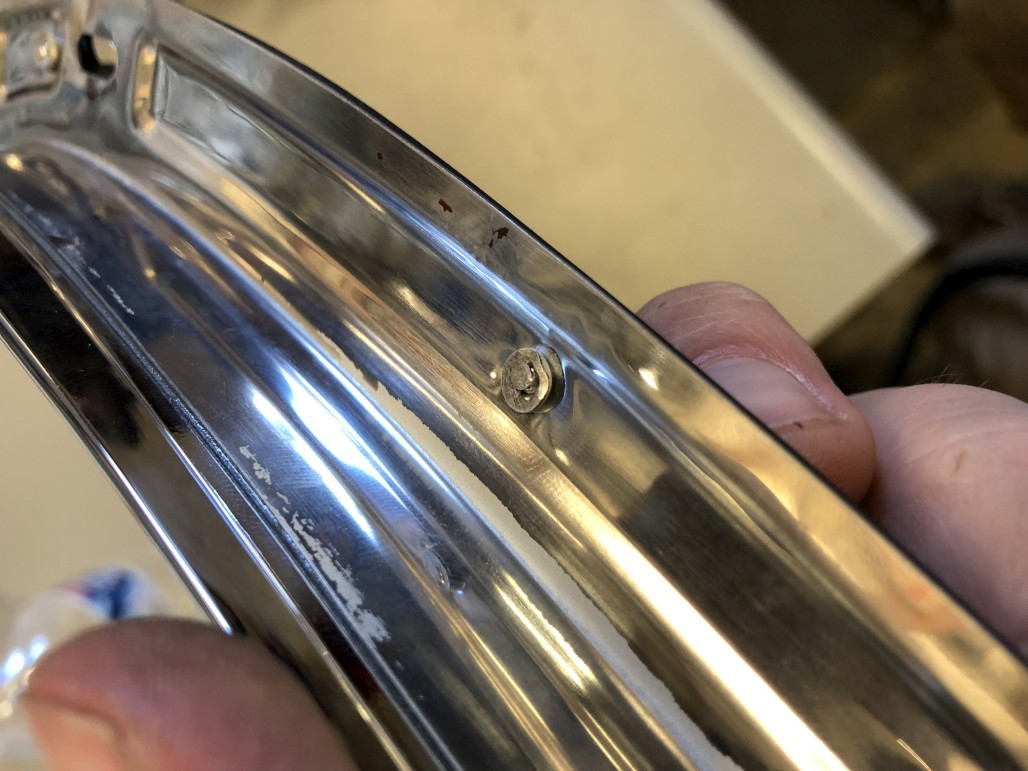
Ready to install:
Phew. And now, onward to the door glass. I used the same glass setting tape to install restored window frames. Here's an after shot (before trimming excess rubber). It's always a good precaution when working with highly polished parts to throw some tape on it when you're manhandling it, tapping it with a rubber mallet, etc.
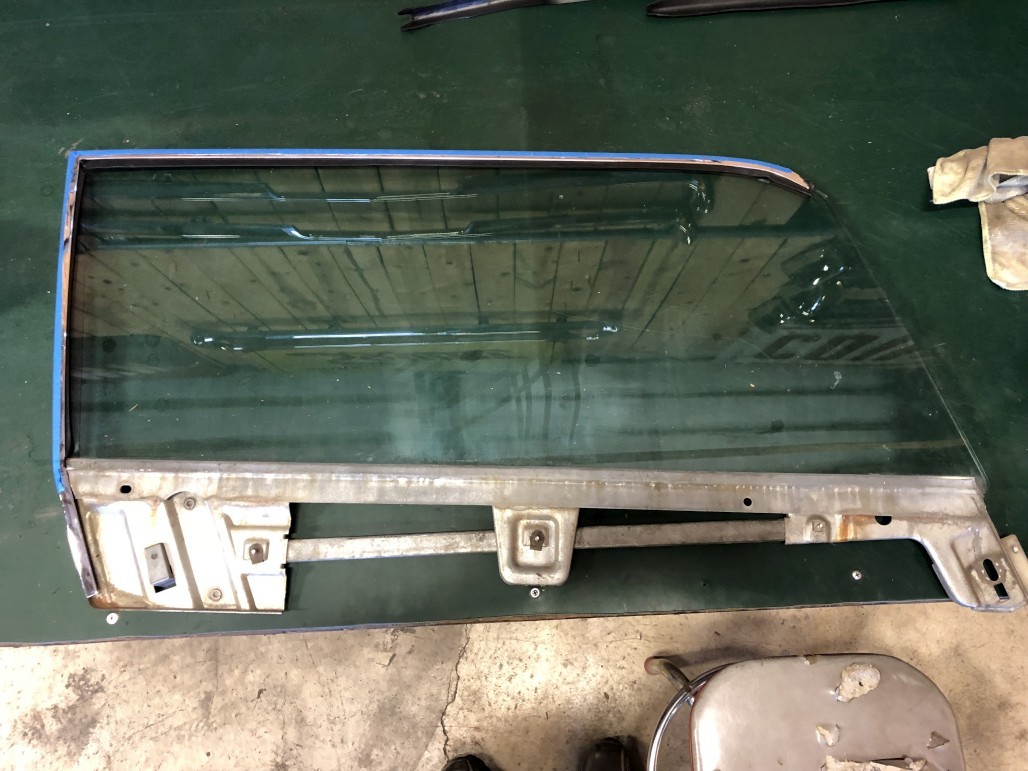
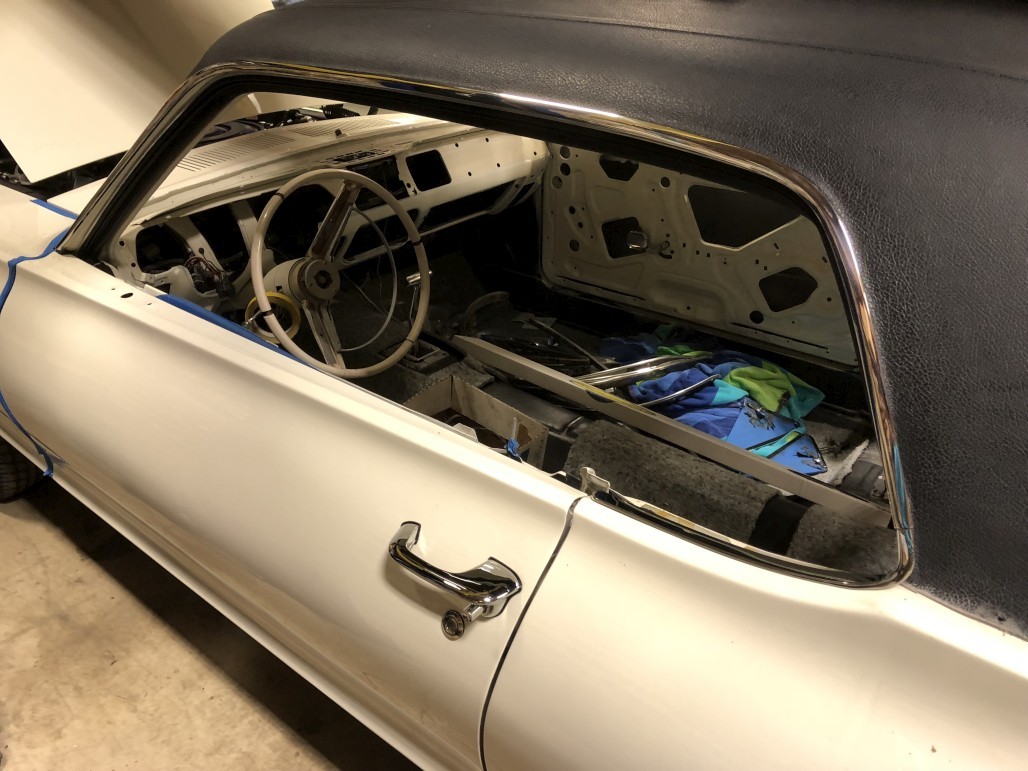
As of now I just have the door windows loosely sitting in the doors, getting ready to figure out how all that goes together with the vent windows and everything.
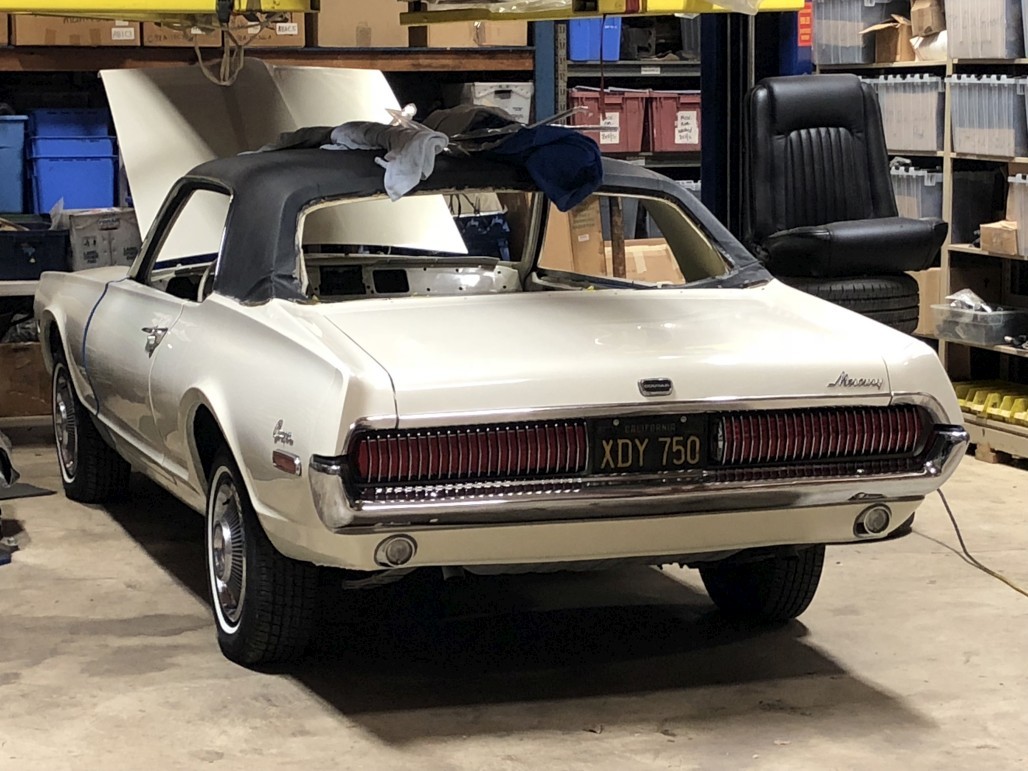
Back to shiny stuff, I finished off the back end with some restored anodized aluminum trim for the trunk lid and quarter extensions. Woo! Looks great, and it feels good to see the back of the car looking done.
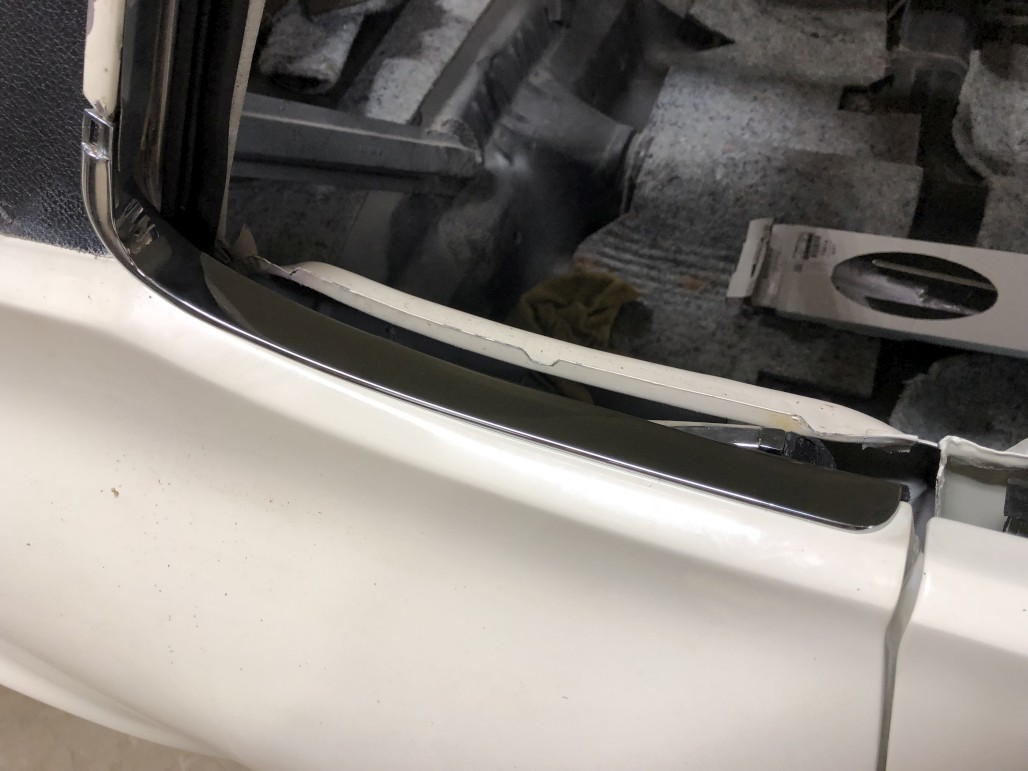
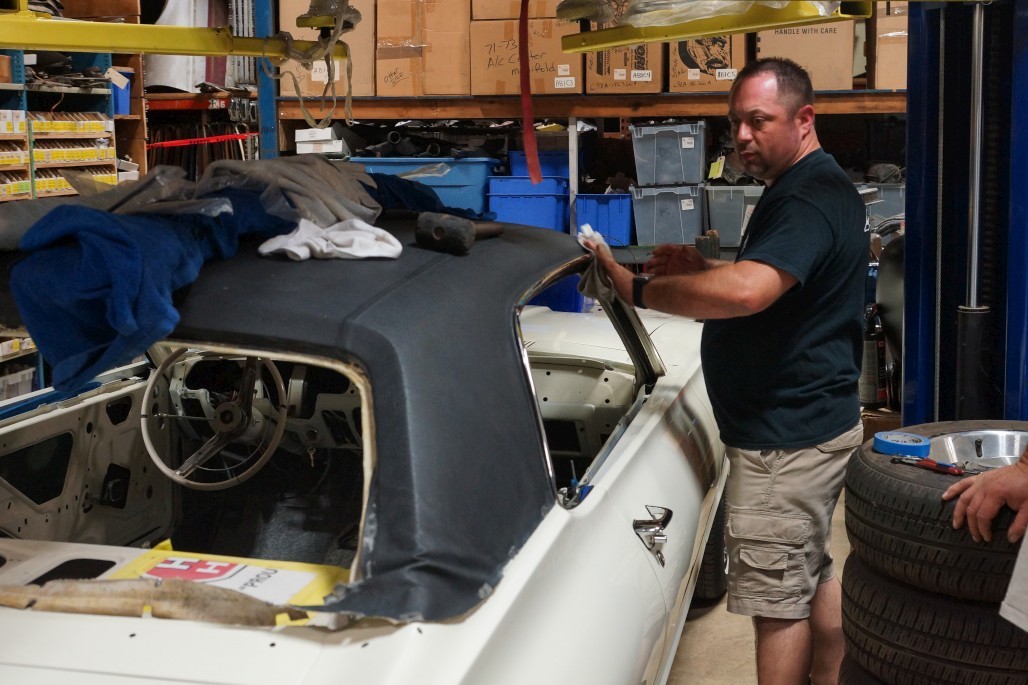
I was also able to install a restored drip rail moulding on the driver's side, but for the life of me couldn't get the passenger side on.
So! It was right about at this point that the Open House happened.
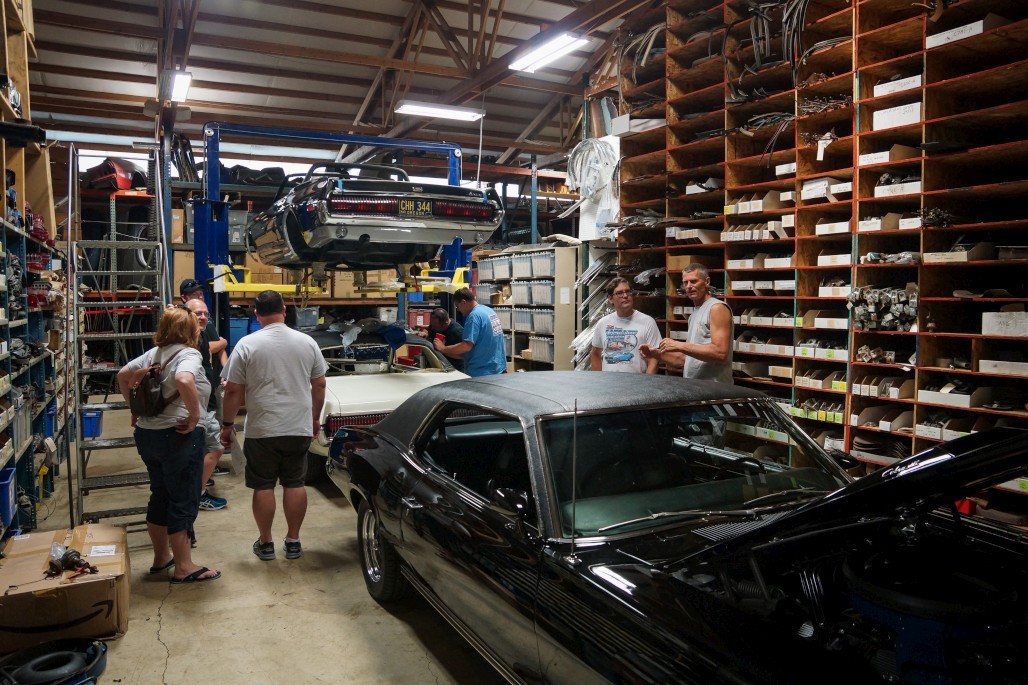
Kurt Lawrance from KTL Restorations flew out from Virginia to install my other drip rail moulding, and Greg Taylor and son Alex came along to consult:
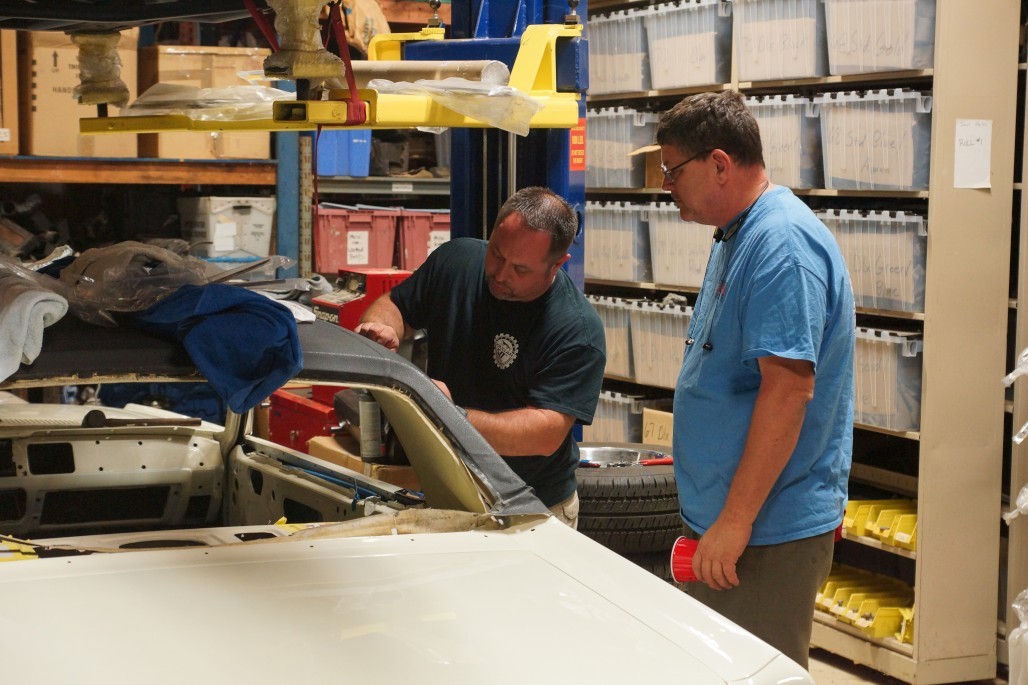
Actually, they were all there for the event and Kurt was kind enough to lend a hand to me and several other people there. It seems like a simple thing but I'm super grateful for the help, and I think it's a cool bragging point to say that Kurt worked on my car!
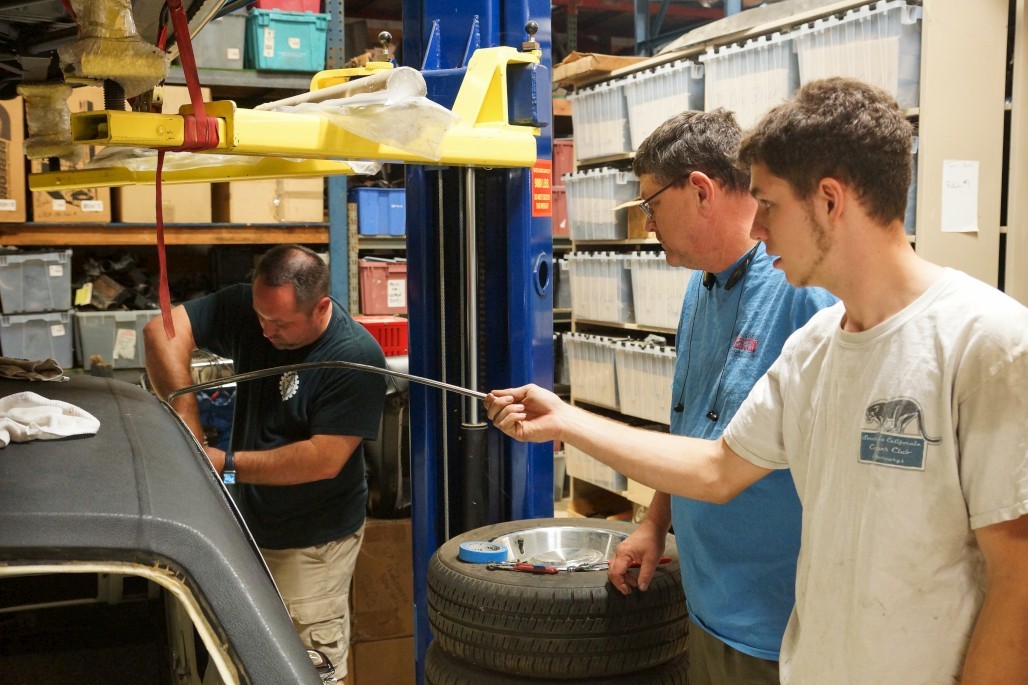
This took a surprising amount of finesse to get on without messing anything up. We had a bit of an audience, including John and Cameron Benoit.
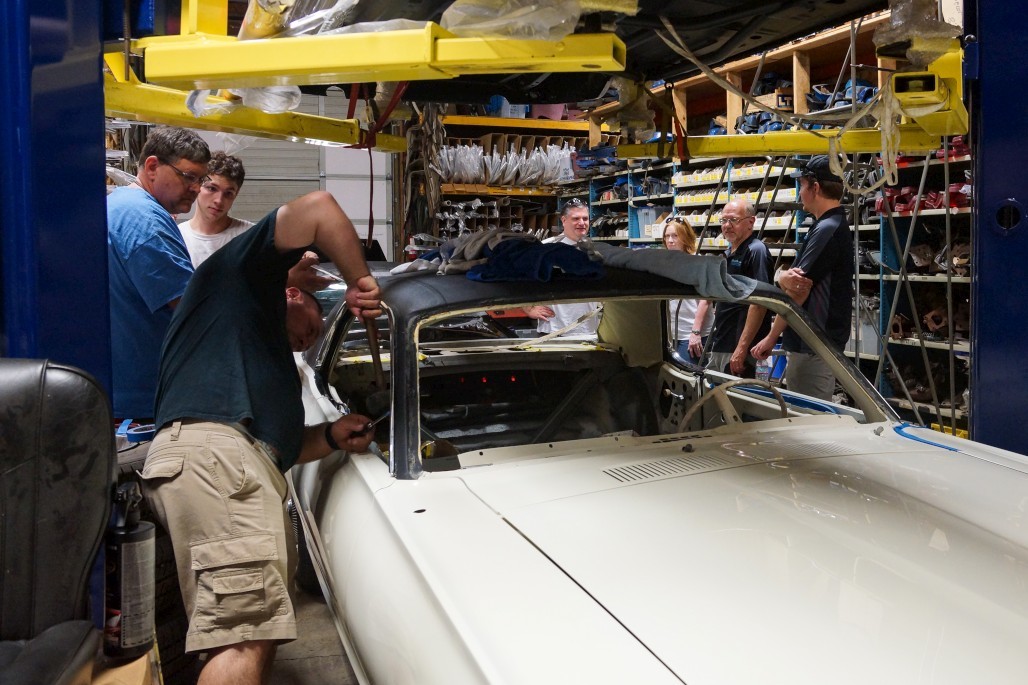
It looks great, thanks Kurt! I may have never gotten that thing on!
It was a fun and busy weekend. A little disappointed that I didn't have my car done in time like I had hoped, but I had my hands full running around with cameras anyway.
That brings things about up to speed. I'm still playing with the vent windows and trying to get everything to fit in the reproduction chrome frames. More on that later.


So nice in honor of your grandparents.
Posted by Diggymart on 1/3/20 @ 8:04:16 PM