- New door handle bar
- Interior pry bar set
- 10mm socket and wrench
- T15 bit
You must be logged in to rate content!
5 minute read
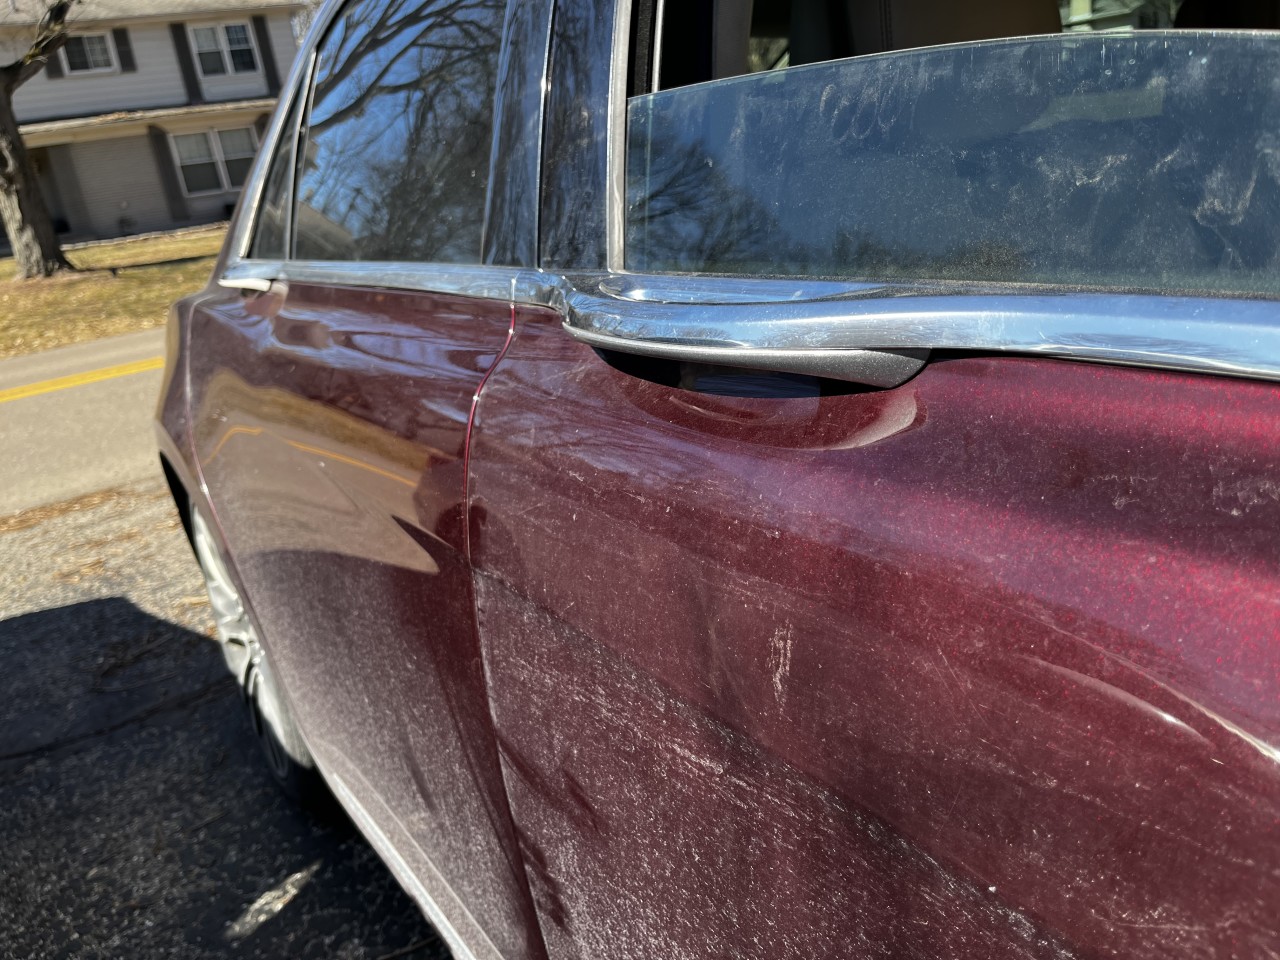
The door handle failing is a common issue on these Continentals. If the internal door opener button still works then something in the door handle switch broke. A dealer will ask $1300-1500 to fix this. Unfortunately you need to purchase the entire bar that runs alongside the top of the door, to do it correctly you need the bottom of the handle painted.
The handle itself is about $500, I bought a used one for $200.
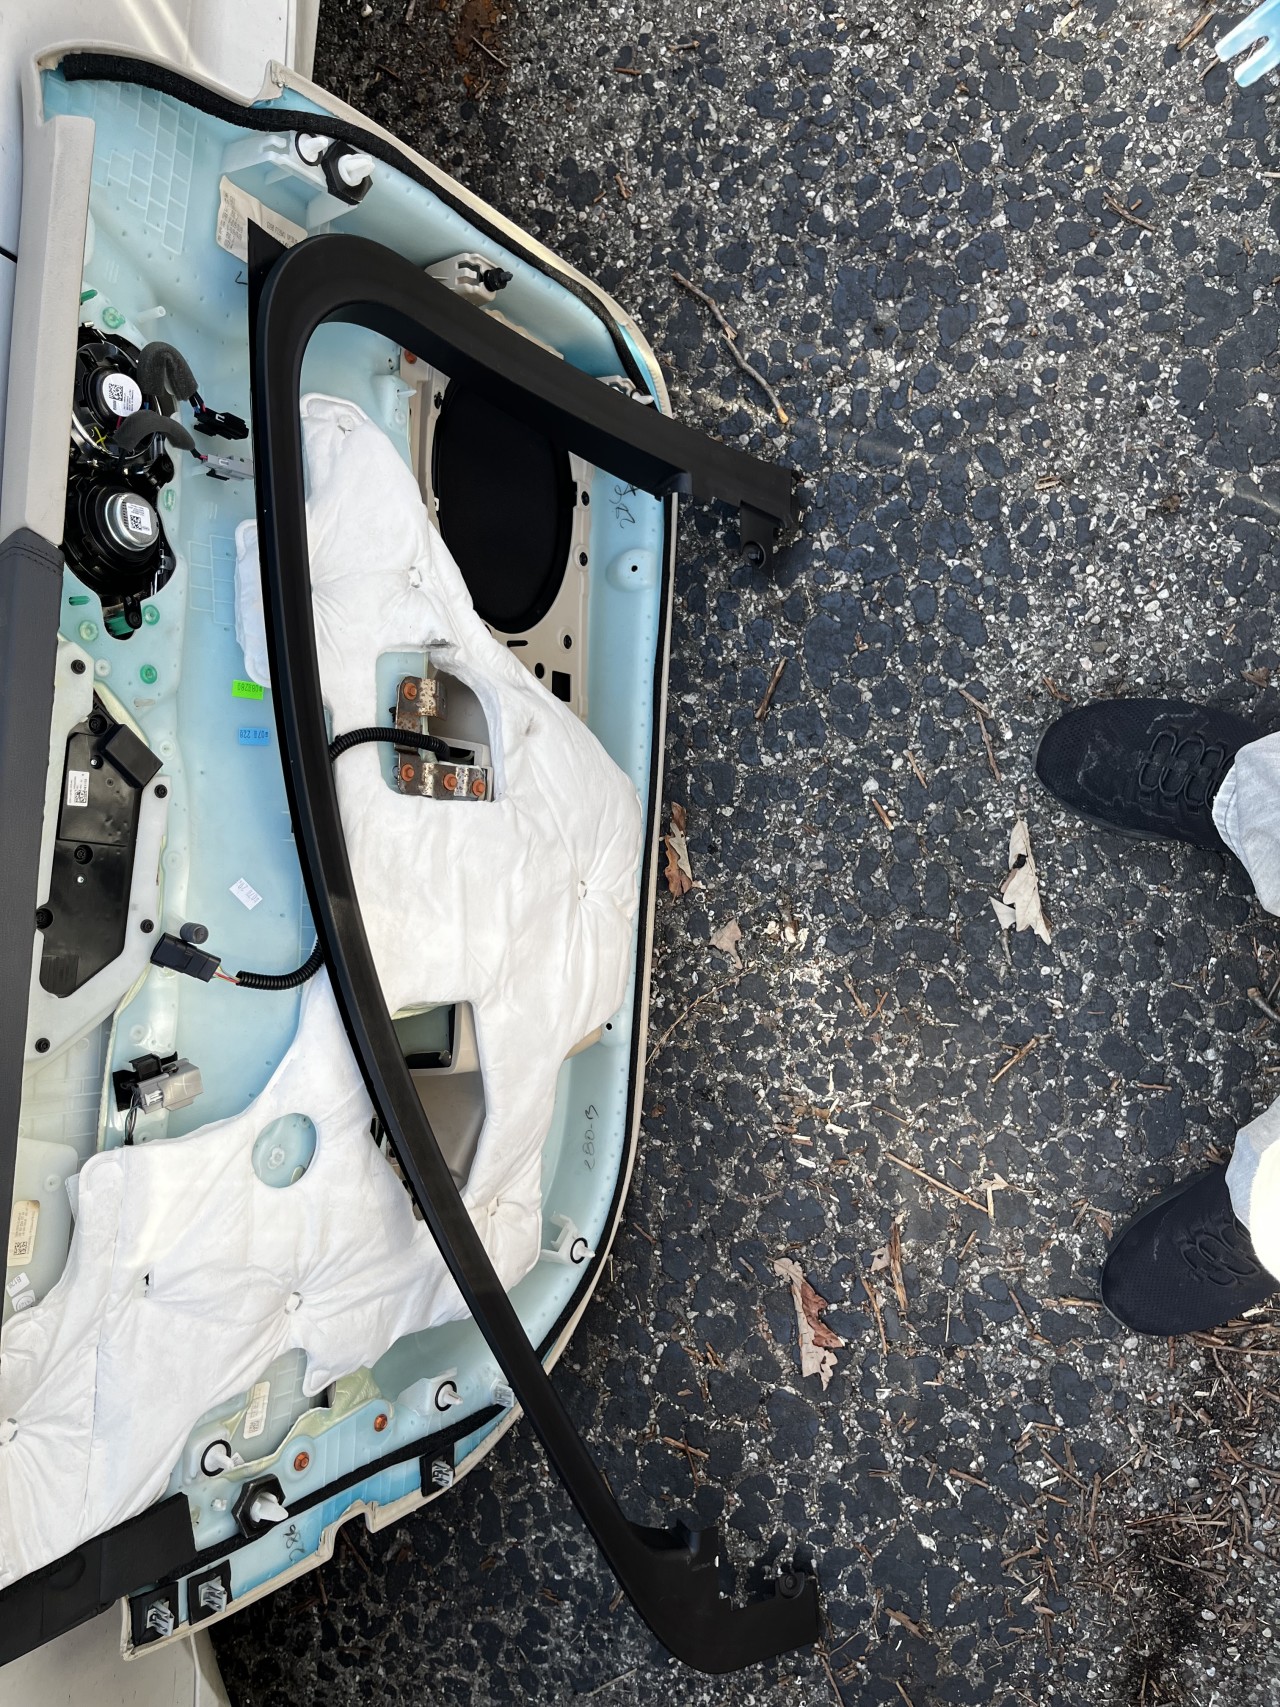
You will need to remove the inner door skin, speaker, glass, and mirror to do this. It’s not terrible but probably 4x more annoying than it should be.
You just need some basic sockets a t15 bit and interior pry bars.
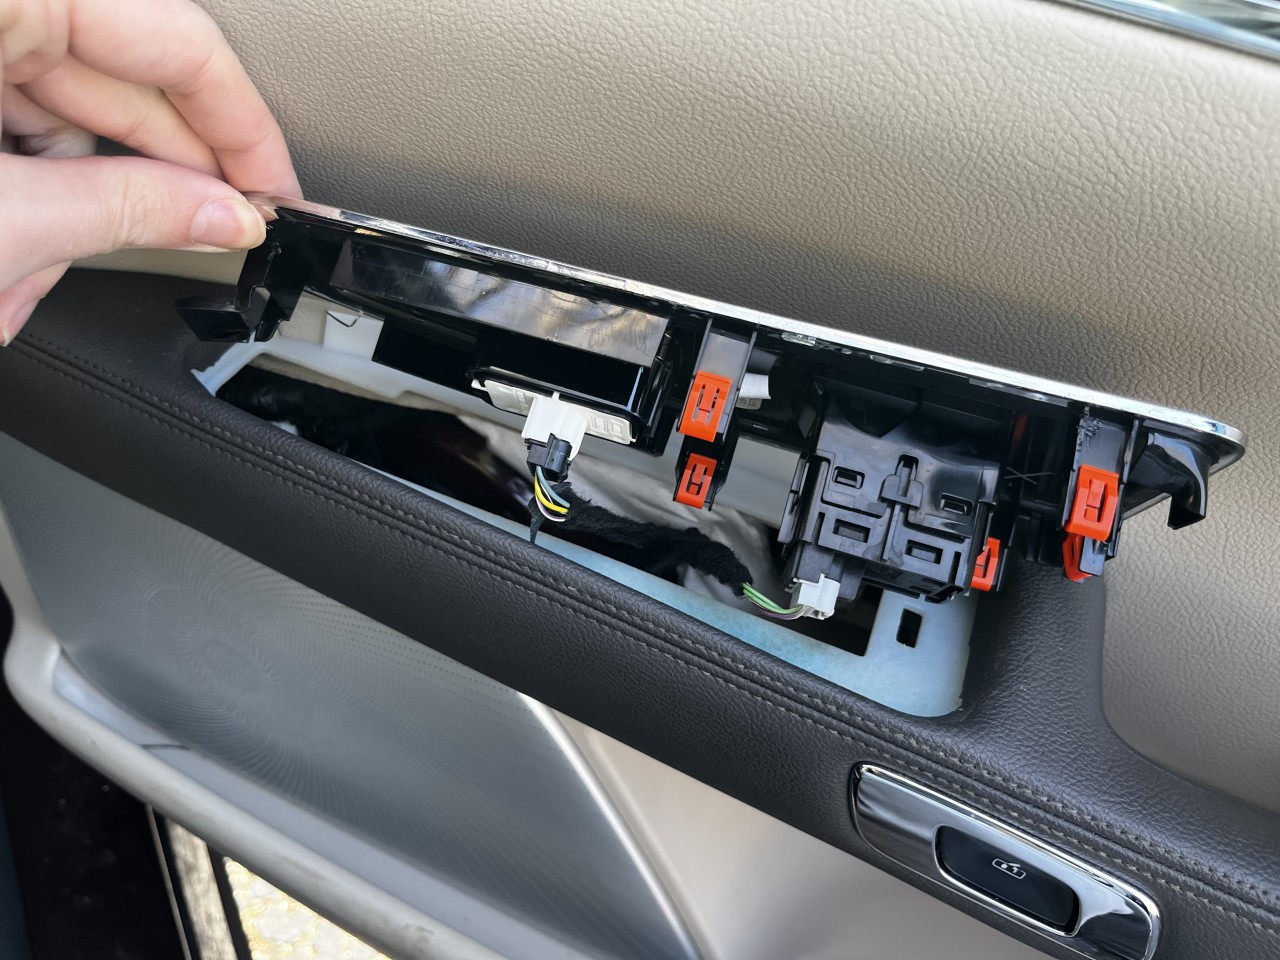
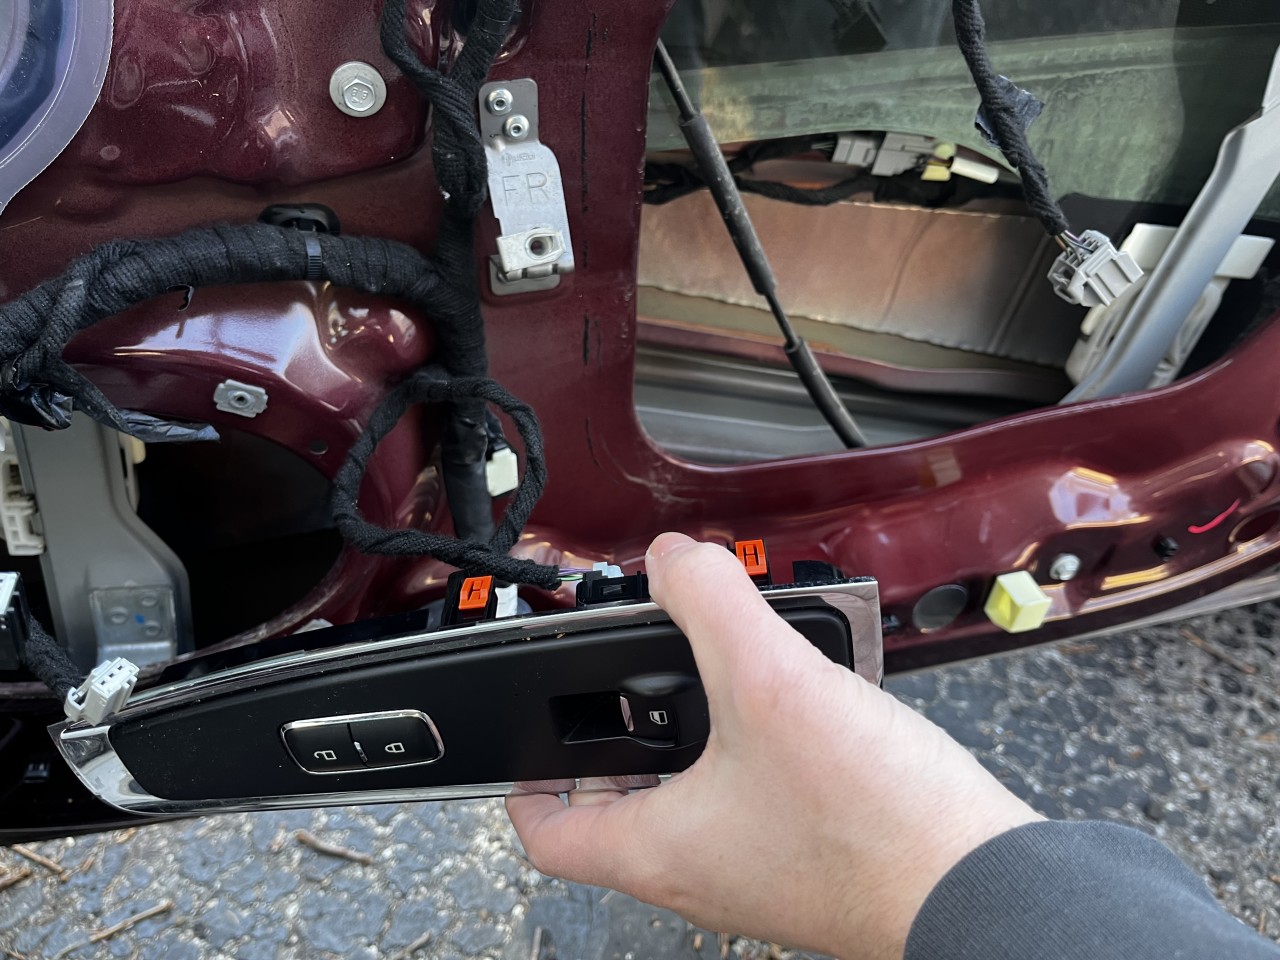
Step 1: pop off the window switch panel. Pry it off from the back and sides. Then unplug the switches.
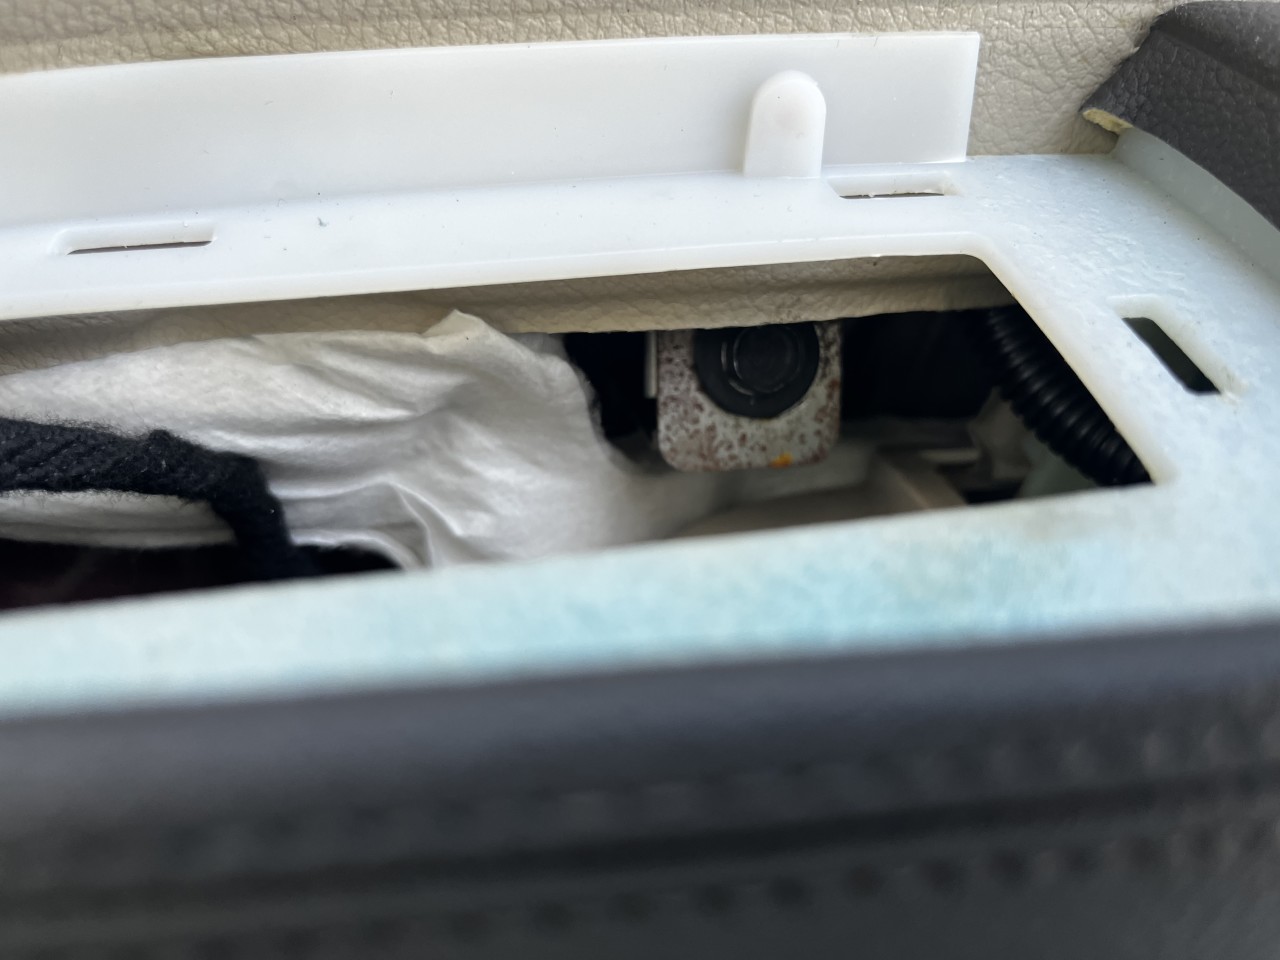
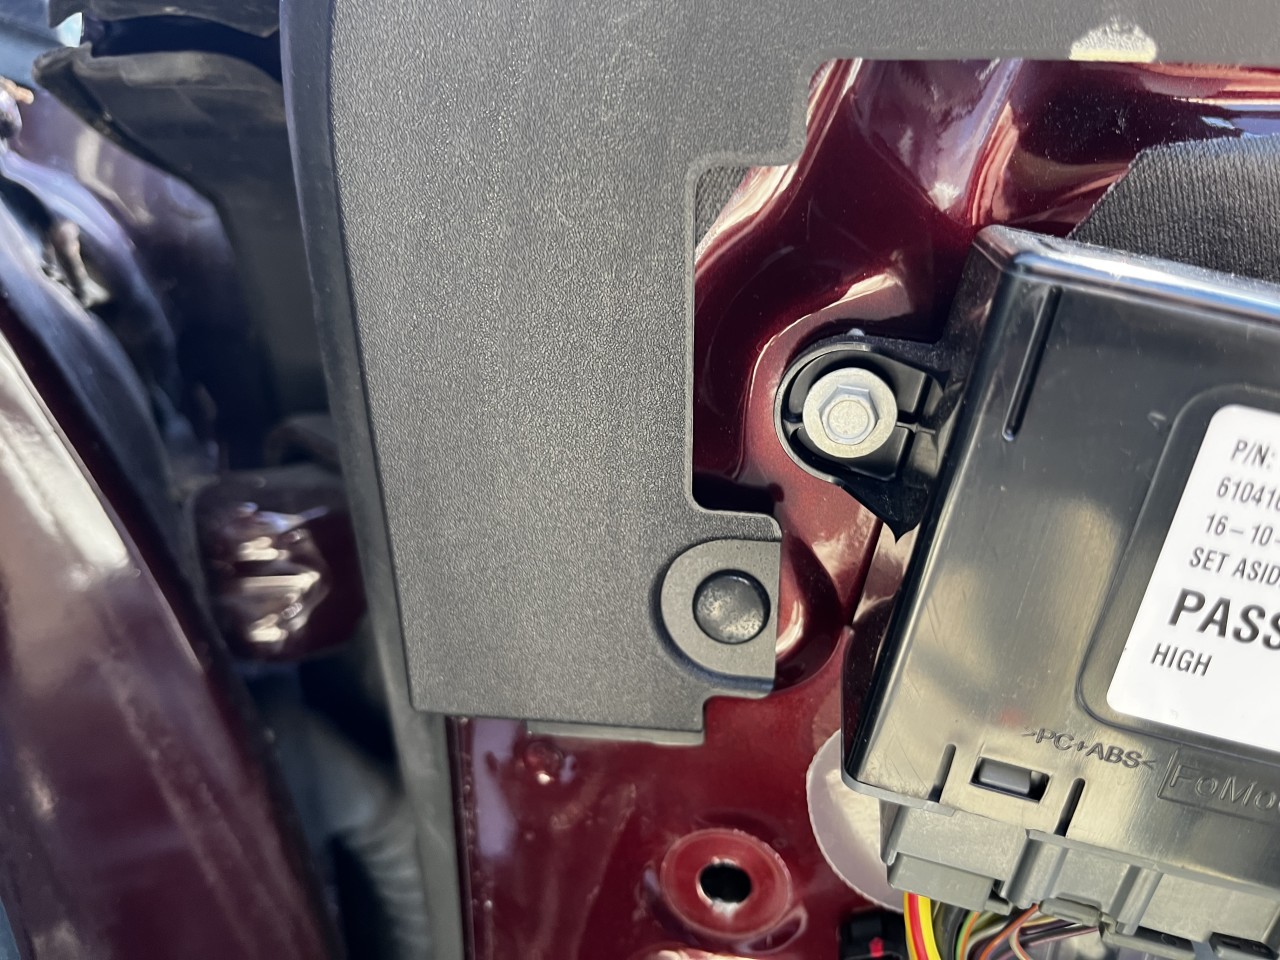
Step 2: inside this hole is a 10mm bolt. Remove it.
Step 3: Remove these two screws from the bottom of the inner panel. They use a T15 bit I believe.
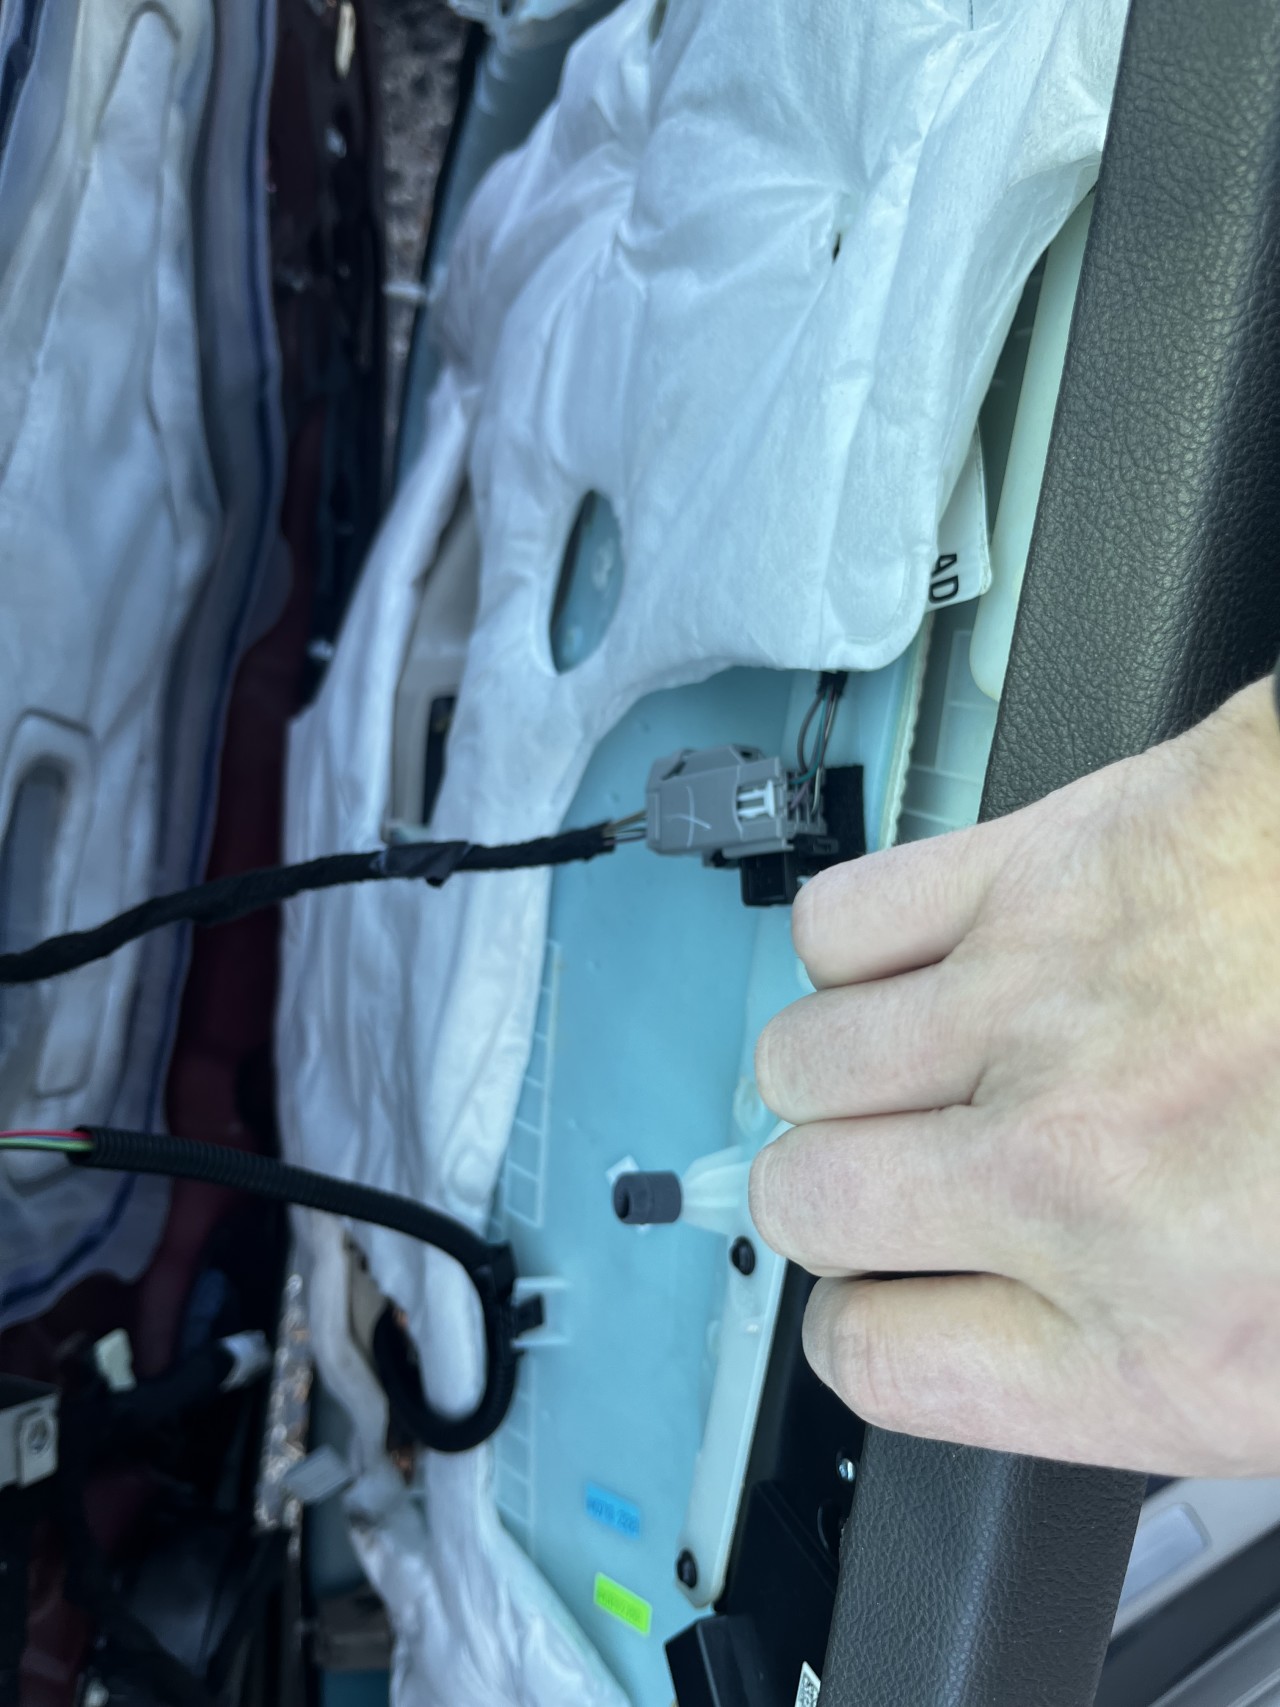
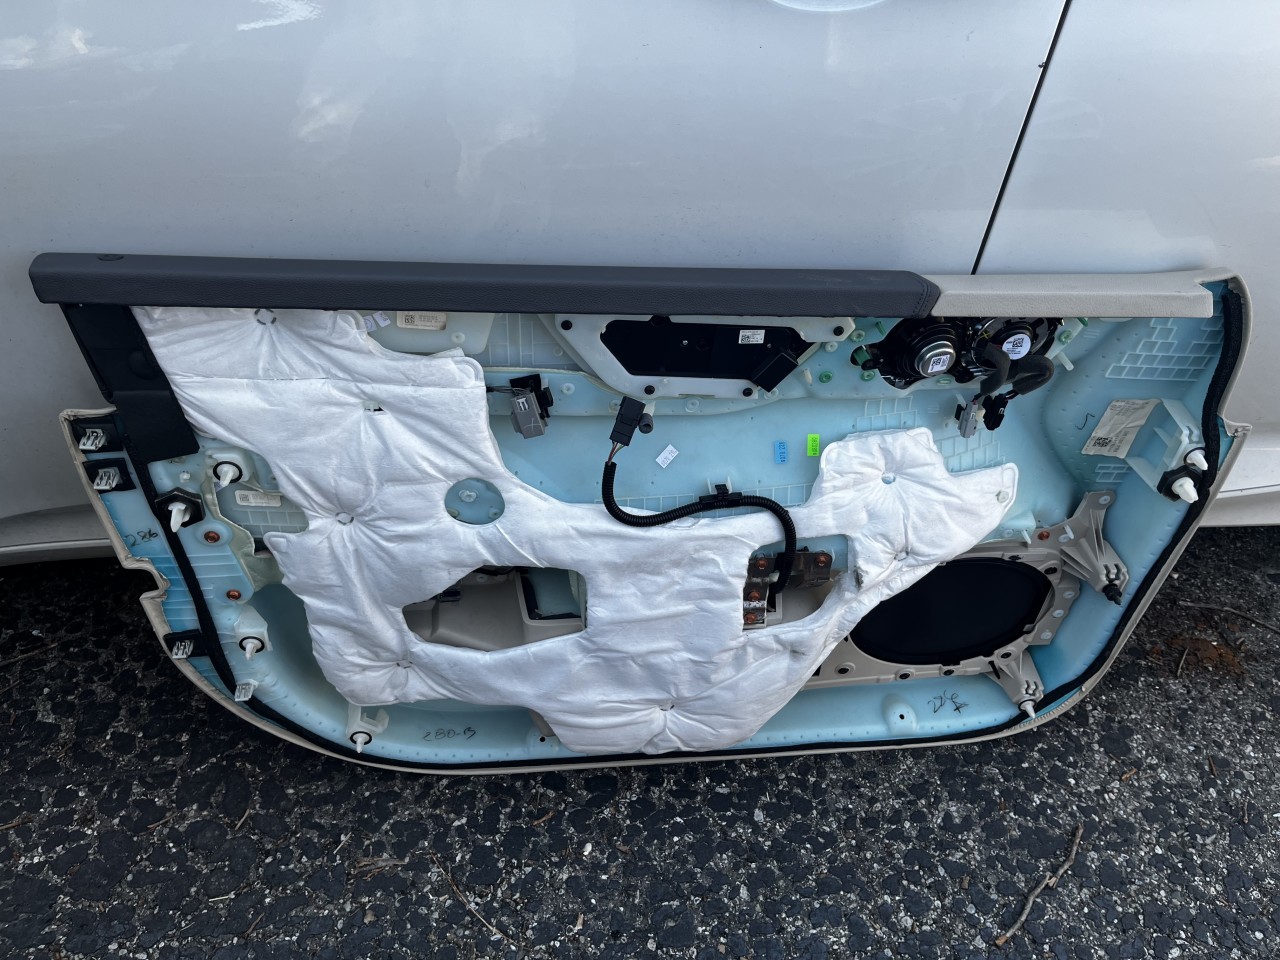
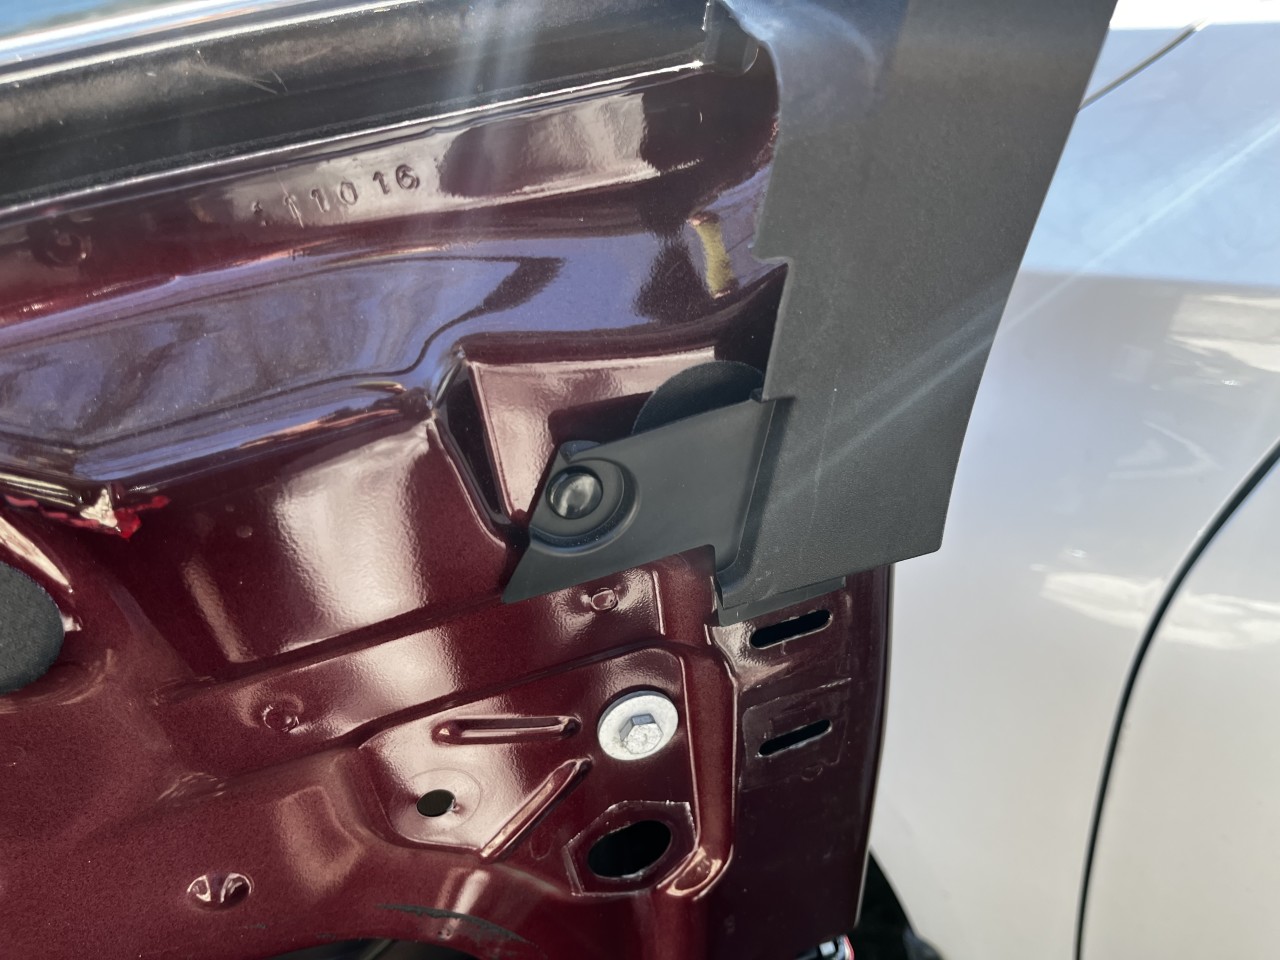
Step 4: Now you need to pop the inner door panel off. See the photos below to see where the clips are. You’ll need to unplug everything on the panel from the harness.
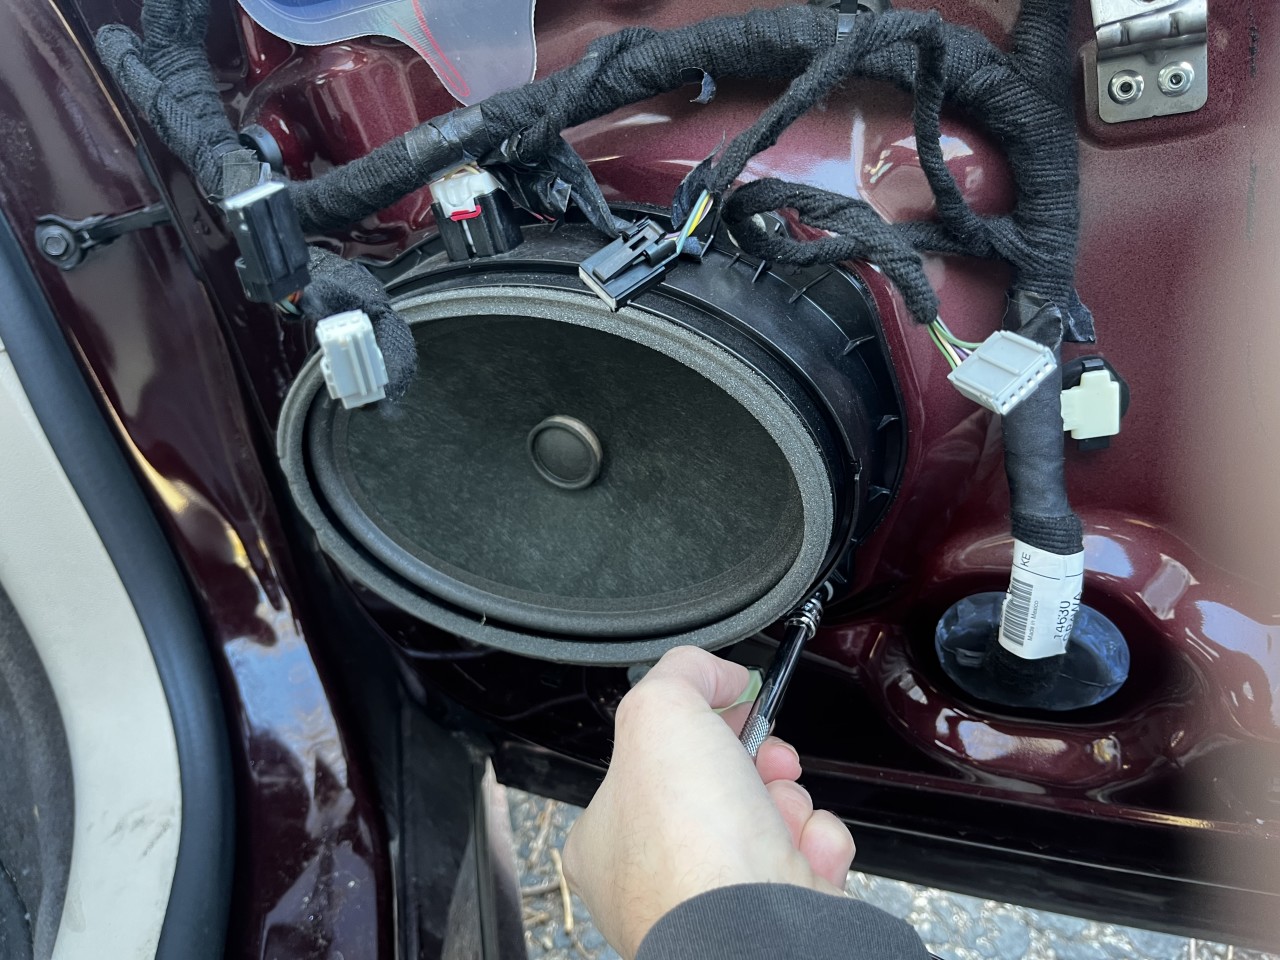
Step 5: Unplug and remove the speaker from the door with the four .
Step 6: Remove the rain guard so you can access the window.
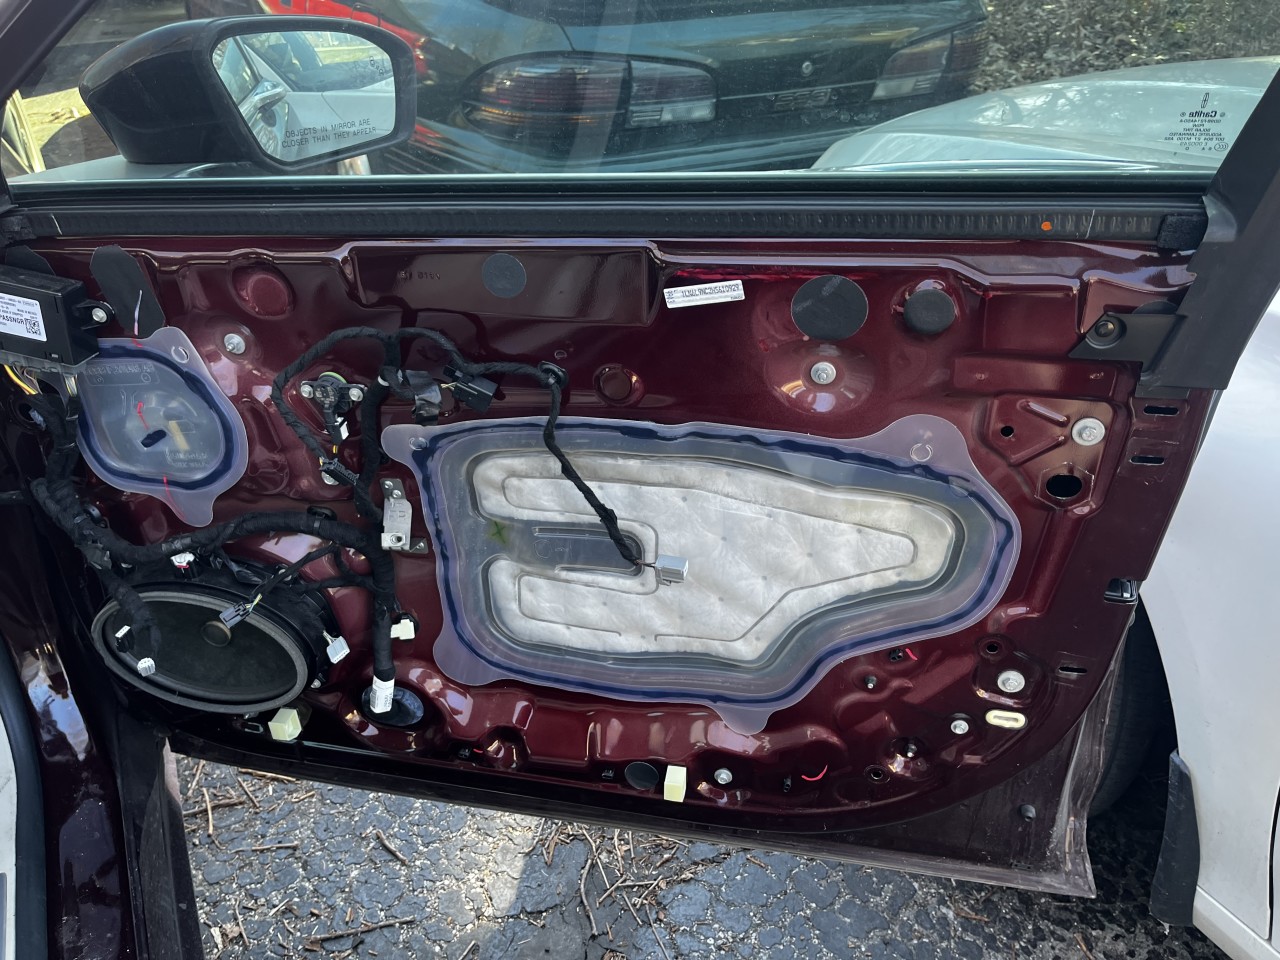
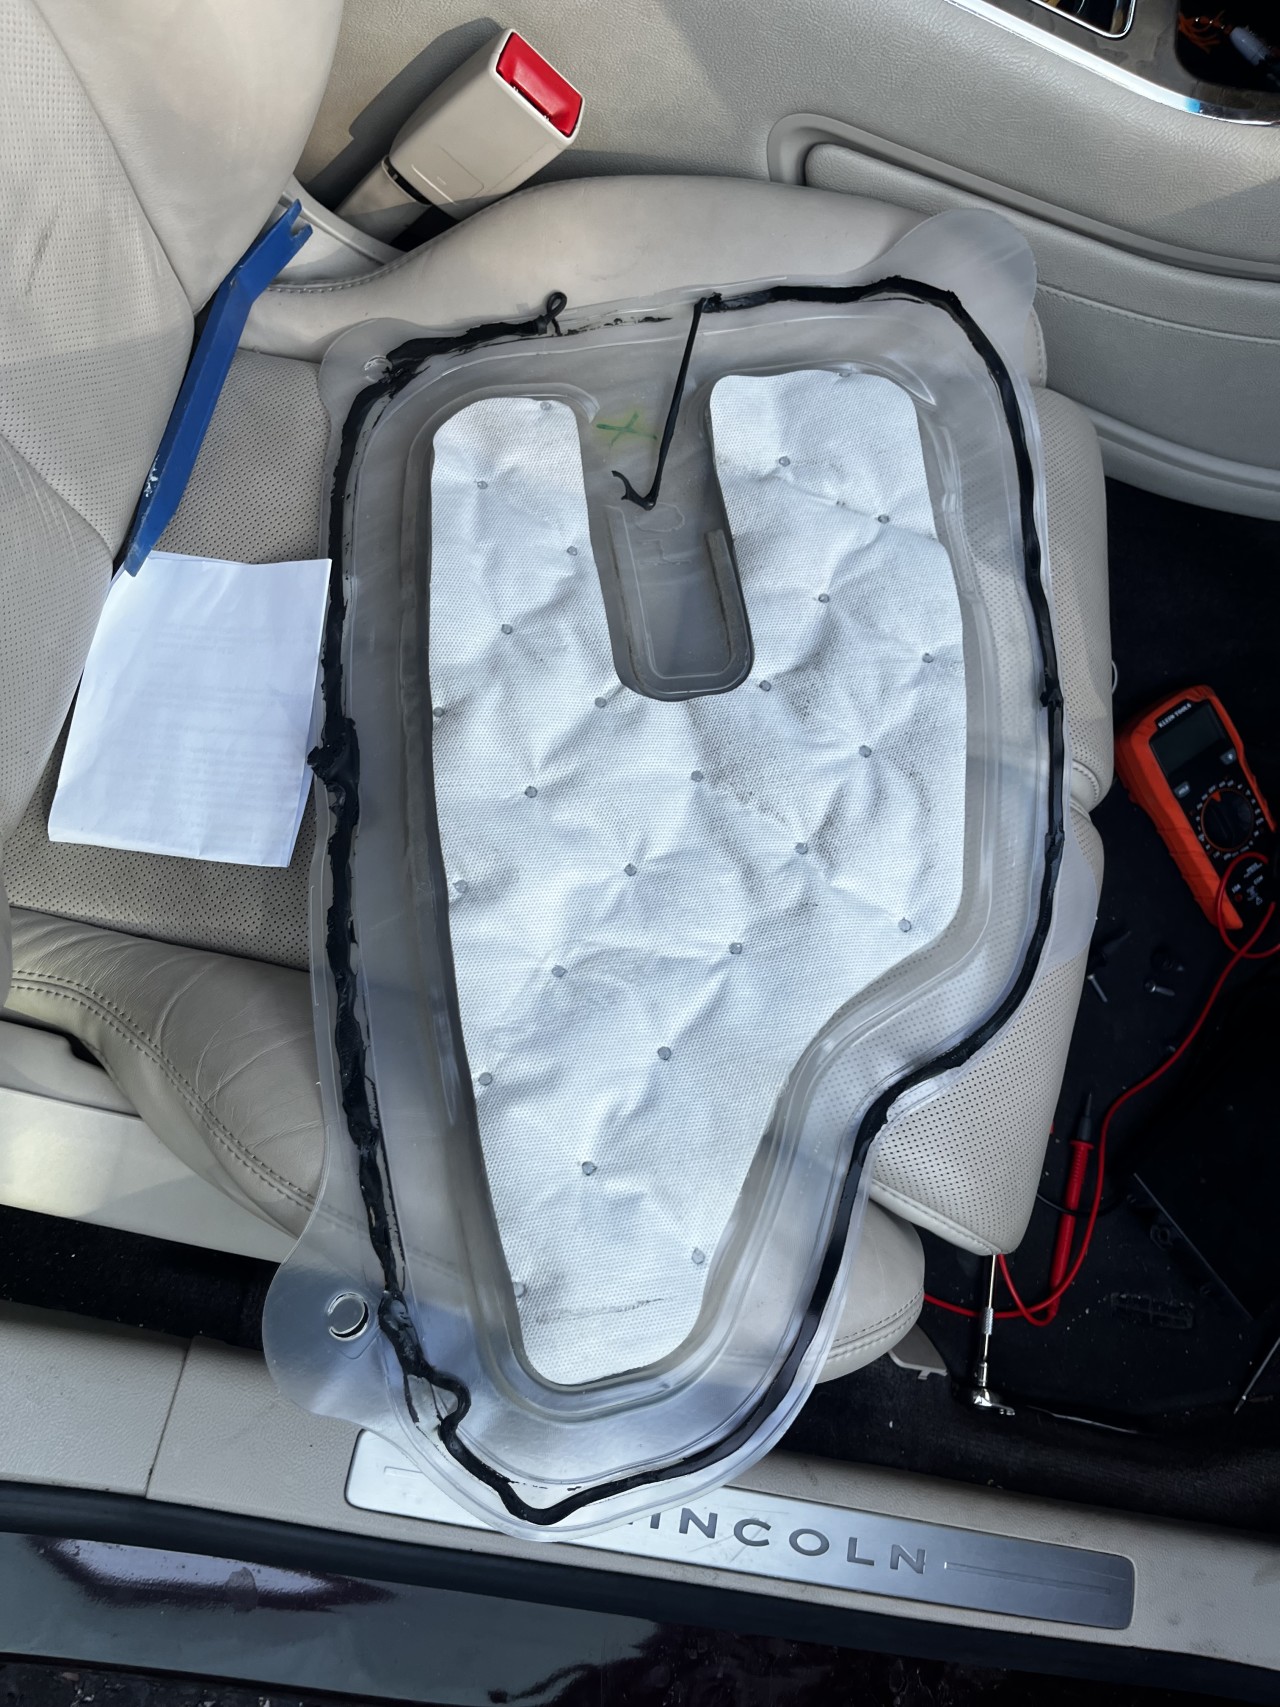
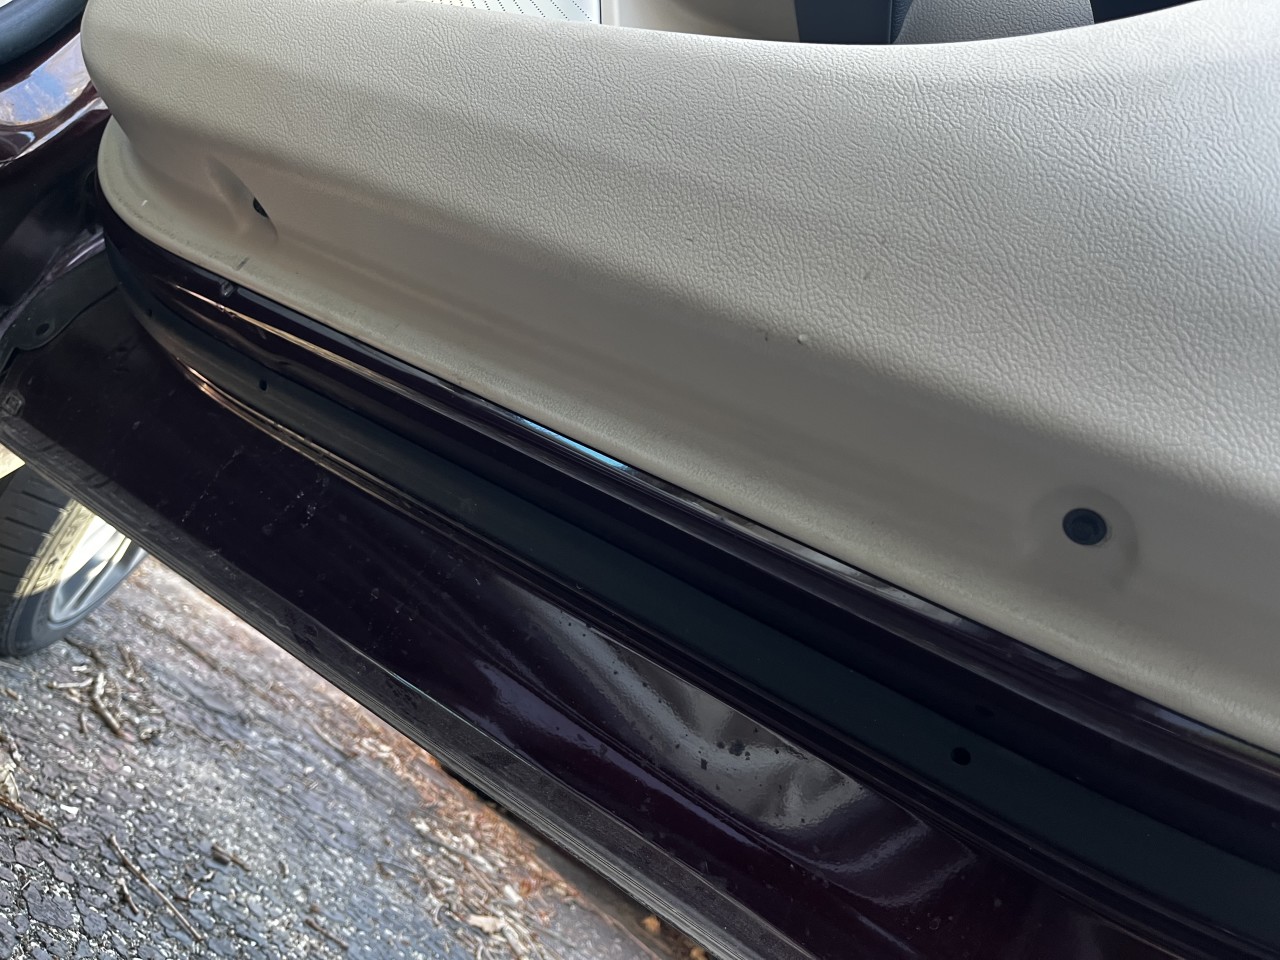
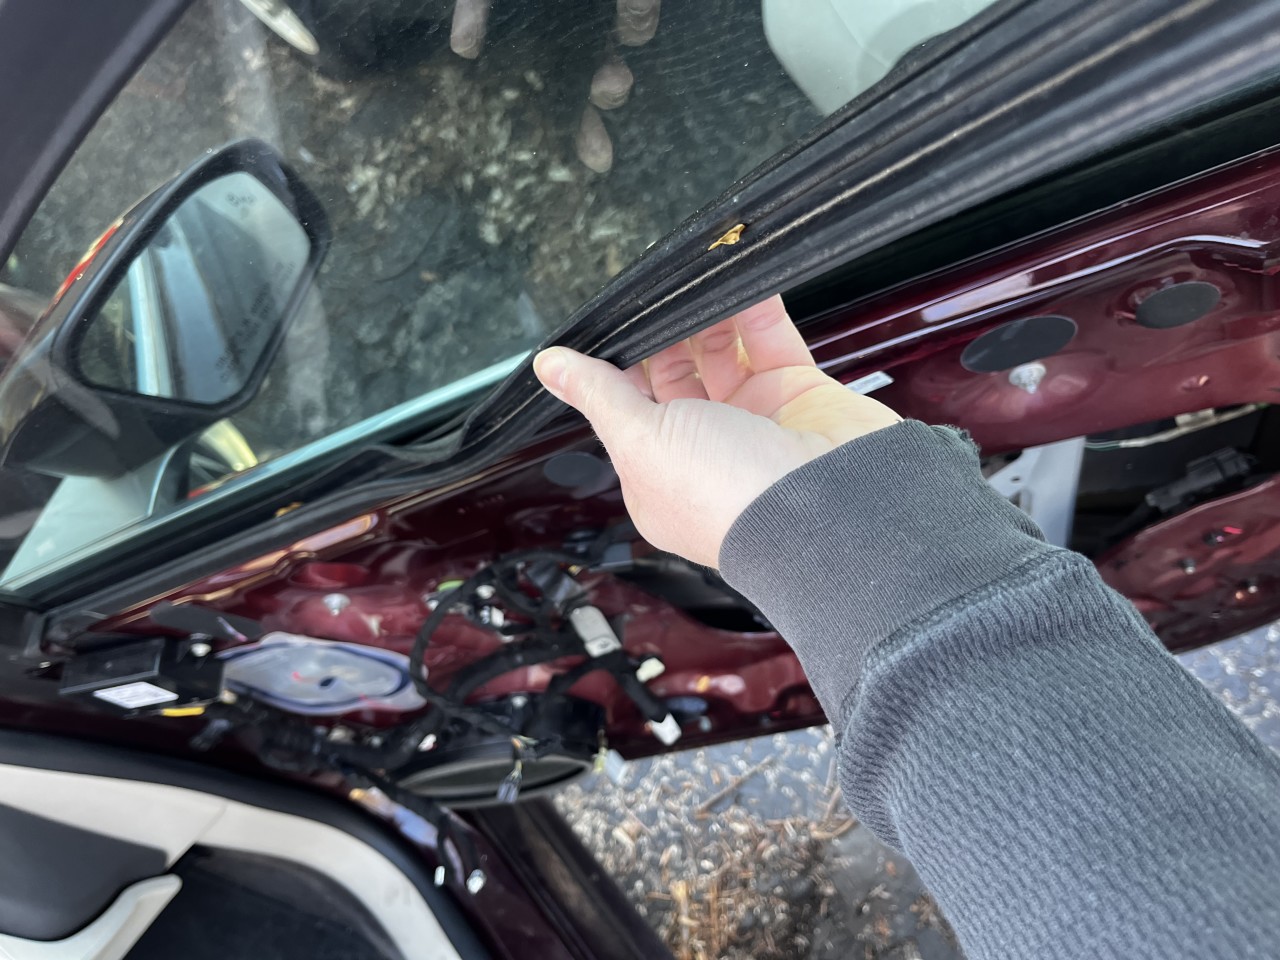
Step 7: Lift this window seal out of the door.
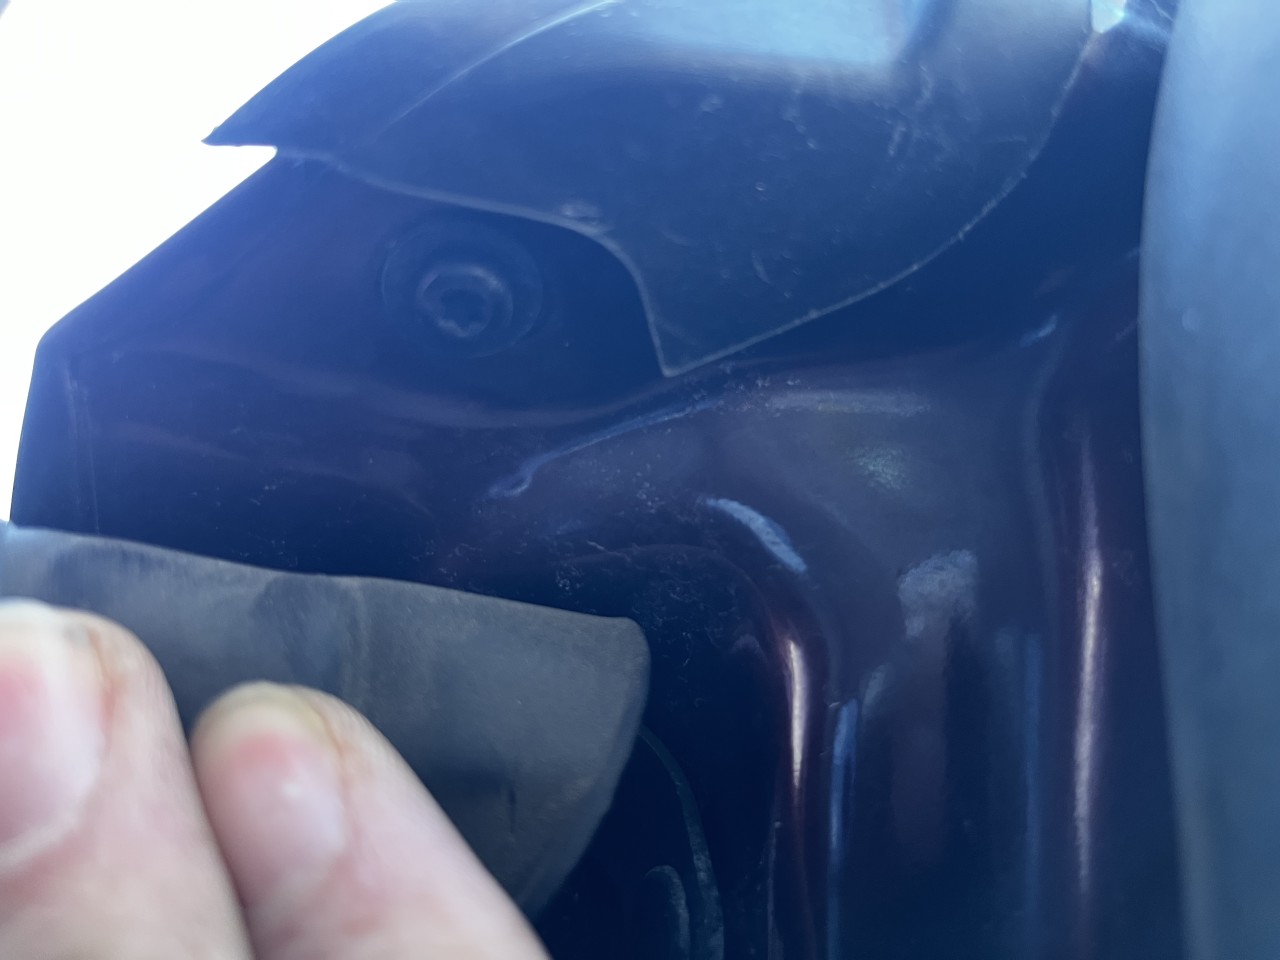
Step 8: Plug in the window switch and lower the window so you can see the two clips through the holes in the door. The outside of the clip has a nib that fits in a hole in the window piece. You need to pry the outside of the clip back and lift up on the window. Be careful.
Step 9: Remove the four mirror bolts with your 10mm. You don’t have to undo the harness, just have to get it out of the way.
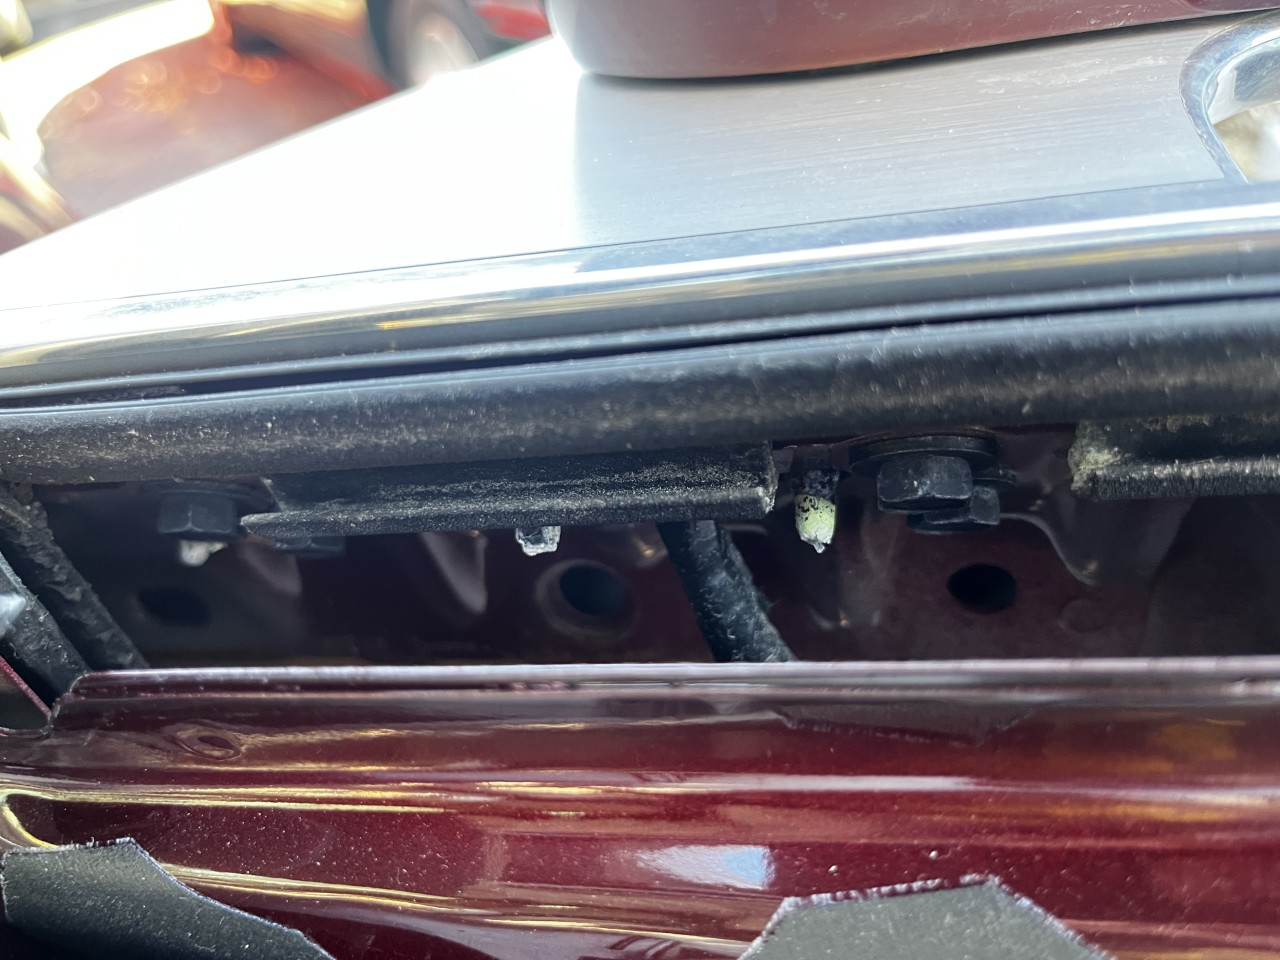
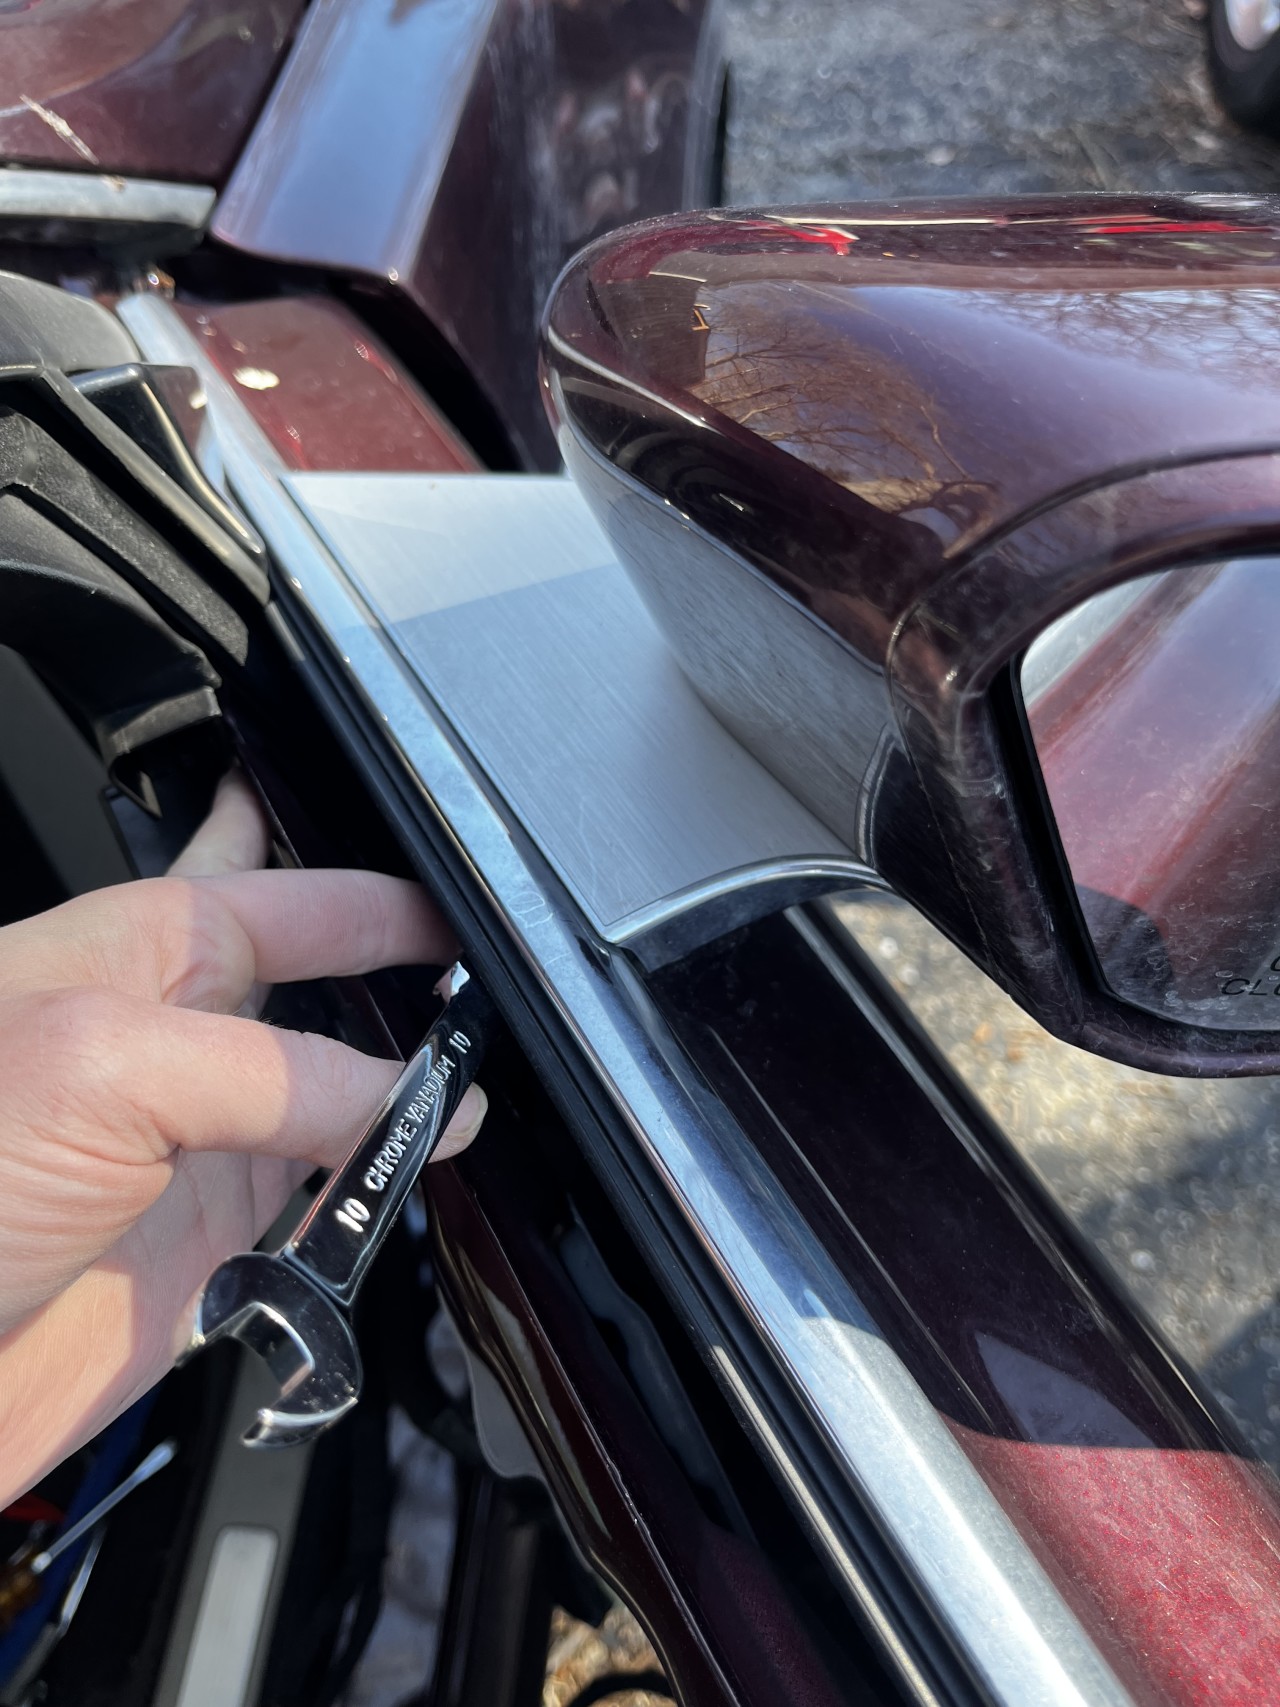
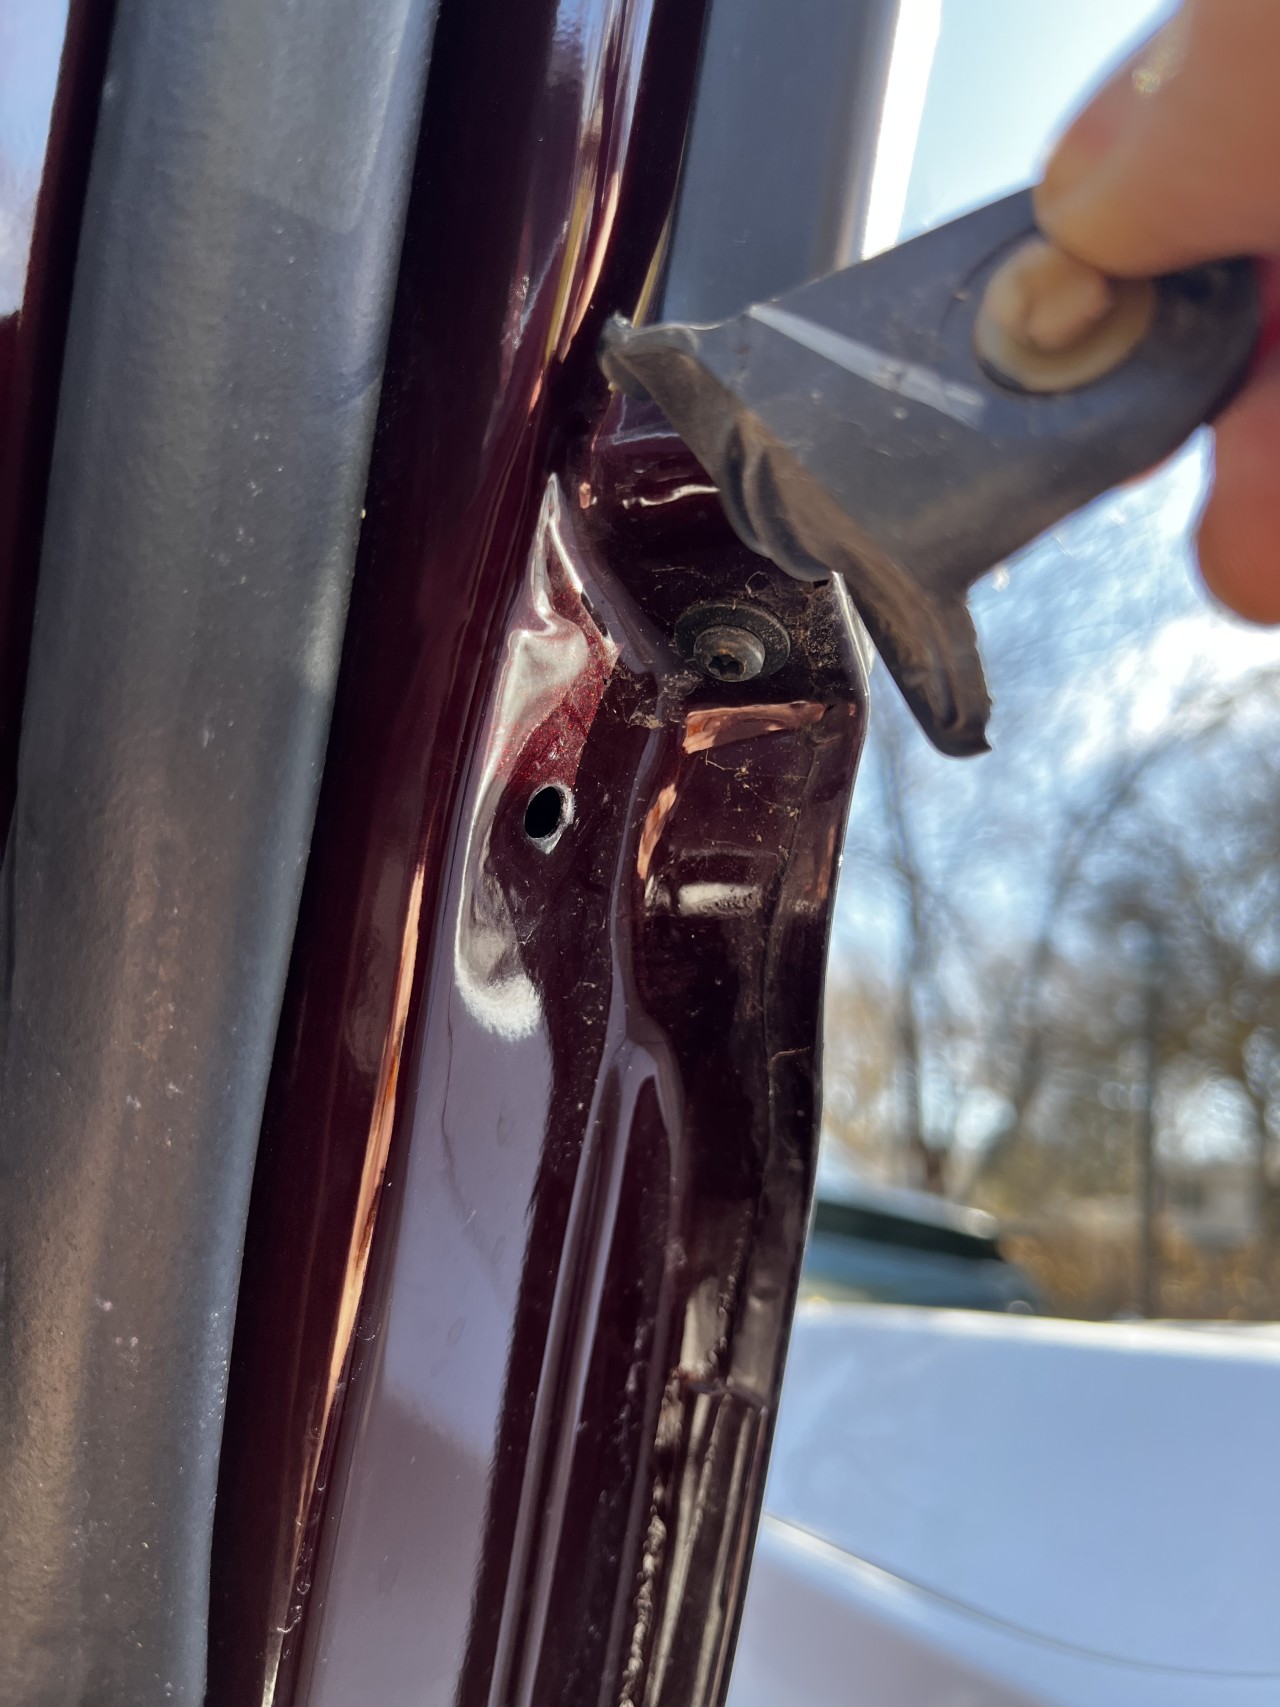
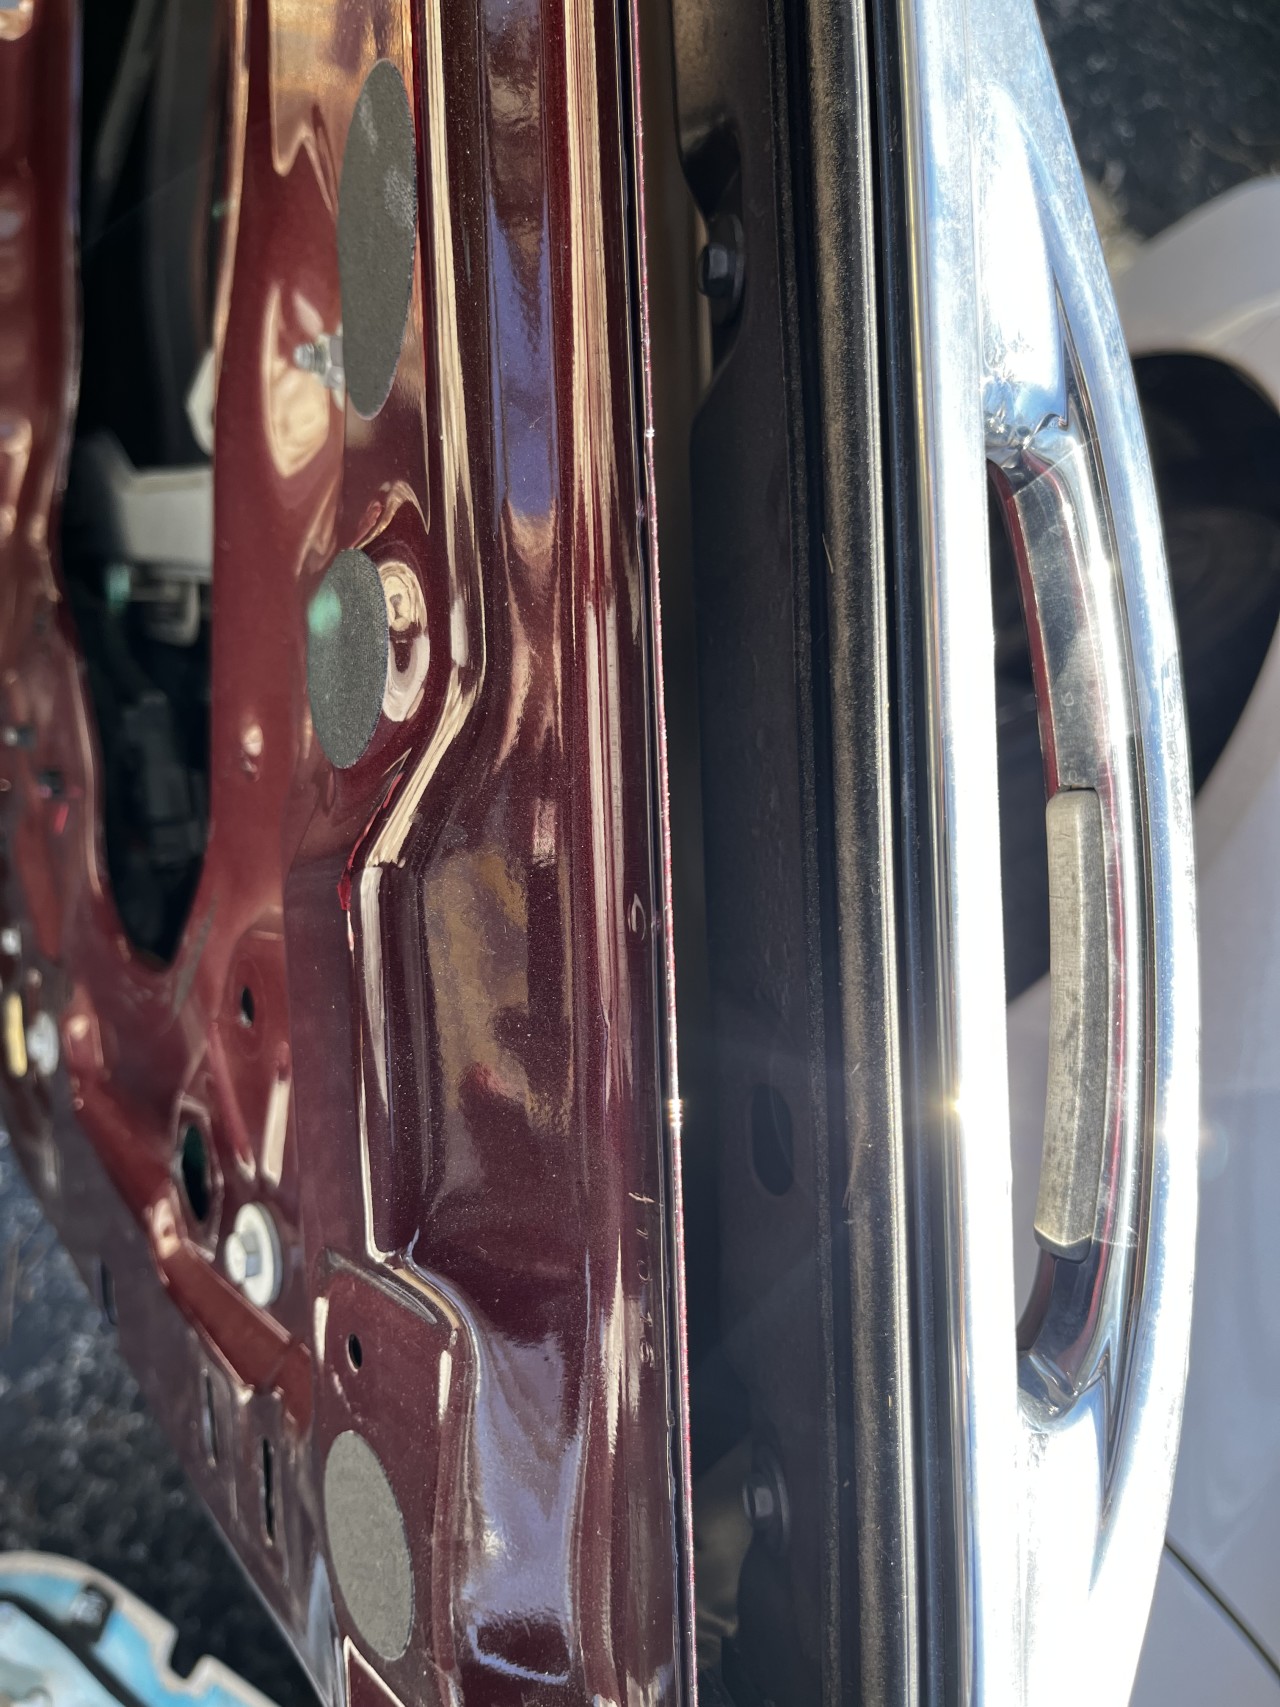
Step 10: Remove the two plastic pins holding this window trim on, and pull the trim off. on the front and back of the door under a rubber seal are screws holding the bar on. Remove those screws with your T15 bit.
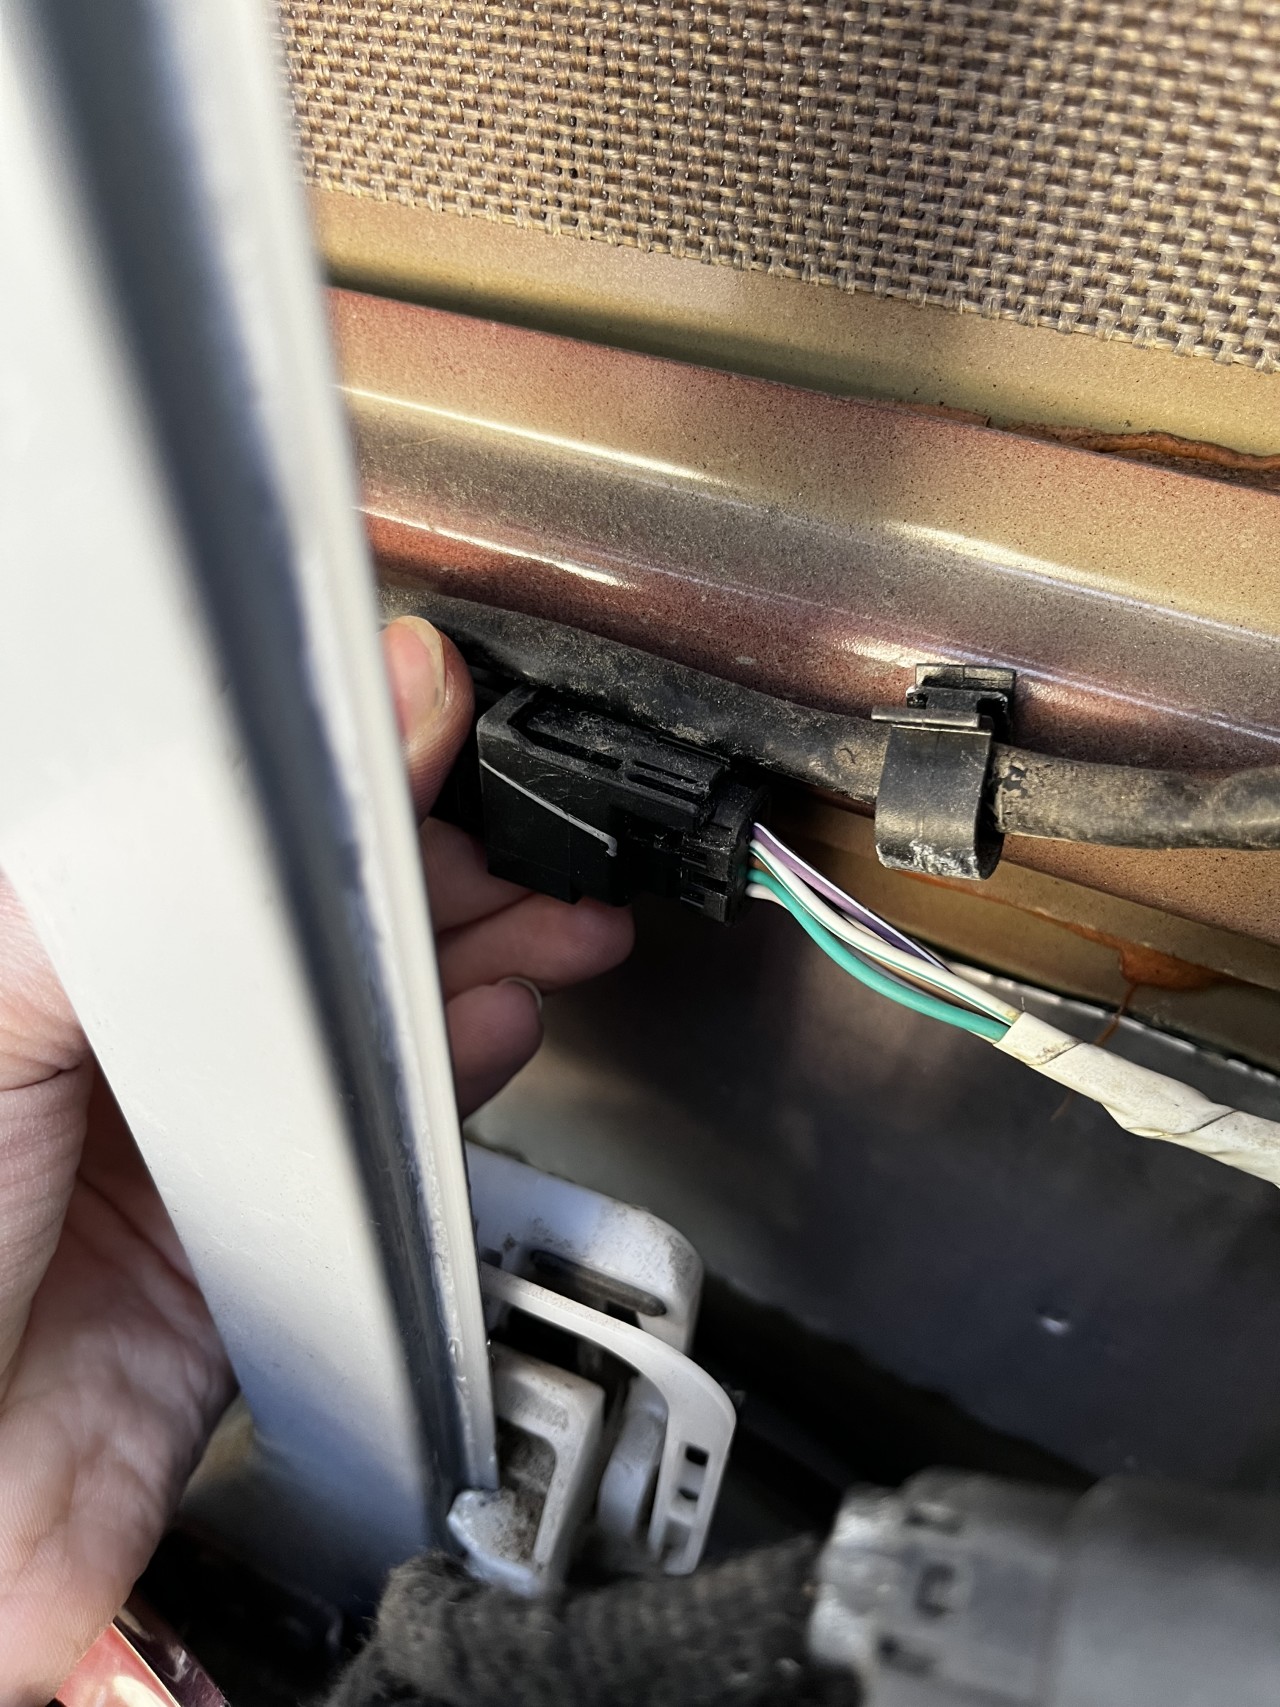
Step 11: unplug the door handle harness.
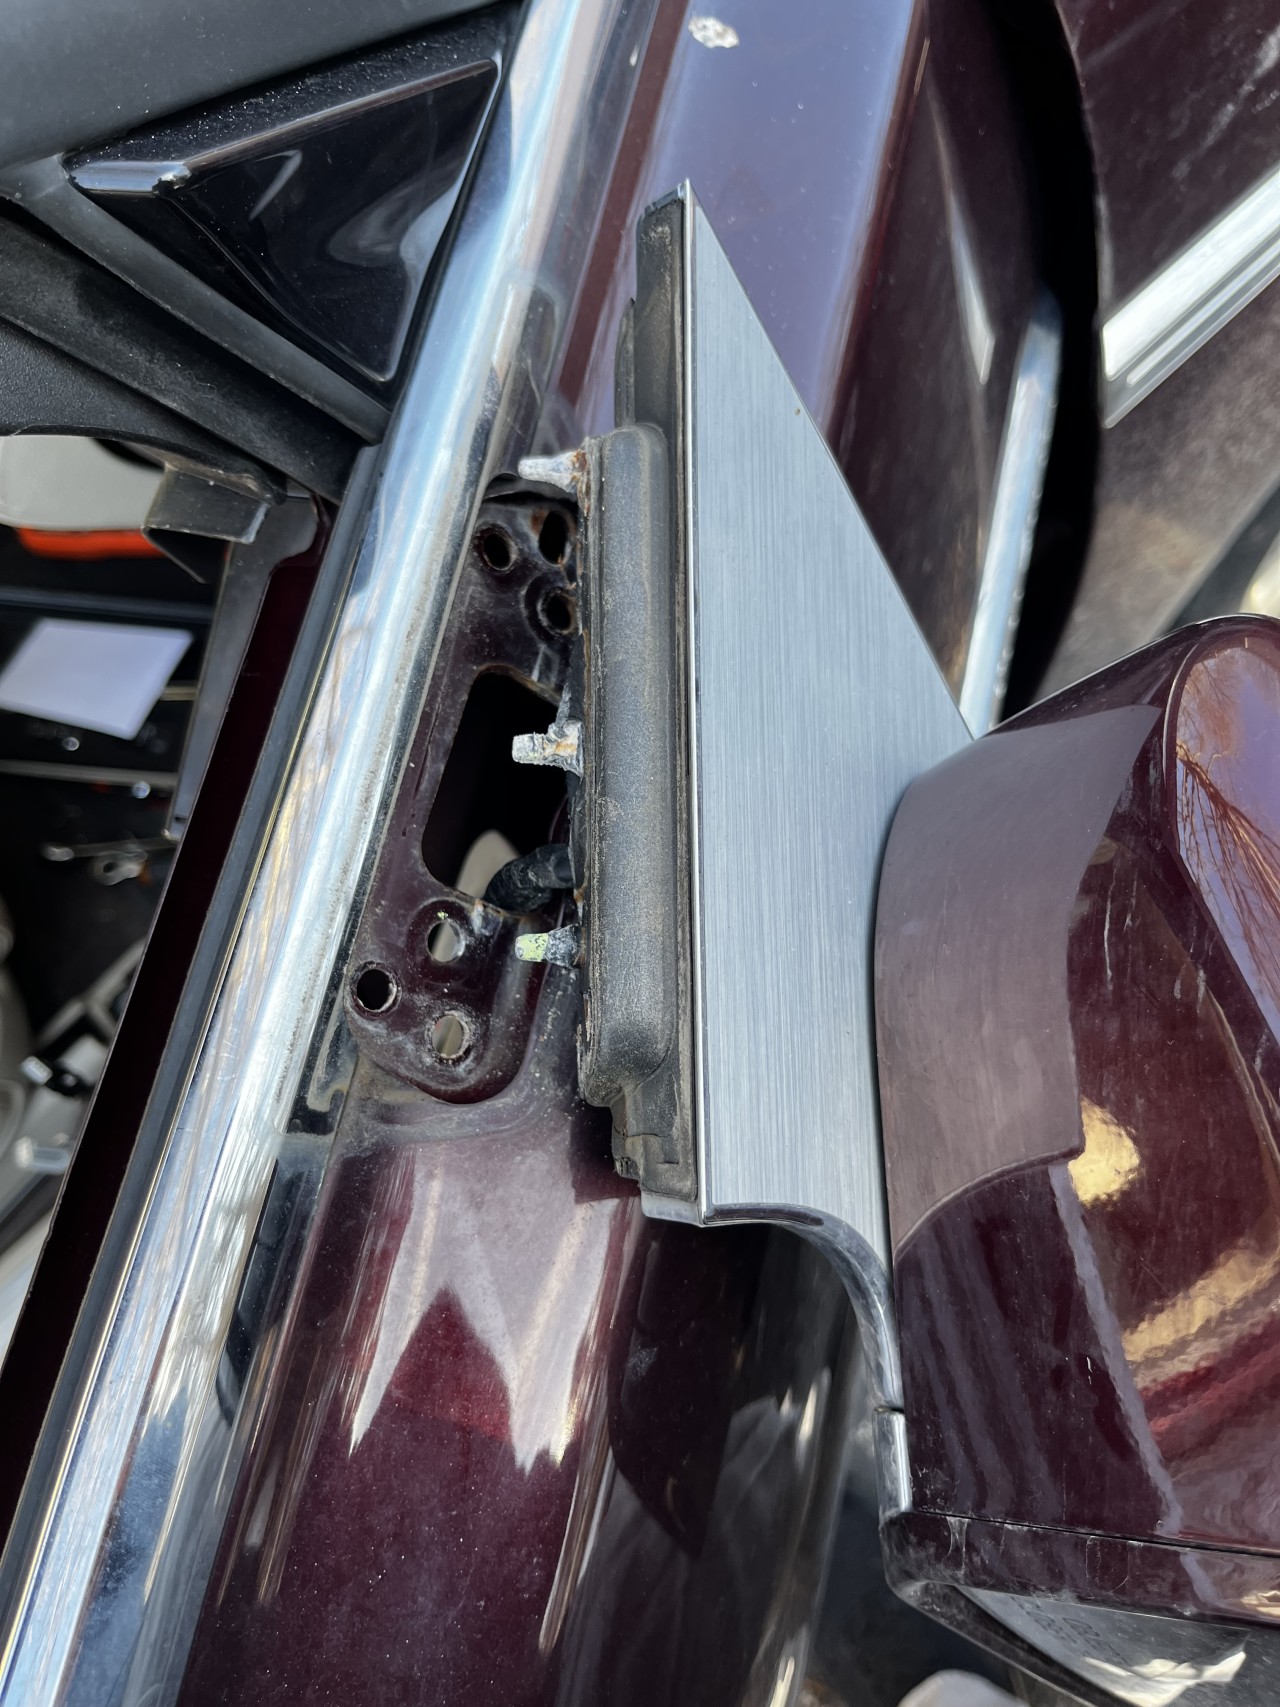
Step 12: undo these two bolts holding the handle on.
Now you can remove the whole handle and snake the harness through. Looking at the old one you can see some corrosion on the button spring. I’m guessing some water got inside.
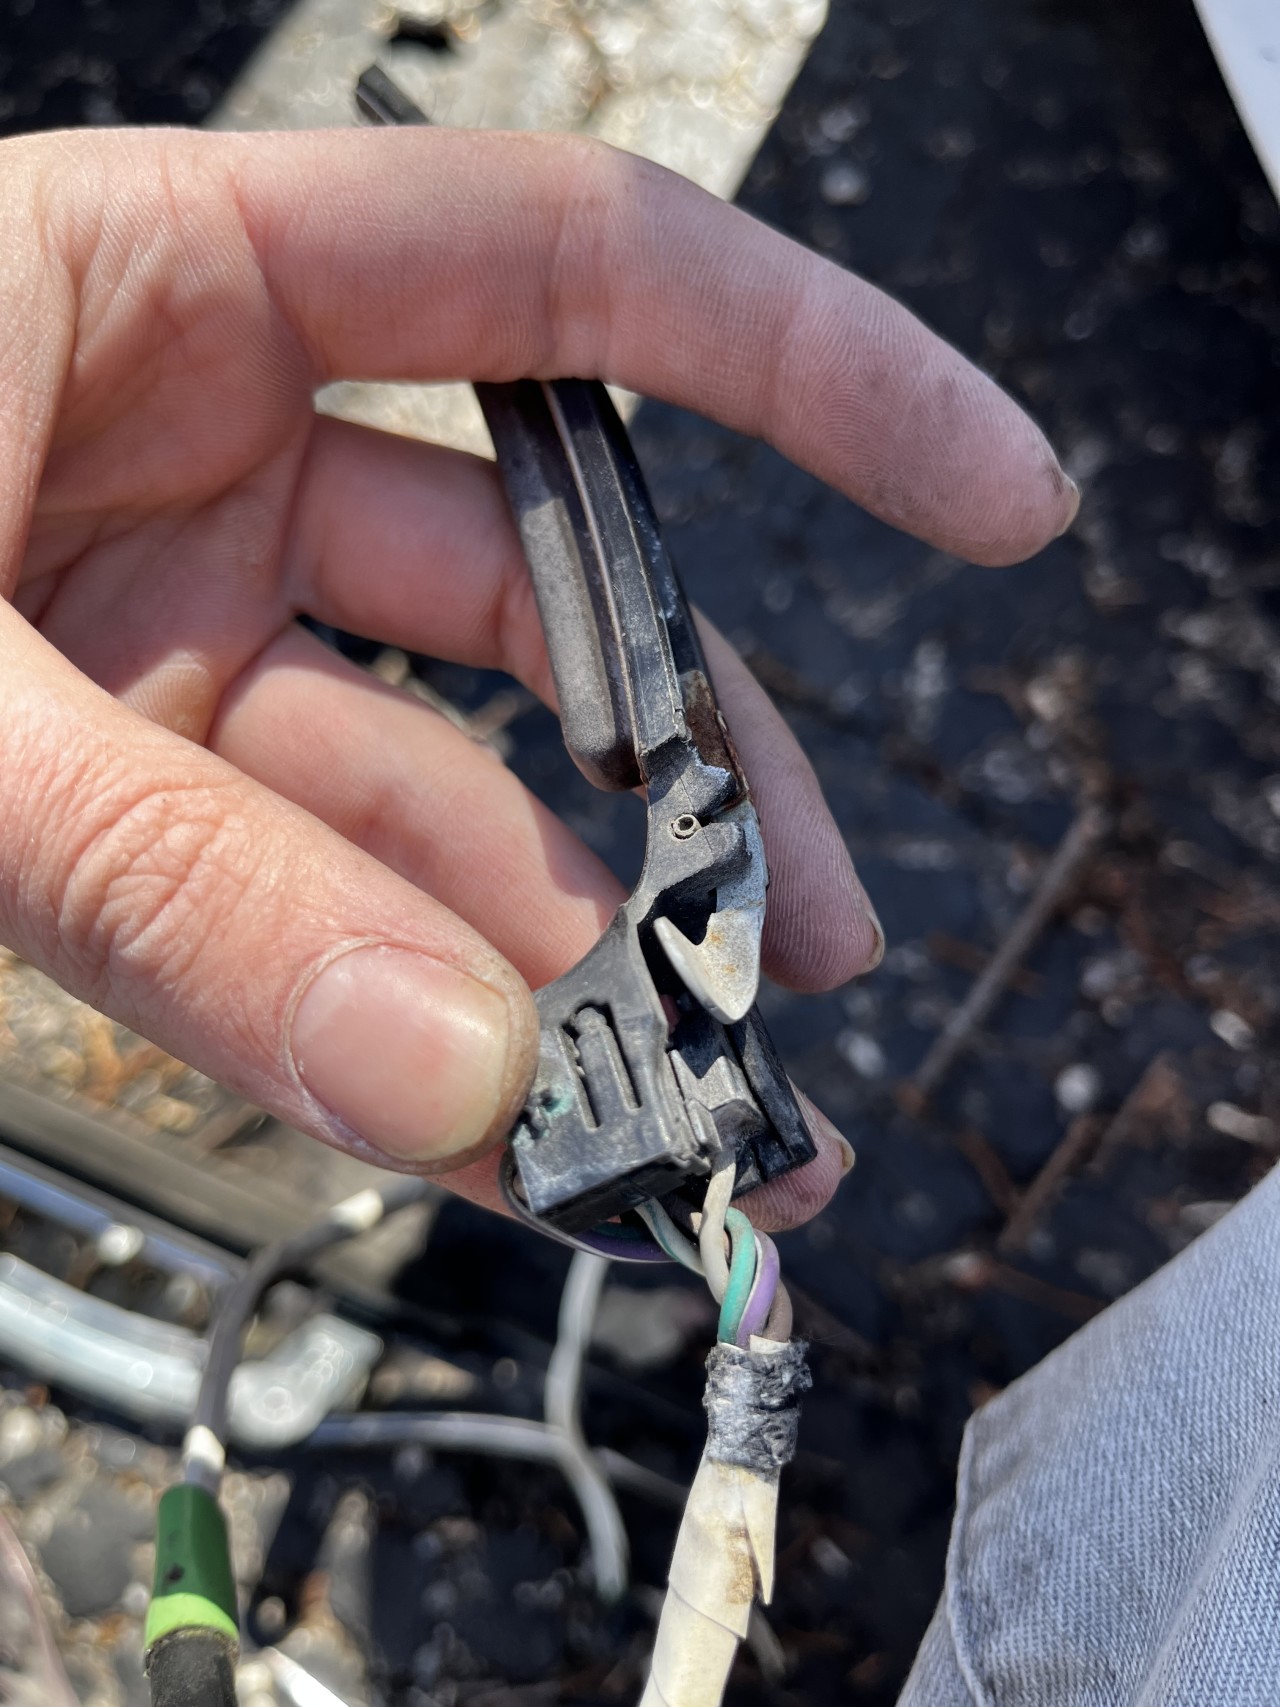
Quite annoying a 5 cent part requires all this tear up.
Simply install your new one and reassemble in reverse order. Peep my new non matching handle