You must be logged in to rate content!
3 minute(s) of a 620 minute read
8-14-2011
Getting back to this rust repair over the rear spring mount. This way of filling is a different way of cutting and replacing the bad section. Yes it took some extra wire feed to fill, but in the long run I didn't have to remove the spring mounts, then measure and reattach them.
The one thing I will advise is, if you are considering repairing a rusted away area as I have in this section, don't be afraid to fill and try to be as level as possible.
Fill as much as possible, so you don't have to refill and fill some more.
Be as level as possible when filling to minimize the amount of grinding later to level things out.
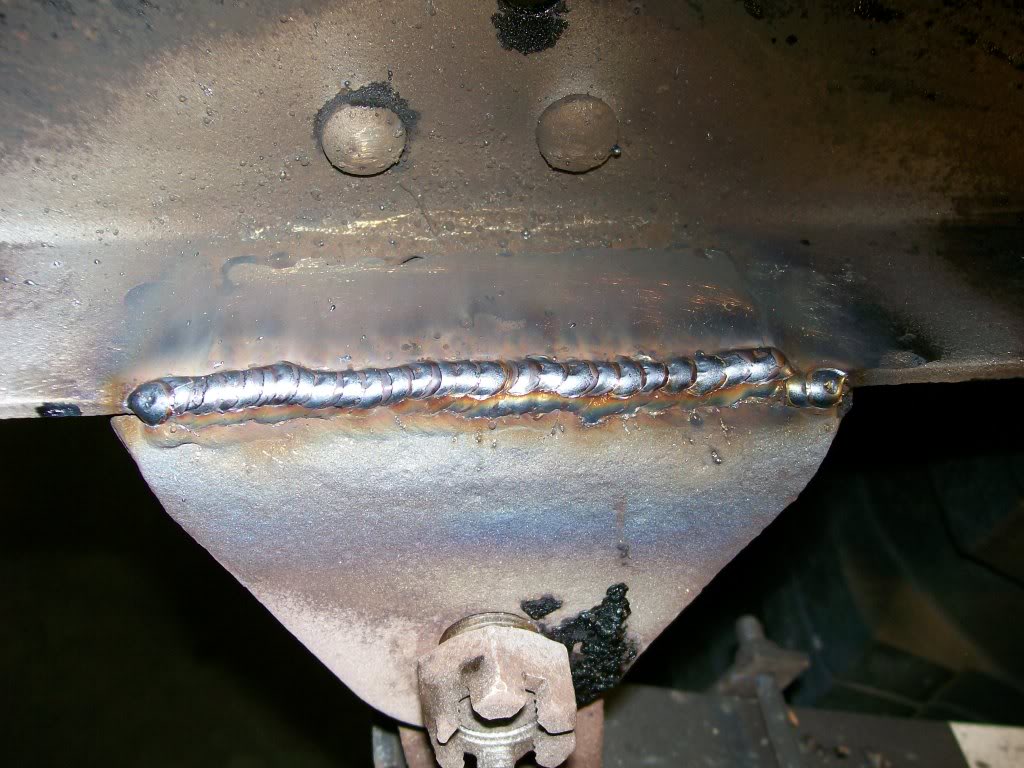
Notice I didn't fill the main area length wise, I did shorter weld beads. With shorter beads it's easier to control the amout of melt into the frame that the weld is gonna do. This way the build stays about the same across the fill process.
This first pic is a long weld but I did it as a stitch, you can see it is actually many short welds. If this was a long continuous weld by time I got across the whole 6 inches the weld, do to the heat build up would start to melt deeper into the frame metal and wouldn't benefit as a build/filler.

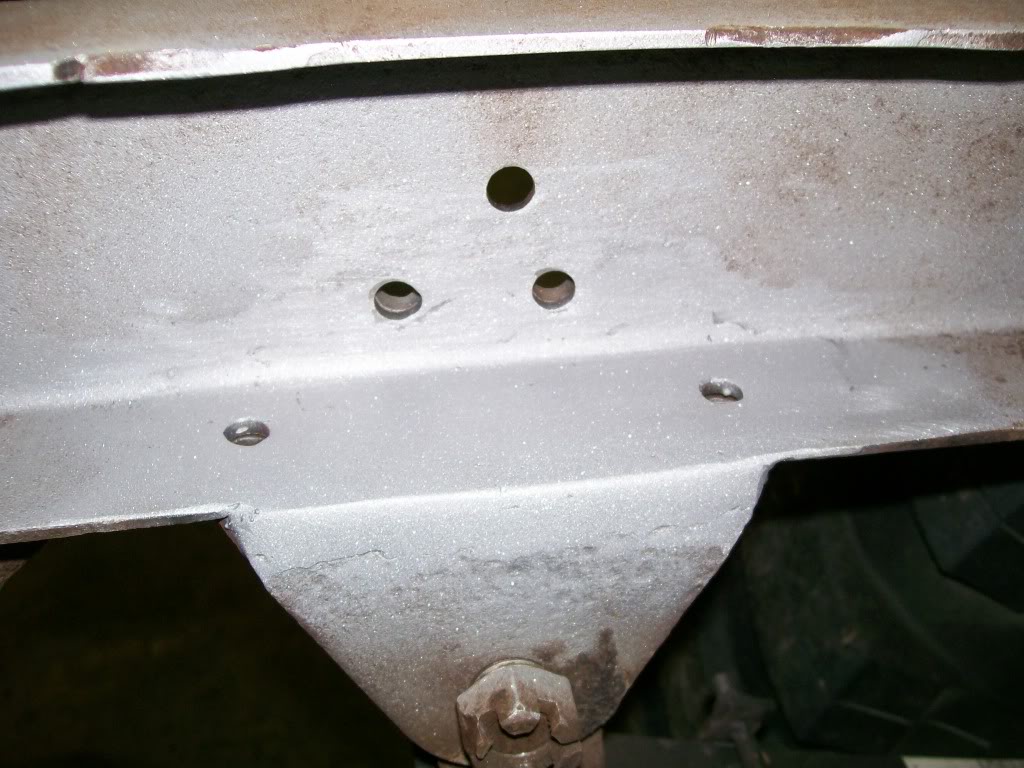
Finally a look at the finished product. I'm very pleased, it was difficult to get the grinder to fit deep to the back of the frame. I did have to change to a new grinding disc a couple times so I wouldn't have to apply pressure to get it to cut. By applying pressure I lose control of exactly where I was grinding, by using brand new flap discs I could light apply pressure and I removed material exactly where I wanted to. This pic is after sandblasting.

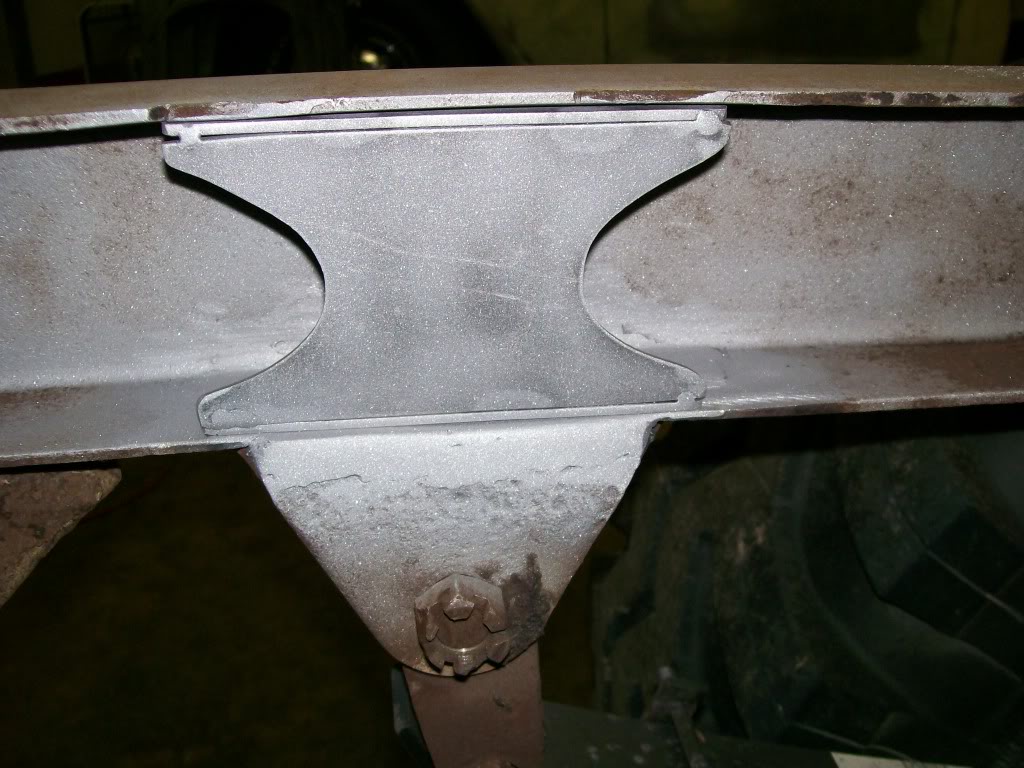
Now the final touch. The best part is after how much material the rust removed, now after refilling there is very little gap along the bottom of the brace. Now weld this piece in place and we're good to go.


Ultimate classic truck right there
Posted by CCmyVW on 12/26/20 @ 4:17:42 PM