You must be logged in to rate content!
9 minute(s) of a 620 minute read
7-23-2011
Flcoqui, Depending on your skills, or shall I say, how far you want to push your skills, rebuilding an old truck is very satifiying. It will always be unique.
DeliriumTrigger, Isuzu, I didn't know what I was getting into when I started this thread, I will say it's been alot of fun getting people's input.
Jtrux, I don't know your age or experiences in fabrication. Here's what cool about this rebuild... It's not often when someone such as I, get a chance to rebuild something that you built 20 some years later. It's fun picking apart the previous work that was done, which was me.
What I'm saying is, You can see I've evolved over the years, we all have a starting point, doesn't matter where you start, what does matter is that you finish. Push yourself do do your best, but don't let someone elses opinion allow you to bury yourslf. Stay within your abilities, there's nothing that builds confidence and desire than riding what you have built.
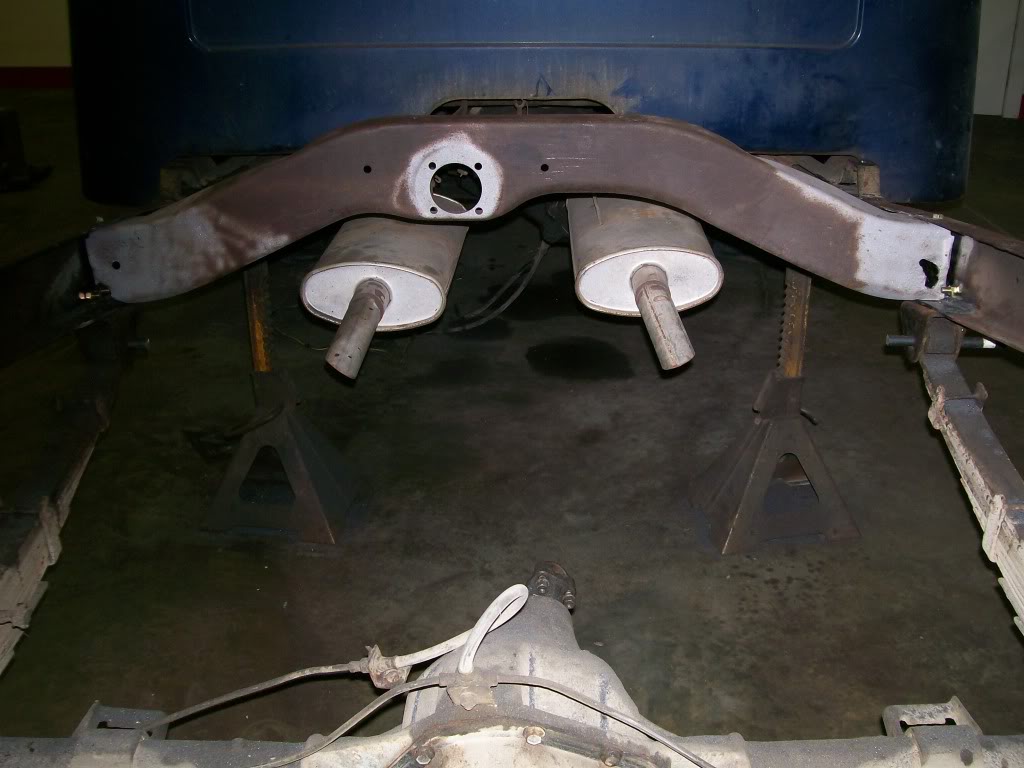
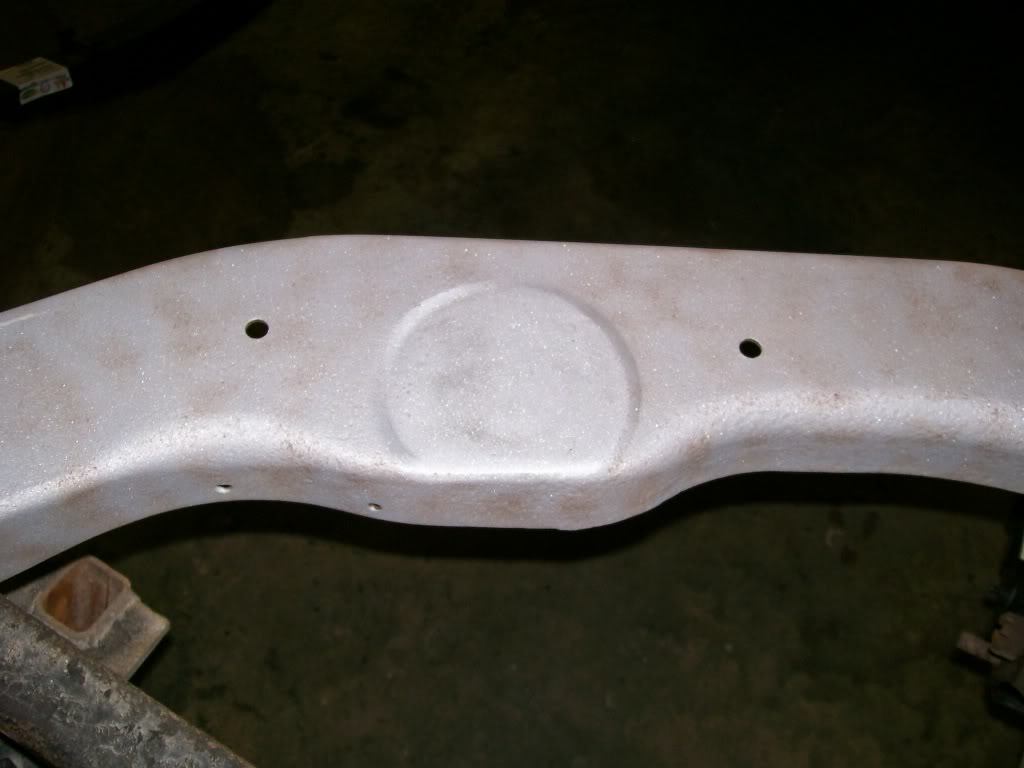
Tonight we've got more of the main cross frame. What is neat is the 3'' hole in this frame. I'm not old enough to remember back then but I believe they would have an extra output shaft to run a PTO out the back of the truck. I think this hole is where a bearing mounted to support this shaft. As for my purpose, I see this hole as a flex point in this frame so I shall fill it in.
7-24-2011
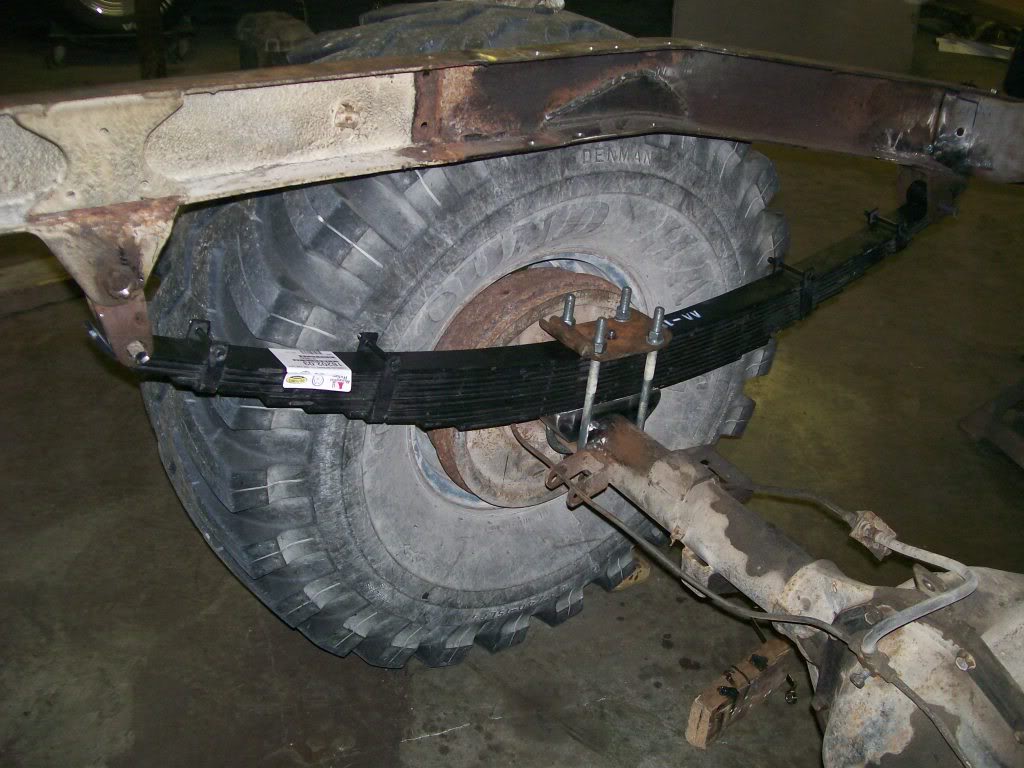
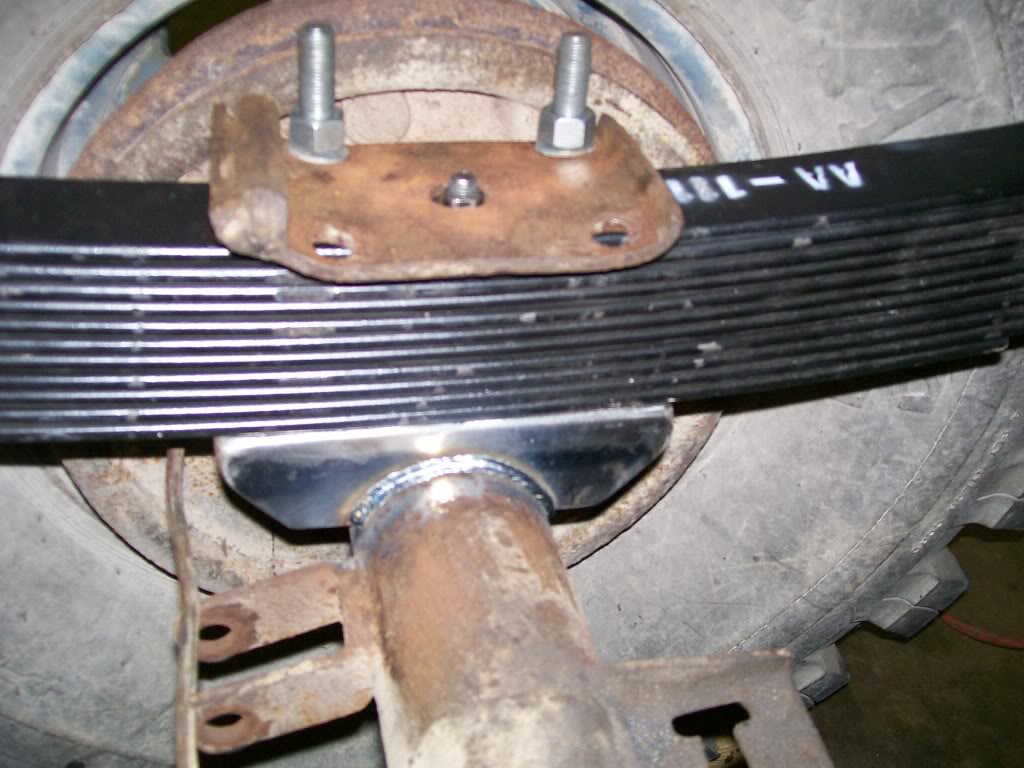
Now that the spring perches are made and the old ones are cut off I can measure three times, (most people say measure 2 times, then cut. I say if your welding, measure 3 times then weld) and I've got the holes redrilled for where the front spring perches mount to the new frame pieces. I can now do a temporary assemble of the new springs, perches and I can slide the axle back under the truck. Know this...lets say for example the spring perches. You can measure over and over but there aint no better way to align everything than assembling, then measuring. If the axle perches are off so much as an 1/8 inch, the springs can be off way beyond that when you try to get the spring into it's frame perch you'd have to force the spring into place later. Plus, when welding stuff there is a heat/magnetiic pull going on. If what your welding isn't clamp on, or in this case the weight of the truck is holding the perches in place, or tack welded in 3 to 4 places before the main welding, the opposite side you are welding will shift around in some way.
In the pics below, everything is assembled for their best fit. I measure between the frame and wheels over and over. We also need to consider the pinion angle. Most vehicles have the pinion flange almost straight forward, they don't have a driveshaft angle issue. Here we raised the truck, so the rear driveshaft angle is a concern. I have tilted the pinion yoke upward some to help correct the issue. But you still want the yoke and driveshaft at a slight angle, the u-joint does better when there is an angle to contend with. Someone reading this may have technical knowledge of all this, feel free to jump in. I believe also that the ring gear flings the gear oil to the front pinion bearing, at too much upward angle the front bearing may starve of lubrication.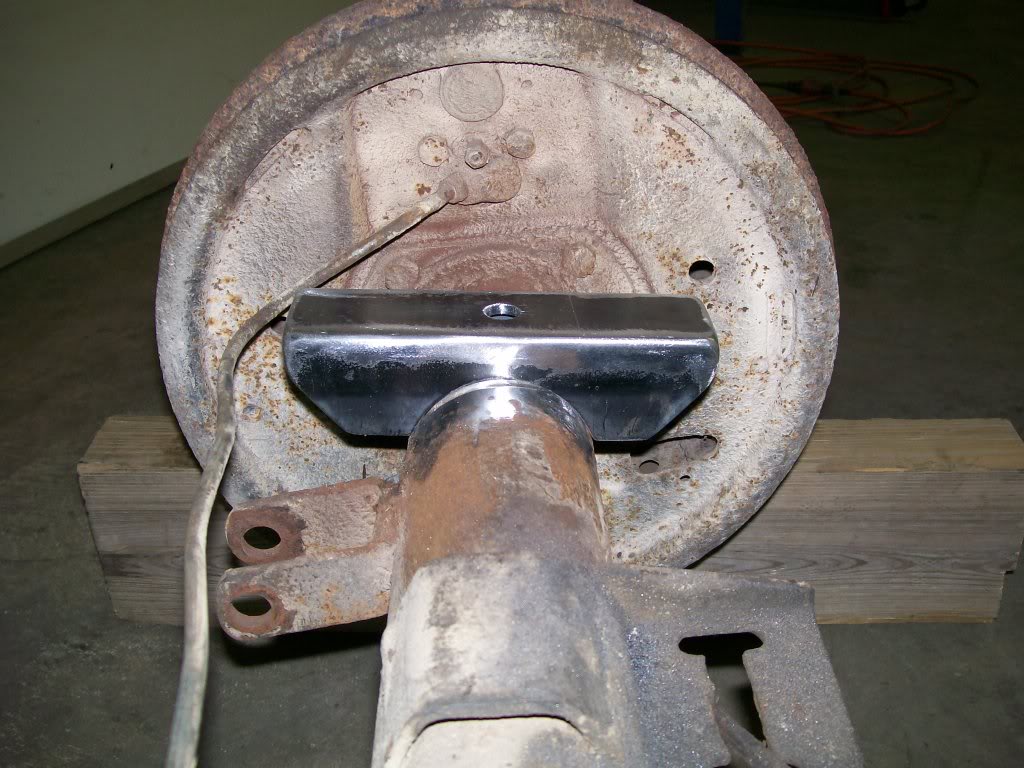
Good question and yes I have thought about it. Now on the front spring mounts the crossmember bolts right to the spring mounts so I'm confident of it's strength there.
The rear mounts do have small plates that transfer the weight load to the top frame rail along with the bottom rail where the spring is in contact there.
The boxing situation has been on my mind for years actually.
My only concern with boxing now or changing the original design now is if I'm in a real frame twisting situation, I assume that in the design it has now the whole frame has a certain amount of give from back to front.
If I don't go 100 % box, and I do box some areas, there may be sections that still want to twist as usual. Now the boxed areas will want to stay firm. Will there be a structural stress where the regular frame meets the boxed frame?
I've gone back and forth for a long time on the boxing idea. I probably would, had I not had the history with this truck. But in the condition it was in with the totally rusted through areas of the frame and still performing it's duties I decided to stay all original.
Yea, I love how the sandblasting cleans up the metal, it truely removes all machine markings and it's down to pure clean metal. Perfect for metal priming and onto paint.
Bed wise, if I change anything it would be a new home built bed. Kinda the same design only a few changes. 1) the top of the bed sides need rails that angle outward like the originals did. 2) You all know how I like to pick on my work.....Dah . When I made this bed I made it 47 1/2 inches wide inside.
 Any time I wanted to get a sheet of plywood of instance, I had to use a couple 2x4 to prop up the sheet, other wise it got wedged in to the bed.
Oh well, live and learn....
Pmoreau, and to all who want to weld. I seriously didn't start this thread to show or to show off my welding. Although, I do thank you all for the compliments.


I will say absolutly go to a welding class if you desire to become good and technically aware of the different rods, metals, gases. Then comes the techniques of stainless, aluminum and steel for doing Tig welding.
I'm self taught and forced the issue upon my self over the years because I enjoy working with metal. Often times I know I'd advance quicker had I taken a class years ago.
Tonight we're gonna get away from metal work and focus a bit on the rear axle issue. The first picture is the pinion yoke. For those of you who alreary know rear axle work, this'll be boring, for those who don't, the more you know about the technical aspects of the drive train, the less you'll be afraid to dive into one if you have an issue down the road. Back to the pinion yoke, once I removed the driveshft and the rear wheels were off the ground, I spun it by hand. First I felt alittle side to side play, not good. By turning it I felt the gears making contact as if there was interference, this is the reason for complete disassembly.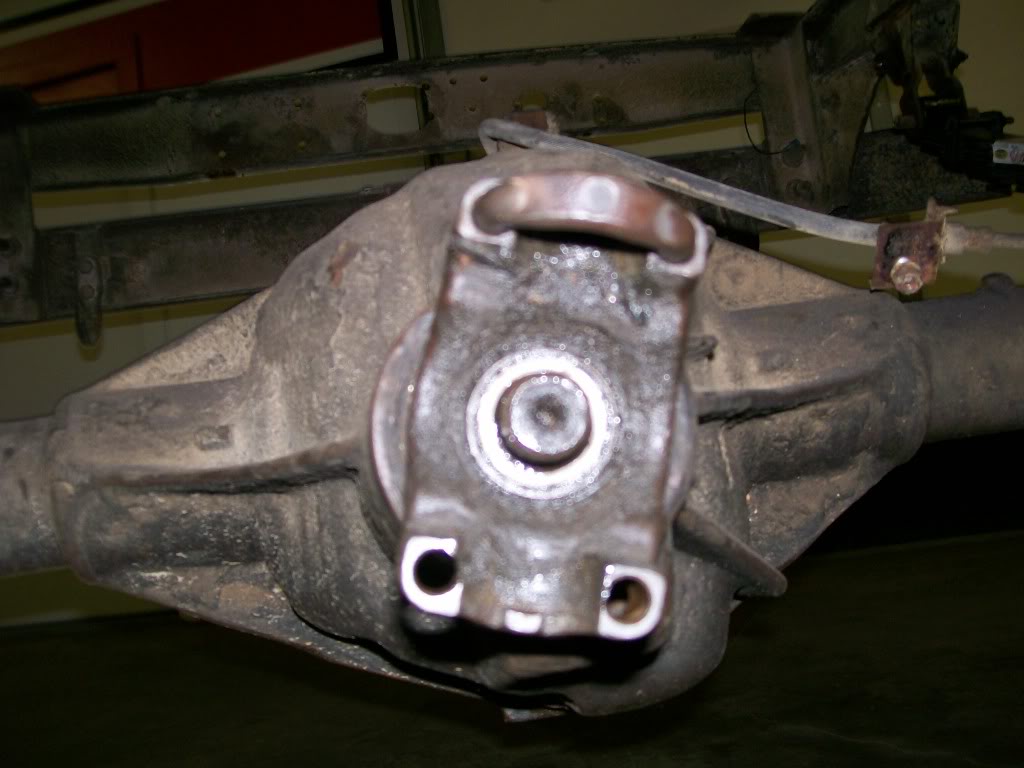
Inside we find the carrier. this is what the ring gear bolts to. This particular carrier has a factory posi-traction inside. This style uses friction discs inside the carrier that allows enough slip between the two axle to go around corners when the to rear wheels need to turn at different speeds. But once one tire begins to spin, the friction between the clutch plates builds and starts to lock both wheels together for maximum traction.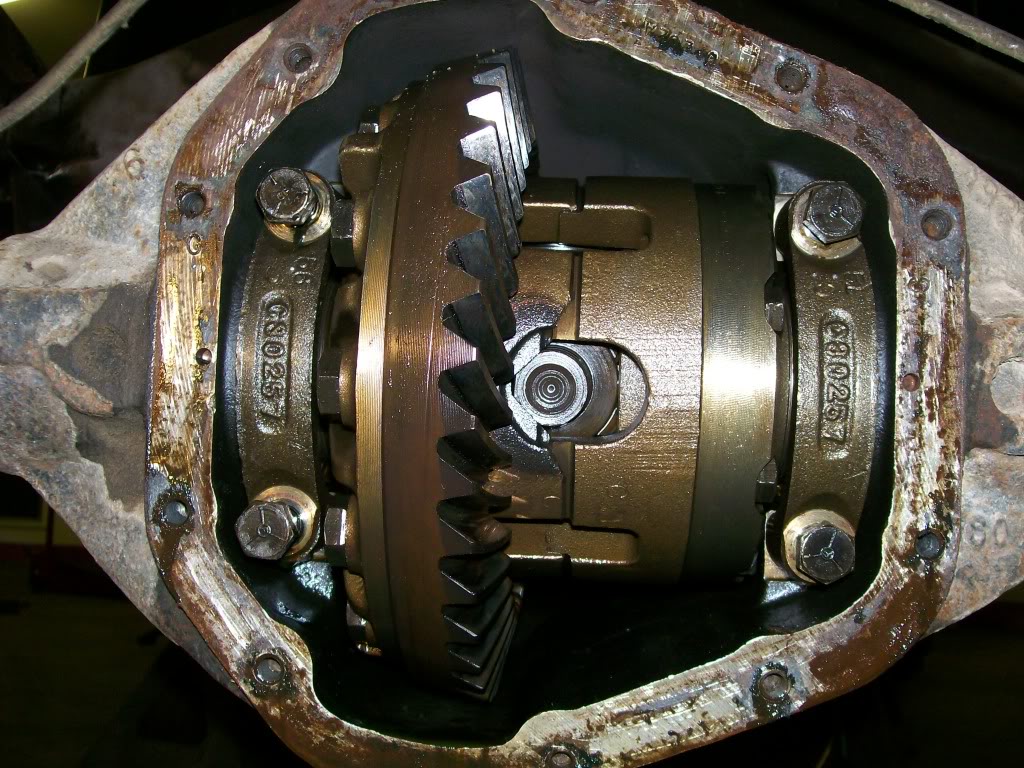
In order for the carrier to come out of the housing, the axles that go out to the rear wheels have to be pulled out far enough to not get in the way of the carrier. This axle is 3/4 ton, all I have to do is remove 8 bolts and the axles slip right out. The truck still sits on the wheels. Lighter duty rear ends require the rear wheels removed and then the axles can be slid out.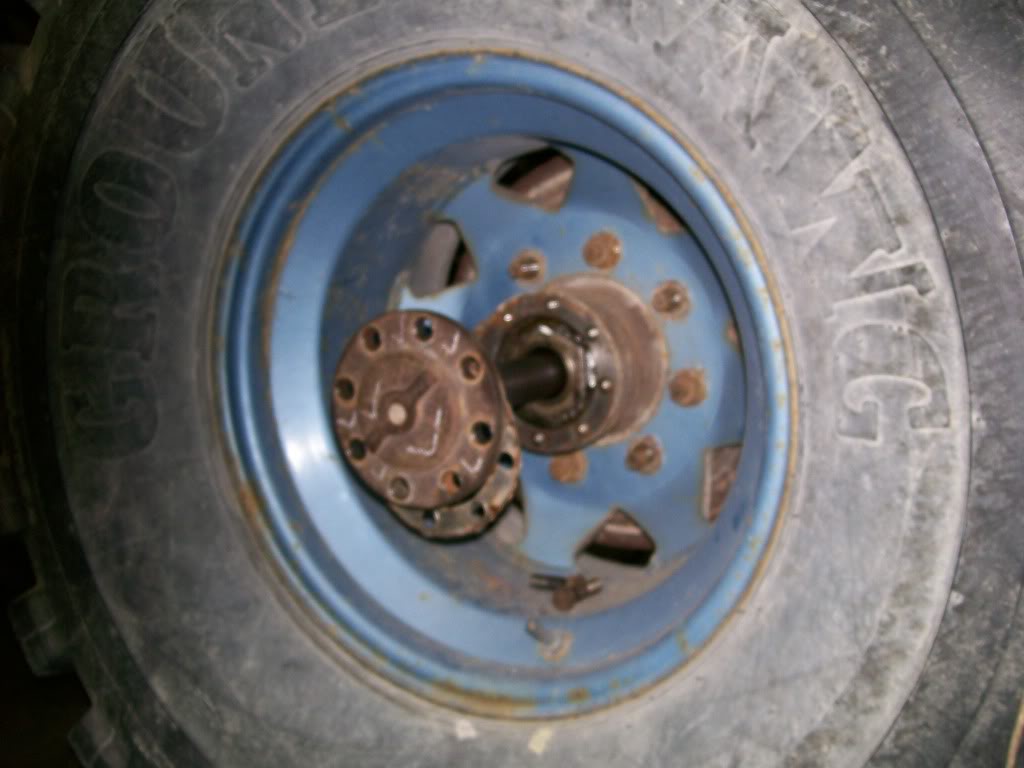

Ultimate classic truck right there
Posted by CCmyVW on 12/26/20 @ 4:17:42 PM