You must be logged in to rate content!
3 minute(s) of a 78 minute read
12-7-2012
...Continued
Upper control arms go on super easy. Mine are the straight shaft instead of the drop-down ones since my car already has the 1" UCA (Shelby) drop holes drilled. 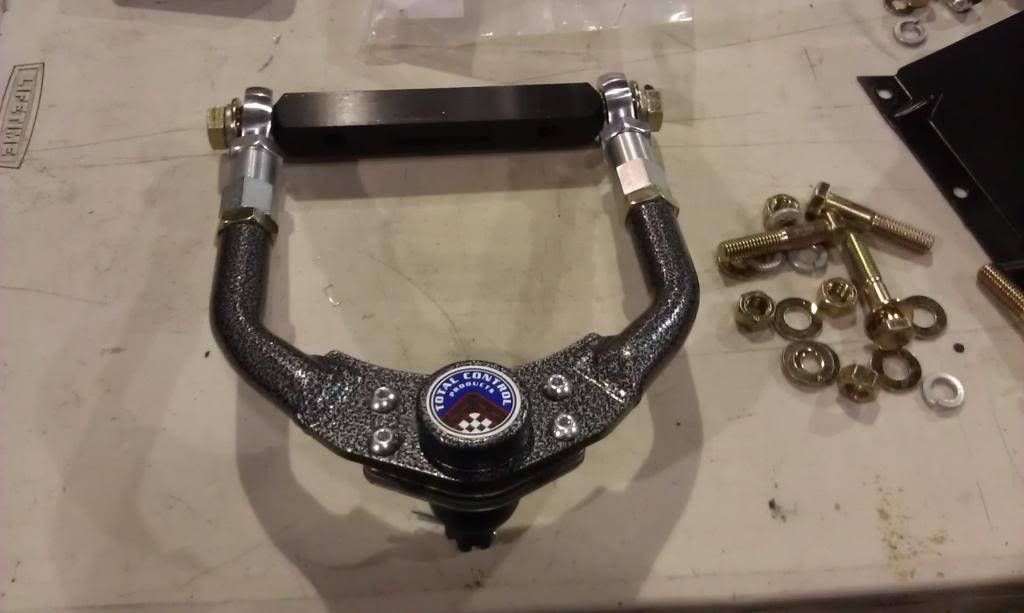
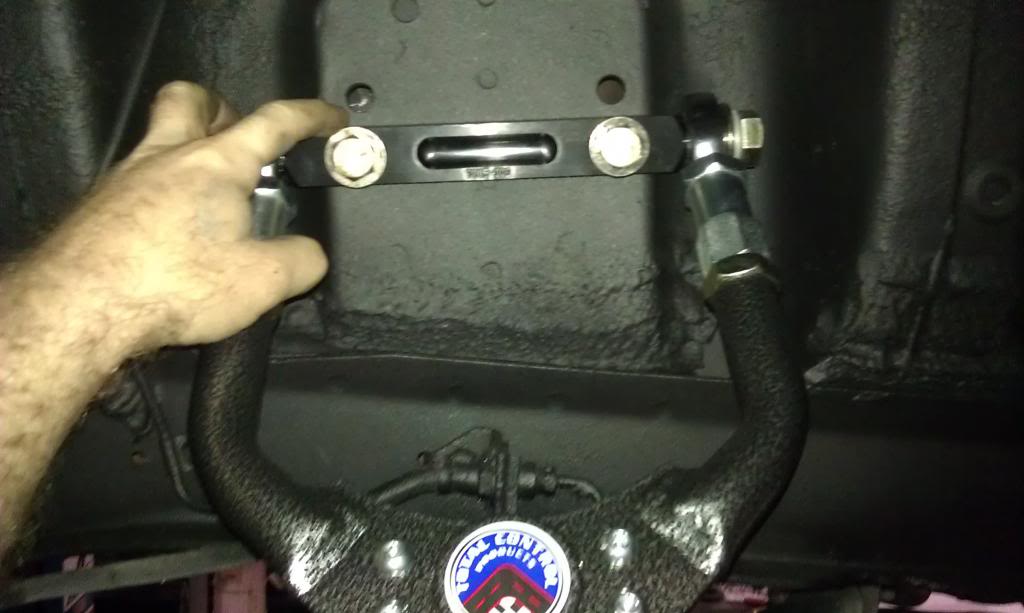
Aligning/clocking the cotter pin holes so they line up with desired position (not pointing right at the spindle which makes it impossible to install and remove them later. 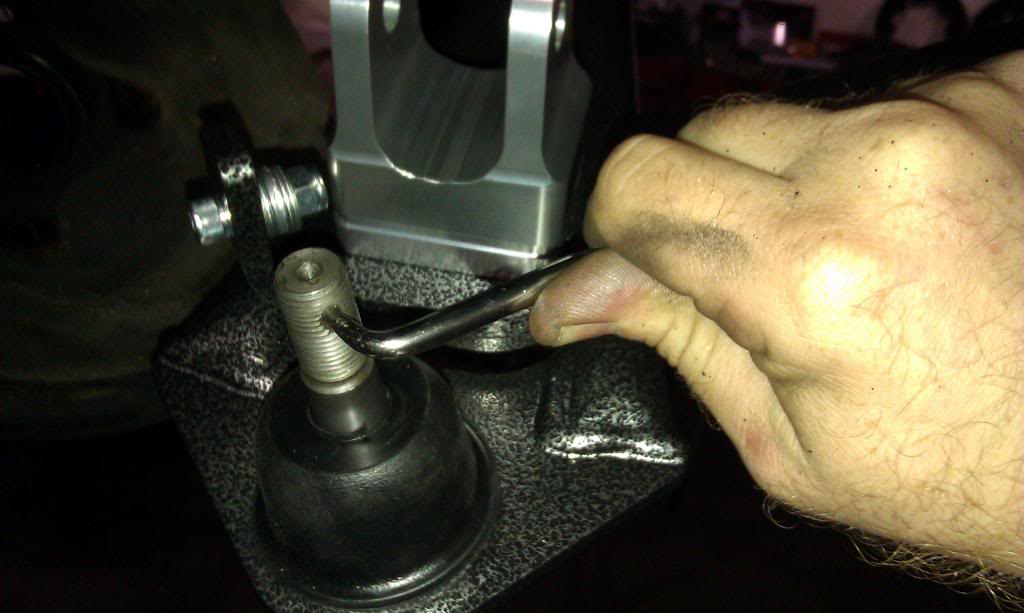
Spindles go on next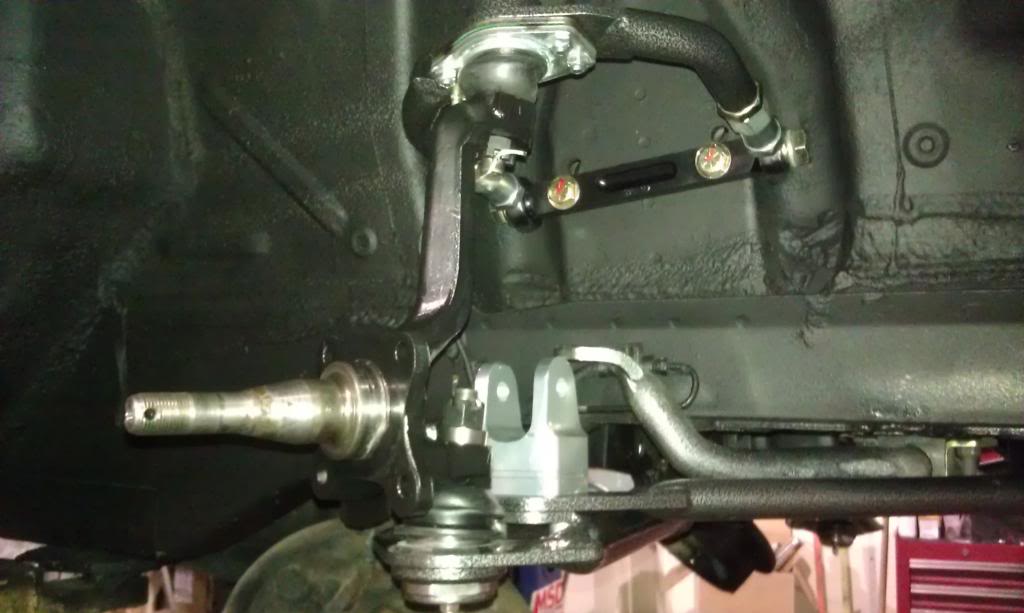
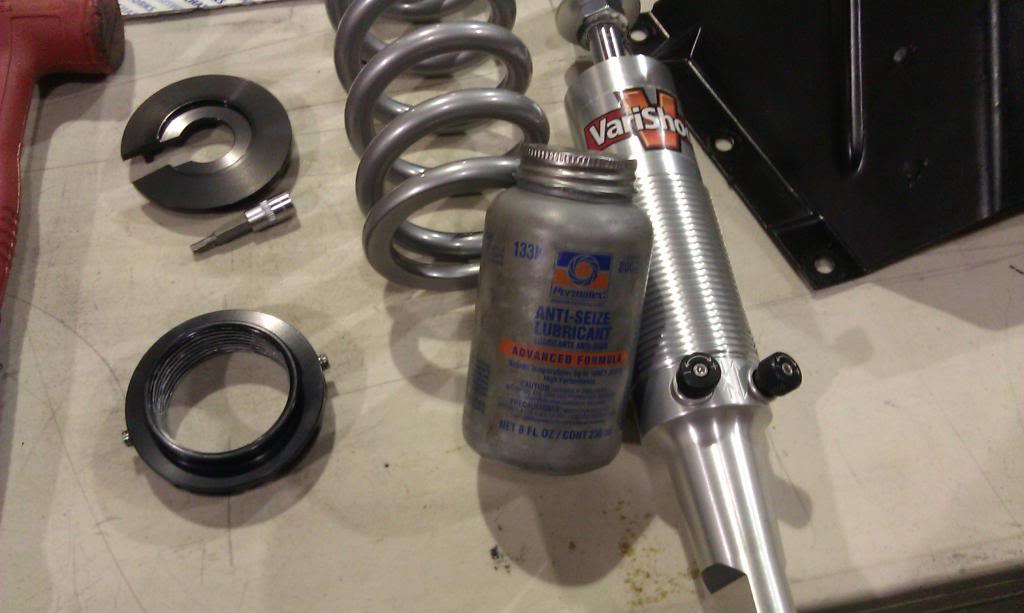
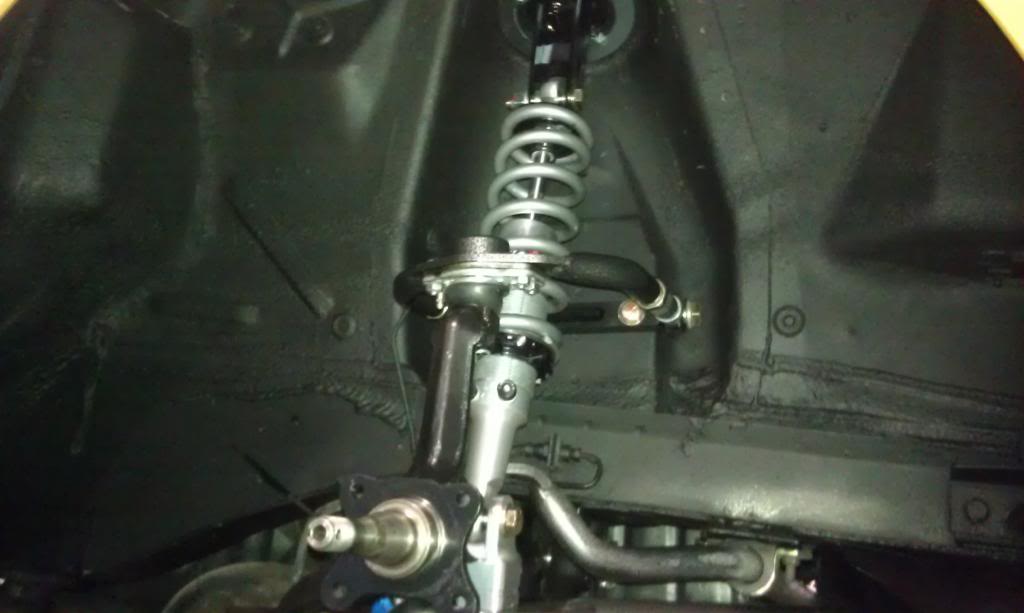
Now it's time for the coil-overs. Setting them on the lowest setting really helps make the job easier. USE LOTS OF ANT-SEIZE ON THE SPANNER THREADS AND DONT FORGET TO LOOSEN ALLEN LOCKS. I also opted for a set of spanner bearings which make the adjusting job easier and protect your spanners from wear. 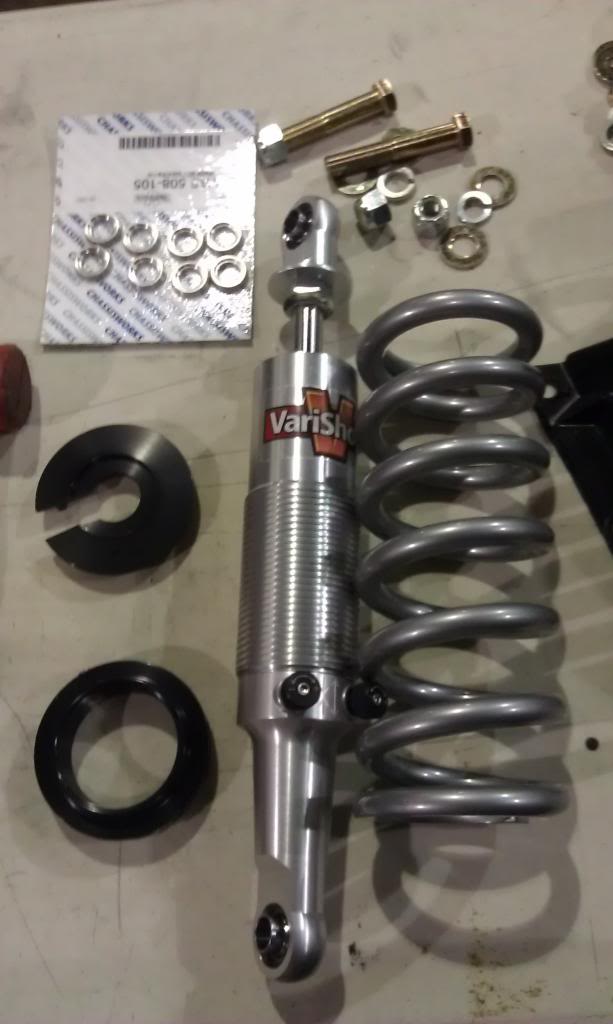
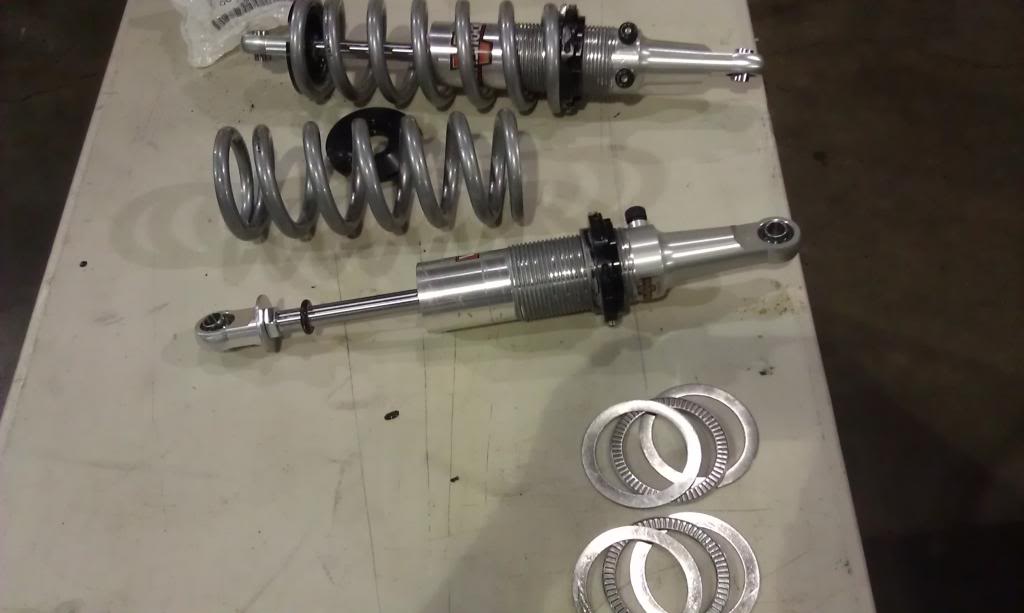
(Note the sneak-peak of the rack & pinion mocked up in this pic)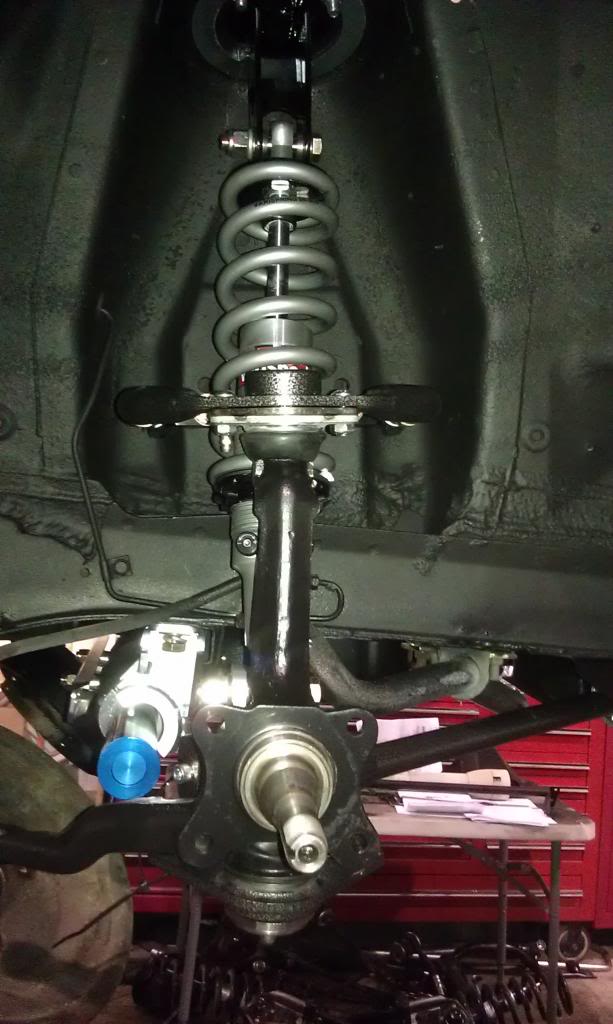
Manual Rack & Pinion Install. Friendly advice; READ INSTRUCTIONS AND DO NOT DEVIATE WHATSOEVER or you could ruin your rack.
Clamps install in a certain order and will require shims to the frame. A drive-on lift is the best option so the chassis isn't in a bind or slightly tweaked. The instructions go over a few troubleshooting scenarios if for some reason you install it wrong and put the rack in a bind with the frame. 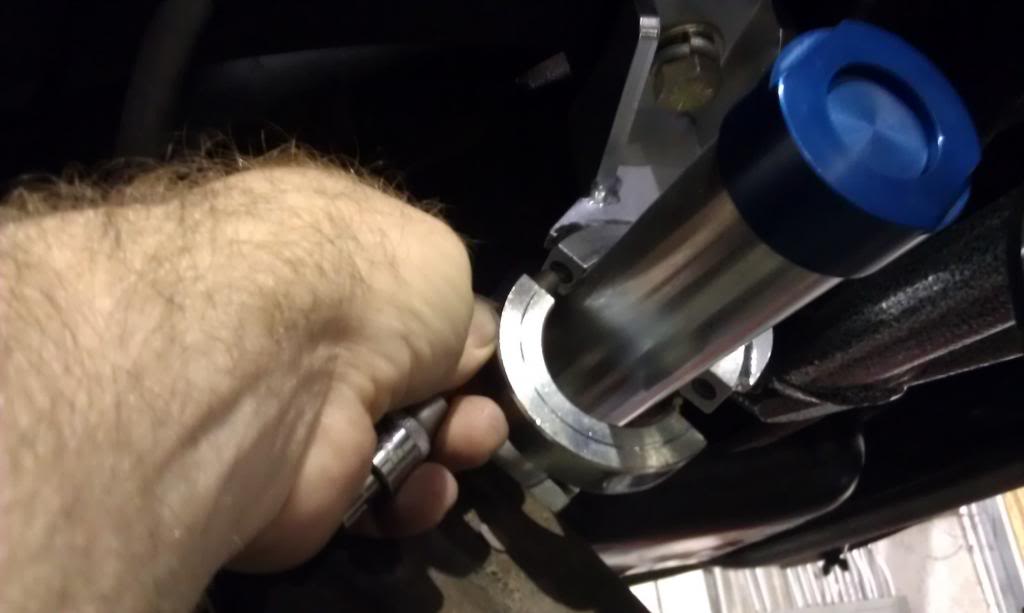
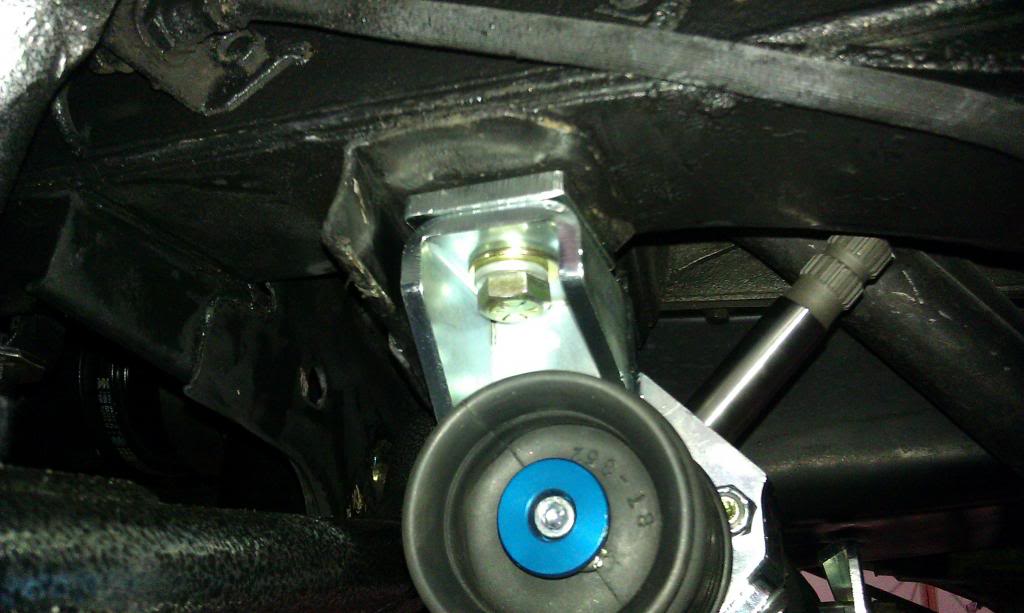
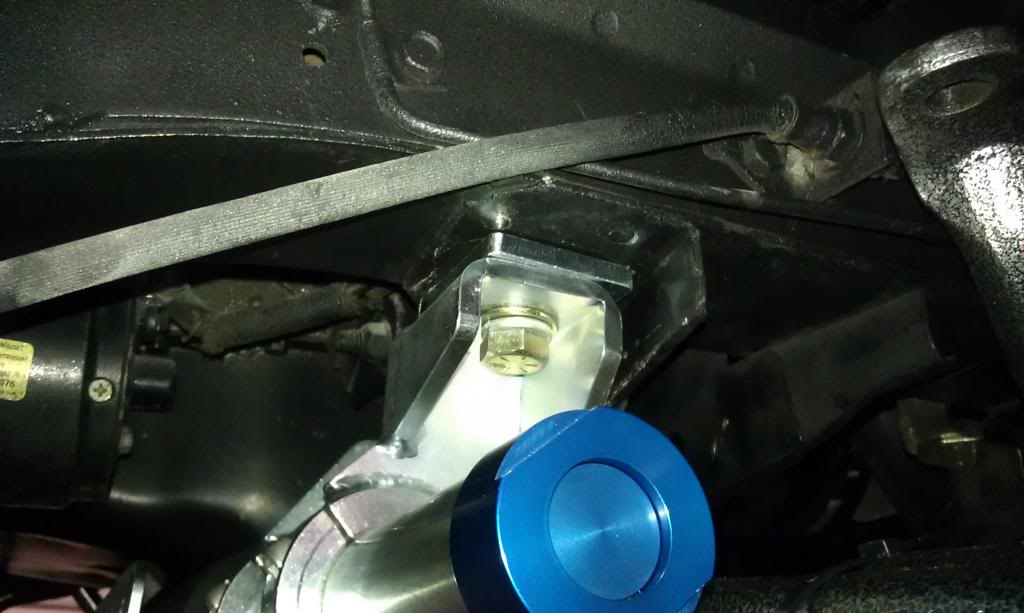
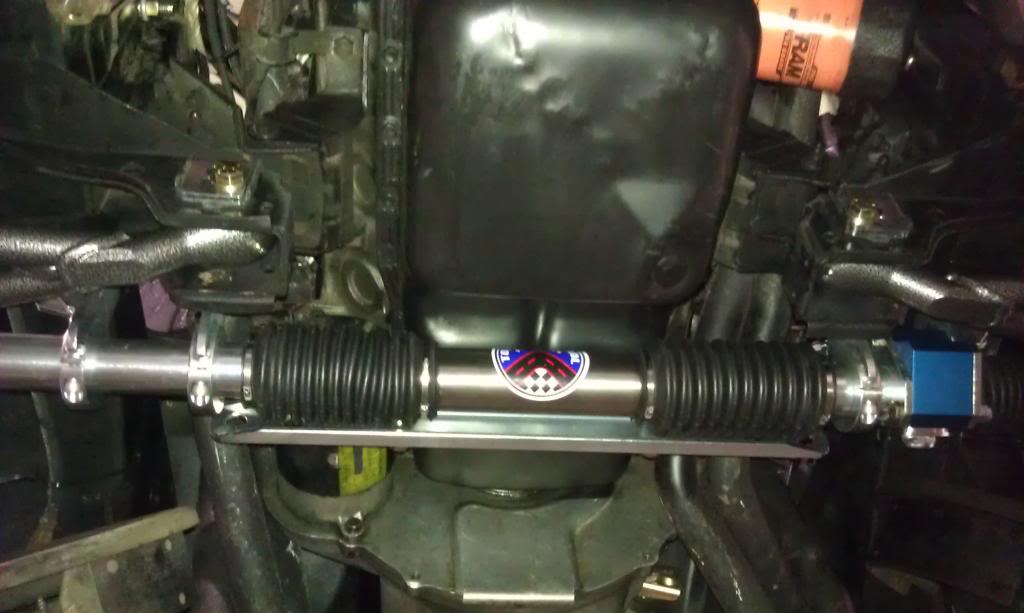
If your column isn't installed yet you can move the rack by hand to see if it is binding or making noise, etc. The instruction manual will help you do the job correctly, hopefully the first time. 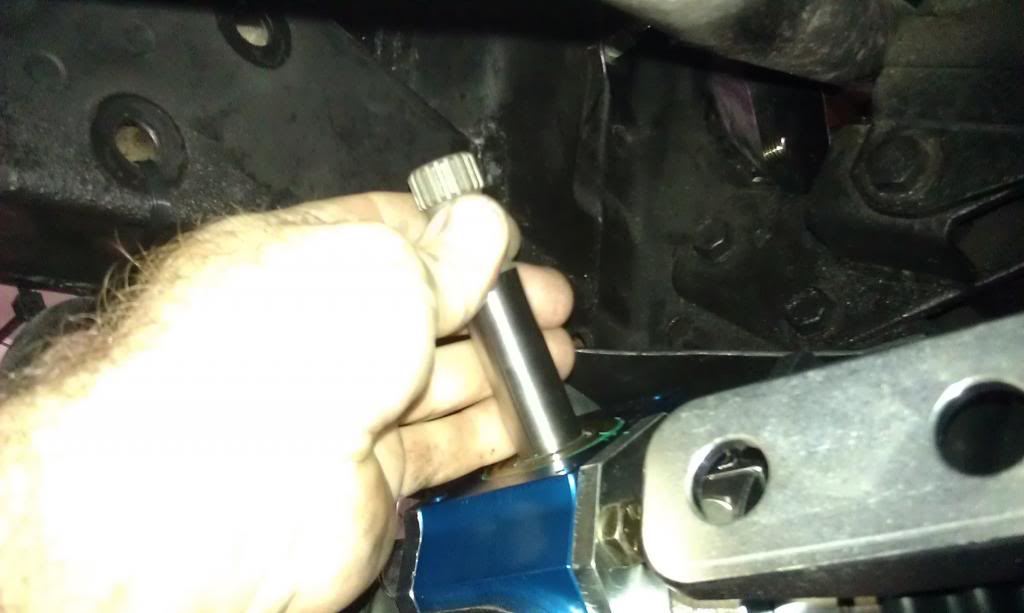
TO BE CONTINUED....
Great before and after pictures!
Posted by Diggymart on 12/1/19 @ 8:47:45 PM