You must be logged in to rate content!
33 minute(s) of a 68 minute read
1-12-2021
The Mother Of All LSX Mustangs - '92 Notchback -
Compliments of 1dirtyZ @ www.ls1tech.com
7/1/08
i've been helping a buddy (azooooz) of mine build his 92 notchback stang and just wanted to share the progress we made.
the project started about 6 months ago when he go the car, and the project changed direction a few times but it finally settled on this. its still not done and it took so long cause the owner is kinda busy with other builds ( he is co owner of SLR over in this neck of the woods ) like his ls evo and the turbo nissan patrol .
any way , to cut to the chase; here's what was done to the car till now:
- 427 lsx block with ETP 6 bolt heads
- th-400
- F2 procharger with air to air intercooler
- kooks conversion headers
- stock appearing interior
- 28X10.5 - 15 rears
- stock style suspension
- aerospace brakes
- 9" rear end with 3.55 and spool
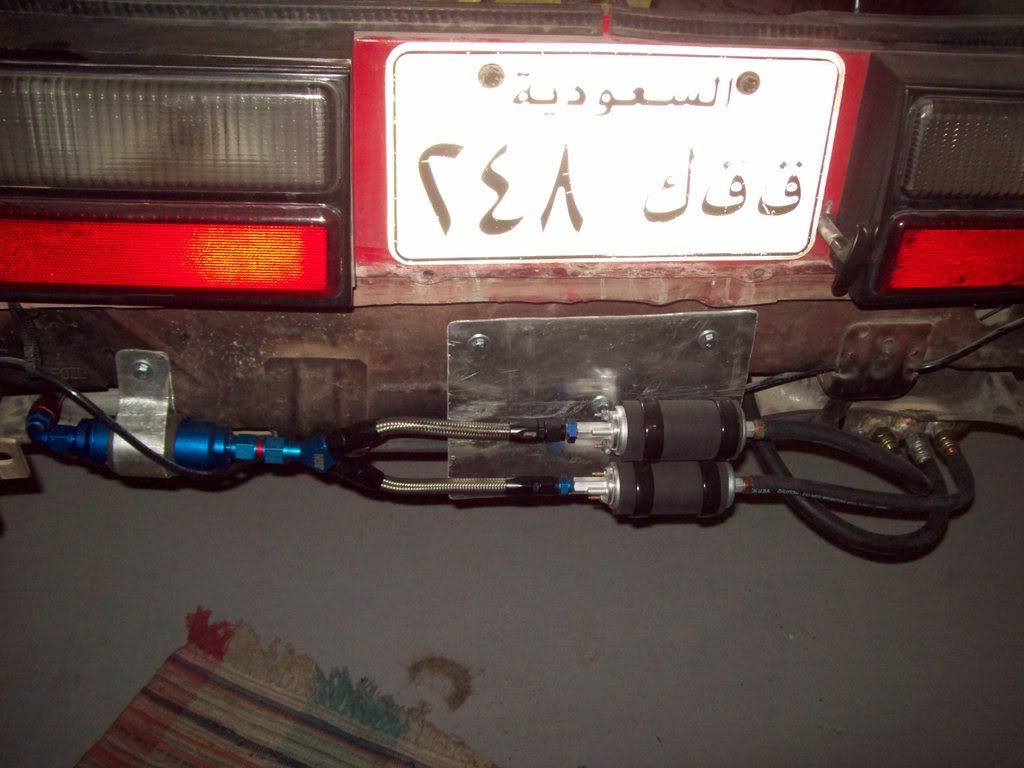
- custom fuel system
- AEM injector driver
- carb style intake and elbow
- ATI supercharger super pulley
- ATI blown/alc. torque converter
- wild rides torque boxes
- a whole bunch of other stuff that i don't remeber right now.
the plan is to compete in a local class over here, which means we are restricted to the stock looking interior ( need carpet and stock appearing dash), no t-brake, no wheelie bars, stock tank, stock style suspension, one power adder.
off course the car will see some street duty
here are some of the pics of the progress that has been made so far . will update from today onward of any further progress as it happens .
first off the car was gutted from the inside to see what we were working with , the "really clean" car turned to have been repaired from every corner and side . minor cracks were welded and we patched up the shifter hole, installed the shifter, removed any insulation, and then painted the interior black.
here's a pic of it with the engine in and the brakes .

the slicks and the car ( finally) on the ground :

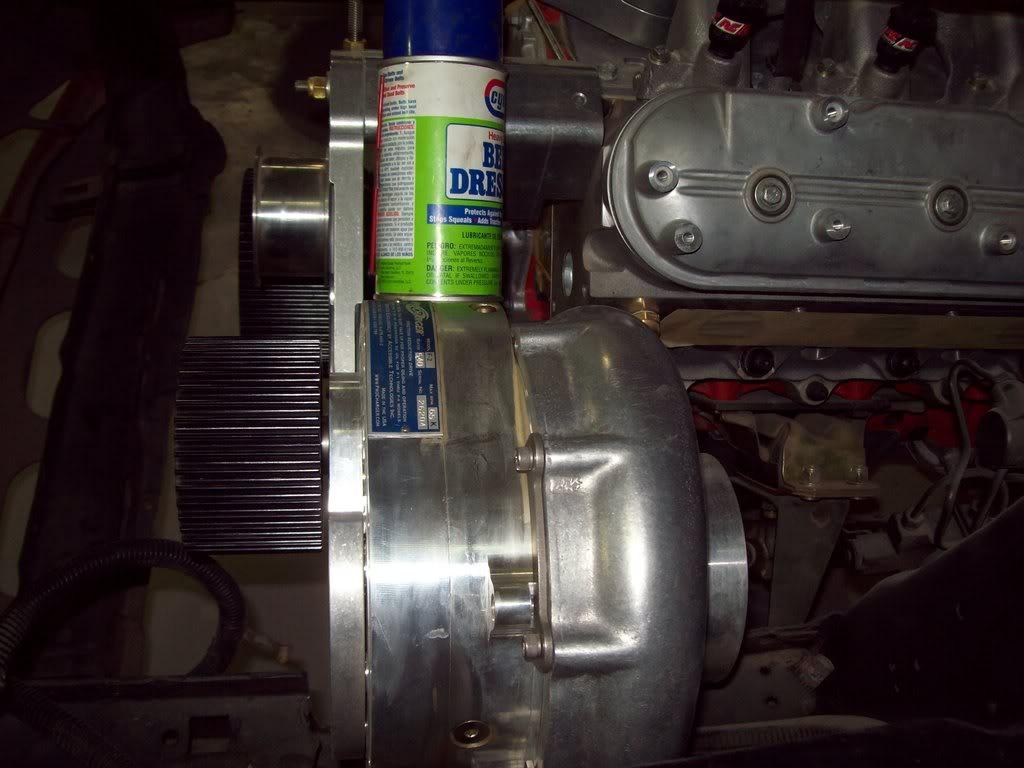
the cog drive setup

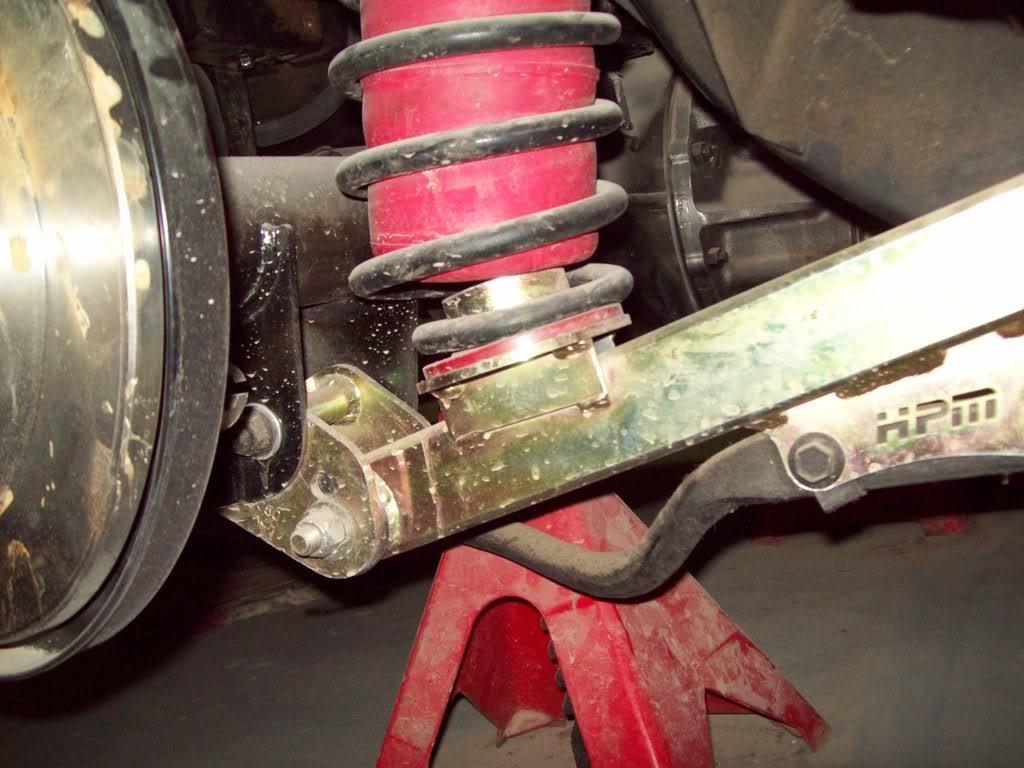
control arms , aje kmember, and coilover conversion:

batt disconnect and batt. tray:

9" and control arms :

fuel setup:
we ordered a custom intercooler from extreme turbo systems and got this tiny unit
( thats my phone next to it )

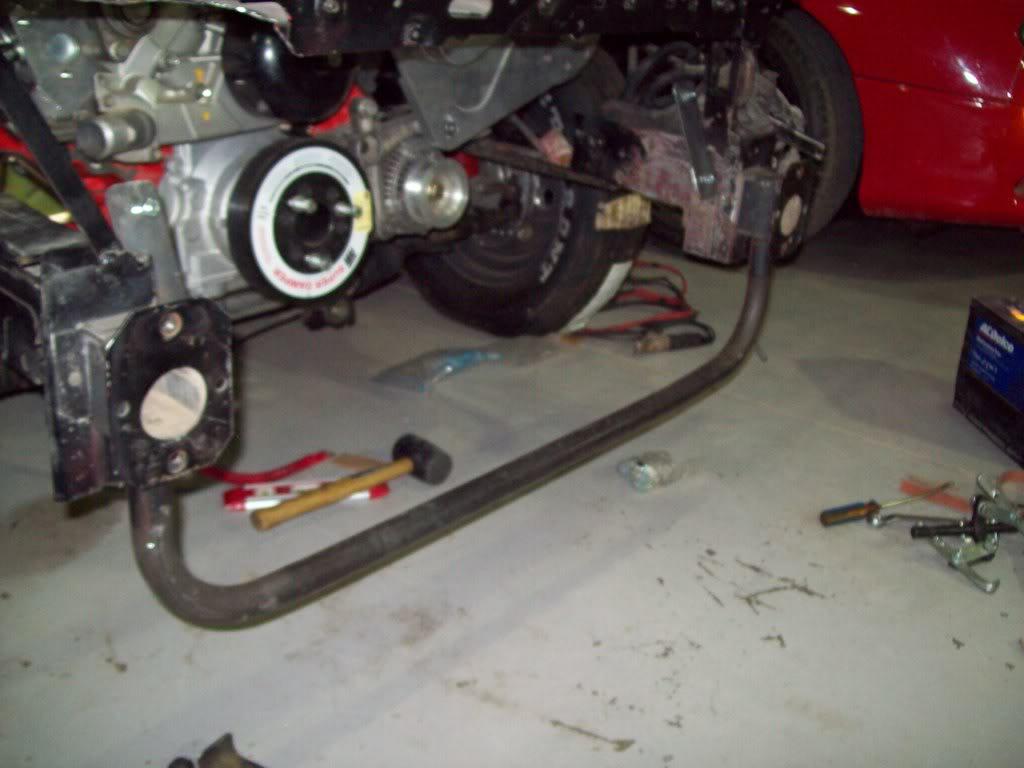
to free up some space up front , the buttom core support was lopped off and a a tube took its place.

intercooler bracket

all this just to get to this stage

7/3/08
some progress to report:
we hacked up the front bumper to gut some more air to the intercooler .

also managed to finish up the charge pipe from the blower to the intercooler :
and got the pipe from the intercooler to the throttle body kinda done ( welded the BOV, need to get an IAT bung and sensor and th meth injection nozzles on there.
we put the fenders on to see how it looks :

also got a snow performance boost refrenced methanol injection kit in today . we'll be fabricating a place in the driver inner fender area for the pump to mount, and will position the tank for easiy access right behind the driver side headlight. the plan is also to go with the dual nozzle kit . the meth kit should be installed by tomorow ( except for the electrical work), the trans coole ron the other hand might be finished by sat. . the plan for that is to mount two coolers back to back in the passenger side fenderwell opening we have.
harness should also be in by tomorow , it'll take a few days to rip it apart and thin it down ( it will be an engine harness from a junyard car).
as for the throttle body , guages, and the moroso oil accumilator ; they should be in by the begining of next week ( i hope ).
so, next up is getting all the sensors, installing the engine harness as well as a relay/fuse panel, fabbing up a driveshaft, and see if we can fire this thing up !
7/5/08
well , got the methanol pump and reservoir mounted today , as well as the harness!
just need to machine an adapter to have the autometer oil pressure sensor work with the valley cover hole, as well as the water temp sensor. those should be done tomorow.
got a few parts in today, namely the guages and the moroso oil accumilator ---- which is BIG! we kinda ran out of places to put it in , so a bracket in the passenger side fender (behind the tranny cooler) will be welded in tomorow.
didn't get any pics today , but i did get some crappy ones on my phone that i have to upload. i will get better ones soon and post them
7/10/08
well more progress has been made , like i said before , engine harness is done as well as the guage sensor adapters.

the accumilator and its bracket are done, i just didn't like how low it hanged from under the car, so it will be repositioned to be tilted a bit ( bottom part more forward than the top - like an f-body radiator). the accumilator also shares the tranny cooler bracket.

the tranny cooler is also done ( well almost); i wanted to have two coolers together , like two layers of coolers, only problem is i couldn't find any more tranny coolers here! i guess they sell out real fast now that the "warm" season is here
so we ended up just using one and will be slapping a small spal fan on it :


image looking in from the passenger front tire :

the last few days we were looking around for a radiator that would fit behind the intercooler and was short enough not to hit the intercooler pipe on the top ( don't want to order one from summit and wait for it to show up).
i saw a small radiator on a sand rail here an when i asked the owner he said its of a small bmw or mecedes , so i went to a used parts place that specializes in used german parts, and i asked for the smallest radiator they had ..... be carefull what you wish for

here it is mocked up behind the intercooler :

to tell you the truth i wasn't very comfortable with how small that thing was after we mocked it up on the car; it was tiny! i've seen tranny coolers bigger that this one
so we looked around and got one that sorta fits , its off a toyota hilux and it fits ok , we're in the process of building the brackets for it and after that we'll get the hoses:

also being done right now is the interior harness and relay board. the harness for the windows, lights, ctc. is all done , just need to wire it in to the main "board" where all the relays and fuses are.
i really should start looking into making the driveshaft at this stage of the build; the car is a few days from being started
7/11/08
quick update, we took the radiator off ( again ) , cause after looking at the evo next to the stang , we realized the evo's radiator would fit even better ( and was full width !). so we took the evo's radiator off ( should be getting another one tomorow ) and we are in the process of mounting it up.
the car laso gave its first sign of life: after downloading a new base program into the pcm , we primed the fuel system , and to our surprise , it only leaked in one spot ( right at the exit of the fuel pump- thread sealer took care of that quick) , after that we commenced the engine cranking cerimony we just wanted to hear it turn over - it had no oil so we had no intention of starting it .
a minor setback though, we never tried the dipstick while the engine was out of the car and on the stand. it now appears that LSX blocks have a smaller dipstick tube diameter than a regular ls1. so we'll pull the engine up a bit , drop the pan , make sure the windage tray is clearanced for the dipstick in the right place , and re-drill the hole .
we also re mounted the accumilator , it hung a bit too low for my taste, so we angled it and now it looks better.
7/12/08
IT LIVES!
at 6:19 local time , the engine fired up for the first time !
at 6:36 we had oil to the rockers
the thing sounds mean
i'll try and get a video of it tomorow ( or i'll pull a phill on you and not post it )
can't let it idle for too long since there is no coolant in the engine (nor radiator).
should be a driver soon!
7/13/08
the relay and junction block board is finished (will be painted and firmly fixed once the roll cage is in ):

we're starting on the autometer dash cluster now , should be finished soon. it will have , boost, volts, oil press. , water temp , fuel level, and AFR ( hopefully ) all in the dash cluster. tranny temp will be in the console area.
here are teaser pics ( more like WTF pics) of the next project in line for the guys at SLR ( i'll be re doing my stang soon too ):


loool! its really not that dusty, its just that my camera for some odd reason , shows dust 10 times worse than it is! ( well ,that and the car has been sitting outside for god knows how many years )
anyhow, i just got the new fiberglass hod with 2 inch cowl , will post pics tomorow. also fownd a cog belt in the shop that fits the current pulley arrangement (small crank cog for now, till we get the big one )
i'll probably be getting the radiator hoses and hose clamps for the tube from the intercooler to the TB tomorow. and with that we can fire the thing up for more than a few seconds and check for leaks and do the first oil change.
7/16/08
here's the startup video:
http://api.viglink.com/api/click?for...13574989153332
after the start up we found a small leak from the rear main seal, we'll be replaceing that tomorow
here's how the new fiberglass cowl hood fits:

we had to relocate the regulator a bit lower to clear the hood's bracing:

if you ever wondered how it looks from the inside


next step :
- get driveshaft from shop
- get a connector for the alternator ( harness plug)
- replace rear main seal
- route vaccum lines and BOV
- get a hole saw to make holes for the guages
- put a milk crate inside and do burnouts!
7/20/08
driveshaft is in , but somehow it cam out a bit short, so it was off again to get lengthened by 1 inch.
alternator connector is here ( we're using a lexus alternator) , we plugged it in , only to find that the alternator had some issue with it (its actualy 1/2 of one alternator and 1/2 of another ) this should be fixed by today.
vaccume lines are 90% done , and so is the rear main. can't figure out why the one on there leaked. its supposed to be a brand new one that came with the engine.
the hole saw should be here today (heard that countless times before ).
plans for tomorow include:
- finish routing the vaccume lines to the inside of the car for the water injection and the boost guage.
- check that the alternator is charging.
- first oil and filter change.
- start drilling the dash and mounting the guages
- slap the driveshaft back in
- check and set pinion angle
- and in preperation for the burnouts: fill diff with lube and break in , and then bleed the brakes
might even take the pipes off the car to paint them .
7/30/08
loool,, thanks.
well the dash is almost done, we got the guages inplace and wired up . after installation we noticed that we needed to move the boost guage to the other side next to the AFR . this is to make it easier to read both at the same time, all wile making it easier for the inboard camera to view them.
the turn signals, high beam indicator , alt light, and the check engine light are all incorporated in the new dash; they're the little LED's in the bottom. i have to get some different colors to make them look nicer currently they're all red.
(note: the dash pod thingy is still not tightened down)

the trans temp guage had to go to the side cause we ran out of room

next up is going to be the drive shaft ( which some one forgot to get from the driveshaft place ) and installing a stock seat inside, that way we can atleast drive the thing around and maybe start tuning it on the dyno. (read: i wanna do burnouts! )
8/5/08
no go back to gugging azooooz till he gets the parts we need
we finally have the radiator done and the fans connected.


we also have the interior in ( just so it looks good untill we get the the roll cage in )

don't remember if i mentioned it before but the ATI BOV is on , we just need to paint the tube to make it look pretty

and the fabrication of a blower brace is underway , it will attatch to the plate you see here to one of the holes on the side of the head.

and here's a picture of the fron of the car ( bumper trimming is not finalized yet ):

next up is bleeding the brakes ( necessary for a good burnout ), shorter serpentine belt, diff oil, and a shifter check and its burnout time !
9/3/08
been a while since i posted an update , so here goes:
the car ran a bit warm when on the dyno , which turned out to be caused by the electric fans not sealing very well to the radiator (the pic above shows a single spal fan , but azooooz decided on two subaru fans instead).
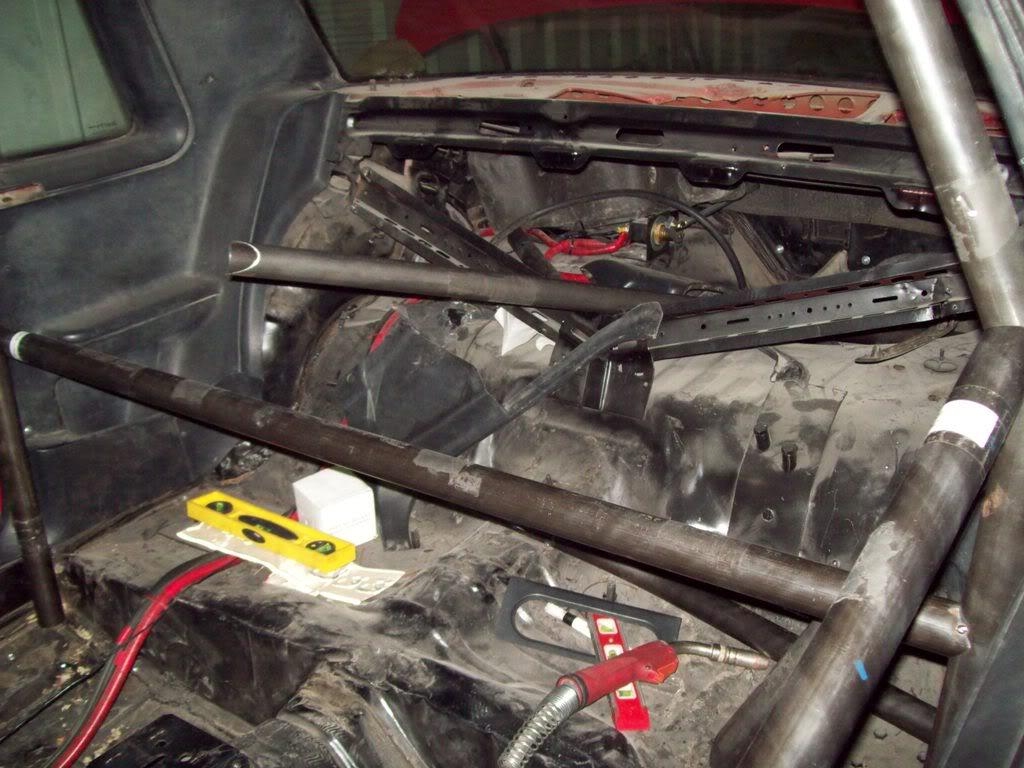
the roll cage finally showed up , and we are now in the process of welding it in . the plan is to tack , or not fully weld the bars in place , then cut holes under the base of the cage so it drops a bit inorder to reach the top of the cage.
here's how it looks so far:


the other tranny cooler showed too
so that will be bolted up and the cooling fan wired too.
as soon as the cage is setup , it'll get painted , then the kirky seat goes in as well as the interior , and then the carpeting. then its off to full blown tunning
9/18/08
finally some progress
the roll cage is done for the most part- still need to run some tube from the main hoop to the suspension pickup plates like phill99 recomended.


interior is also already in the car along with the kirky seat.

now all thats needed is to strap it on the dyno and tune it ( that and a radiator catch can)
next step : get a wolfe rear sway bar and chute mount, fab some header extensions, and replace the gas tank with a fuel cell ( class rules changed regarding fuel cells; we can use them now )
10/14/08
good point there, i think it was that low cause the when placing the bar it had a gap when placing it that high , then when lowering it it fit fine ( its a wolfe notched cage).
i'm assuming it will be redone soon .
any how to the juicy news
they strapped the car to the dyno, and amazingly it did 1130 rwhp on a mustang dyno !
this is with about 20 psi . it had a few issues : the car started to lean out after 5000 rpm and pressure was dropping. the pull was only to 6100 i think ( red line at 7k), and the injectors were maxed out
to tell you the truth , no one was expecting it to get that number hence the "just enough" fuel system . guess we will be upgrading to 160 lbs and a magna fuel pump since the owner doesn't want anything less than 20 psi
here is a link to the vid:
http://api.viglink.com/api/click?for...13574994587946
still have to add the alcohol injection to the mix , hopefully that will bandaid it till the pump and injectors show up
2/17/09
man its been ages since i last updated this thread !
alot has happened since then, the car is finally up and running , we also managed to break it ( more on that later ). the magna fuel pump is on the car now (duh), and a set of beefy sfc were installed .
the first track outing was interesting , it was fun but had its fair amount of damage
here are a few pics of us on our way to bahrain and at the track there:

in the garages :

we were in a rush and didn't get a chance to swap to a wider belt ( we were running the 27 mm - about 1 inch wide belt) before we went to the track , so instead we got a whole bunch of replacement belts
this is what happenes :

the car wouldn't make it past the 60 ft mark before snapping the belt.
during the second launch ,the belt snapped and caught the upper rad. hose and snapped the outlet off the radiator :
( uploading the videos as we spak , but its going to take a while )
the cool thig is that the car managed to get a 1.32 60 ft. off the foot brake and that was stalling it up to 2300 rpm !
on the second outing we were not as lucky , we had the wider belt, but for some reason it was trying to walk off the pullies after the first run , so we put in a new belt and tried again , in the second run the car was down on power ( more than the first run), and azooooz complained about the lack of boost , which turned out to be a spun hub!
the key holding the hub to the crank and precenting it from rotating snapped off and allowed the crank hub to rotate, thus over heating the hub and cracking it .
the crank snout was tore up , but easily repairable.
so we tear down the engine , and thankfully nothing was hurt and all the bearings look good. fast forward to the present the snout was repaired and this time it had another keyway machined in . a new double key way hub from ATI was also installed.
now the plan is to re-arrange the front of the engine a bit :
the water pump will be ditched in favor of an electric race pump, the alternator will be tossed in favor of dual 16v batteries, and a dry sump will be installed . with all that stuff out of the way , we can install a shallower hub that tucks the whole balancer assembly closer to the block ( brings it in about 3 inches) which will inturn reduce the bending moment on the crank snout. also thinking of fabbing up a crank support bracket to help, but thats a bit down the road now.
azooz also ordered a new blower bracket from DNA motorsports, which should hold the blower better and prevent the bracket from flexing.
right now the engine is being put back together ad we are also waiting for the wolfe swaybar and chute mount. hopefully the car will be running by this weekend ( and as soon as the sway bar gets here wi'll weld that puppy on ).
the next race is in two weeks , and we're hoping to be able to make it
2/21/09
finally uploaded the vids ,
here is the first launch
http://api.viglink.com/api/click?for...13574995792293
and here is the one where he brakes the radiator
(forgot to shut the camera )
http://api.viglink.com/api/click?for...13574995954644
we should be heading for round three in bahrain this wednesday , i'll keep you posted
11/25/09
man its been ages since i updated this thread !!!!
lets see,,,,, right now the car has the gear drive installed , smaller radiator , dual 16v batts, dual bov's, chute and wing, and other stuff i can't seem to remembe
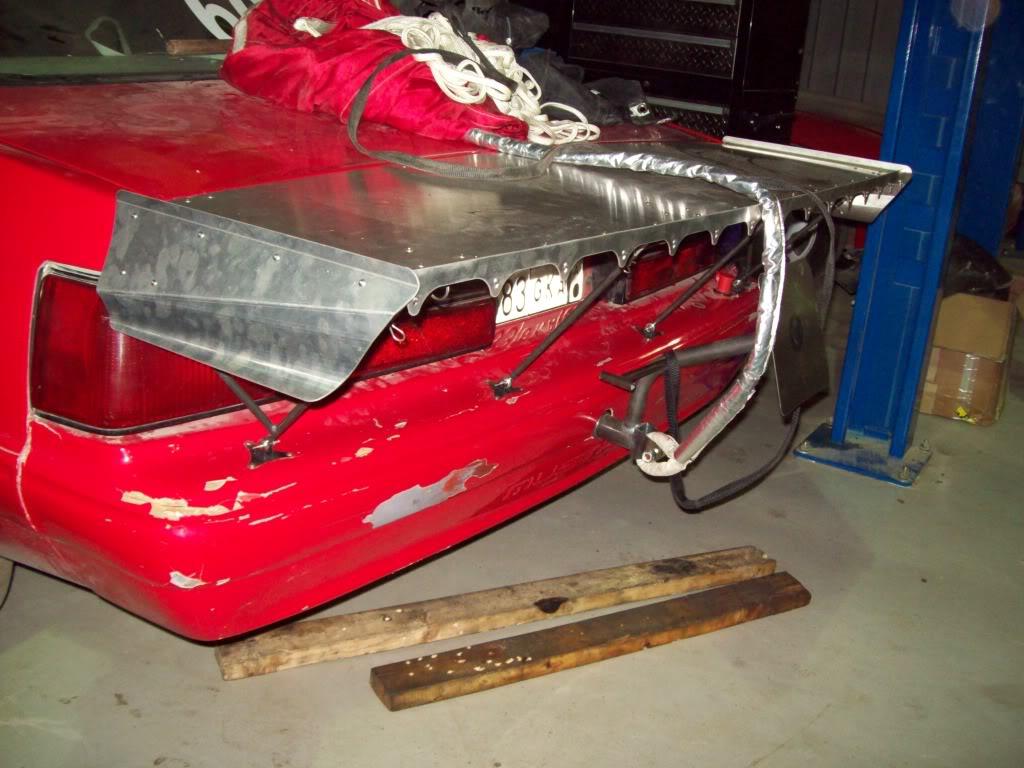
and here is how it looks now
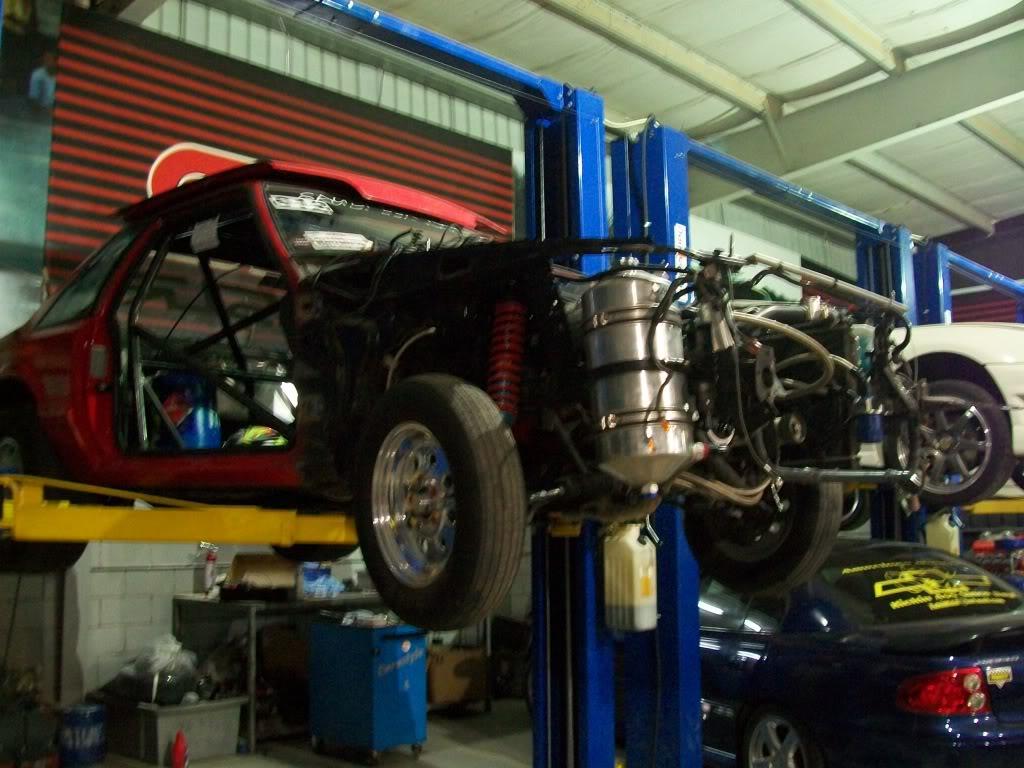
we took off the fenders and doors cause the owner just ordered fiberglass everyting in an effort to drop some weight . these should be here in 2 to 3 weeks .
the car still needs some tweaking suspension wise , since it did a 1.32 60 last week and we all know it has more in it ( his launch looked as slow as 2.0 launch not a 1.3 !)
i guess coilovers upfront are next to be ordered.
12/1/09
http://api.viglink.com/api/click?for...13574997263123
pretty good shakedown pass i guess
and from what azooooz told me he just ordered a complete BS3 system and some " other stuff" from kurt urban .
12/17/09
guess what santa dropped off today
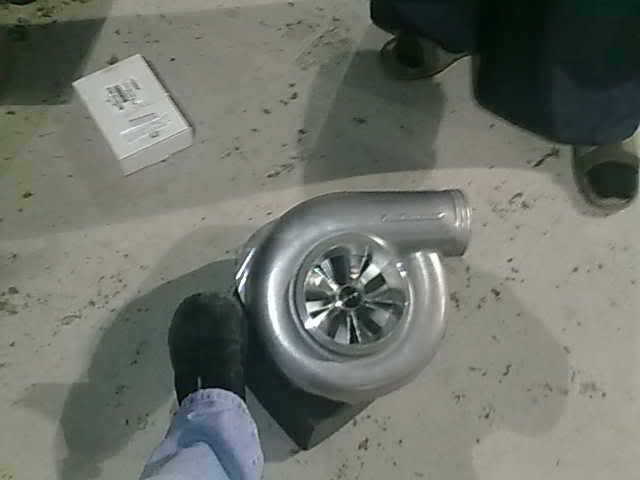
and here it is ,,,, getting some love ,,, and that is an F2 next to me
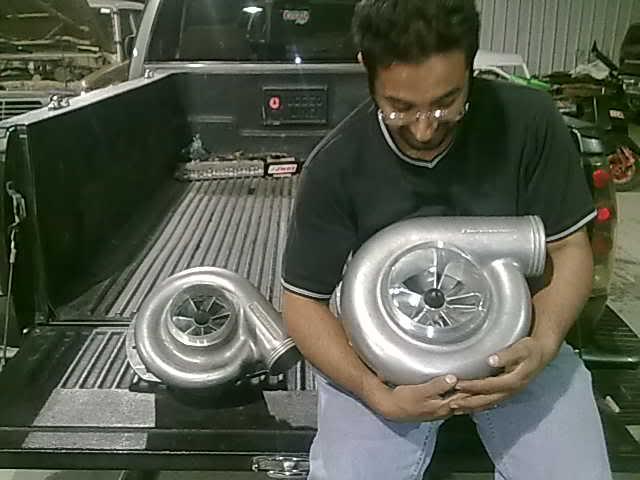
here it is next to a D1SC head unit :
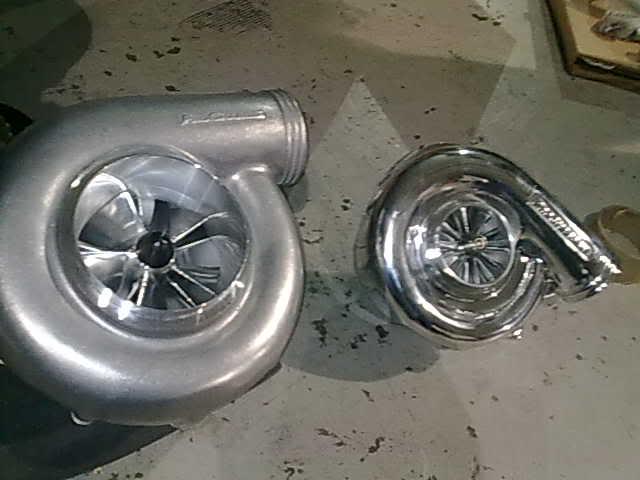

i think it can fit

i see alot of broken parts in the future
7/13/10
man its been a while since i updated this !
the F3 still is not on the car
we did hurt the motor out last time , waiting for it to be finished and install it soon .
the plan according to the owner is to ditch the air to air cooler and install a water to air unit , i'm guessing the placement will be in the car but still not 100% sure on that, we'll have to wait till the stuff shows up.
another thing on the way is the front suspension and a 25.5 cage that will replace the one in the car already . still waiting on that too.
we did take the car appart , the paln is to re do almost everything better .
right now we are working on the front end and wiring the body ; we'll run all new wiring to the lights and other accessories as well as make a new wiring panel .
furthermore, the plan is to make a tubelar structure to hang the fenders and bumper from as well as reding the frame horns. the whole front sub assembly will be bolted in so the whole front end can be removed for better access .
here is how the original frame rails looked :


and here you can see the new (nicer looking) frame horns :

we also decided to weld up any factory seams and holes in the egine compartment in preperation for painting it:

should be finishing up the tubelar stuff today and once that is done we can start welding on brackets for the other stuff in there ( like the tow hook and drysump tank and what not ).
i'll try to update this thread as soon as more progress is acheived
12/20/10
update time :
we got the front end all finished and all prettied up
(sorry only pic i have is this ) here is the new frame horn :

also finished an order for some suspension goodies that should be here soon as well as a 25.5 cage , but more on those later.
furthermore, the Speedwire harness came in and man do they do a great job! worth every penny if you ask me !
we placed it on a lexan panel (and covered it with carbon fiber wrap ) - i wonder who's idea this was,,,,,,
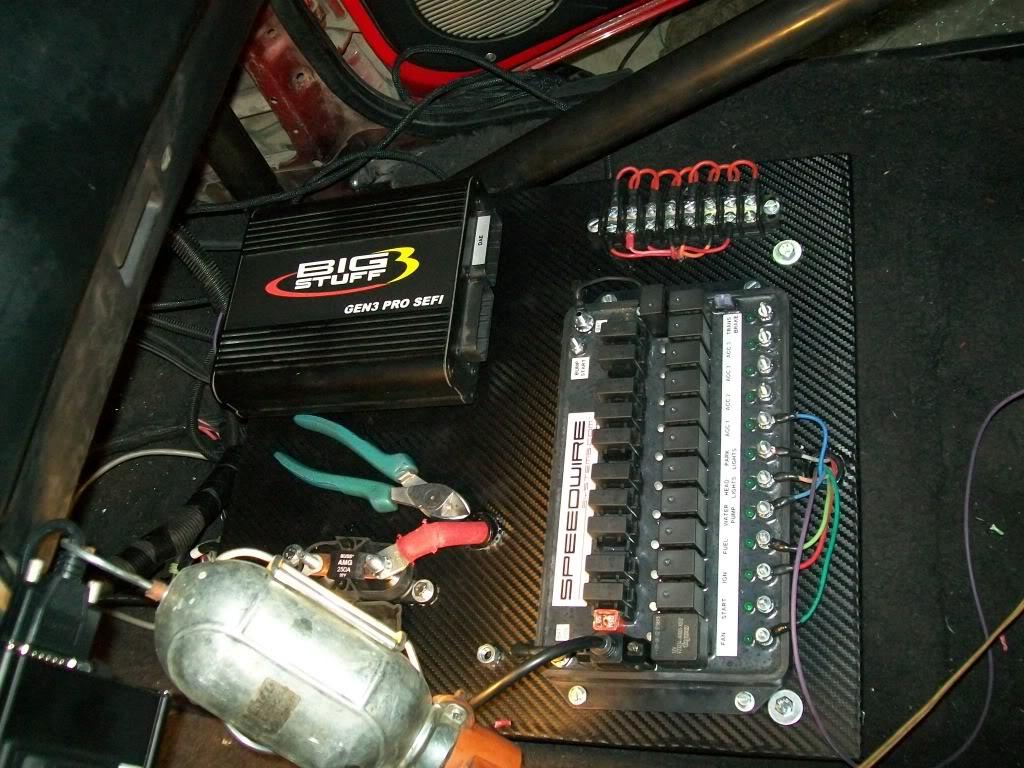

and here is the switch panel that came with the kit :

moving on , the PPP shifter was installed ( great peice of harware ):
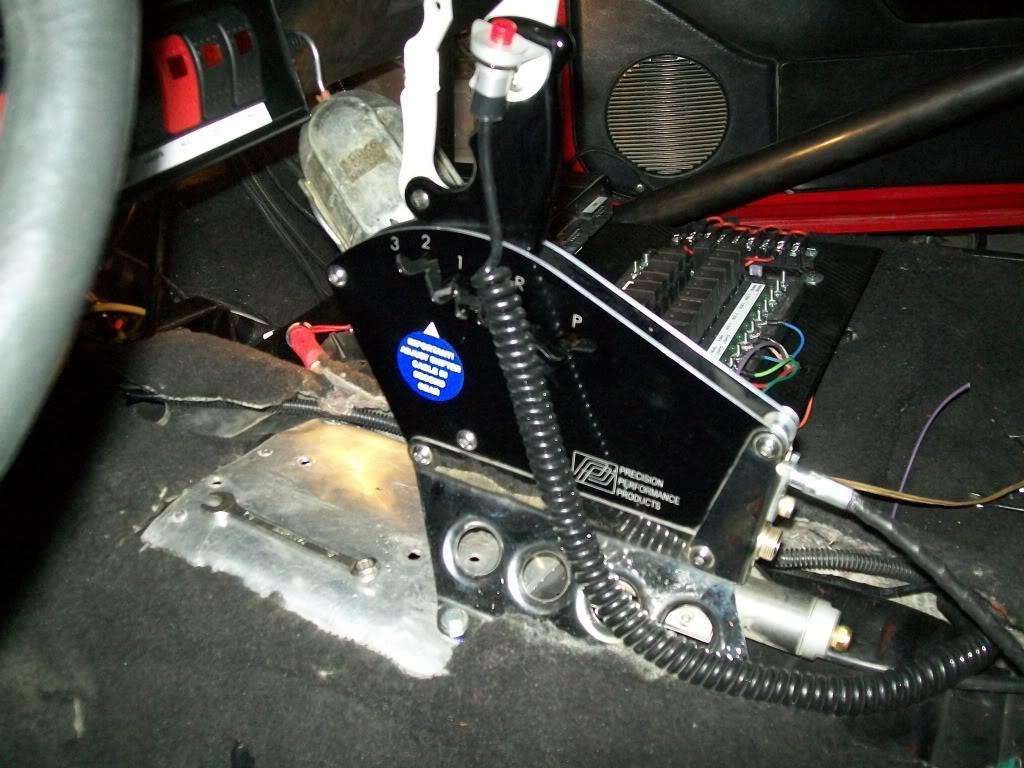
the plan now is to use the car as much as possible to dial in the suspension and tune , work out more bugs and get the the thing ready for the new engine combo for next year
next up is a set of 2 or maybe 2.25" primary headers for this thing , we might have them made in Qatar by jan. the idea is to have them forward exiting from the fender in front of the front tire .
also need to orde a new radiator to cram up in the fender to replace this little one, the tricky part is selecting one that will work with the current and upcoming combo .
i'll post more info once i get this all worked out
7/31/11
and then there was an update
after a loooong wait , its finally here !!! the new F3 procharged engine from kurt urban has arrived (looks familiar?? )

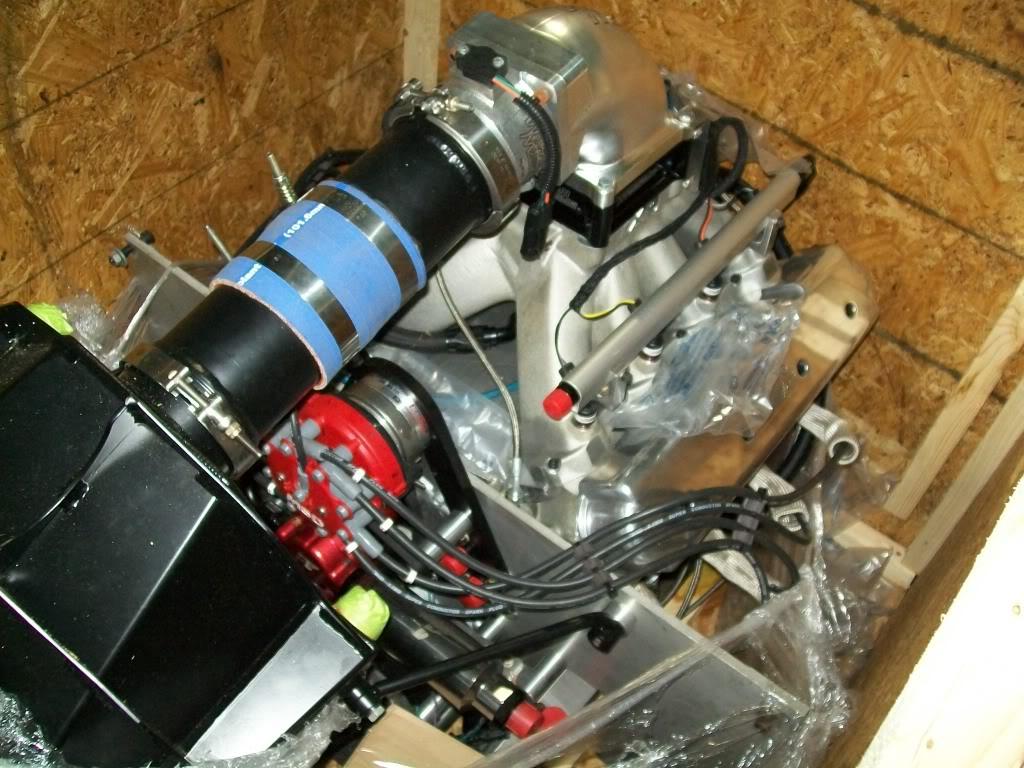
sexy elbow

water vapor thingy
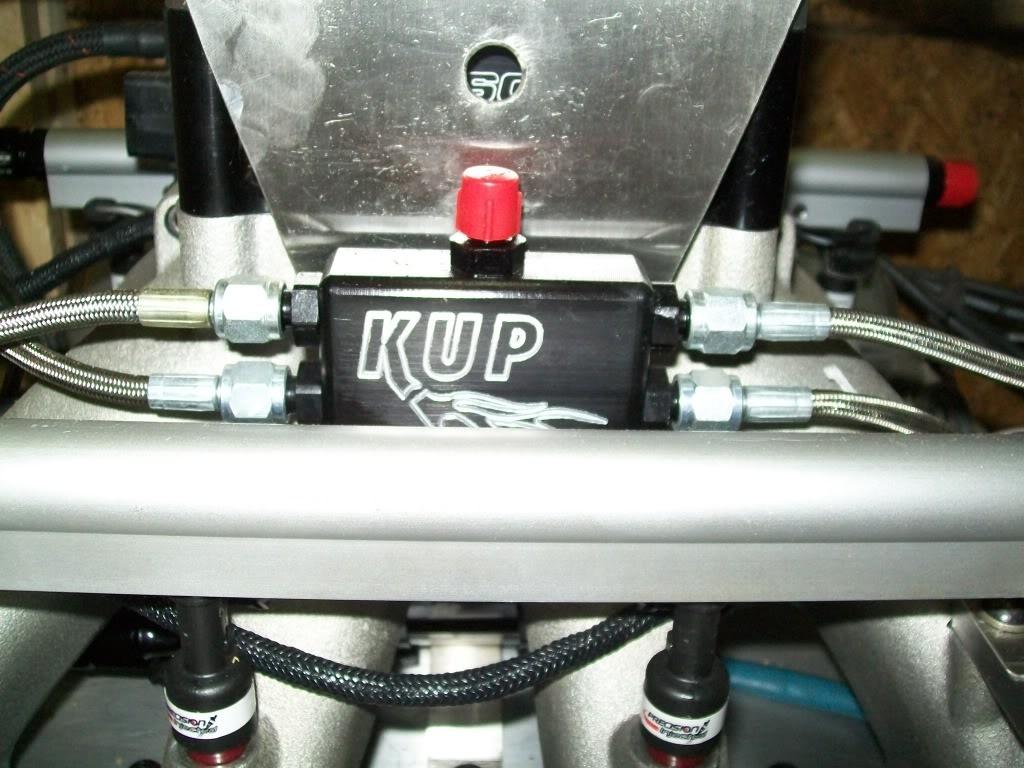
the engine did OK on the dyno , but there was an issue with the F3 head unit that Procharger is aware of - but not providing a solution- where the blower has a serious efficiency problem . all that procharger said was wait till we redesign the impeller blades ,,,,, for the F1 then the F2 and then the F3!! ( if you ask me that sounds like great customer support )
and the news thats coming from vortechand their 123 headunit is not helping at all.
any how ,we still need to take the thing out of the crate , and start fabricating the headers and coolant lines and a whole list of never ending stuff
another thing that was done to the car during the last few months was that it was stripped down to a bare shell , there is a ton of new stuff piled up for this car including a 25.5 or 25.3 - don't remeber which one -cage , new front/rear suspension , steering , cooling stuff , and a whole bunch of other stuff.
well here is how it looks now


the plan now is to first start in the front then work our way back: so fist up is to fabricate some forward facing headers , front fuel cell, dry sump oil tank mount ,
then tackle the jungle gym roll cage and interior, then finish up the rear with a new ice tank and other stuff
wish us luck
10/12/11
loool, i'll have something detailed real soon
denali , yes it did
here are a few teaser pics


there have been some changes to the plan , i'll post something up real soon with all the details
2/7/12
geuss its time for an update
azooooz finally got the engine from kurt , it had an issue with the blower , but procharger will be fixing it (soon i hope ) . its a 427 stuck a smallish F3 blower.
like i mentioned , there were "slight" changes to the plan
azooooz decided to swap cars since he wasn't "feeling" the red one
so he went and got another one from a local which already was built by jung performance in florida with a full cage and big *** turbo and a built and stroked 302 ( stroked to 347 or something like that).
here she is :

fuel tank and water tank:
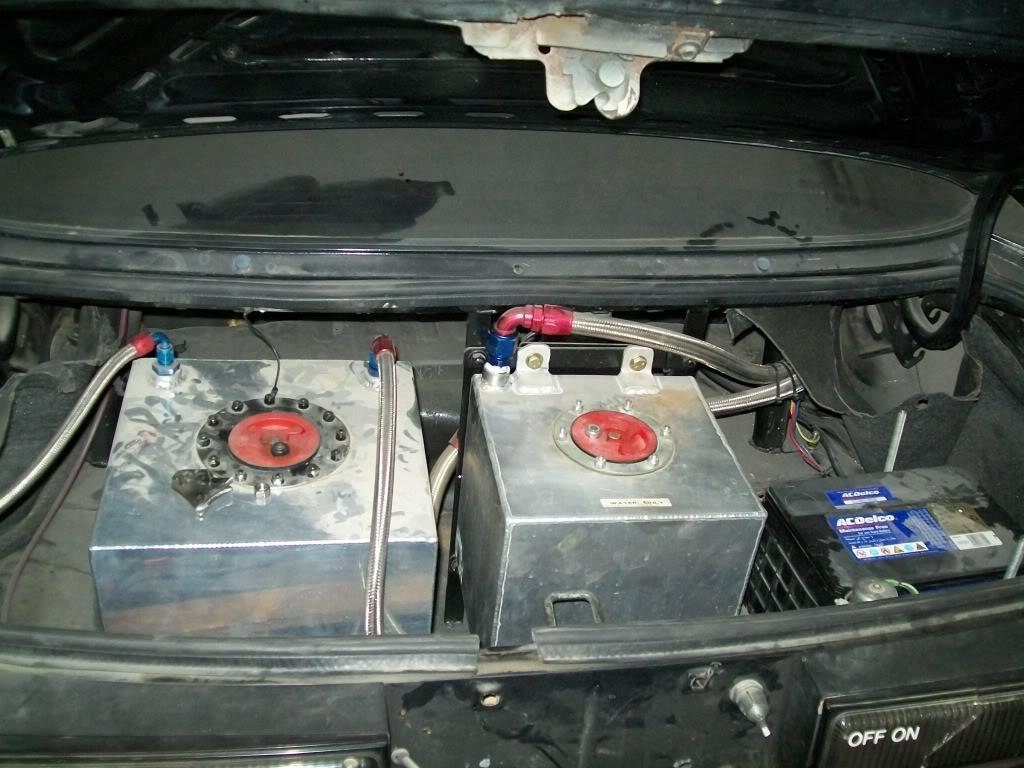
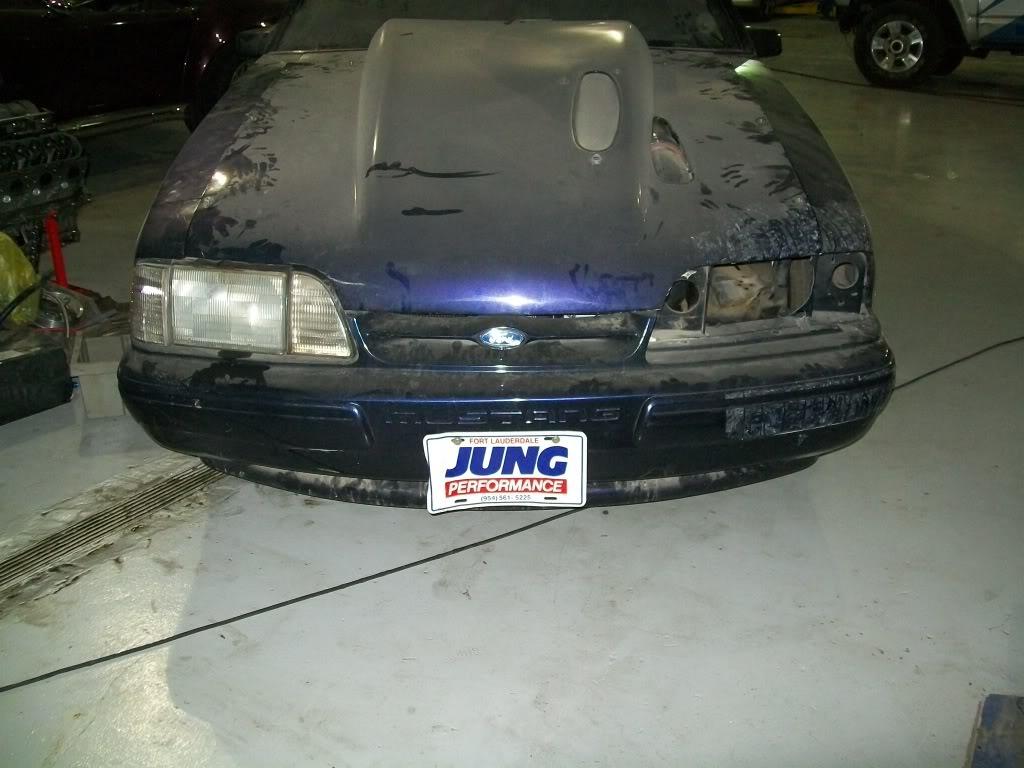
intercooler :
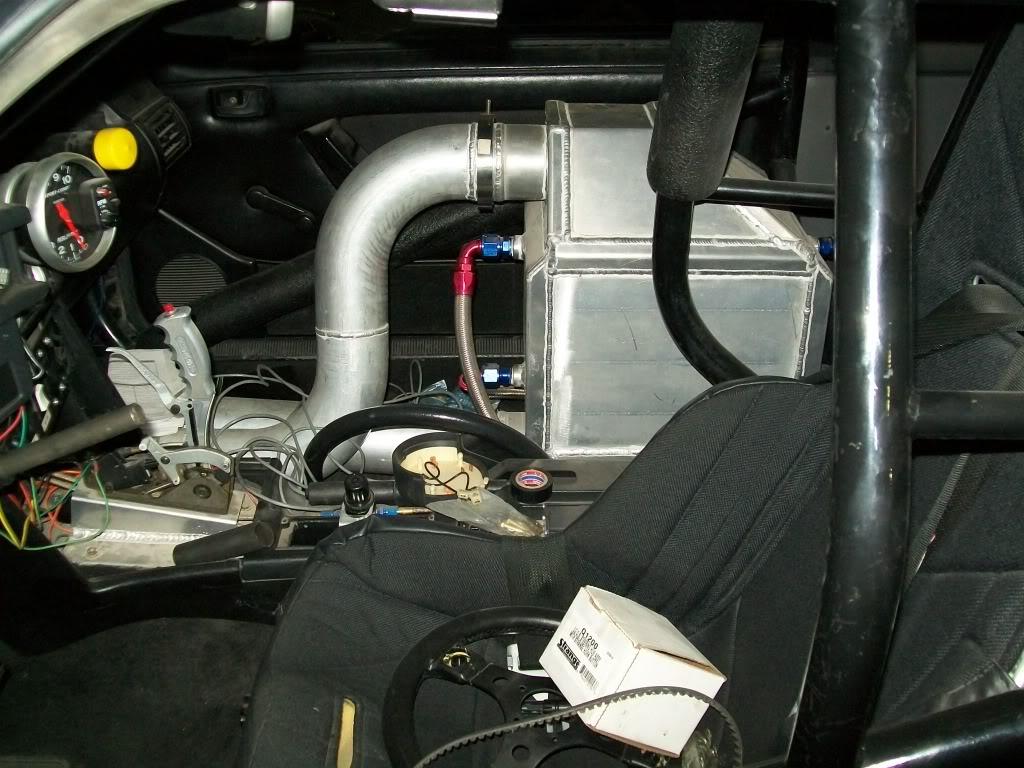
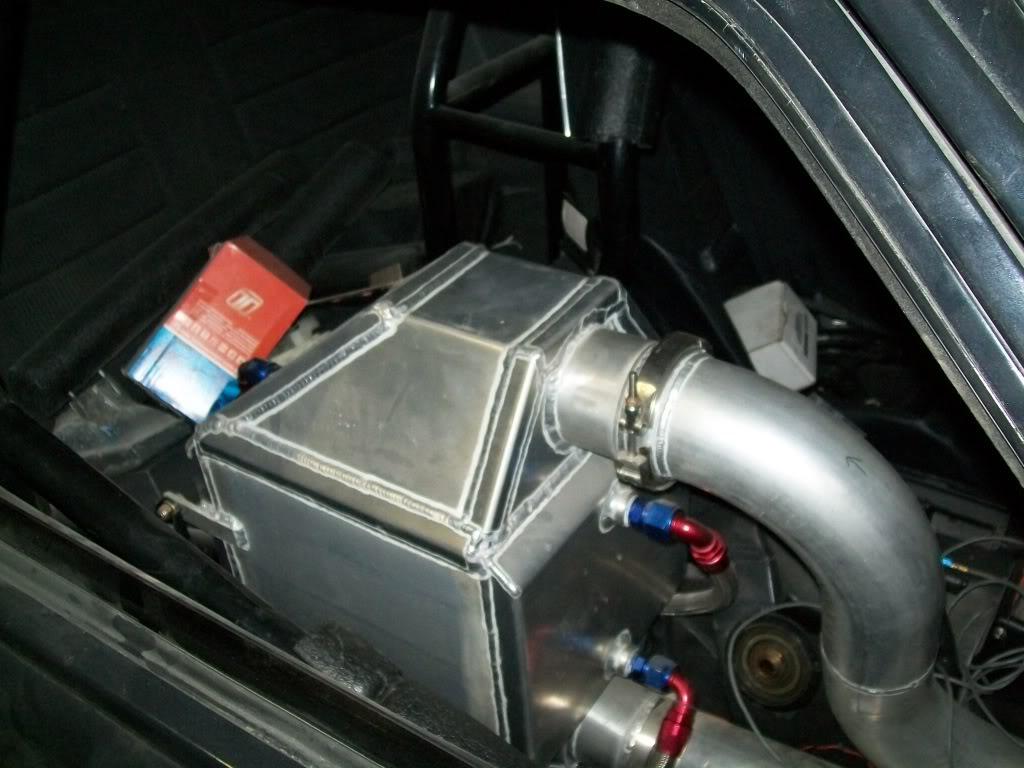
and the interior :
so after he aquired the the car , he got rid of the ford engine and other stuff dangling from it, and proceeded to install the new engine and see how we would shoe horn it in
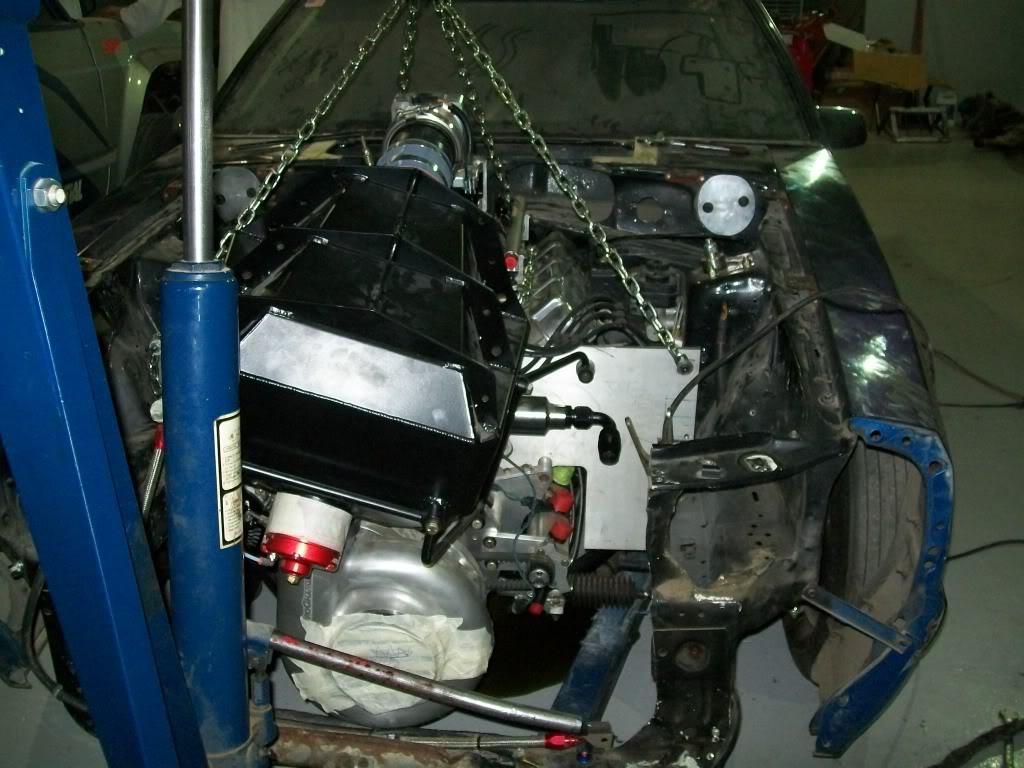
me thinks the intercooler will be a "problem"
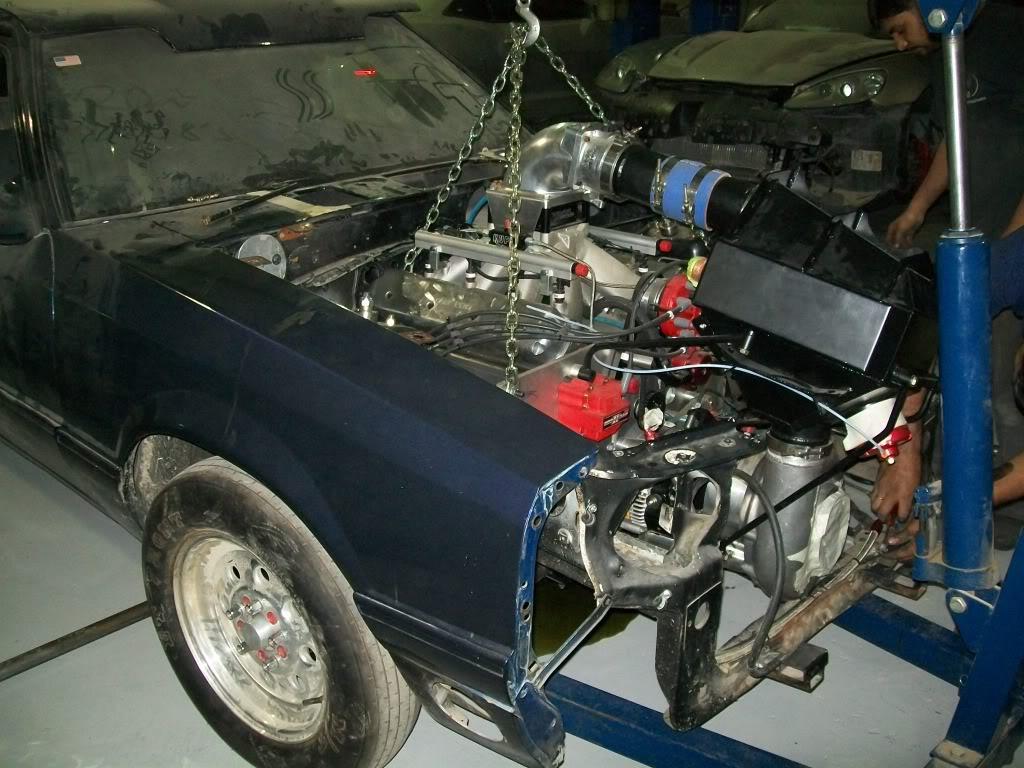
hood clearance :
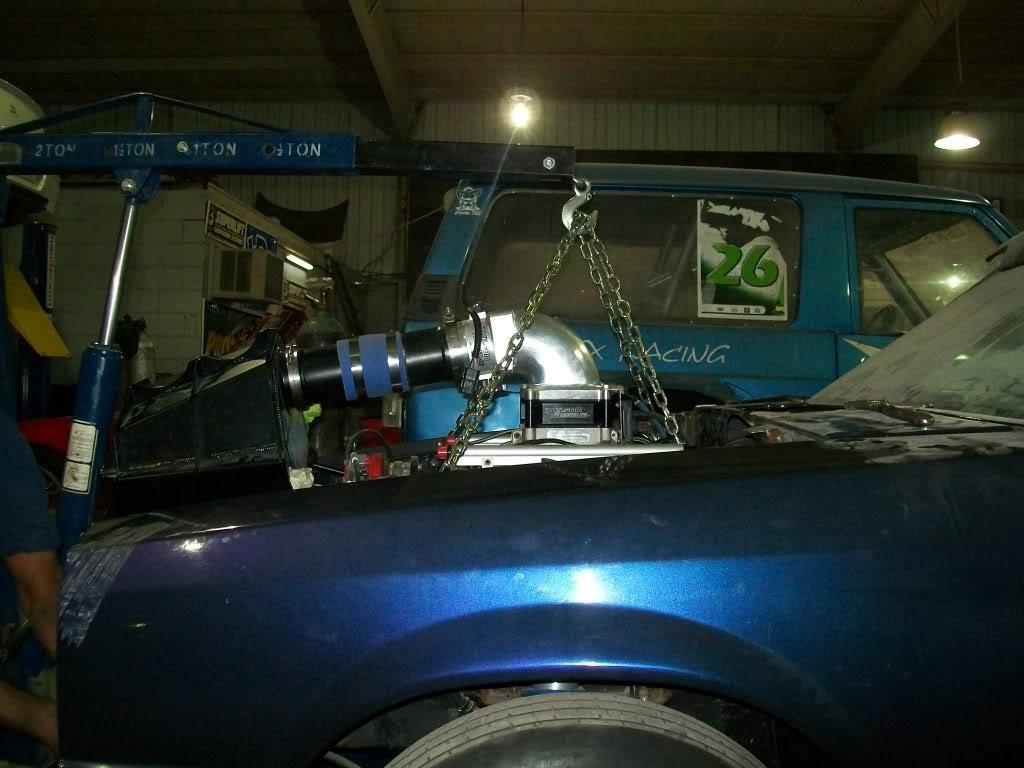
so after placing the engine where we wanted it ( basically mounted it on the kmember and old mounts and then figured out where to place the motor plate mounts - the class we race in requires motor mounts ) we started looking at how to fabricate the headers.
kurt told us that we need a minimum or 2-3/8 primaries into a 5 inch collector inorder for the engine to breath properly .
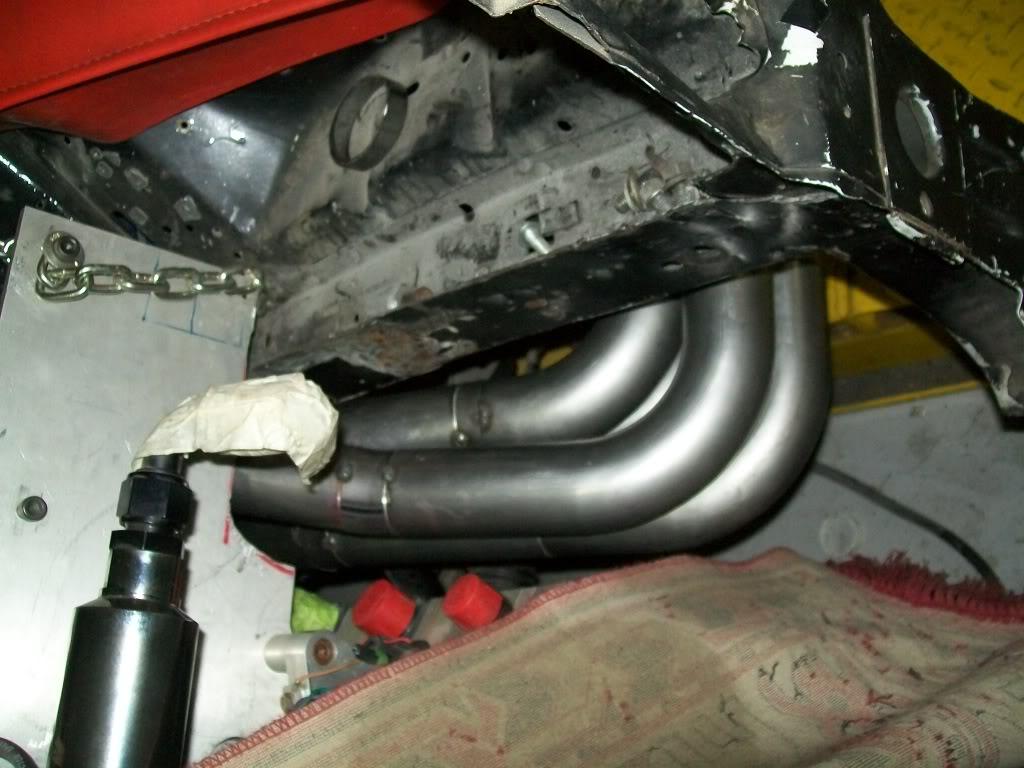
so we started mocking up the headers , and it was clear that they won't be going under the car , so it was front facing header time headers will face forward and exit from the sides just in front of the tires.
so far the driver side is almost done :


and here is how it sits as of yesterday :
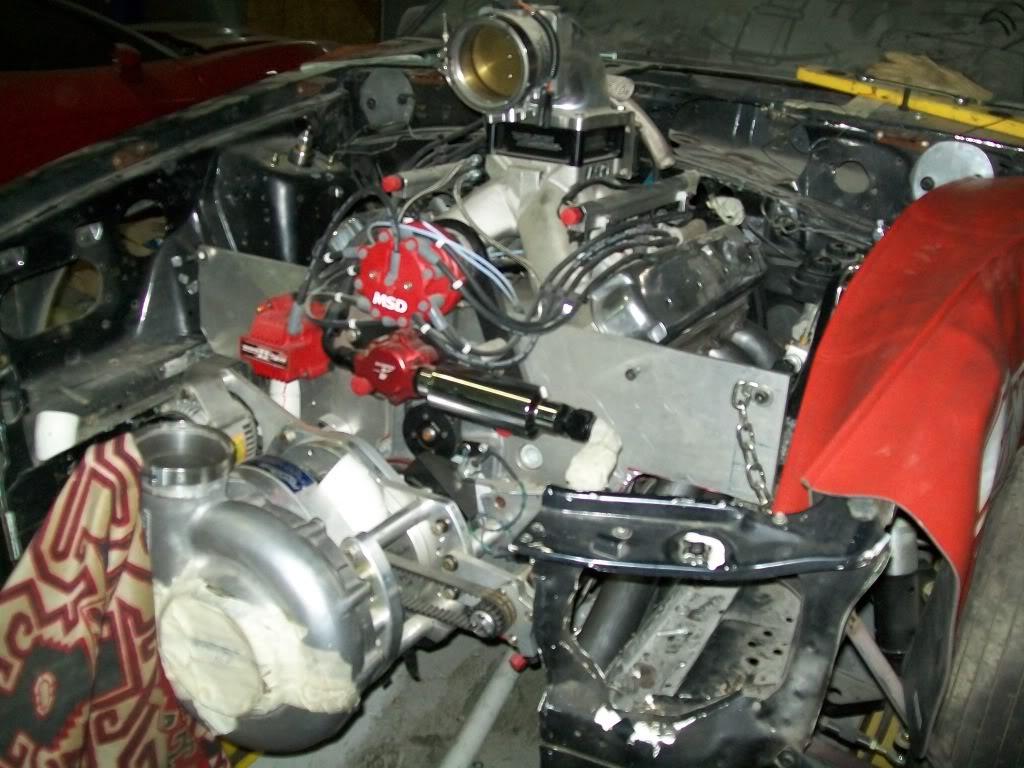
i also have to mention that the plan is to run the intercooler inside the car and not use the one infront of the engine ( we'll revisit the intercooler when we put the nose back on to see what can be done ).
so next up is the fabbing of the passenger side header, figuring out where to mount the oil tank, fabbing up a new fuel cell up front for the belt driven pump, finalizing the motor plate mounts
also forgot to mention that the car has a full interior , including back seats ! the pictures above show the interior in a "dissassembled" state.
Great build!
Posted by Diggymart on 12/1/19 @ 8:44:32 PM