You must be logged in to rate content!
4 minute(s) of a 636 minute read
7-1-2019
well spent 5 minutes this morning generating a 3d model of the insulator
modeled it after the original one i had, put a step in the insulator so that the wire with shield (fabric) will stop at the step and only the bare wire will come through.this should make it easier to solder and handle. will print out a test piece tonight for fitment and function then adjust from there. fine tuning :)
here are some pictures of the original one and the broken one. very brittle
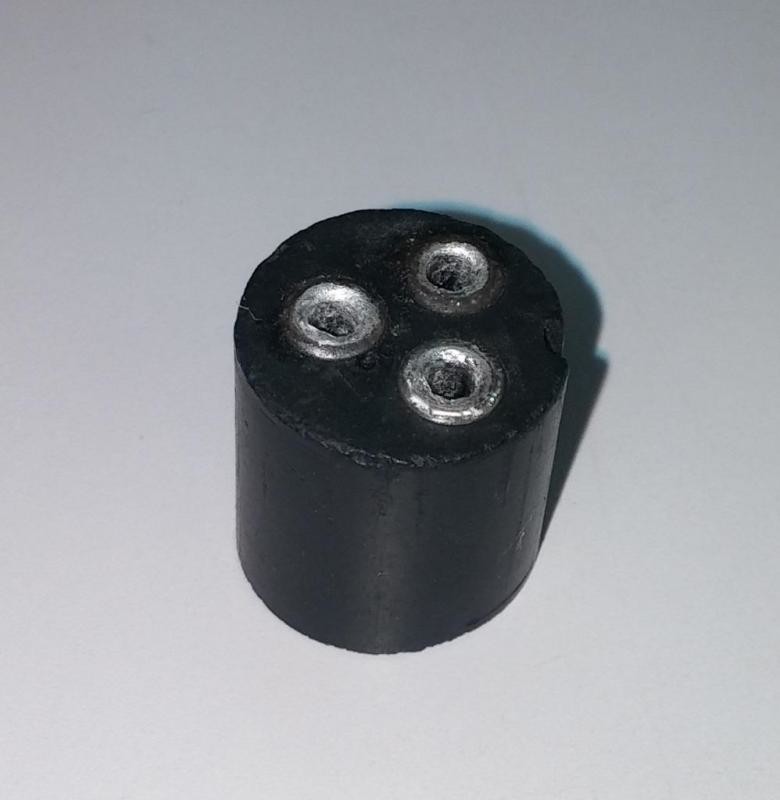
Original Insulator Front End (inserts)
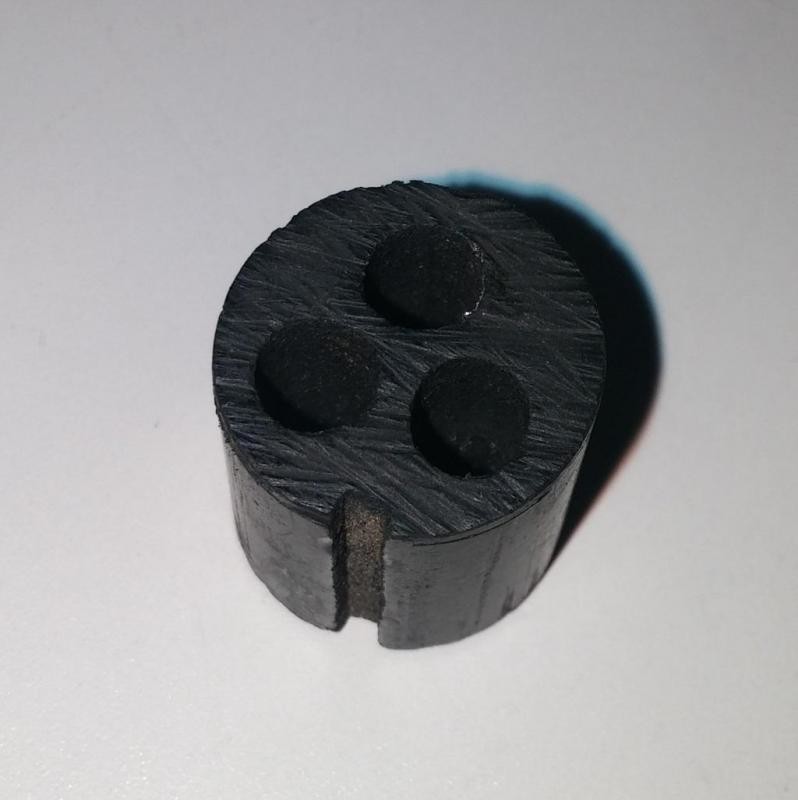
Original Insert Rear Side, after cutting to fit
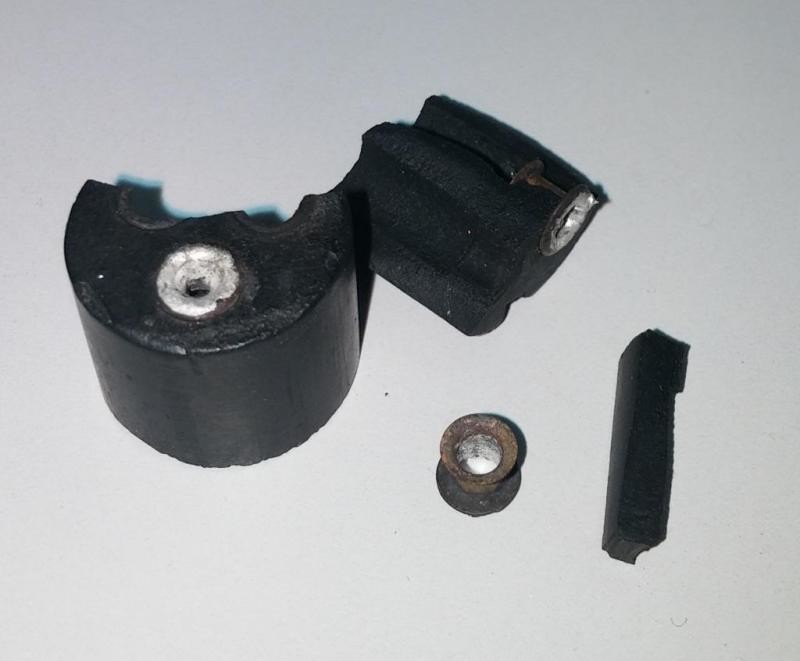
Other Insert that Broke
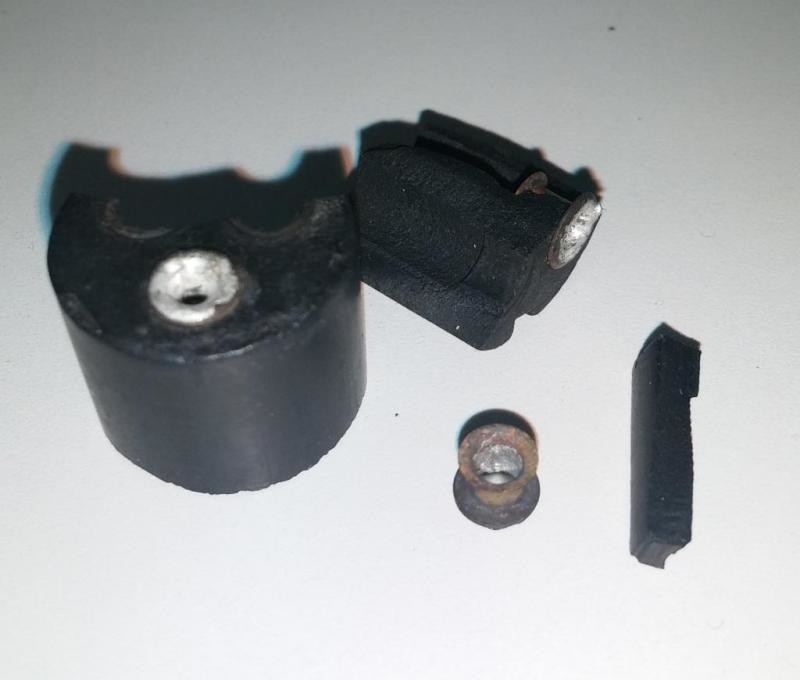
Another Angle of Broken Insert
Here are a few shots of the model i generated this morning that i will 3d print this afternoon.
on the rear side you can see the step for the wire stop
will try to post pictures when test fitting. hoping it works on first try :)
thinking of using #2 brass washers for the solder base.
Tin #2 brass washer, push wire end thru insulator, then place a tinned #2 brass washer over wire, solder up and build a nice connector. file as needed. figure the washer would help keep heat off insulator from solder iron plus would assist in making a nice round connector button.
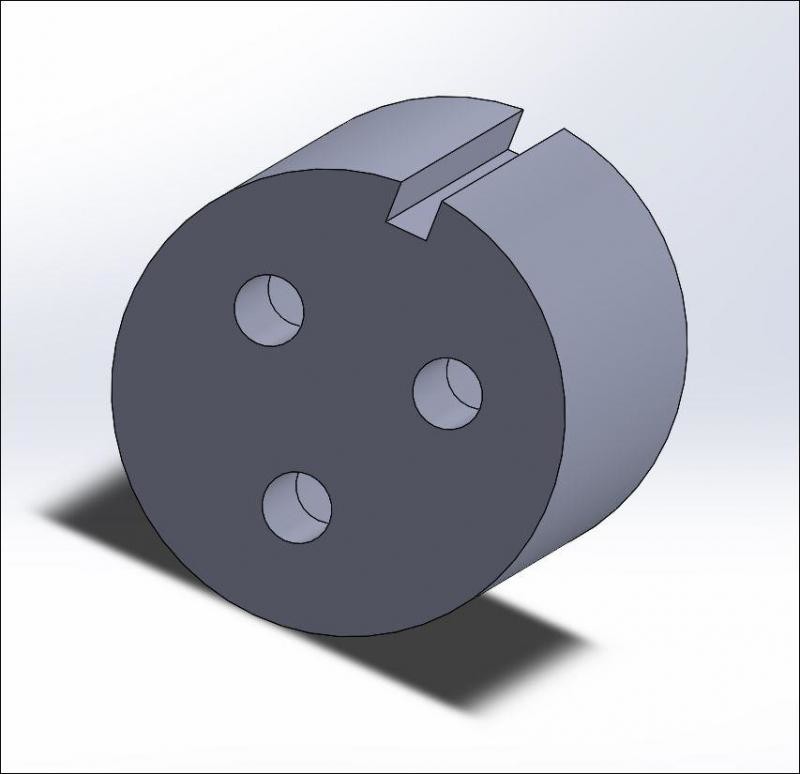
front view
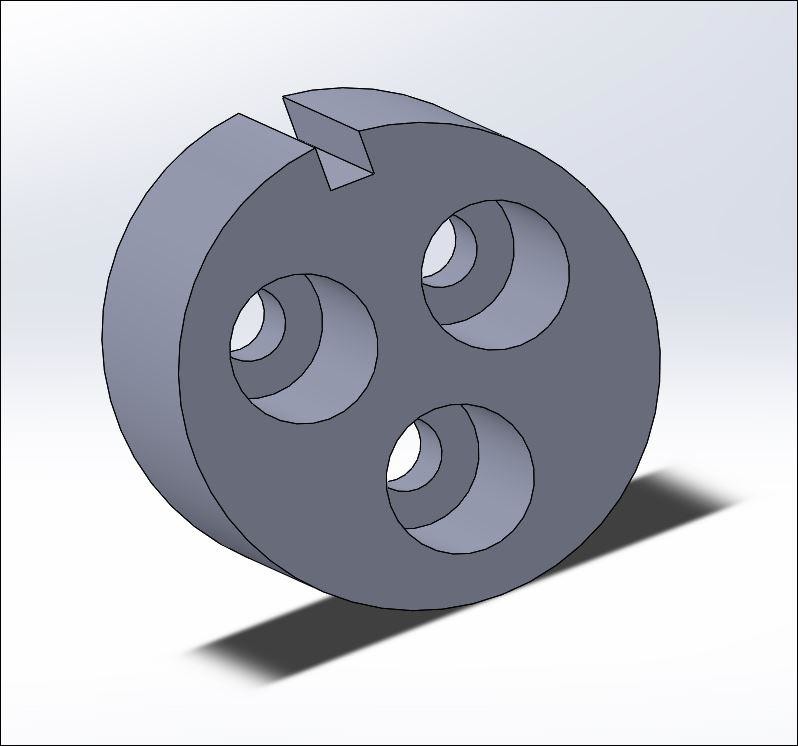
rear view
well made of 3 concepts for the replacement insulator one that:
1-mimics the original
2-mimics original with chamfer lead for easy wire entrance
3-same as above bu with radii on entering edge to seat smoothly against the TFS replacement sockets
took about 1 hour to print them out, they looked really good. i tried
1- it fit fine, had to work the wires to get them to come through. it fit nicely in the socket housing. it was a little recess inside the housing.
2- general fitment is the same wire was a lot easier to feed into each hole with the chamfers. also recessed a little inside the housing.
3- same general fitment, a lot easier to get it into the housing with that leading radii wires are easy to feed with the internal chamfers and it also seated better in the housing, sits almost flush
ordered some #2 brass washers today, should be here wednesday, no one local carries them that small. plan to tin one side of the washers, drop one washer over each wire tip poking through, solder the tip and washer with a nice solder ball. then file them down nice and even and flat on top. should be good to go at that point.
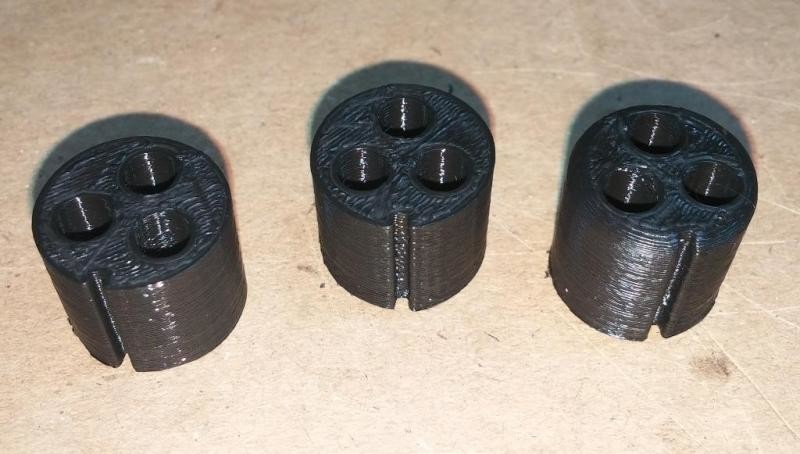
3 sample pieces, 1, 2, 3 (notice radii on top edge)
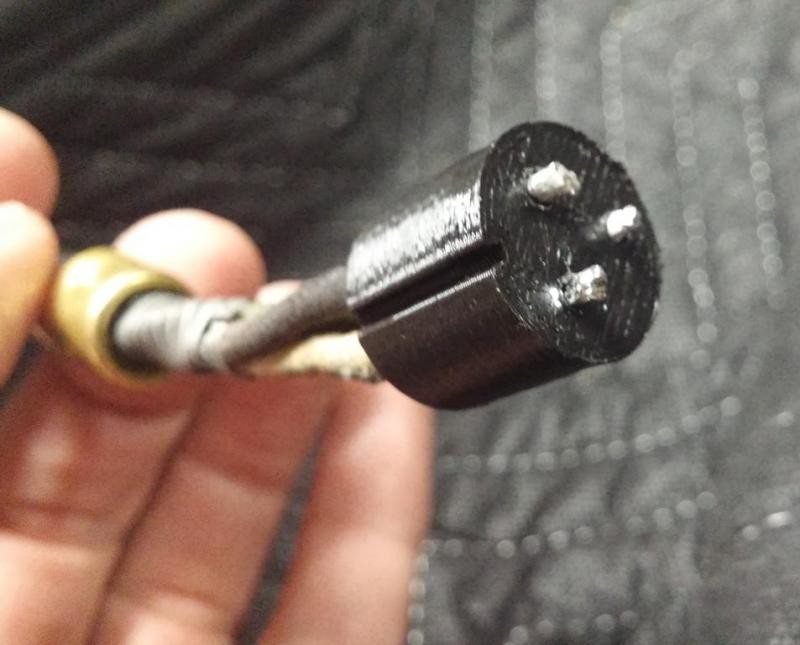
wires fed though insulator, tips just poke through
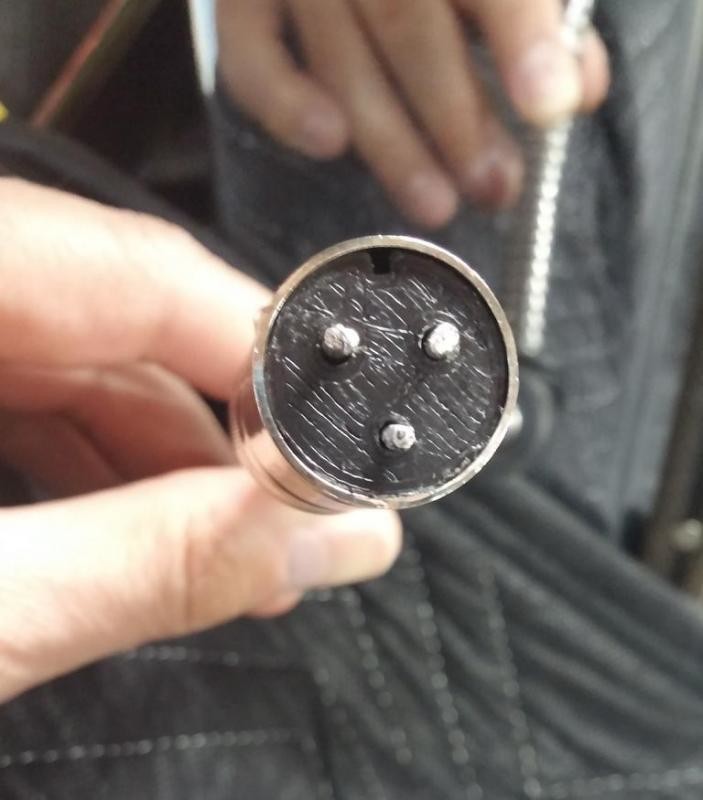
housing slipped on for test fit, notice groove to right for pin in housing for proper alignment
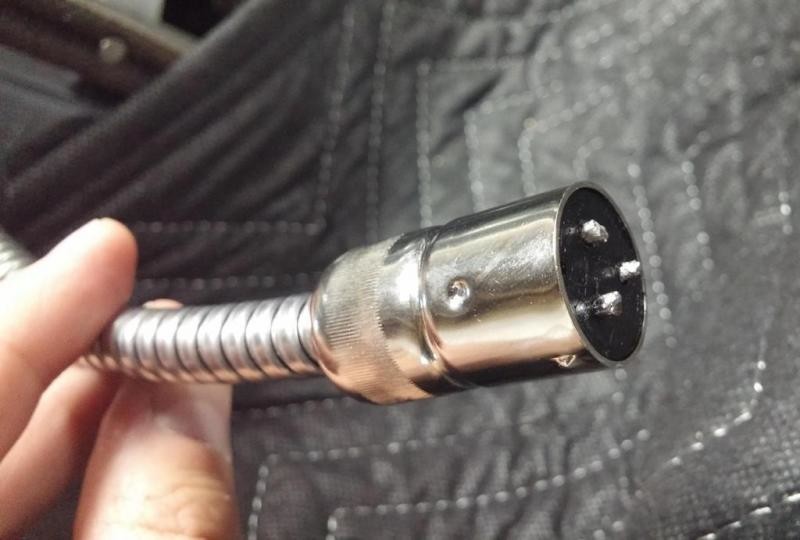
good shot of assembled parts
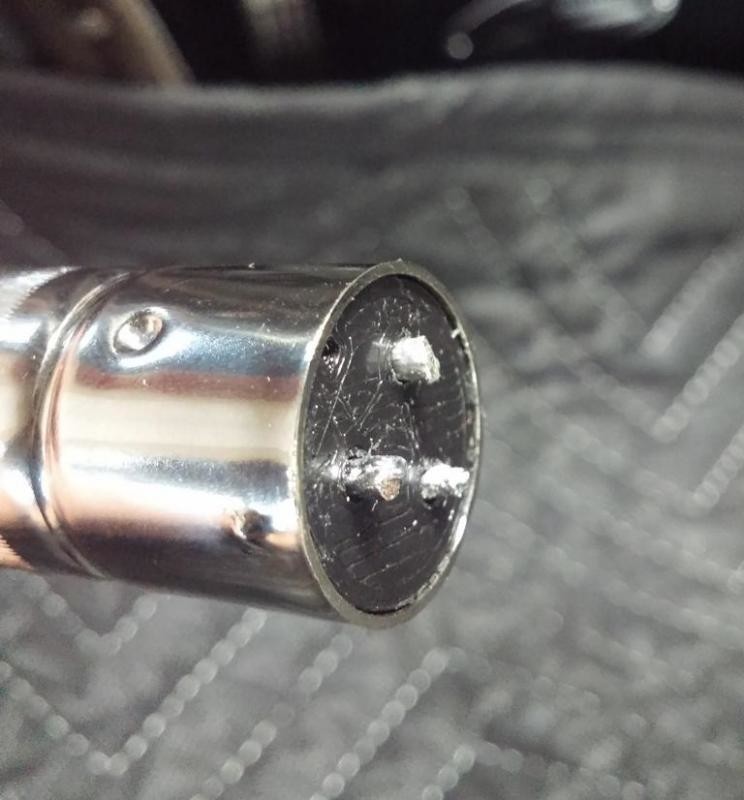
close up of insulator , can see it is slightly recessed
Great car !
Posted by Diggymart on 9/7/19 @ 3:48:57 PM