You must be logged in to rate content!
7 minute(s) of a 636 minute read
12-7-2017
Those are Harbor Freight Furniture Dollys got em on sale, 8 of em actually. 4 hang on the wall in the back if i need them for anything else.
then i cut plywood to fit in one way then another piece across the top. all screwed together nicely, any screws that went thru were cut off and ground below surface. then bought Harbor Freight Jack Stands again on sale and 4 of em. centered them up on the dollys, then marked and drilled for u bolts to hold em down and in place. they work great, really cheap, and the car does NOT just roll around, it takes some force to move it. figure around 2500-3000 pounds on them. distributed evenly. but gives me just enough ground clearance i can roll under do some work and have no issues. I originally used industrial zip ties to hold them in place.
yes i can roll it sideways and spin it if i wanted. takes effort and muscle, not a really easy task. my floor is NOT smooth it is rough concrete. takes a bit of effort to redirect the wheels ![]()
2-1-2018
Trying to stay active on my 1929, looking to see what is the correct make and Model of Vacuum wiper for my 1929 4 door Sedan.
Then what is the best way to test/ verity that it works properly. Not sure if the PO rebuilt it or if it was thrown in a box, bough off ebay, etc...
Figured I would cross this bridge now so that if need be I can have it ready when I get there.
Will see if I can get some pictures and post it when I get home today. Assuming it is in the box of parts ?!?!?
This is the Trico Wiper I have:
2-26-2018
Well spent the weekend tearing down and rebuilding the wiper motor. I Took my time, broke it down and laid out all the parts as i took them apart, took pictures of most every step along the way. followed the instructions that came with my rebuild kit, even ordered an extra gasket just in case i destroyed the one in the kit !!
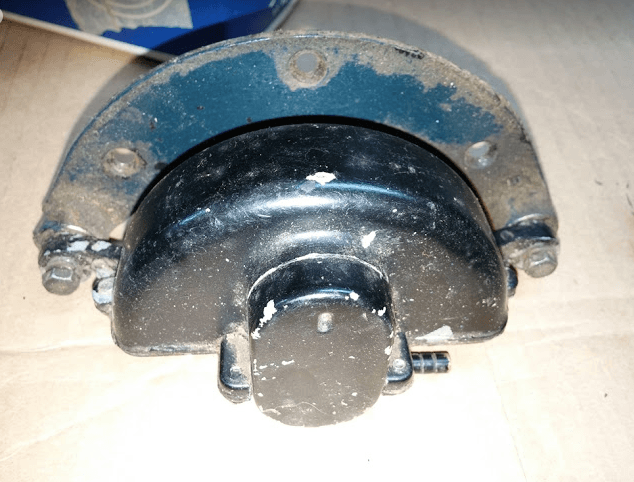
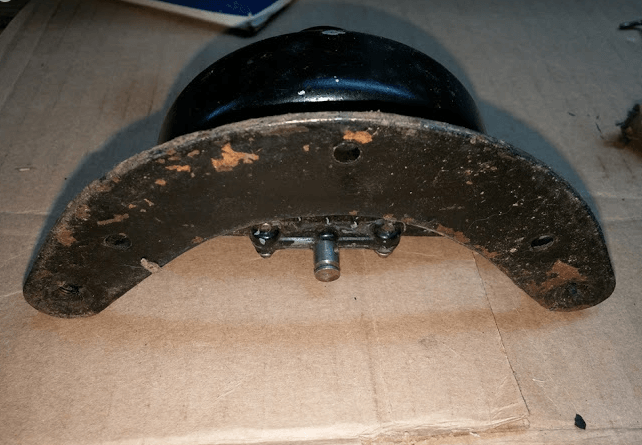
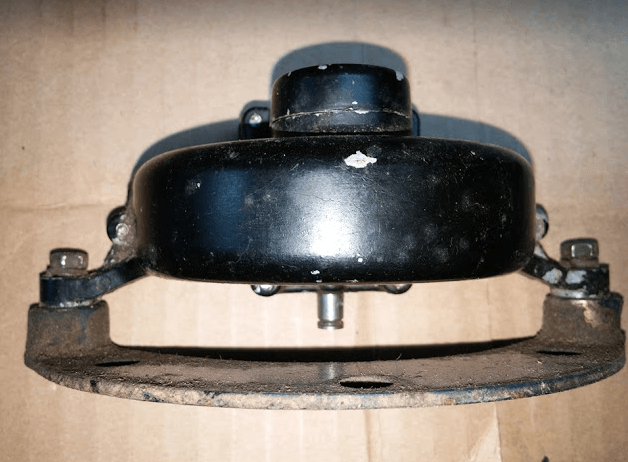
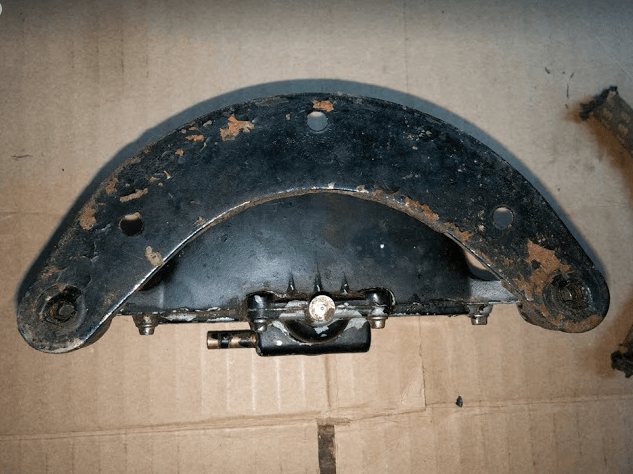
Basic Tear Down of the MAIN components
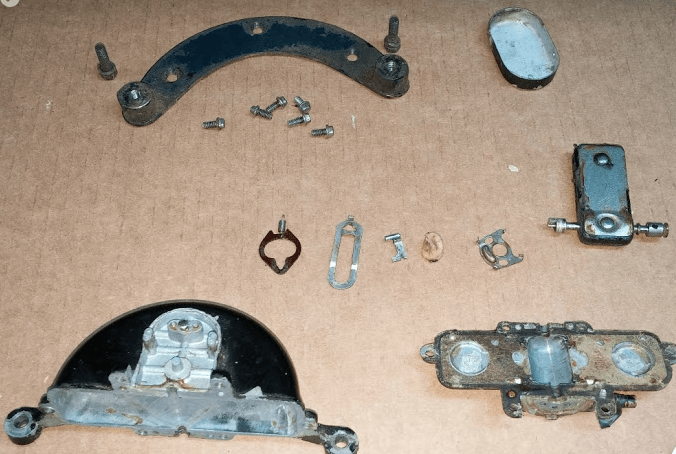
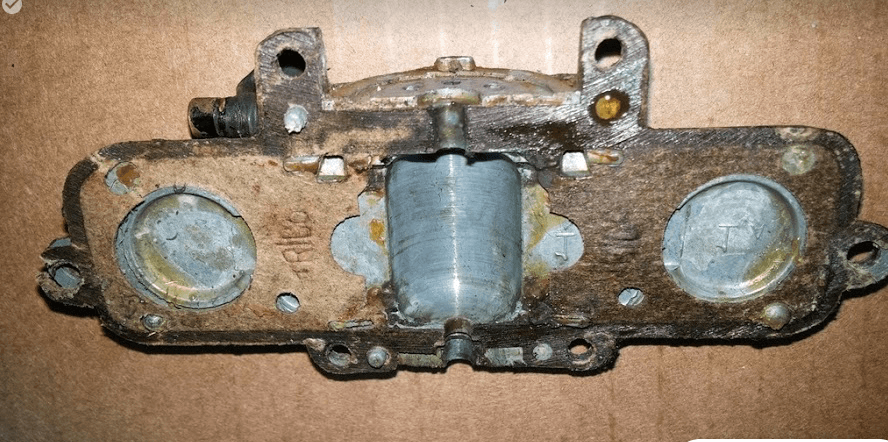
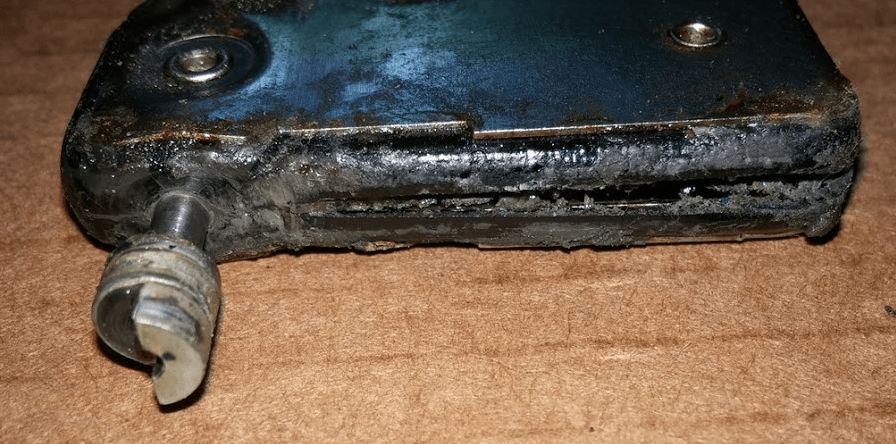
Tore Down the Original Wiper Paddle
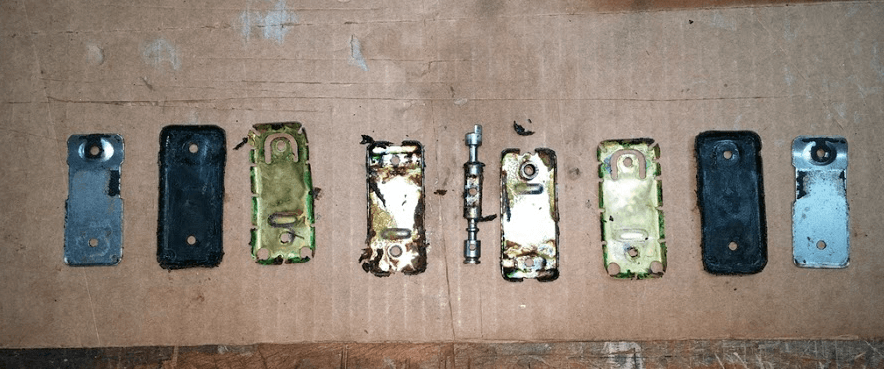
after tearing everything down time to clean each part up, remove the old grease and grime.
I took my time doing this as NOT to damage any surfaces or break anything.
also the copper parts of the paddle are very thin !! and their are NO replacements.
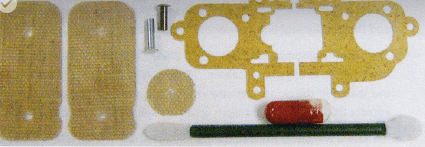
Here is a shot of the rebuild kit
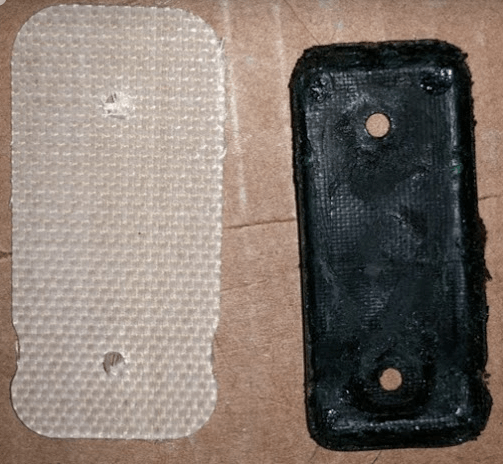
Side by side of OLD vs NEW Paddle Seal
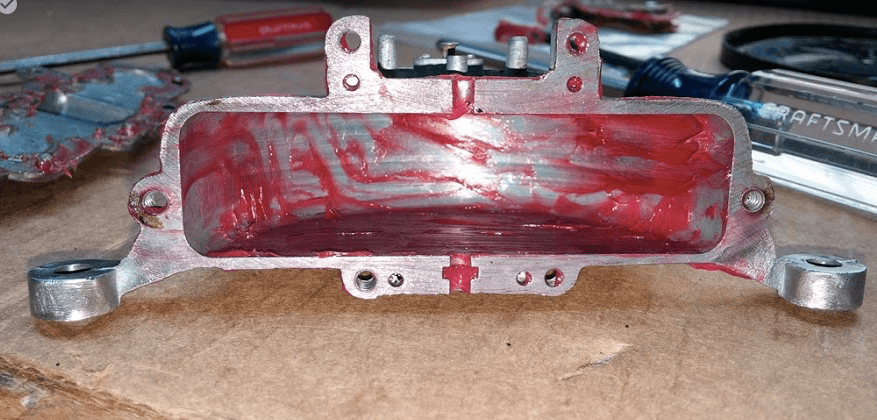
Then time to rebuild the paddle and then the Vacuum Assembly.
I read instructions a few times, dry fir the builds, then assembled and secured.
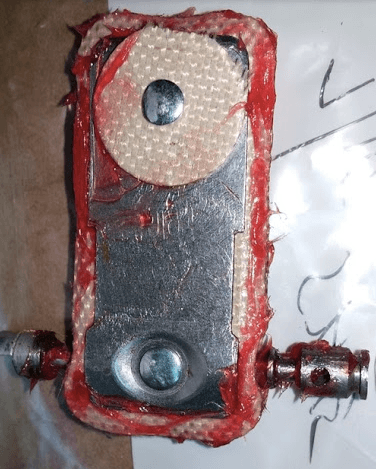
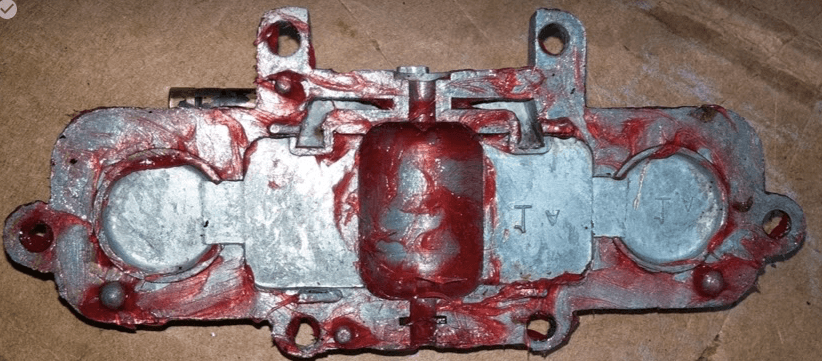
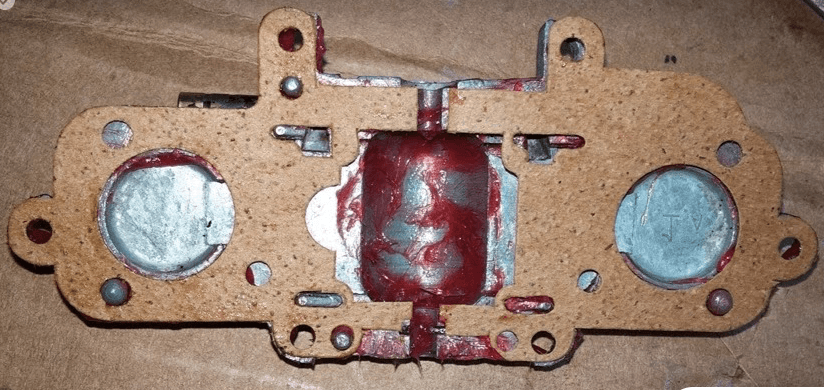
Then Assemblies the parts, installed the mechanisms that make it work.
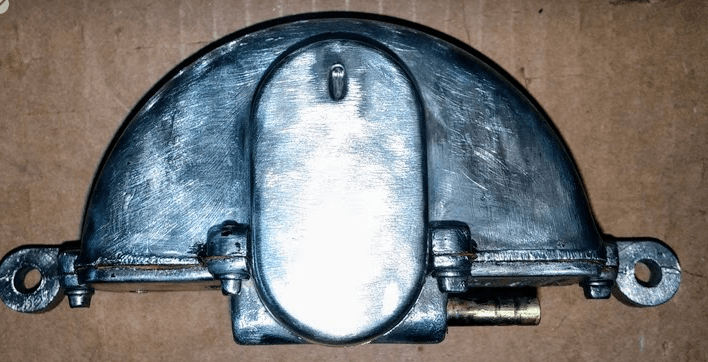
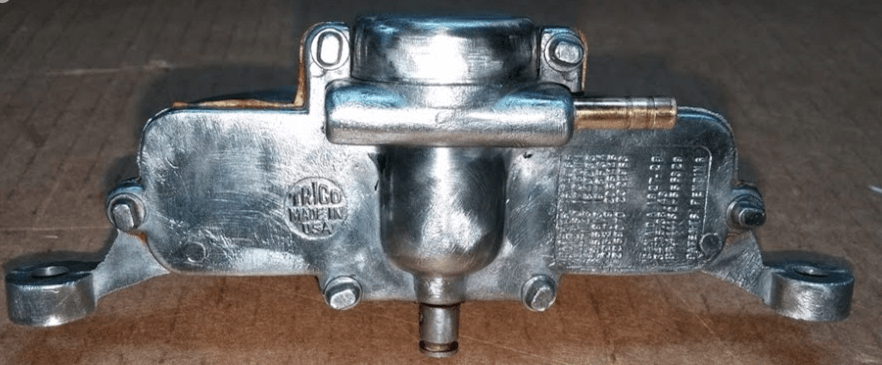
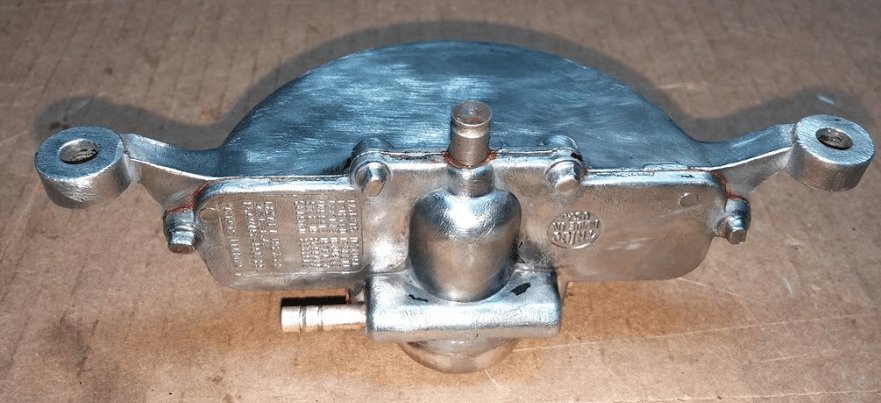
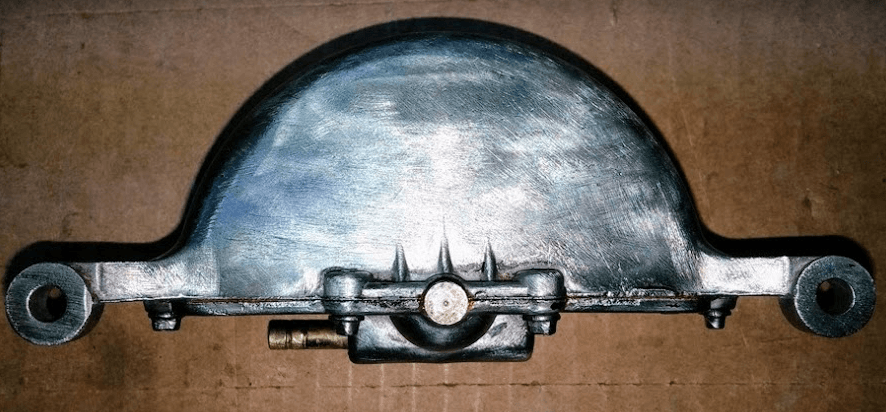
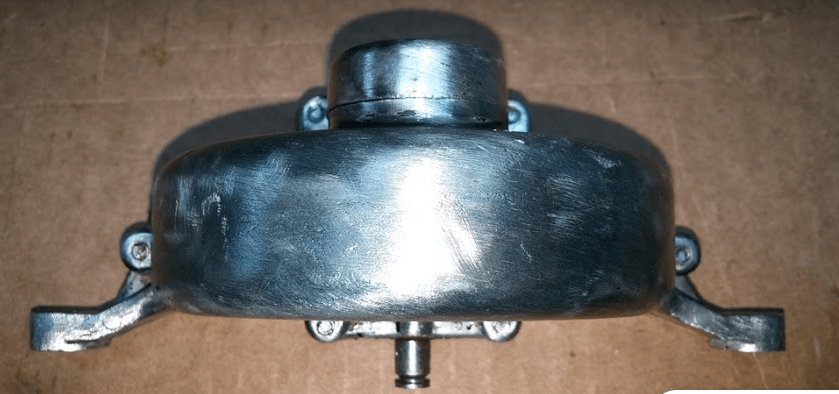
I ONLY had to trim one small section of the gasket, easily done with a razor blade. and realized on my model I did NOT really need the ROUND stop Sealer, but oh well.
once it was built, time to test it out... figured the best way to test a vacuum motor is with a vacuum !! but how to adapt it to the motor ??
I took my small house cordless vacuum, and then taped my plastic dollar tree turkey baster on to the end of the hose using vinyl tape (electrical tape). wanted to avoid any vacuum leaks. then the turkey baster end was a little to big for the vacuum connection, so wrapped a few turns of vinyl tape around the fitting and got a NICE SNUG fit. fired up the vacuum and NOTHING happened. short panic set in and thought the wiper was trash :/
then i thought how much vacuum is this vacuum actually pulling, so hooked it up to the Vacuum gauge, and it barely pulled 1 inch of Hg. so swapped out the cordless for the 5 gal shop vac. it pulls about 4 in of Hg. so connected it to the vacuum wiper motor. and away the wiper went. i was happy. let it run for a minute to make sure everything works correctly.
just for you guys, I shot a short video, make sure you turn down the SOUND, the Vacuum is LOUD !!
https://photos.app.goo.gl/9ZXvHgG8QeFznVVb6
https://photos.app.goo.gl/C7qqanursqDLhsB22
videos are a little large, so may take a few minutes to initialize and run but they are cool, especially the one with the mechanisms
Link to ALL 1929 Vacuum Wiper Motor Pictures
Now it needs to be cleaned up/ remove extra grease, and then painted BLACK and installed.
Well ALL my bulbs finally arrived !!
bought what i needed and then a few spares, bulbs were cheap.
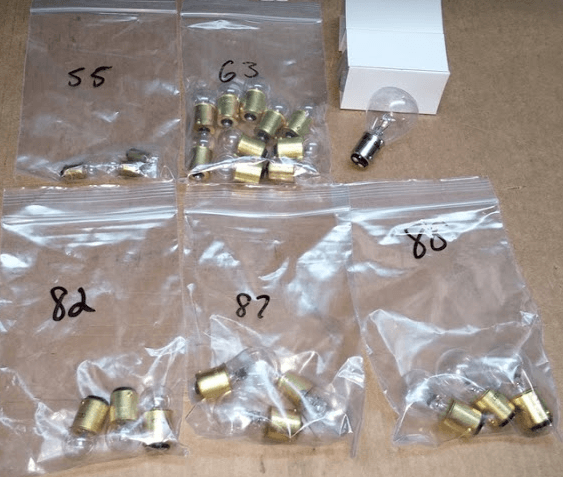
just in case, the top right bulbs are Head Lamp #1000 from TFS, they are stamped china #1188
Great car !
Posted by Diggymart on 9/7/19 @ 3:48:57 PM