You must be logged in to rate content!
7 minute(s) of a 636 minute read
9-15-2014
AS of tonight, have installed al but 4 Cotter Pins on the Brakes, these I will install once I double check the brakes WITH the wheels on. This way I can fine tune and adjust the linkages as needed.
Also Swapped out the 136s for the 150s, and got it running.
Supposed to be a wet nasty weekend here, so I plan on FINE tuning the engine, double check timing and set the idle. Get all four wheels on, double check the brakes, and finish setting the PARKING Brake. Maybe check the fluid levels in Tranny & Rear. after that should be ready to take it for a ride.
I Think...
Also pulled the fill plug
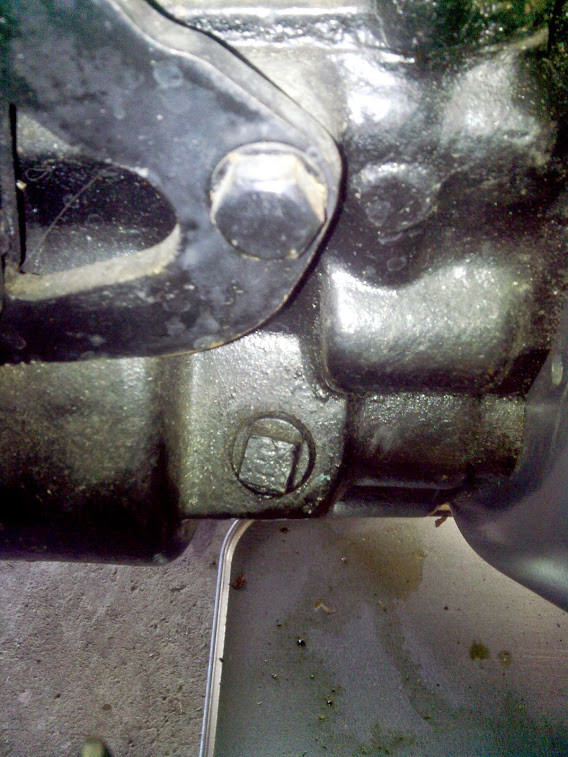
for the Tranny, did not see anything there either. Stuck in my finger and same story as rear end. So I decided to pull the plug, a little bit came out.
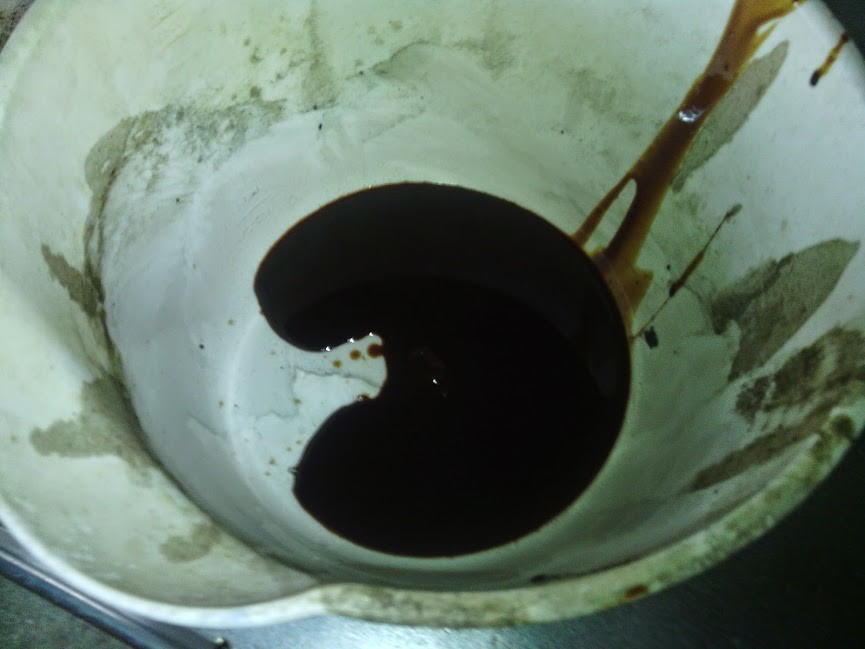
Here is a shot looking in the fill port to the drain port.
...SHOULD I flush it and then fill it, or just fill it with 600W
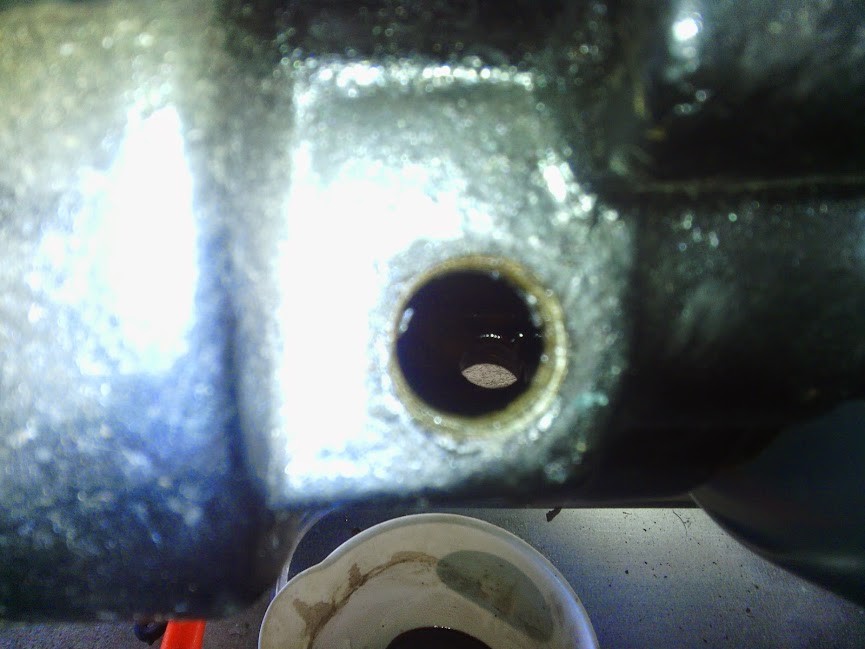
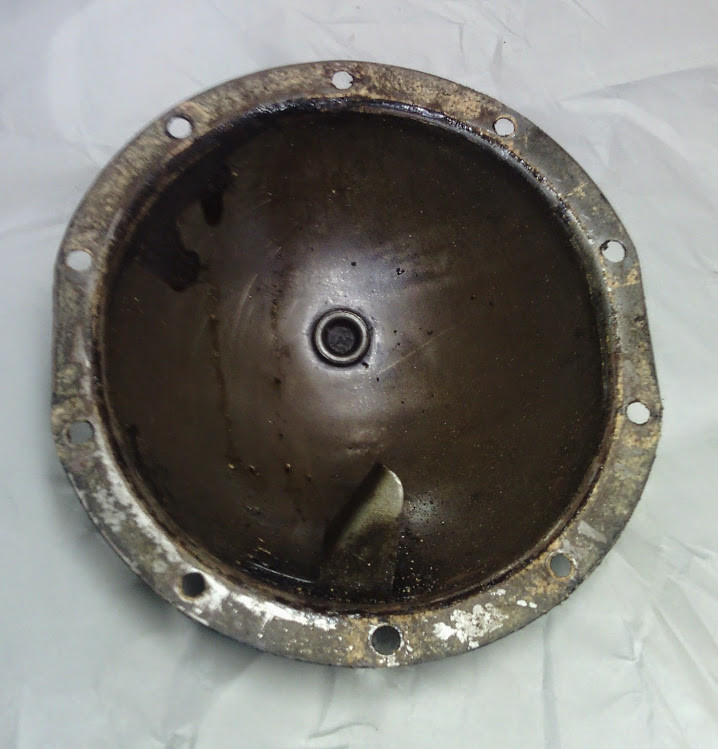
removed the bottom rear end cover bolt to see what I could drain, got even LESS from the rear end they the Transmission. So Pulled the cover off and going to make a new gasket. Also going to flush out and clean up the rear end some to remove any sludge and build up in there. Overall it looks really clean Inside Rear End. Rear End Cover This is how it looked when I removed it, notice NO signs of oil on it anywhere !!
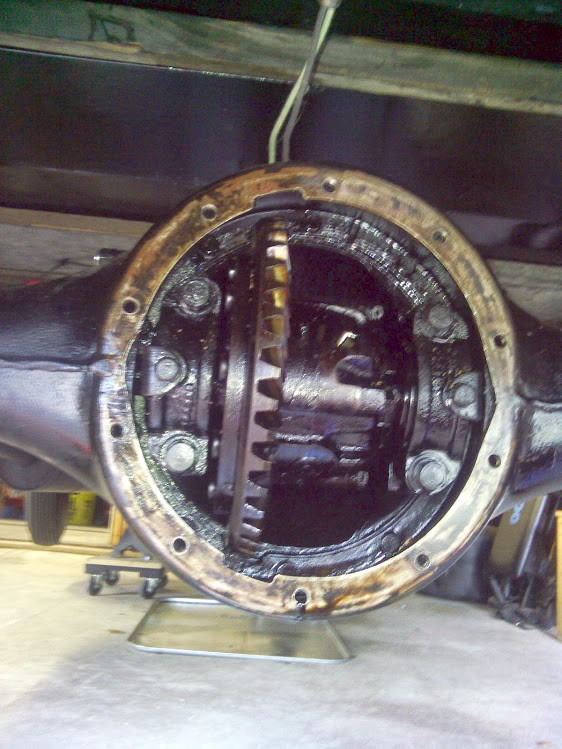
Need to get a larger sheet of Cork gasket material to cut a new gasket. also going to make a new gasket for the top of the trans cover, since I removed that to take a look inside.Trans Cover Gasket
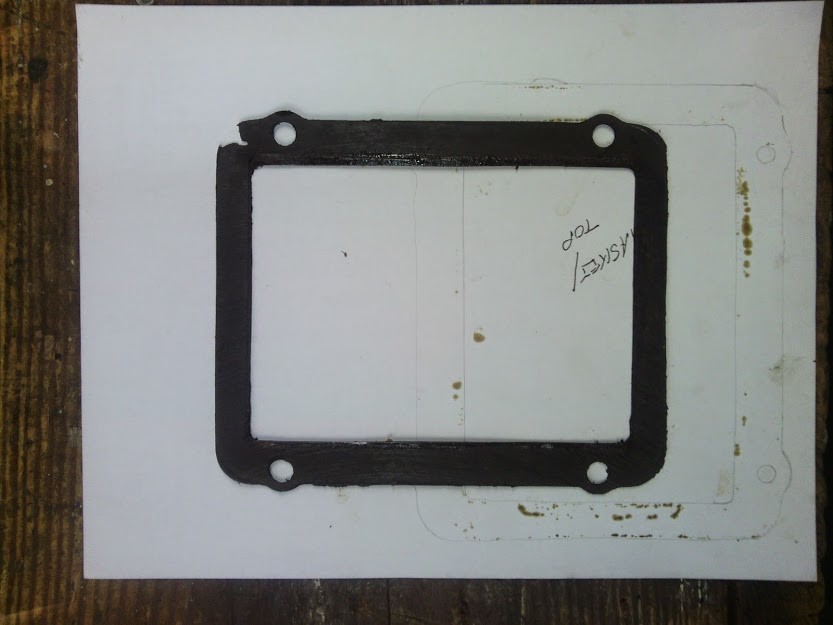
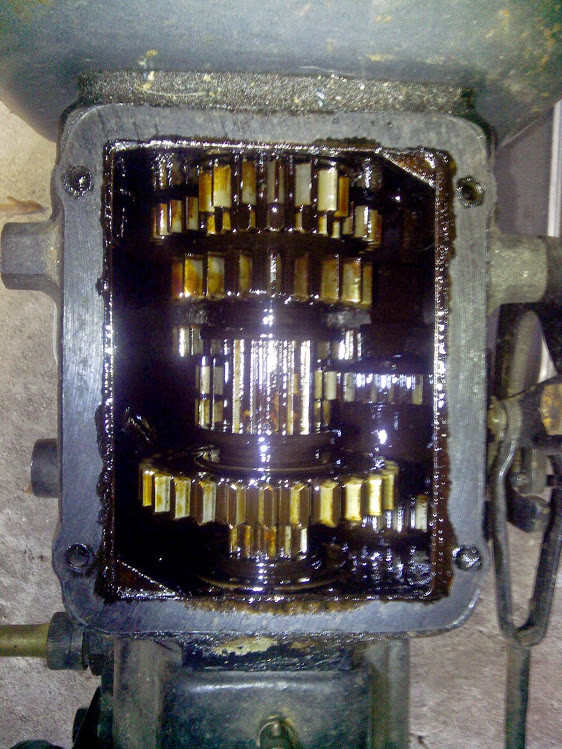
Will pick up a quart of 10w30 to flush the tranny & REAR END before I do the new gasket.
Looking at making NEW gaskets vs buying them...
Best Gasket
...TRANSMISSION & U-JOINT SET 7026 $27.50 TFS
...REAR AXLE HOUSING COVER GASKET 10009E $9.50 TFS
Always ask yourself, How much is YOUR time Worth...
As long as you have the materials, tools, & skills making a gasket is not hard.
I love making gaskets, like an art form.
I am just going one step further, with the new DIGITAL age, as I am also scanning them in electronically (Digitizing). this way when I need a new one I can pull it up, print it out 1:1 and cut a new one
Also to order the 2 gaskets above would run me $40 MIN !! 2 Sheets of Gasket material $5 ea ($10 total) then about 30 minutes each to trace, cut & punch...
Well I did break down and buy a new Punch set, found one that did up to 1 3/8" and has the most common sizes.

Looks like a pretty well built set, has good reviews on all the sites and even has a nice blow mold case to keep it all together !!
sat down this morning and cut out my gaskets, also a good time to test out my new punch set. Granted I did a few test punch on various materials, various sizes to make sure it would PUNCH the holes and NOT TEAR them !!
Printed out a full size template of my Rear End Cover Gasket (Fel-Pro Cork-Rubber) & my Transmission Top Gasket (Fel-Pro Rubber-Fiber). used a glue stick (Elmer's water soluble) to get the paper template to stick to the gasket material. let them sit for a few minutes. broke out the scissors and rough cut out gaskets, then used the x-Acto to clean them up and fine tune. then used the punch set to punch all the bolt holes.
Transmission Top Gasket
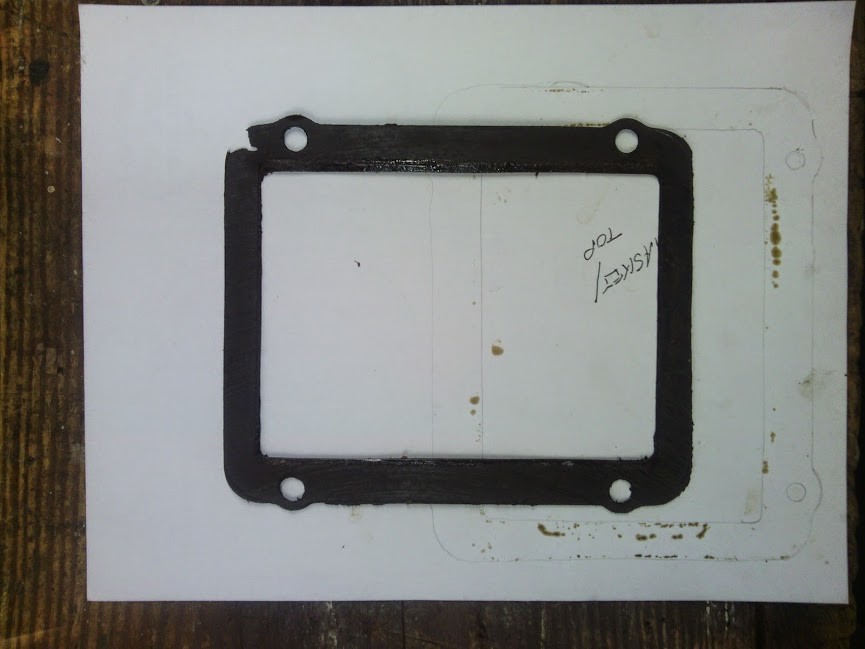
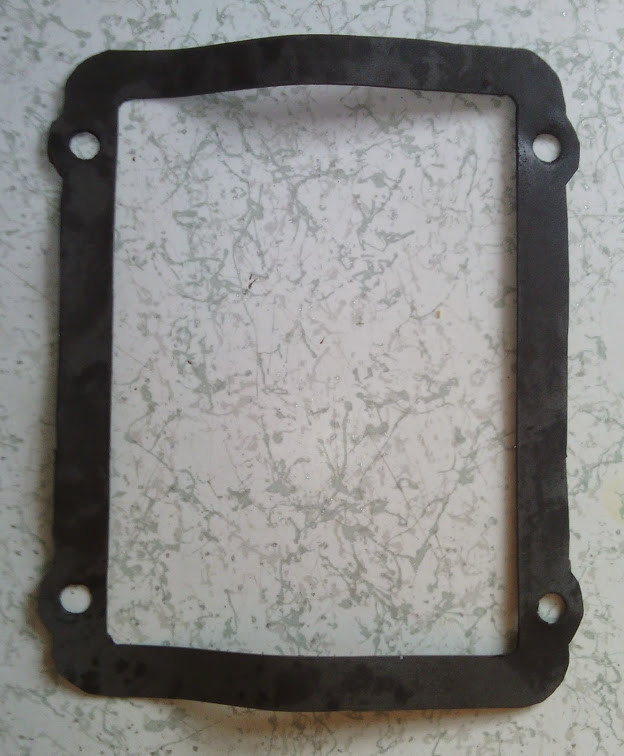
used the original gasket as a guide, as well as the Transmission housing & shifter cover
Rear End Cover Gasket
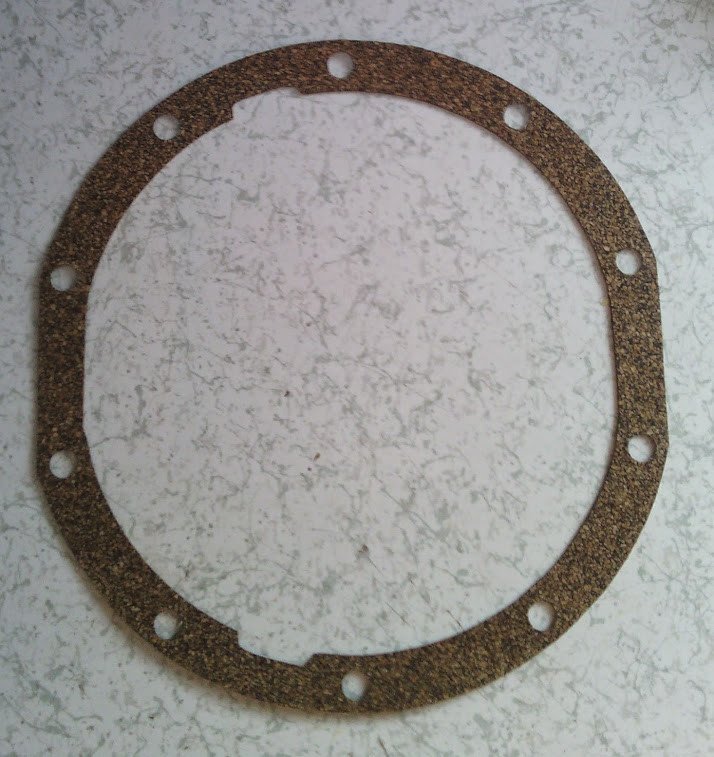
Had to use the Read End Cover & Rear End Housing to make a template, since the original gasket was cork and destroyed in the removal of the Cover.
They look great, hopefully will get out and get them installed this weekend and get OIL in the Transmission and Rear End as well.
Working on Fine tuning the 1929, I was wondering what the PROPER Diameter for the Vacuum Tubing from the Intake Manifold to the Wiper Valve should be? Currently there is 1/4" OD Copper Tubing run from the Intake manifold to the inside of the cabin, then a piece of rubber tubing from the copper 1/4" where the wiper Valve Goes. Then there is a piece of 3/16" OD Copper Tubing from the inside cabin(also has a piece of rubber tube on the end of it) to where the wiper motor mounts.
That is what caught me up
...on the wiper valve BOTH fittings measure an inside diameter of Approx 3/16" (.190").
...wonder if the previous owner changed the intake line to a larger one ?? 1/4"
looking into the 1929-30 MPL that I have it list two nuts as well
Valve Assembly, Wiper Control (in Instrument Panel)..........344865
...Coupling Nut (3/16")...................................................114962
...Coupling Nut (1/4").....................................................114963
For now I have a 1/8"(M)NPT Pipe plug in the intake manifold to avoid the vacuum leak, when i get back to the wiper motor and assembly I will install 1/4" tubing from manifold to valve, then 3/16" tubing from valve to Wiper motor connection. Will also get the required fittings as well.
Getting ready for my Maiden Voyage and doing a QUICK overview of the electrical system.
Is there ANY type of thermal switch (or device of the sorts) in the generator or in line with the generator and battery ??
Was doing an electrical check on my 1929 Chevrolet, to see what kind of voltage the Generator is putting out.
Concern 1
Battery is disconnected, and using a volt meter on DC. touch the ground to frame and then touch the positive to the output of the cutout switch (from cut out to battery) and get a reading of 5.4 volts ?? same reading if i touch it ground to frame and positive to starter.
-why would i have a volt reading ??
-where would it be coming from ??
with battery connected this reading matches what my volt reading is direct on the battery within a few tenths of a volt.
Concern 2
with battery connected and car running i am getting 8.5-8.9 volt reading on the generator side of generator. is this good, or ??
Does the generator put out a CONSTANT voltage and the third brush vary the CURRENT (AMP) output ??
Great car !
Posted by Diggymart on 9/7/19 @ 3:48:57 PM