You must be logged in to rate content!
4 minute(s) of a 636 minute read
6-3-2020
ok, so made the tweaks and 3d printed out the latest iteration last night.
while it was printing I got a 12" piece of stainless rod to make pins out of, cut them down to 1.50" long sections and cleaned them up. they fit nicely in the inset holes. ended up making 8 rods, so i that means i have 4 sets. which may be a good number for molding sets. pour 2 sets at a time, i.e. 4 seals.
got up this morning and did a few test fits and check alignment. i am very happy with it at this point. remember the test print here is printed low resolution/quality. basically 0.30mm layer thickness with only 25% fill to save material and time.
here are some pictures of the test fits and validation...
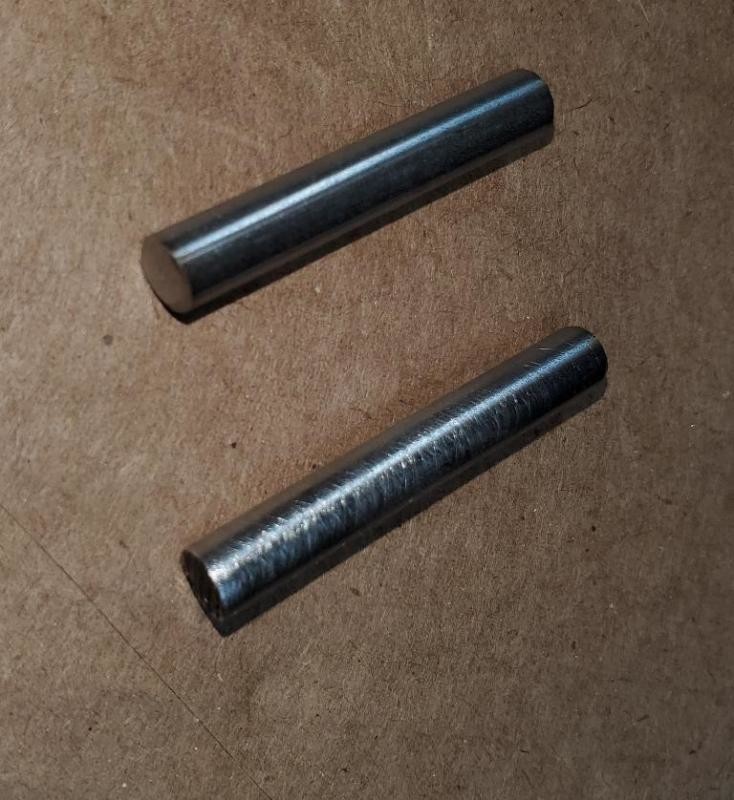
one set of inset pins
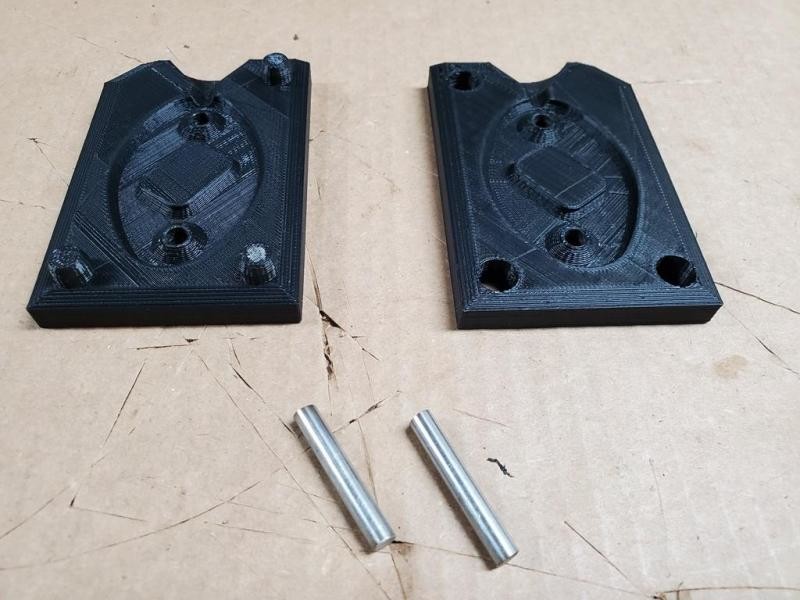
latest iteration of the molds (draft quality) and set of pins
so now to test fit the components as they should go together, or my logic and input anyways ![]()
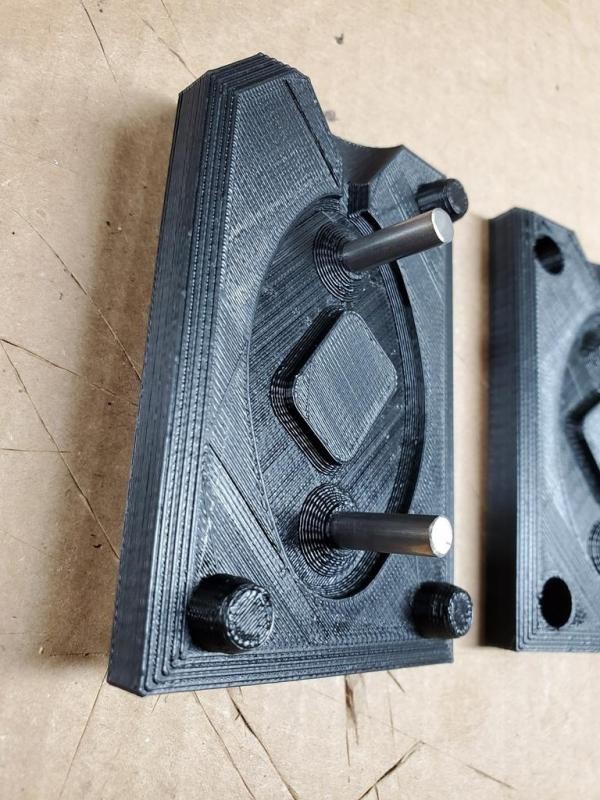
put inset pins into lower half of mold
apply mold sealer/release compound to both halves, let set, apply second coat, let set
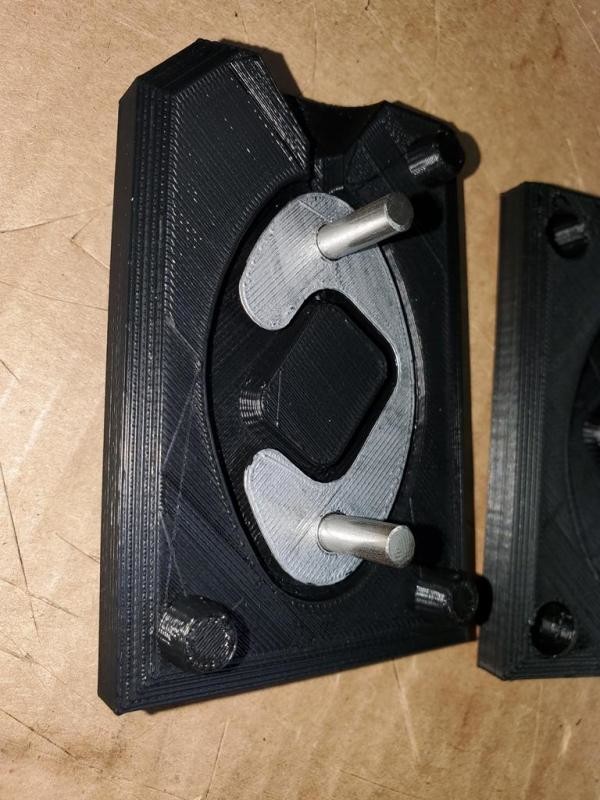
set metal inset into place on the pins, the chamfers will hold the metal inset centered in the mold and on the pins.
this is a 3d printed version that i colored gray for test fitting and validation, metal ones should be here in a week or so !!
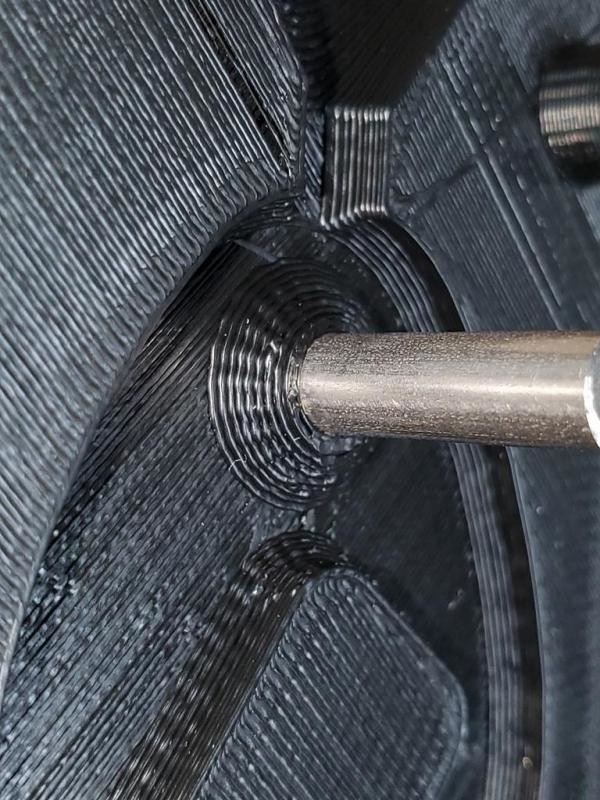
chamfers that hold the metal inset
put mold halves together, using chamfer corner and alignment pins to ensure mold is correct
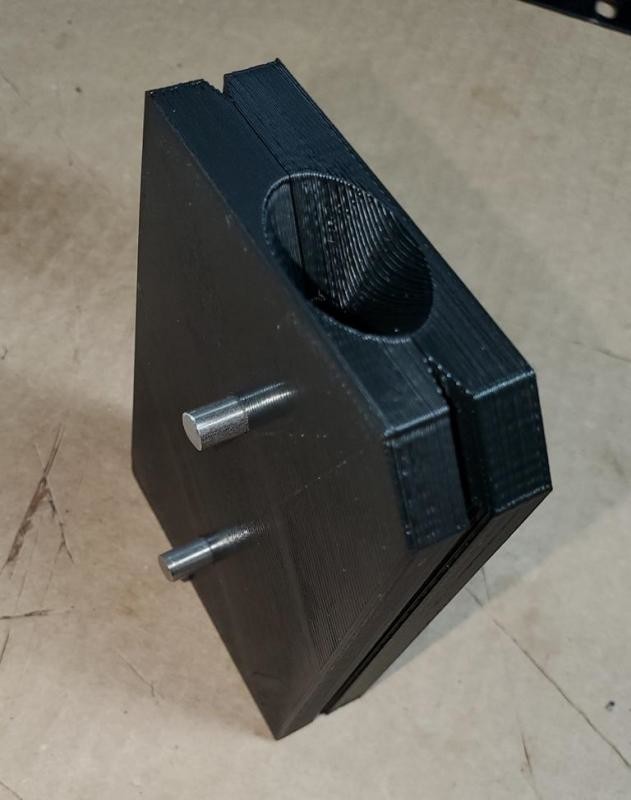
lower half
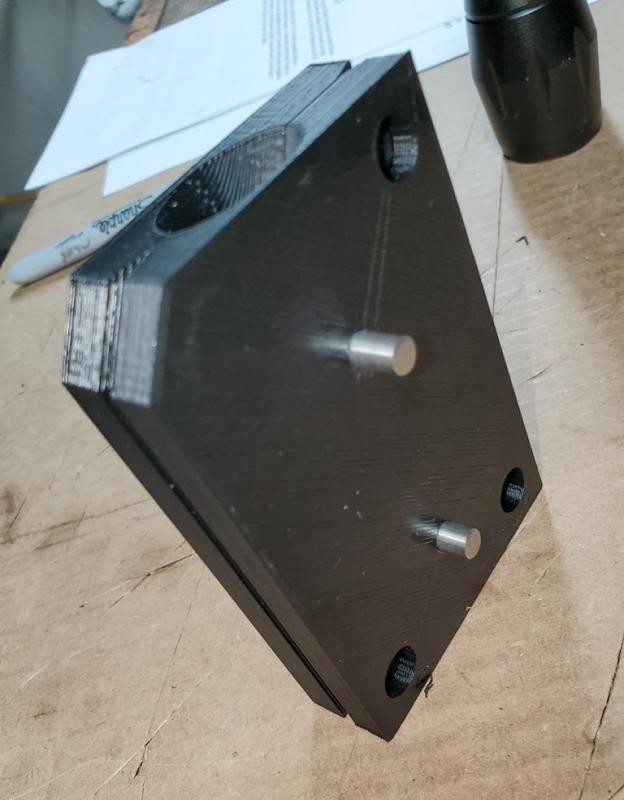
upper half
this is how it will be poured, standing up...
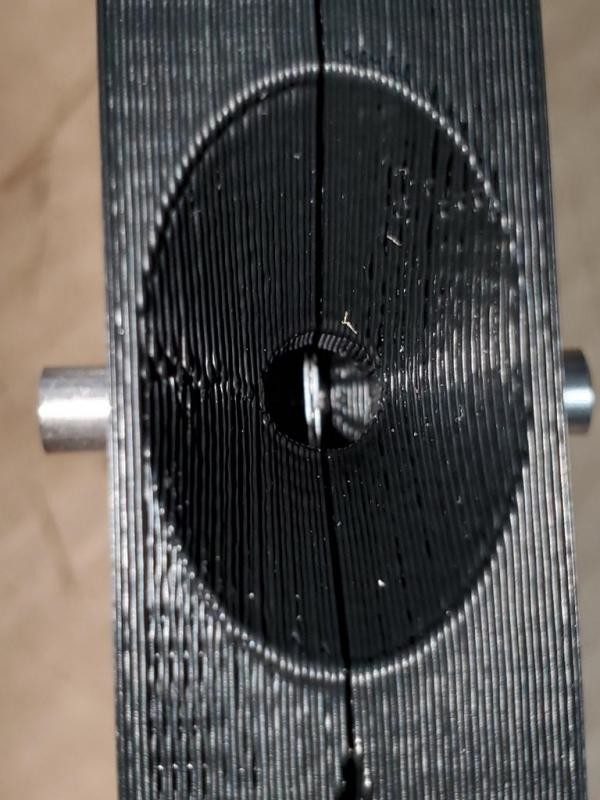
you can see the metal inset (gray) through the pour funnel
then clamp it together and apply a little force to hold the halves together
color & mix urethane (coloring black since natural color is milky/amber color)
pour urethane in mold, and gently tap/vibrate the mold to help urethane settle and remove air pockets.
let set & cure
once cured, push out pins, then split mold (hence chamfers along edge so i can get a putty knife in there if needed), remove cast urethane seal
clean up flash and trim urethane excess from pour hole/ funnel
clean up seal, mold
cut split in urethane based on scribe line cast in.
test and validate !!
sure there will be hiccups and issues along the way, as this is the first time i have ever tried to pour and cast urethane.
Great car !
Posted by Diggymart on 9/7/19 @ 3:48:57 PM