You must be logged in to rate content!
9 minute(s) of a 242 minute read
1-24-2010
I took care of a thorn in my side today. I had put in a power steering pressure regulator thinking that I was going to have way too easy steering. I didn't. In fact it was way too heavy with the regulator at full flow. I was bummed about the whole thing, so as I do, I moved on and ignored it, being there is a lot of other stuff I can do to distract me. I removed the regulator and re did my lines. Seems way better. Although I haven't tried it with the wheels on the ground yet. I also started doing the cooling fans wiring, and the horns. Horns were easy, but the fans are giving me stress. I wanted to use the signal from the ECM to trigger them but it doesn't seem to work. More research here I guess. If anyone knows what that might be please chime in!
Pump before:
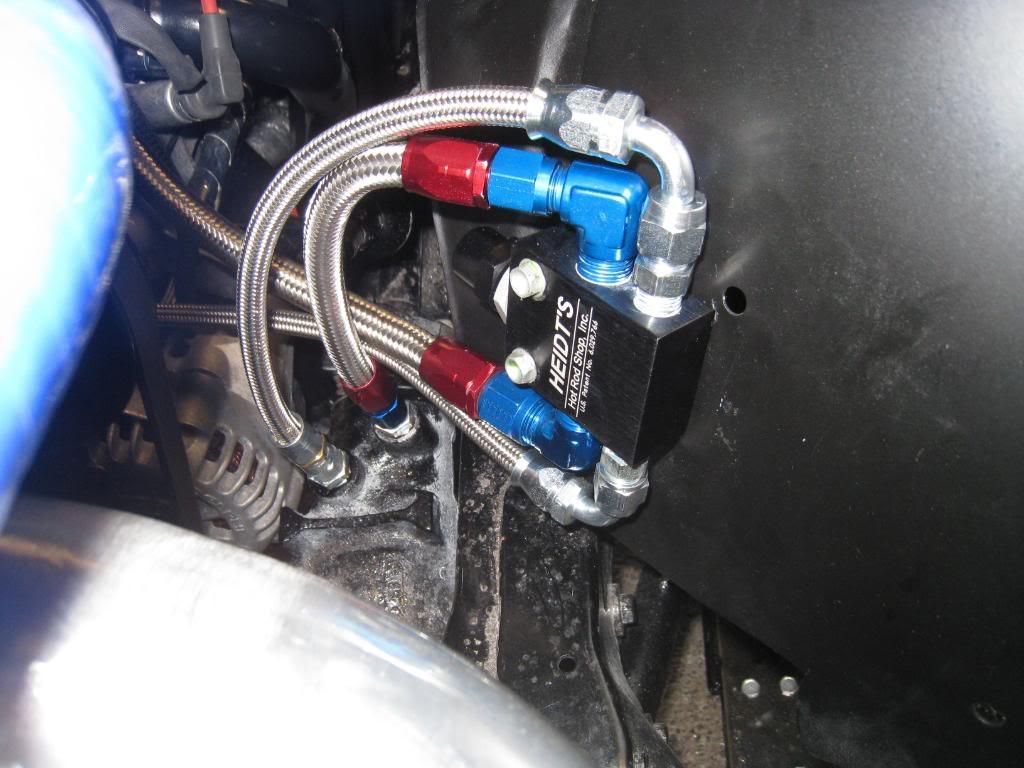
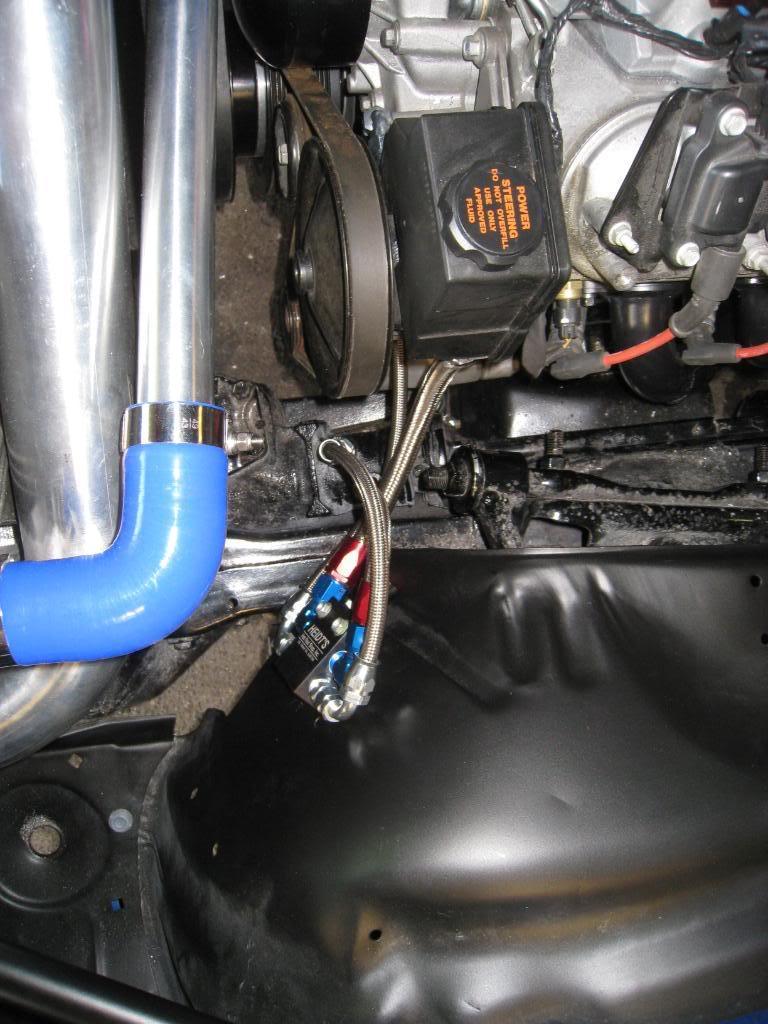
And After:

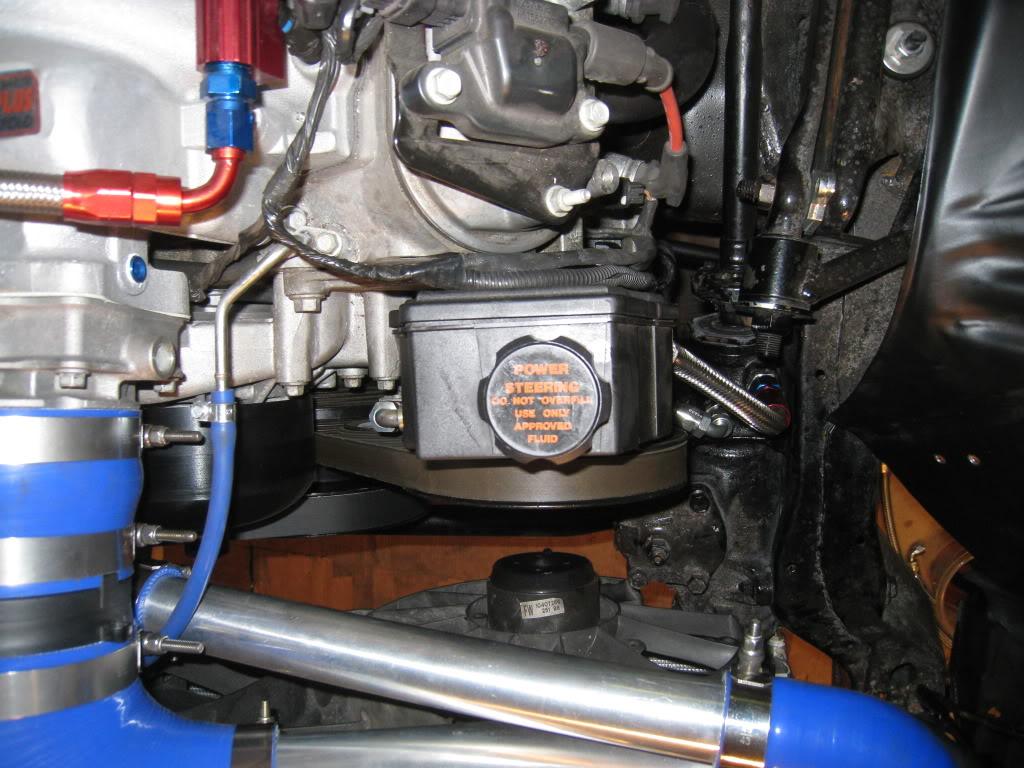
I used all aeroquip stuff for mine and made my own lines. Other than the adaptor fittings I needed, 2 @ -6 90 degree fittings around 12" of high pressure teflon -6 steel braided line, less than 12" of -8 steel braided rubber hose, 1 straight -8 hose end fitting, and 1 hose clamp.
The steering box fittings are 11/16-18 inverted flare (pressure side)-closest to motor
and 5/8-18 inverted flare (return side)
I used -6 teflon steelbraided line for the pressure side and -8 standard steel braided line for the return.
The adapter from the LSx steering pump is M16x1.5
Adapter part numbers...
Aeroquip FCM2608 (-6 x M16 x 1.5) High Pressure Adapter - this is the -O- ring type adapter for the pump
Aeroquip FCM2965 (-6 X 11/16 - 18) High Pressure Adapter <--these are inverted flare adapter fittings.
Russel 640400 (-8 x 5/8 - 18) High Pressure Adapter <-------
1/31/2010
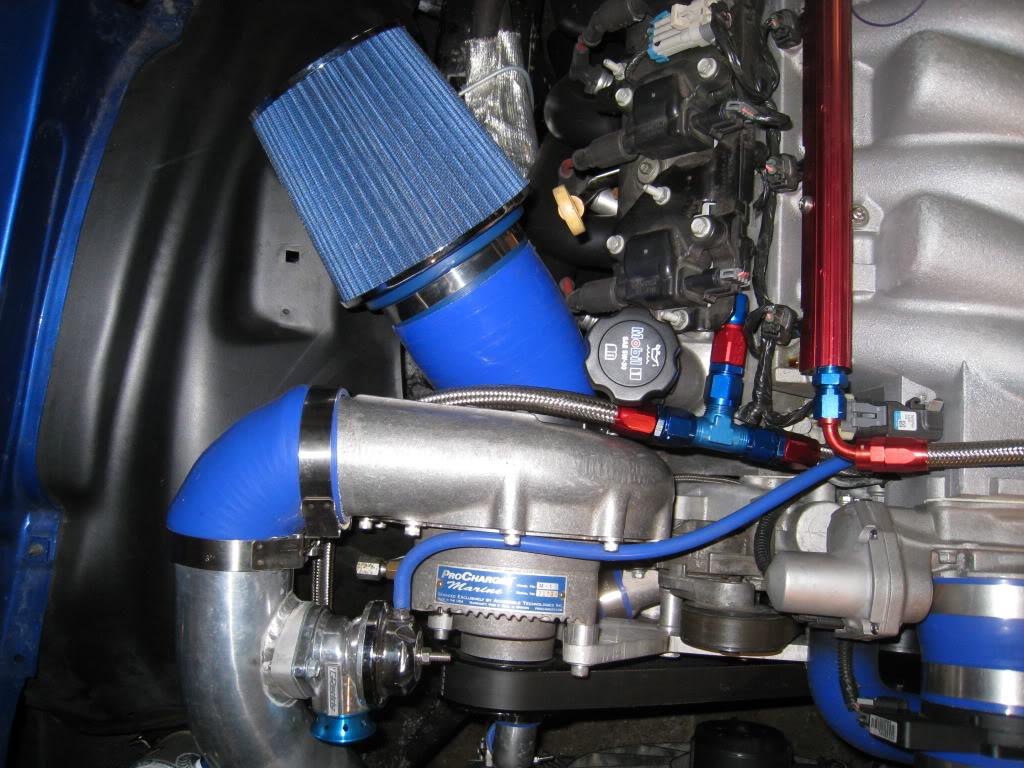
Even MORE aeroquip fittings!!! Thought I was done with all these costly little buggers! I am running an oil breather / puke tank and had to get fittings for it. It's almost an addiction. Thing is, once you have a bunch of them, you can't just use a simple rubber hose and clamp, can you?
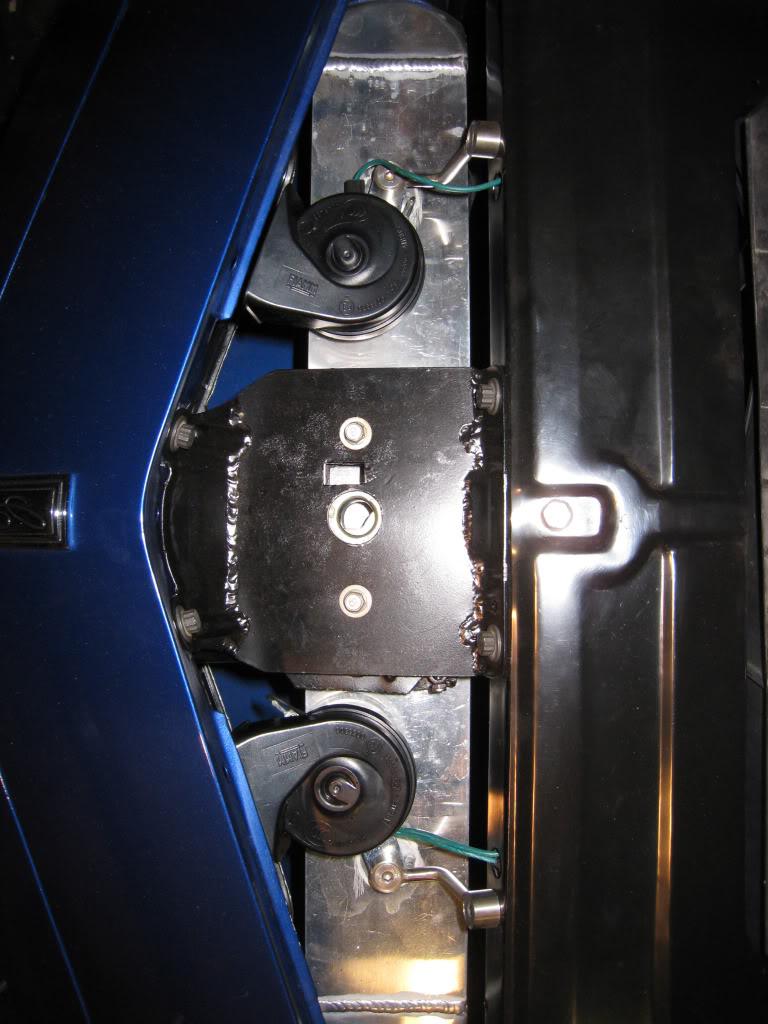
I'm starting to get down to the little things that are less rewarding to do. Got the air filter in, sort of. I want to enclose it in a heat resistant box, that gathers air from under the fender, but I also want to drive the car this summer... I'm telling myself that it's good to leave some things to do later. Also got the horns in, but don't like the wiring much, or the brackets, so they may come out again. Sound good though. Put in a coolant resevoir tank as well. It's actually a windshield washer tank for a 67-72 chevy pickup. I hope it doesn't melt.

2/2/2010
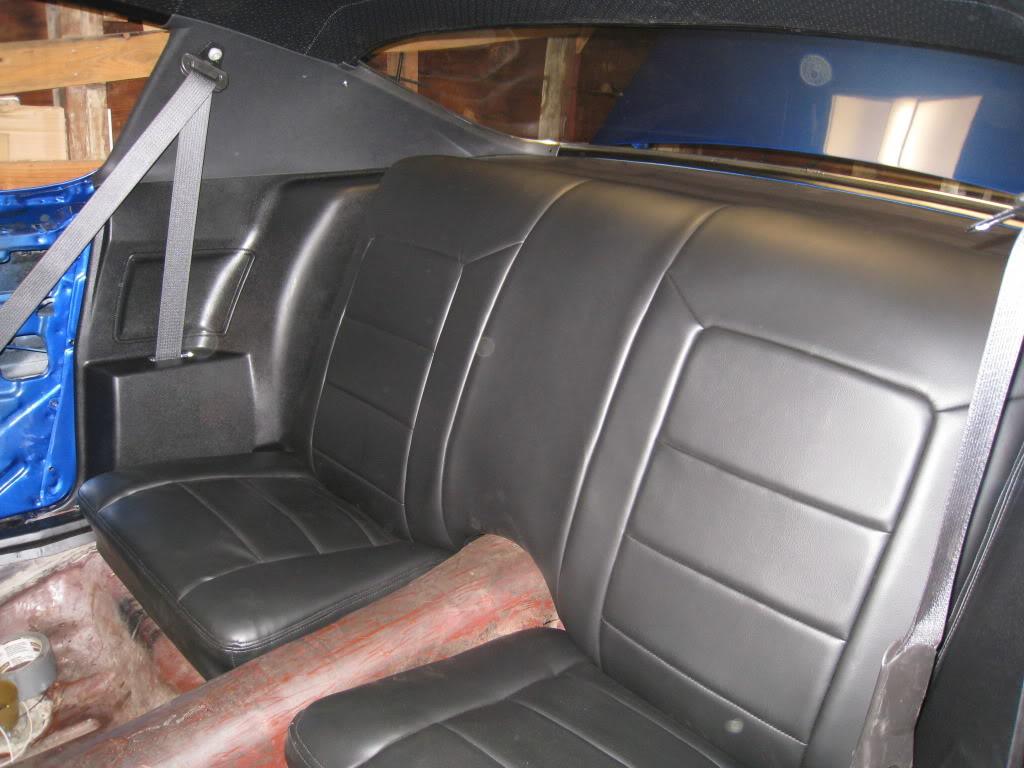
I've decided to put in a roll bar and frame connectors to stiffen this thing up. I started putting the rear seats in and the modified side panels (modern seatbelts) so that I can see where to put the bars. I'm excited and nervous at the same time about the roll bar. Goint to try to make it non-intrusive.
2/5/2010
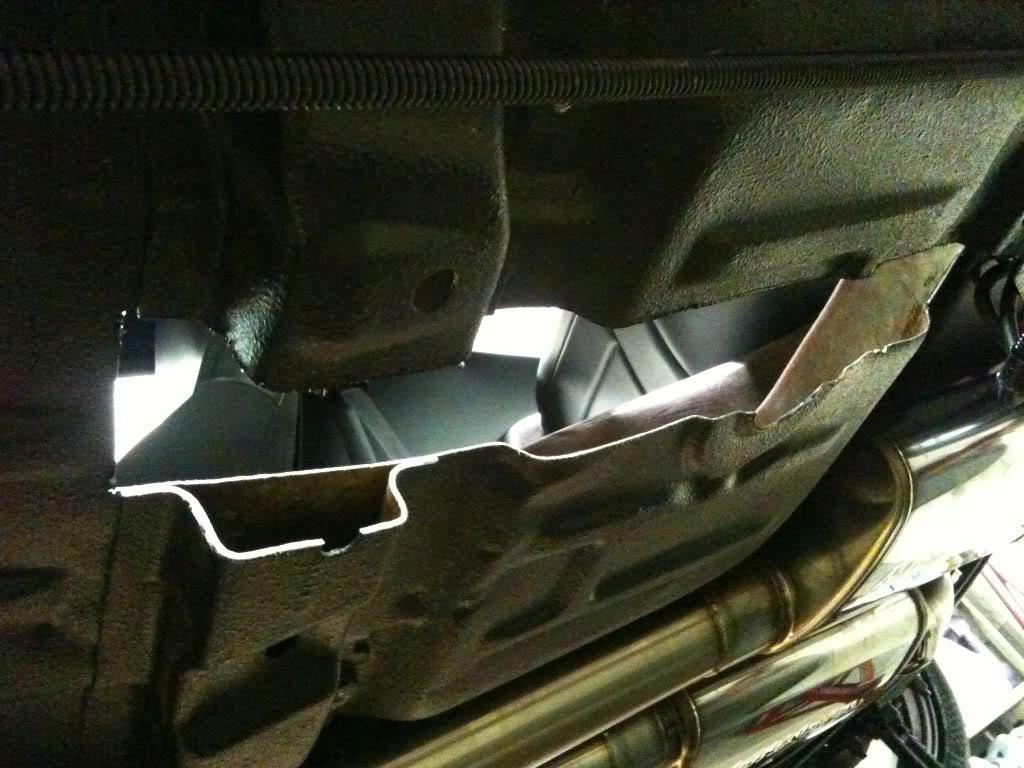
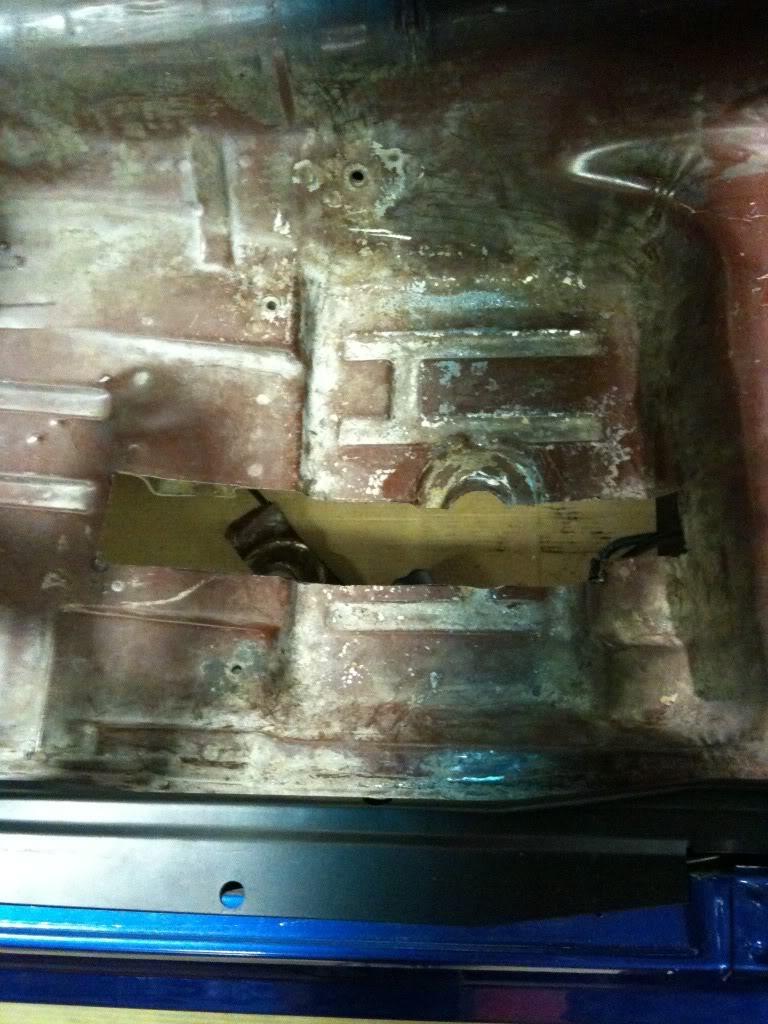
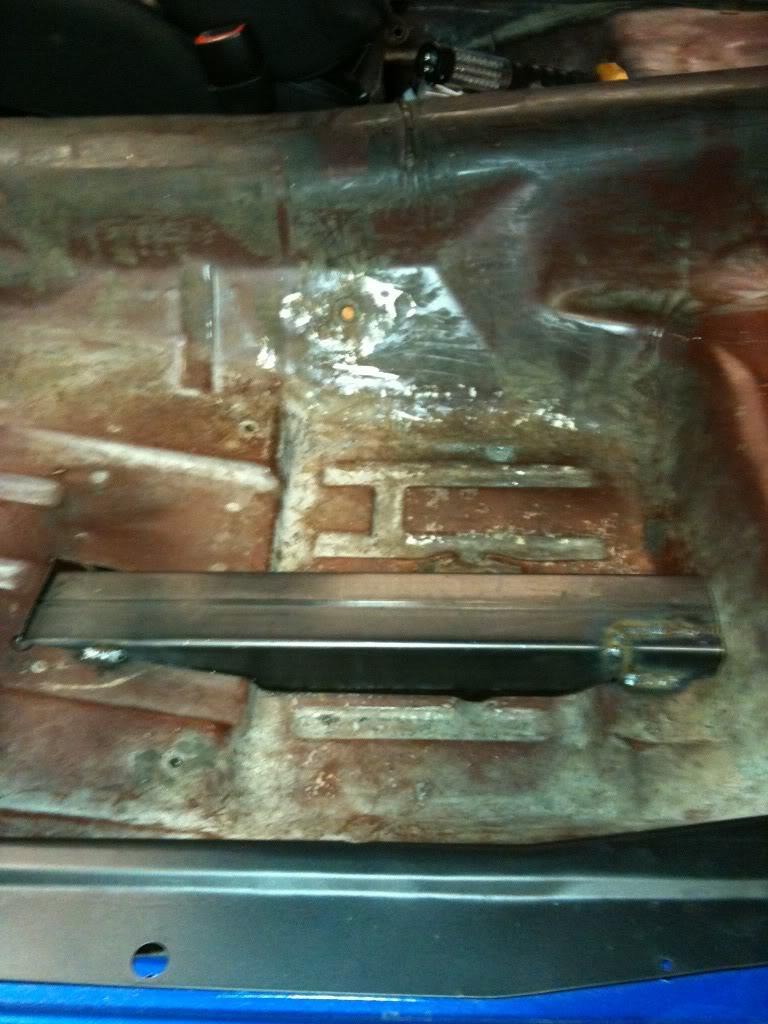
There's no turning back now! I cut a big hole in my floor. I started by using a piece of string to figure out where to cut. I held the string tight from inside the edge of the front subframe and stretched it as I lined up where a straight line from the front subframe would go... Wow, that sounds confusing. Basically I wanted to see where to cut if just say the front subframe was extended straight back. When I found that I marked it. After laying out the straight line, I measured over 3 inches and marked again. After all the layout was done I drilled small holes through the corners and connected the dots. I drilled a few small holes close together so that I could get my saw blade through, then cut away.
I then measured the length of tubing I would need and cut that. At the front the tubing goes inside of the original subframe. I cut a 2 inch "window" out of the end of it, and drilled a hole in it for the original front subframe mount bolt. In the back I trimmed the tubing to fit. There was a bit of fine tuning, (trimming) and then I bolted it in. I started welding it in. Monday I will continue welding, and boxing in the rear subframe.
Forgot the camera, again, so had to use my cellphone. -sorry-
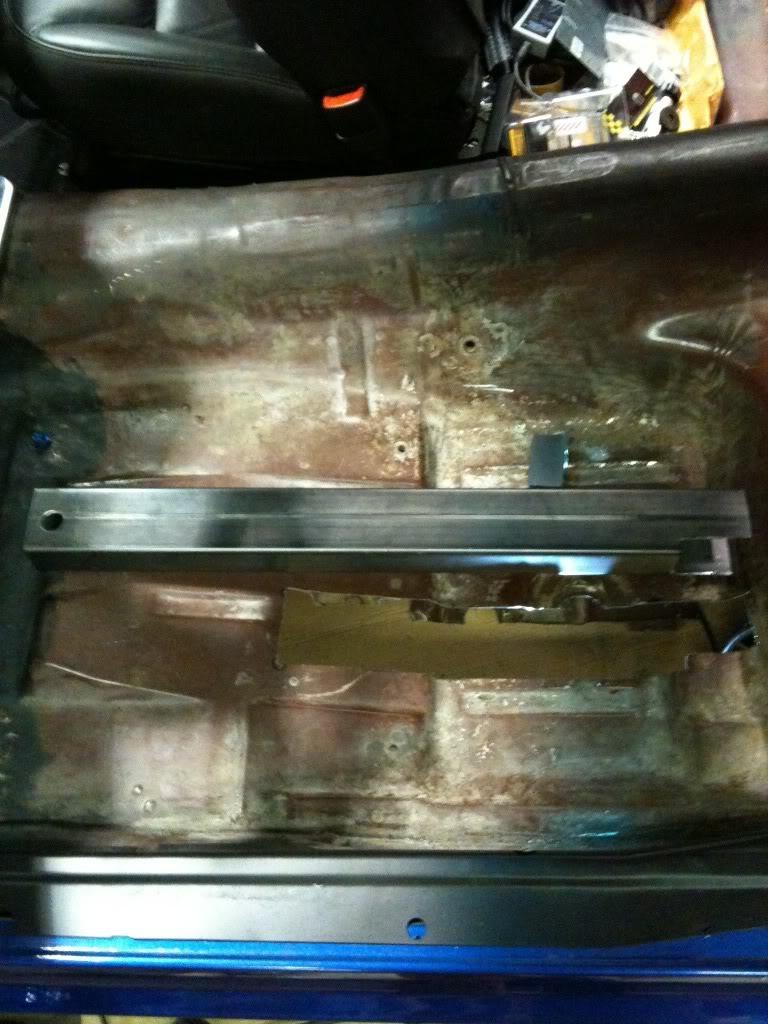
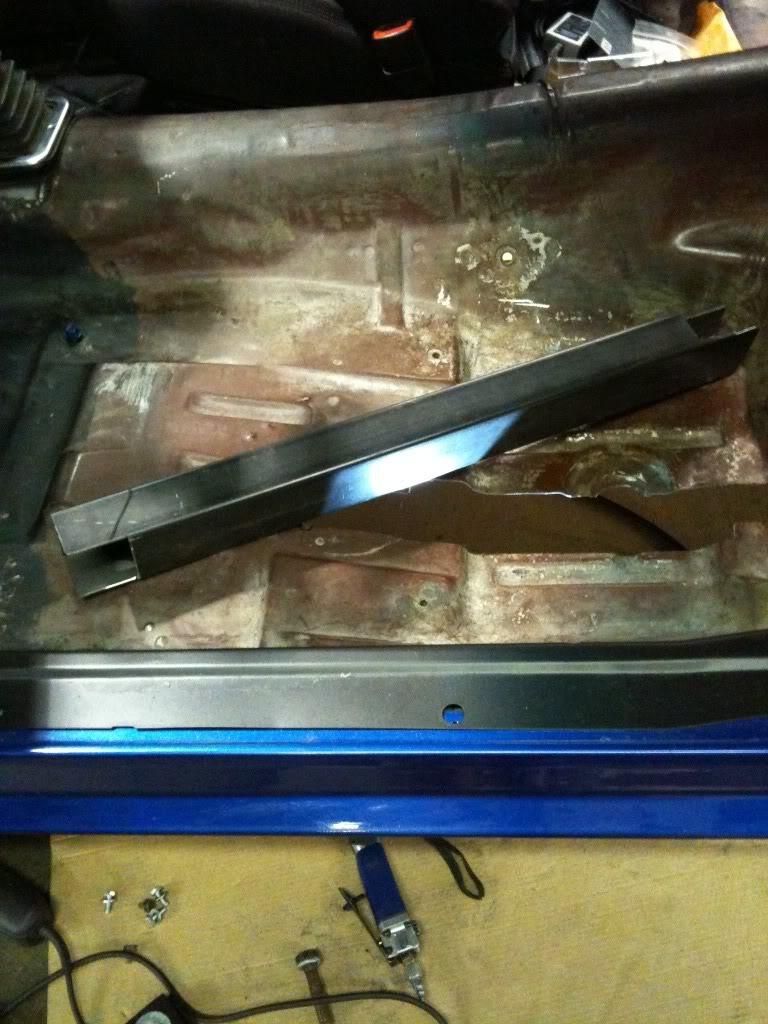
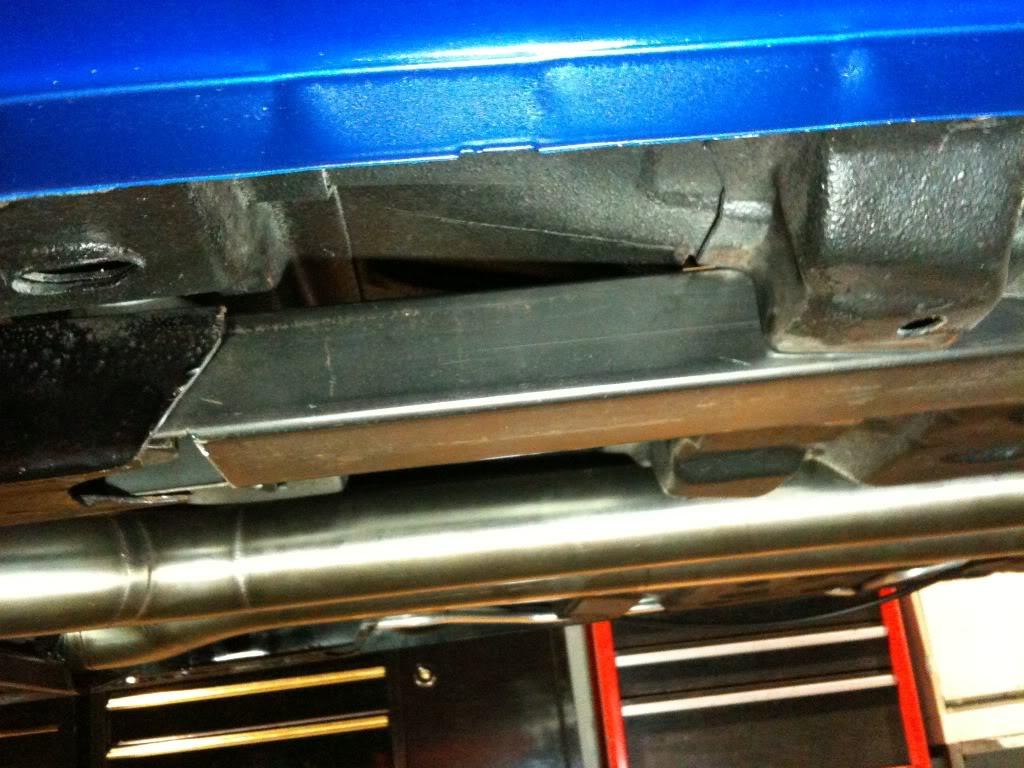
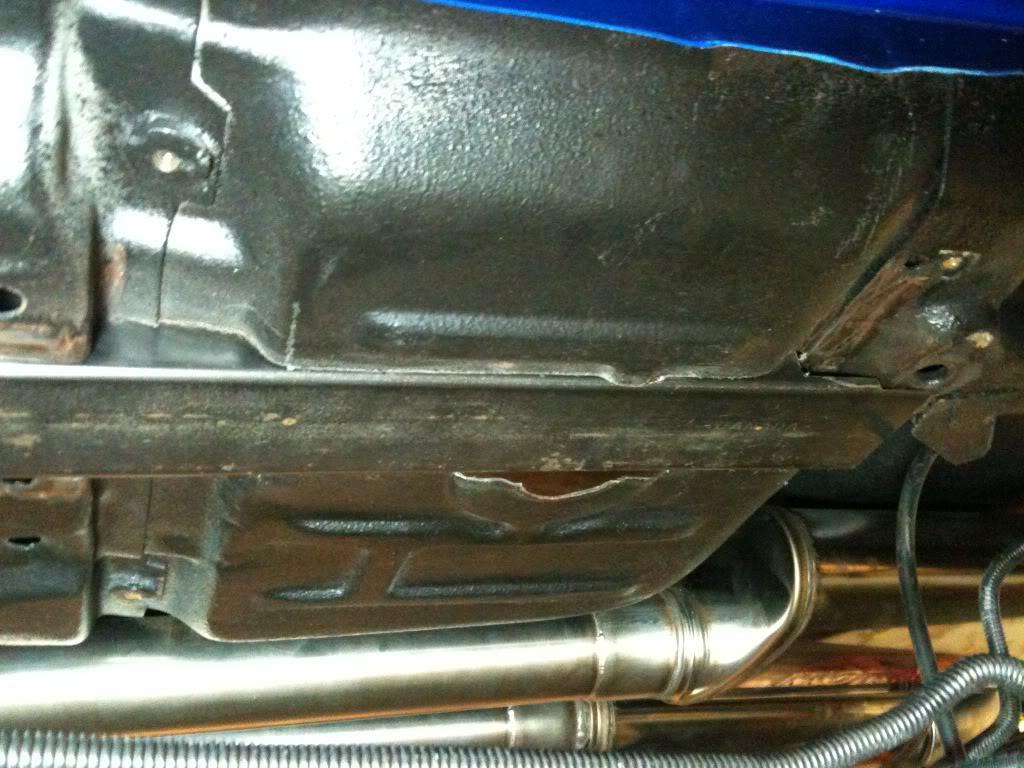
2/8/2010
Been a long day, on my back, under the car! Started my day with a trip to the metal supply shop to get the tubing for my roll bar... That'll be another post !
I finished the drivers side connector today. Happy with the result, and thought of a few more tips to put in here. Make sure your front subframe is nice and square, because after you weld these in, you're done. There's no adjustment after that. Another thing I should mention is that the weight of the car should be on the suspension. Believe it or not, the body/chassis will sag differently if say you have the car on jackstands on say the frame. I initially put stands under the axle and under the front subframe, but before I welded everything solid, I put the car down onto it's wheels on a set of old t. That way everything is sure to be sitting where it wants to be. Of course the ground should be level as well, and all the 'blocks' the same height. (I used a set of old 9 1/2" wide wheels)
Boxing in the rear subframe was fairly straight forward. First I removed the bracket for the park brake cable. (I have aftermarket rear brakes which use fully sheathed cables. This step could be skipped with stock cables, you'd just have to make the filler box accordingly)
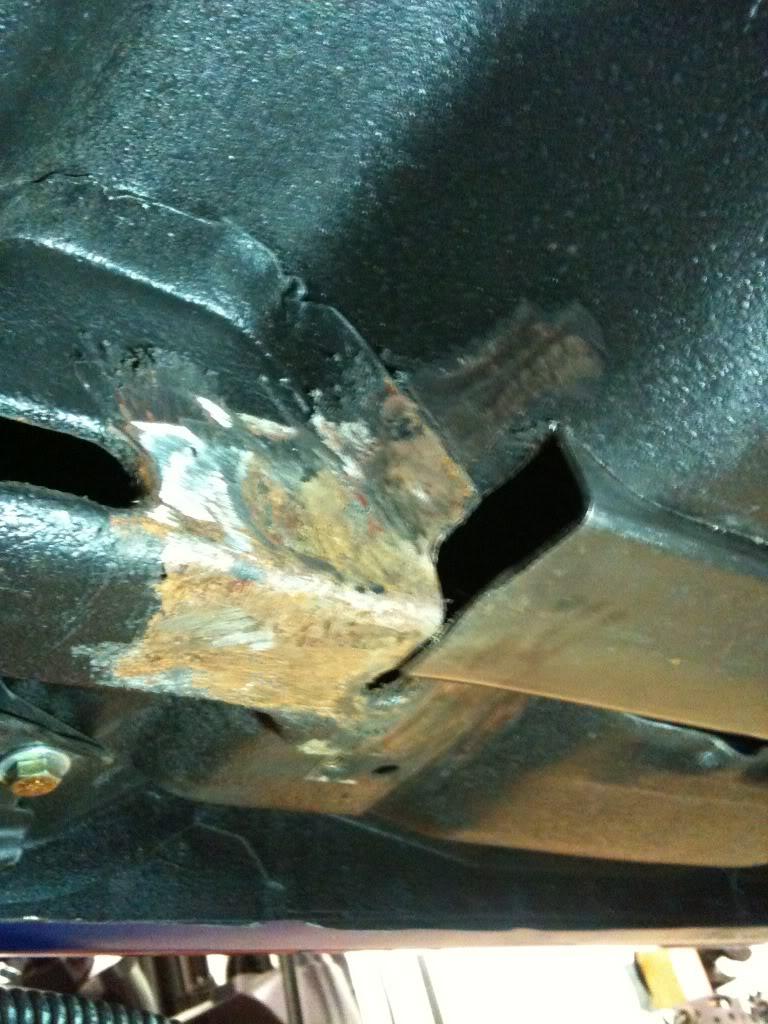
I made a corner piece out of tubing, trimmed it to fit perfectly, (this takes time of course, many trips from under the car to the bench and back) and then cut it in half. I had to cut it in half length ways so that I could weld it in fully. After it was in 2 pieces I used a welders magnet to hold it back into it's original shape, held it in place, then tacked in only the upper piece. I pulled out the lower piece and fully welded in the upper piece. After that was done I used the magnet again, held in the lower piece, and welded that in.
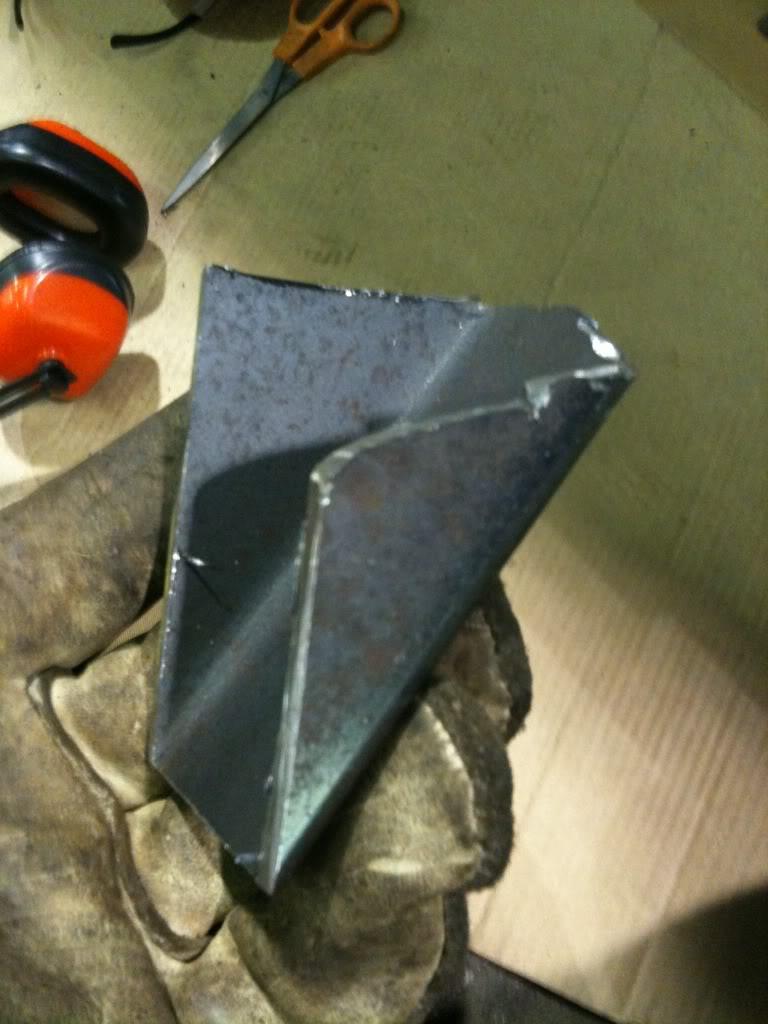
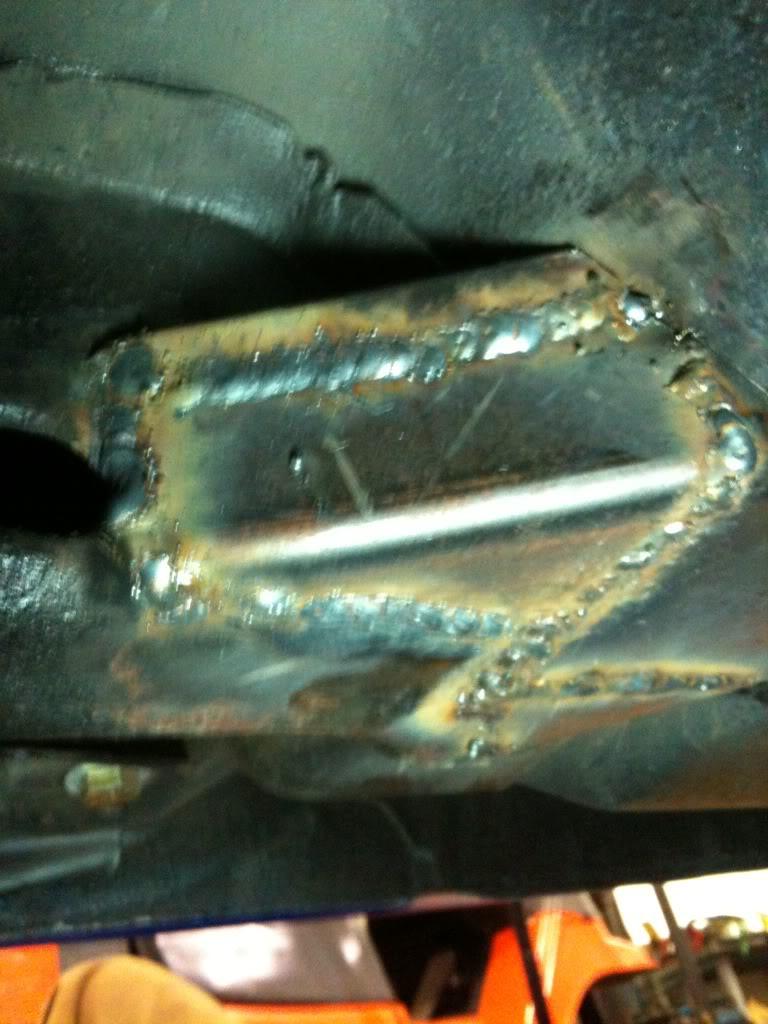
I made another corner piece for the other side and welded that in as well.
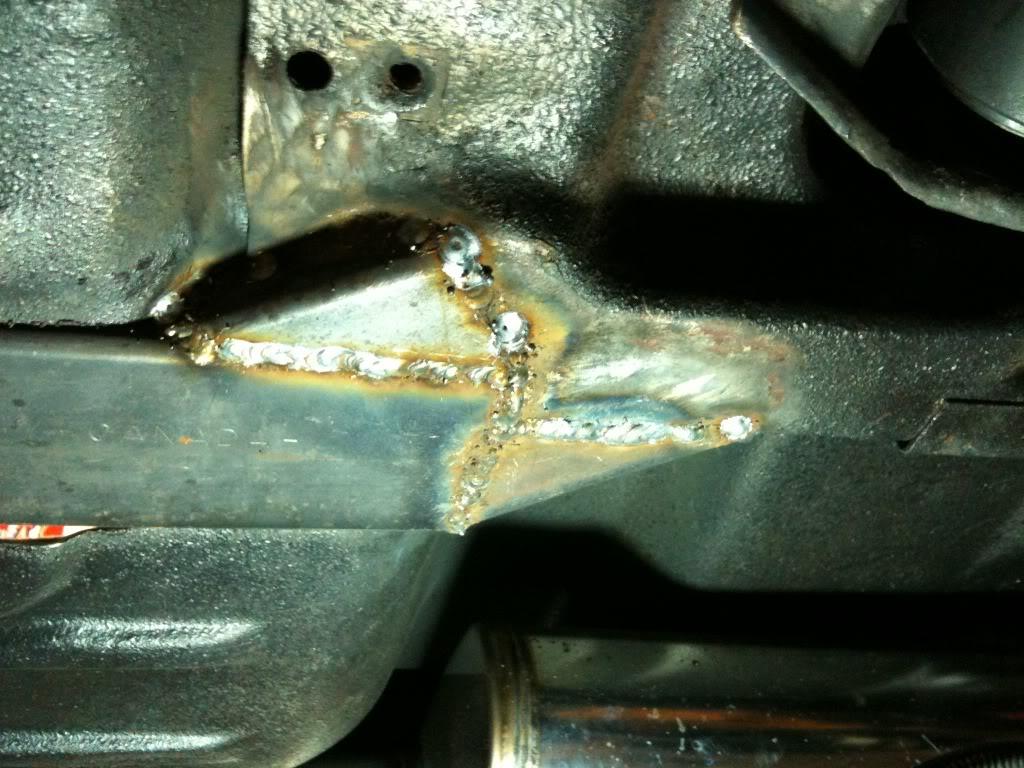
From the inside I stitched in the floor to the tubing.
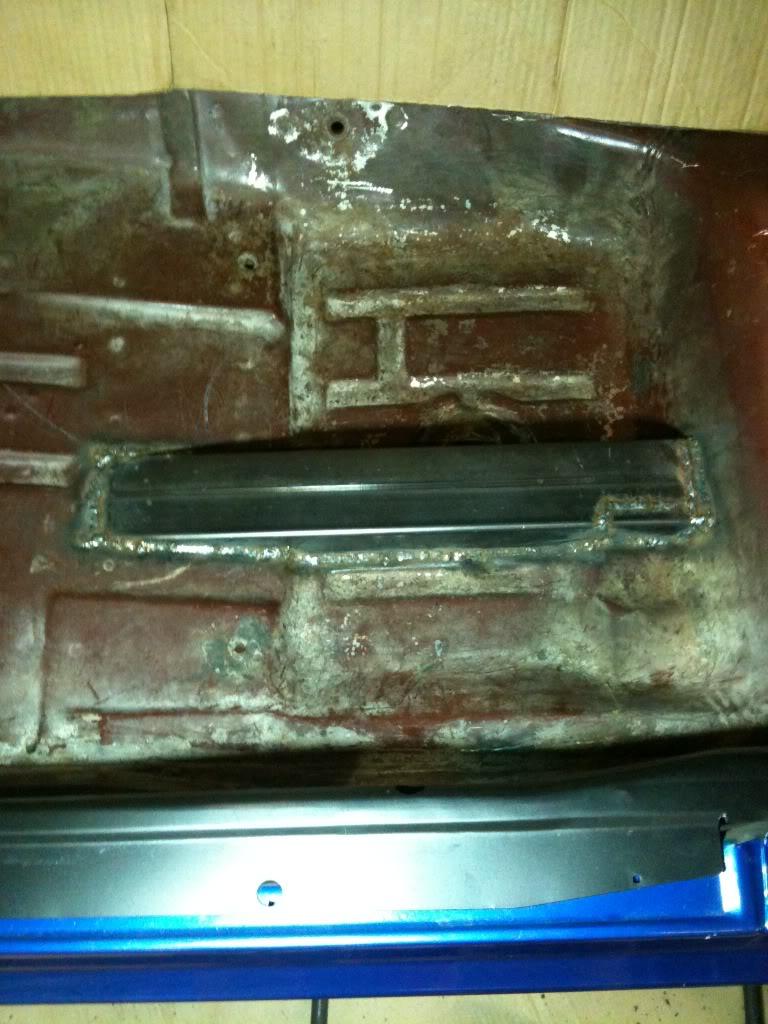
The last thing I did was finish weld the front subframe tube to the 2x3 connector. (Again being sure everything was straight.) - I should note here that there are alignment holes on the front subframe that line up with the body. The drivers side is where the body mounts near where your feet would be. This line up hole is a round hole in the subframe and a round hole in the body. On the passenger side there is a round hole in the subframe, and a slotted hole in the body (slotted left to right). I was extra careful to make sure these were aligned.
A quick coat of paint and it's time to do the other side.
Great build!
Posted by Diggymart on 2/14/20 @ 5:54:05 PM