You must be logged in to rate content!
3 minute(s) of a 140 minute read
9-14-2017
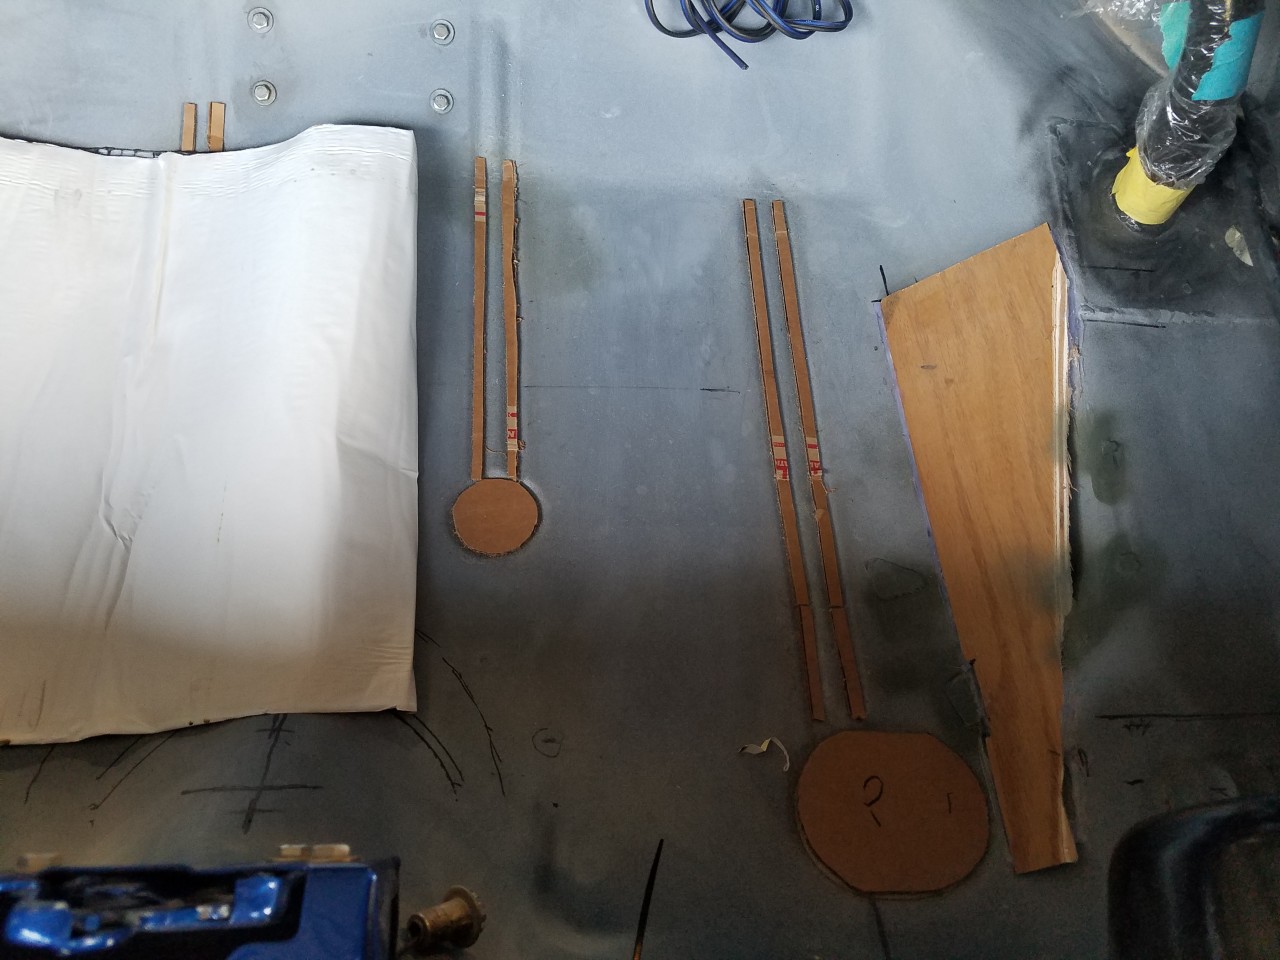
I’ve been busy on the trunk enclosure lately. First I wanted to fill in the indentions in the trunk floor before putting down the sound/deadner. I also didn’t like the stiff 90 degree angles going up the trunk floor. So I made some wood pieces to make an angle going up to the higher level.

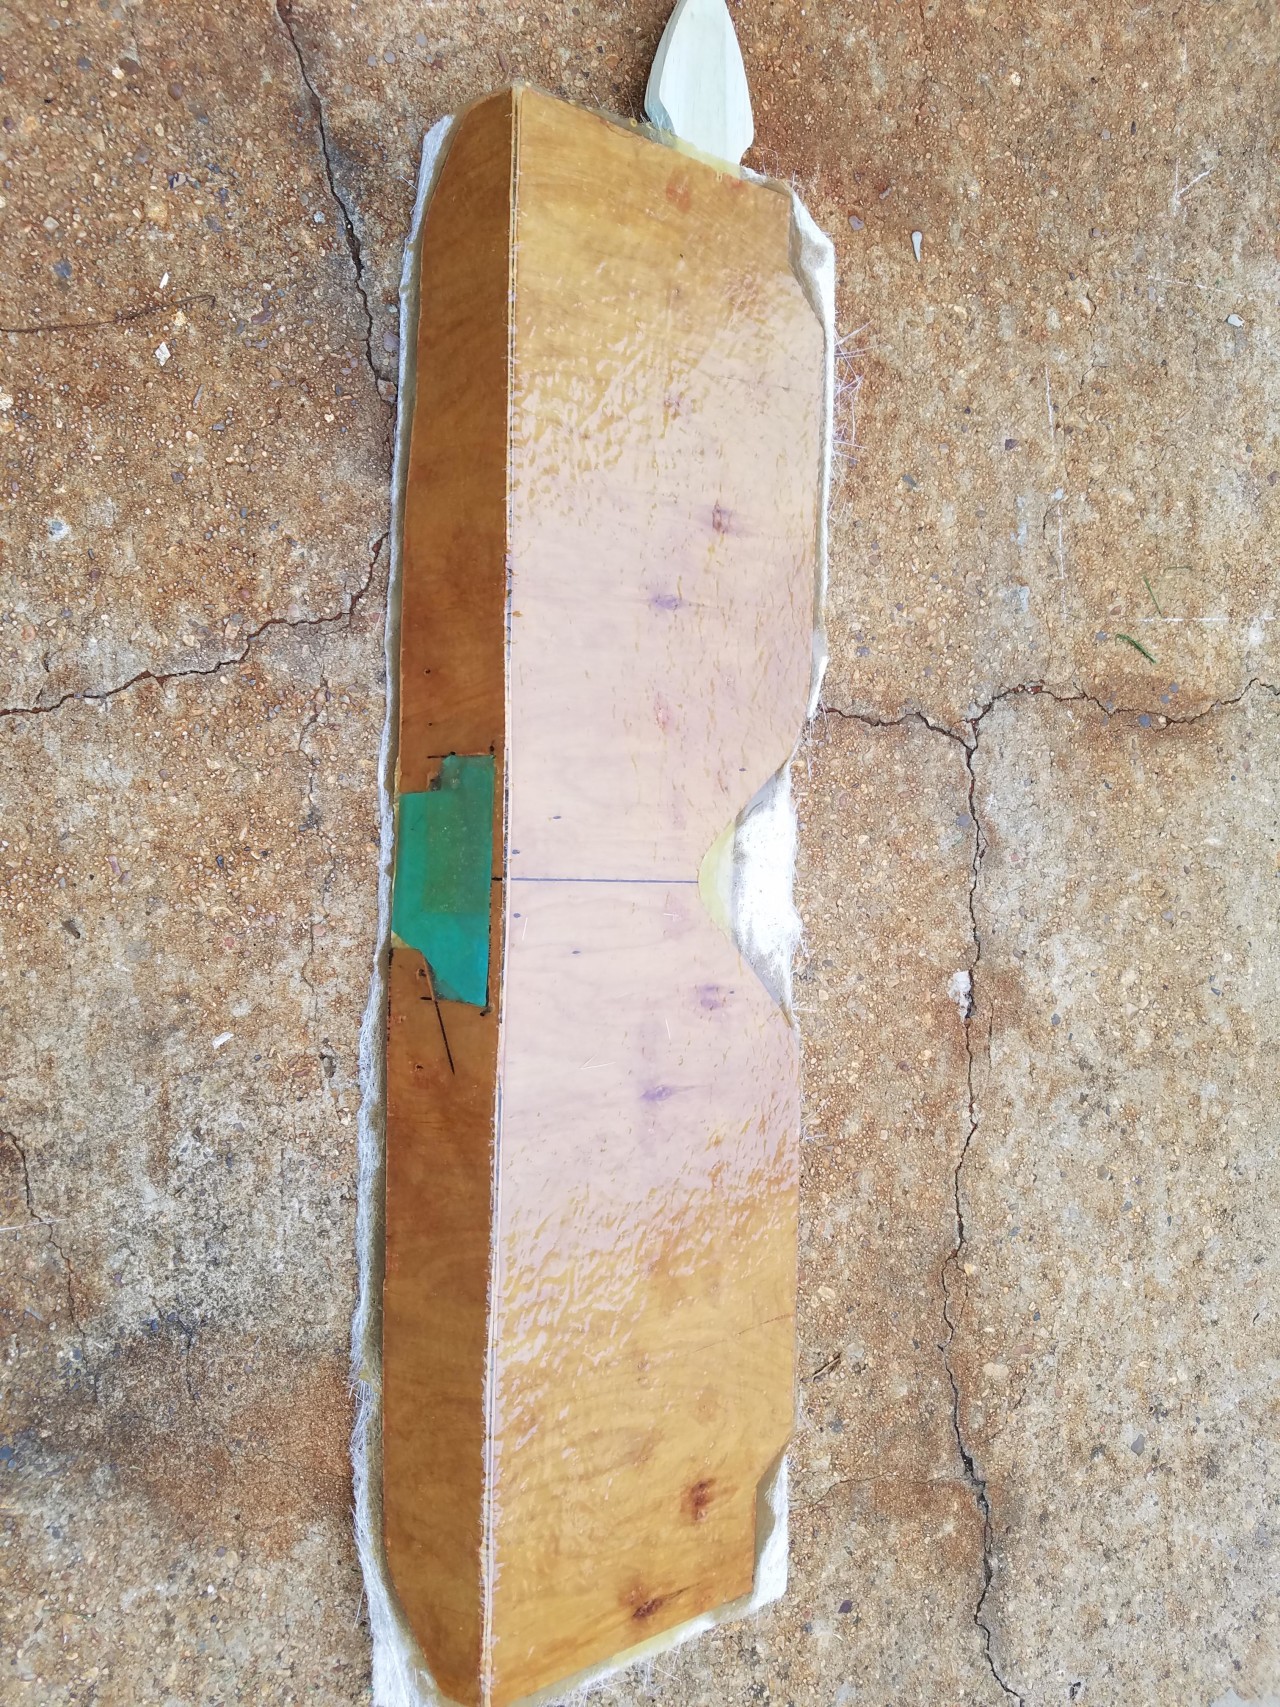
I had to make all my templates first then transform them to some 1/8” plywood. I started on the rear cover first. Once completed, I had to nail on a stiffener to keep the piece flat while fiber glassing the front. I only used resin or the rear. I also had to make a rounded tapered piece to go around the filler neck indention in the trunk.

I trimmed it in place and then sanded and applied a coat of filler to smooth out the panel. Last week I ordered my stereo equipment to start the design of how to install everything in the trunk. I had a friend come over and he connected all the wiring up and we got the stereo to play. He had some different size sub-woofers to try out. The one 12” sounder the best. I did find that the radio didn’t respond very good to the buttons and you really couldn’t get it dialed in good. So he suggested to get a flat eq to help out.
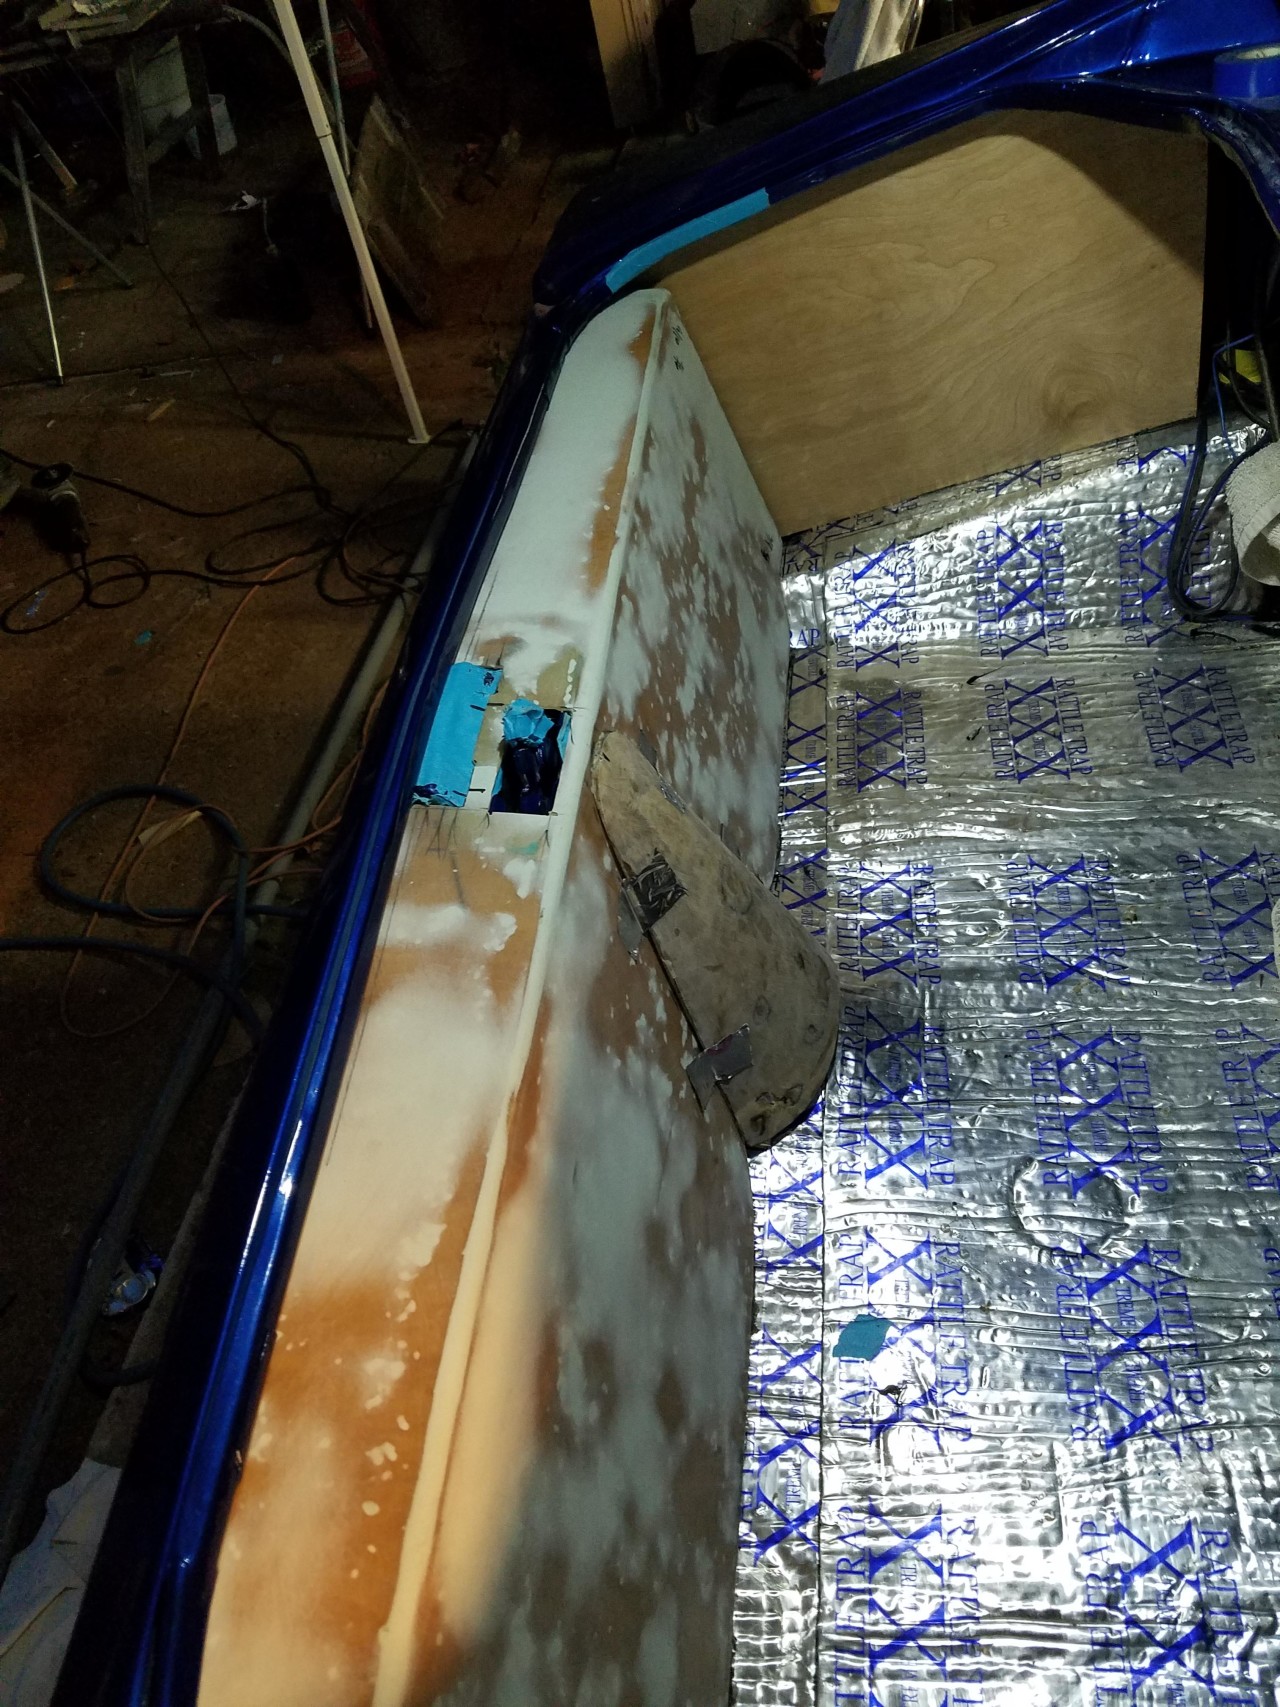
Sunday thru last night was make the side panels and the amp support. I cut the amp support out of ¼” plywood. I made many brackets to adhere to trunk. There are 1/4” aluminum angle about 1 ½” long. I got those mounted to the board and made some flat bar pieces to adhere to the top of the rear quarter. I used some left over square tubing from a canopy for the top braces for the side covers on both sides. I will use the angle clips for the bottom. I also used 1/16” alum angle for the clips to hold down the bottom section of the rear panel. Then I had to over under bend them for the angle of the rear panel. I then got everything lined up and epoxy’ d all those pieces to the trunk area. I am using a panel bonding epoxy for metal. I used it in the past and this stuff is as good as welding. I then proceeded to make the templates then wood panels for the sides. Last night I finally got things trimmed in and lined up. I didn’t epoxy those lower brackets since they are in the way for me to make the template and panel for the rear. Here is a pic of the trunk area last night.

I will work on the rear panel and try to layout my vent panels for the sides and front panel. I still need to get the sub to go with the amp and build that box. I will try and take more detailed pics of what I described above tonight. I ran out of daylight yesterday. Thanks for checking out my progress.
Comments

Coming along really nicely! The color is beautiful!
Posted by MPower on 11/25/20 @ 10:40:33 PM
Cool car!
Posted by Diggymart on 3/30/21 @ 7:46:54 PM