You must be logged in to rate content!
27 minute read
How to replace your coolant pipe, valve covers, timing gaskets and more
Compliments of wilson009 @ bimmerfest.com
12-6-2009
This will be my blog-log for installing the Coolant pipe kit, Alternator Timing Coversetc. Will post my successes and failures with pics. Hopefully mostly success!
In Retrospect this should have been titled my 745 R&R project... Lots of stuff out here so don't get confused. I'll try to make separate DIY's after I'm done.
Hopefully this will help others out there in similar situations and save you some serious money. 
Note: During this project I am also replacing my leaking upper timing, lower timing covers, which requires removal of the valve covers. You do NOT need to remove the valve covers for the Coolant pipe Replacement.
I am also replacing a Bad Alternator and a few other maintenance items.
First check out this post by 07841-tb
http://www.bimmerfest.com/forums/sho...ht=head+gasket
Also 2002 has a fan attached to the waterpump and a water cooled alternator. 2003 up do not.
Also if your going to do this make sure you have a copy of The TIS.
Tools:
Metric Sockets and ratchets several sizes and angles will help you get into the back with odd angles.
metric torx socket set
metric inverted socket set
NM Torque ratchet
Disconnect Battery in the rear. -Replace the battery if your car is 6 years old or more. Its worth the preventative maint.
Remove the Fan Cowl
Remove Fan
Drain the antifreeze
Remove all the hoses
Remove Waterpump.
See waterpump DIY
remove both belt tensioners
http://www.bimmerfest.com/forums/sho...d.php?t=414607

One you have all the hoses labeled and moved out of the way.
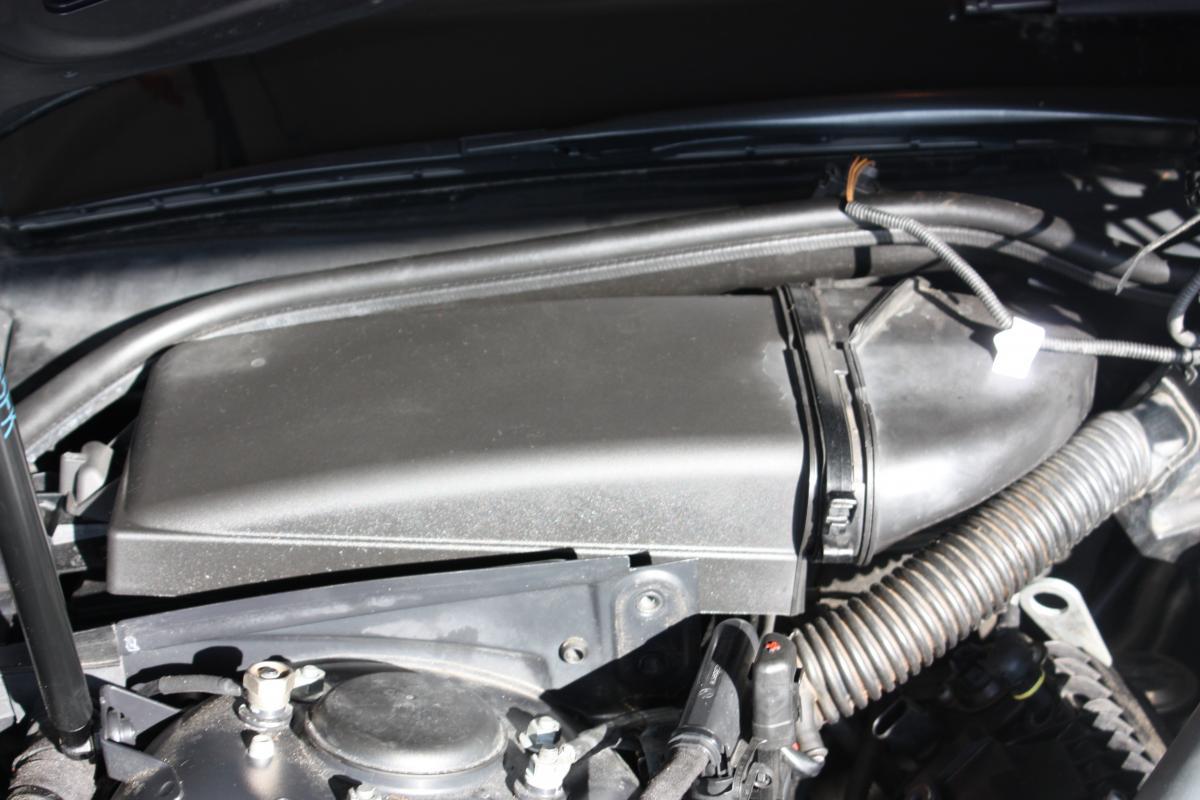
Remove the Expansion Tank and the Air Filter and Box.
A key to this project is to make as much space in the engine to work as possible.
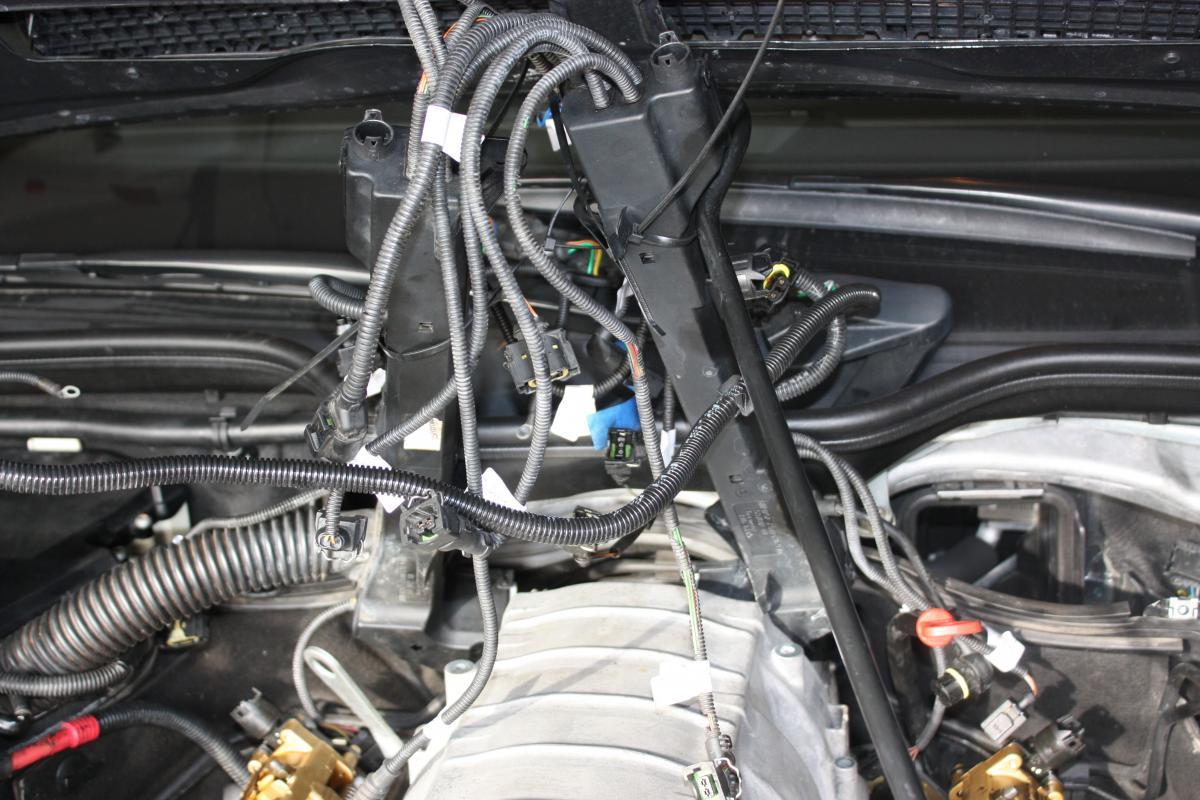
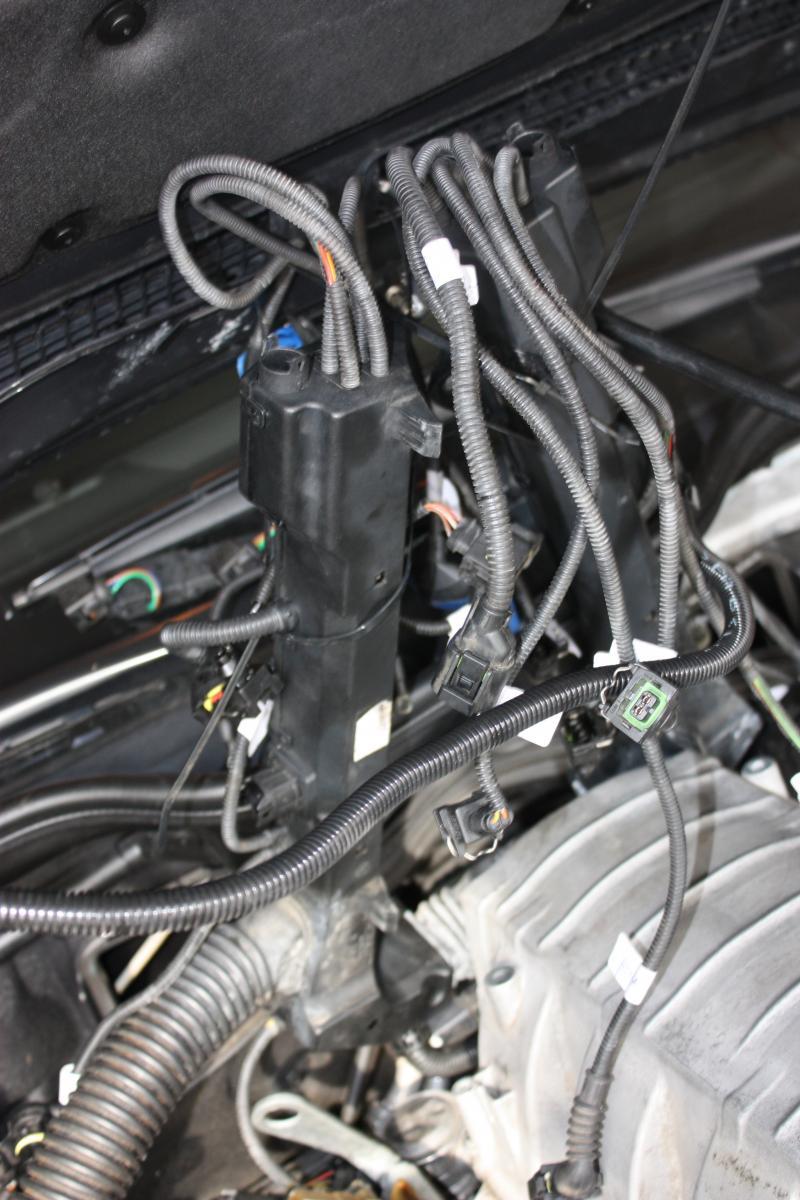
Wire Harness.
Get yourself a labeler or labels and start unplugging the wire harness.
Feed everything out and use string or zipties to hang the wire harness to the back of the hood out of the way.
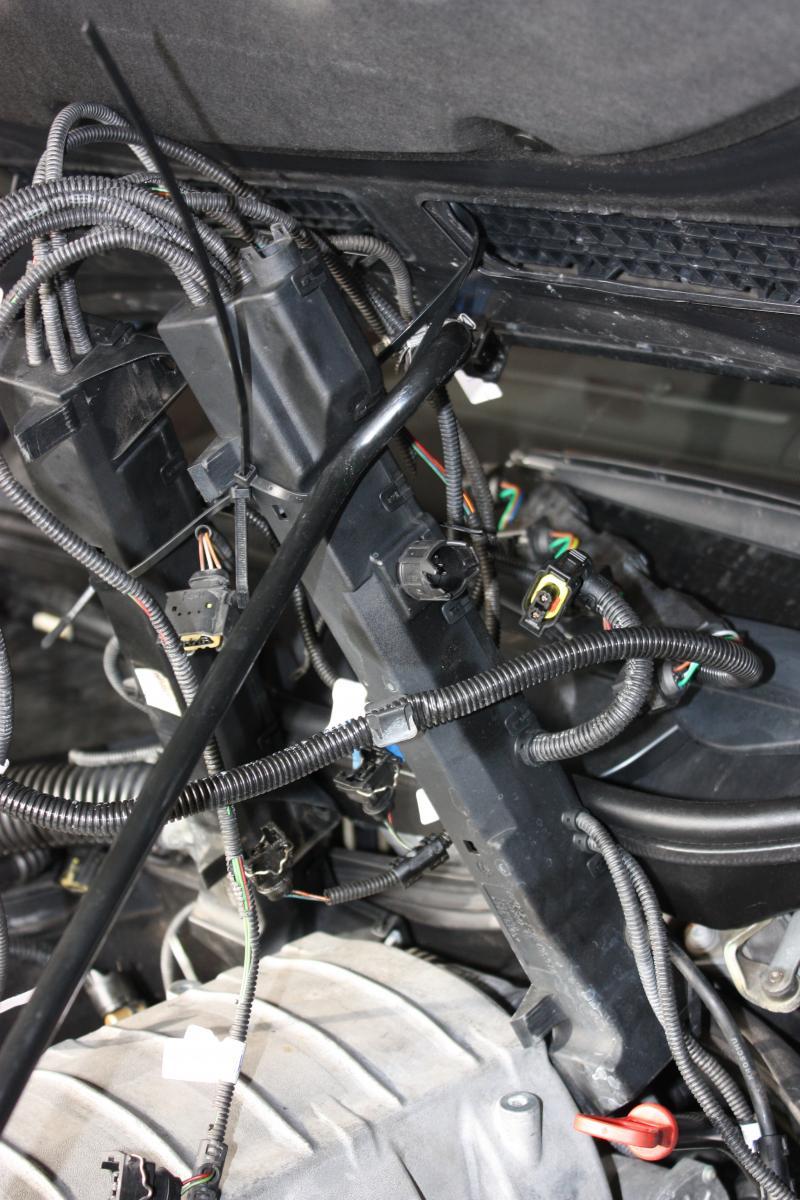
Making Space in the engine compartment.
Remove the Partition Wall. About 4 bolts and 2 screws.
Remove the Cabin air filters on passenger and driver side. Also the Adapter hose from the filter that goes through the firewall It comes off easily with by a clip with a flathead.
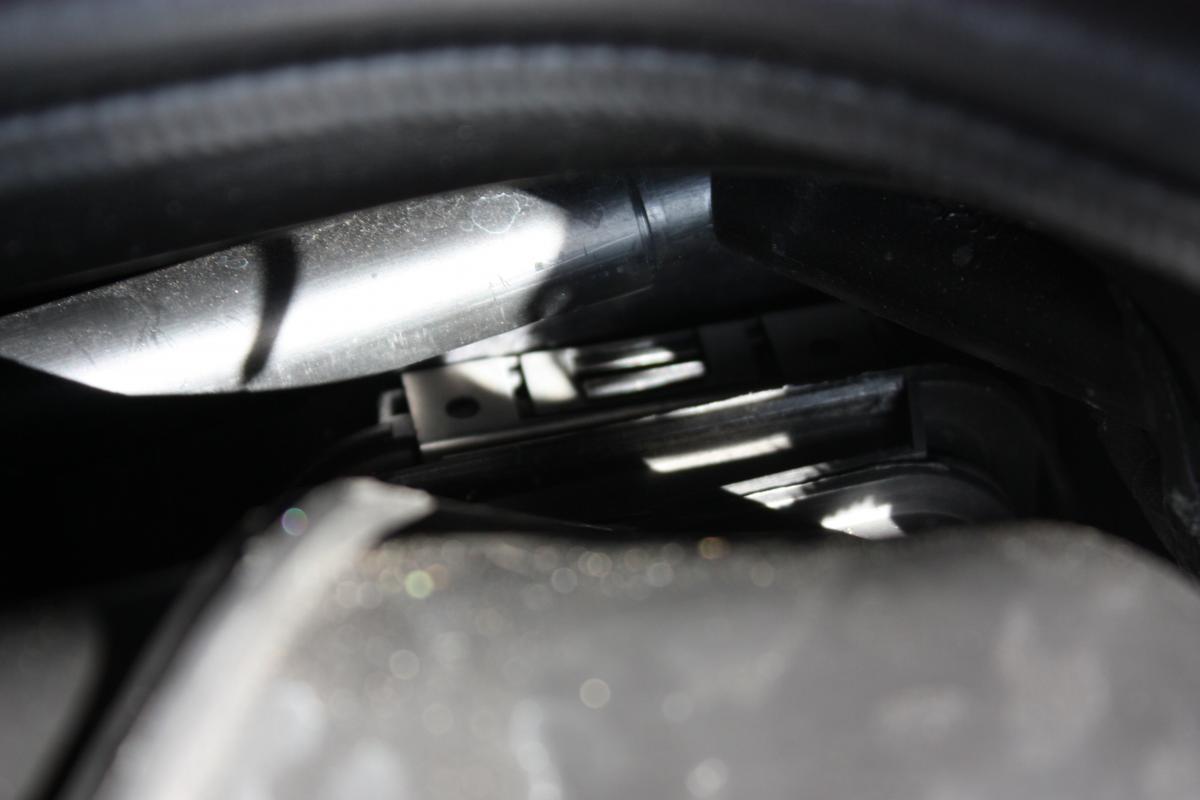
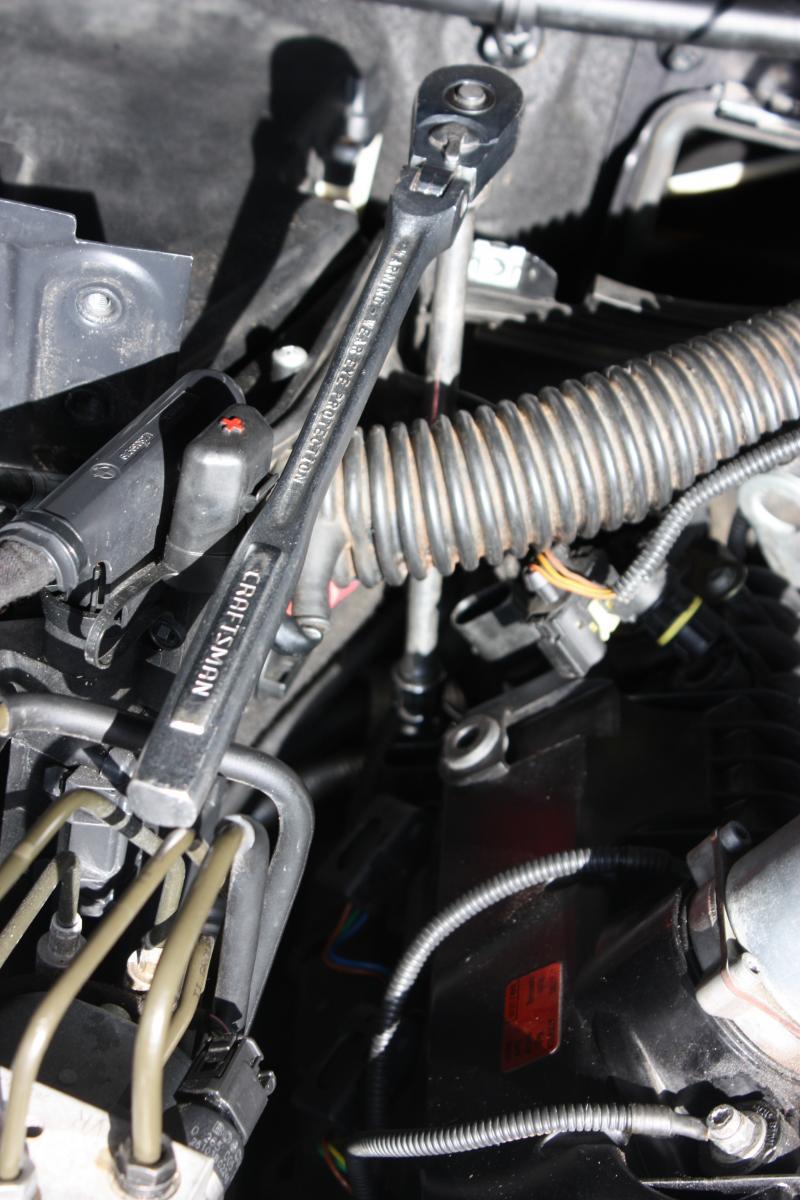
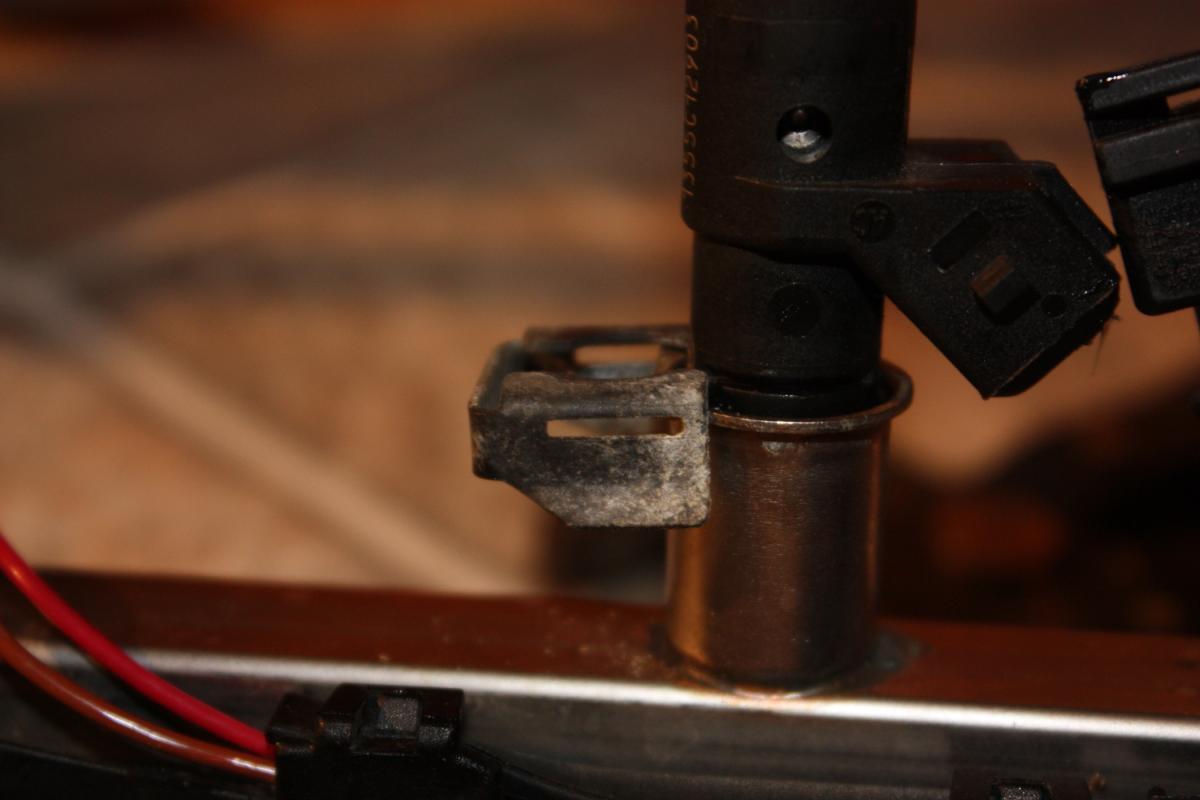
Remove the Injection System.
Couple of screws on the top.
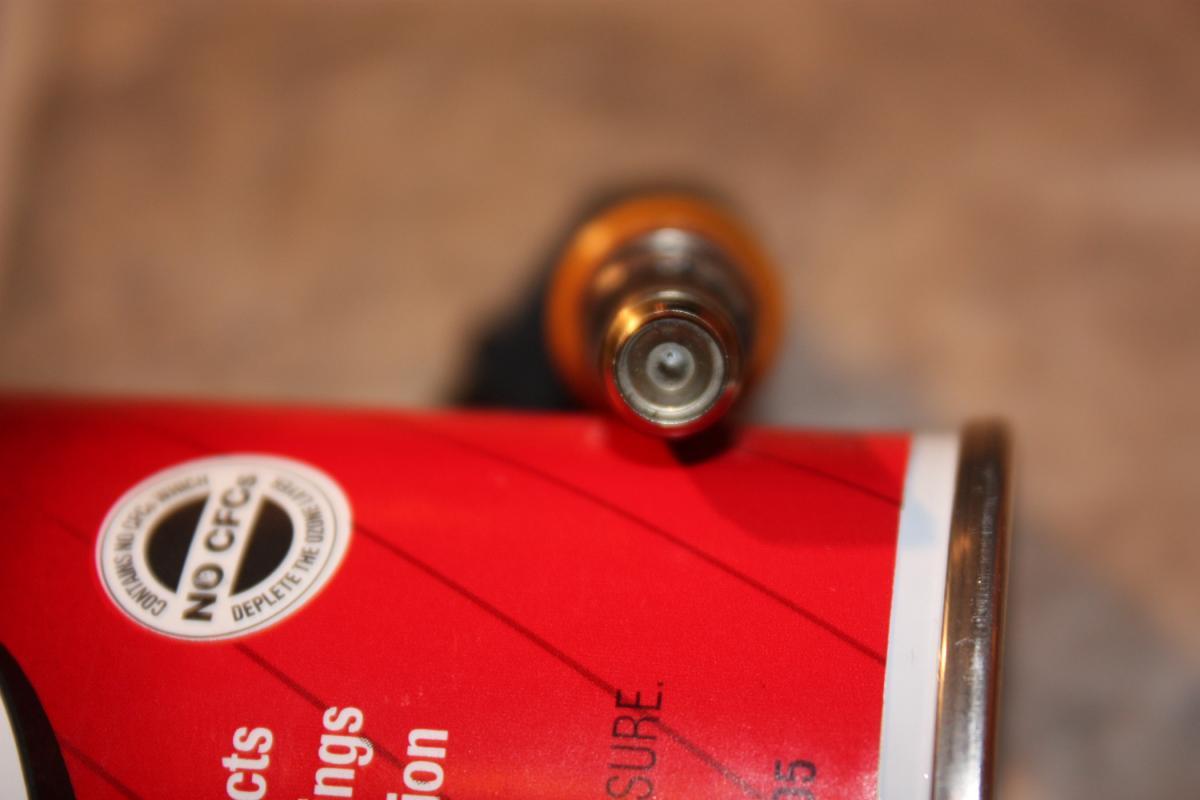
Look for a valve on the top. Same fitting that you would blow air into your tires.
Sent low pressure air 3psi into it. This pushes the gas backwards into the tank.
Lift the injectors straight up. - Replace all the seals on this while its out.
Disconnect the hose and set aside.
Remove Passenger Side Valve Cover.
Remove 13 Bolts
2 bolts are hidden under 2 ground cables. Remove the ground cable and then the bolts.
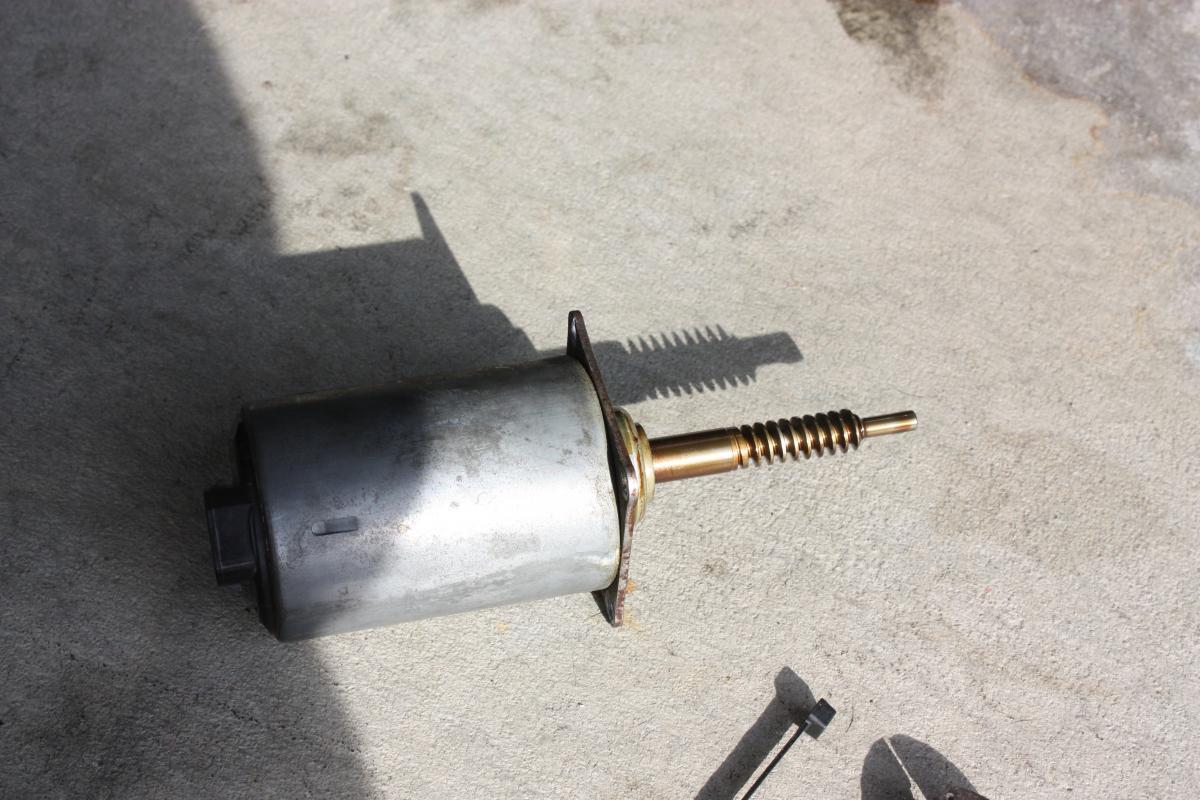
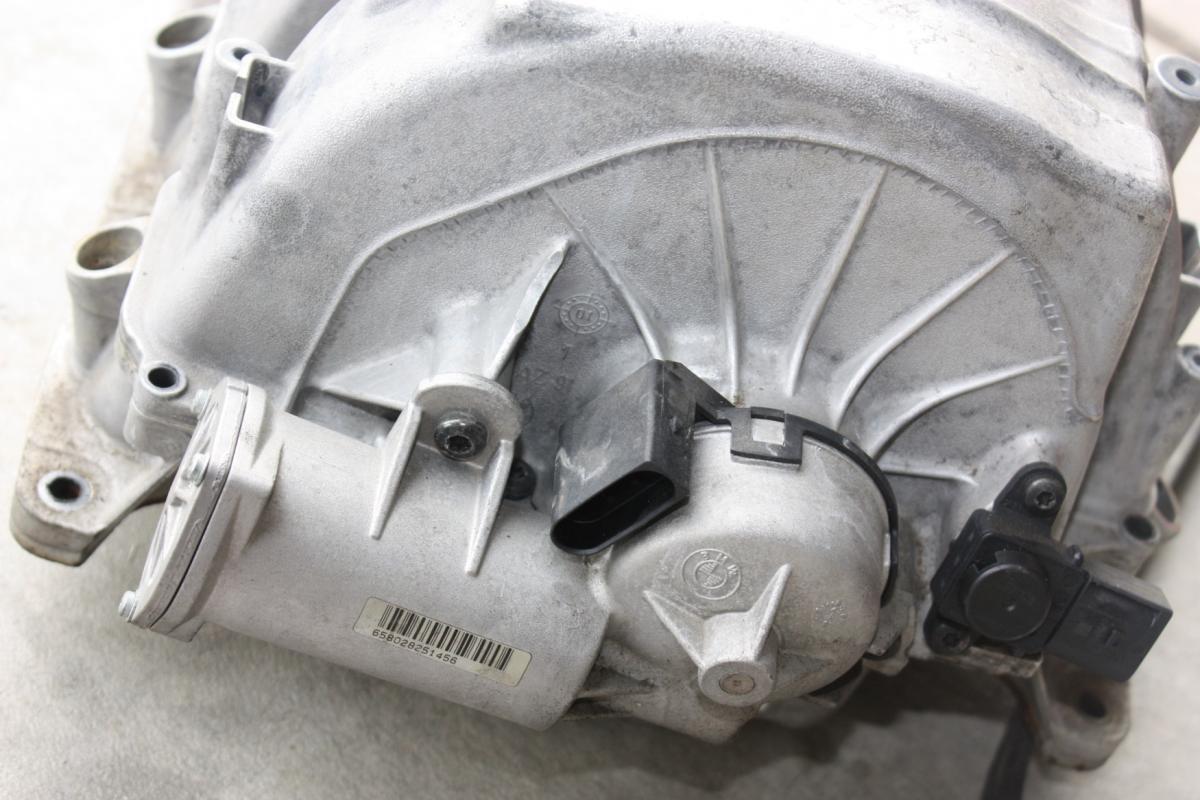
Remove the Servomotor and the metal plate underneath. make note to Replace the seal underneath.
Remove plates around Intermediate Shaft Sensors in the back these sensors sit underneath the valve covers and work on the timing. They are expensive to replace. but if your car is open your better off replacing it now instead of having to open the car again. #11-37-7-527-017
Remove the Injection Valve Wire harness. This is a attached via a clip and pops off easy.
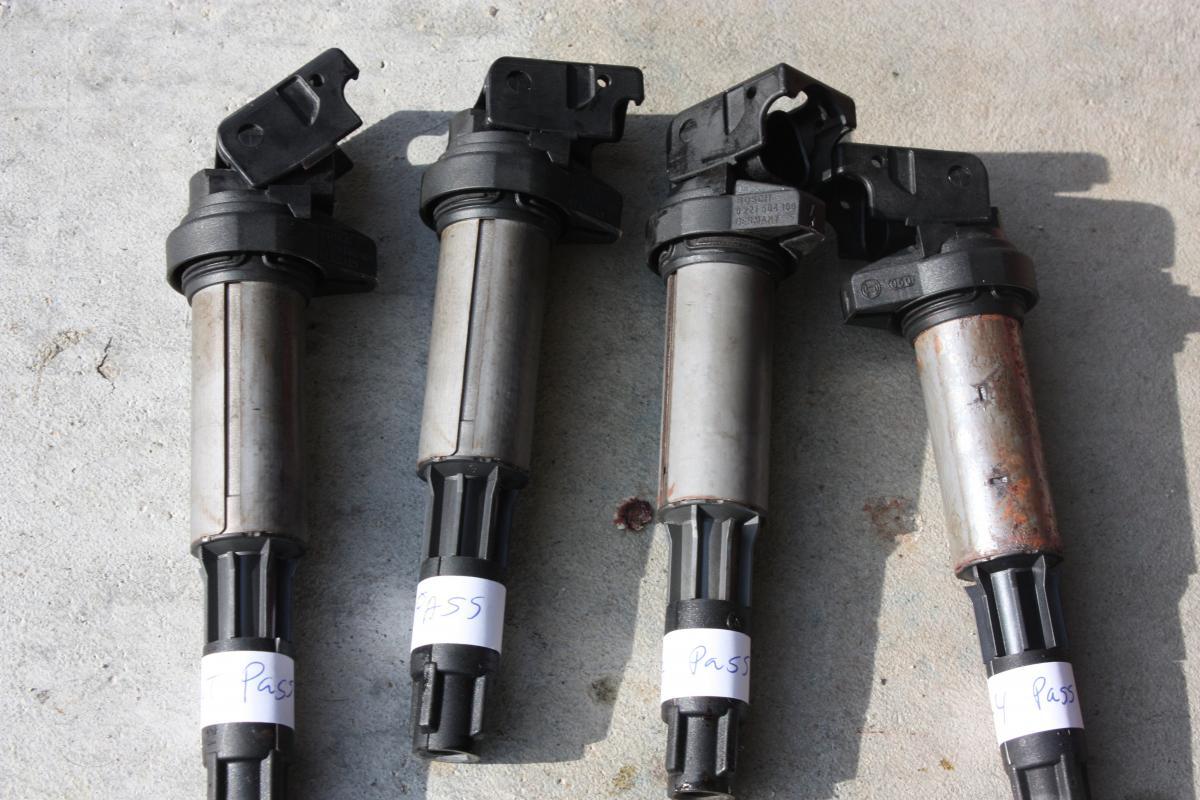
Lift up the levers on the ignition coils and unplug the wires.
Lift up the harness and attach with other harness suspended on the hood.
Pull out the ignition coils. They slide right out
Break the seal slowly on the valve cover. Do not force.
The sparkplug domes will fall off as you lift. I reached in and pulled them out. BMW recommends these be replaced but they are 27 a piece. so i'll inspect them closer.
Getting the valve cover off involved twisting and lifting over the shaft sensors. Makes me wonder how difficult its gonna be when i need to put it back on but I'll cross that bridge later.

Driver side valve cover
Driver side Valve cover is the same process just different angles.
You will need to release and move the ARS container and a few small things to get the ratchet in there.
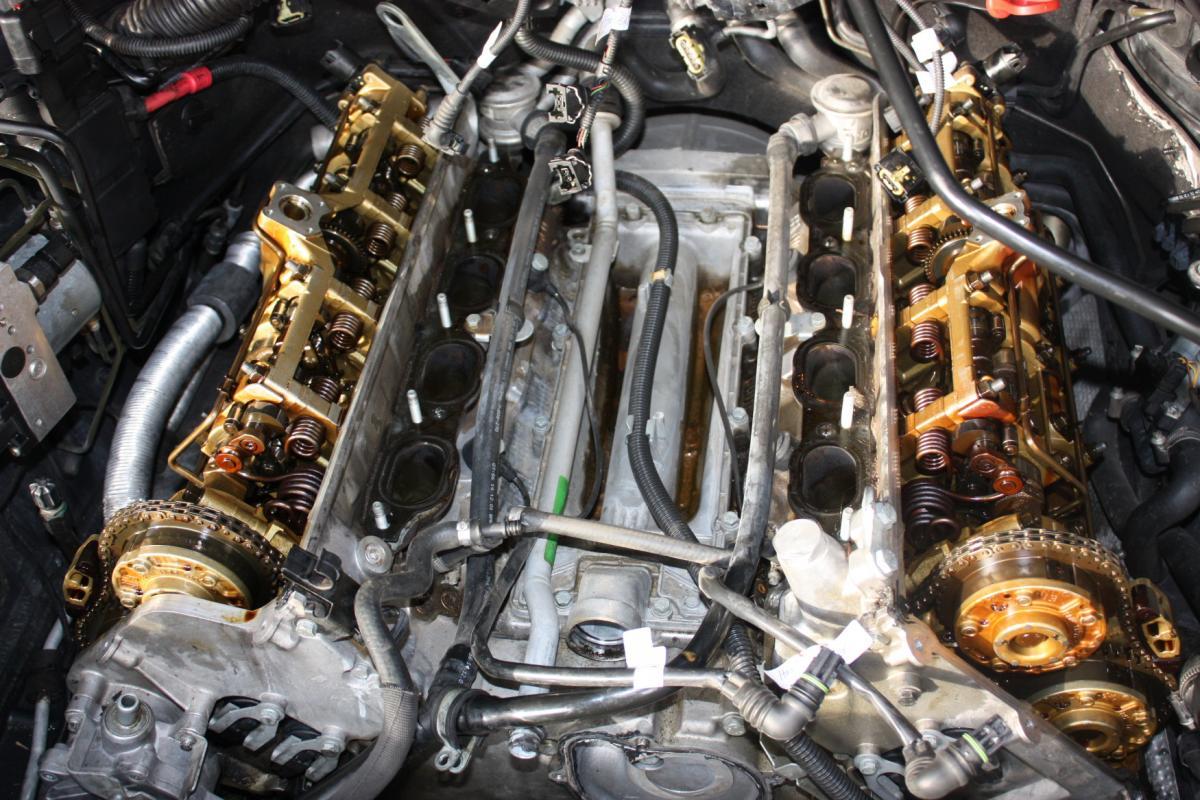
-more pics and pics with covers off
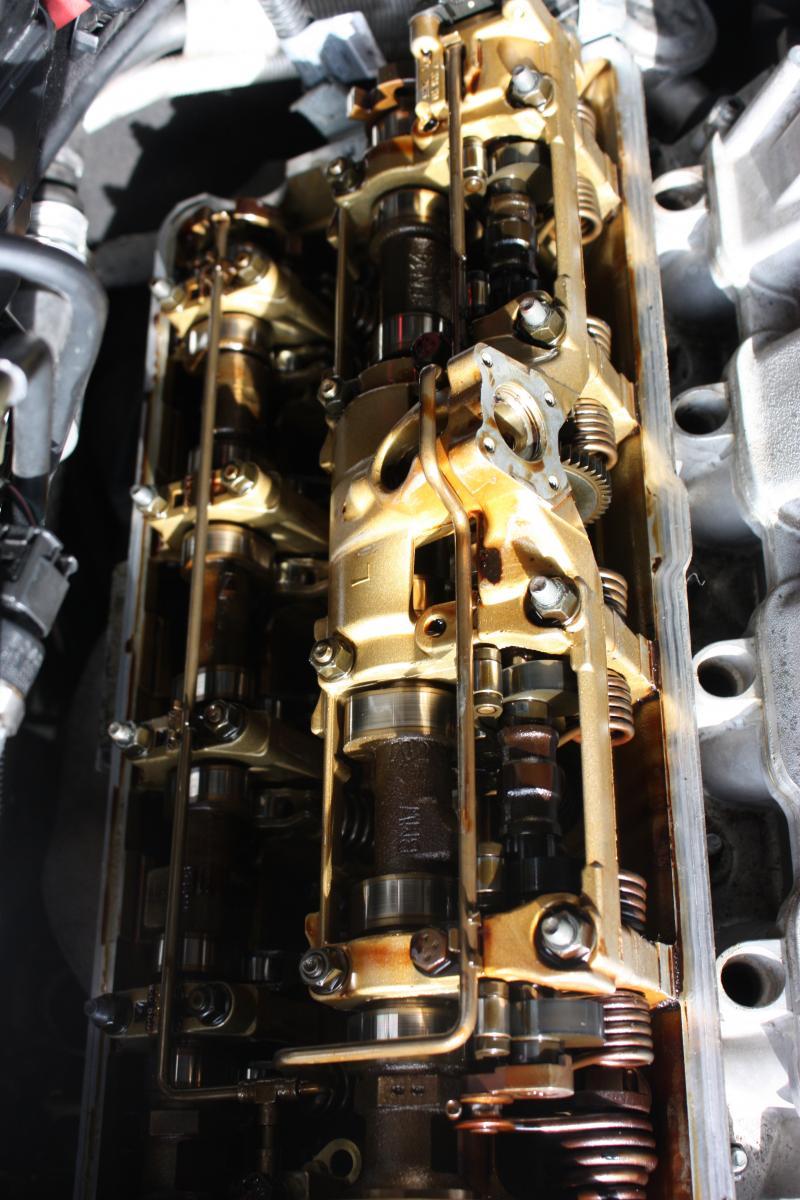
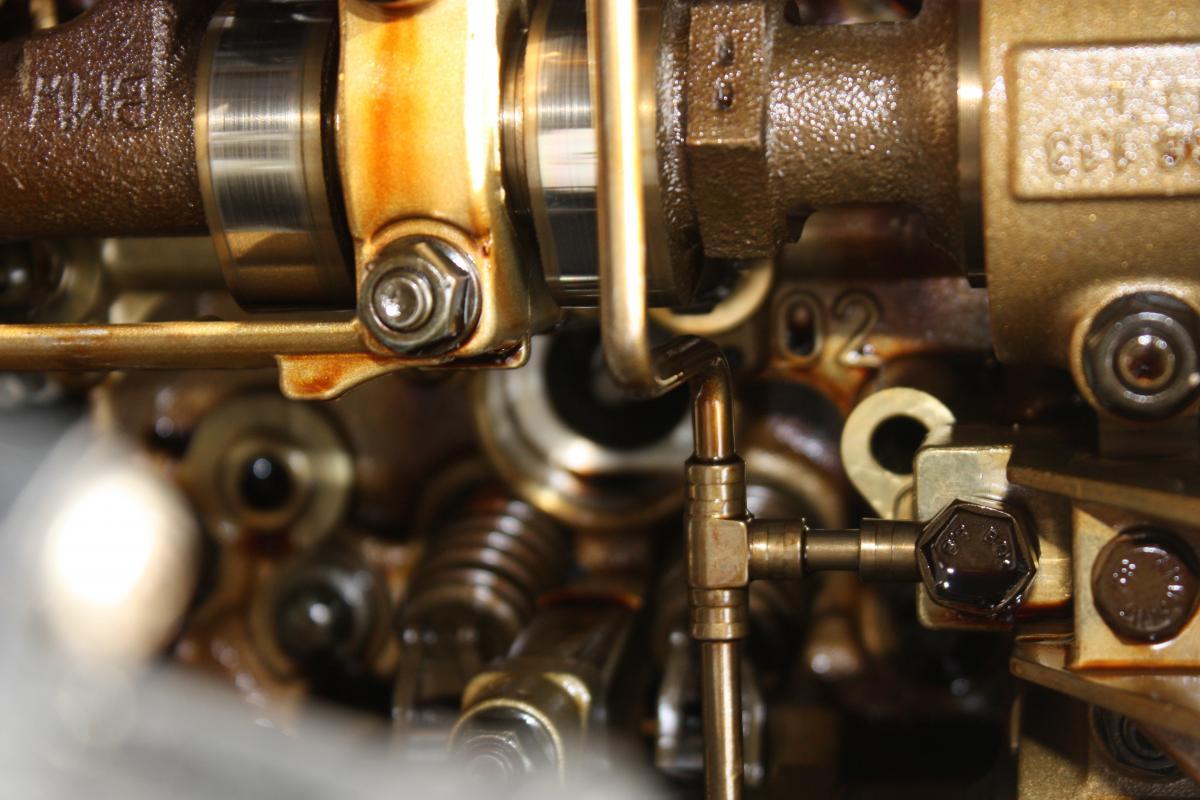
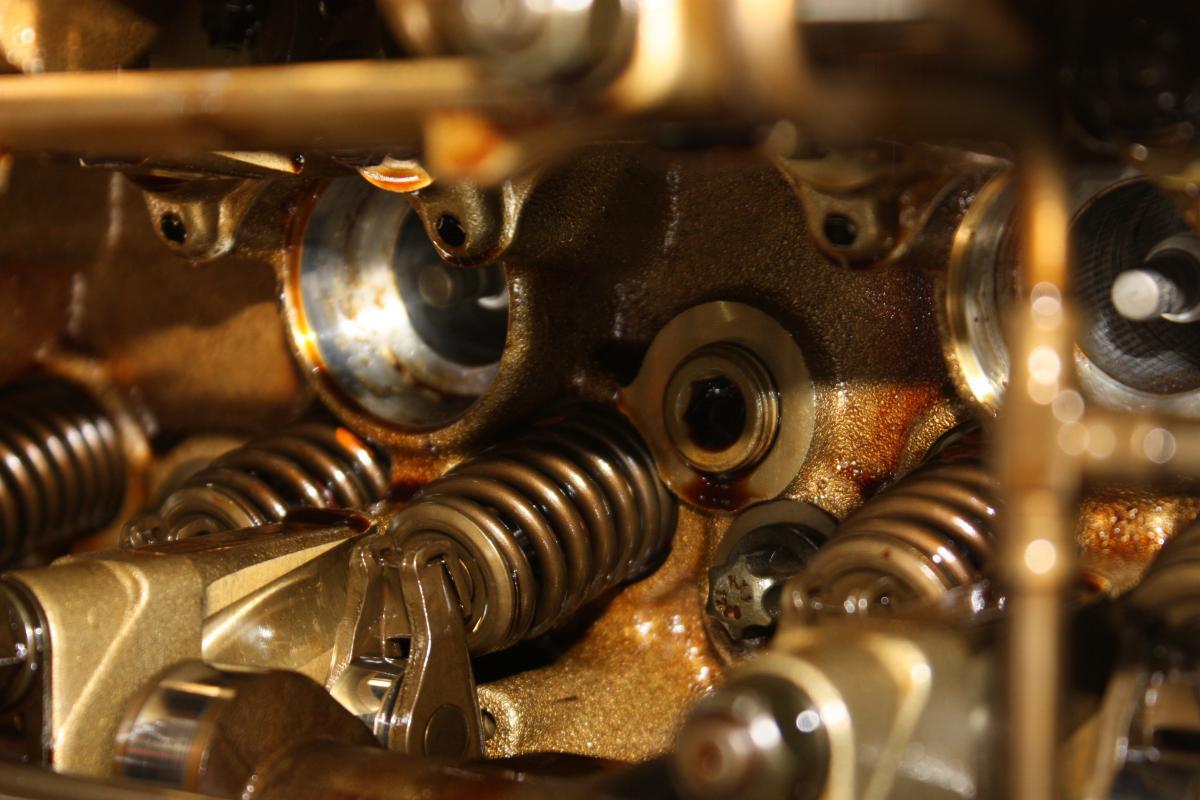
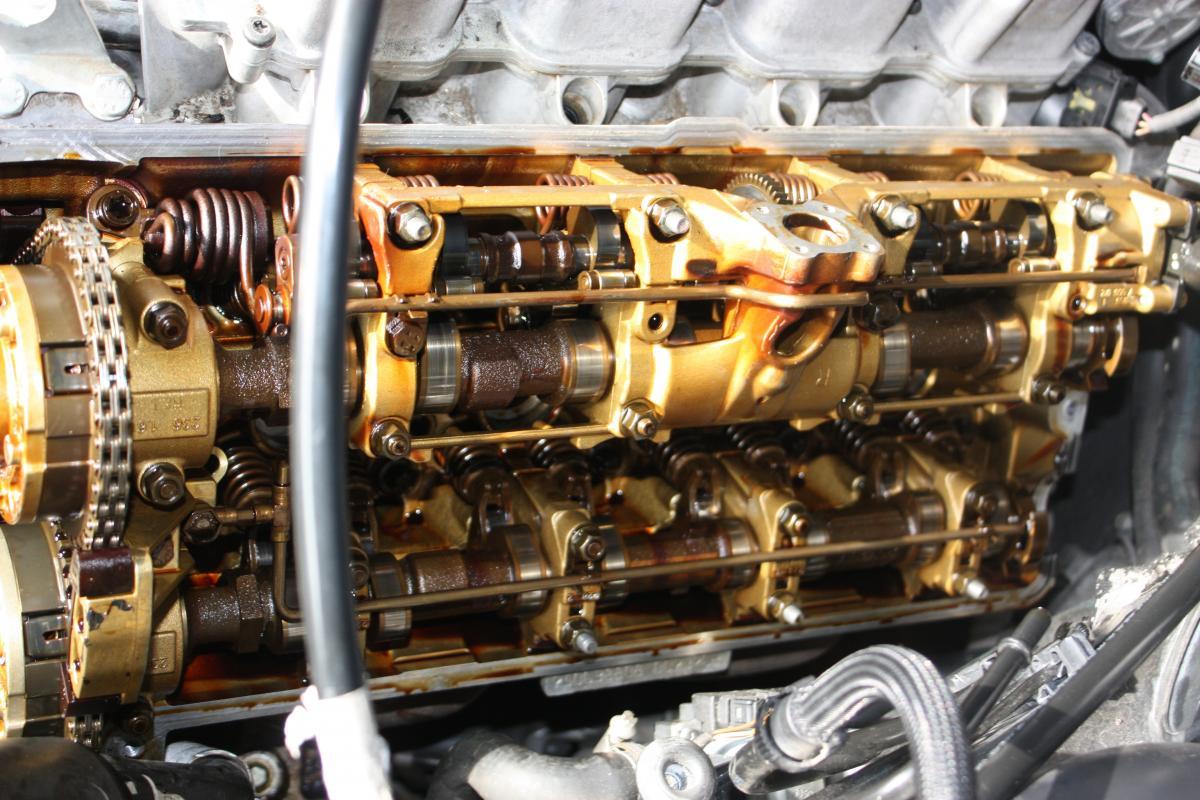
more pics valve covers off
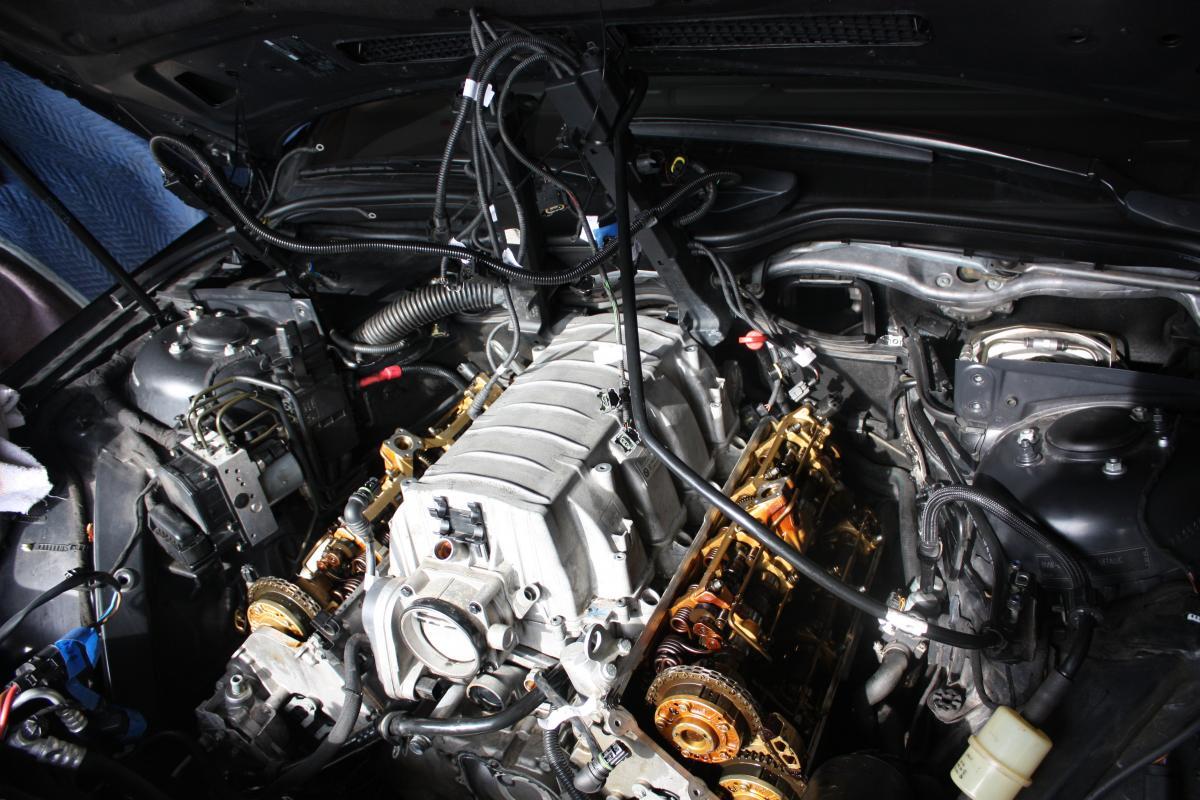
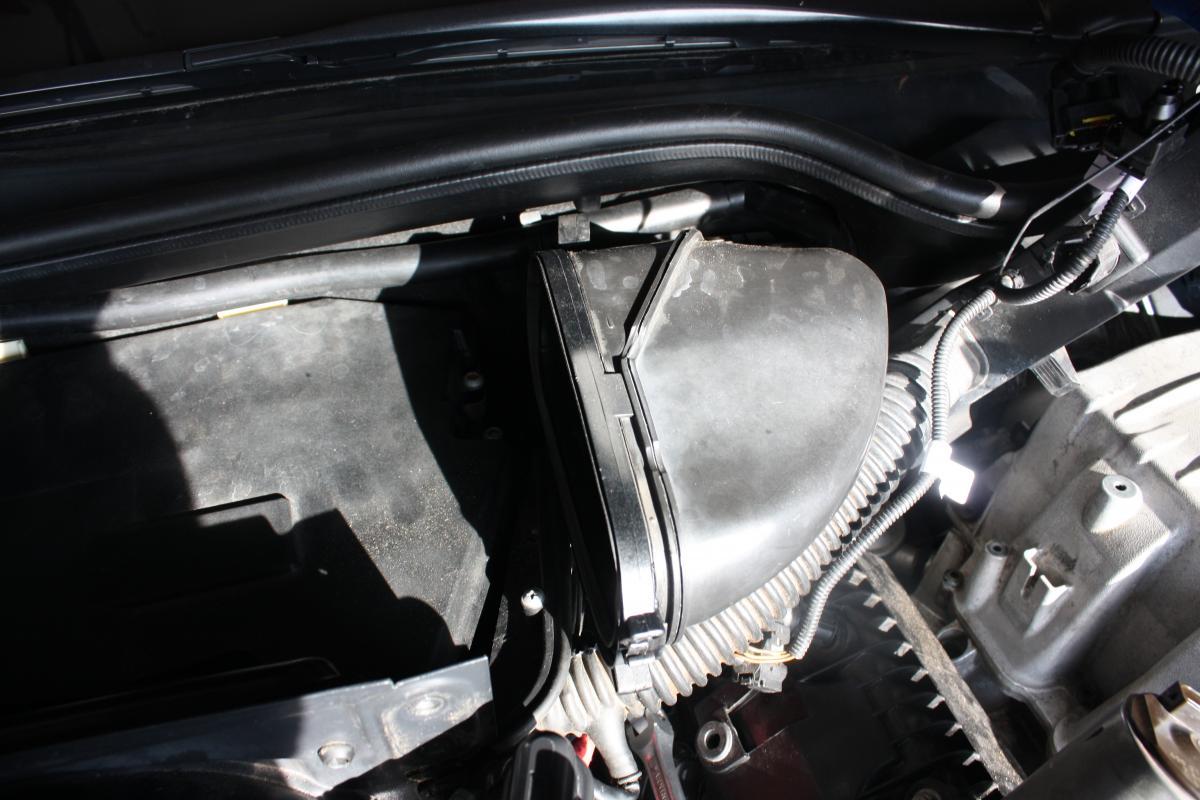
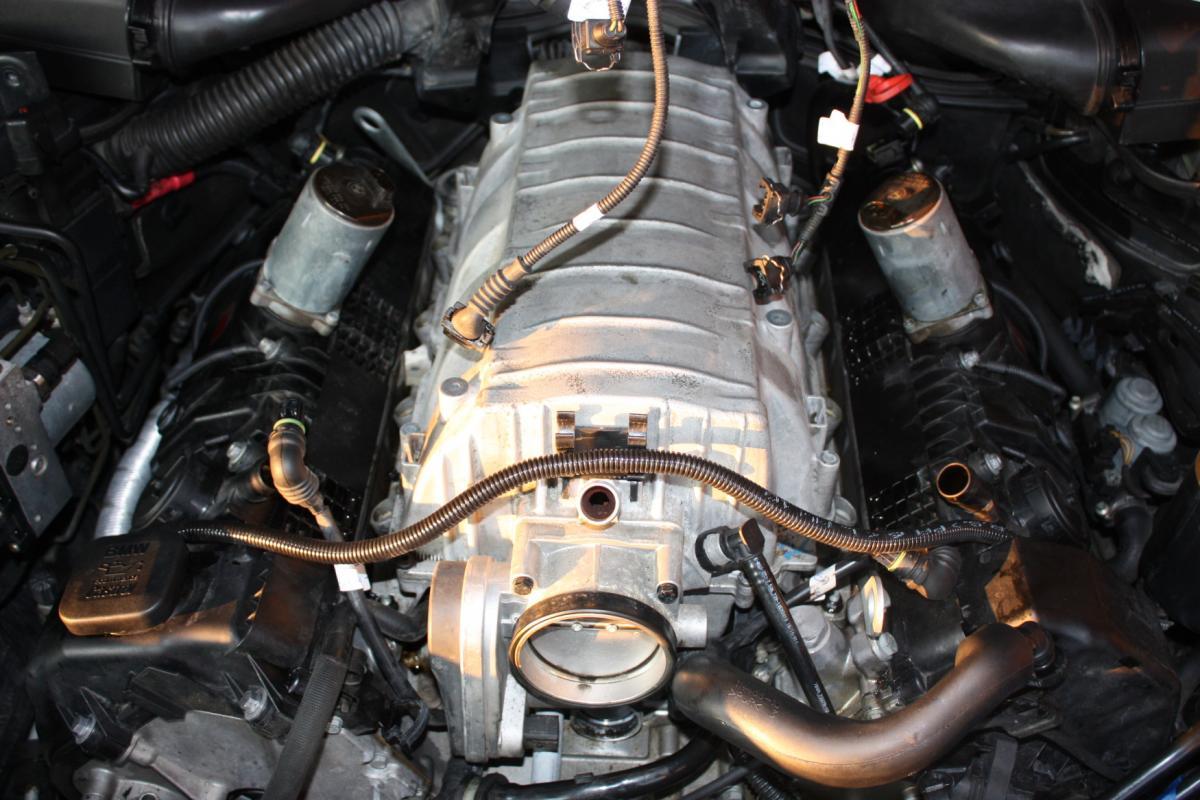
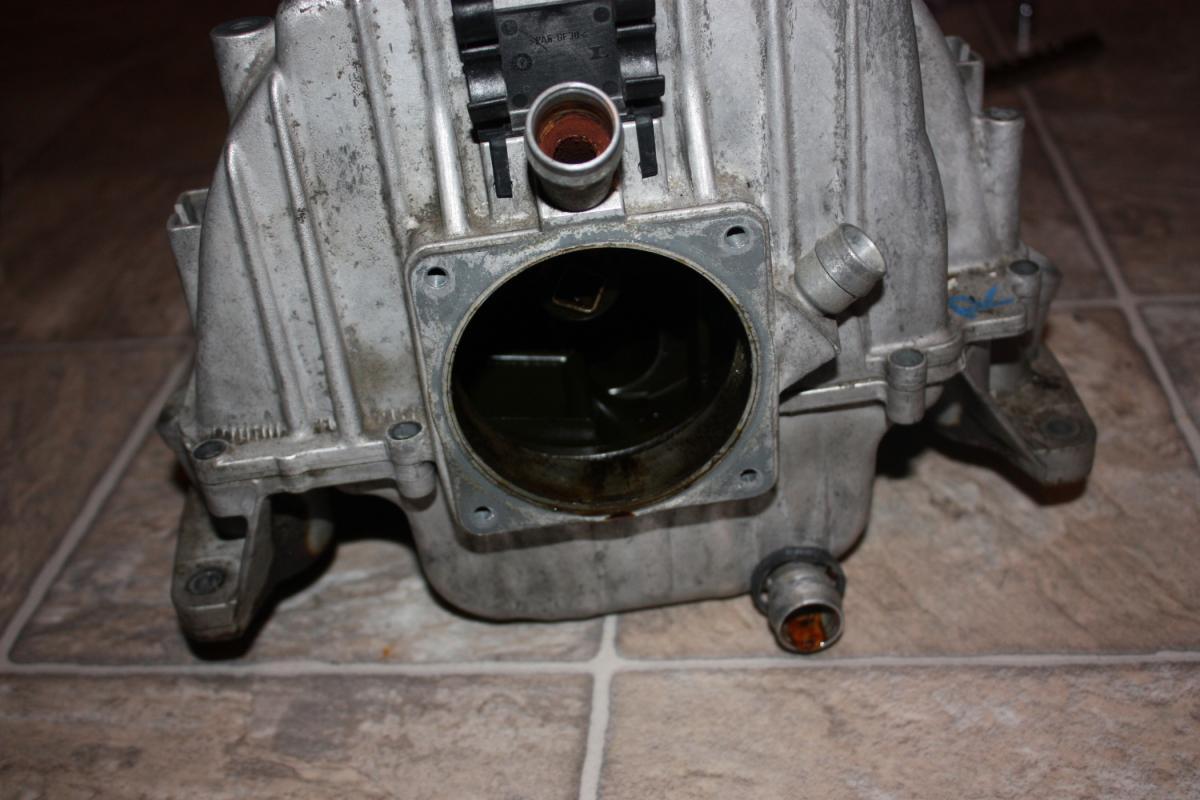
Air Intake Manifold
Remove 8 screws.
Unclip on more sensor on the rear. I used 2 flathead screwdrivers. Very Awkward.
Lift Right off.
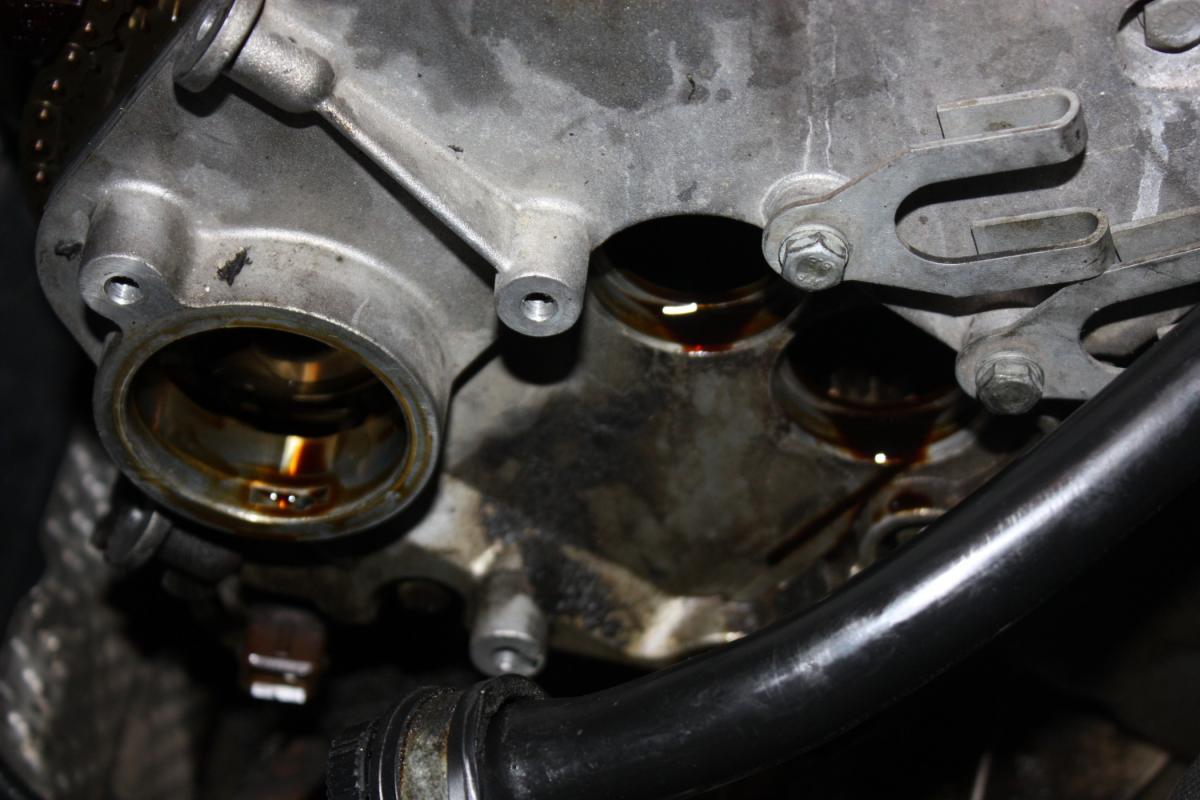
I noticed some oil residue in one of the hose valves see pic. Plan to open the intake manifold later.
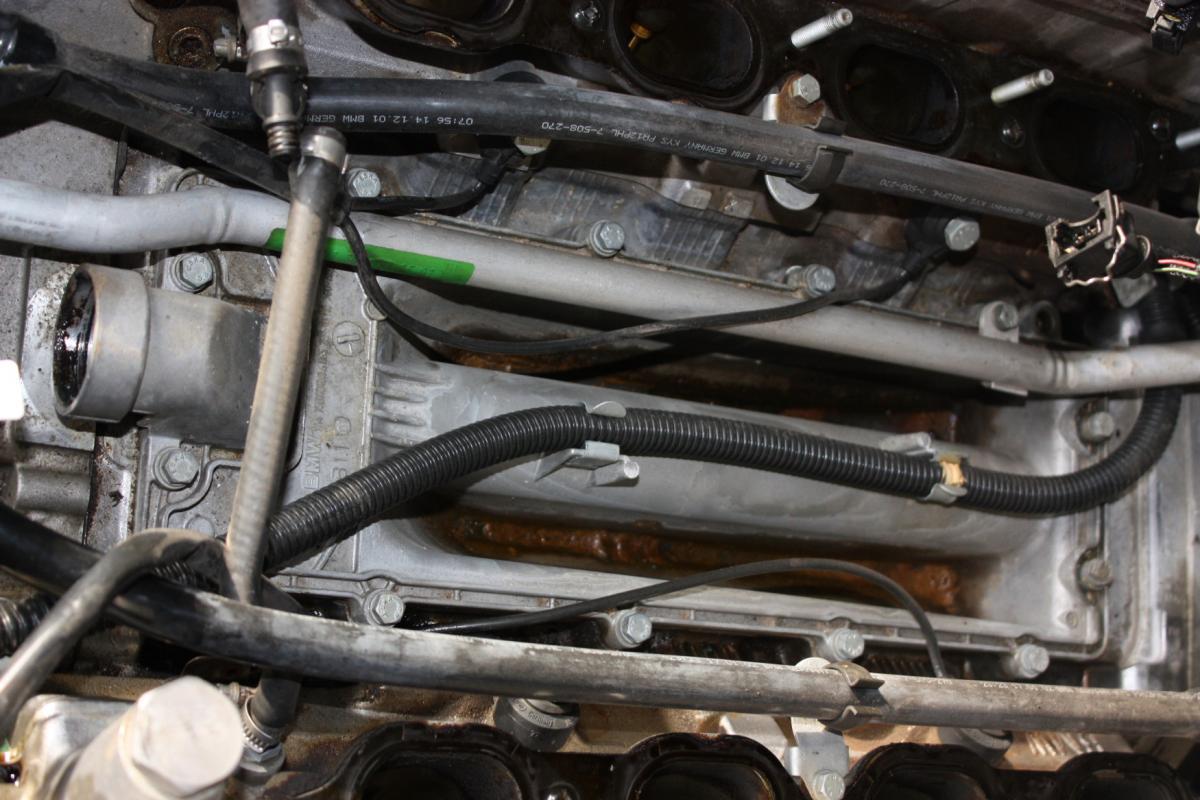
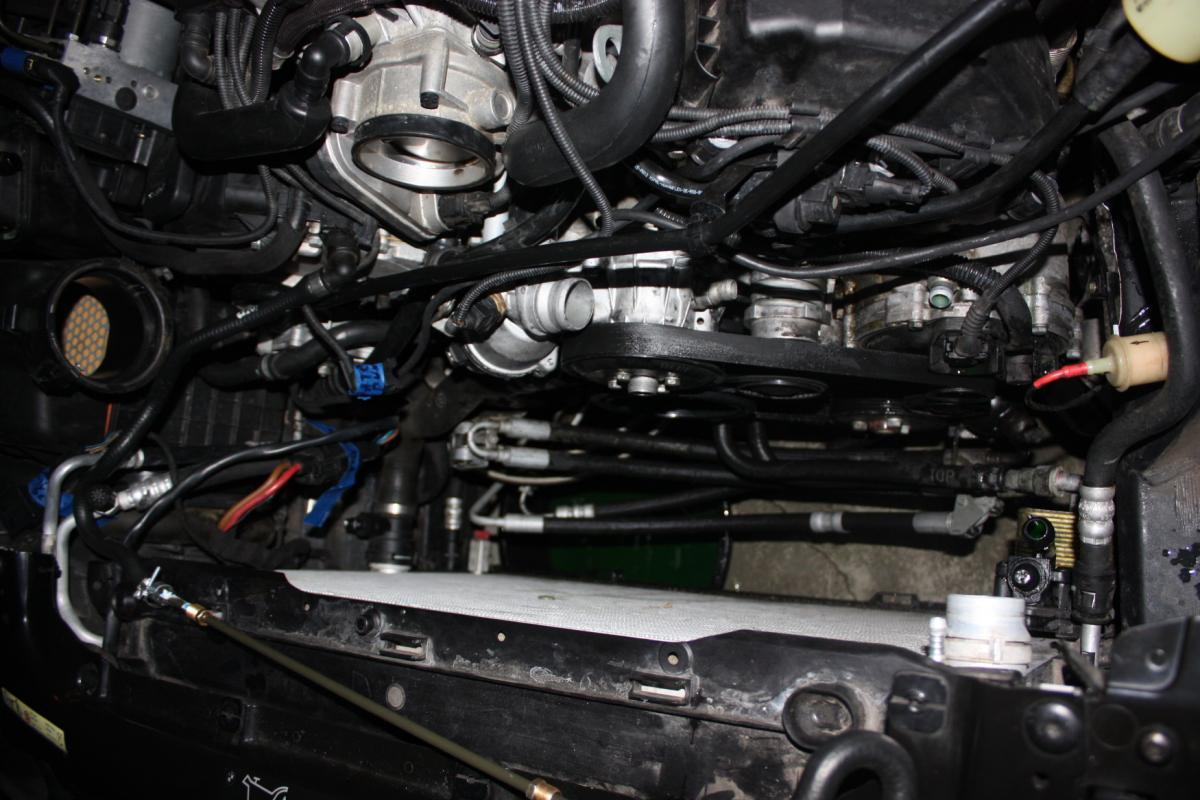
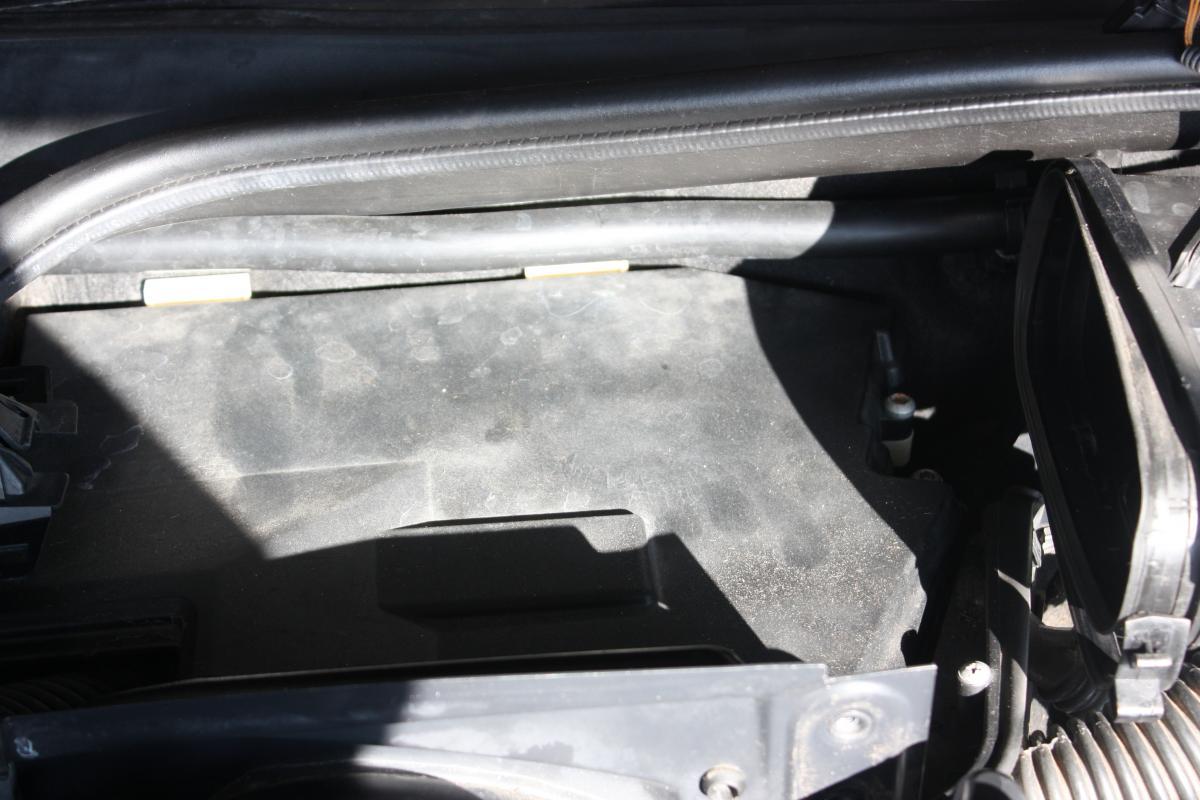
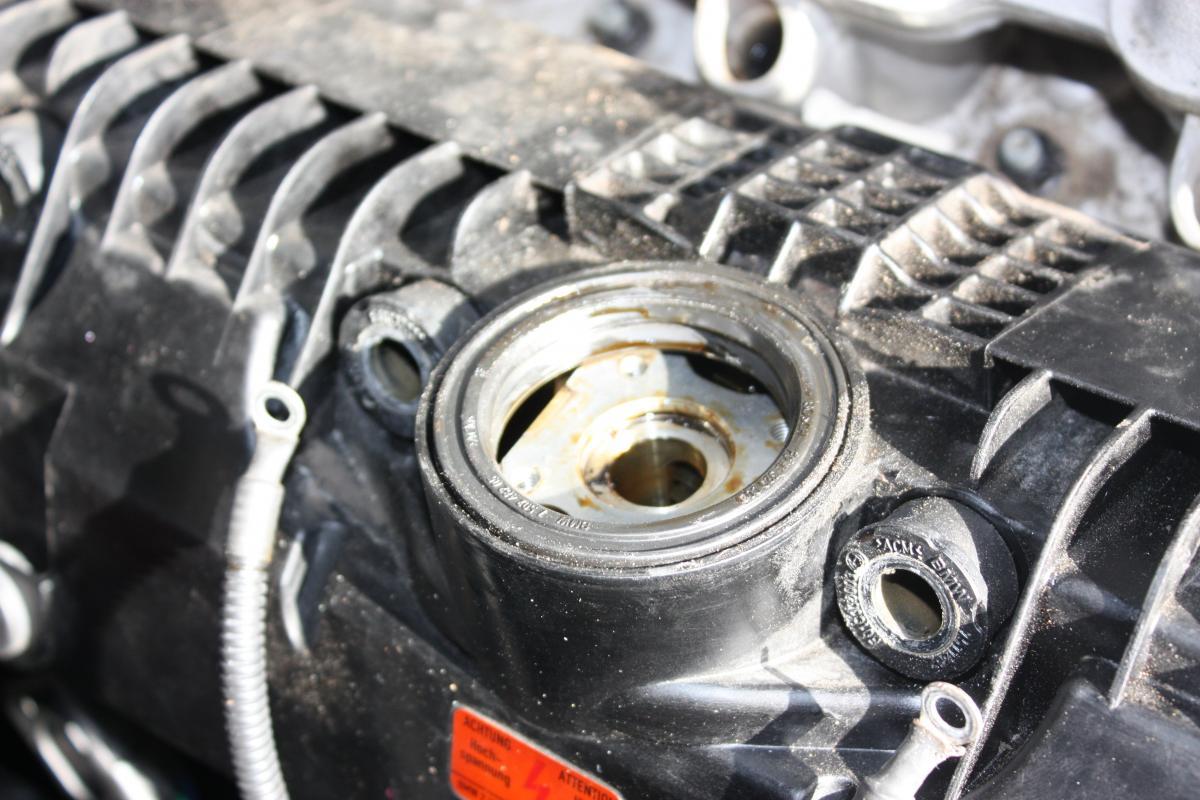
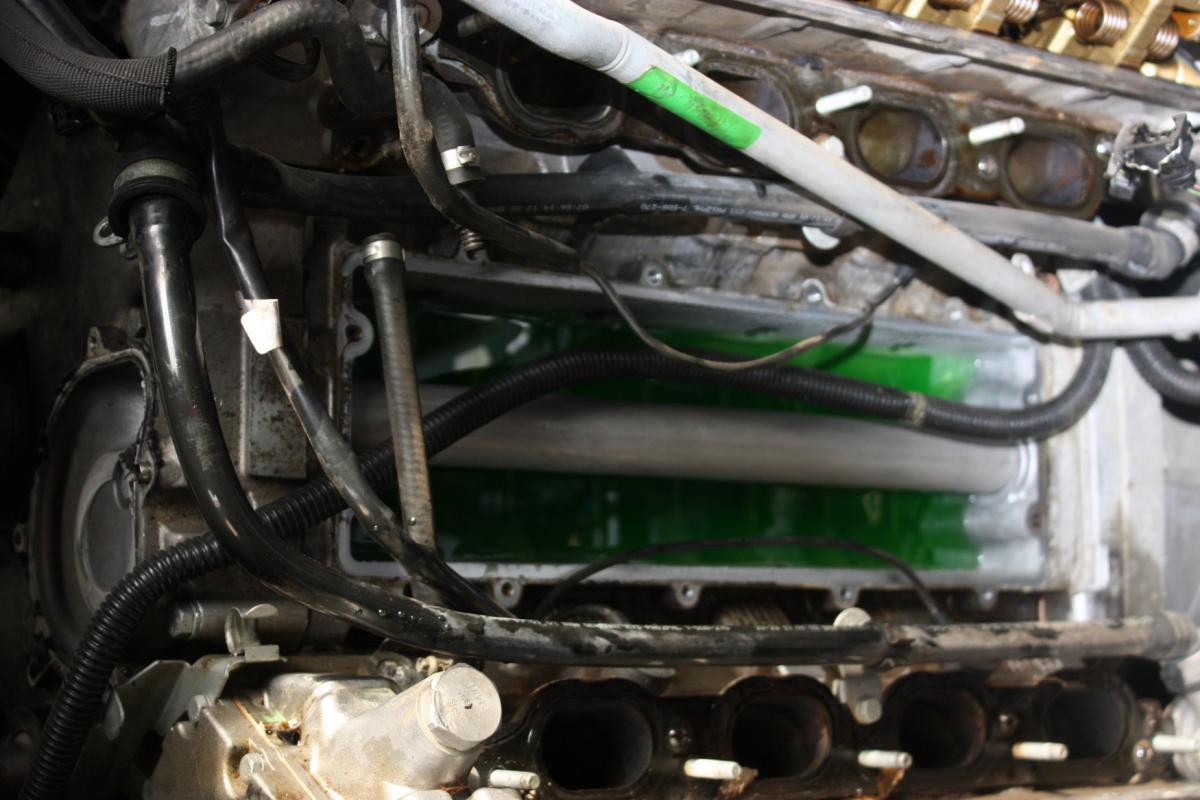
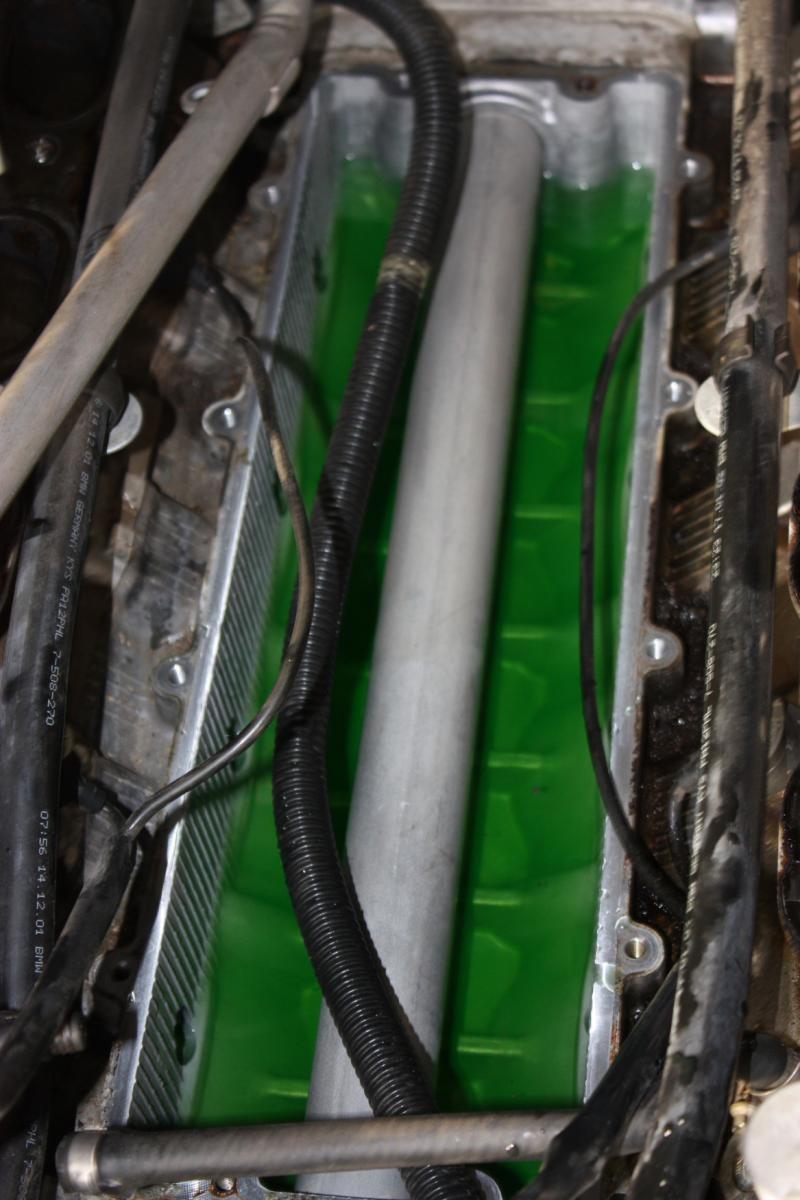
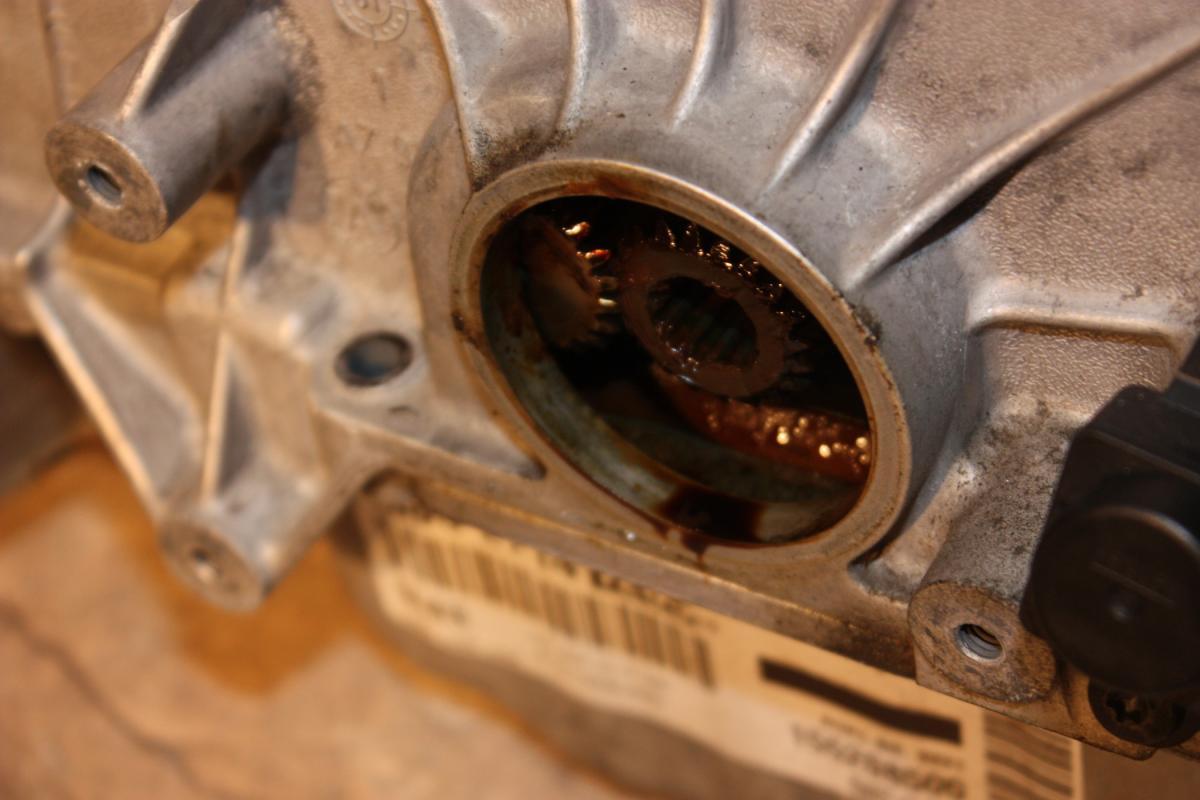
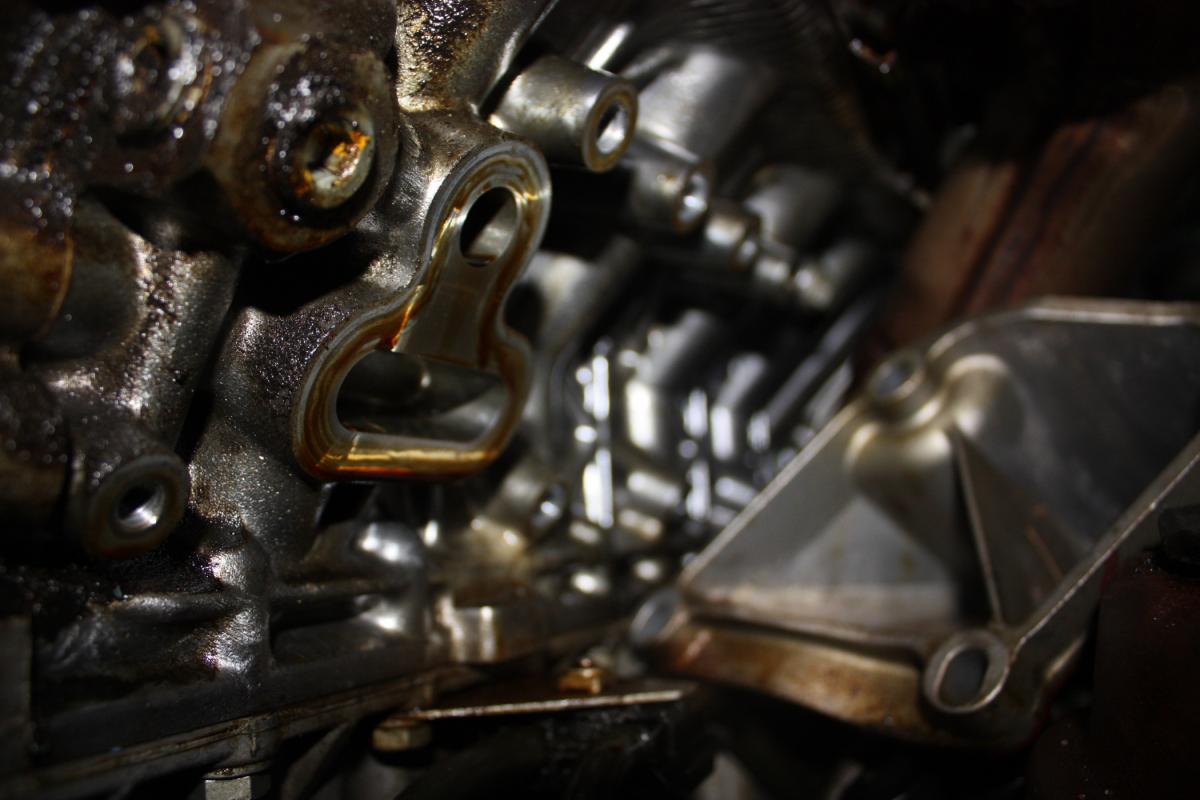
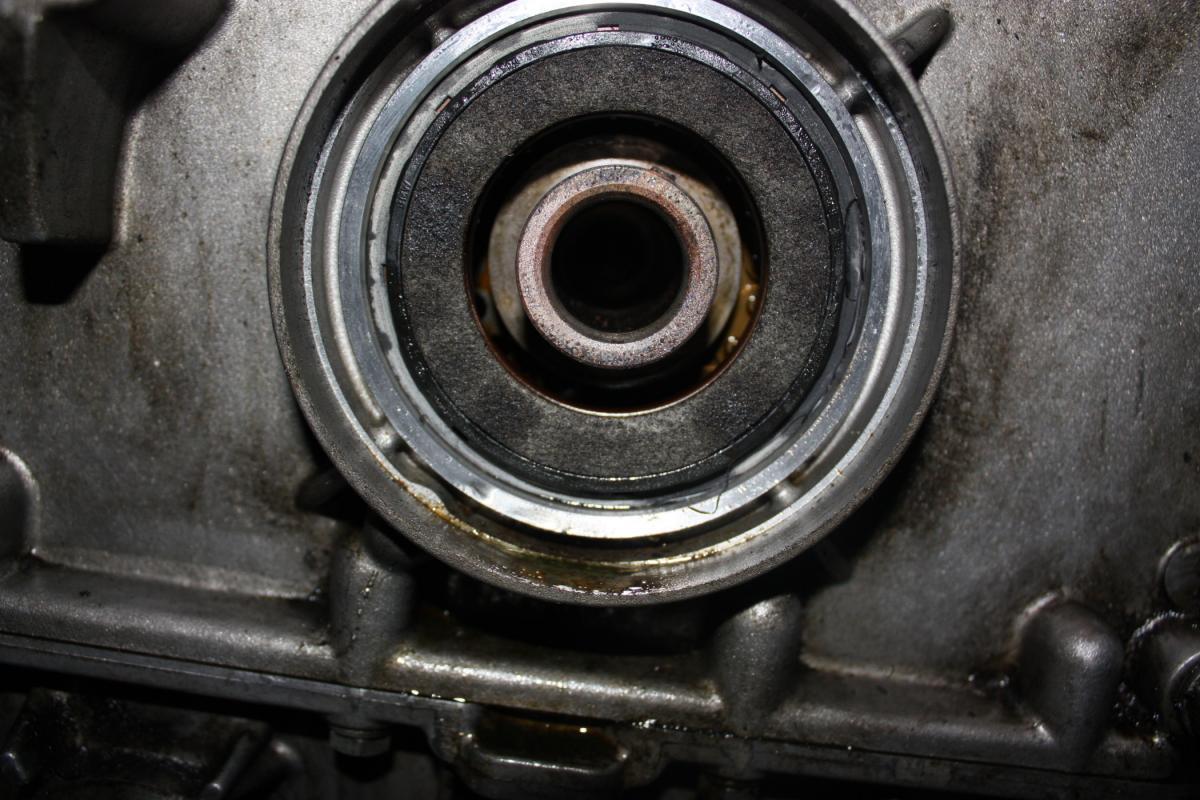
Getting to the pipe.
After pulling the Air Intake. A pan sit above the pipe. Take the screws off and pull of exposing the pipe.
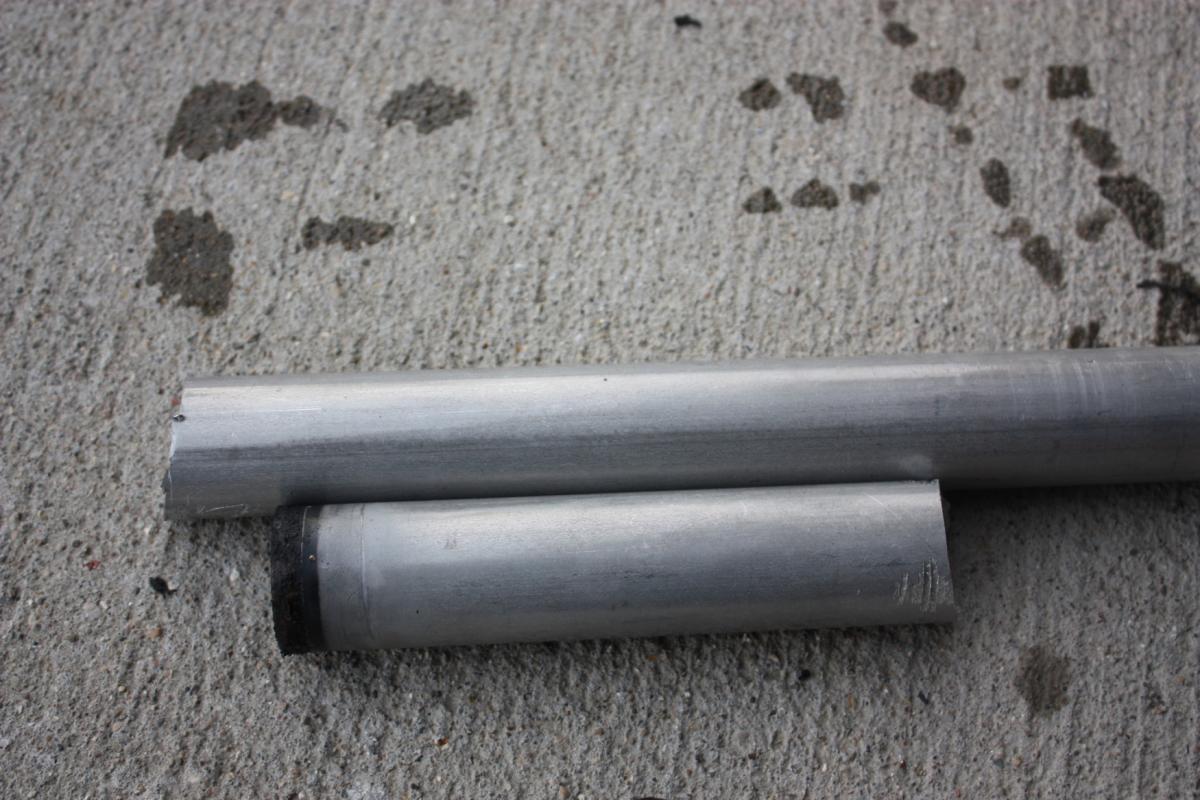
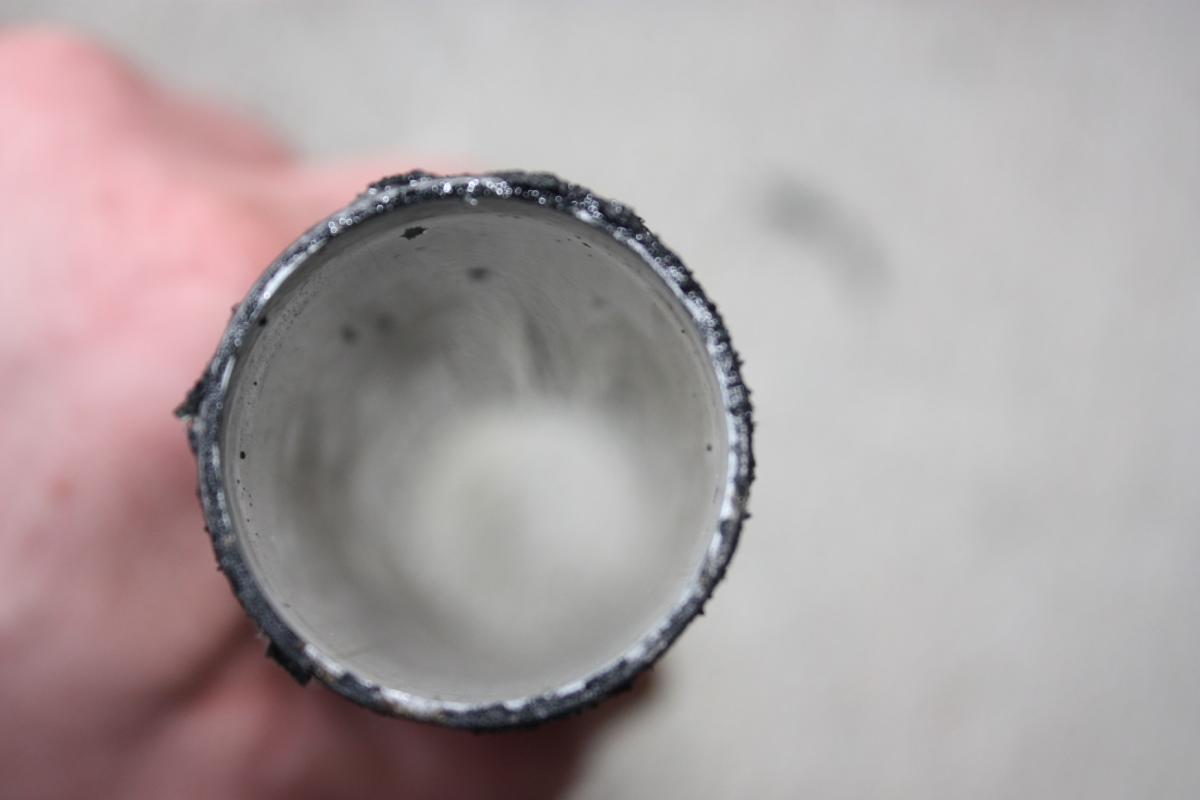
Take a SawSaw or Jig Saw and cut the pipe in half.
From there I just pulled out the pipes out. I didn't need to drill a hole and use a block to wedge it out.
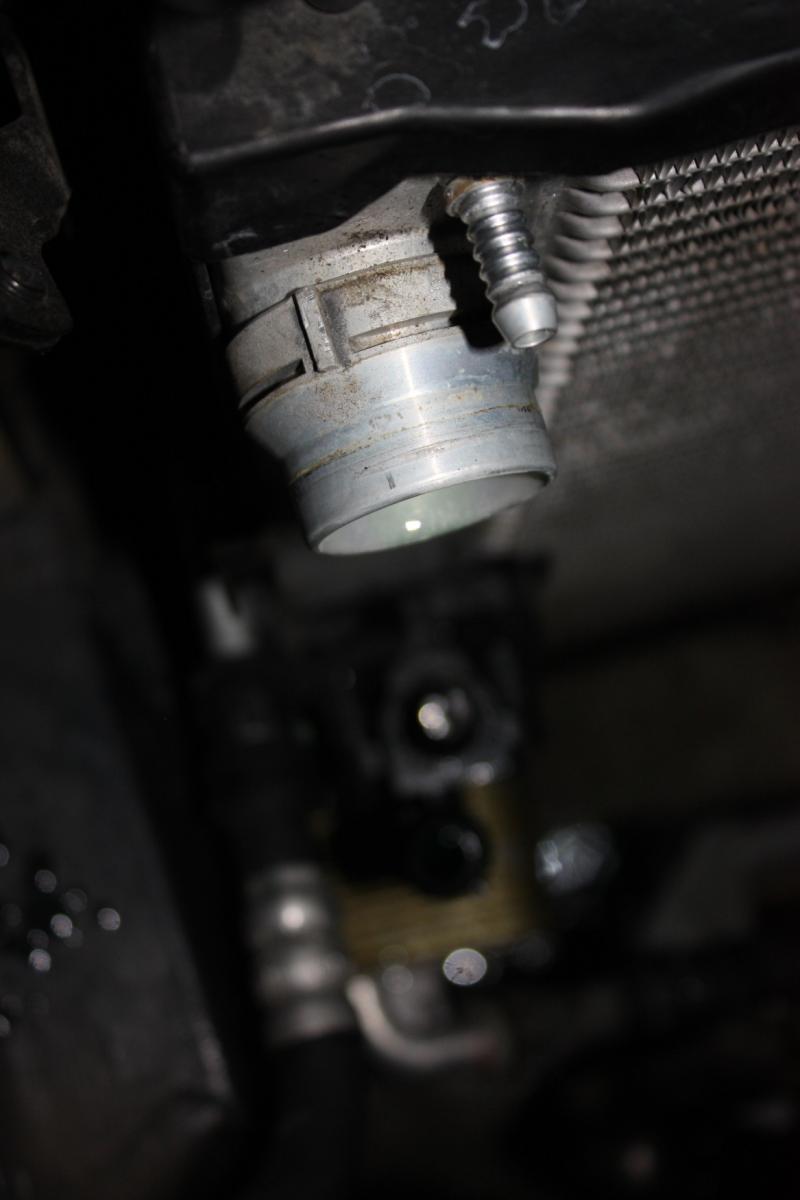
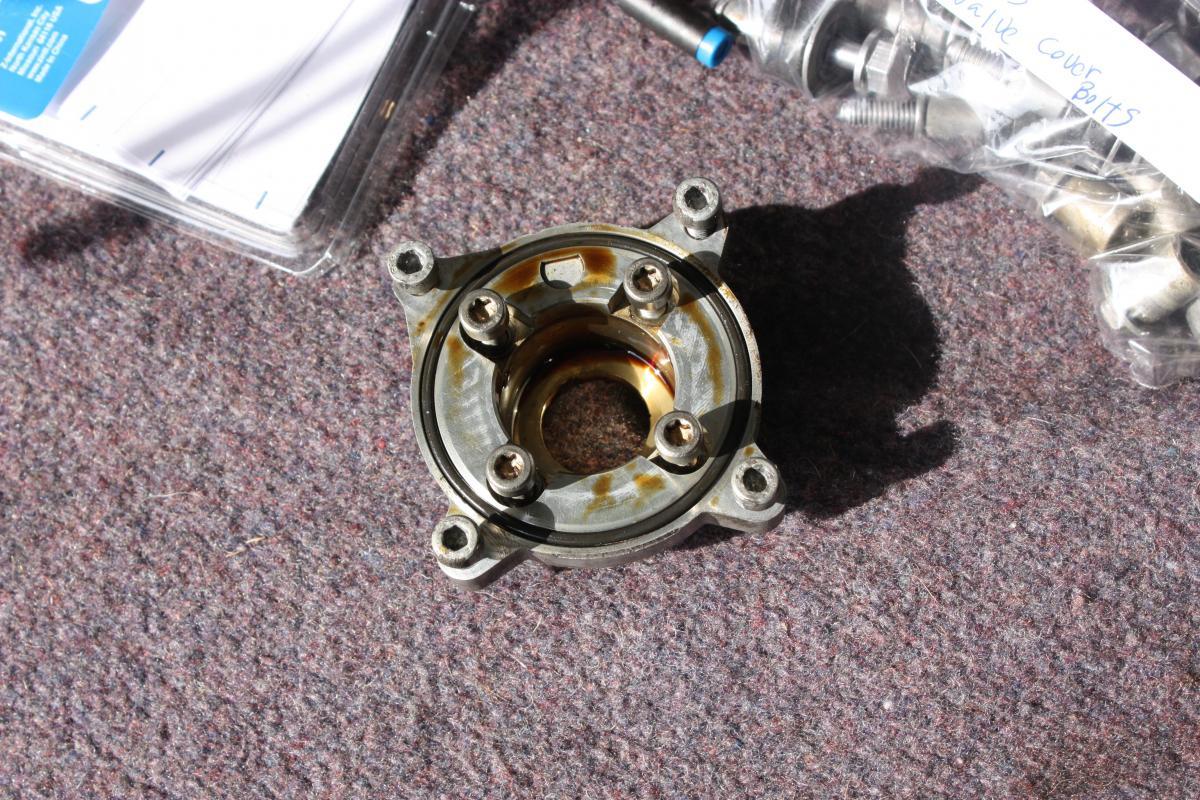
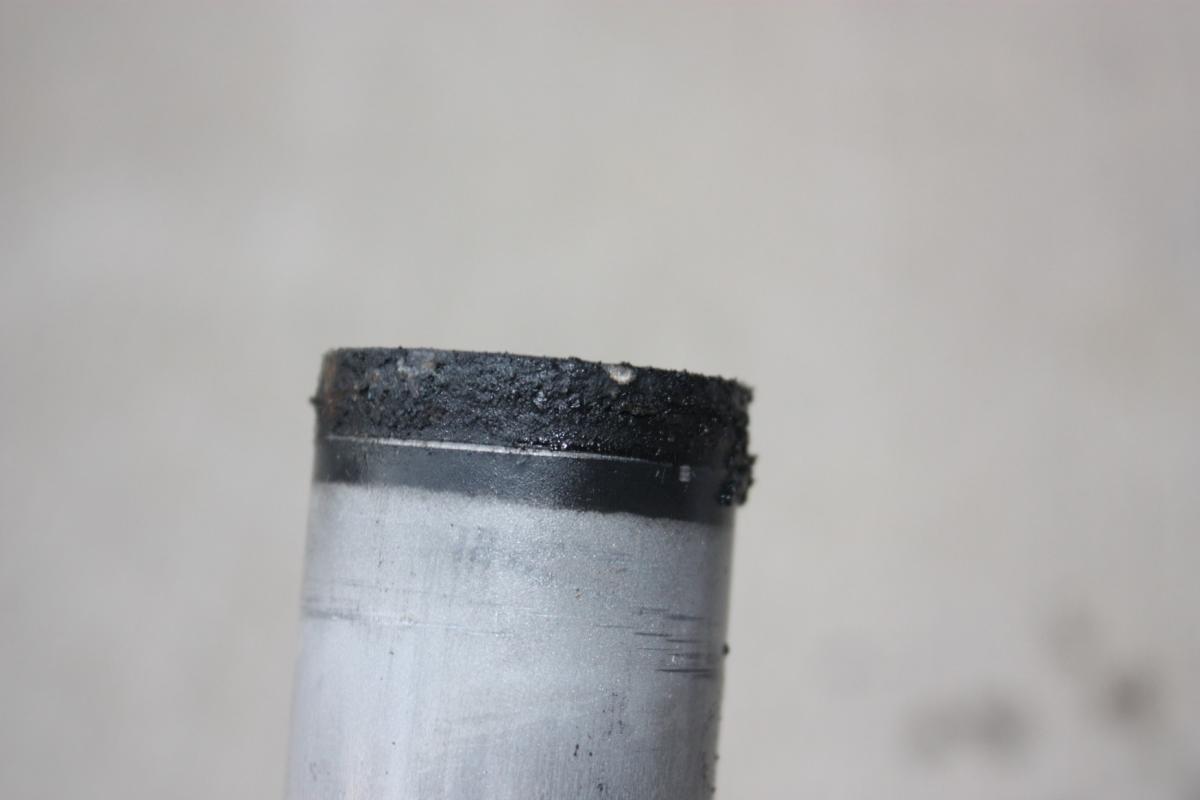
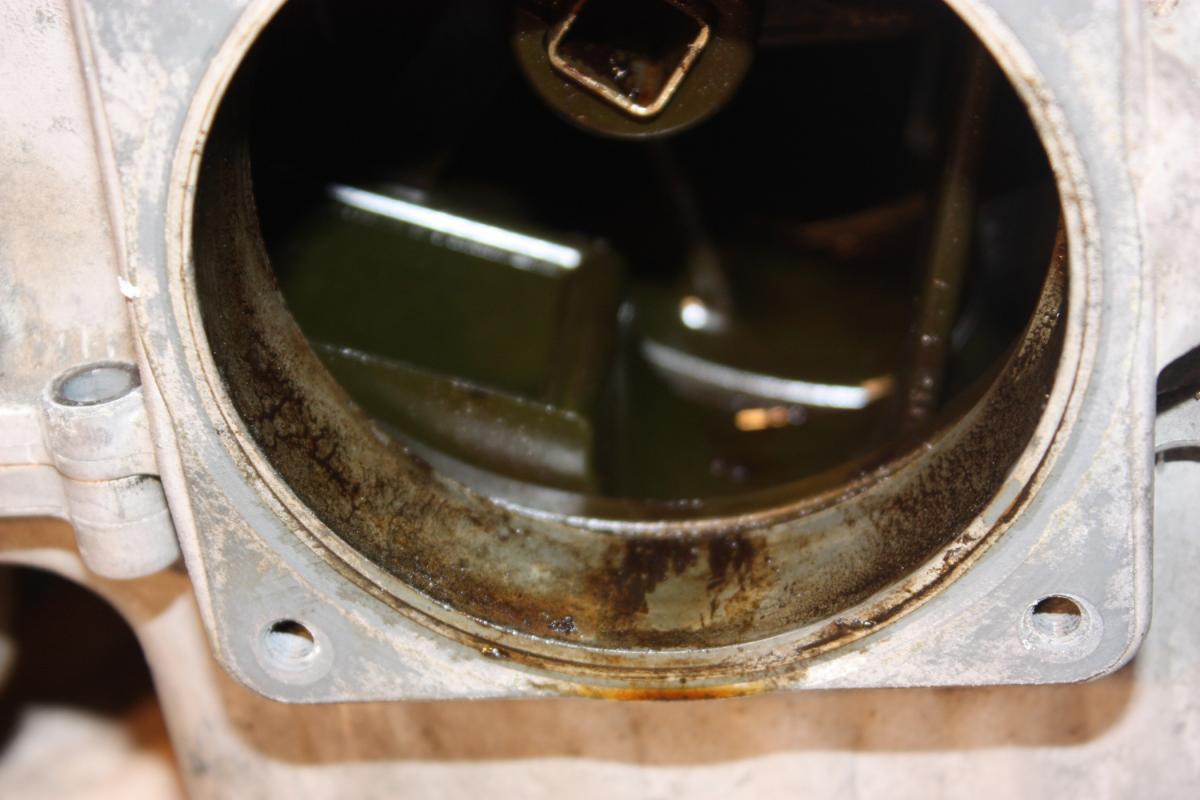
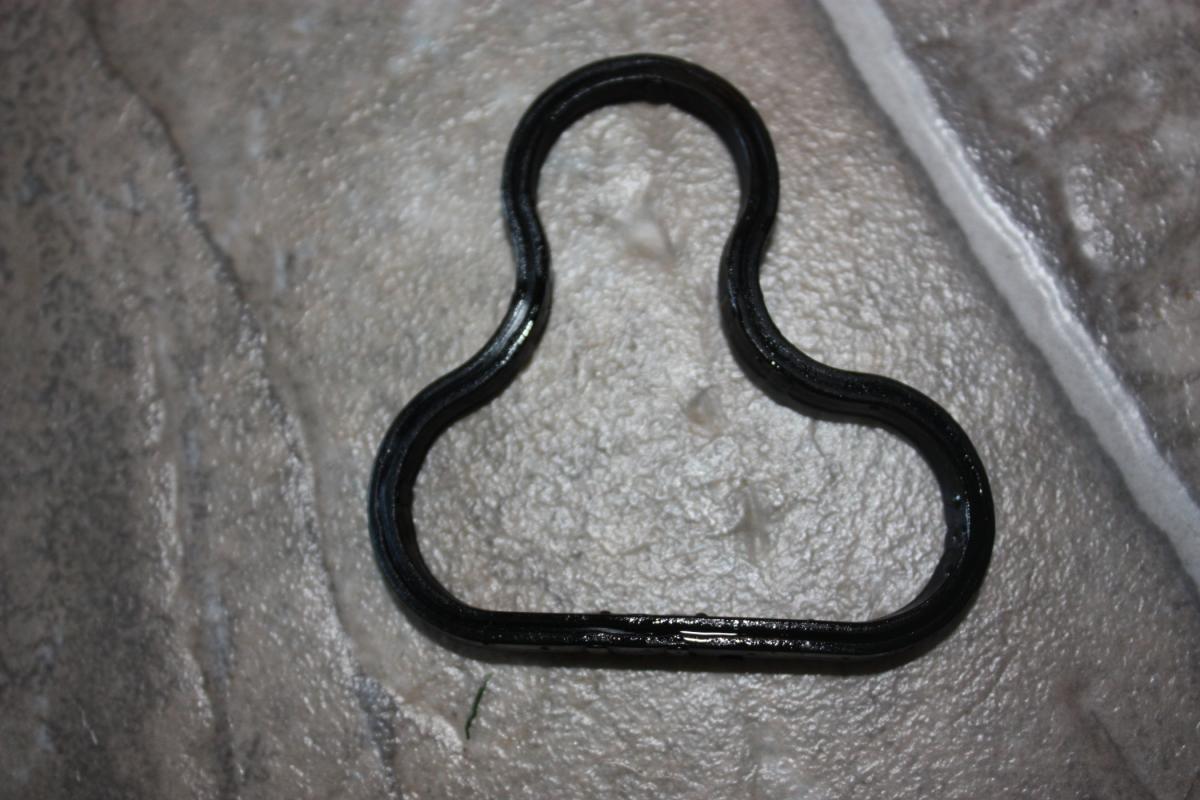
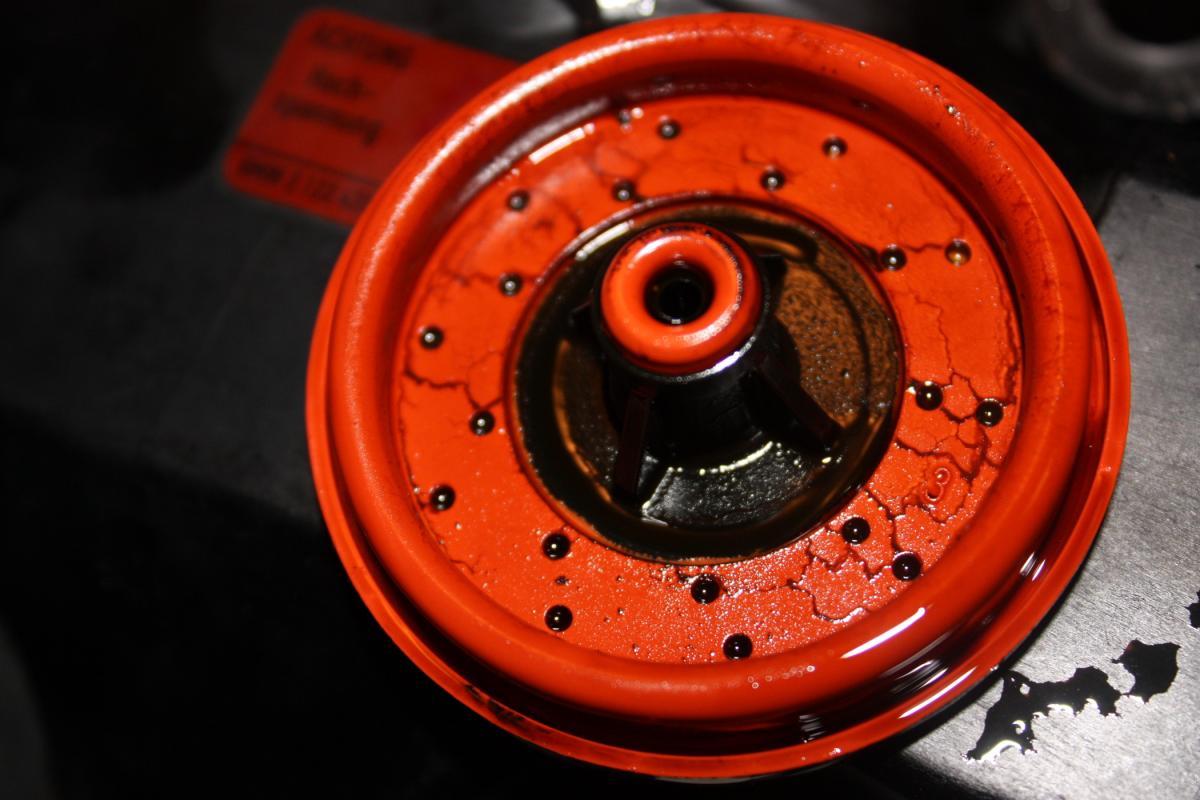
Seal in the front was a corroded mess. The seal in the rear looked brand new.
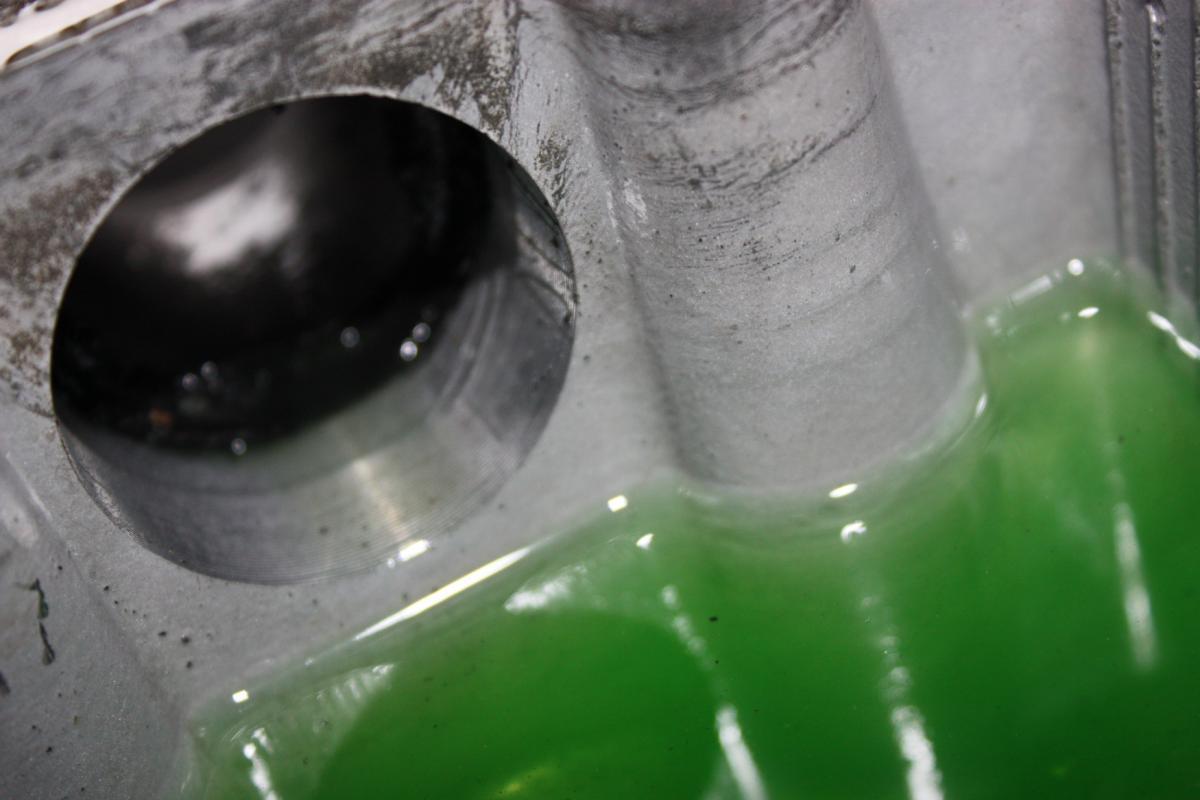
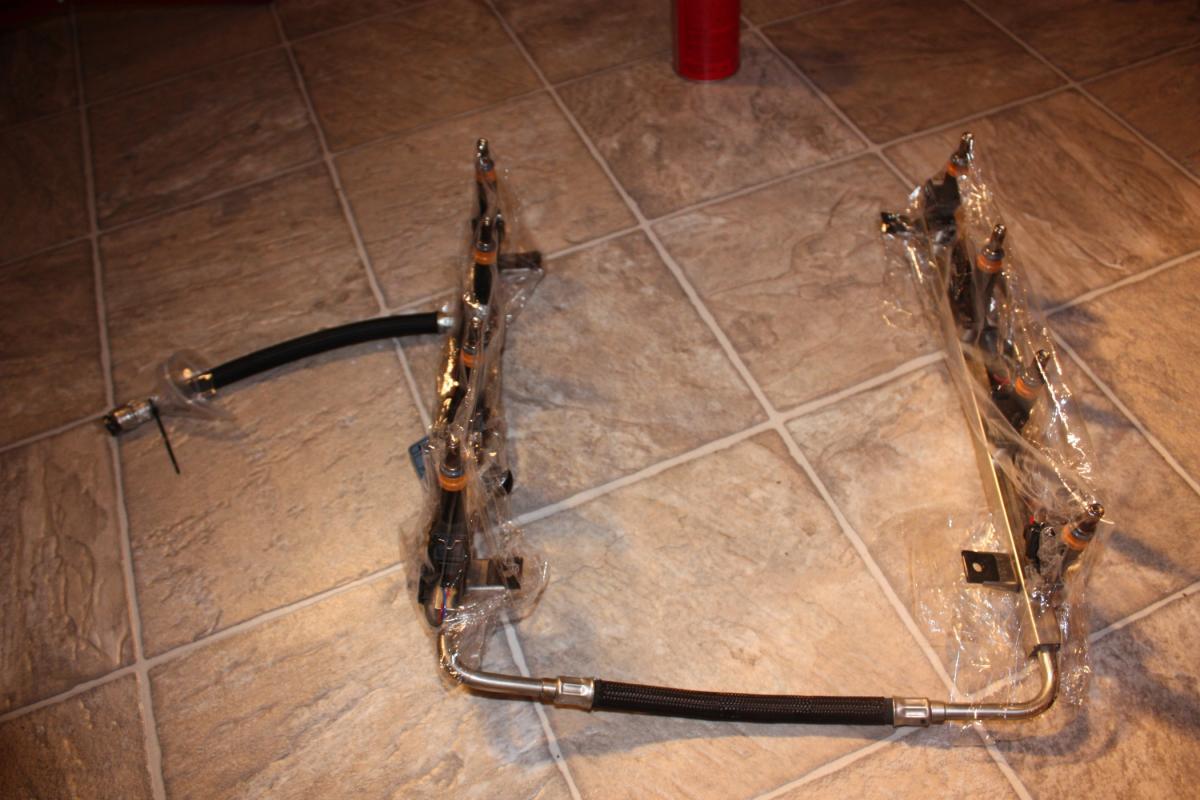
Engine is ready for the Pipe Kit.
Waiting on the mail now.
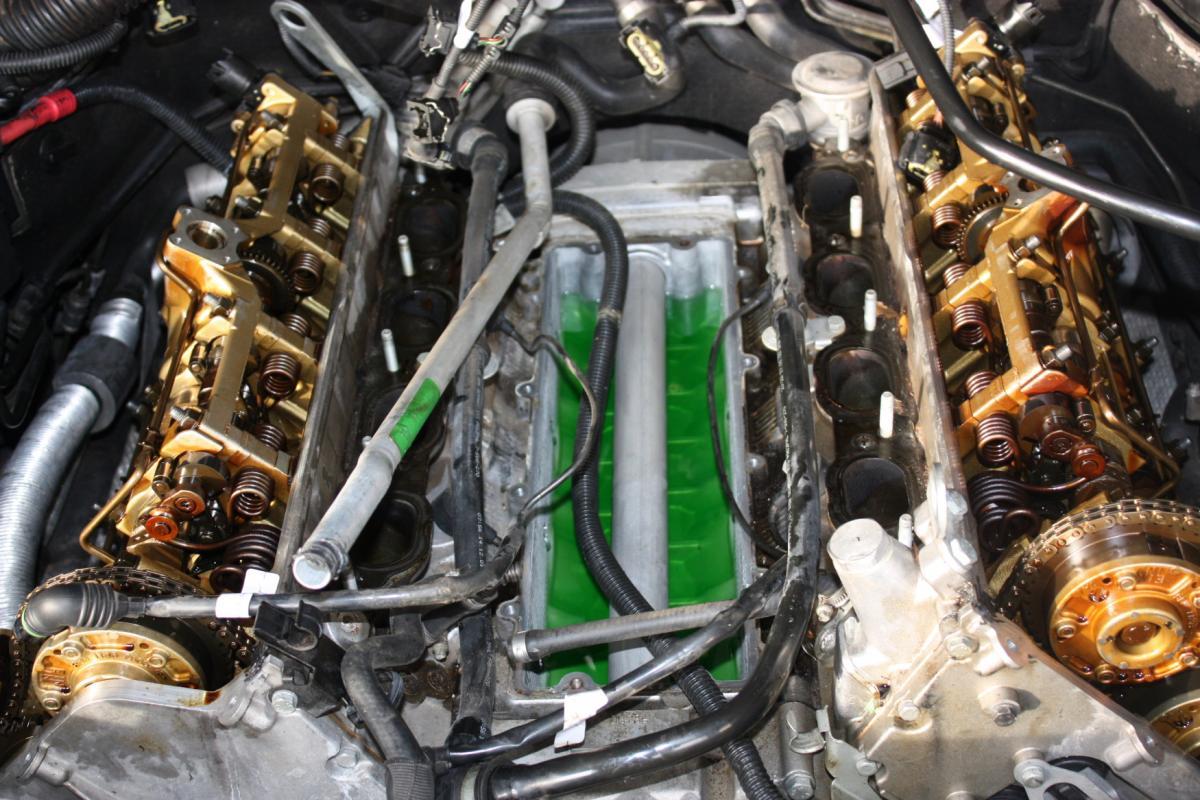

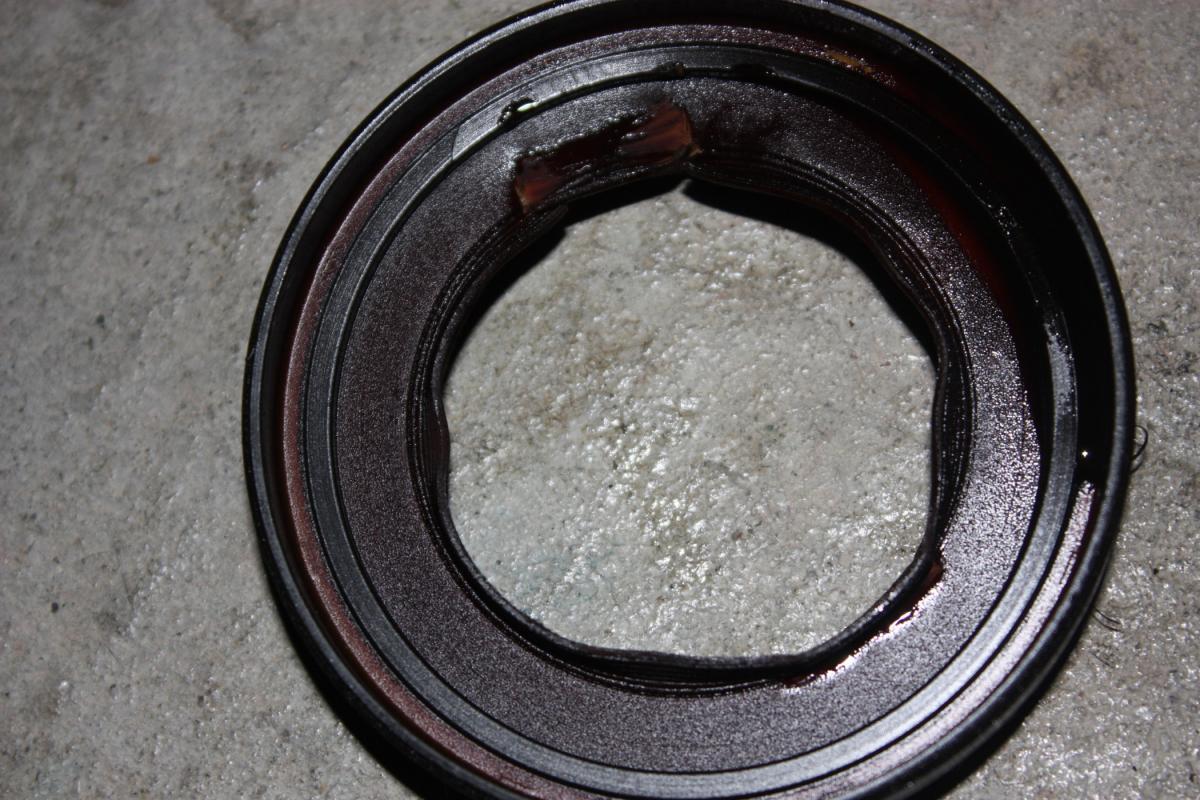
more pics of the cooling pipe
Figured the pipe deserved its own area since its the root of the problems

12-7-2009
No Clue. You could make a survey? 
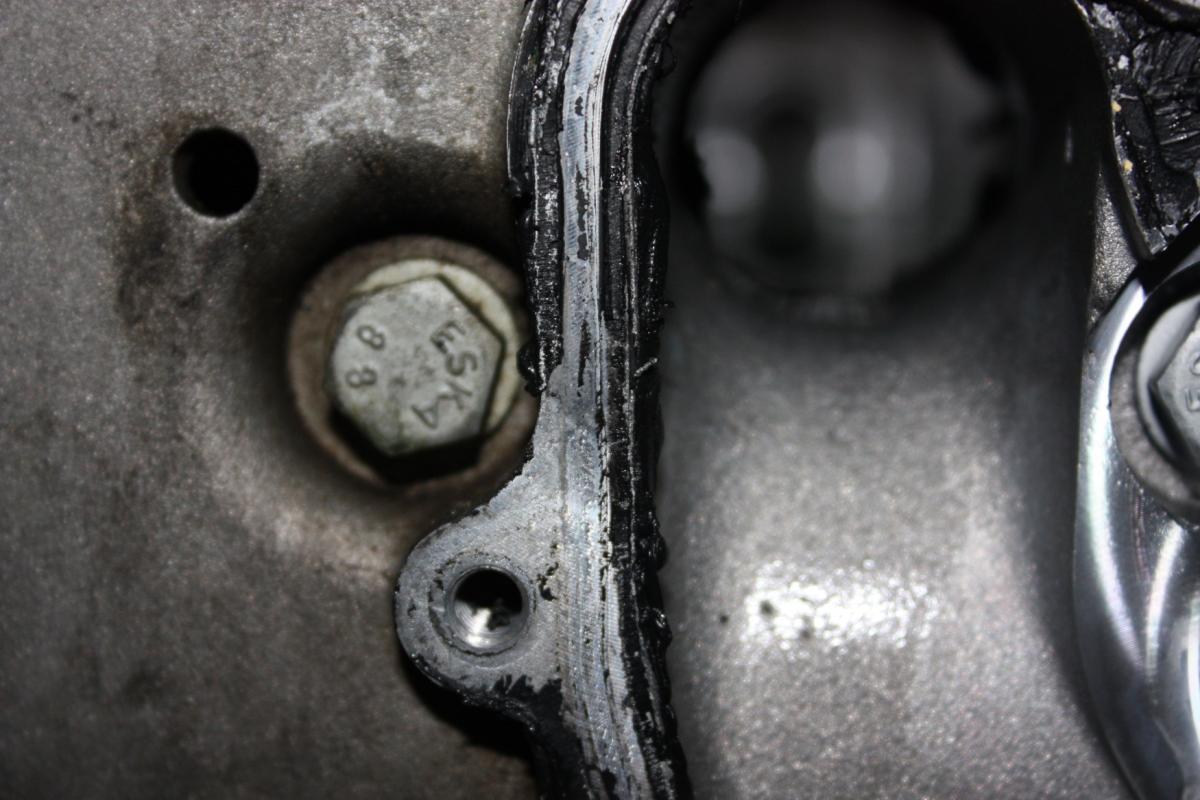
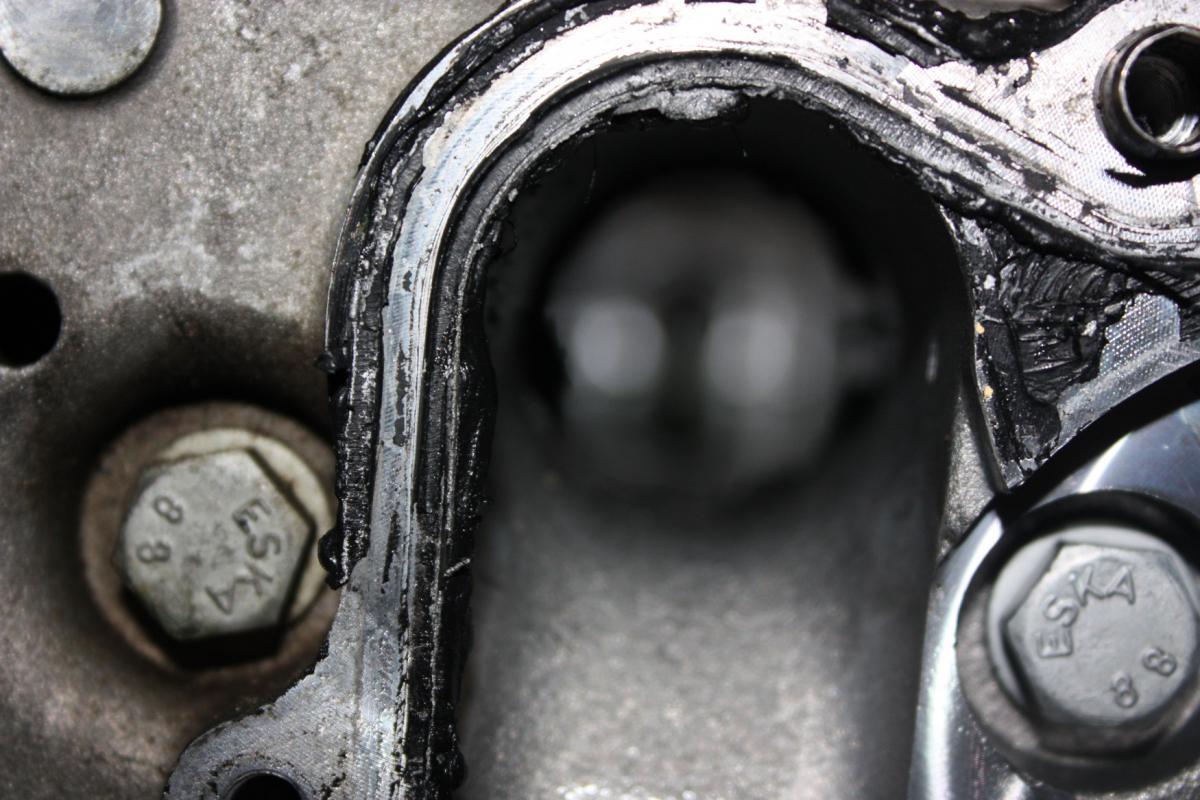
The gasket on the front is clearly degraded and corroded. The other seal is like new in the rear. But it has a different design more traditional oring.
I think it may have to due with heat and its contact with the engine. It has direct contact with the engine block. Clearly a poor material choice that breaks down overtime.
12-9-2009
Ok for those just doing the All German project. you have do use a wire brush to remove the old seal in the front which is fused to the engine block. This is why I think heat contact is the main cause of this weephole problem(my opinion only) Once the pipe is installed everything just goes in reverse.
I'm going deeper because I have more problems.
Sooo moving on
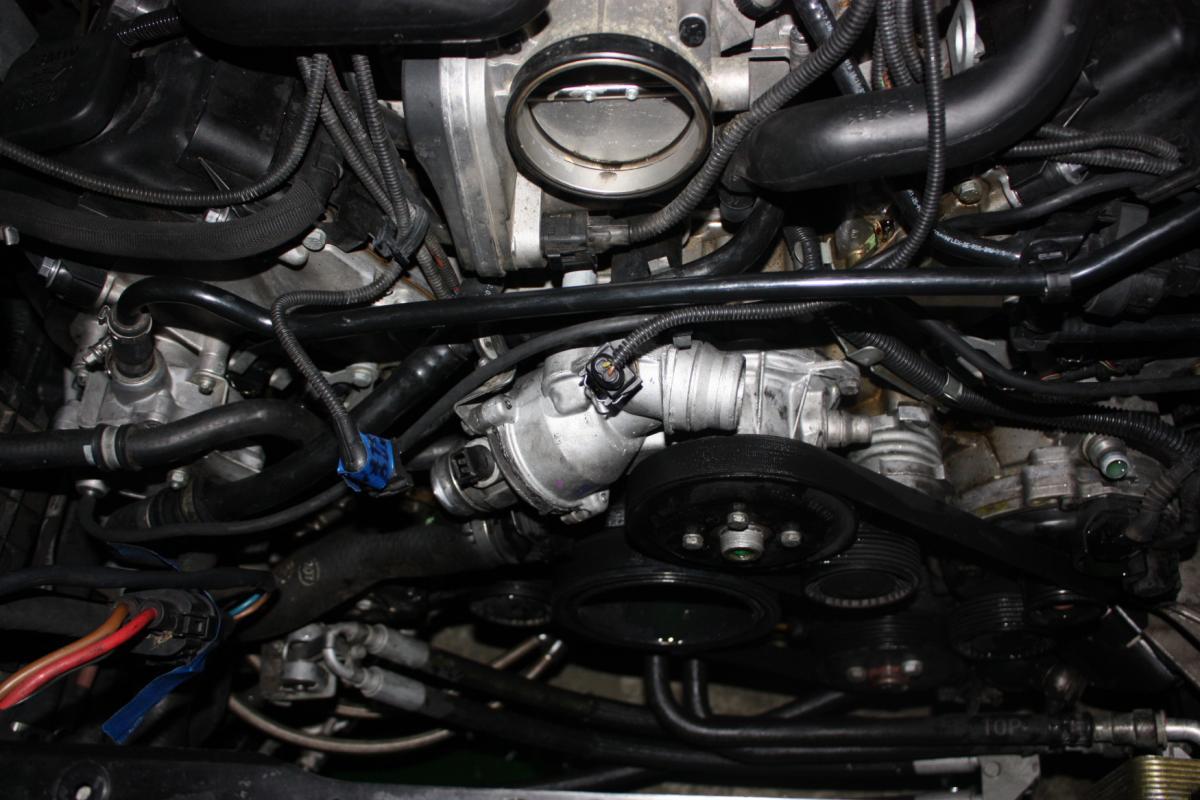
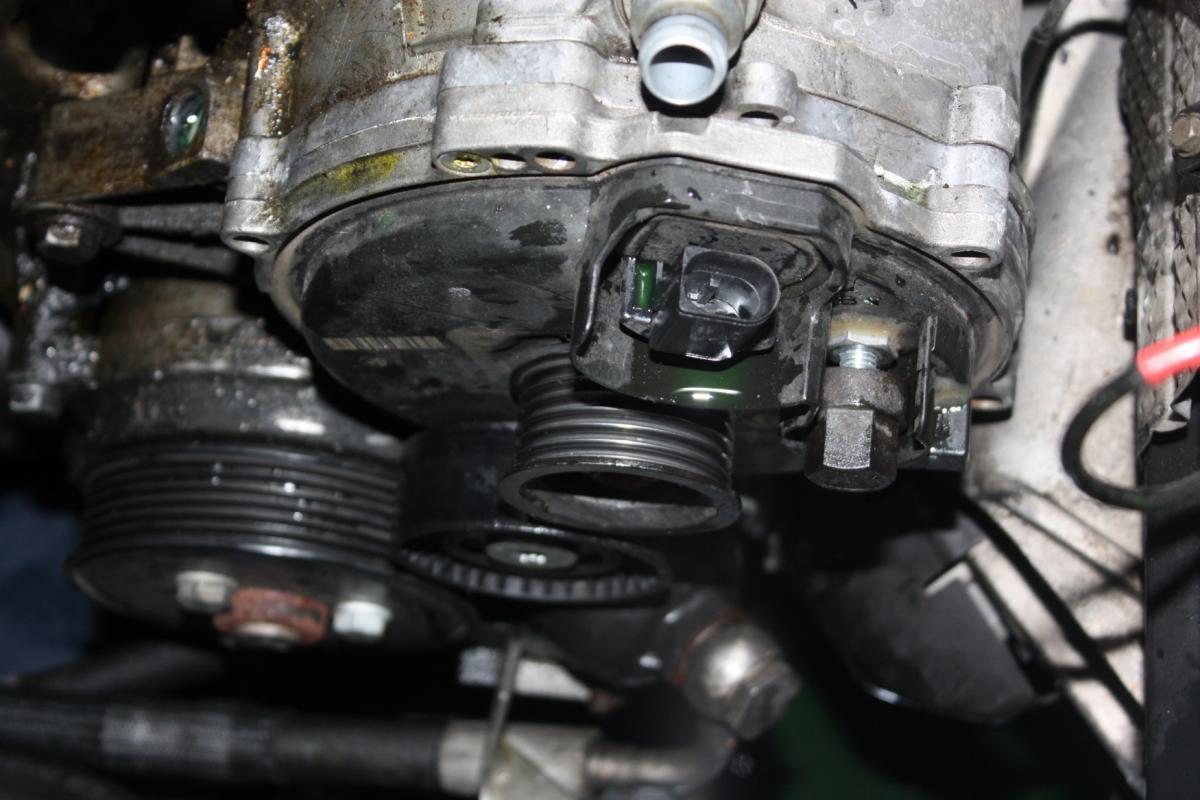
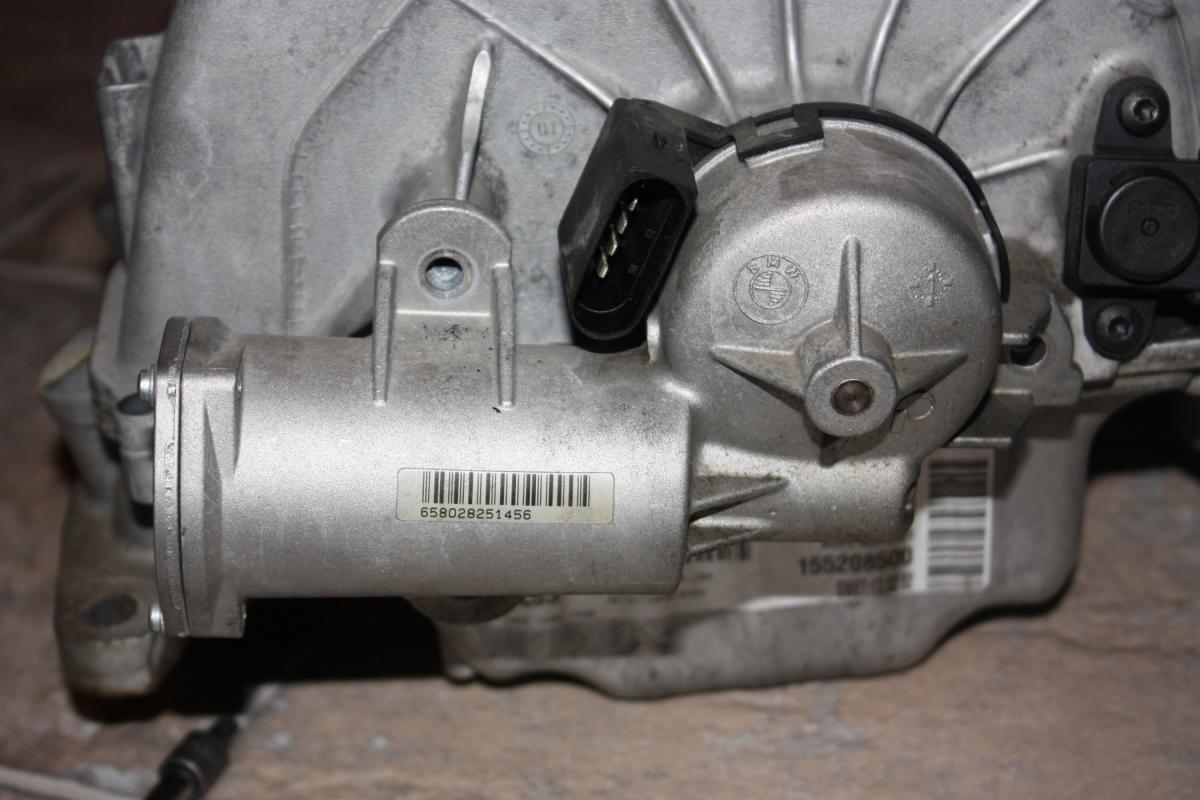
Removing the WaterCooled Alternator.
I have to say up until this point everything had been surprisingly pleasant.
Now it gets dirty and frustrating
Few bolts on the front of the alternator housing No problem come right out.
Alternator will not budge. This is because there is a bracket that secures the alternator from behind and the bolts are impossible to reach or fit a hand in.
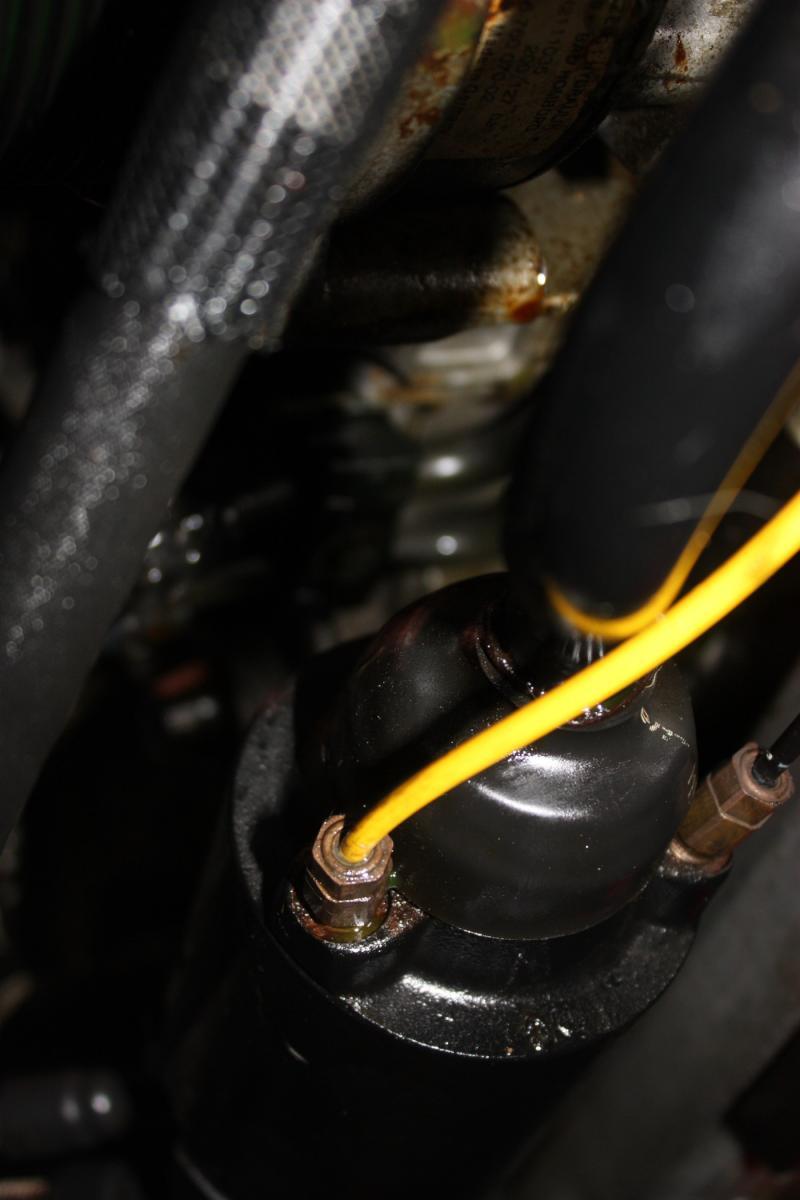
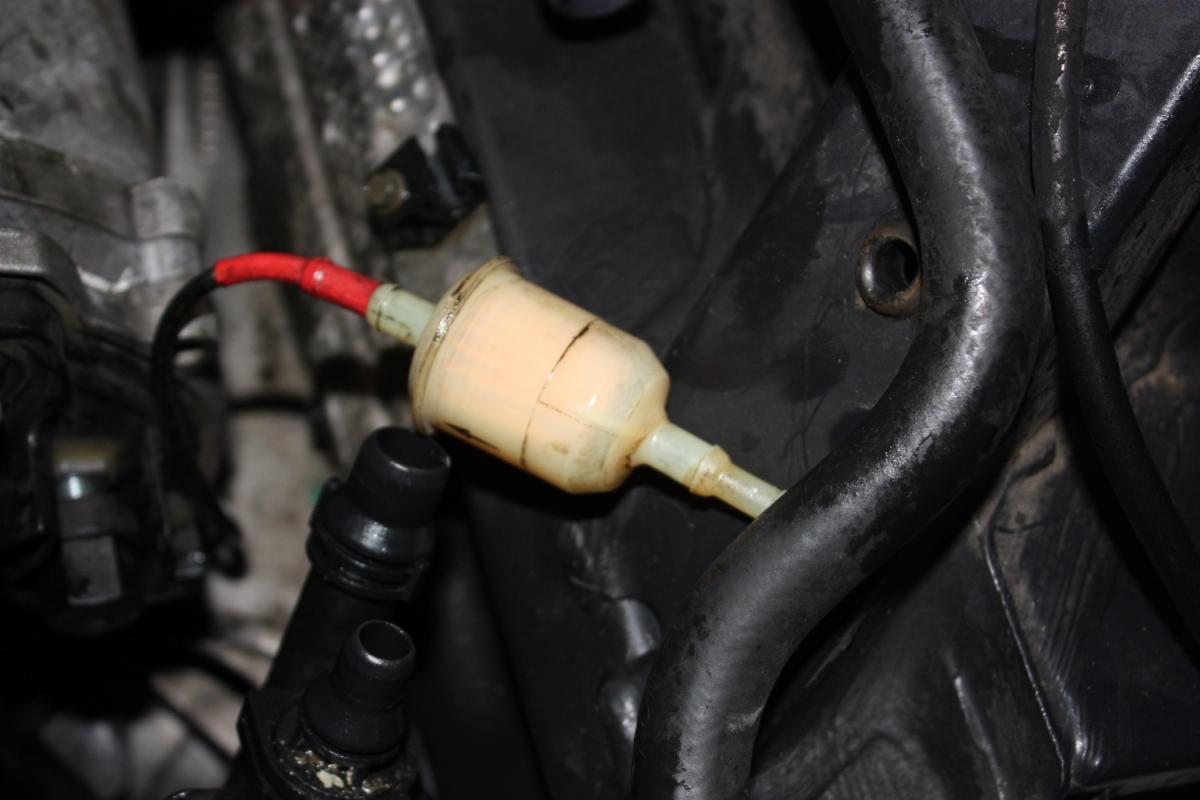
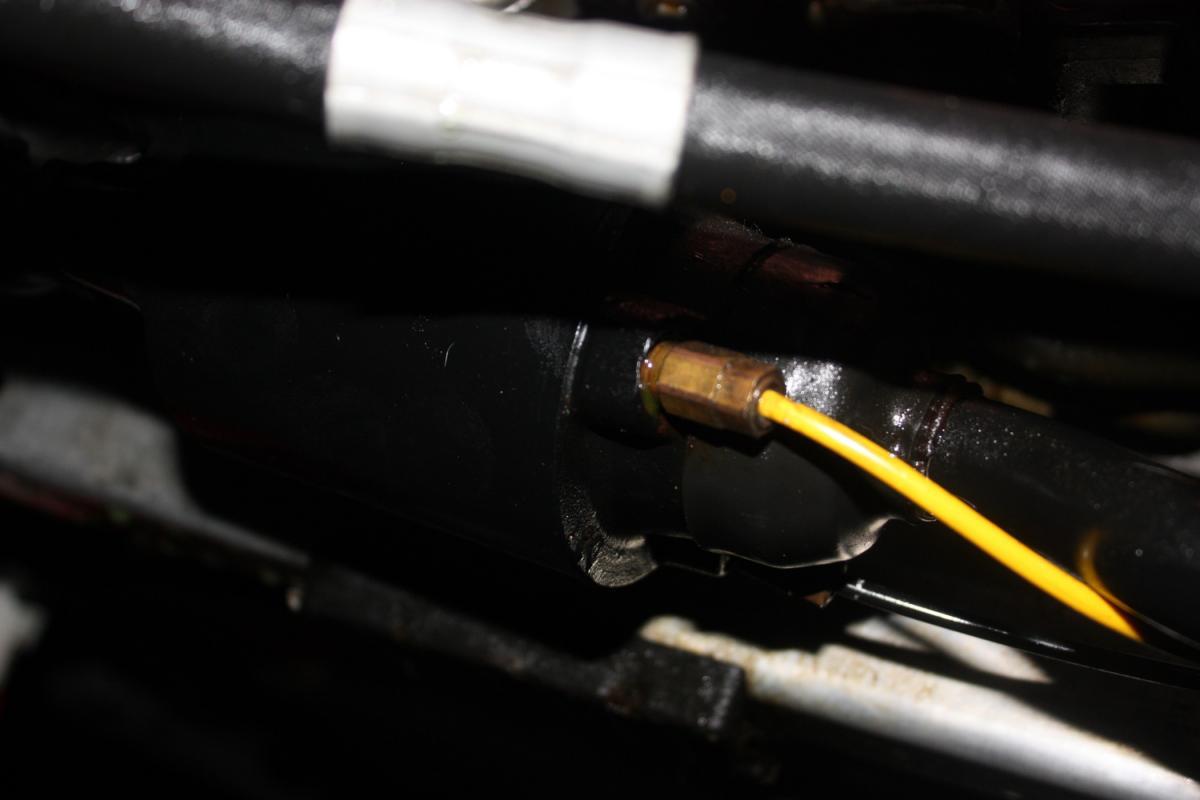
So I dropped the Front Stabilizer Bar/ dynamic drive. I did this by removing the 4 screws securing it to the axle, taking off the bolts, swing support, and loosing the vent pipe which is the black and yellow wire connecting to motor on the stabilizer bar. if you follow the vent pipe it goes to a small fuel filter on the drivers side pop it out and and you can drop the bar.
http://www.realoem.com/bmw/showparts...32&hg=31&fg=10
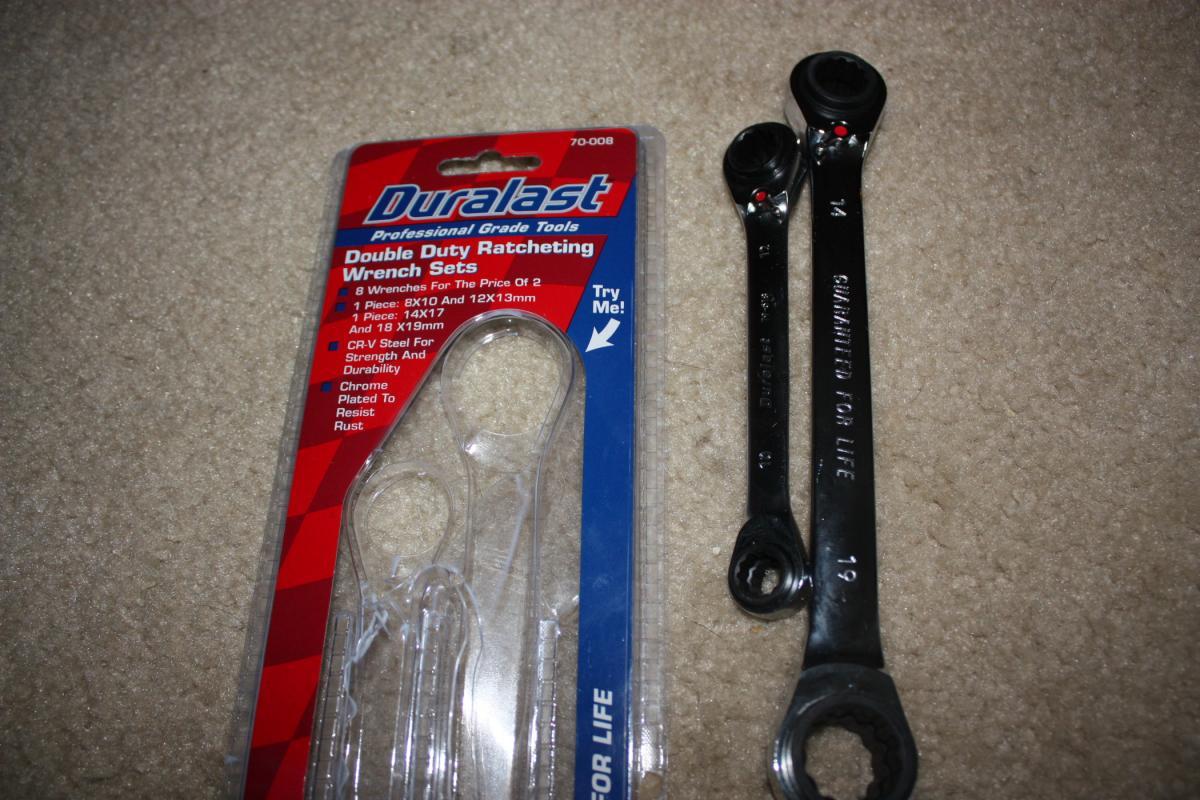
After dropping the stabilizer bar i bought a set of metric racheting wrenches. Using a 13MM I was able to get my hand in and release the bracket and release the alternator.
wow what a pain. Difficult to get good pictures in there. Did my best.
couple more pics involved with alternator removal

My alternator went bad. It was sending out 15 volts and higher. So I'm getting that taking care of while i'm in there.
I realize the All German kit stopped one step above but since my Valve covers leaked then my upper timing covers leaked. Based on that I'd hate to do all this work only to have the lower timing cover start leaking. Plus I want to replace some of the timing guide rails if I can get in there.
Now that is way beyond my abilities! I'd love to just replace the head gaskets they are so close. But NO WAY! 
I'm considering Giving up on the lower Timing Gasket.
Getting the Alternator housing off to get the lower timing off requires dropping the driver axle and motor mount! Plus I cannot budge the Crankshaft bolt going counterclockwise with a 580lb impact wrench.
I guess a question is if the Valve covers leaked then the upper timing covers leaked after I had the valve cover gaskets replaced then would the lower timing cover be at risk of leaking? as well as the seal by the alternator housing and crankshaft seal? Why not just get them all replaced why I have the engine open.
Maybe a question for BMW_Tech?
Yeah I dropped the Power Steering pump too afterward to see the housing better.
I am also replacing the rubber mountings on the stabilizer bar the Keif did a while back. So I had motivation to take it off.
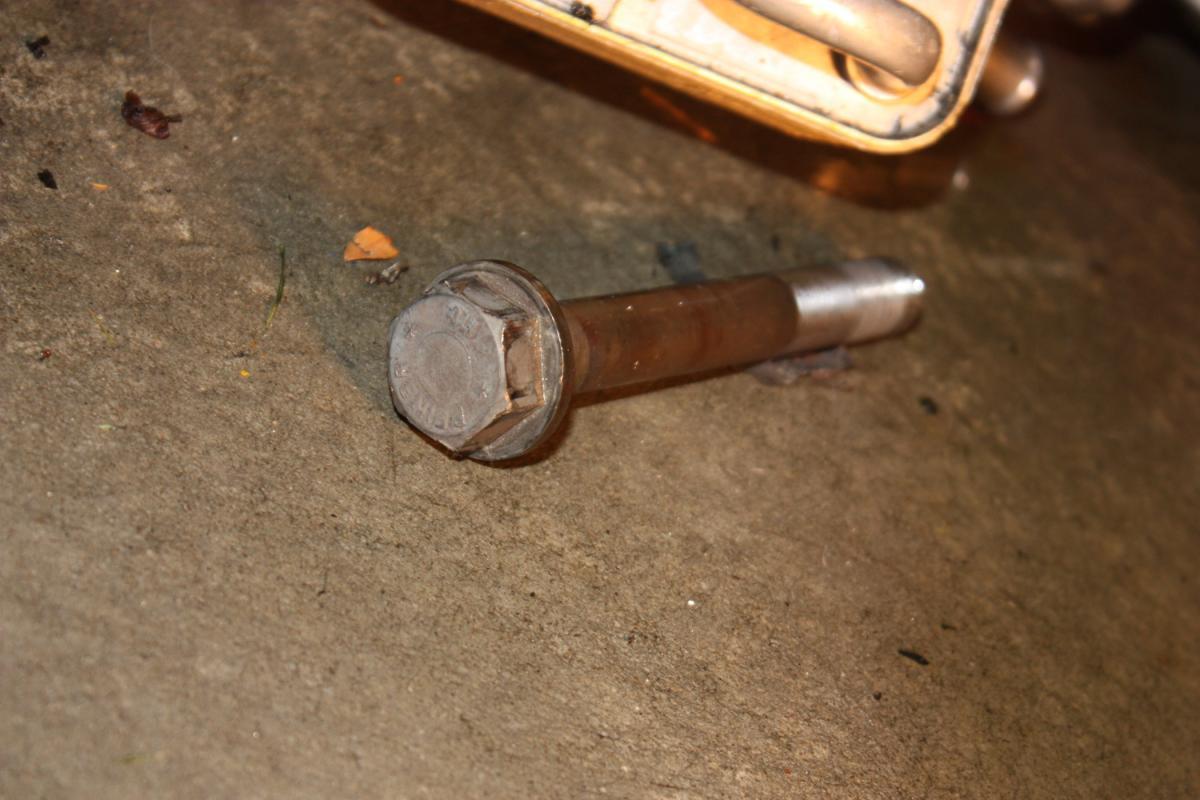
I'll post some pics of the bolts in question soon.
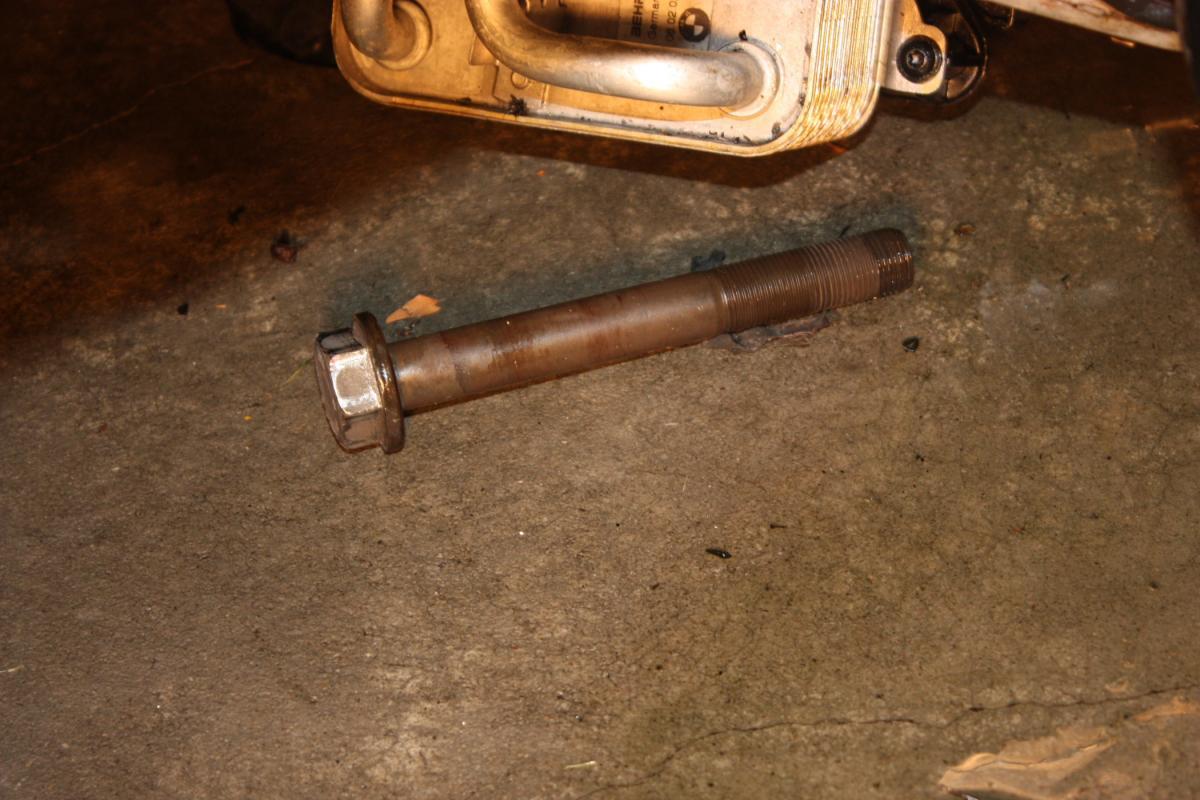
CrankShaft Bolt.....
This BadBoy deserves its one little section. Thanks to 07841-tb for the help.
This thing would not Move. I tried 540lb impact at 120 psi and got nothing.
Finally I bumped the PSI to 140 with a 900lb 1/2 impact and put a torch on it for about five minutes then hit it. It came off fast and smoking. 
So yes to remove the Crank Shaft Bolt you go CounterClock Wise (left Loosely) and have a 25 gallon air compressor and a HD Impact!
I really think my car must have got pretty hot at some point in its life
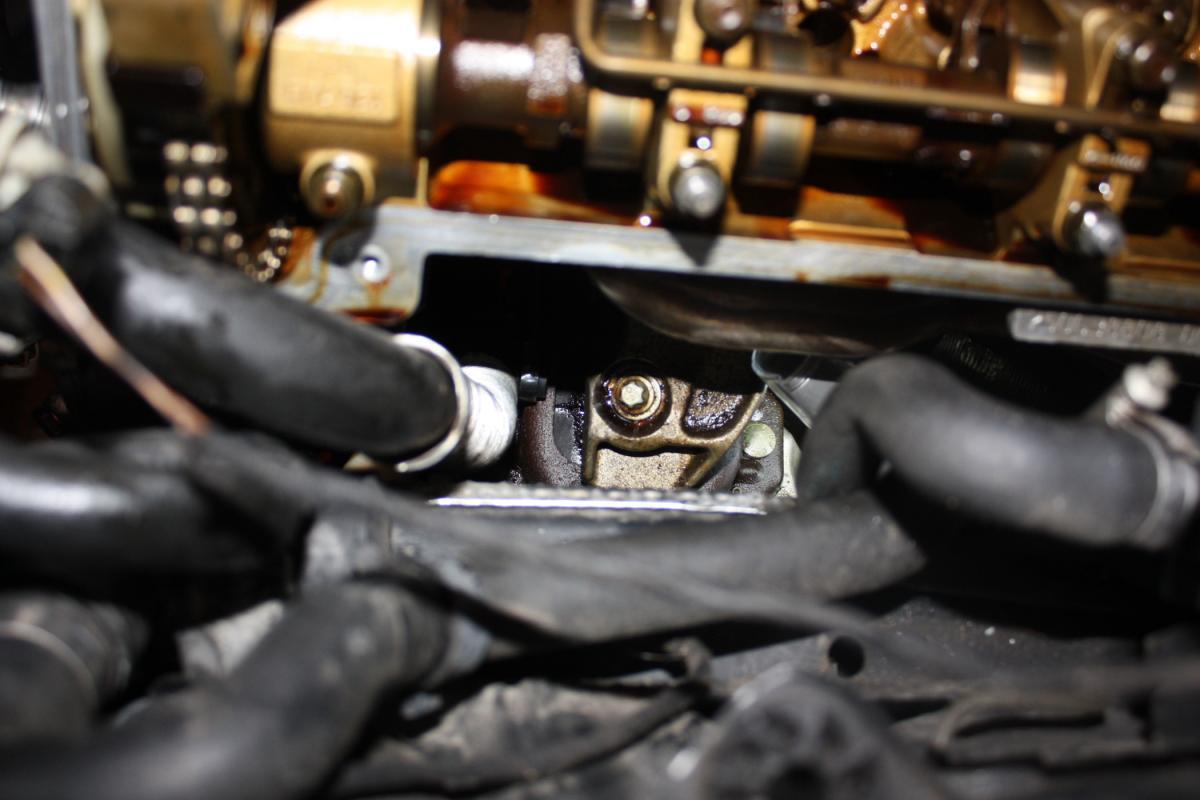
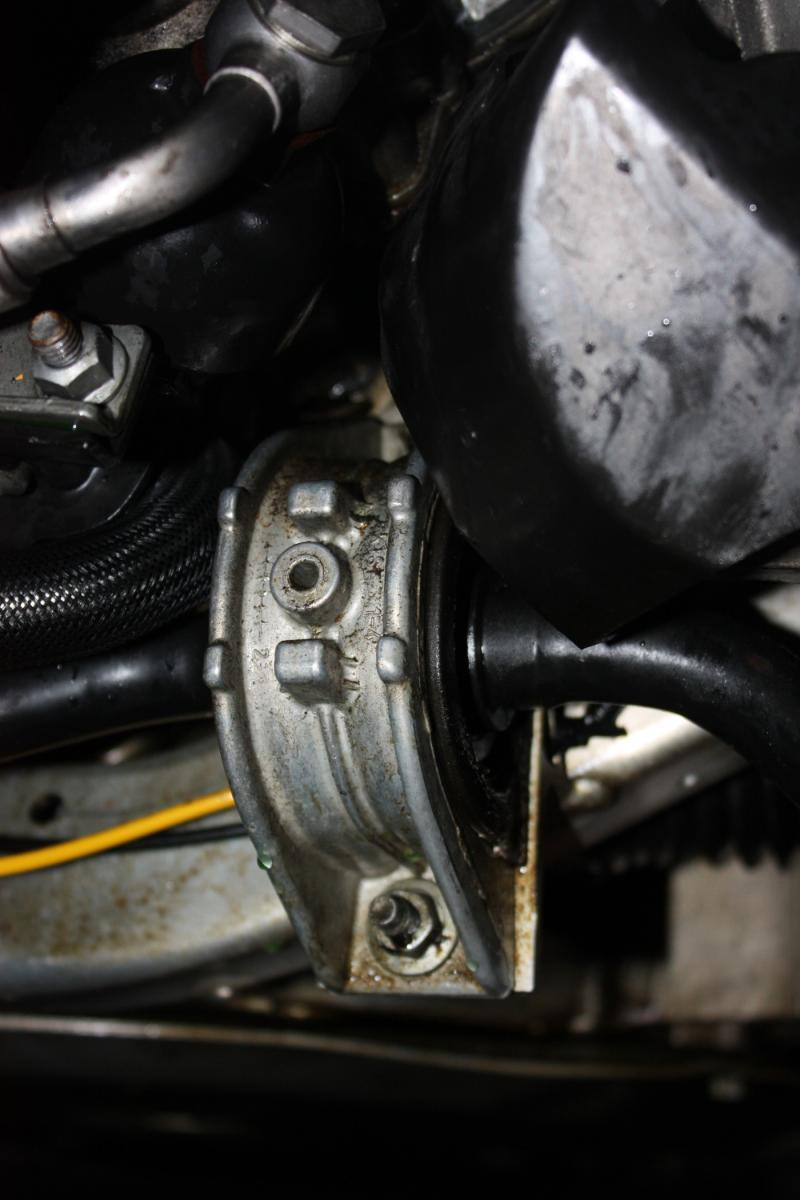
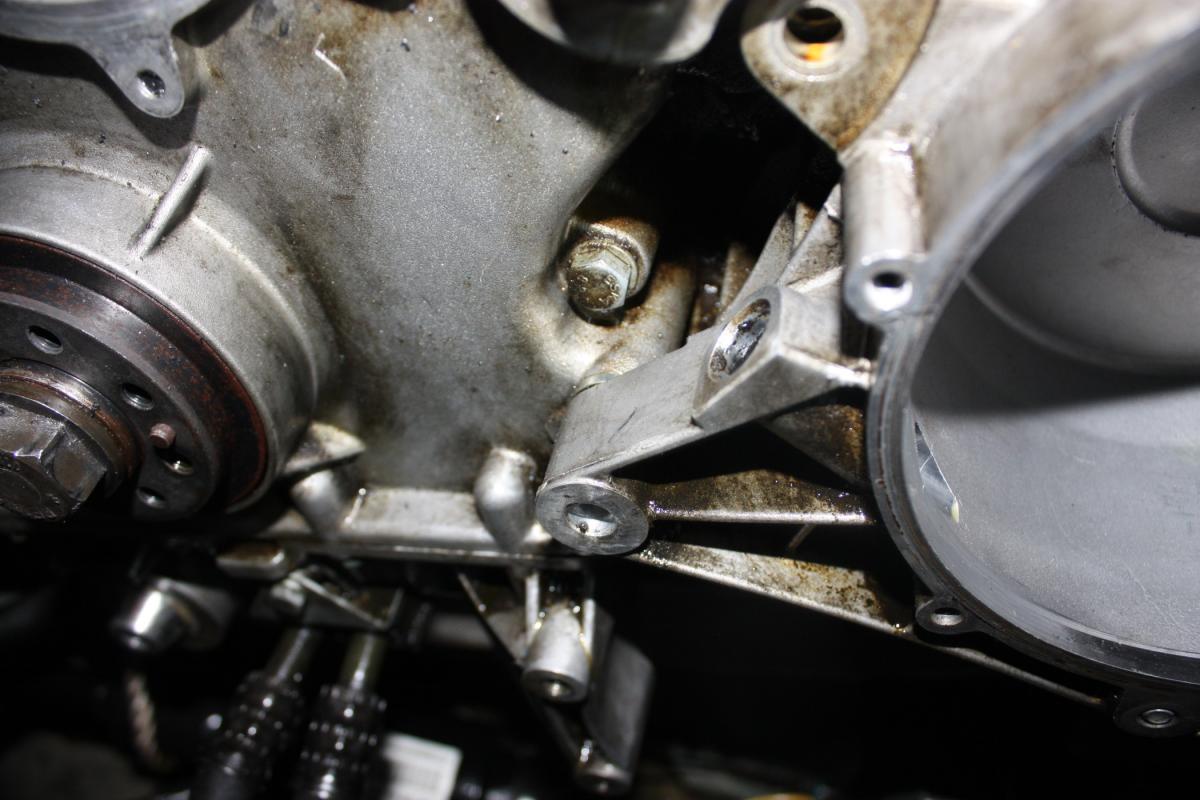
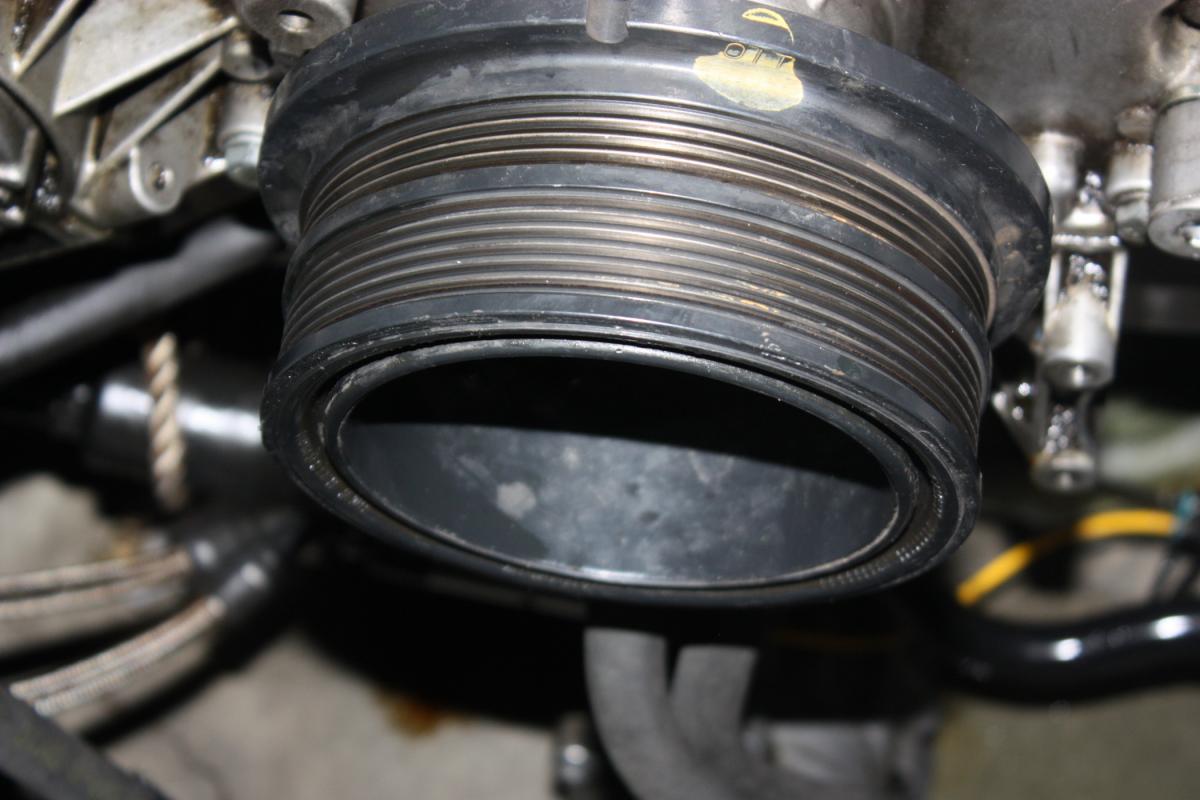
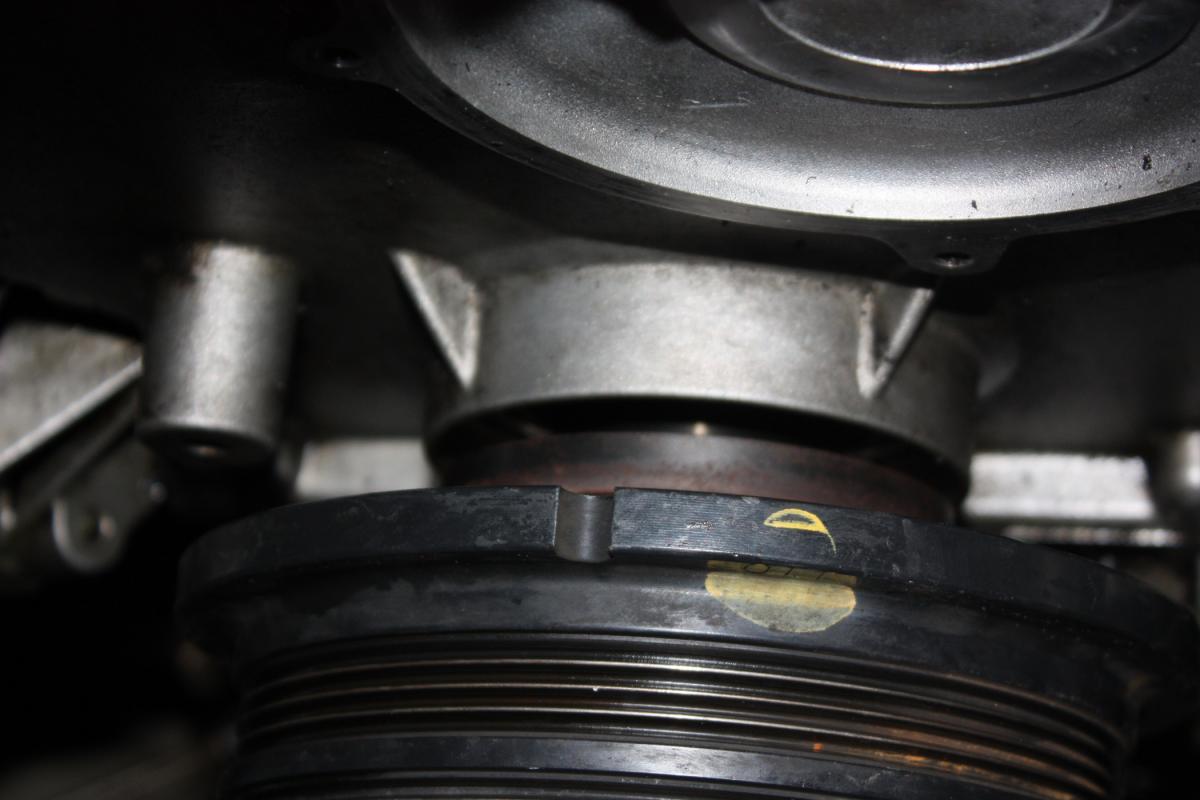
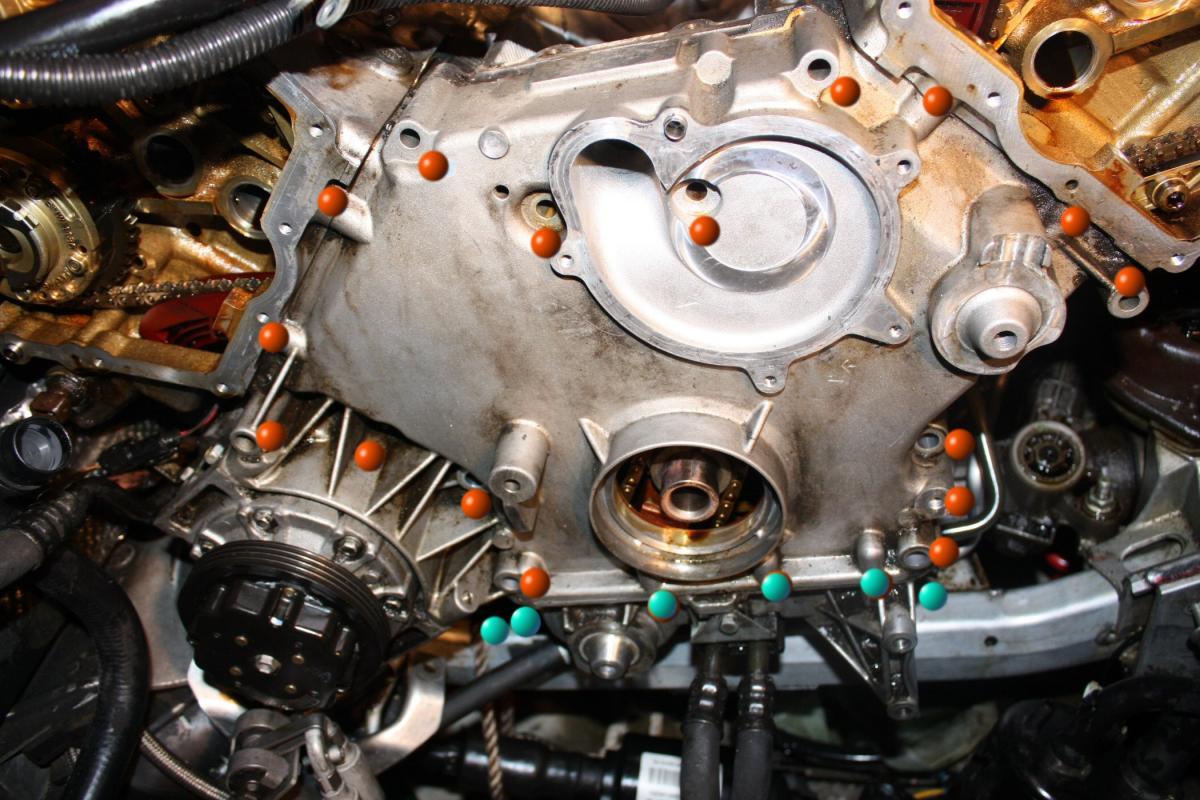
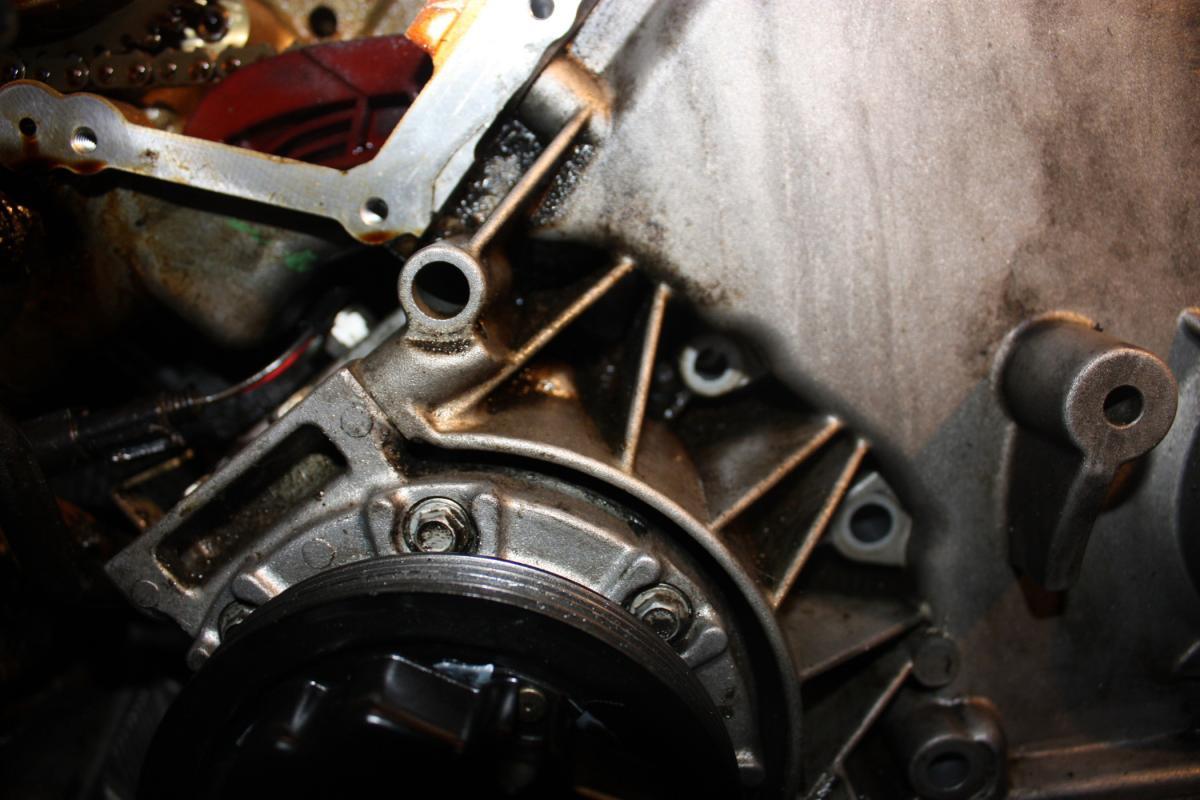
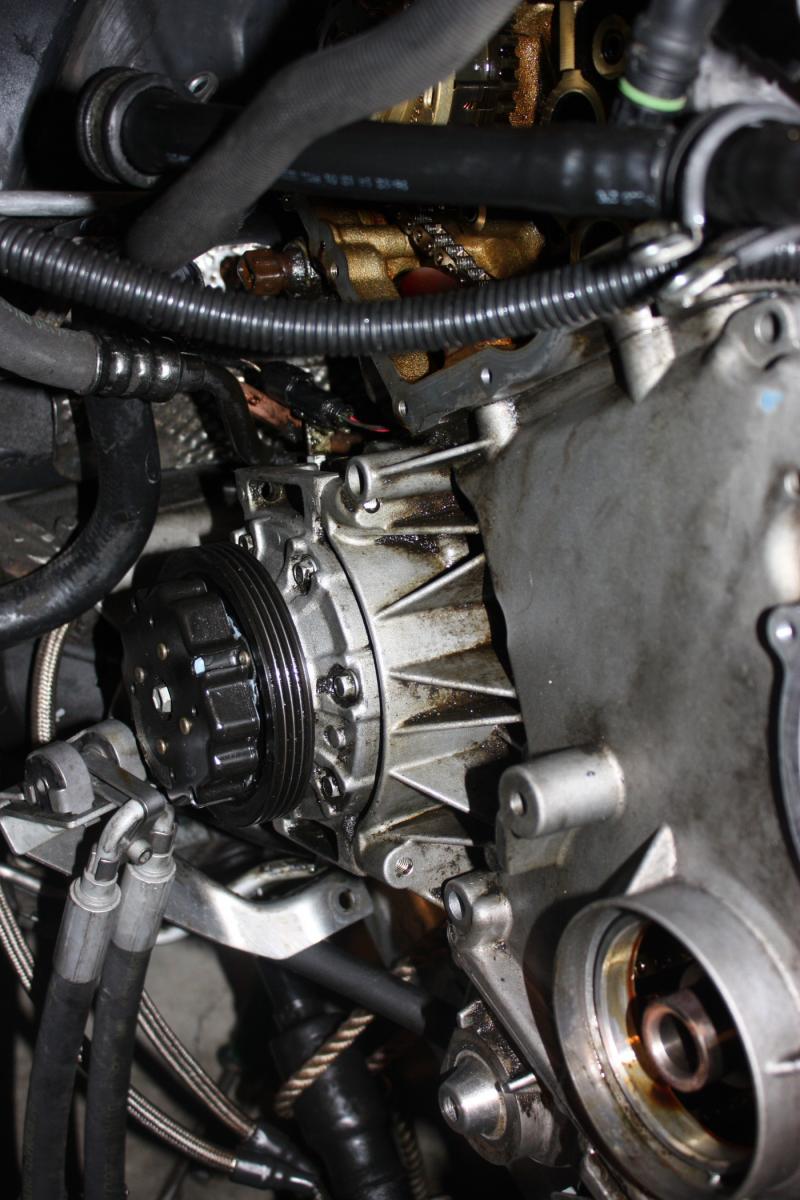
Keif Regarding the lower Timing Cover. It seems to me the Alternator Housing sits directly in front of the lower Timing cover. See Pics
07841-tb can you comment to this too?

12-10-2009
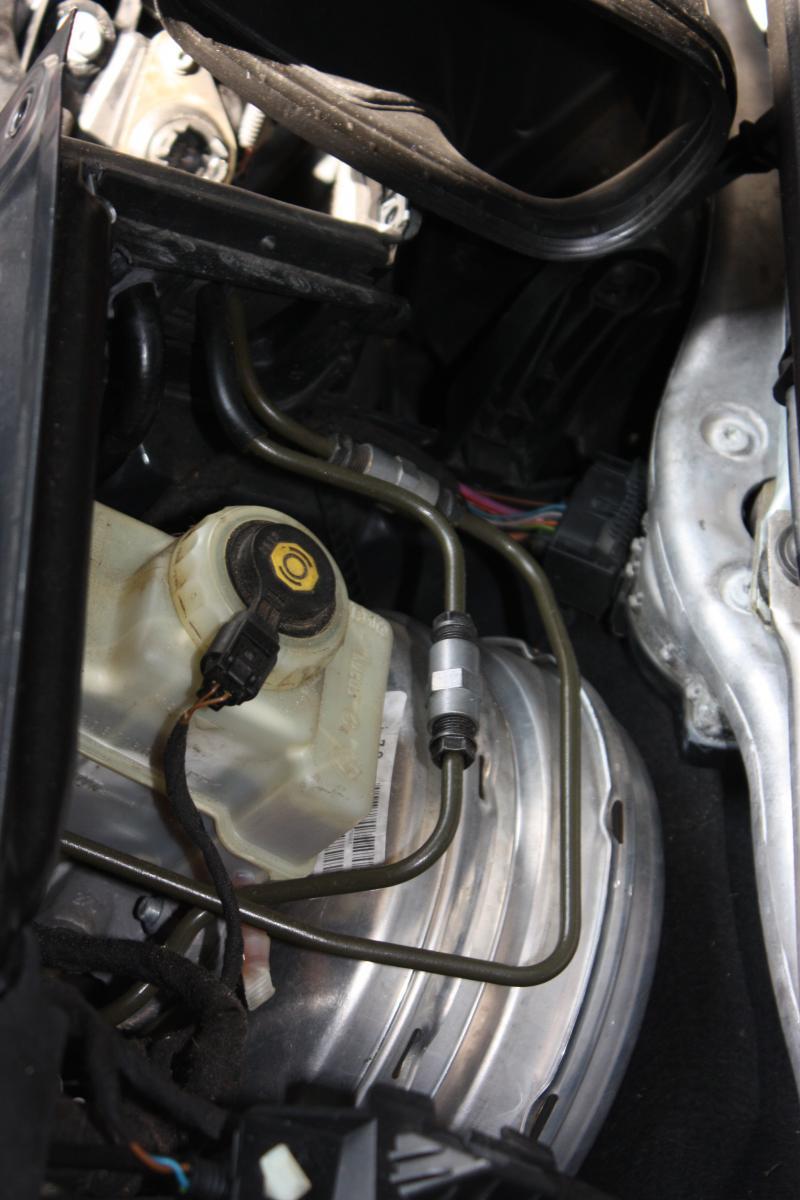
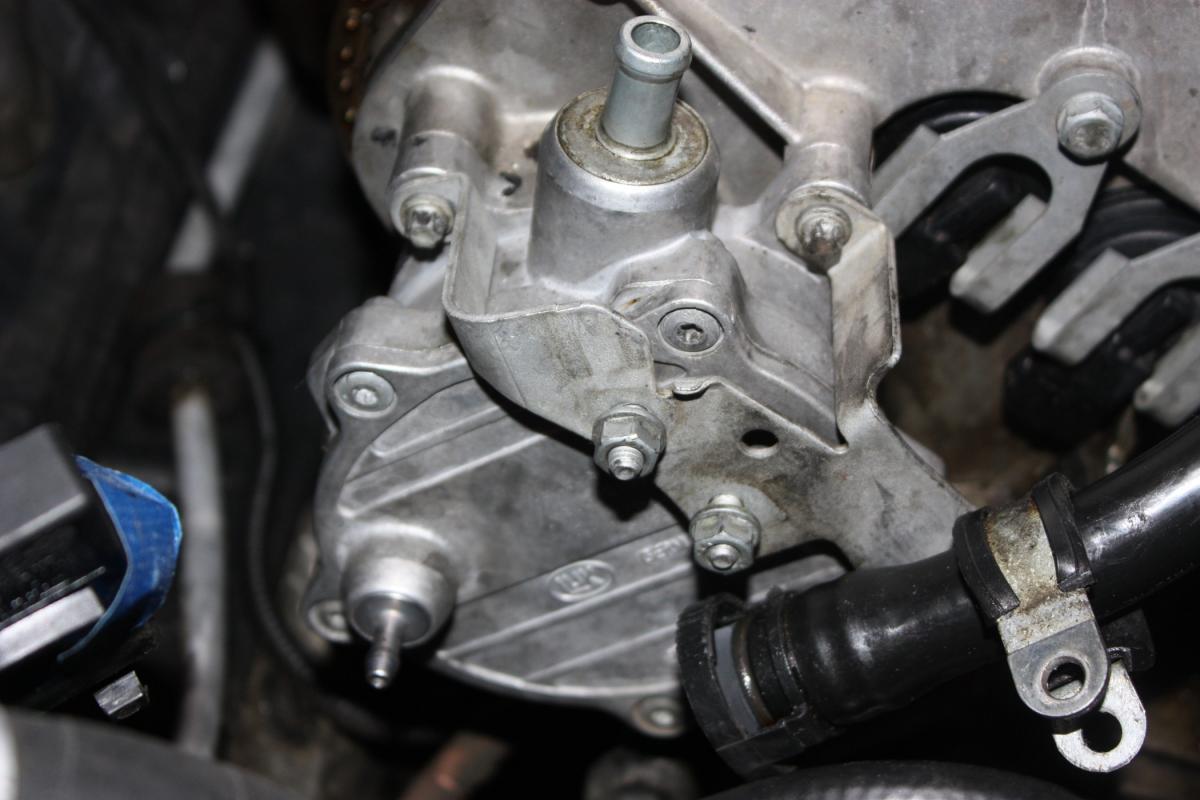
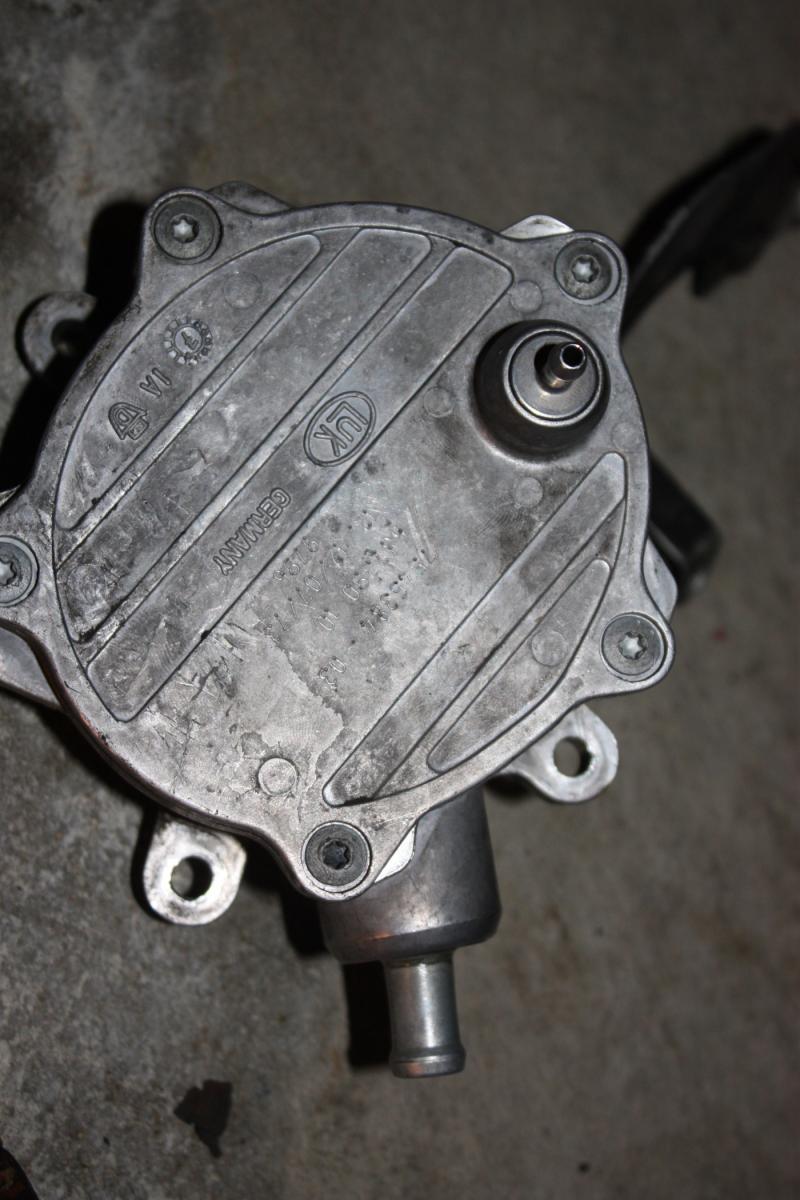
Removing the Vacuum Pump on Passenger Side Upper Timing Gasket.
The Vacuum Pumps purpose is create vacuum as the valvetronic system reduces the manifold vacuum. Plays into Breakbooster. Usually found on Diesels.... So the local repair guy might be confused.
Press brakes to remove pressure on breakbooster
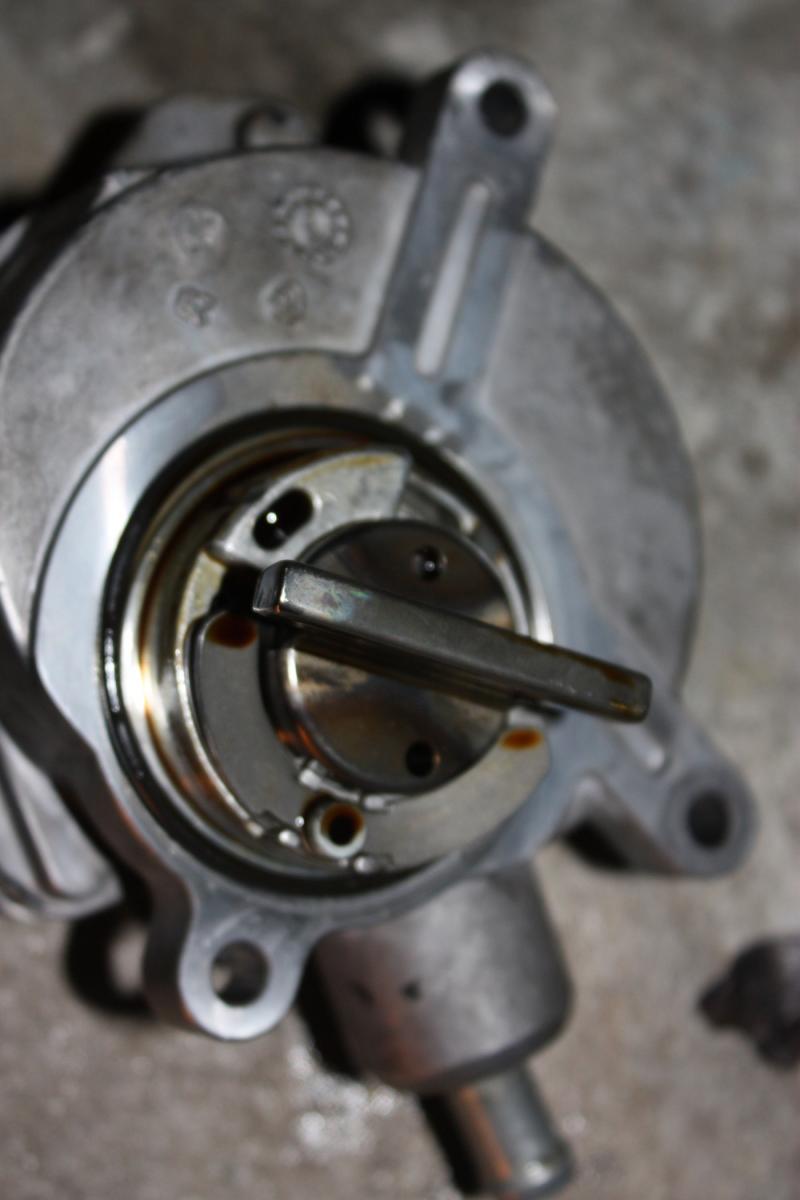
Remove Vacuum Hoses
Release inverted Torx screws
installing per TIS
Replace Seals
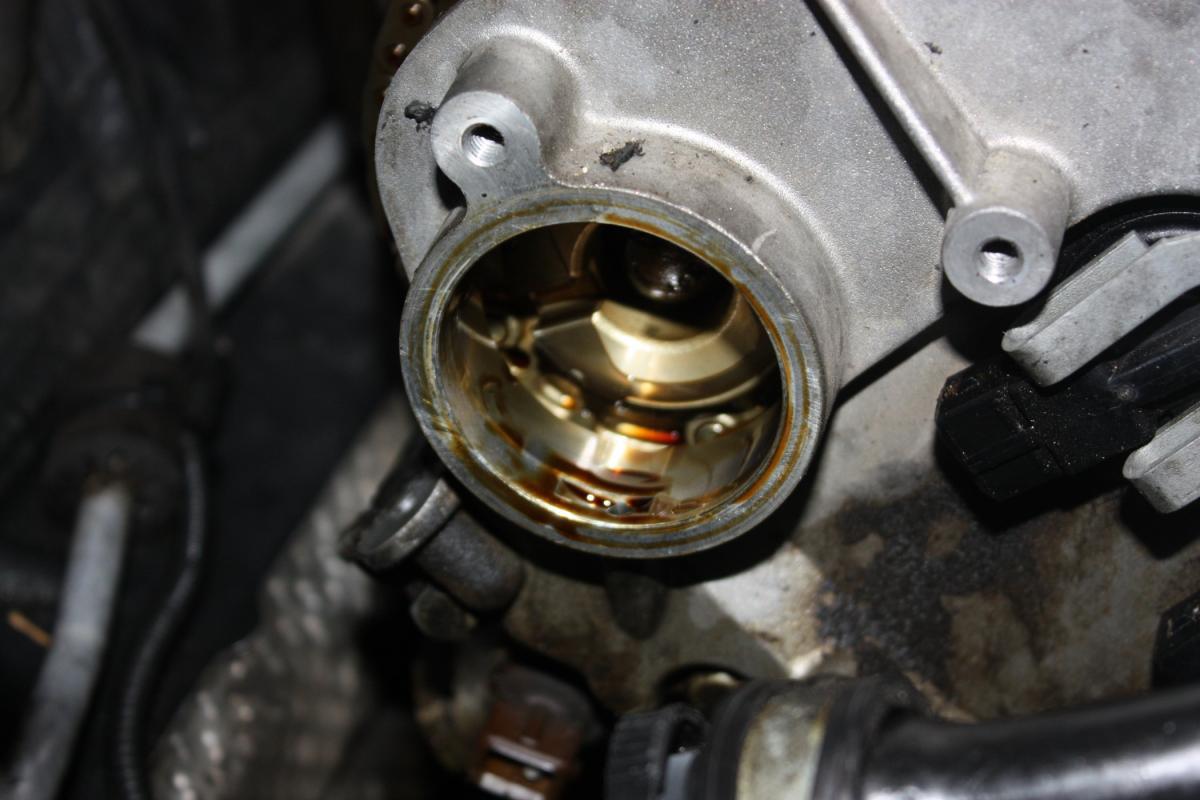
Align drive to fit into engine
Veritical alignment is best
If you can't get it to go in. Crank Engine at Bolt to line up vertically.
Attach Vacuum hoses to ensure no damage to engine gaskets occurs.

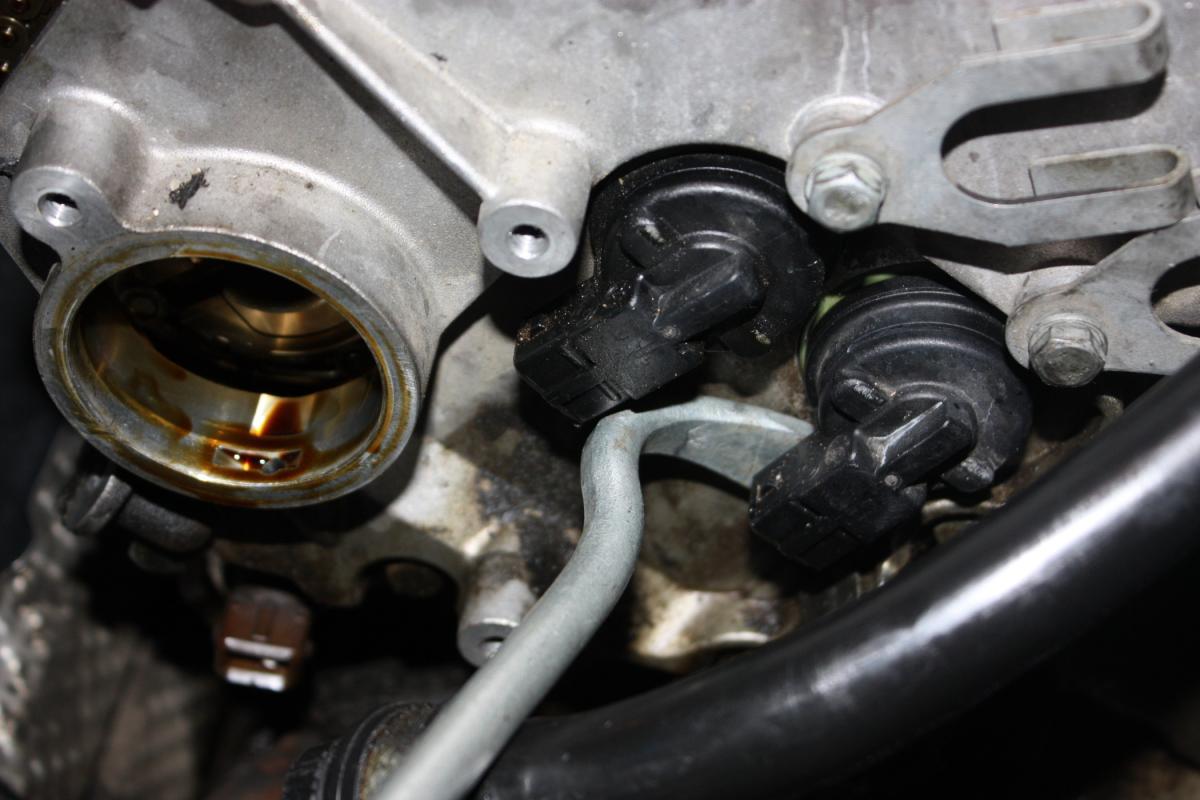
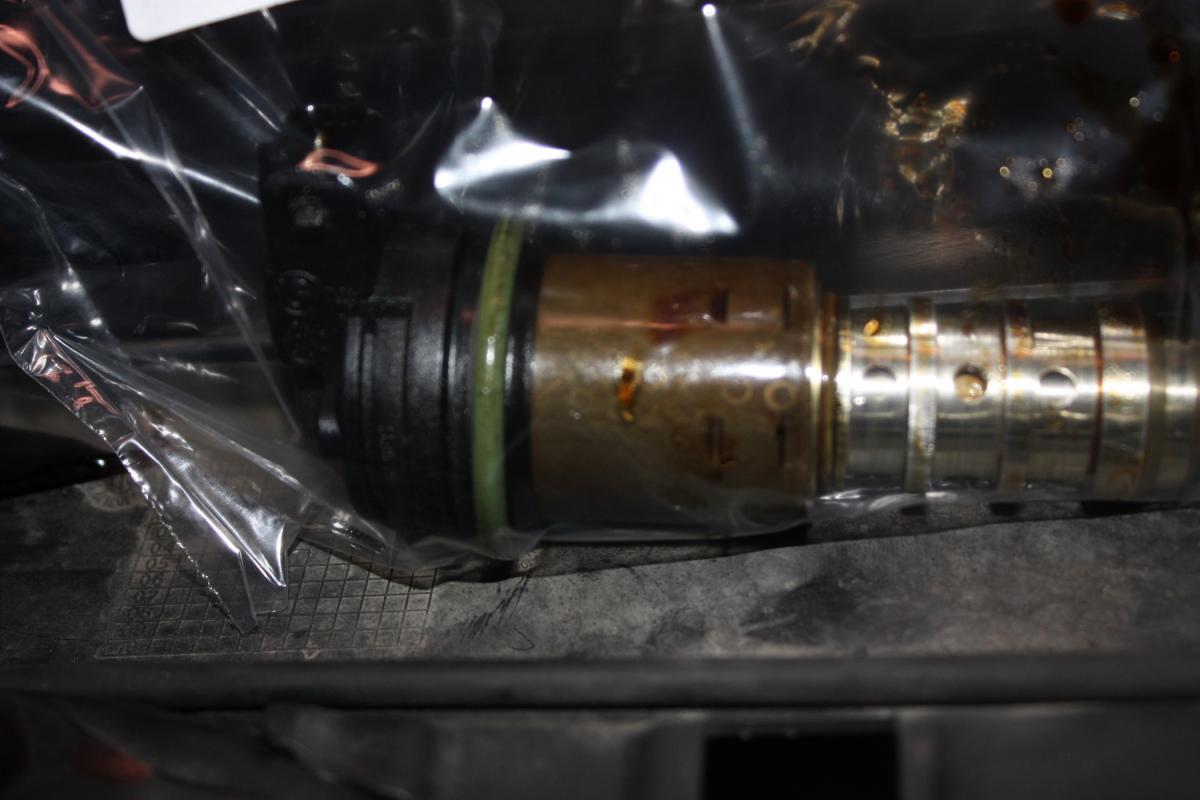
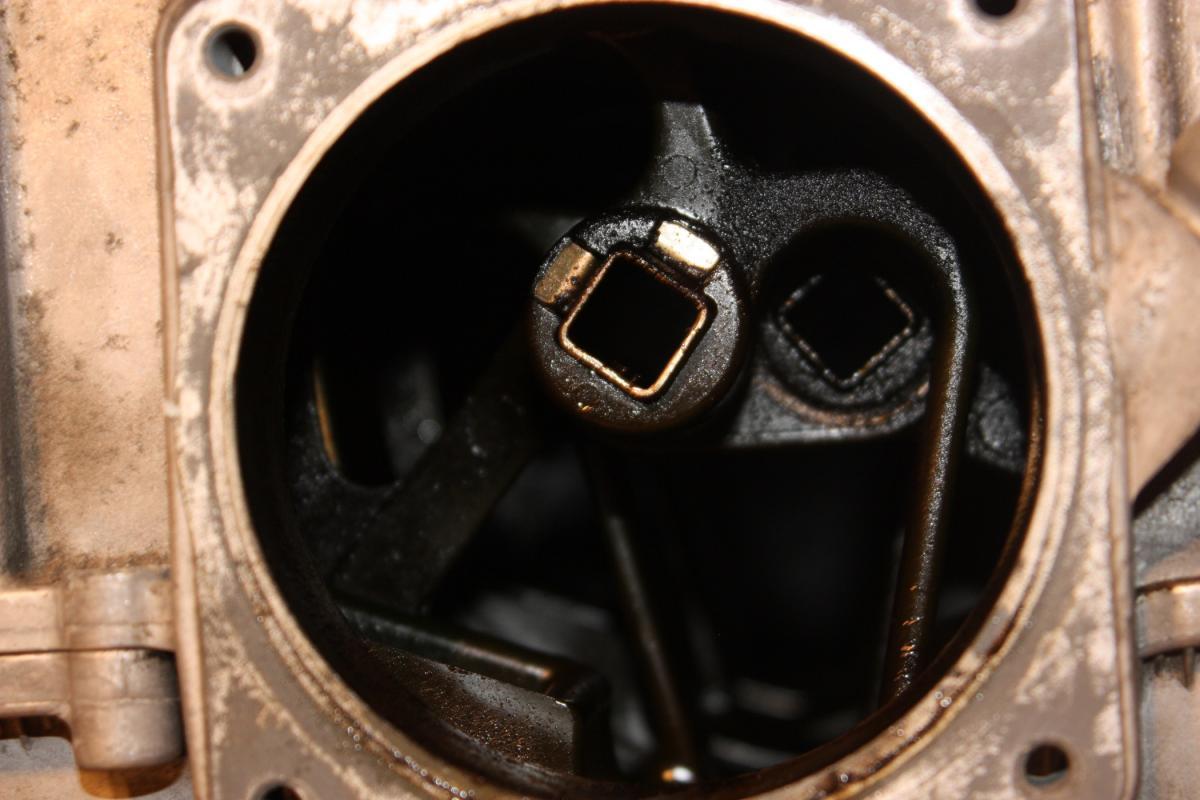
Removing the Solenoid Valves
I have no idea what they do other than control oil flow in the engine.
The seals will leak with age. Very easy to fix.
Loosing Clips and turn them around.
Unplug Wires
Using BMW Specialty Tool Flat Head Screw Driver Pop them out and label.
Replace seals and reinsert.
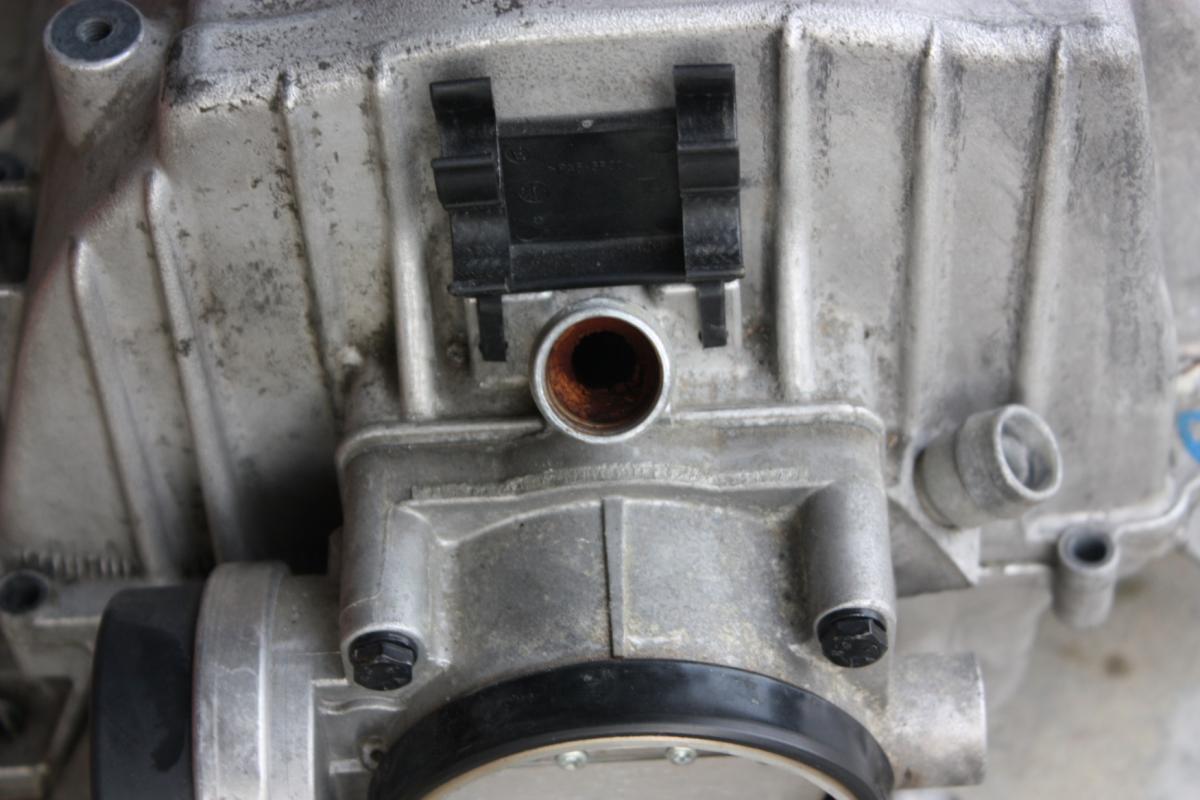
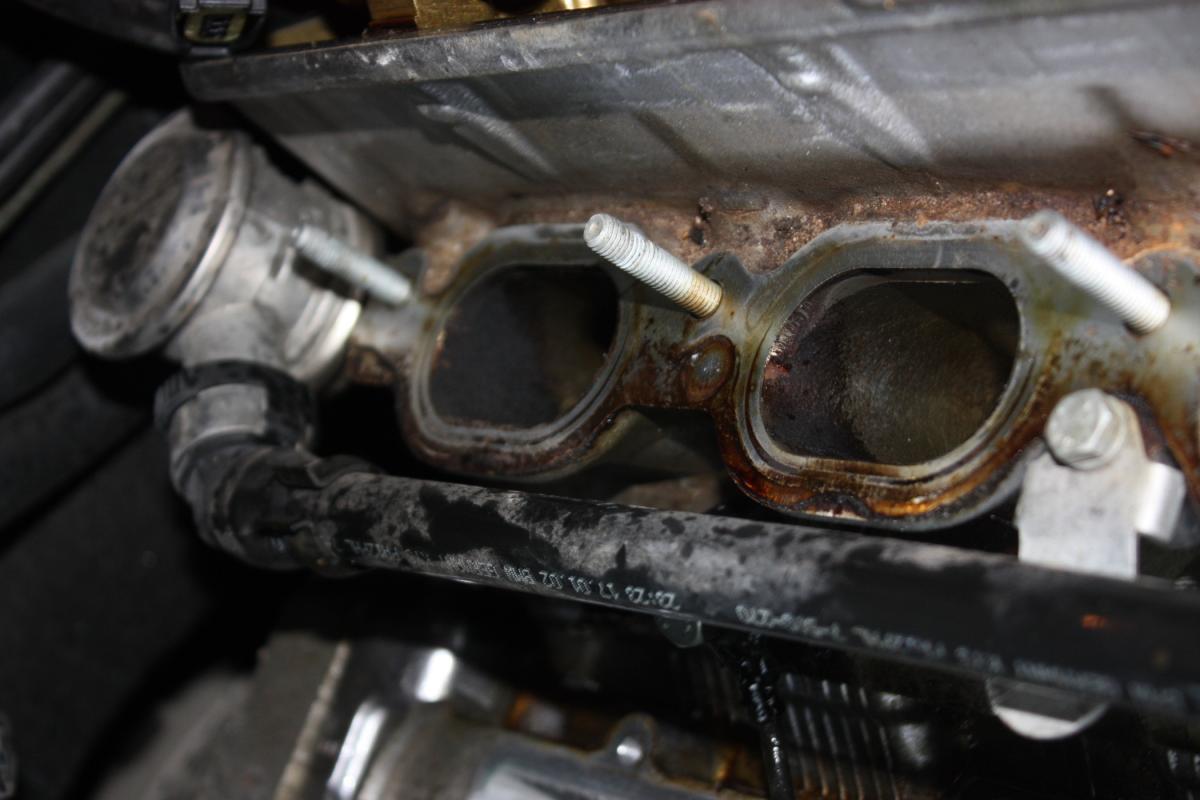
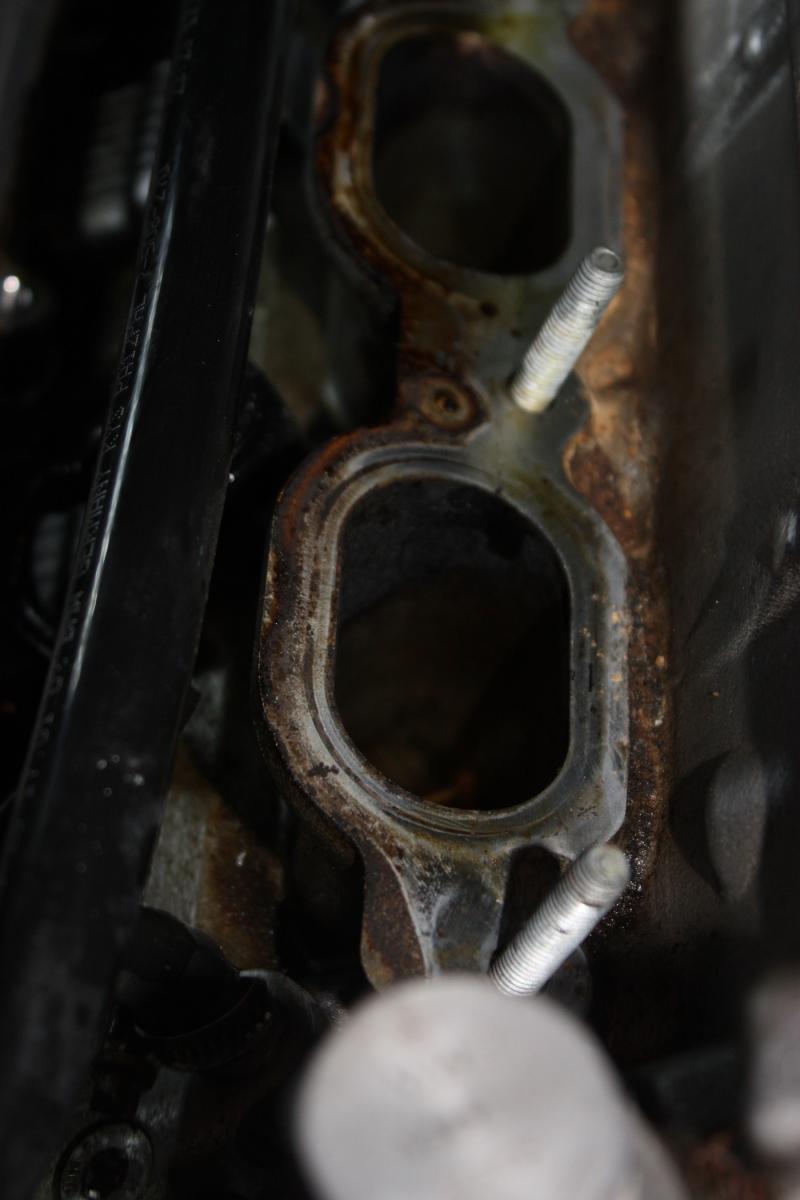
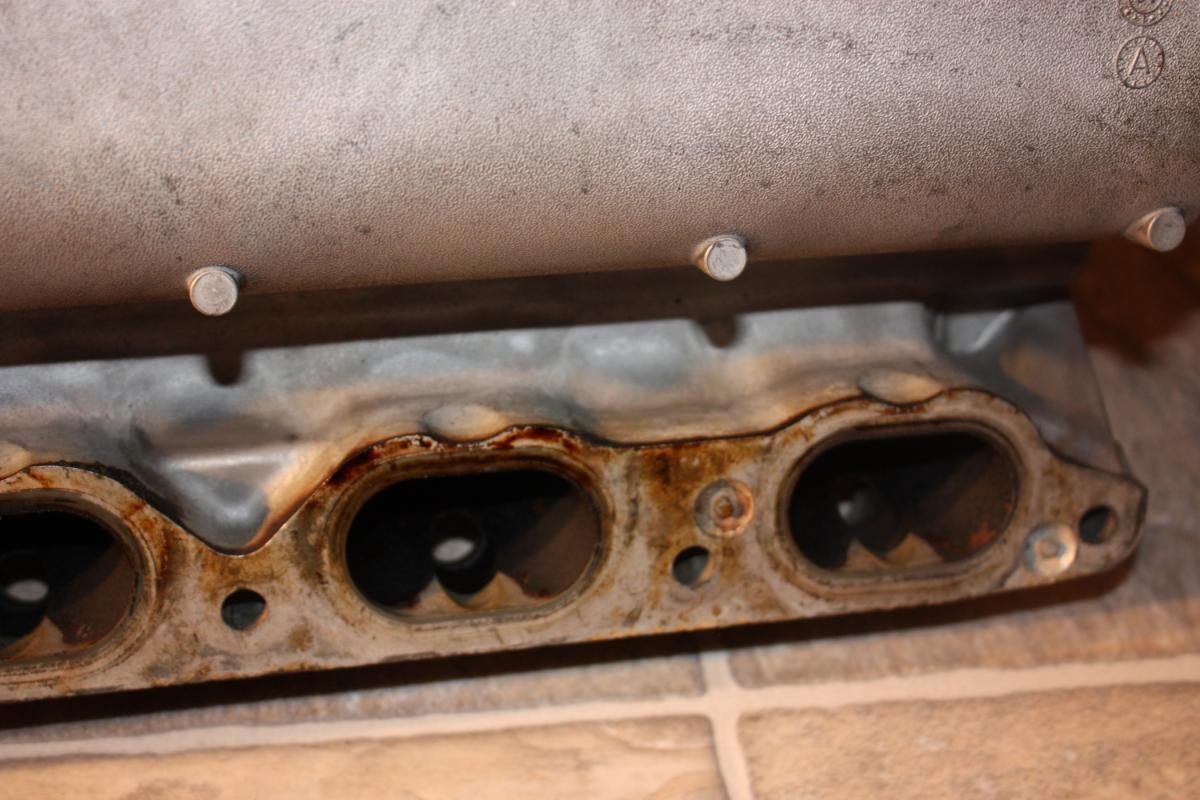
Intake Manifold Gasket Question
I removed my old Manifold gasket so I could start getting the engine clean and prepped for assembly.
I noticed that oil had seeped below the gaskets and weeped out onto the block.
I suspect the gaskets were just brittle so it was escaping, but is it normal for the intake manifold to have oil? I know I saw oil in the line that went from the Vacuum pump to the Manifold.
Keif?


I agree that can be a sign. But I'm an optimist right now...
If that was the case I would expect to see oil on the sparkplugs. I'll pull and check them later. I did some searches and saw where this can be vacuum related as well.
I also have a new set of pressure regulator valves to install as well. I read those things can cause issues with the intake getting gummed up.
The car never smoked and ran well.
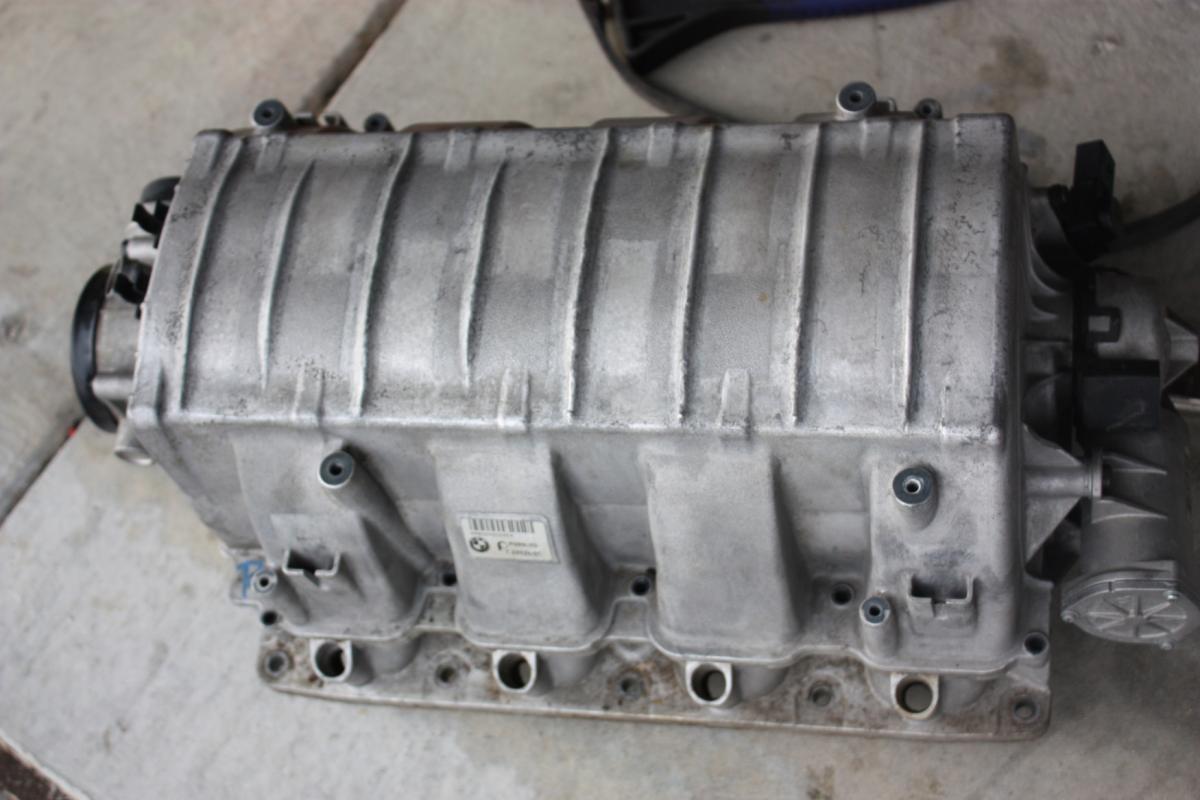
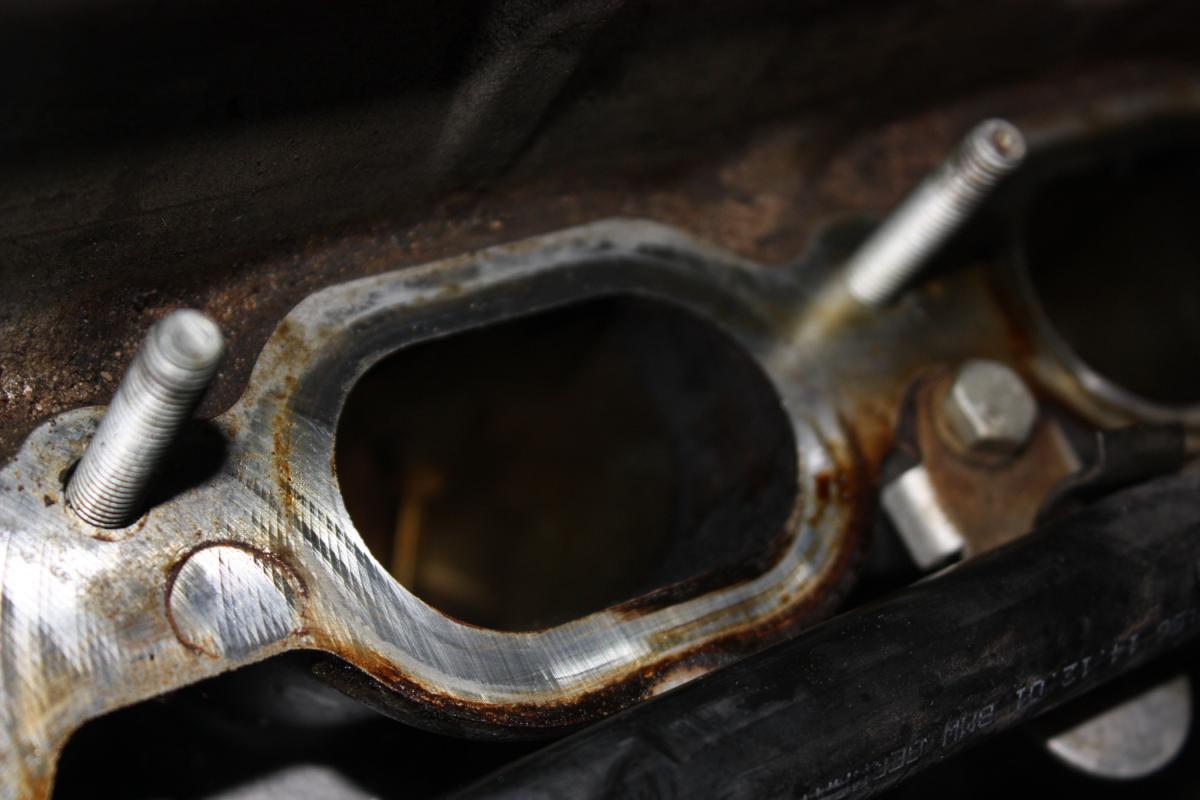
Here's some more pics of the Intake manifold. There's definitely oil in it.
Not a lot. I'd like to take it apart, it has screws but doesn't look like there's a gasket for it?
Can the manifold be cleaned out? 
12-11-2009
I couldn't find any pics anywhere. And some say it doesn't come apart. But it has screws holding it together so I know it comes apart. I am going to attempt to open it as long as it doesn't feel like it will break. Will post pics of it if successful.
omg that would be awlful lol. It looks like a giant turbine in ther but ill be careful. I'd almost be to embarrassed to share that if it happened. 
Ok I think I figured out the source of Oil in my Intake Manifold.
Both hoses that run from the Valve Covers are regulated by pressure regulator valves. Those hoses both have oil in them. Those hoses run directly into the Intake Manifold right? Since I have my car apart I can't just look lol.
But but following the trail of oil it went from the Valve Cover, pressure regulator valve, down the hoses and into the manifold where it weeped through the cracked Intake Manifold Gasket on to the Block or was quickly burned off.
Keif remember when I was getting those valvetronic error codes with No description? I wonder if that was the problem....Just Bad Pressure Regulator Valves
Anyway I'm sure this is the problem. No bad pistons No bad pistons!
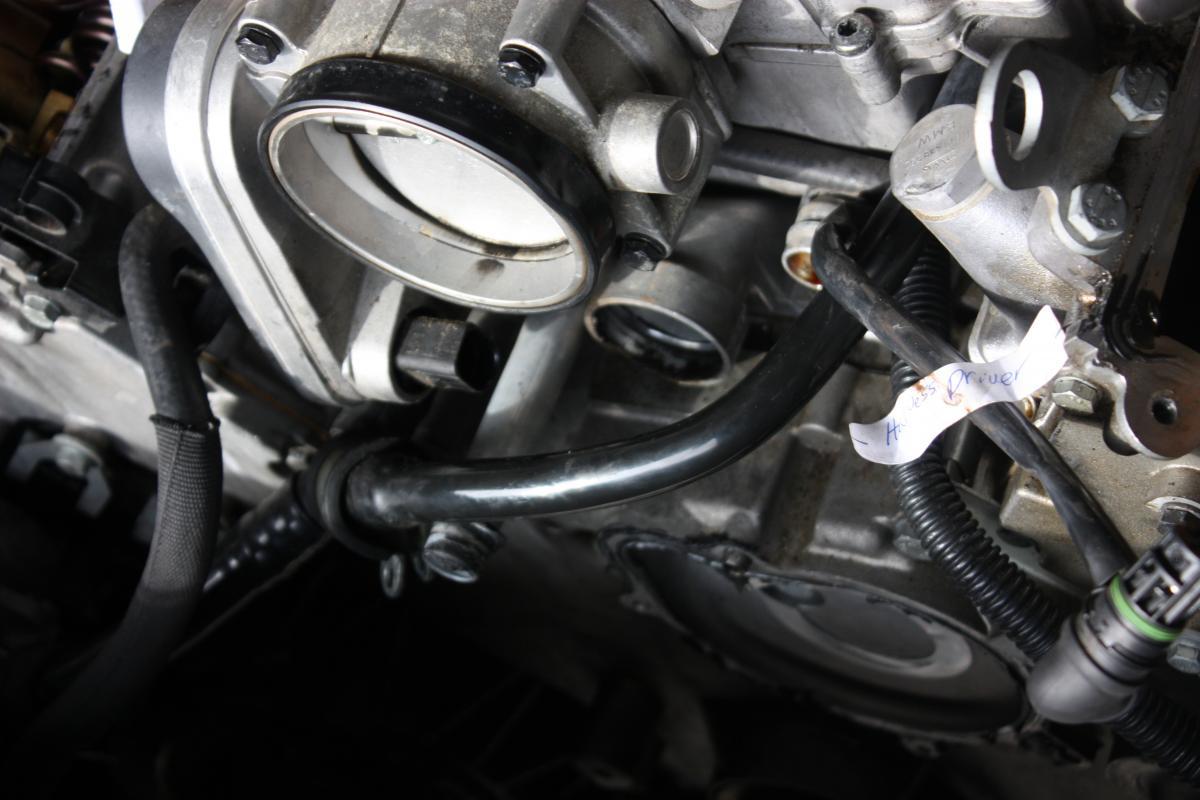
During my waterpump install the small black Hose that attaches on the boot right infront of the mass air flow meter to the Throttle broke of at the base. It started running rough after that. I can't figure out where that hose goes to. Somewhere in the back of the engine and probably unrelated........But maybe. 
http://www.realoem.com/bmw/showparts...68&hg=13&fg=15 parts 4 and 7
12-12-2009
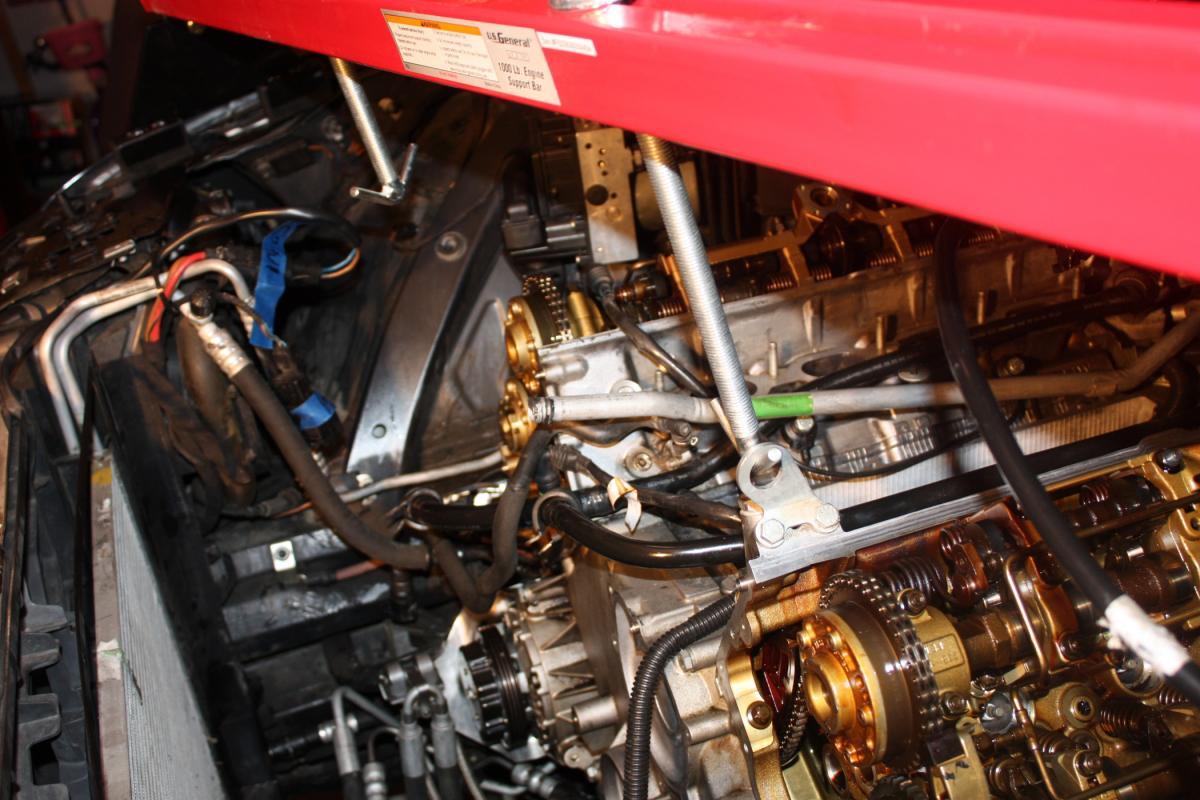
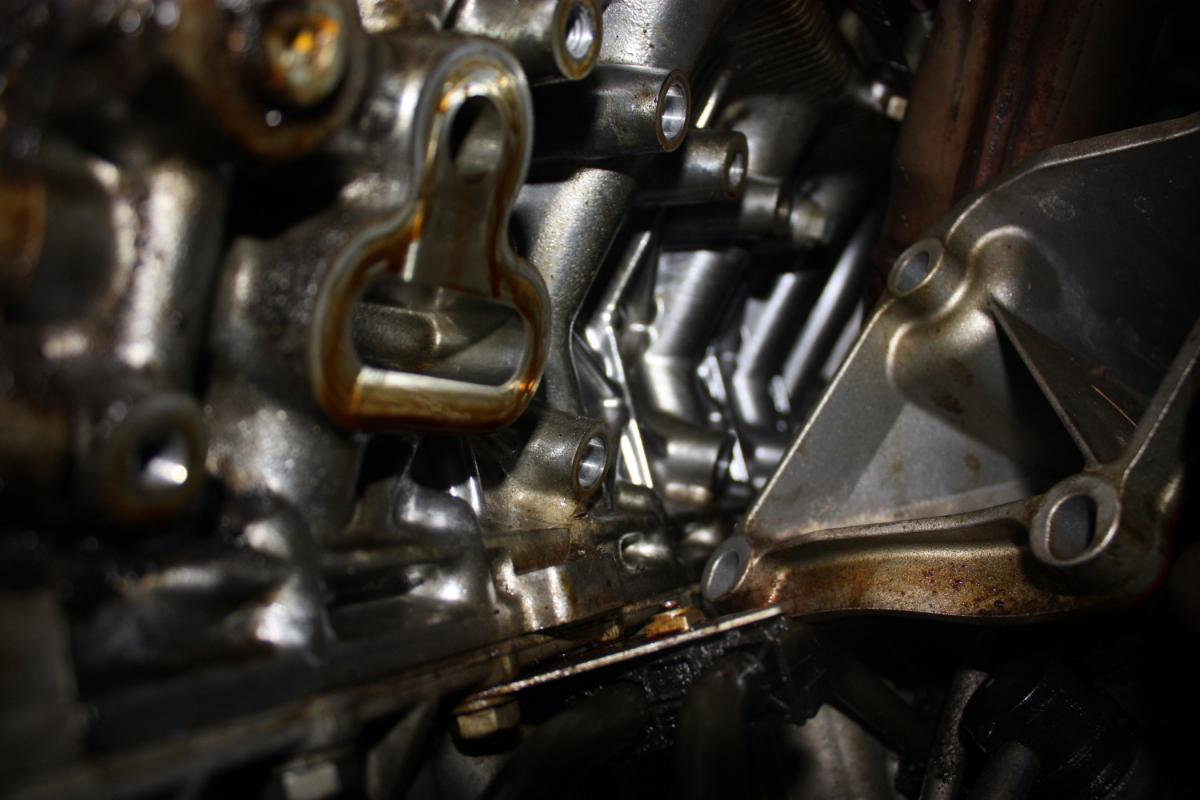
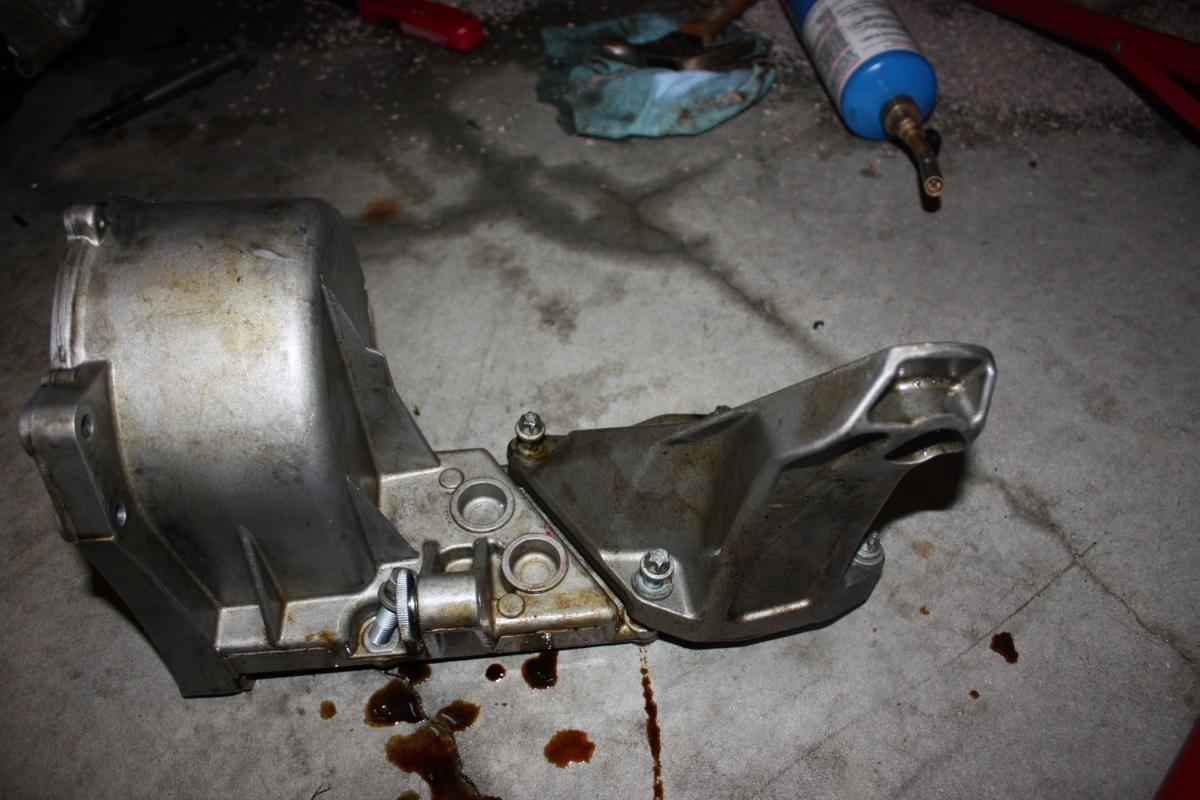
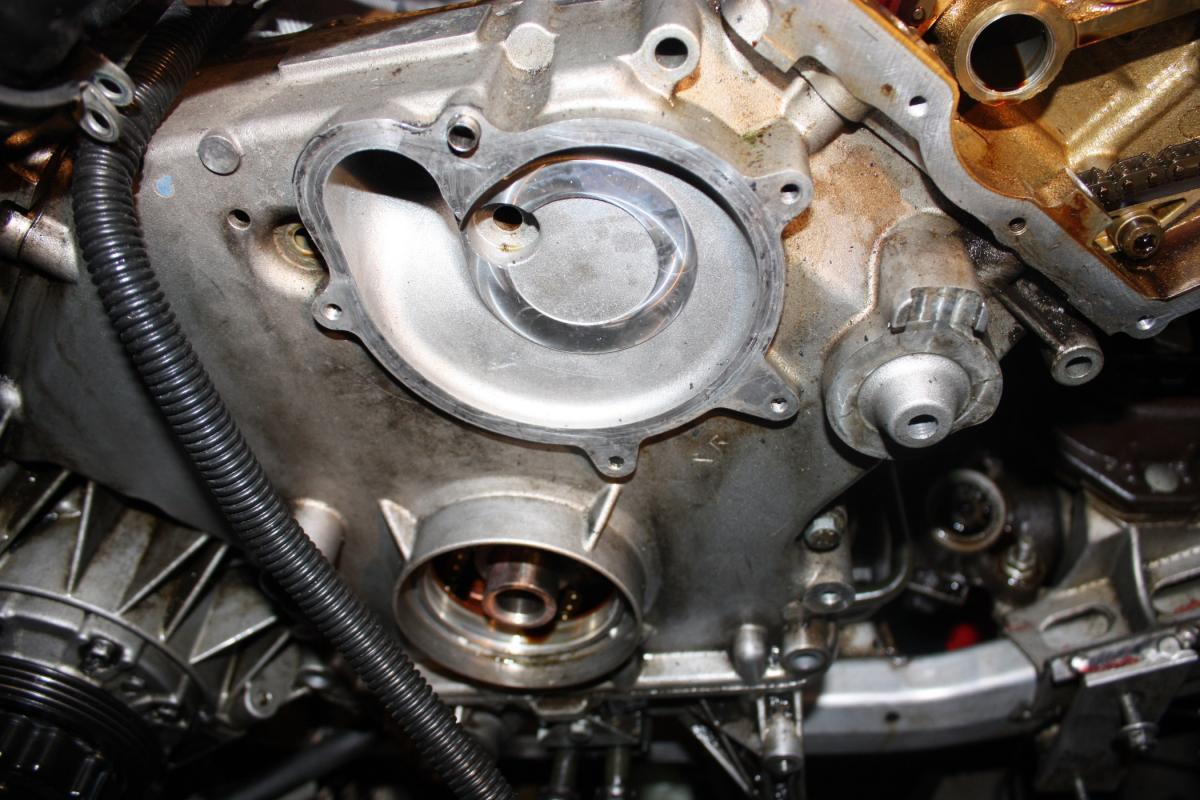
Removing the Alternator Housing
Ok Why remove the alternator housing?
Because one of the brackets sits directly infront of the lower timing case. So To remove the timing lower timing case you remove the alt housing.
However the engine support bracket sit in front of the Alt Housing and is bolted through it on to the Block. Thankyou to Tommie (07841) for figuring this out before hand and the advice.
http://www.realoem.com/bmw/showparts...73&hg=22&fg=05
Use a front engine support brace on front of car
Remove Top screw of motor mount
Raise the engine about 4-5 inches. This gives you just enough space to get in and start removing bolts
raise motor mount up and stick something under it to keep it out of the way
Remove 4 torx bolts. I had to put heat on 1 to break the grip. Recommend replacing bolts
push bracket to side
Remove last bolt holding alternator housing
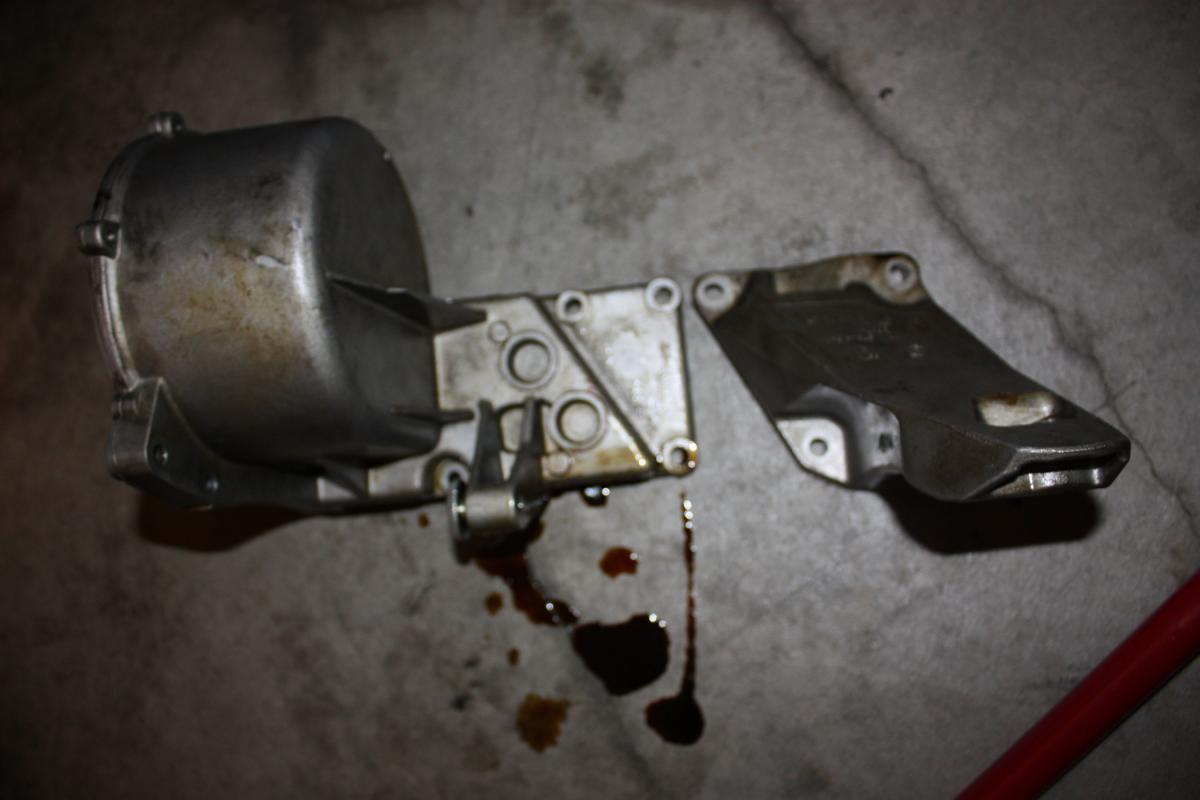
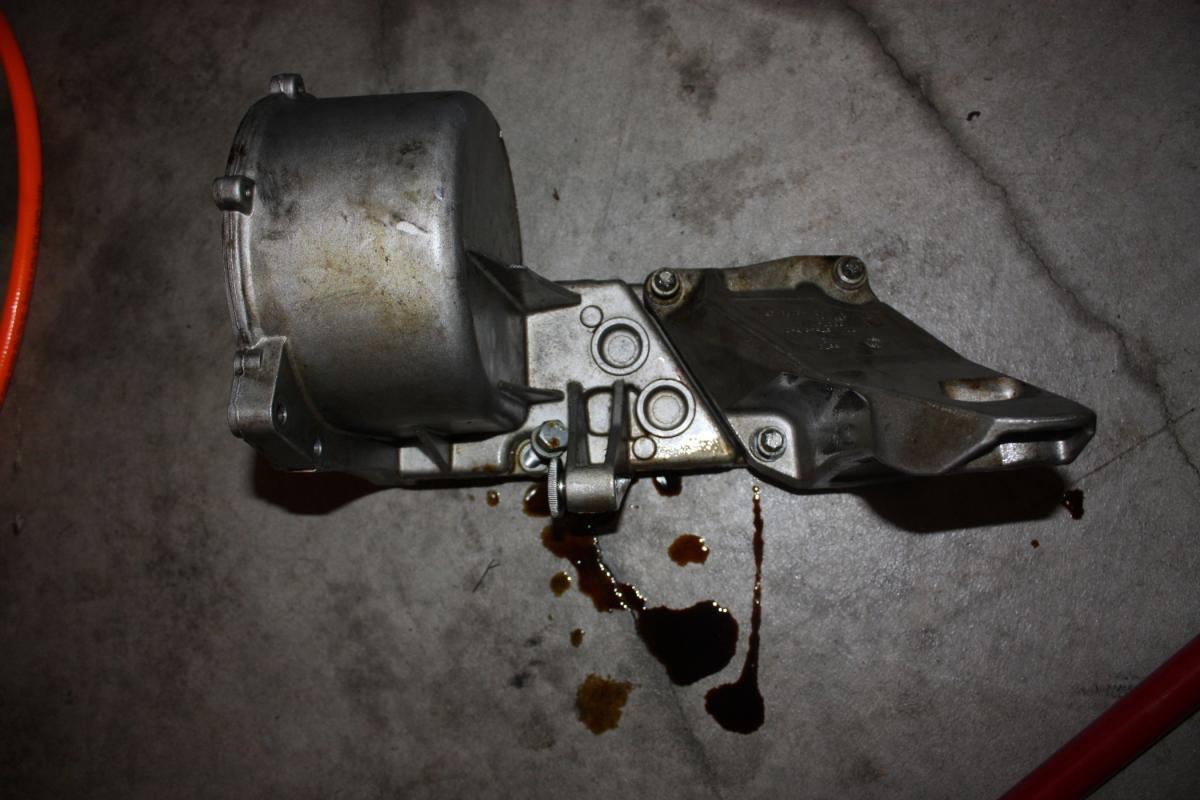
Remove assembly and clean
Replace gasket
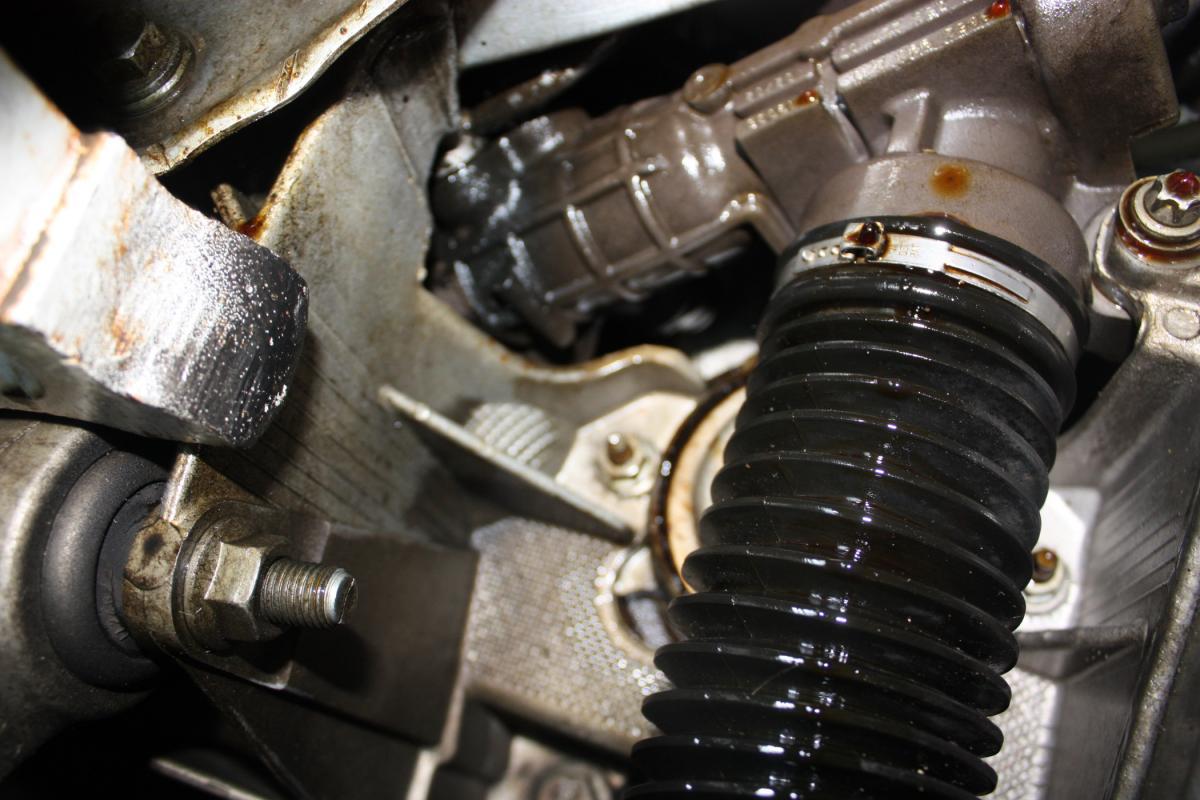


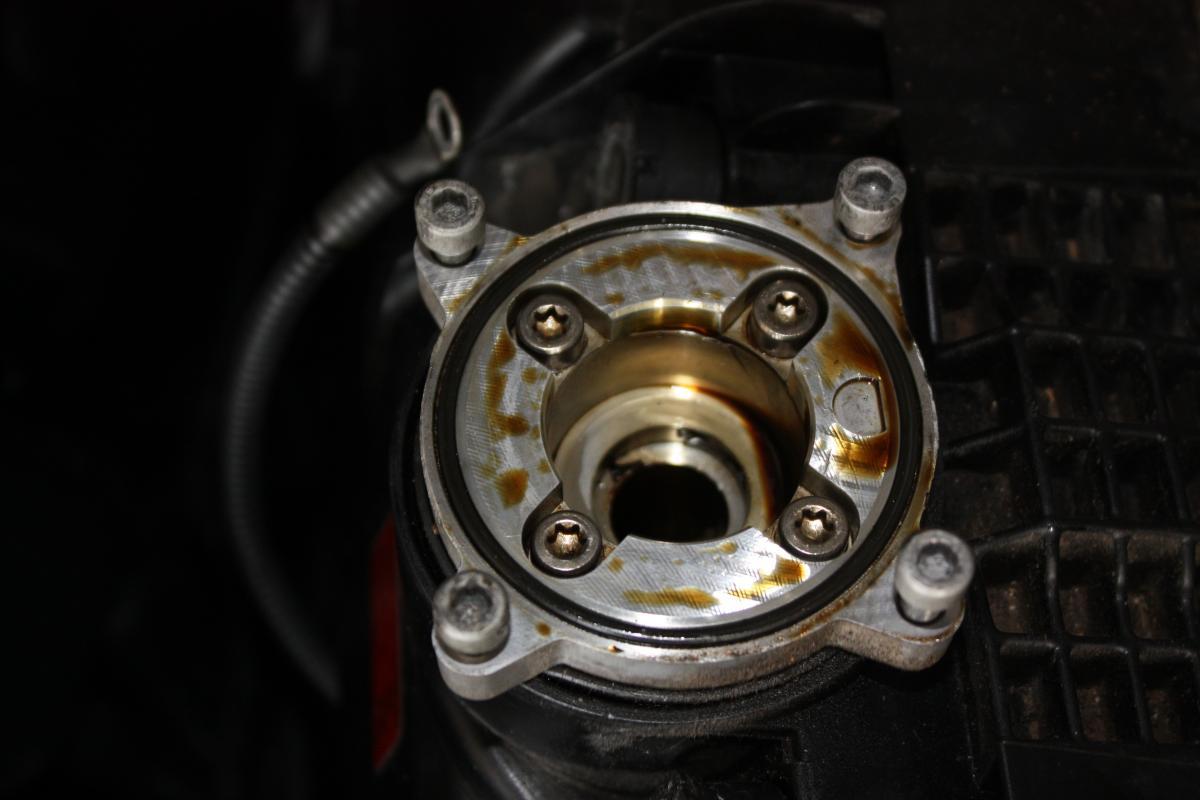
More alternator Bracket Pics
Replace this Seal. A bad seal here would definitely cause oil dripping/weeping. As there and opening directly into the block.
No clue why its here doesn't' seem to do anything or go anywhere.

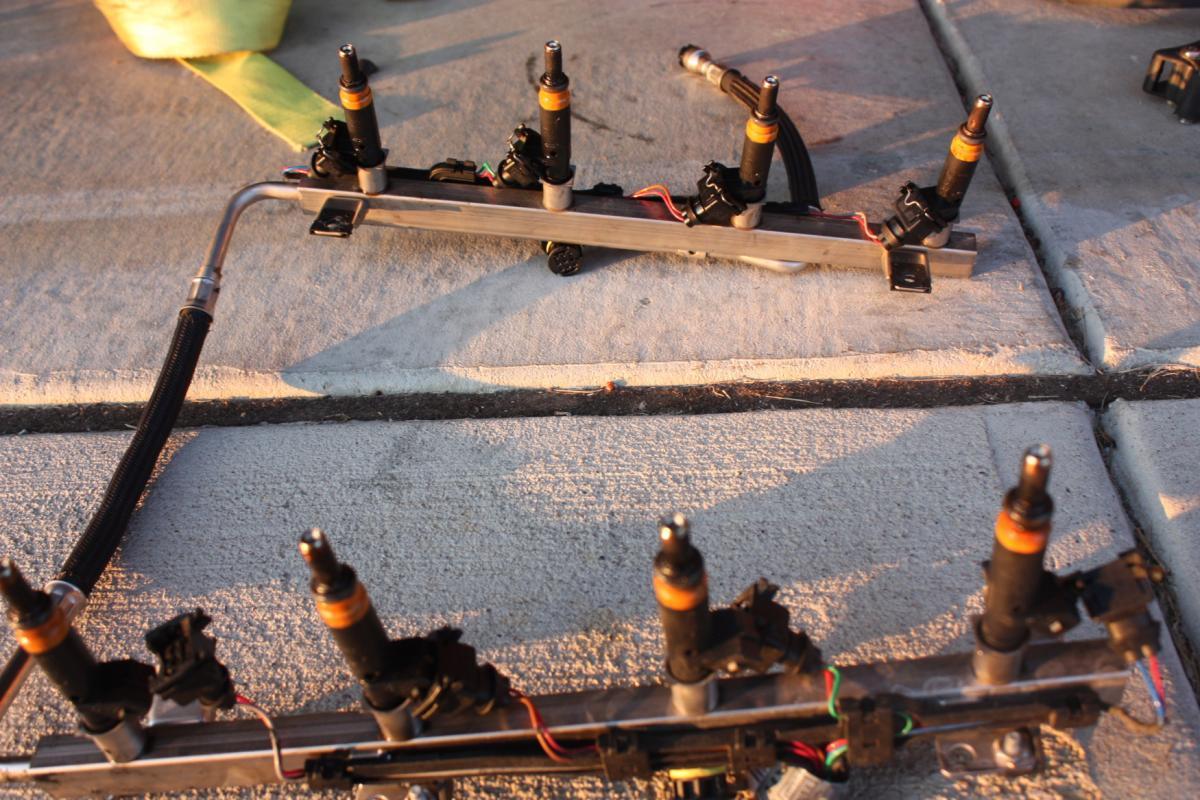
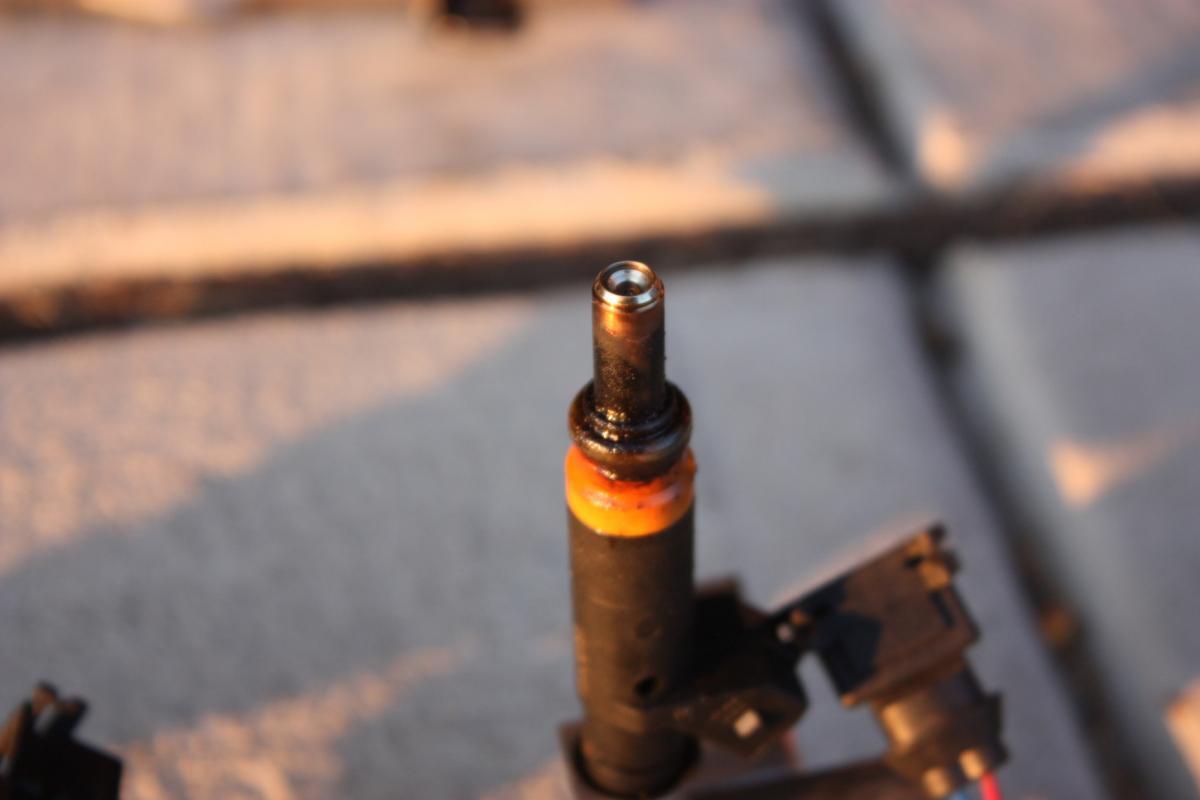
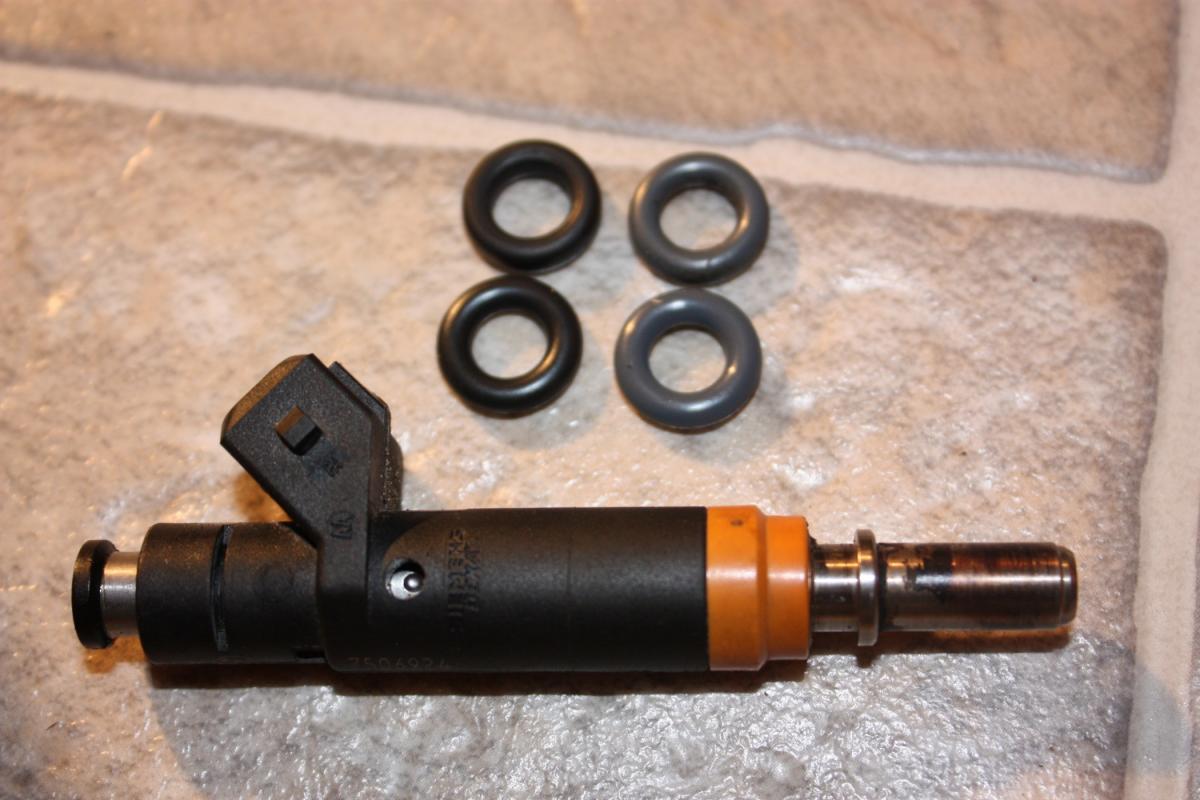
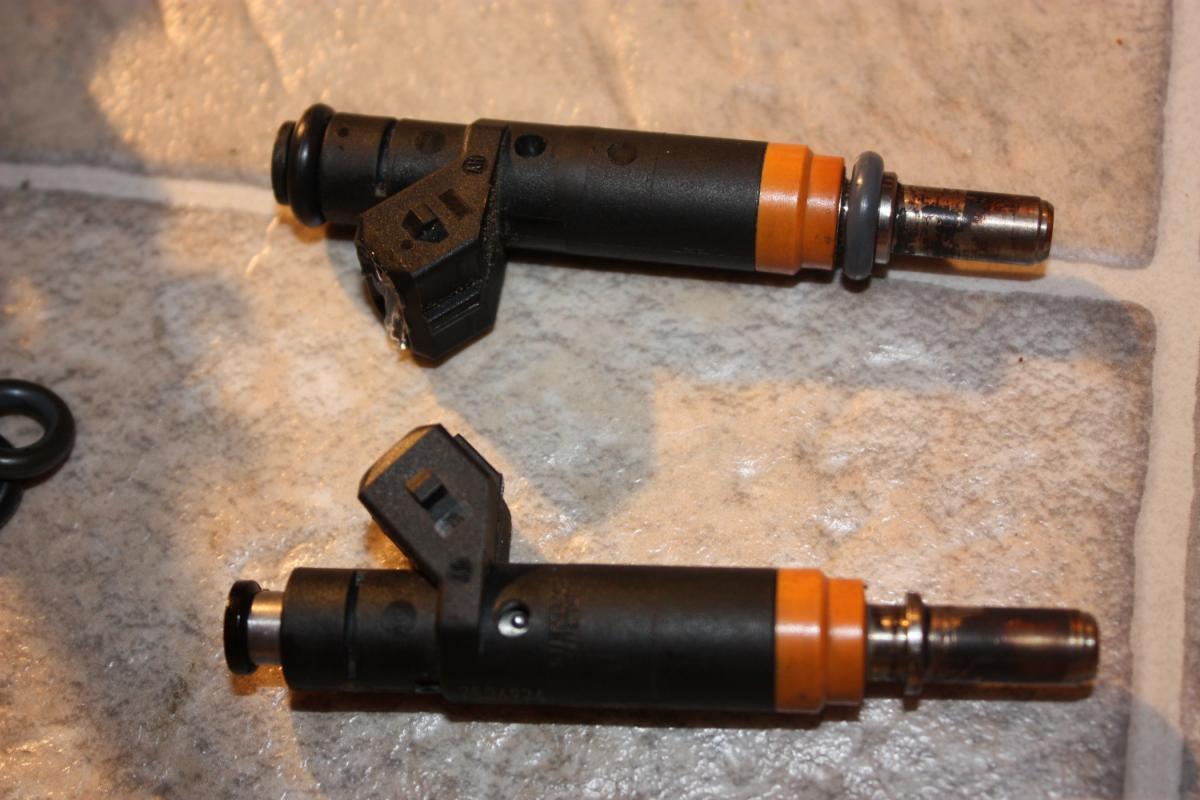
Fuel Injector RnR
Since my Fuel Injectors were out I took the opportunity to replace the o-rings. Bad o-rings cause leaking gas and fire. My originals weren't too bad but someone may find this of use at some point.
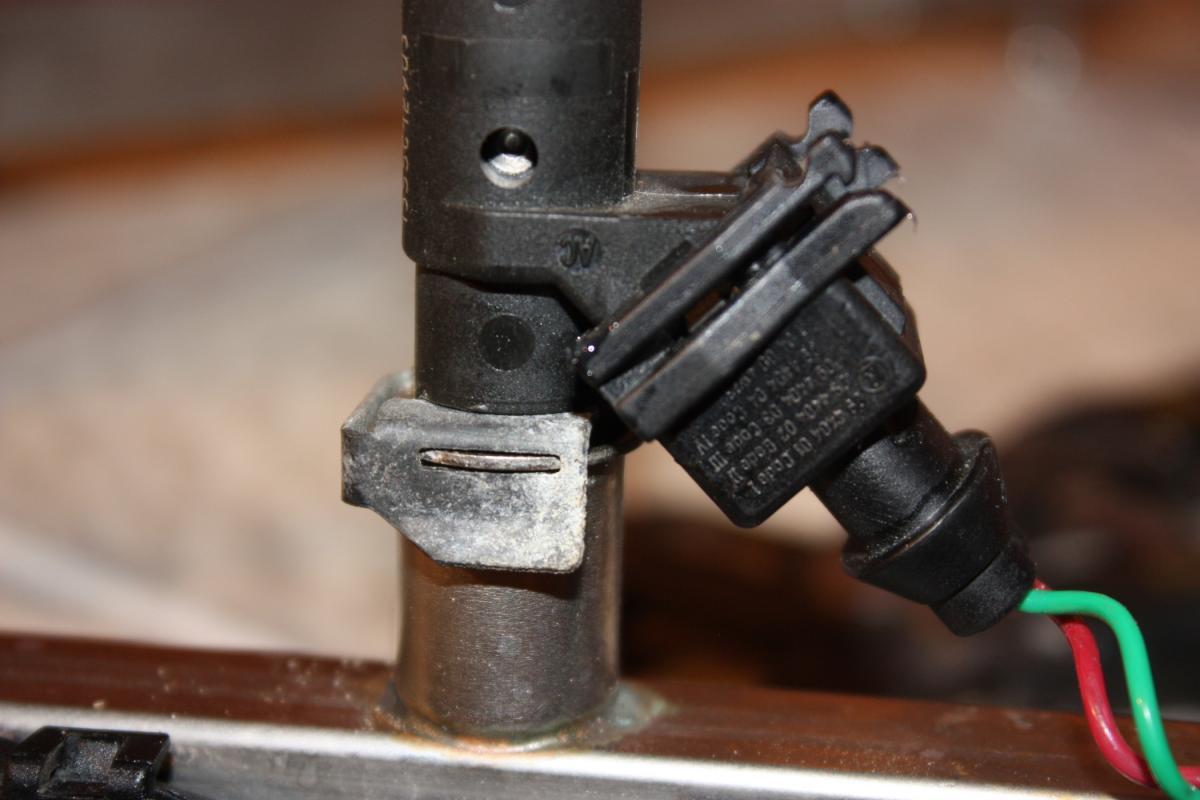
Remove each injector one at a time and replacing before moving to the next one.
unclip leveling clamp
unclip electrical connections
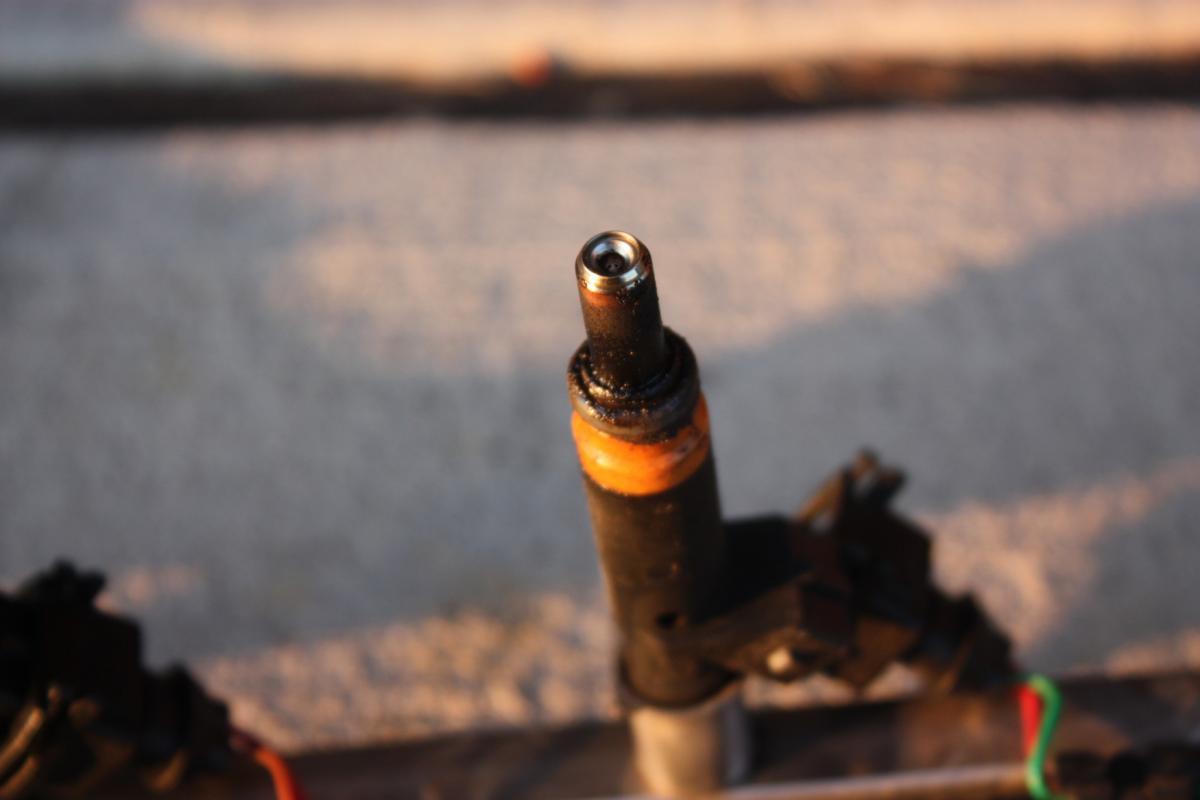
Pull Straight UP
inspect each injector for damage or clogging
Replace upper and lower o-rings
Make sure housing is clean q-tip
Reinsert injector
Lock clip in with Clamp
Clean Electrical connections with Electric Cleaner and reconnect with electric lubricant sealer
12-13-2009
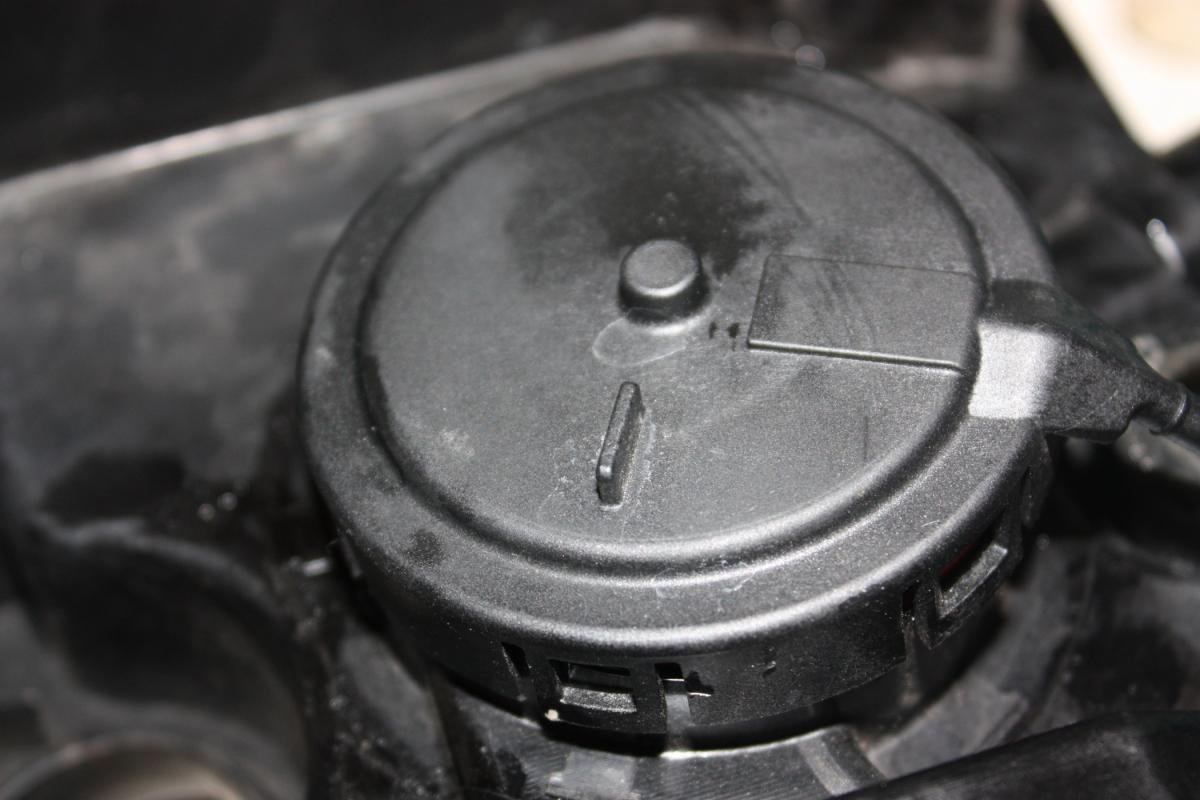
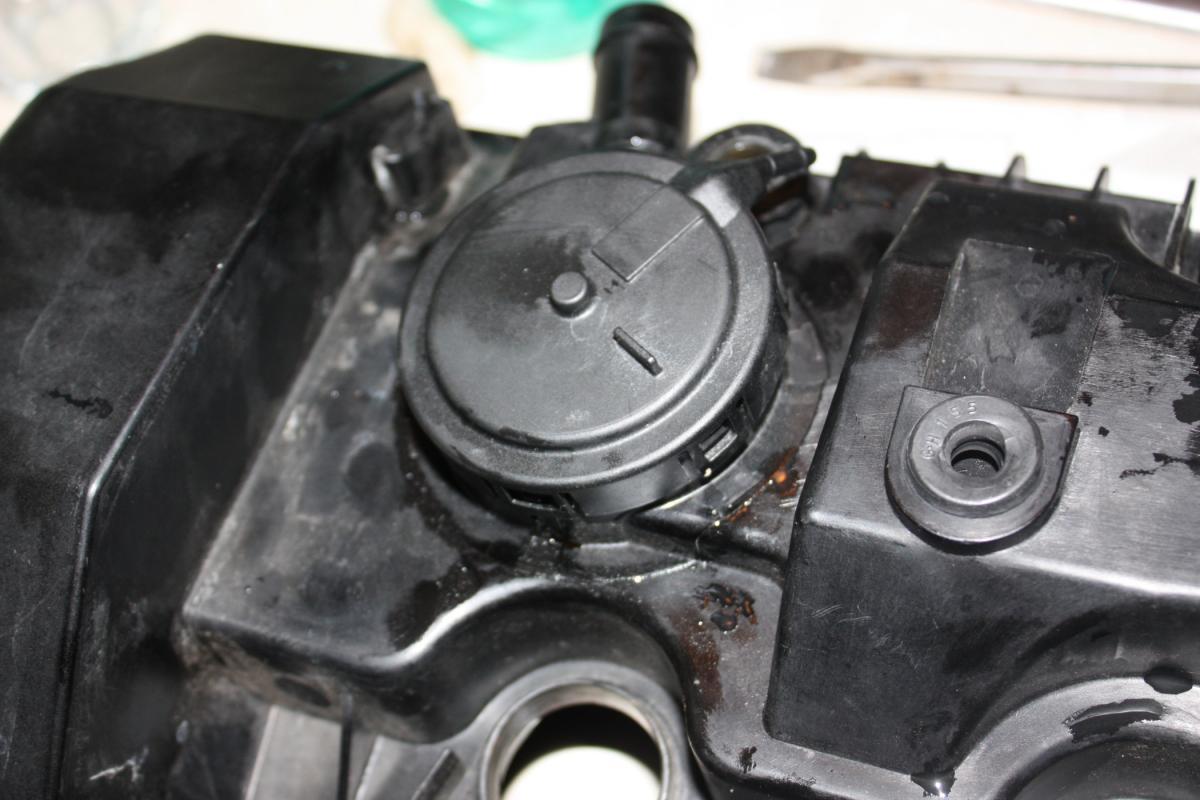
Pressure regulator valve replacement
Called Crank Case Vent CCV on as well
Simple replacement
When malfunctioning can allow oil to escape into intake manifold. Causing white smoke.
Members have reported howling noises in engine, rough lean running,hesitation as well. Some years had recalls on this.
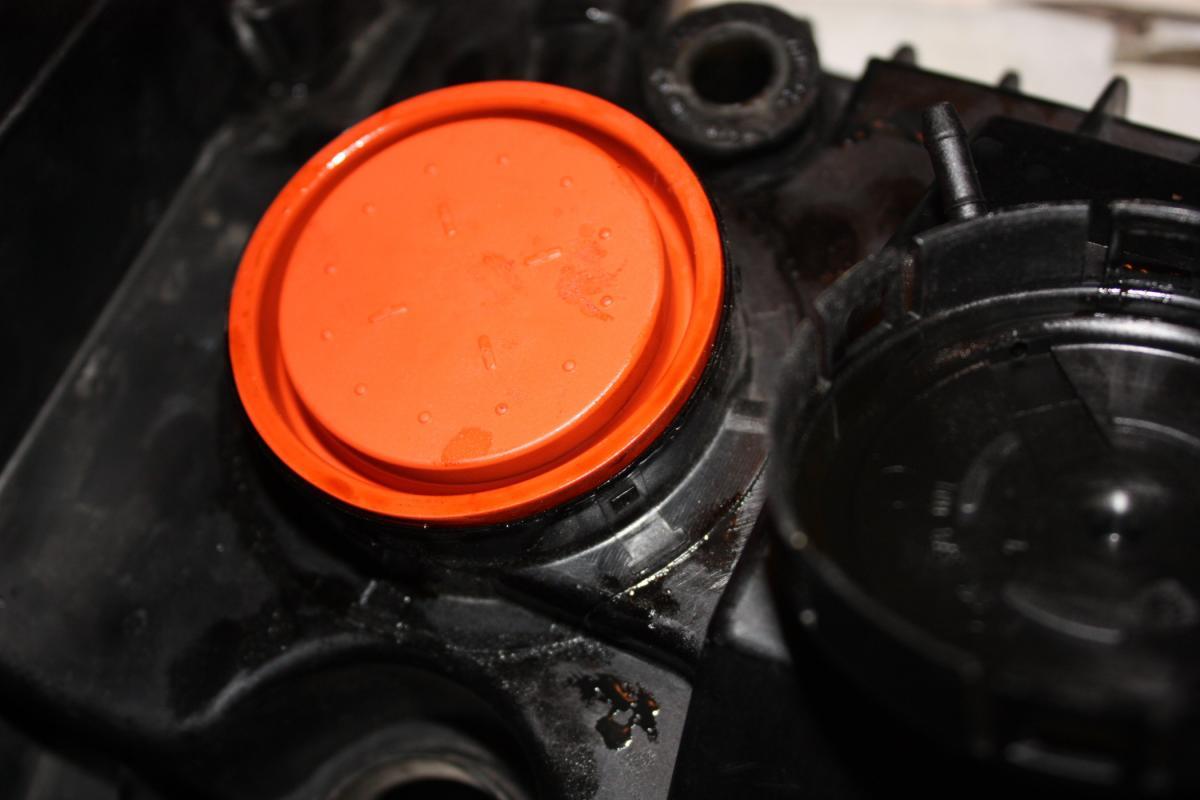
Replacement is simple just pop off old ones and snap on new ones in same position. push it down each section till you get 6 clicks.
http://www.realoem.com/bmw/showparts...58&hg=11&fg=15 #13
12-13-2009
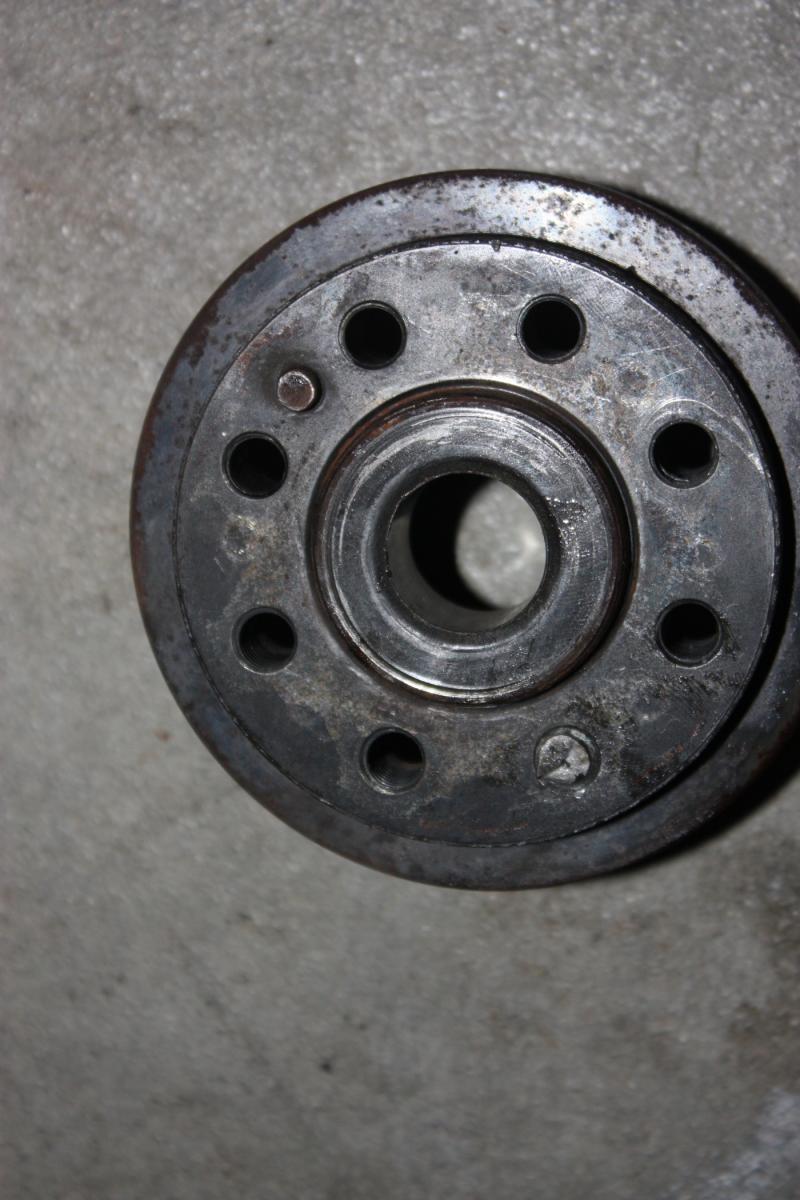
Crankshaft Hub removal
After pulling the crankshaft bolt
Attach vibration damper to hub with 2-3 screws. Pull Hub straight out.
Pull out crankshaft seal

Lower Timing case removal
Unbolt all timing bolts. Should be 13 but use realoem as reference
Remove 5 bolts connecting oil pan to timing case
then remove 2 more on each side of the oil pan to take pressure off timing cover (0781tb trick)
remove 2 bolts from each side of engine upper block though head gasket to timing cover
see attached pic for bolt locations.
off timing cover from driver side first.
tic tic tic tic
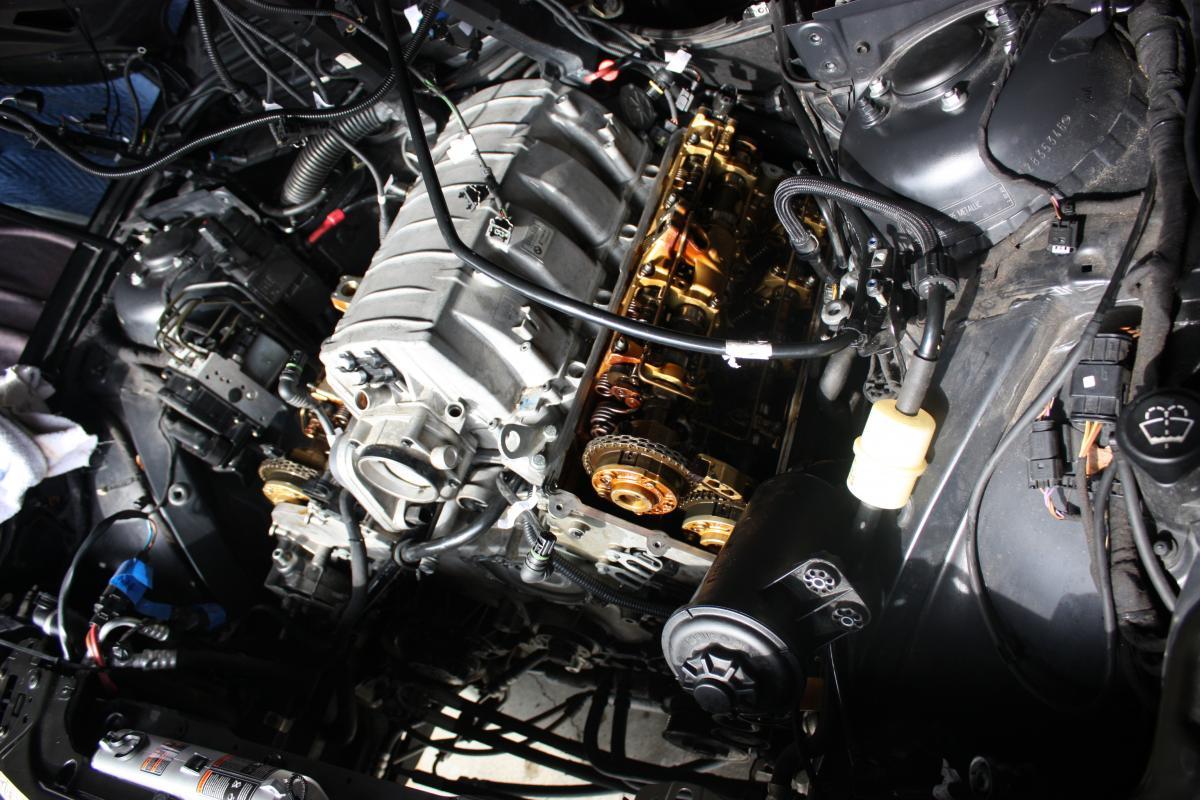
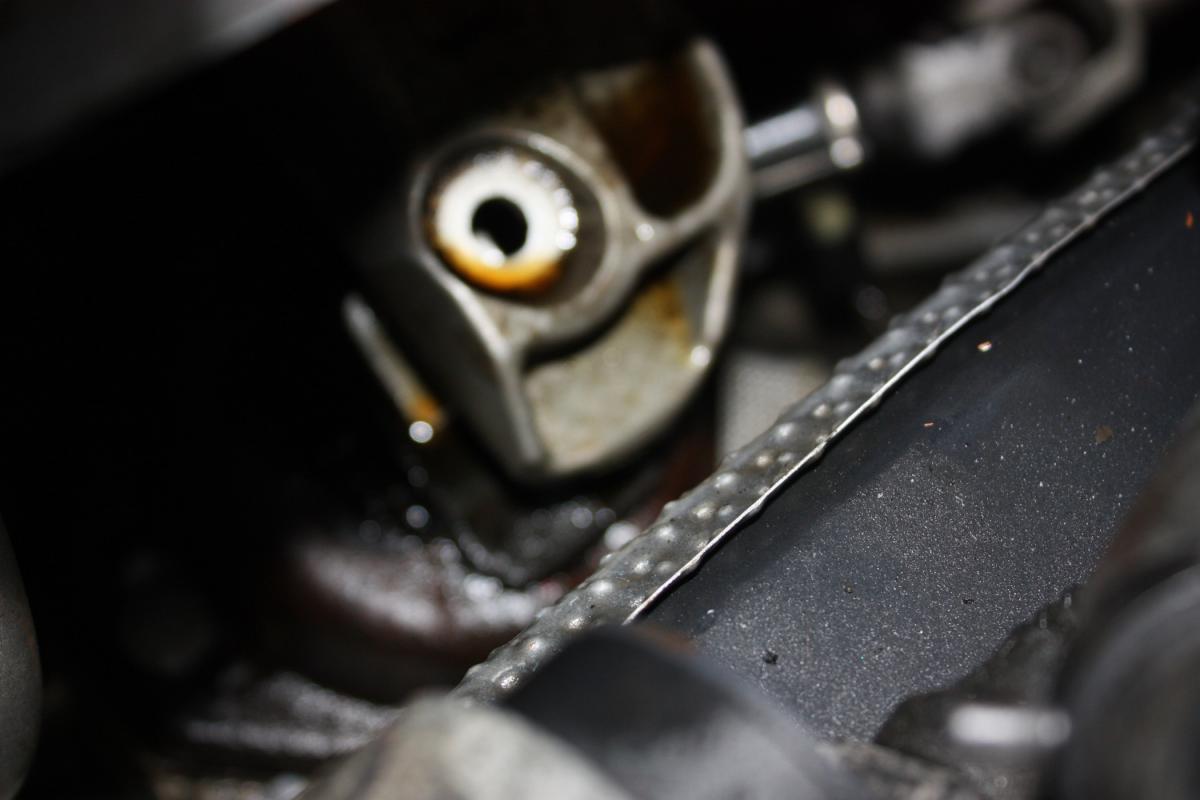
OK heres the reason i decided to go through the trouble of removing the lower timing cover.
After i removed the valve covers i noticed the timing chain was shiny on the top.
This is a sign of the chain hitting the block an grooving it. makes a tic tic sound.
Our chains are guided by sliderails which become brittle over time
Sure enough i found grooves on both sides. one rail was cracked. So i will be replacing these rails. See pics for location of grooves and cracks, couldnt get actual pic of grooves due to cams.
http://www.realoem.com/bmw/showparts...68&hg=11&fg=25
