You must be logged in to rate content!
5 minute read
2010 addendum to the European light switch DIY
Compliments of ProfessorCook @ www.bimmerfest.com
I installed the Euro switch a while back and wanted to post a thread with my experience.
First, here is a great thread on this DIY:
http://www.bimmerfest.com/forums/sho...witch+rear+fog
I intend for this thread to compliment noslodot's thread. I'm assuming you've read through his (or her) thread first.
I bought the light switch through ECS tuning:

When it came, I noticed it didn't have the same bit of chrome that is on my January '09 build, '09 E92. I installed the switch, but it bugged me that the little bit of chrome was missing, so I took it apart again, and started swapping parts.
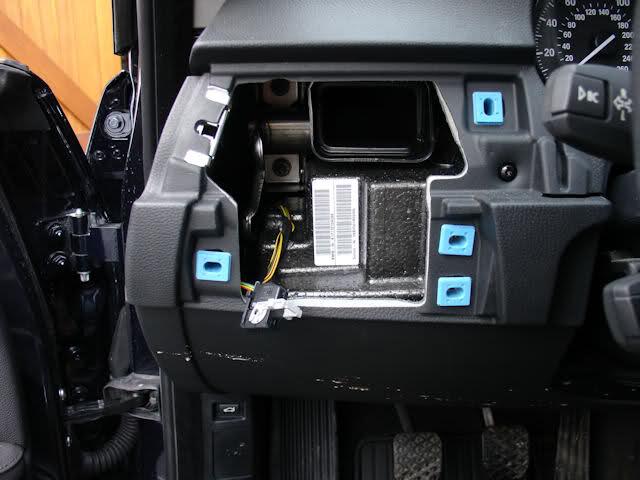
To get the switch off, you pry off the vent, and pull the housing below. You'll have to disconnnect the wiring harness by swinging a bar back to disengage the connector.
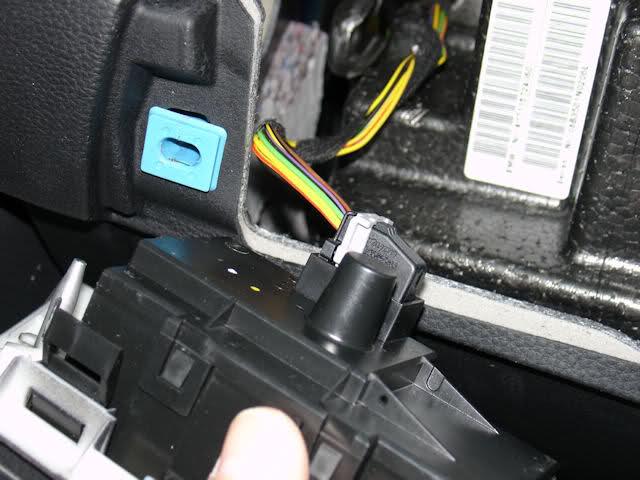
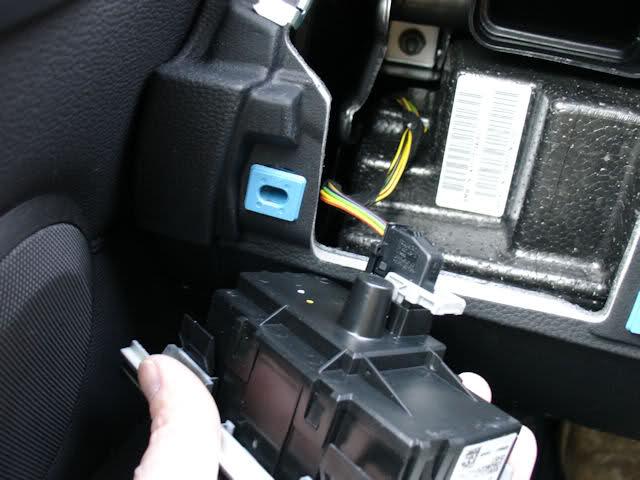
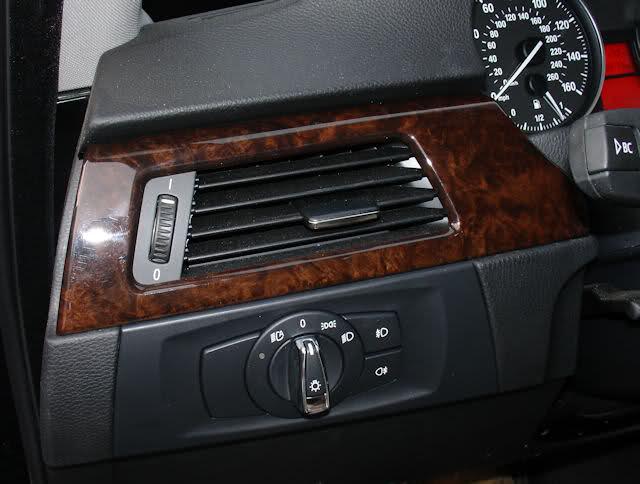
Here's what the dash looks like after the parts are removed:
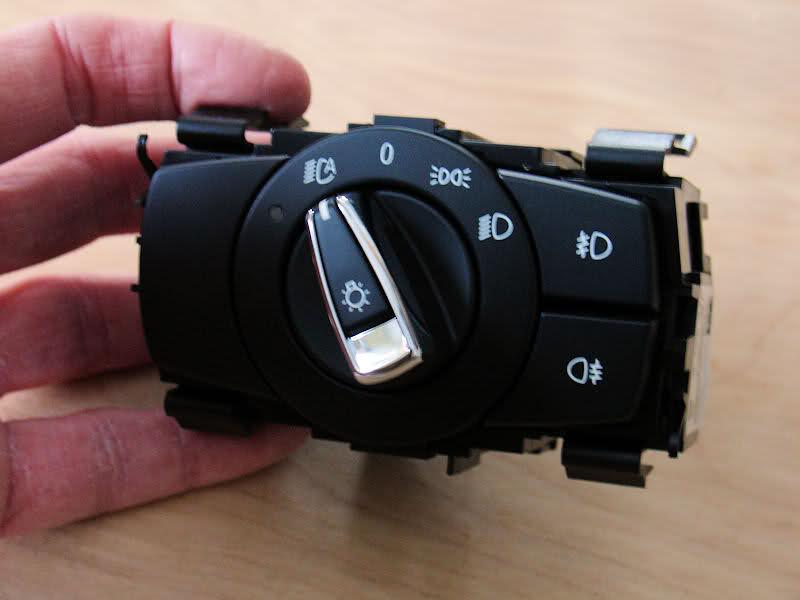
Here are the two switches, side by side: the switch that came from my car is on the left, the "new" switch is on the right.
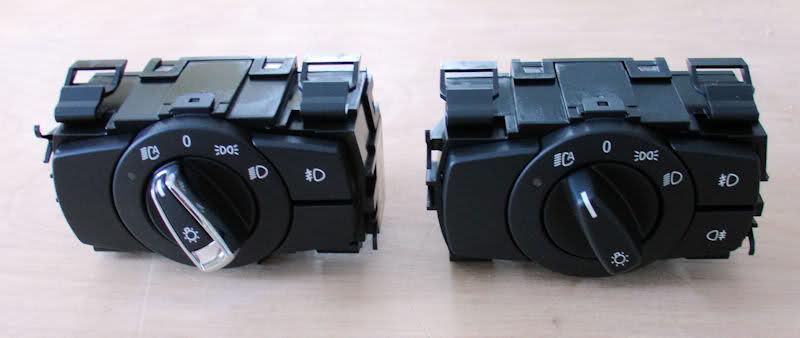
By prying back the locking tabs, it's easy to open the switches. You'll need to take apart both switches. Be careful to keep the parts straight as, once open, some pieces will just fall out on the table.
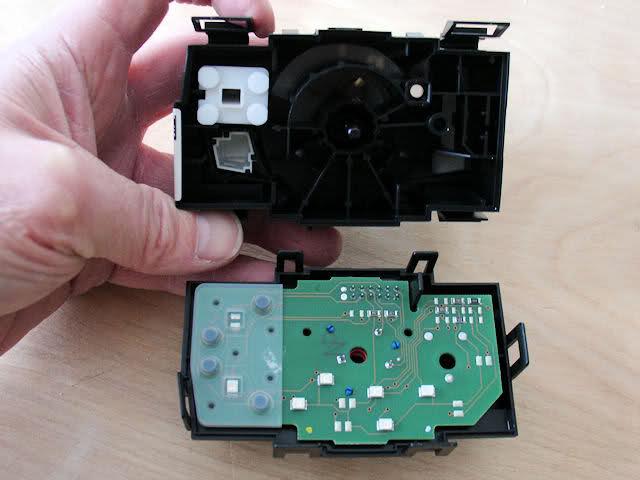
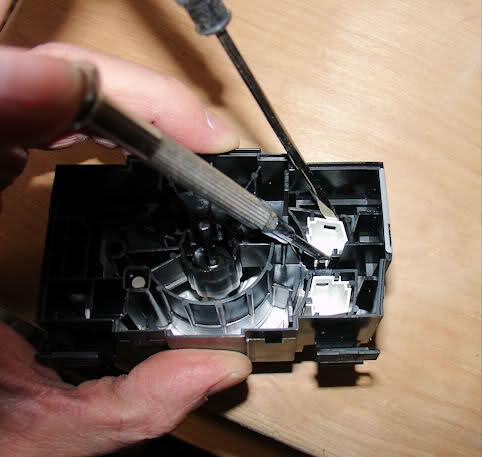
I found the trickiest part of this DIY was to remove the captive lower right switch or switch blank from the assemblies. I eventually did this by using two jeweler's screwdrivers at the same time. This took a while because I was worried I'd snap something.
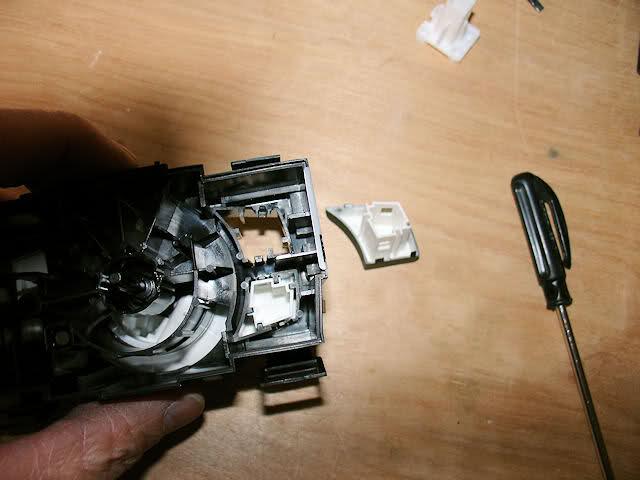
Now it's time to mix and match. You put the Euroswitch button with the icon for the rear fog light back into the housing that came on your car, you want the circuit board from the Euroswitch too. You also want both white pen cap pieces.
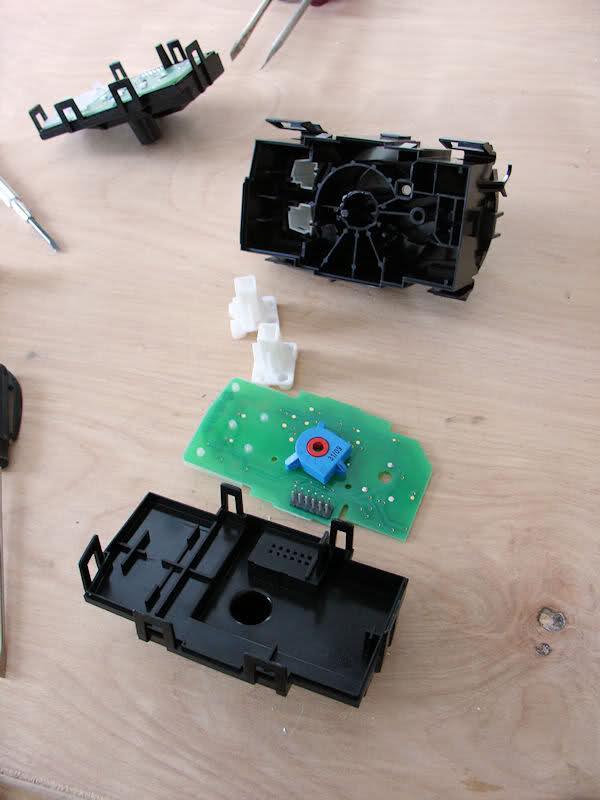
By this time, you'll know what you're doing and everything will snap in and together and you've got it.
Putting the dash back together is easy too.
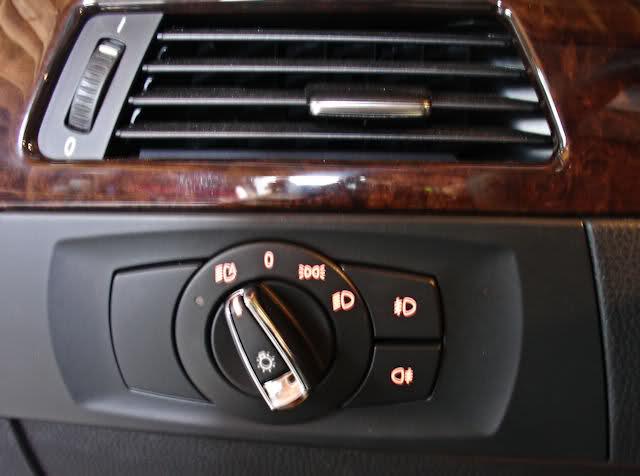
Now the first time I tried this, I didn't use the circuit board that came with the Euroswitch. Everything looked great, but the little icon didn't light up. (What's the point of spending $100+ dollars if you can't get the little icon to light up? Yes... I know you can't really see it when you're driving because it's blocked by the steering wheel... but it's the damned principle of the thing, no?) If you've got the right circuit board, everything lights up.
That's it. Here's the back end of my dirty car without the rear fogs on and with them on.
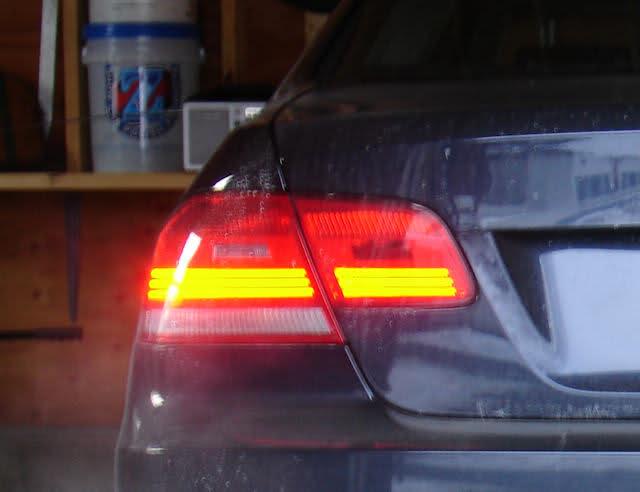
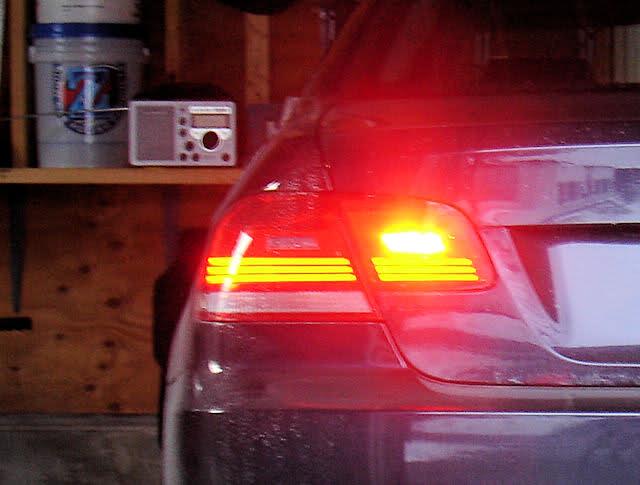
Finally, a confession. I paid over a hundred dollars to have rear fog light capability plus the icon. Skip the icon, and you can still have that rear fog light capability for free by being creative with a pen cap or electrical wire nut. Not only that, but with the exception of testing it out or showing it to someone, I haven't yet used the rear fogs.... I just haven't driven in conditions in the last couple of months where I felt it was prudent to use them.
That's it folks!


Nice DIY
Posted by Diggymart on 3/26/20 @ 3:51:34 PM