You must be logged in to rate content!
9 minute(s) of a 219 minute read
12-27-2013
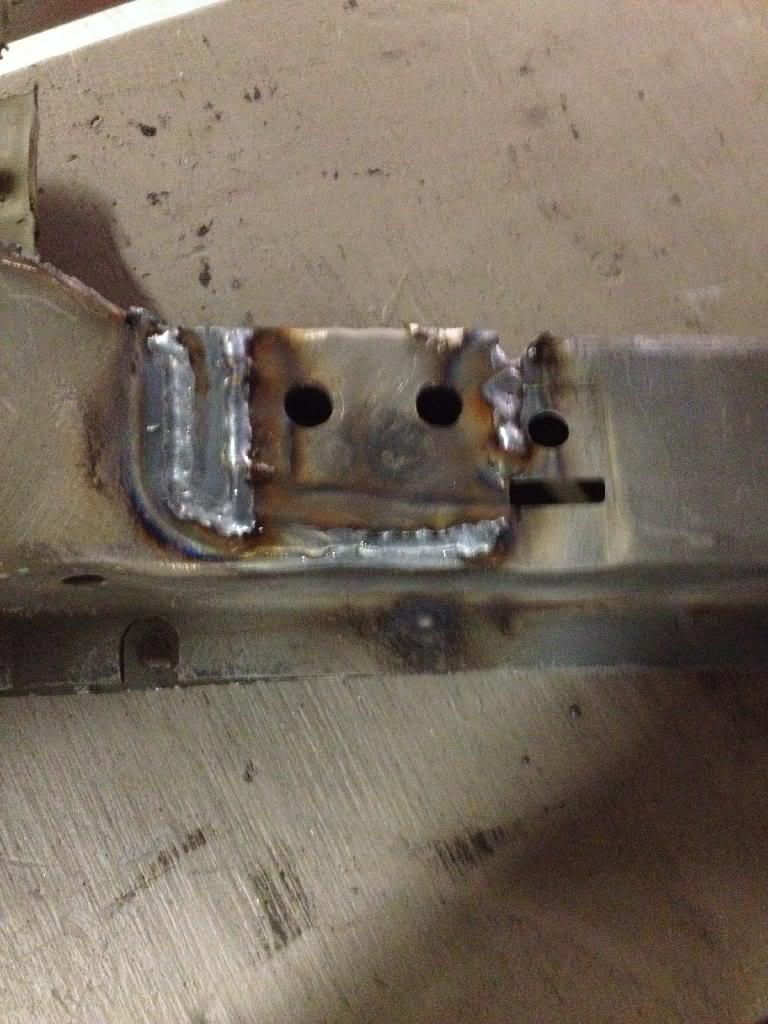
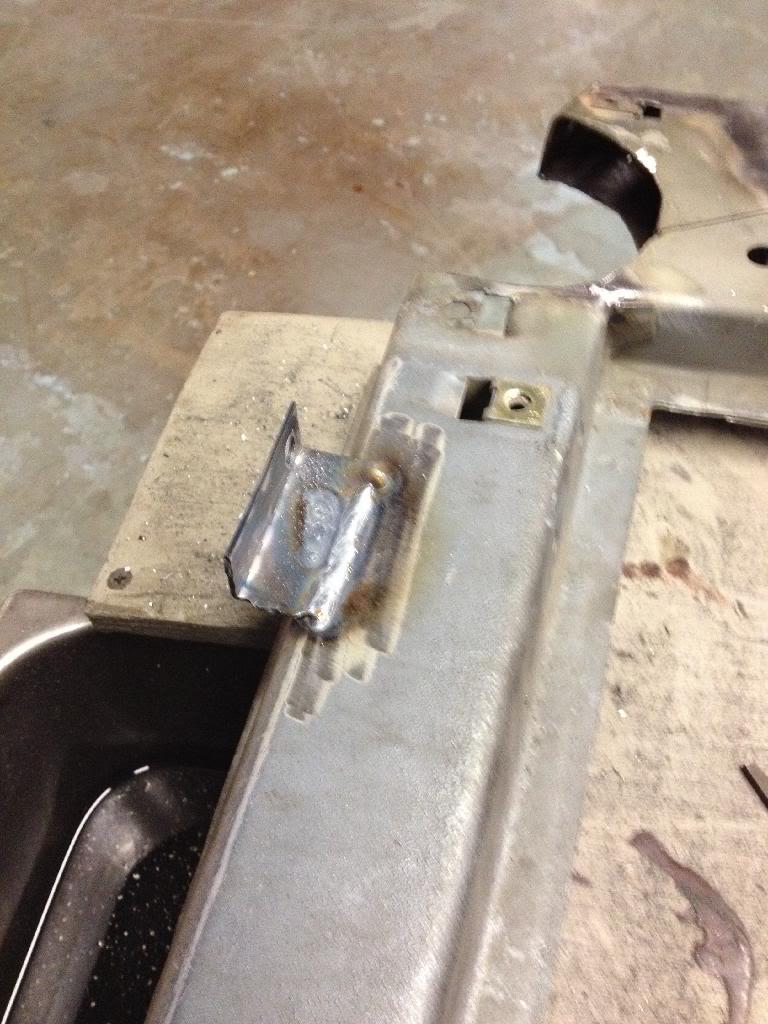
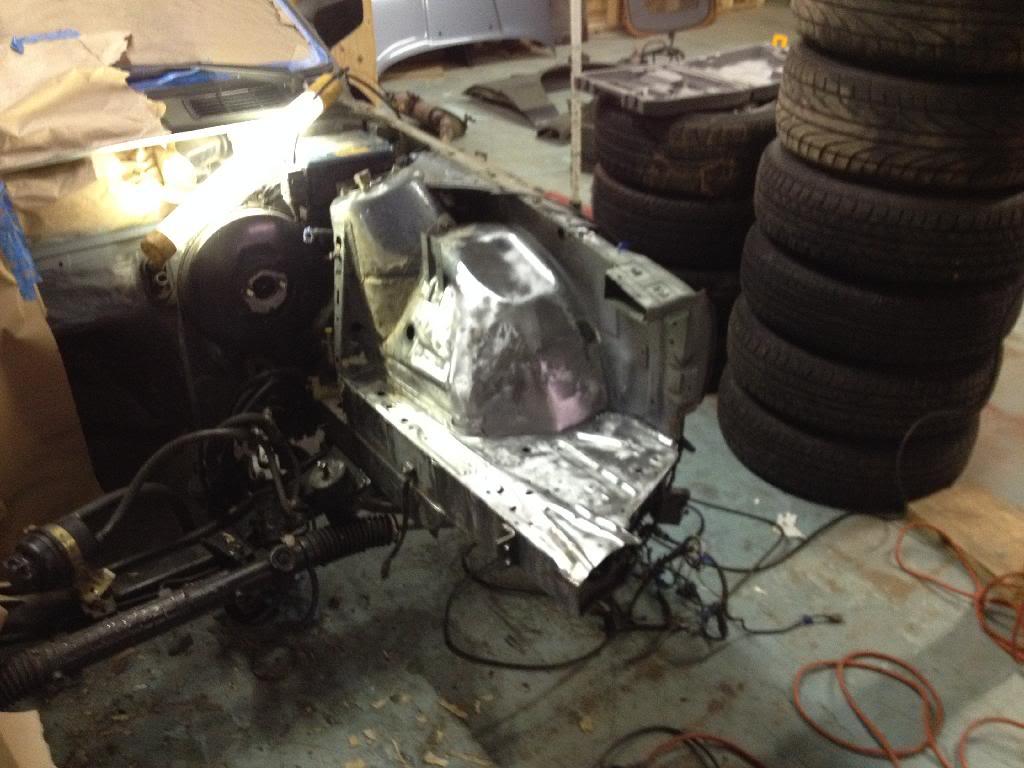
Got some progress done today. First off, Project Removable Radiator Support is complete!
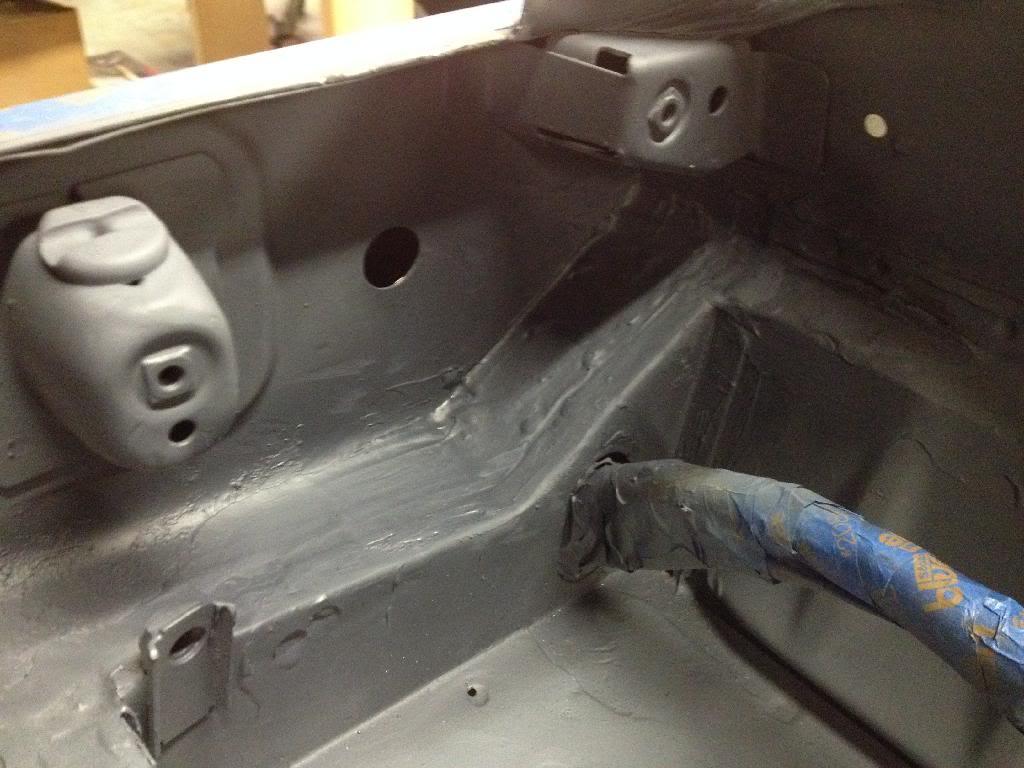
I welded the brackets in place added some extra metal and then cleaned up the welds. I am sharing a picture of a raw weld just so I can have proof that not all my welds suck.
I then decided that I want to complete all the fabrication for the intercooler mounting and the radiator before I move on. This way I can pull the drive train and paint it without worries of major future fabrication.
Anyways, I first placed the intercooler where I wanted it and marked the metal that needed to disappear. Then the plasma cutter went to work.
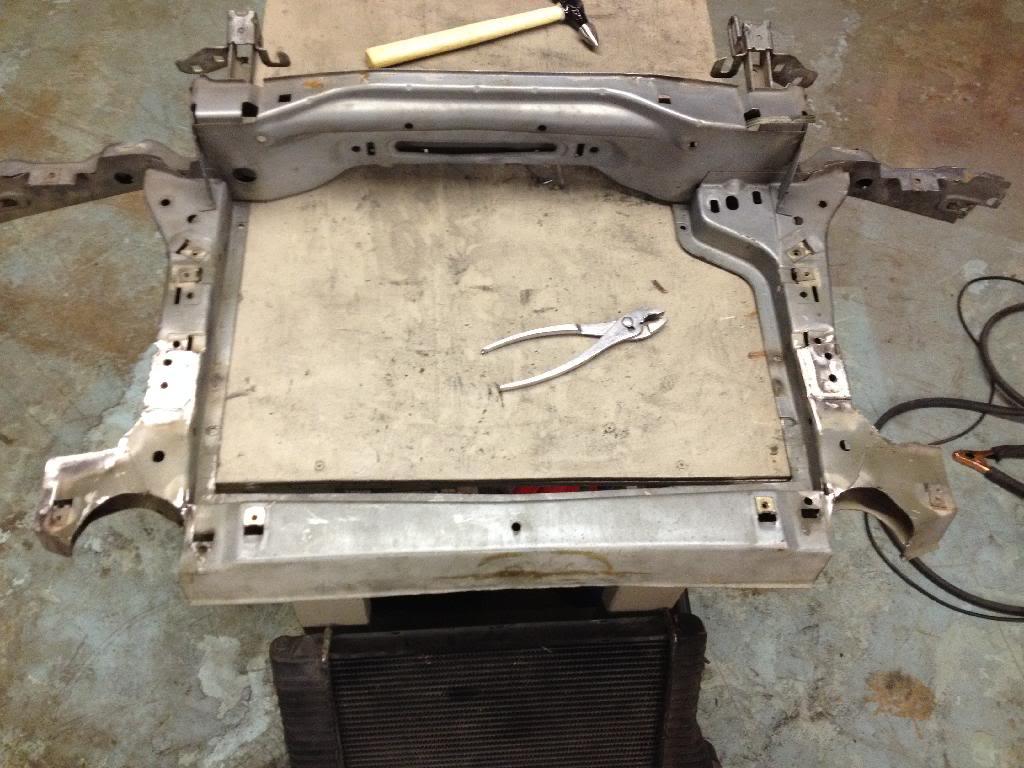
I then boxed in the now flimsy valance mount points. This made them strong again and also made the whole mess look a little better.
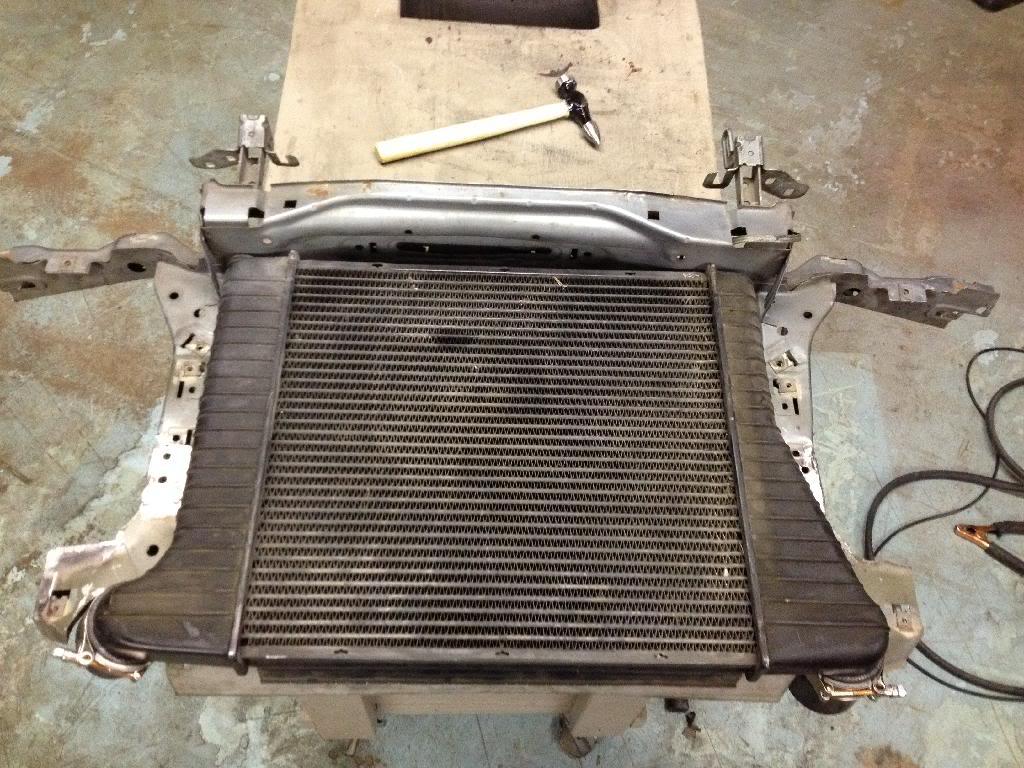
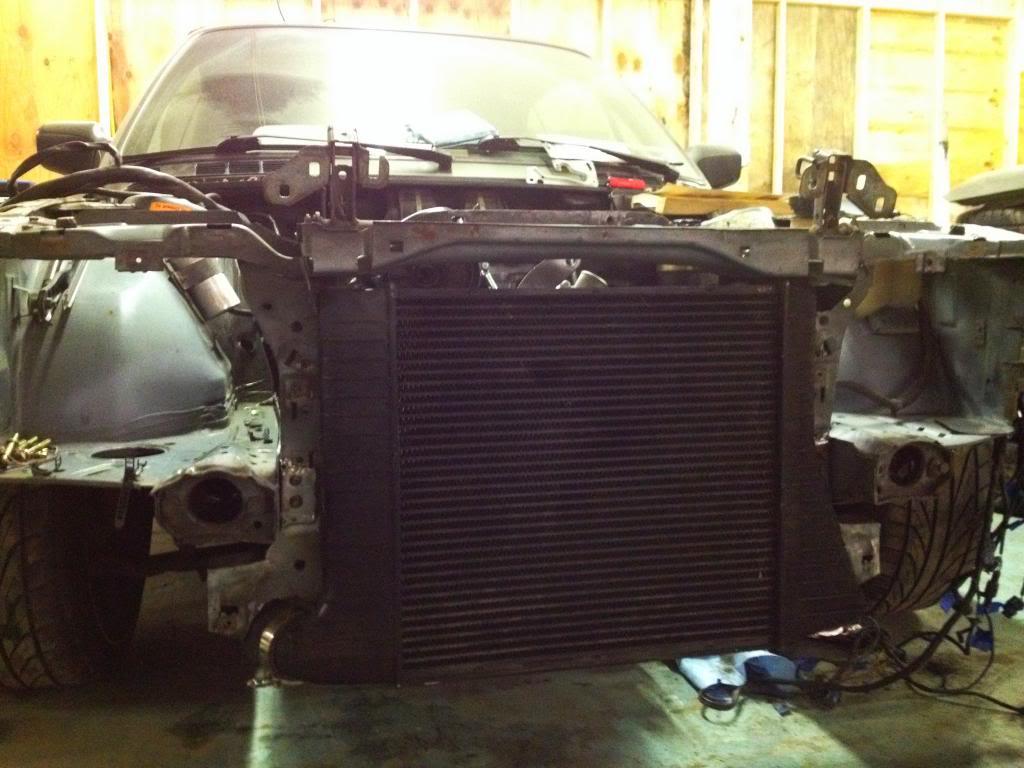
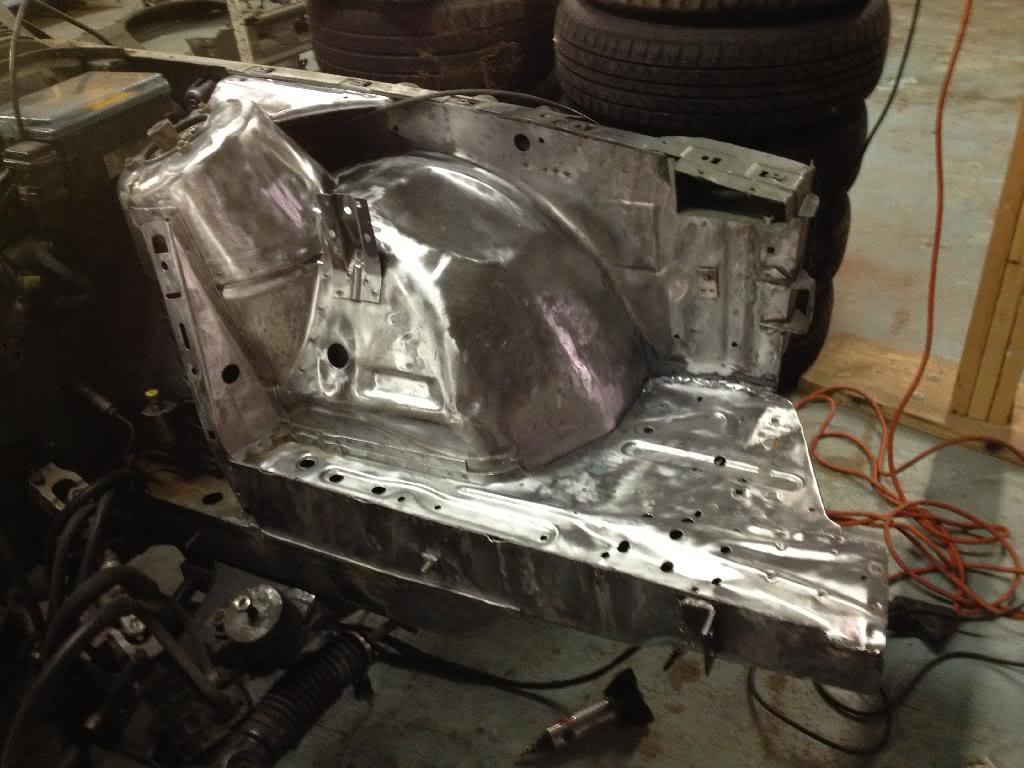
And this is what it looks like with the intercooler on the radiator support out of the car.
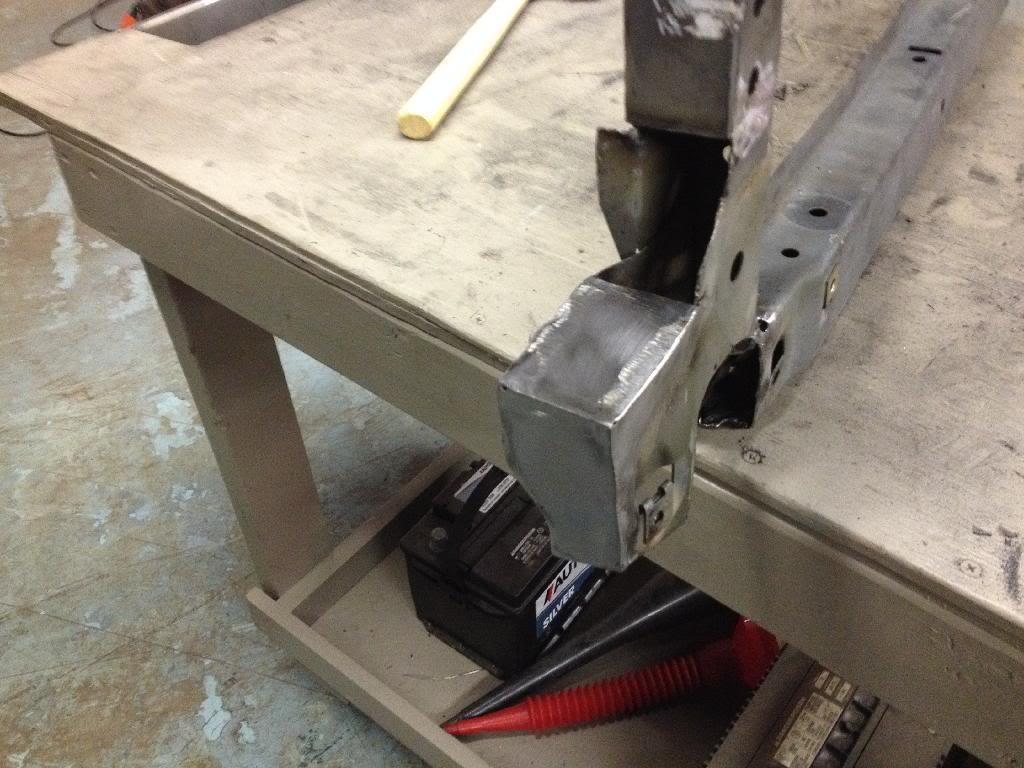
The bottom mounts are two pieces of 16 gauge sheet metal bent to a 90 and welded in place. I then drilled a hole through both of them and used factory headlight mounting hardware to secure the bottom of the intercooler.
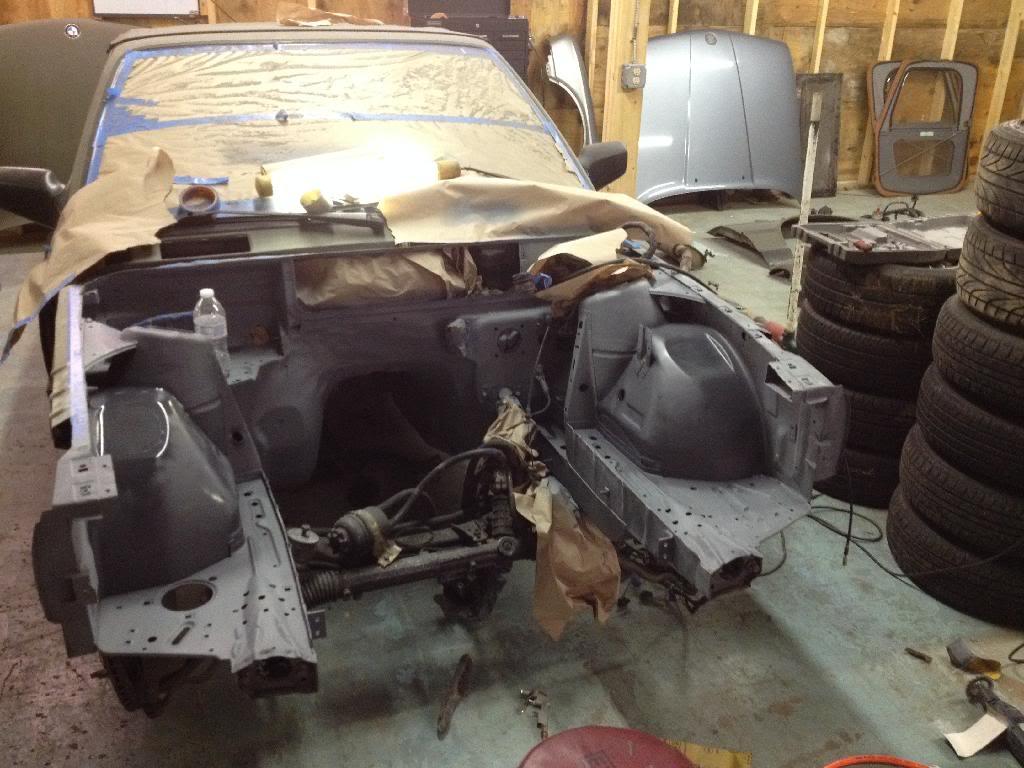
And in the car! This intercooler is huge!
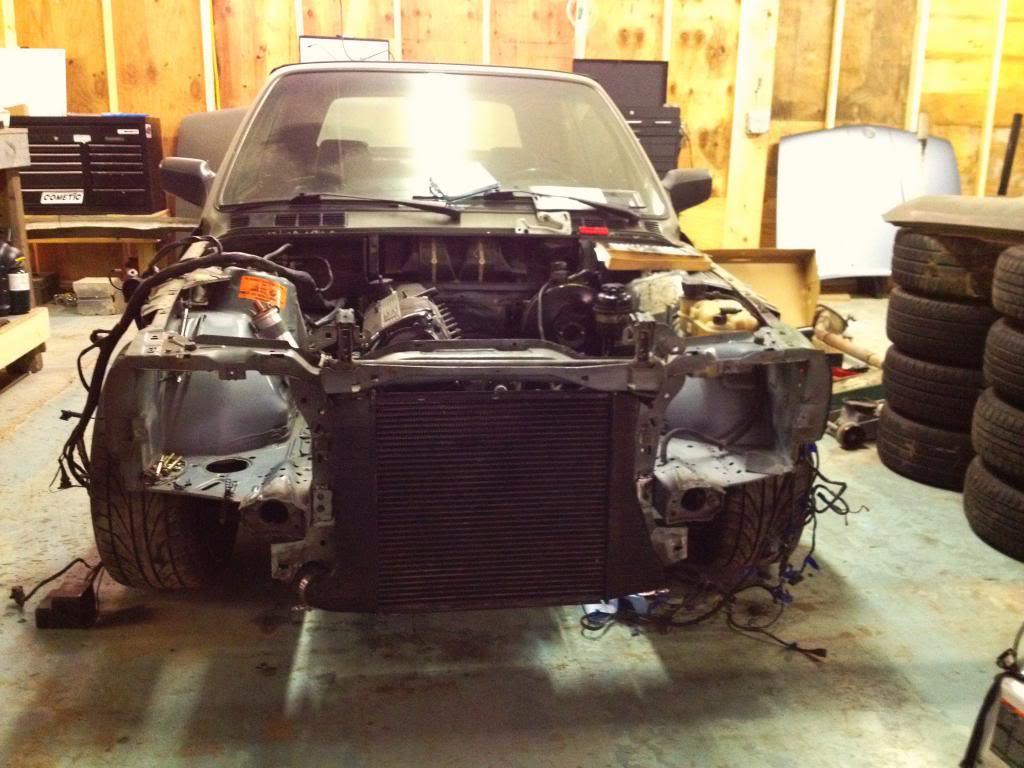
The valance bolts back on without modification. The intercooler fits perfectly! Here are a couple of pics with the valance in place.
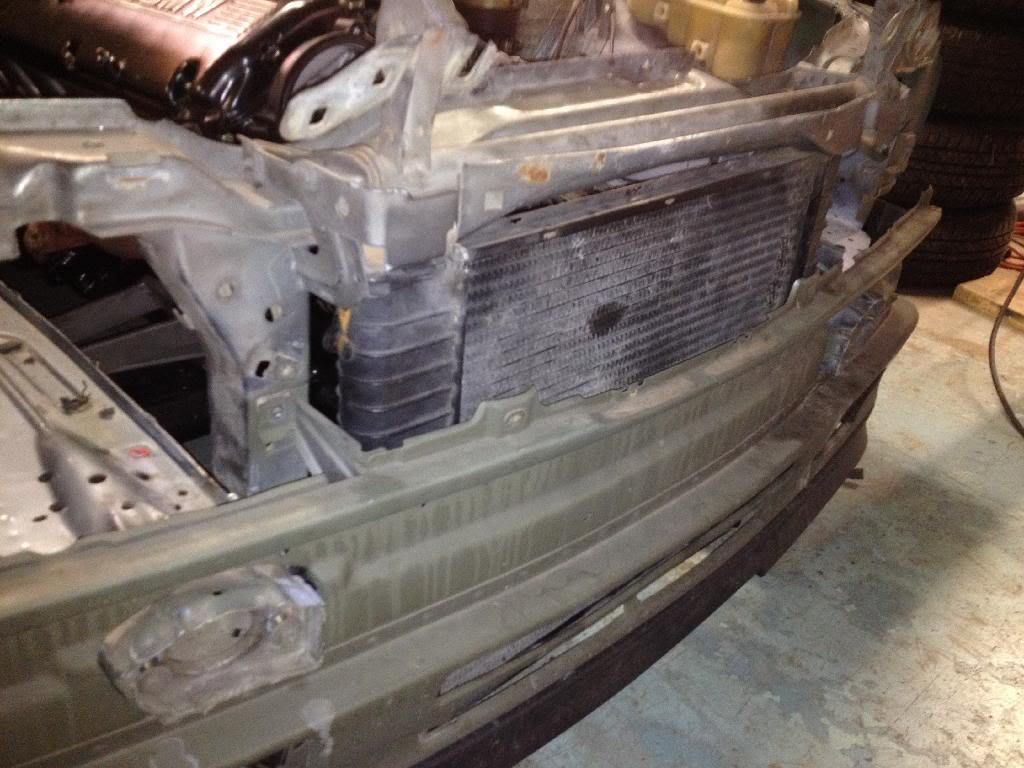
So the next step is to get the radiator mounted. I have an E36 318i radiator with the built in reservoir that I would love to use but I am concerned about the cooling. So I may end up having to purchase a 535i radiator. Regardless, the plan is to utilize the dead space between the intercooler and radiator and put a hi volume electric fan in there. I will be making plastic or fiberglass panels along with foam to ensure that the air moves 100% through the intercooler and radiator.
Getting closer!!

12-28-2013
I wonder which one I should use?
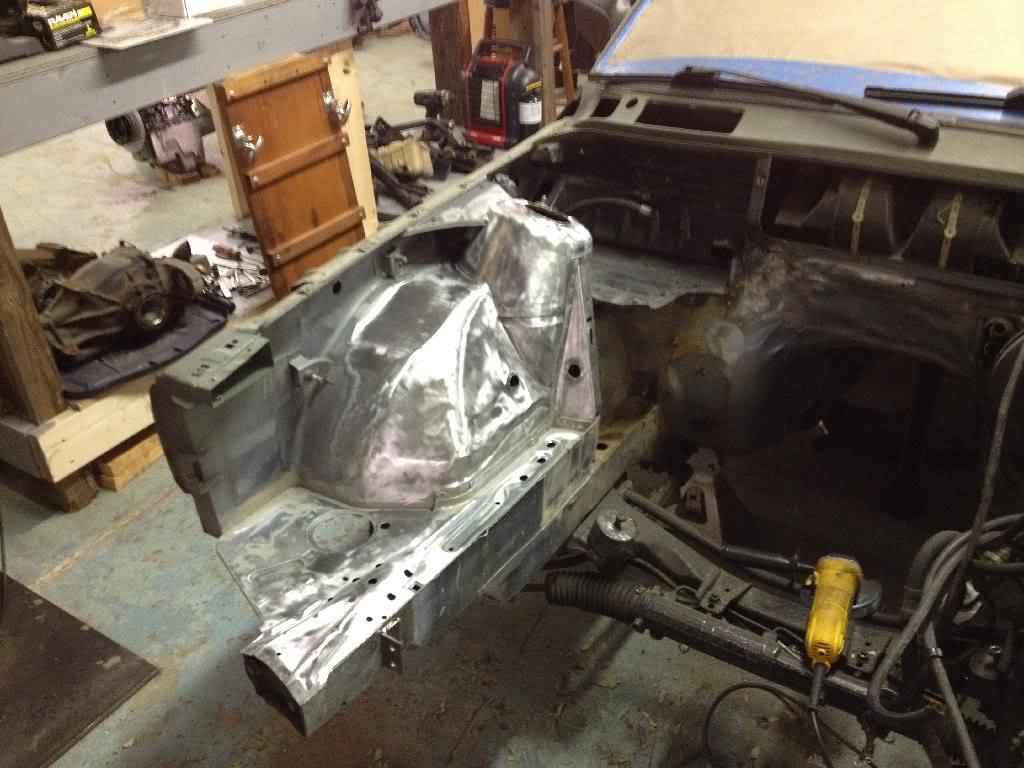
Back on track. I removed everything I installed and started the engine bay clean up process. Ideally I will have it painted and the engine reinstalled before school starts back on Jan 13th.
This rabbit hole is really really deep!
Seriously, today I found myself contemplating smoothing out my inner fenders. As in, welding in metal to close up the extra holes and removing the indentions that are randomly placed in the engine bay.
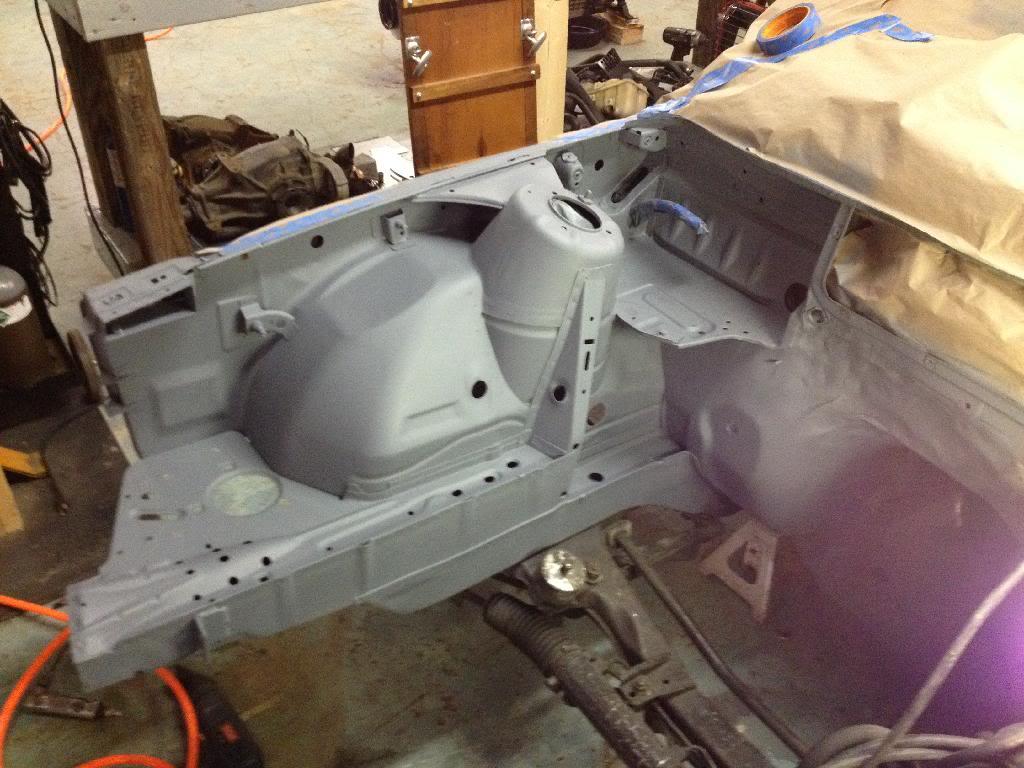
Luckily just as I was about to cut the first piece of metal to delete the AC evaporator hole I stopped myself. I realized that I must have not ventilated my work space adequately because I WAS FREAKIN HIGH! So I have reached a happy medium in my engine bay clean up. I am going to smooth out a few places where the grinder got over zealous and then make every thing from the strut towers and forward as pretty as possible without any more fabrication and then final paint. I am going to go with the Toyota FJ olive drab gloss finish, what do you think?
Progress today:
I finished up the seam sealer and paint removal on the passenger side and half the firewall. I then applied several coats of primer. Looks good to me
Then I started on the Drivers side.
Tomorrow I will remove the booster and move everything else as far out of the way as possible and continue. Then I will go back and spread the filler to get it ready for final paint.
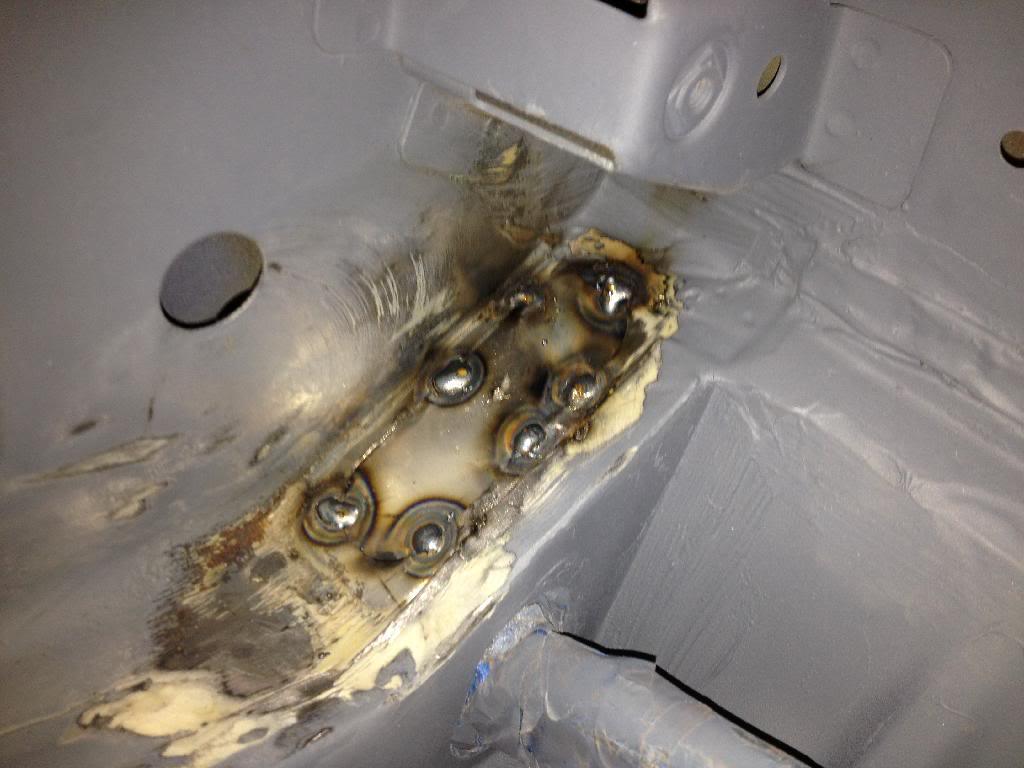
I will also say that I was very disappointed at what I found under the seam sealer. I knew there was surface rust on the non sealed areas but what was under the seam sealer was terrifying! On the top surface of the passenger side frame rail, where it meets the body under the battery tray, the sealer did a better job of holding onto moisture and battery acid and actually made the rust worse. I killed it and fixed what had to be fixed but just a heads up. If you have surface rust in that same spot beware of what you are not seeing under the sealer, especially in convertibles or older m10 cars with the front mounted battery.
1-2-2014
Small bump. I ordered the e28 535i radiator and coolant fan switch today. I was going to use the e36 318i radiator with built in reservoir but it is on the small side and after all this $ I don't want to lose an engine to overheating. Now I have to find a firewall mounted reservoir.
1-3-2014
Because I want the reservoir to be the highest point in the cooling system and I already shaved the mounting brackets for the stock piece. I had planned on using the built in tank on the 318i radiator. But all said and done the firewall mounted reservoir will look fitting with the m30.
And thank you for the pictures. I will be using them as references as I get into final assembly.
I spent a couple hours today continuing to removing paint and seam sealer on the drivers side of the engine bay. THIS IS TAKING FOR EVER!
Then I drove to the closest Pick-a-part in hopes of finding a coolant reservoir or any other goodies and I found a replacement steering wheel! Tri-color badge has been ordered. The leather is in great shape!
I don't think so but I will be checking on Sunday for sure. I do know that my three spoke sport wheel on the vert needs new leather and the Mtech feels thicker which is nice. Plus it has three horn buttons and really who doesn't like having a horn button on every spoke so you can honk your horn like an idiot while auto crossing!!??!?!?!
1-5-2014
I spent 7 hours today working my fingers to the bone just so I can post a pic of what looks like ten minutes worth of spraying primer!!!! This rabbit hole is really deep, I think I have said that before... Fumes man FUMES!
But seriously, I finished stripping the drivers side of the engine bay and killed yet more uncovered rust lurking under seam sealer. I then smoothed out the uglies on the fender humps. Then I just shot it with another coat of primer to sit over night. I will be hopefully final sanding engine bay tomorrow after I weld in a patch panel in the hole that was once occupied by the AC lines. Then PAINT!! It is going to take me forever to clean up this shop when I am done.
Oh, And I figured out how to hide my hood release cable. Score one more for me!
1-6-2014
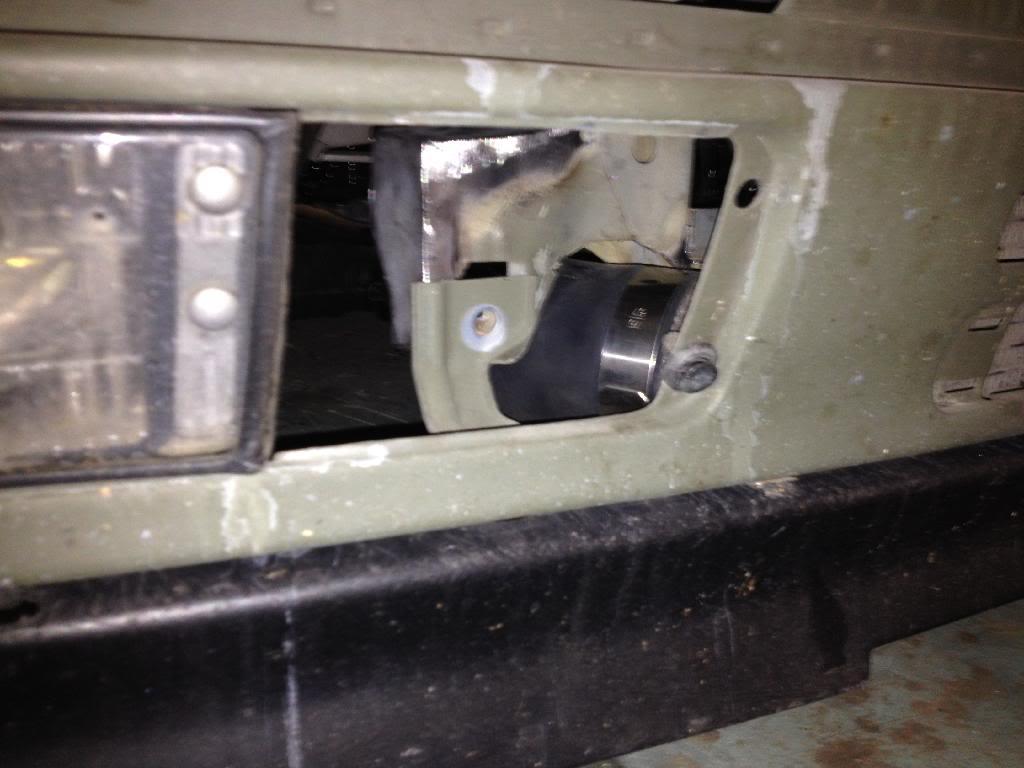
It works
Very little progress to report today. The weather is turning super cold and the snow was stacking up so I didn't stay at the shop for long.
I cut a patch panel for the AC hole and tacked it in. I then sealed it and primed it. But now the engine bay is ready for final paint. The mud work is not perfect and I mainly focused on the sheet metal on and forward of the strut towers. The battery tray and area around the fuse box will be mostly hidden so I didn't worry to much about perfection there. Plus the battery tray was replaced a couple of years ago so the seams are not perfect anyways.

Nice!
Posted by Diggymart on 5/27/20 @ 3:41:07 PM