You must be logged in to rate content!
8 minute(s) of a 211 minute read
8-21-2016
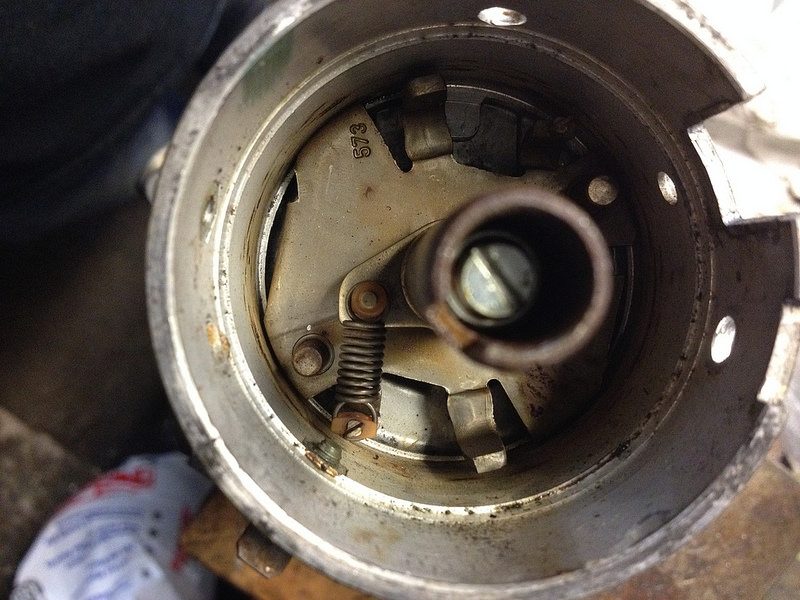
When we left you we were trying to figure out where the little spring went in the distributor and contemplating reinstalling the ignition system. Well, just prior to our trip to Pebble Beach for the car events and elsewhere we did just that:
We pulled the distributor from our 83 and it turns out it goes right here:
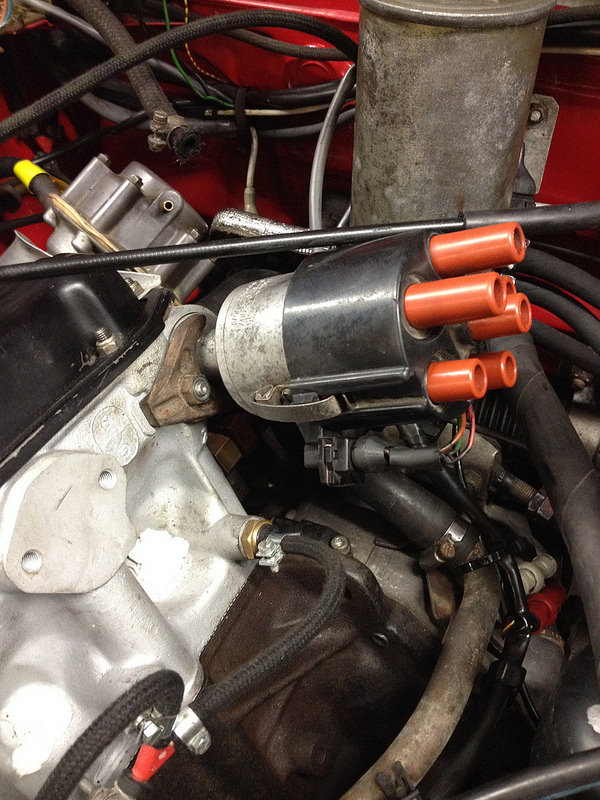
So we popped it in, reassembled the distributor and installed it on the engine. Timimg was still set so it was a doddle to line up at TDC.
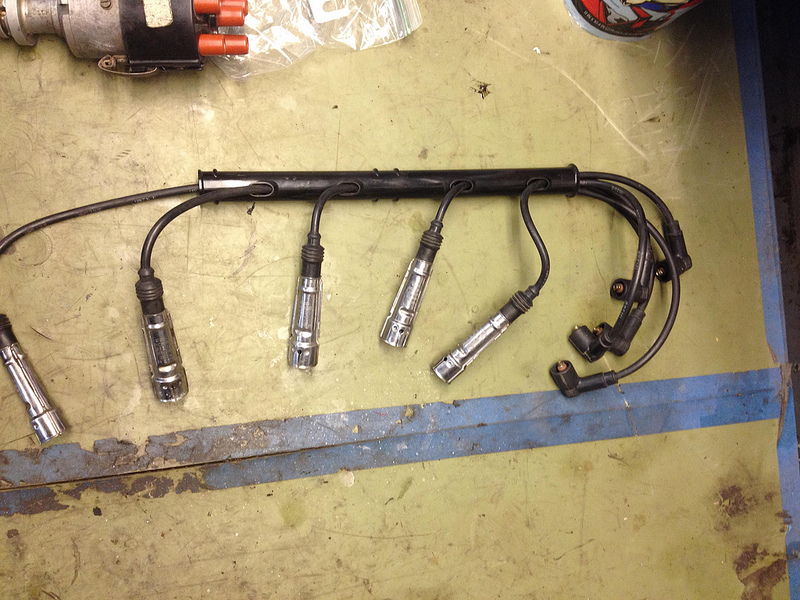
Then we turned our attention to the spark plug wires. The car is supposed to have a plastic tube to carry and support the wires but ours never had one. Fortunately we had picked up one in a parts haul a while back and now seemed the time to install it. This meant pulling the ends of each lead and pushing through it's a appropriate hole then reattaching the end. We used our old leads after testing them as the spare ones we showed you earlier proved not to be compatible.
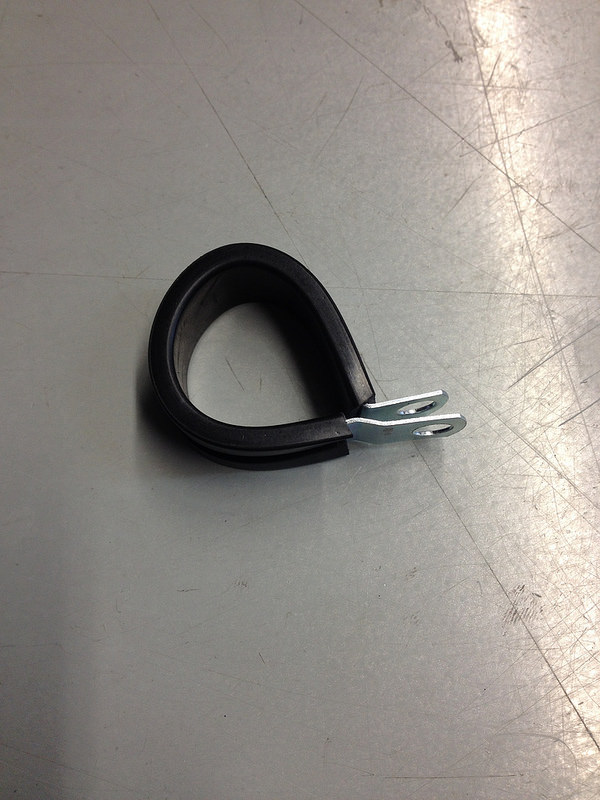
The carrier is attached to the valve cover screws with two plastic-clad metal brackets. We didn't have these and they are NLA but a trip to the hardware store produced something almost identical so we went with those.
So now we have an ignition system:
This week, schedule permitting, we'll start on the fuel inject system. Almost done!
8-30-2016
YAY. Our pictures are back!
We had all our early pictures hosted on some servers that went away. Now we have them hosted more securely and have replaced all the broken links. As a bonus you can also see full size images for this and all our other builds here: https://www.flickr.com/photos/team_illuminata/albums
https://www.flickr.com/photos/team_illuminata/albums
9-2-2016
Feels like we are very close. Also feels like winter is approaching. Better get cracking.
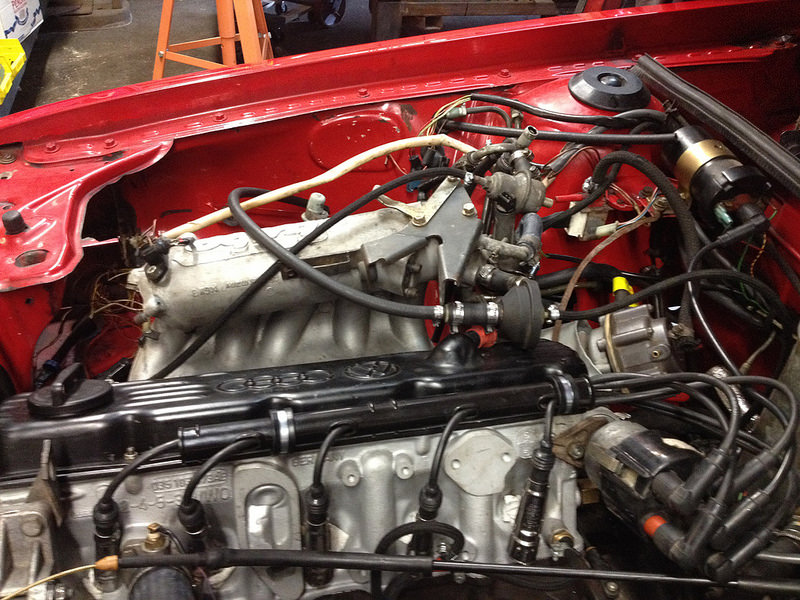
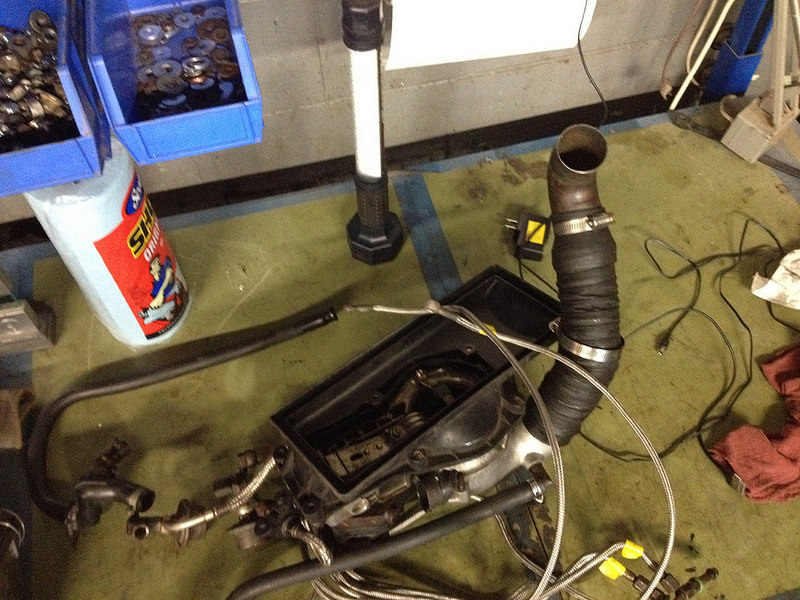
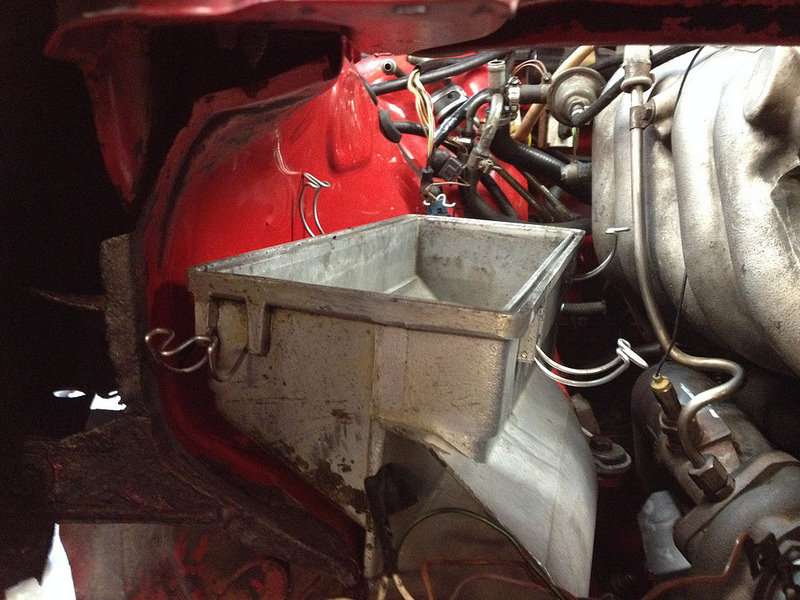
Started cleaning the fuel injection system. Decided not to dismantle it and just leave well alone.
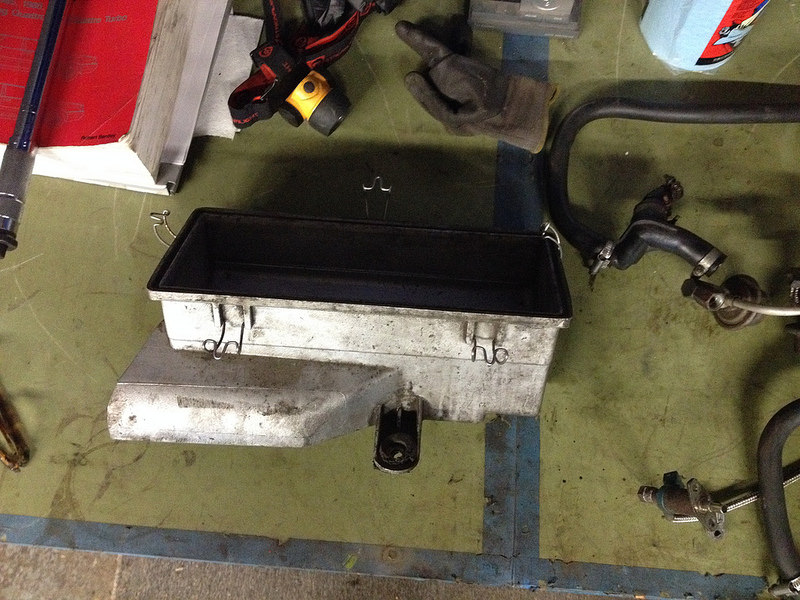
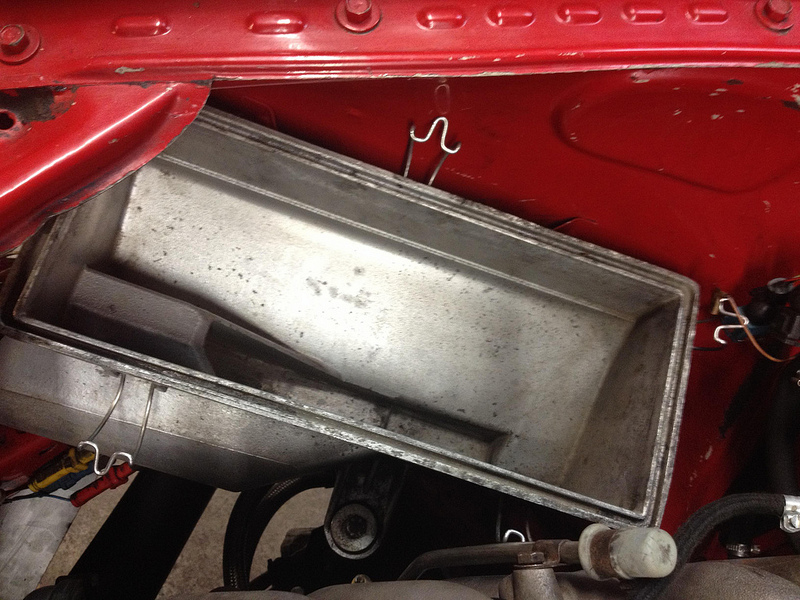
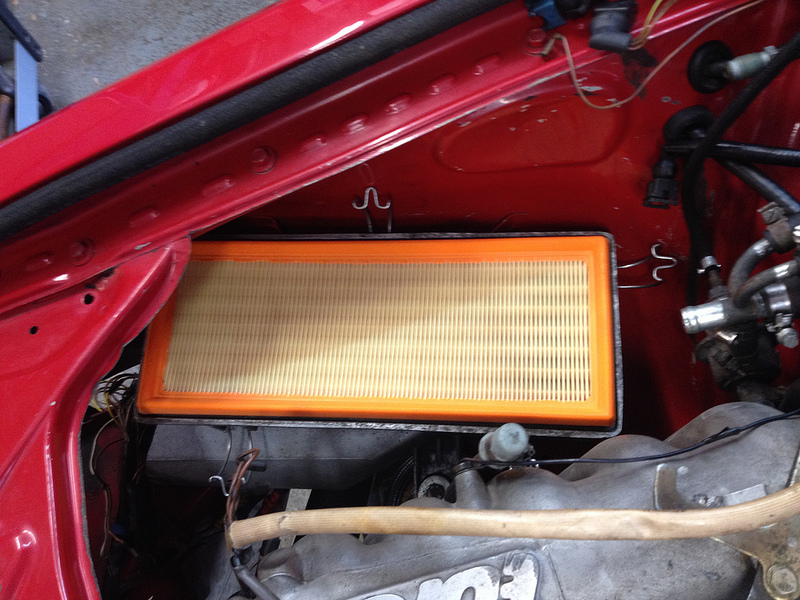
Air filter housing:
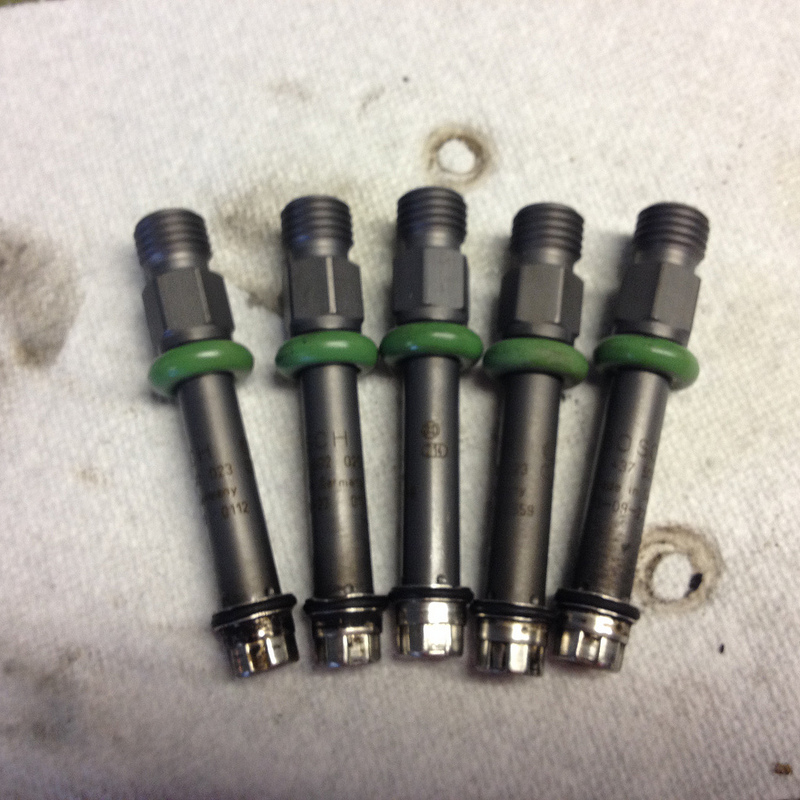
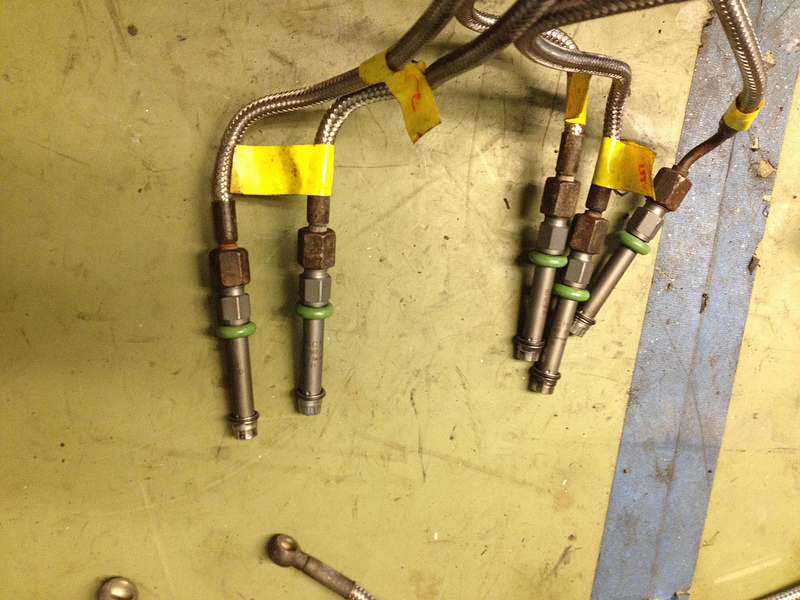
New injectors and seals
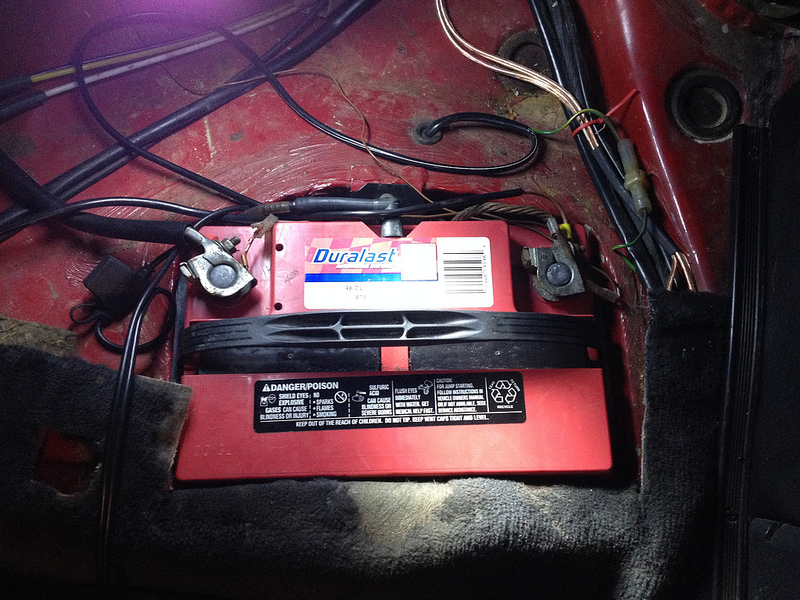
Battery!
9-4-2016
On a roll now
Jumped the fuel pump relay to drain some old fuel.
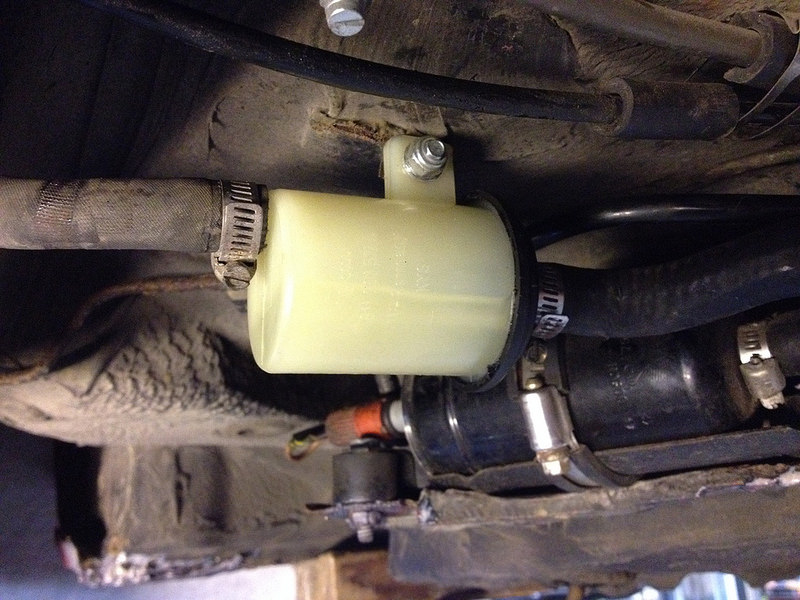
New filter
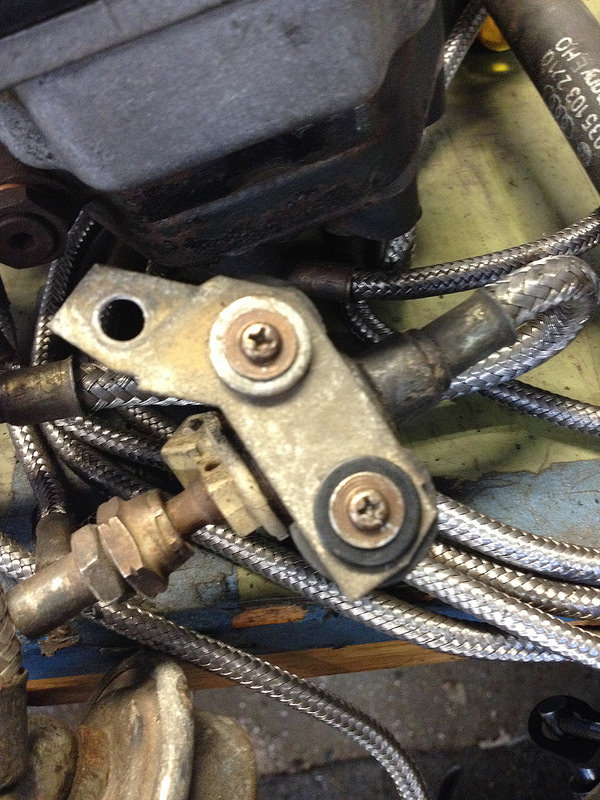
Had to come up with a way to mount this thingy-me-jig as the mounting tabs were long gone.
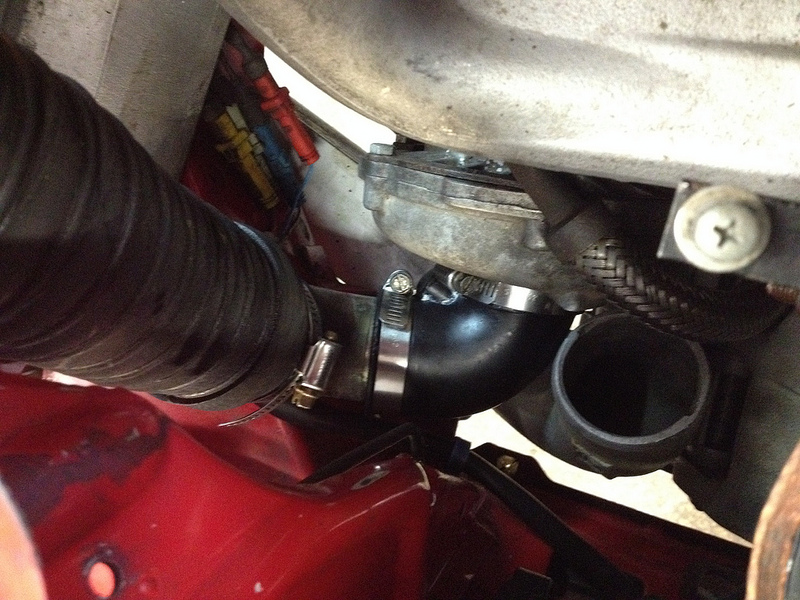
Turbo inlet. Tight down there.
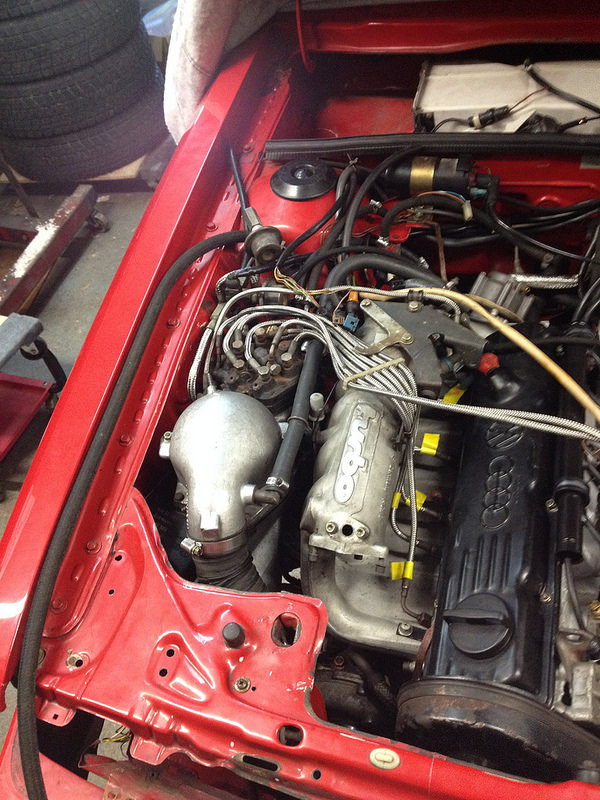
and fuel distributor
Our parts shelf is look quite bare now.
9-10-2016
Today's progress. Hopefully not this weekend's progress.
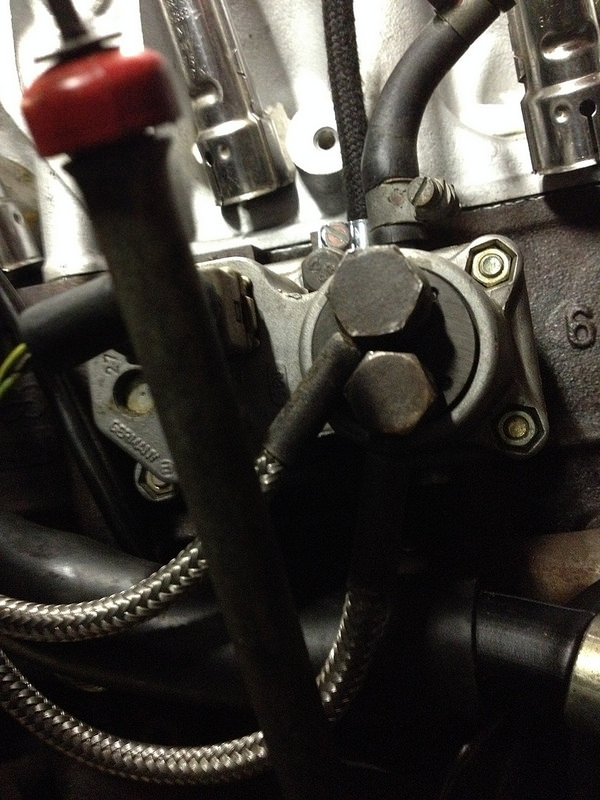
Connected the fuel lines to the warm up regulator.
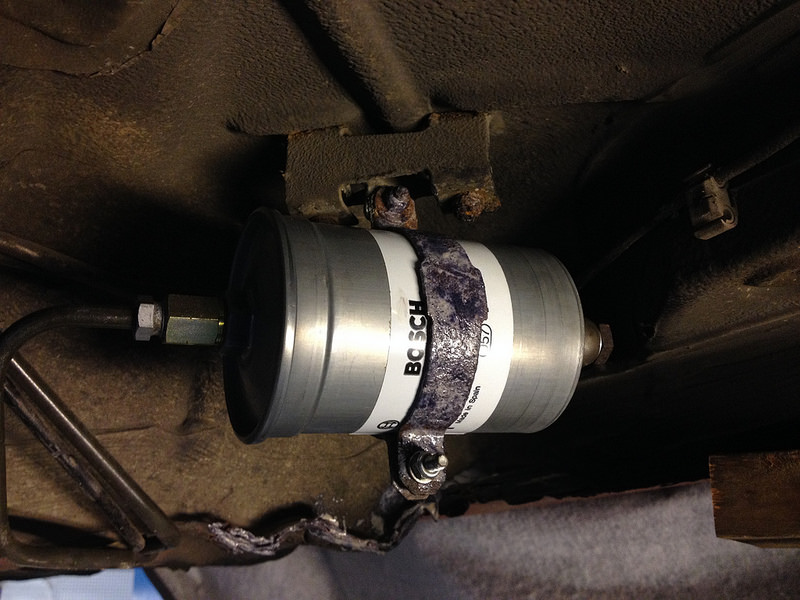
New fuel filters:
There really isn't much left to do. At least to get it running:
CRANK BOLT
THROTTLE BODY
WIRING ISSUES
SPARK PLUGS
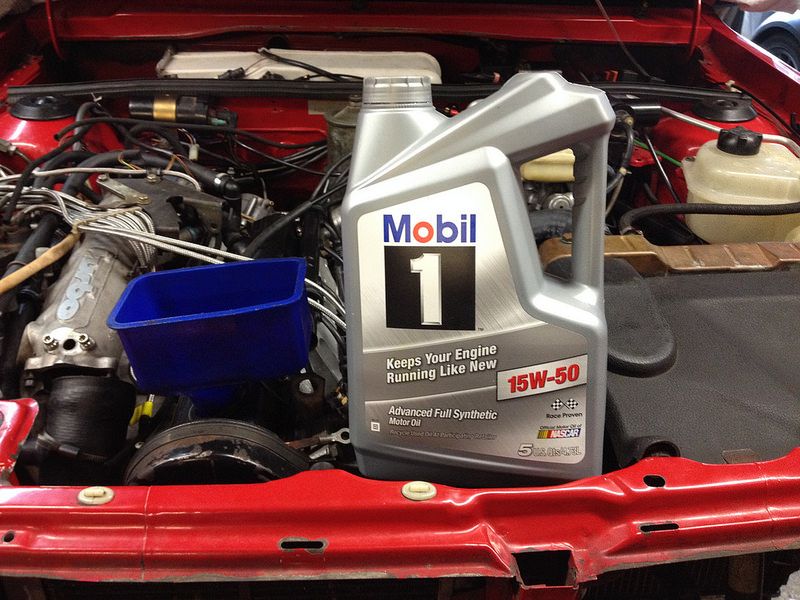
TRANS FLUID
Then once it works:
COOLANT
REAR BRAKE LINE
BLEED BRAKES, CLUTCH
PS STEERING FLUID
WIPERS
BUMPER
HEADLIGHT
INJECTOR BLOWER
TIGHTEN CONTROL ARMS
ADJUST SHIFT LINKAGE
ALIGNMENT
DETAIL
Then we put it away for the winter.
9-21-2016
So, assembly continues as we edge nearer to the momentous day when it drives itself off the hoist, hopefully down the road and not into winter storage.
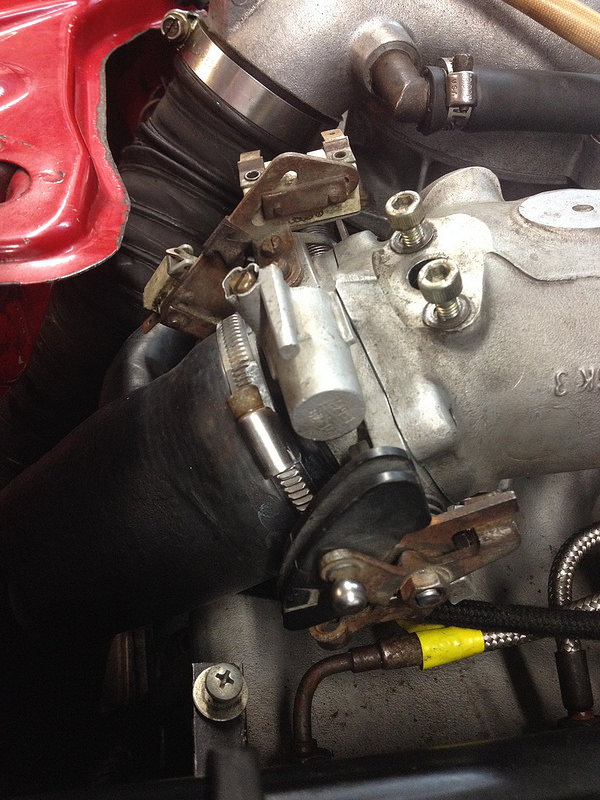
Got the throttle body cleaned, adjusted and back on.
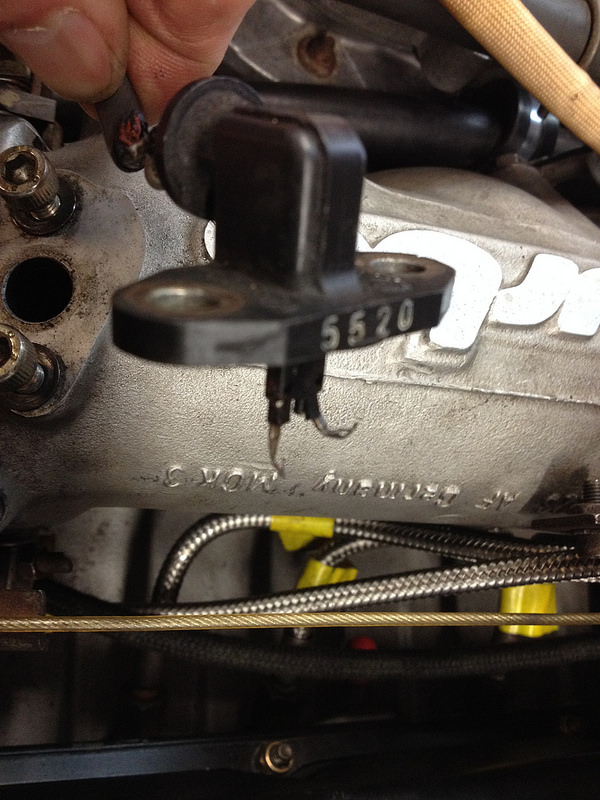
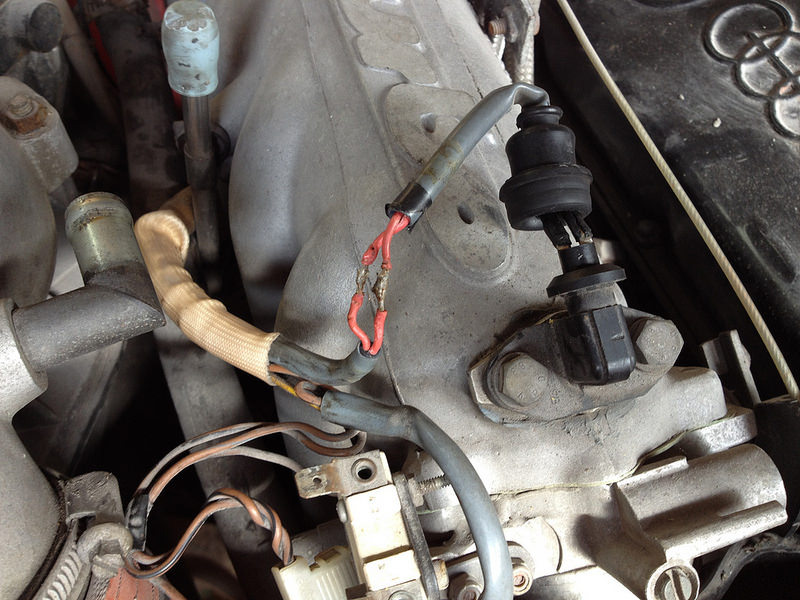
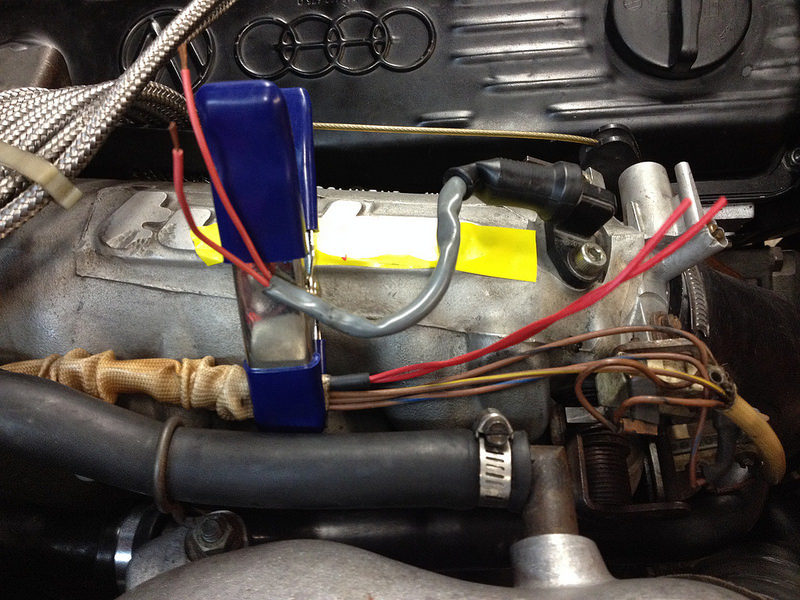
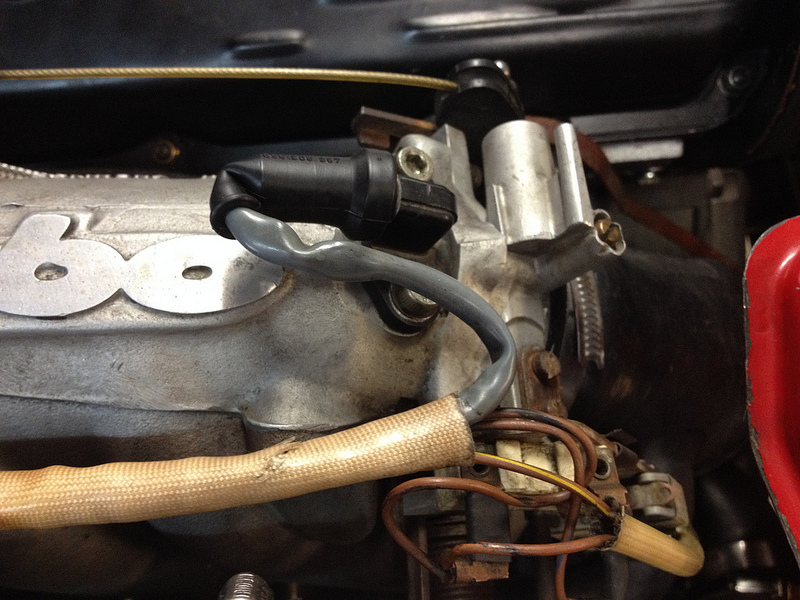
Then had to fix the inlet air temperature sensor.
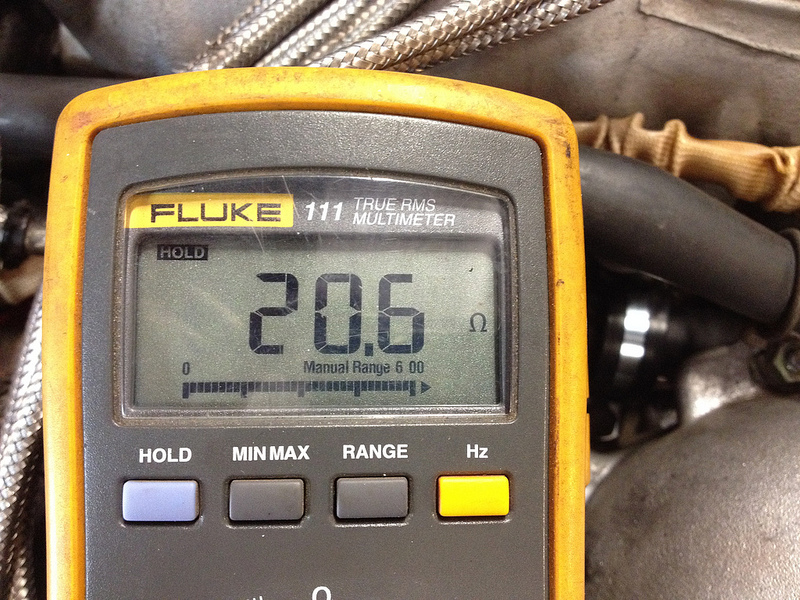
Fortunately our 83 has one that looks like it was a replacement once. Ohms check check out too.
A bit of electrical shenanigans and it's in.
Then there was nothing left to do but call my Audi expert, Werner then fire it up!
Doesn't idle yet and still needs coolant but we had a little celebration anyway.
9-30-2016
As this project is sort of wrapping up we started another one we thought you might like. Introducing the Audi UR Quattro Rally Build.
10-9-2016
So, a lot of work but not a lot of updates. Here's why.
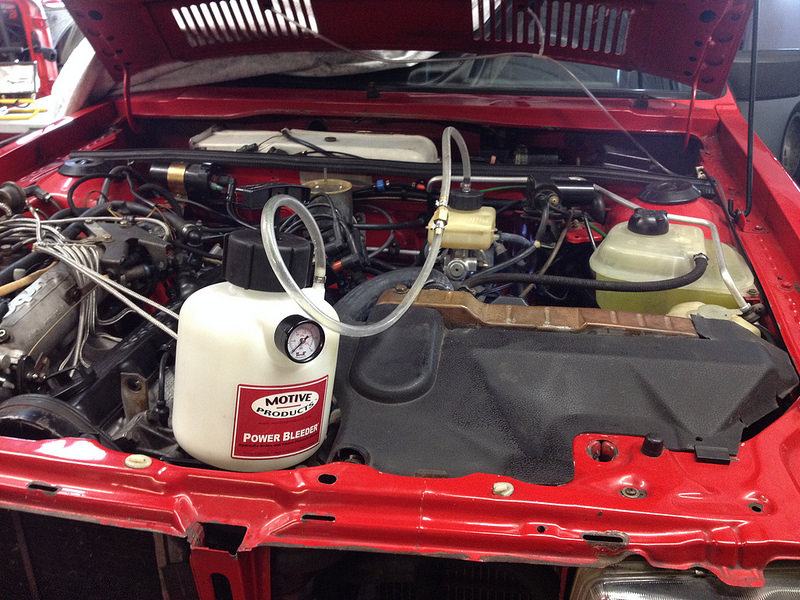
Bled the brakes.
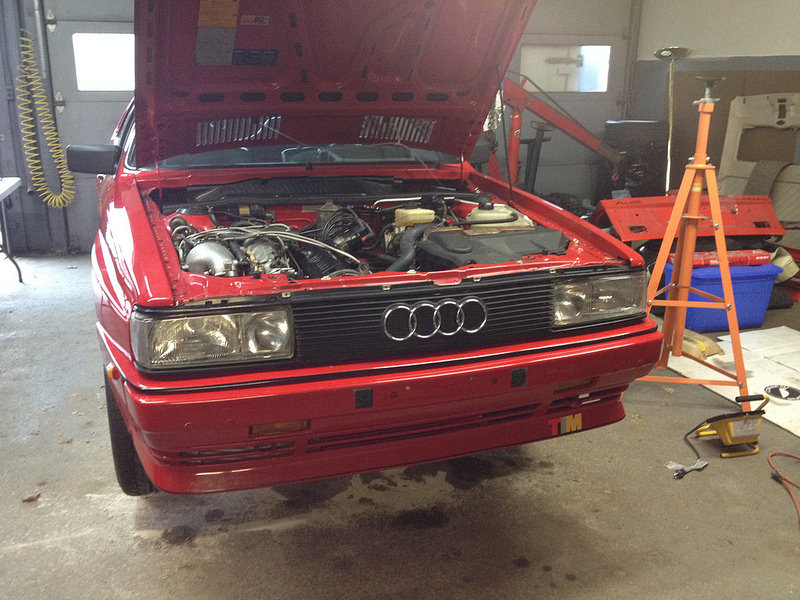
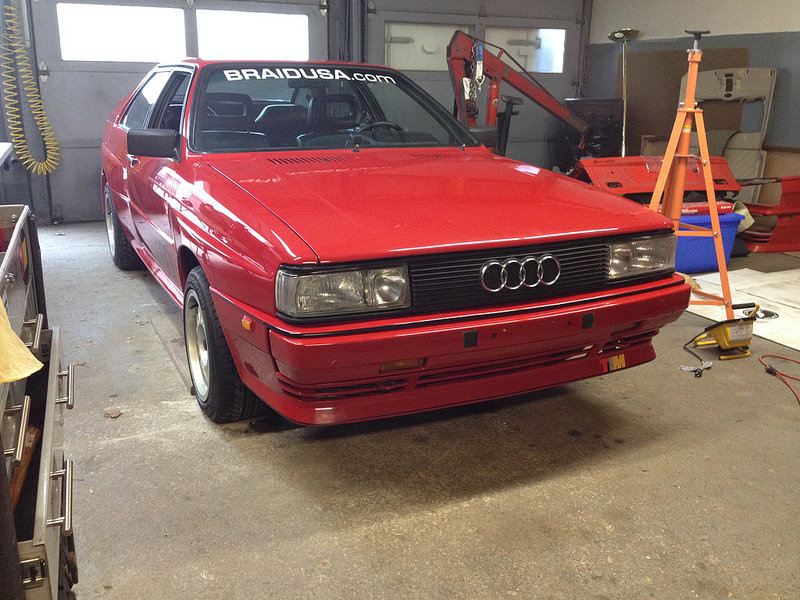
Reinstalled the grill and the bumper.
and put it back on all fours for the first time in years.
Then got it to idle and run quiet.
Then drove it off the lift.
Then took it for a drive.
Then stood back and admired it

Thanks for sharing. I've owned two Audi's and they were great cars!
Posted by Diggymart on 12/10/18 @ 8:20:16 PM