You must be logged in to rate content!
10 minute(s) of a 211 minute read
3-25-2012
More unbolting today.
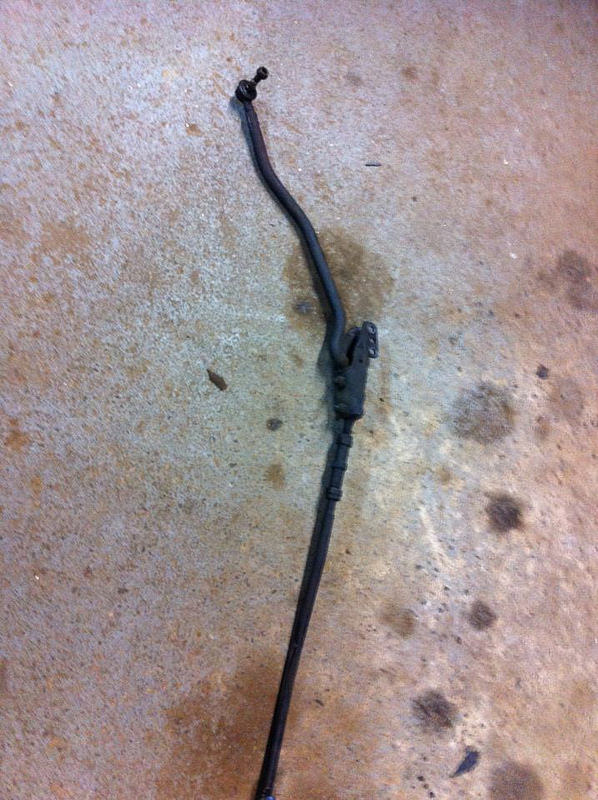
I was advised to remove the tie rod ends so I could free up the adjusters as I will need an alignment when I'm done.
So I did, then sprayed it with PB Blaster.
This is where it bolts to the rack. Interesting arrangement.
I took a gearbox mount off to change it but it looked new so I bolted it back on and crossed it off my list.
Have an exhaust leak from here. Had to cut the bolts with a hacksaw blade. Going to need a new donut.
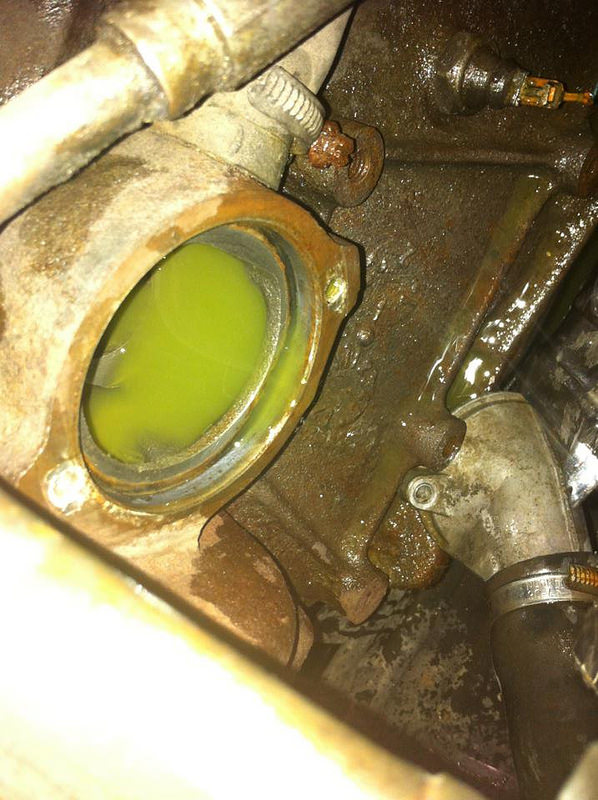
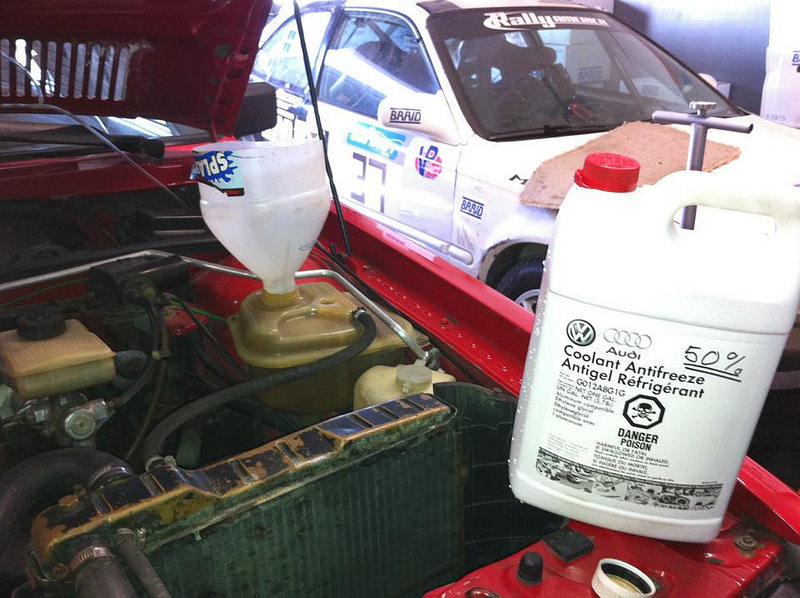
Drained the coolant and flushed the system.
Removed the heater valve as I have constant heat. Seems to close though. I think I will replace it anyway.
Monday I shop for parts and do my taxes.
3-27-2012
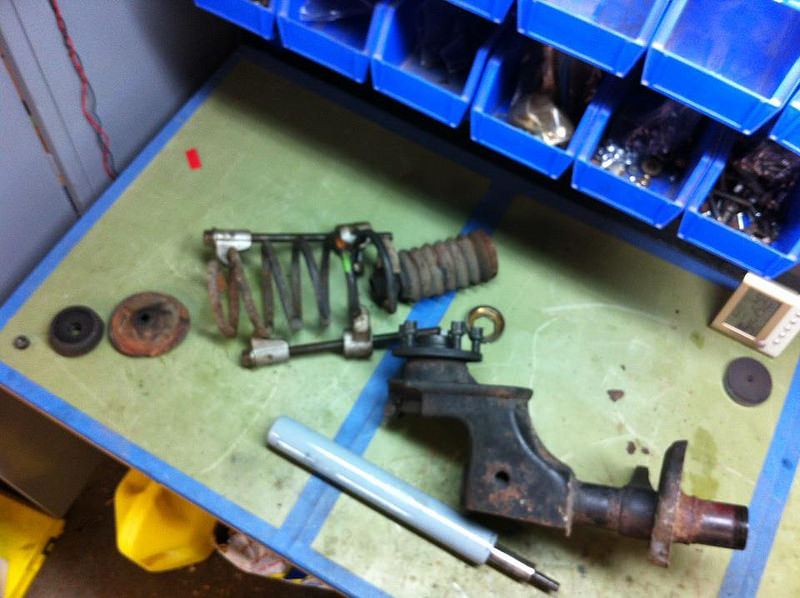
Disassembled both front struts today. Wasn't too hard.
The only problem is the free Bilsteins I have aren't going to fit. They are off a later model. So, I need some inserts. Koni or Bilstein. Can't seem to find them in stock anywhere. Anyone have any sitting around?
Need quite a few parts before I can put this thing back together. namely:
Blue upper mounts
Dampers, Koni preferred
Front 86-2086 sport 2-6 weeks
Rear 86-2087 sport in stock at Koni
Front Strut bellows
End link
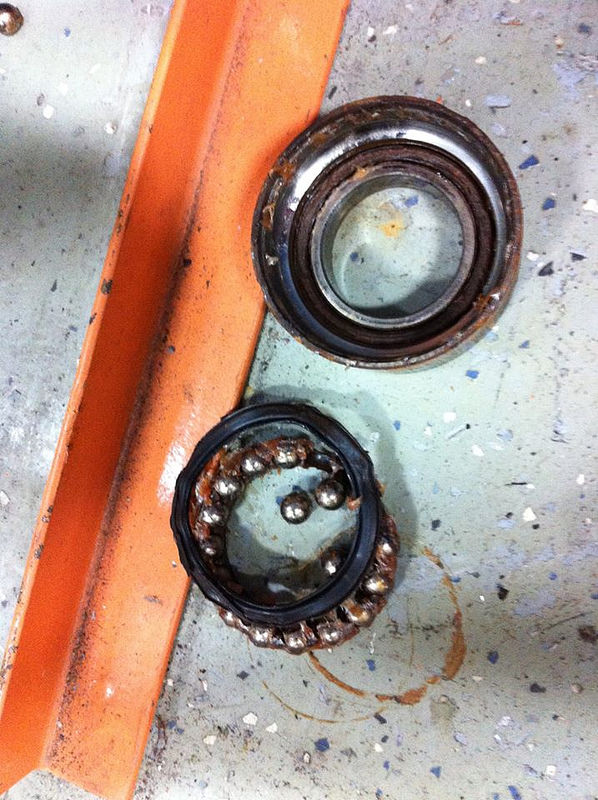
Wheel bearings
heater valve
coolant G12 or regular green stuff?
Exhaust donut
3-31-2012
Koni inserts are on their way from a fellow URQ owner. Thanks Martin. I've found nice German top mounts and wheel bearings and most of the other parts I need. Still looking for the anti roll bar bushings and I'm not sure if I want to spend over $200 on an OE ball joint.
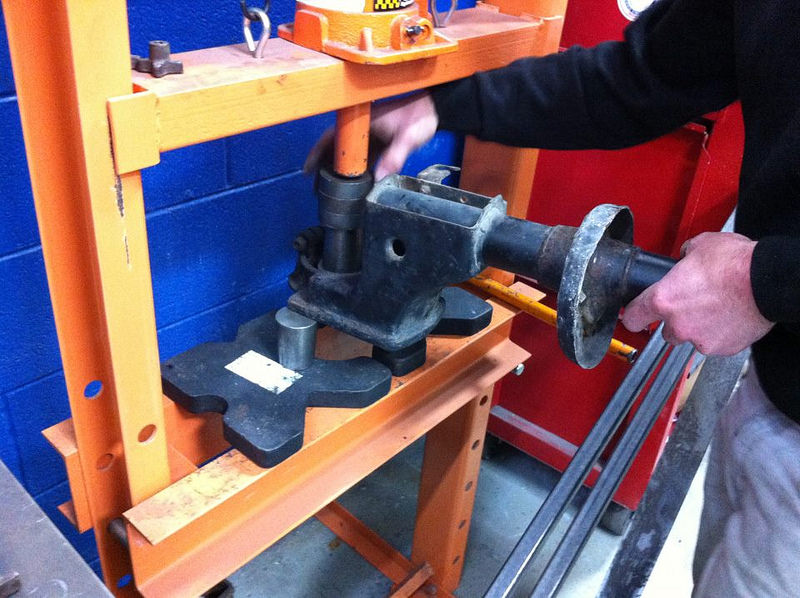
Took my struts and control arms to see my Freind Mat at MCE Tuning. He pressed out the wheel bearings for me no problem.
Then cleaned up the wheel bearing housings so the new bearings will go in nicely.
Next I start working on getting the control arm bushings out.
4-4-2012
I got the rear struts apart yesterday. They were not as bad as I thought. I held the nut in a vice, applied heat and hit the steering arm with a hammer till it came loose.
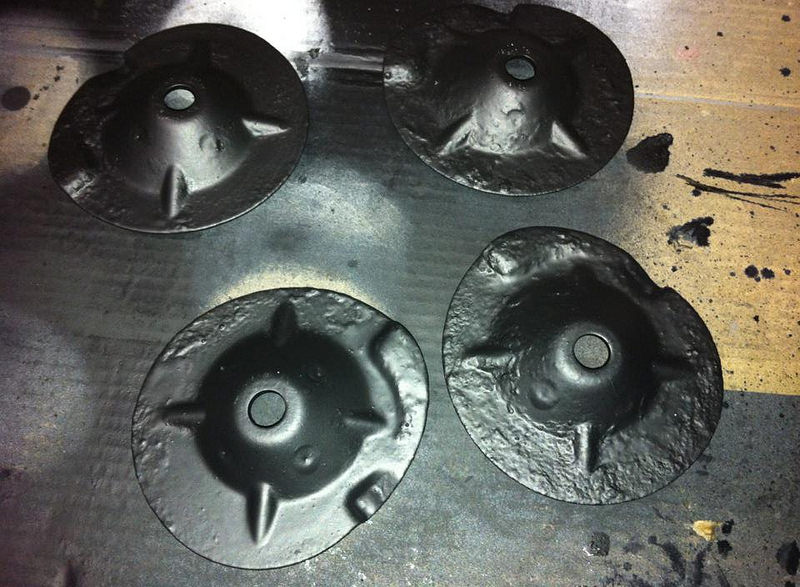
People have suggested powder coating all the suspension components while they are off the car. I have been reluctant to do this as I am trying to not restore the car but maintain its originality. However, looking at the surface rust on the rear struts I feel I must at least POR15 the springs, rear struts and top hats just to preserve them.
With that in mind I degreased them with Marine Clean yesterday after removing loose rust with a wire brush.
Today, if I get chance, I will prep them and paint them with POR15 black.
Started the POR15 rust inhibition project today. Prepped with POR prep stuff.
First coat of POR15 applied. Of course I managed to get some on my hands and face.
4-6-2012
Huge parts haul today. Coolant, front wheel bearings, top mounts, handbrake cables. Control arm bushings etc.
I think I may be starting put the car back together. After installing the new heater control valve I added coolant and put the steeringarms back in the car today.
After that I dropped off the control arms and bushings at a friend's so he can attack them with his new press.
Have a good weekend.
4-9-2012
I started to re-assemble the front struts this afternoon. Pressed in the wheel bearings.
Pressed the hub on and inserted the Koni inserts.
Need to decide on settings before I install the springs. Currently on 2 out of 5. Anyone know where these go?
The POR15 was a bit glossy so I went over the top hats and springs with some flat black.
I also re-installed the control arms and new right side ball joint. If I get chance tomorrow I'll install the springs then put the front struts back on the car!
4-10-2012
Semi productive day today. I was hoping to have the car back on its wheels, maybe even driving but alas, I was thwarted by a wrong part. Seems I have a ball joint for a 4000 instead. Bugger!
Still, I got all four struts assembled and the Konis set. I went with 1 turn on the fronts, 1.5 in the rear. If I don't like it they are easy to adjust.....NOT!
Installed all but the right front strut on the car. Even that is technically on the car. Just hanging from the upper mount for now. I ordered a TSW ball joint from Rock Auto as a back up. OE versions are very pricey. Tomorrow I will search locally for a decent one. If I can't find one I'll wait for the TSW one. That's what's already on the left side anyway.
Hopefully, if I get time tomorrow I'll drop the rear on the ground and tighten all the bolts, put the rear seats back in and maybe, if I can find some, replace the blown rear speakers. I guess I could also drop and tighten the front left too. I can also install the new catalytic converter gasket and cinch that up so I can start the engine and burp the coolant. Then an alignment and we drive it. Damn, wish I had a ball joint.
4-12-2012
Looks like a car again. At least this side does.
This side's still missing a leg!
So, thirty years ago a small, select group of Audi engineers sat down together to eat pizza and hatch a cunning plan. "I know..." proffers one
particularly sneaky engineer "...... let's build a 4wd turbo car that looks just like the Coupe GT but uses non of its parts. NONE. This will really
mess with their heads in about thirty years time. HAH!"
See, it wasn't about rally at all. It was just a German practical joke!
4-13-2012
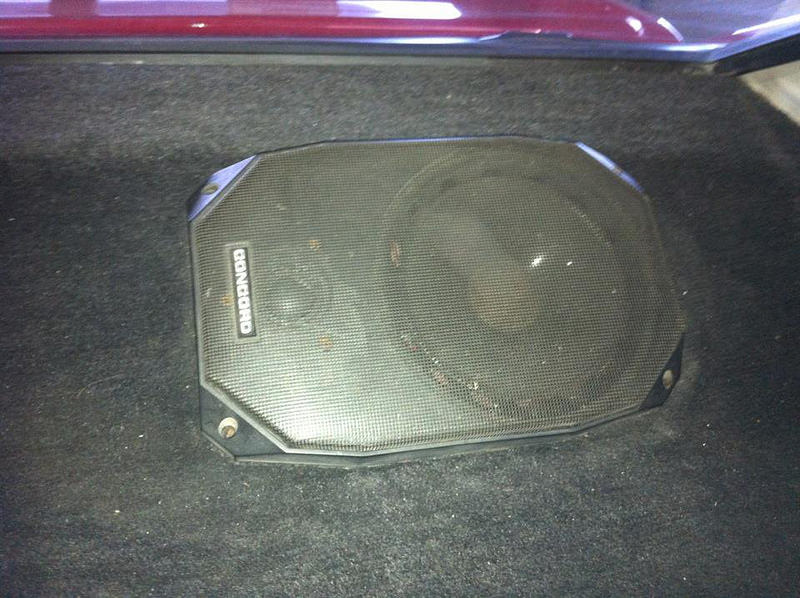
It's funny what you'll do while your waiting for parts. I decided to have a look at the aftermarket speakers on the rear parcel shelf. They are ugly and sound really tinny.
Oh my! How do we improve on this situation? What is the OE configuration like? Anyone have an original parcel shelf? With speakers?
I tried some other speakers in there but they were too bg and still sounded tinny. Maybe my acoustic issue lies somewhere else.
Still no sign of another (probably wrong) balljoint so I decided to pull out the passenger seat. Why? Severe case of wobble-bottom due to suspected worn slider bushings. BTW easiest seat extraction ever!
Or non existent slider bushings.
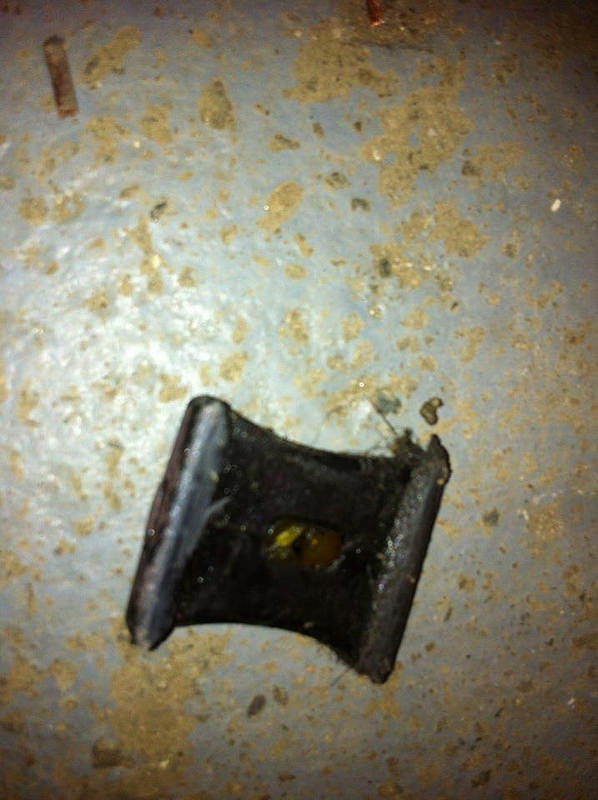
Oh, here it is. Hiding in the slider rail. Yuk.
and here's the new ones I surreptitiously picked up off eBay. Yes, I did buy two sets but the driver's seat is not so bad just yet. maybe, when my wrong balljoint gets here I will decide it is aweful and swap them too.
Here, that's better.
Then, really desperate, I downloaded this to play through my new OE stereo.
I wanna go for a drive















Thanks for sharing. I've owned two Audi's and they were great cars!
Posted by Diggymart on 12/10/18 @ 8:20:16 PM