You must be logged in to rate content!
3 minute(s) of a 620 minute read
3-15-2012
I took a look. Now that would be one to keep as a factory original restoration rebuild. Looked very clean. The "very reasonable price" thing, hmmmm, we all have our price. I have to figure these old Willys trucks are gonna start going up soon, I notice more enthusiasm and interest in these over the last couple years.
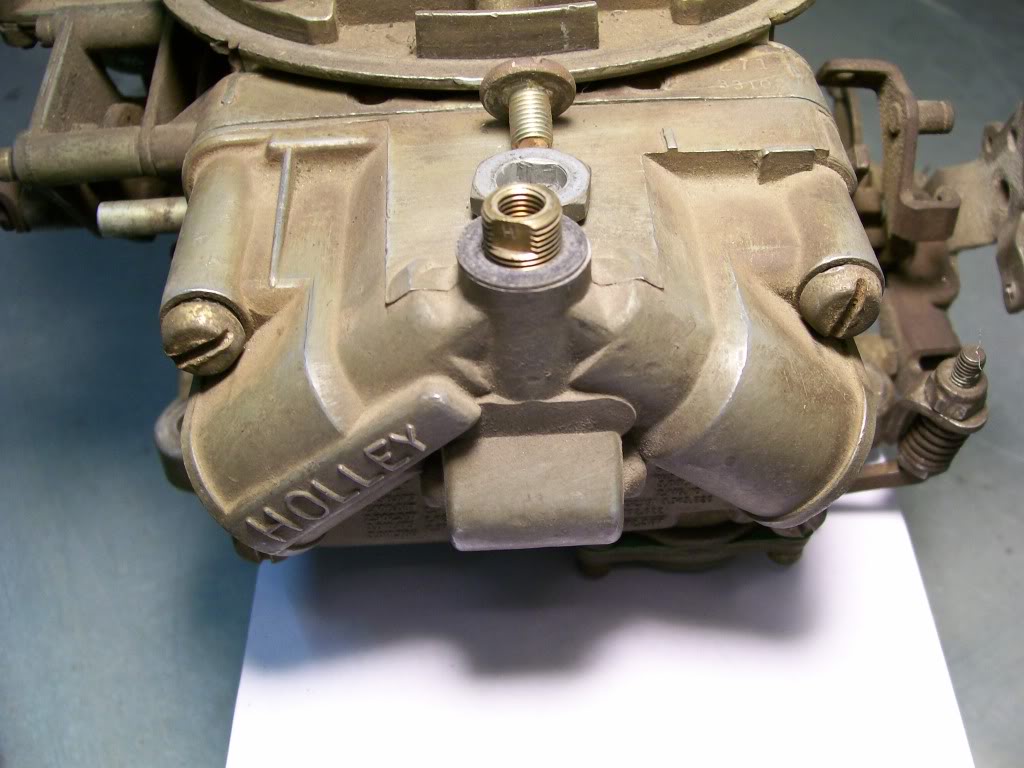
As I'm sure you all can tell, until I removed the screw, it seemed like it might have something to do with adjusting the needle and seat, but like I said, it only has to do with sealing the top of the needle and seat.
Next is the hex nut under the screw. Once again, it's function is different than what it apears from the outside. By turning this nut, which you have to loosen the screw first, it does raise and lower the needle and seatassembly. Interestingly though, it isn't actually attached to the needle and seat assembly.
It fits "around" the needle and seat, and when turned, the two flats contact the the flats on the needle and seat. This allows the needle and seat to raise and lower, yet the nut still stays in contact with the float bowl.
Now, as I mentioned, unlike most other carbs, by turning the nut, we can remove the assembly. The needle and seat will keep raising til it is removed from the carb. Inside the float bowl, while turning the needle and seat counter clock wise, we are raising the float level.
Just the opposite if we turn it clock wise, we would be lowering the float level. A neat design that while lower and raising the needle and seat, the nut stays in contact with the casting of the float bowl. The only time the nut does not touch the float bowl casting is when turning counter clock wise, the needle and seat becomes high enough and at this point it ready to be fully removed.
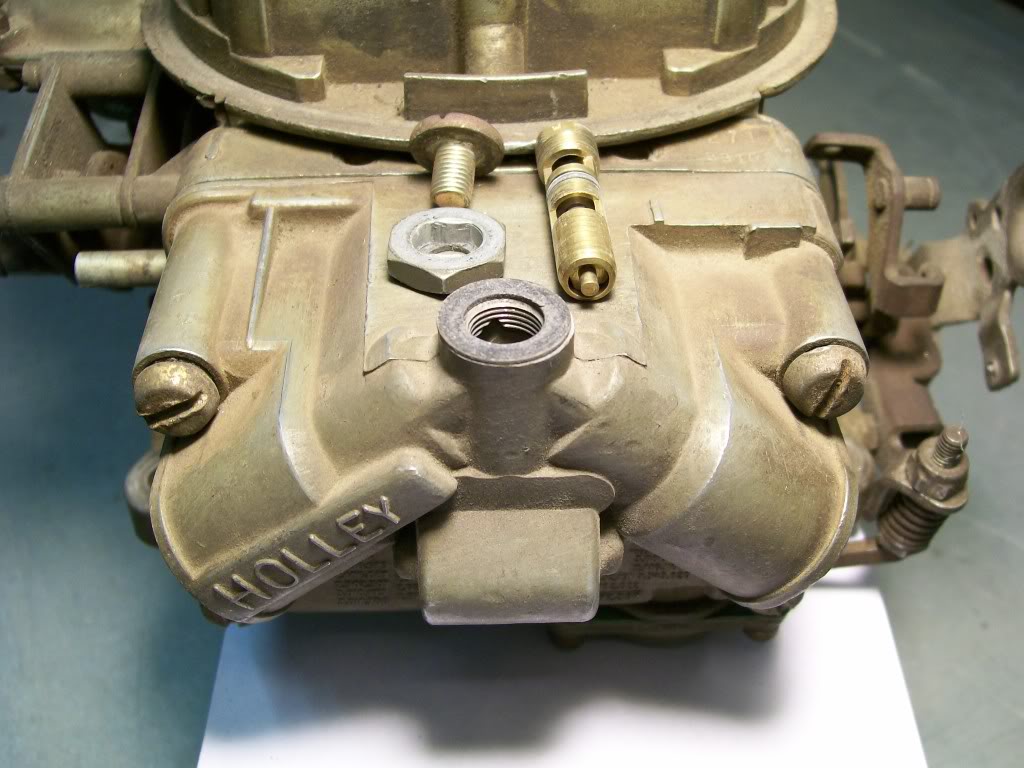
Here are all the pieces removed for a visual.

More to follow. I hope this is uncovering the mystery inside the Holley so far.

Ultimate classic truck right there
Posted by CCmyVW on 12/26/20 @ 4:17:42 PM