You must be logged in to rate content!
7 minute(s) of a 620 minute read
12-12-2011
You guys are quite correct, the bed will be on the priority list someday. I see on another site they also are comparing the reproduction chevy truck bedto a willys bed. Might be a real time saver to go this route when the time comes.
The bed I have now, other than the couple of frame tubes, but I changed them, is actually made from 16 guage galvanized sheet metal. The galvanized sheet metal is tough to have primer and paint to hold to, but for almost 30 years now, the paint has held good. It is around the edges that the paint is popping off a bit. Good thing is; the galvanizing under the paint still keeps the sheet metal from rusting, so strength wise it's still very usable.
I do have some issues under the cab that require attention that I haven't posted pics of yet. Nothing major, but they are structural issues and these are my first concern.
Finishing the steering stabilizer tonight I'll finish the third side, and weld it to the axle tube. Last picture I clamped the pieces into a 90 degree fixture, I then tack welded a couple areas, then took it off the fixture and completed the welding. Still working on my tig welding, I was doing good then my hand shifted a bit and the weld also shifted a bit. None the less the weld is still strong and when done the grinding will make it look near perfect when done.
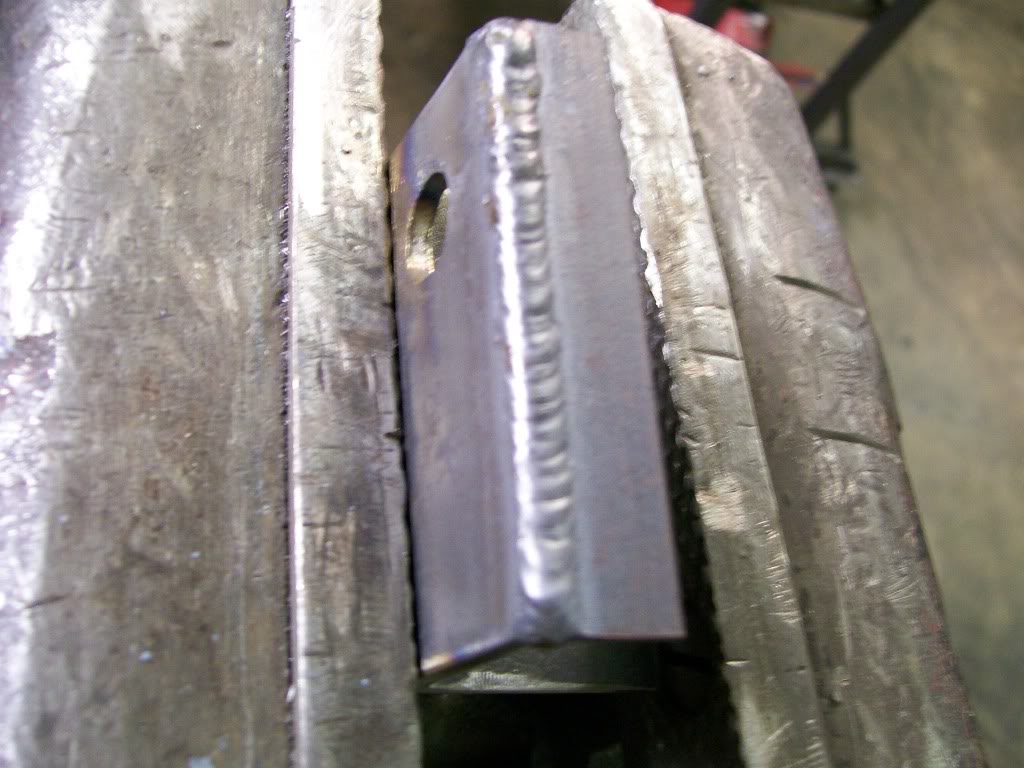
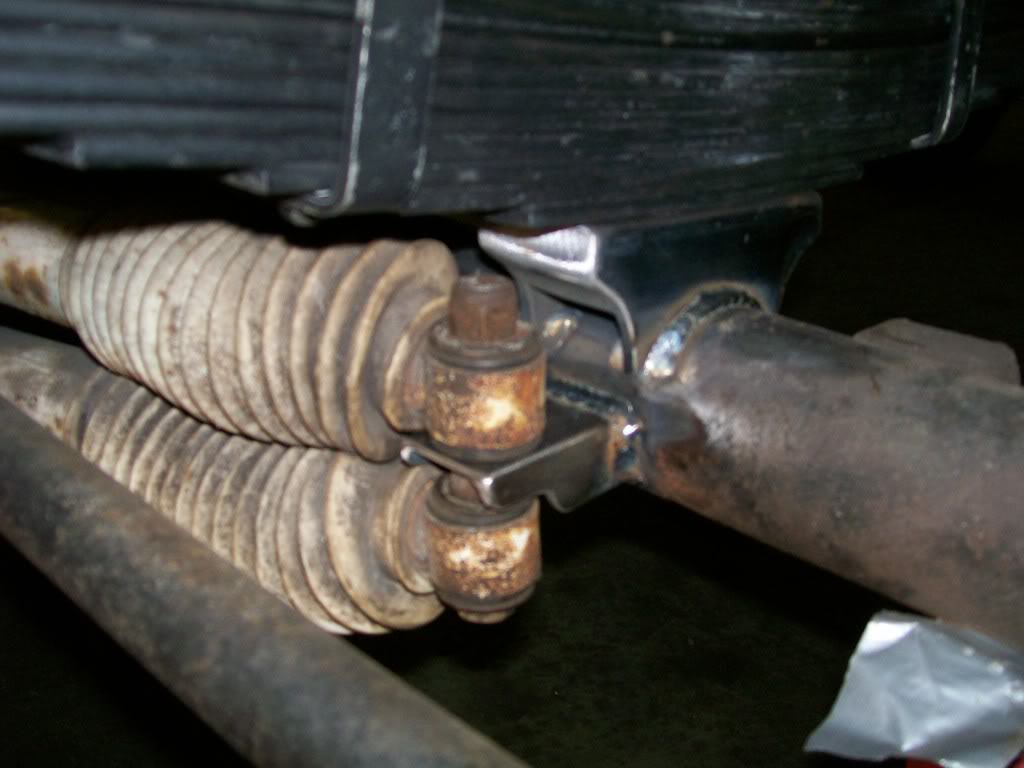
Now securely welded to the axle tube I can reattach the stabilizers and my steering is back in shape again. I had to cut the old bracket off because it fits between the two u-bolts holding the leaf springs in place. I relocated the drivers side spring perch 3/8" closer to the end of the axle, so the old stabizer bracket location interfered with the new location of the u-bolts.
When I made the new perch I was also concerned about the stabilizer mounting bolt interfering it. That's why I made the underside of the perch arc backwards as soon as I could.
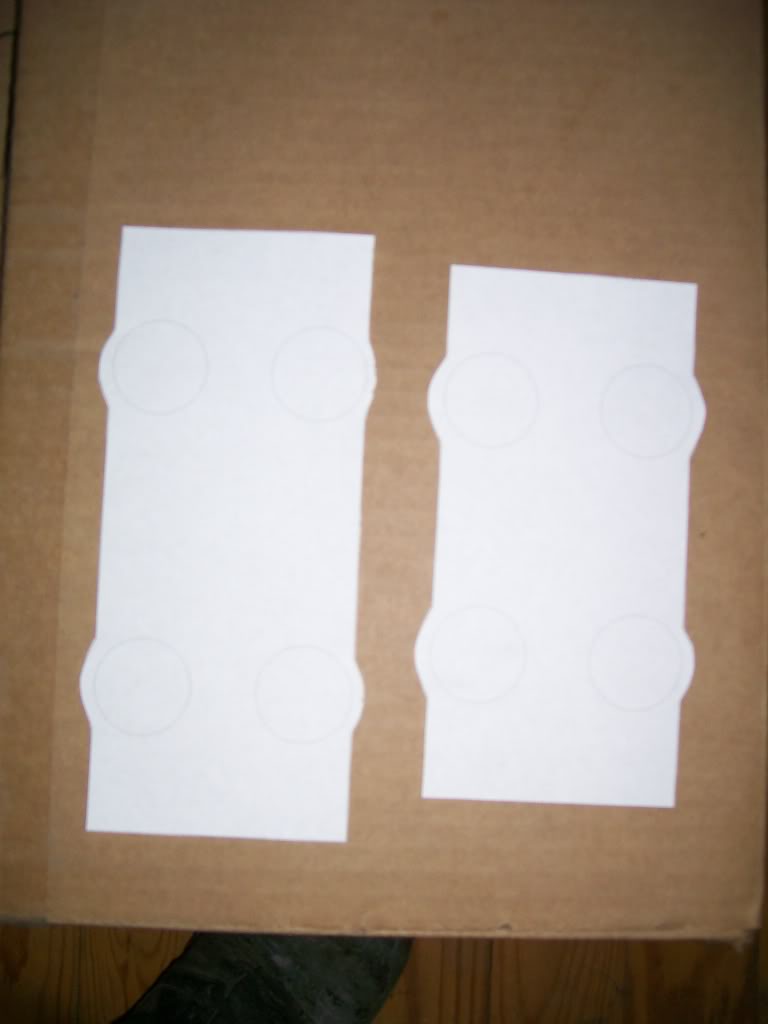
Next on the project list is making the new top plates. We've been through this a couple months ago with the rear ones. I'll follow the same cutting and bending procedure. For those who haven't gone through all the pages of this thread, I'll show the fabrication of the 1/4 " plates. Once again I created them on the computer, then printed them on paper so I can get a physical image before cutting the 1/4" plate.
5-13-2011
"Leaps and bounds", I like that. I'll be like the easter bunny.
As I mentioned, it's time to make the top plates for the front leaf springs. The procedure is the same as the rear ones so I'll get through it quick. I had to endure making them, so you all have to endure the making of them.

First the plate cut by the torchmate, then marking all the main reference points for where the five holes will be drilled.
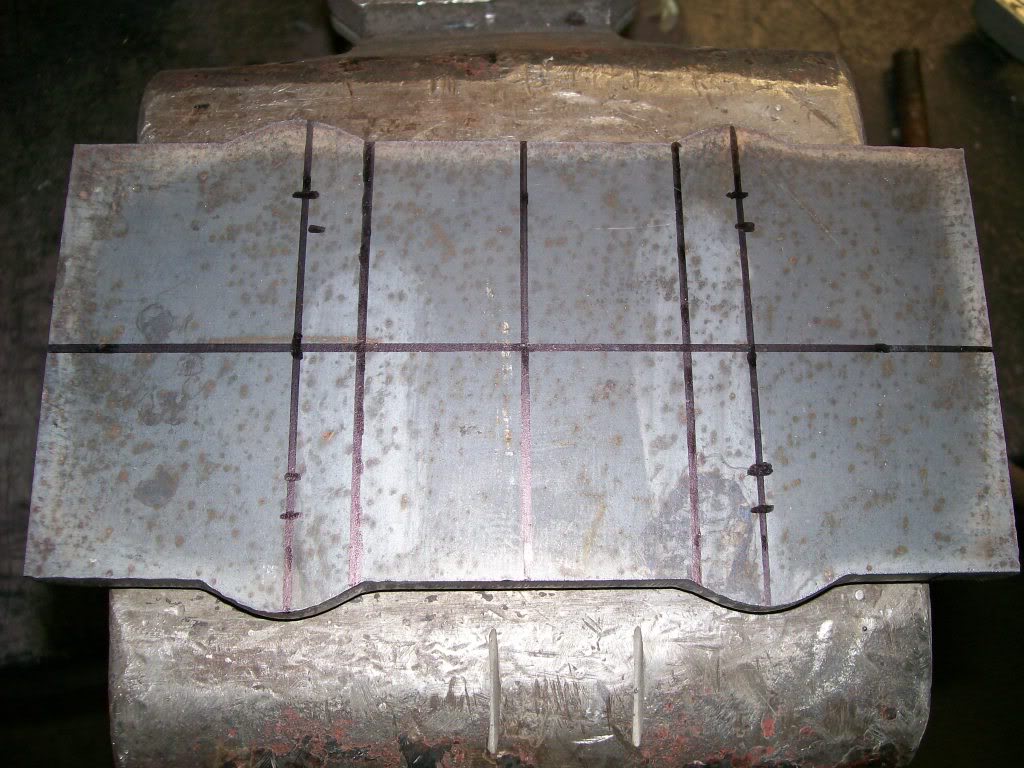
After the holes are drilled, making a cut to be able to bend back the ends for the rolled up edge.
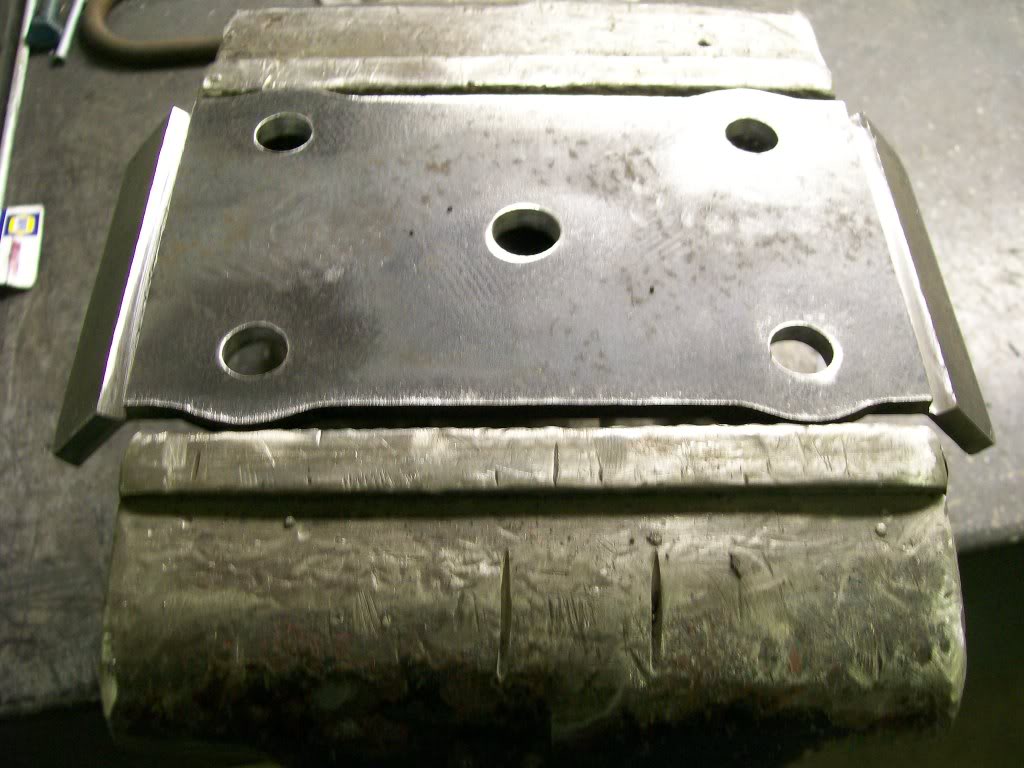
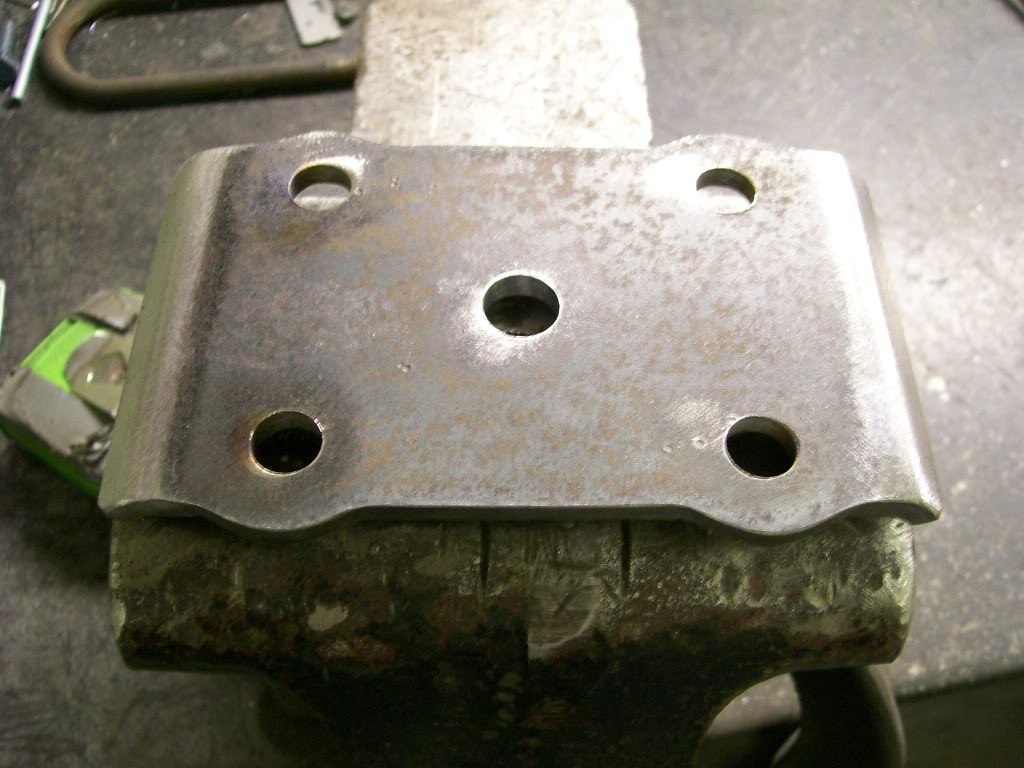
Then after bending back the ends, fill the open bends with welding and grind to a smooth edge. Done, nice looking plate, now one more to make.
12-14-2011
Now for the u-bolts. The ones on the drivers side should be easy.... ha.
I needed 2 3/4" inside and approx 8 1/2" long. Seemed simple to me, but nope, seemed they had every size but the one I needed, aint that the way it goes.
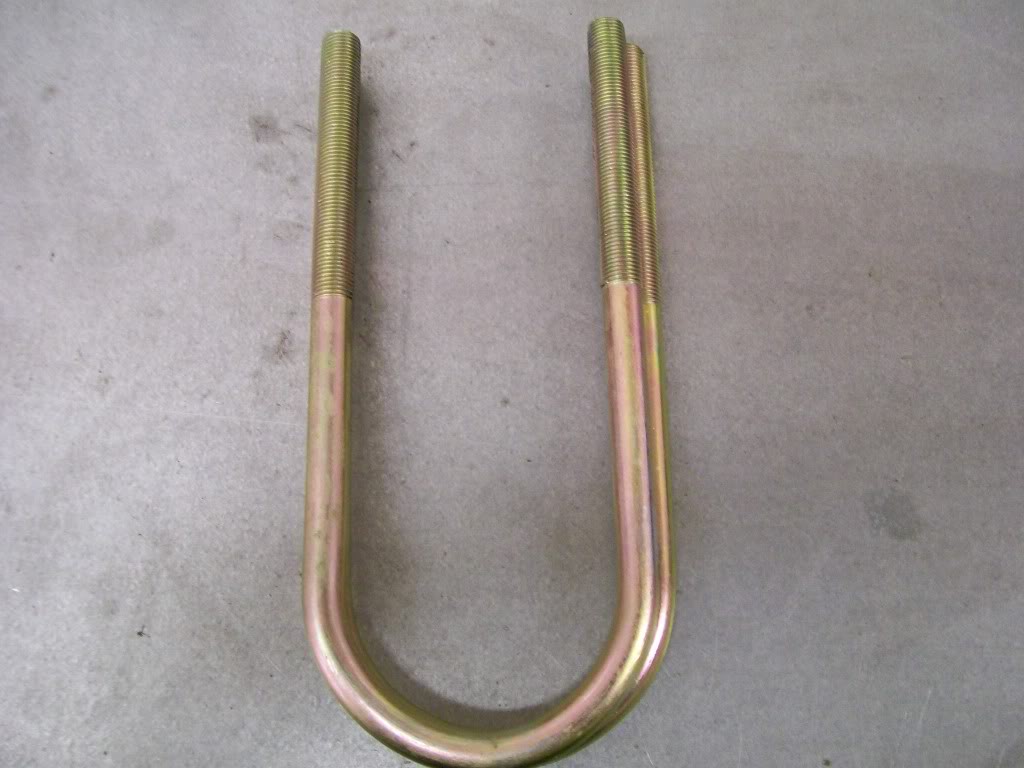
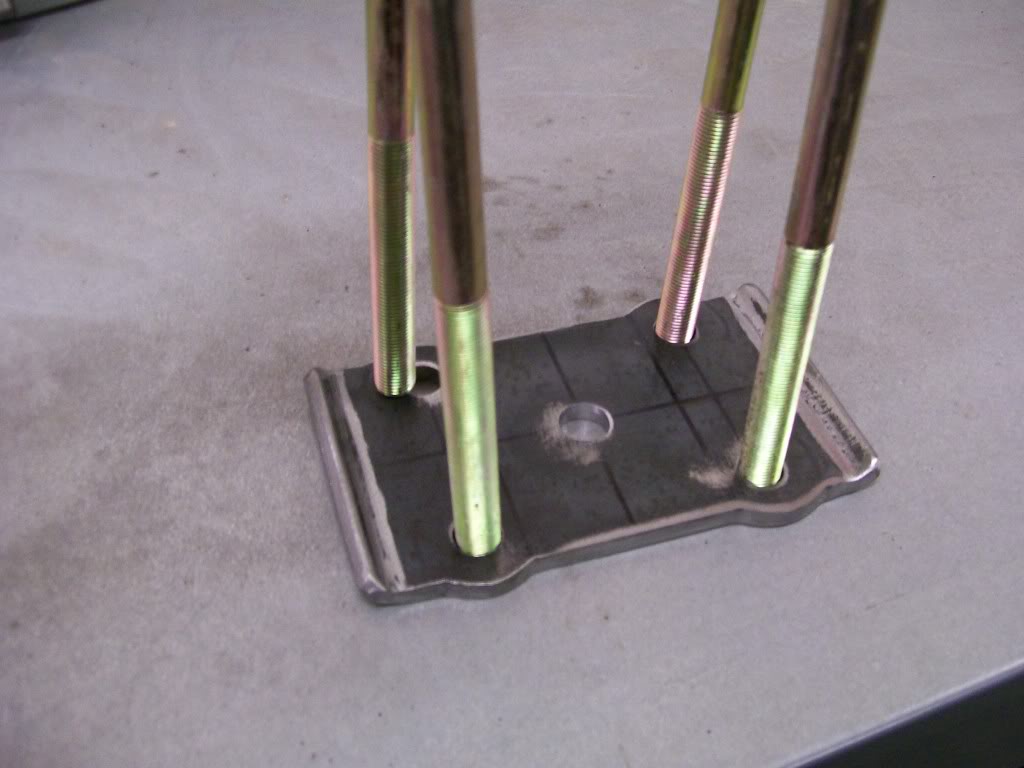
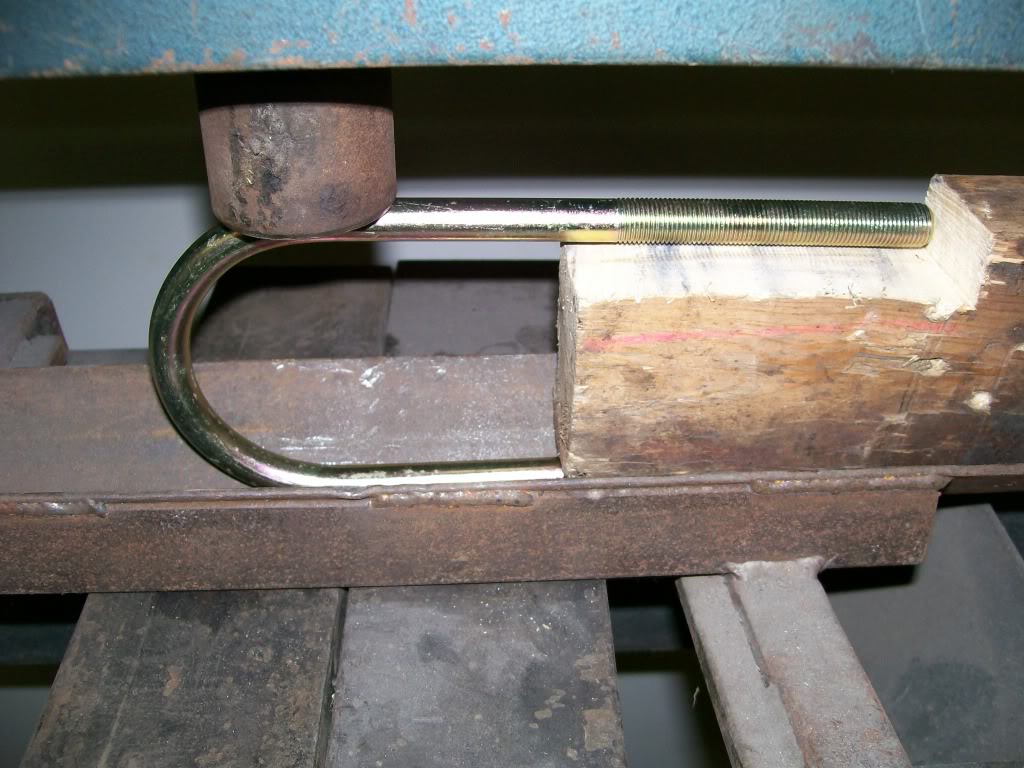
Ok, I'll settle for the right length, and 3/8" wider. Now I have to reshape the u-bolt down to the proper width to fit around the axle tube properly.
Yes I could use the torch and heat the u-bolt and reshape it. In this case I perfer to use the press.
In this first picture I have layed the newly shaped u-bolt over top of the original shape that it was.
In this second picture you can see how the threaded part of the reshaped u-bolt fits, and the original sized one does not fit the holes in the top plate.
Now how to get it into shape. The block of wood is the width needed when finished. It keeps the u-bolt from becoming deformed when pressed. Apply a little pressure on one side, then flip and press the other side. By going back and forth it keeps the sides uniform. It still needs a small amout of adjusting when the pressing is done, but it still looks like it came right out of the box when done.
MAJOR CAUTION..... The bottom part of the u-bolt stays securly in the "V" fixture on the bottom side. The top could use a "V" cut also to keep the u-bolt from popping out under pressure. I've had it pop out before, be careful!
12-15-2011
We'll stop here for a little before and after picture showing.
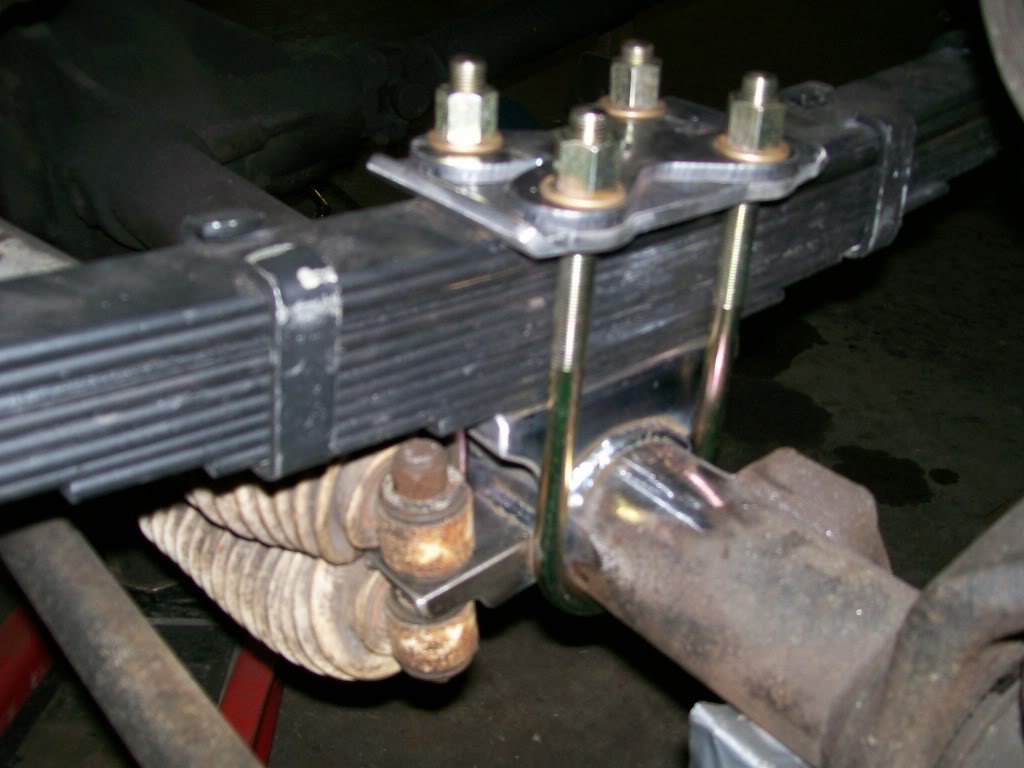
Most certainly an upgrade from what was to what is. I've mentioned a few times during this build, it's interesting to flashback 26 years when I put this together. The lack of tools, the lack of knowledge, but I had an abundance of enthusiasm.
I've looked at the old top plates, some of the holes were cut with a cutting torch, I don't think I had a 1/2" drill, so the torch was my only choice. Some of the parts were cut with the cutting torch and assembled. Some things didn't get the final grinding to clean up the edges before assembly.

Anyway, it's been fun. But I'm really enjoying getting stuff changed and stronger.
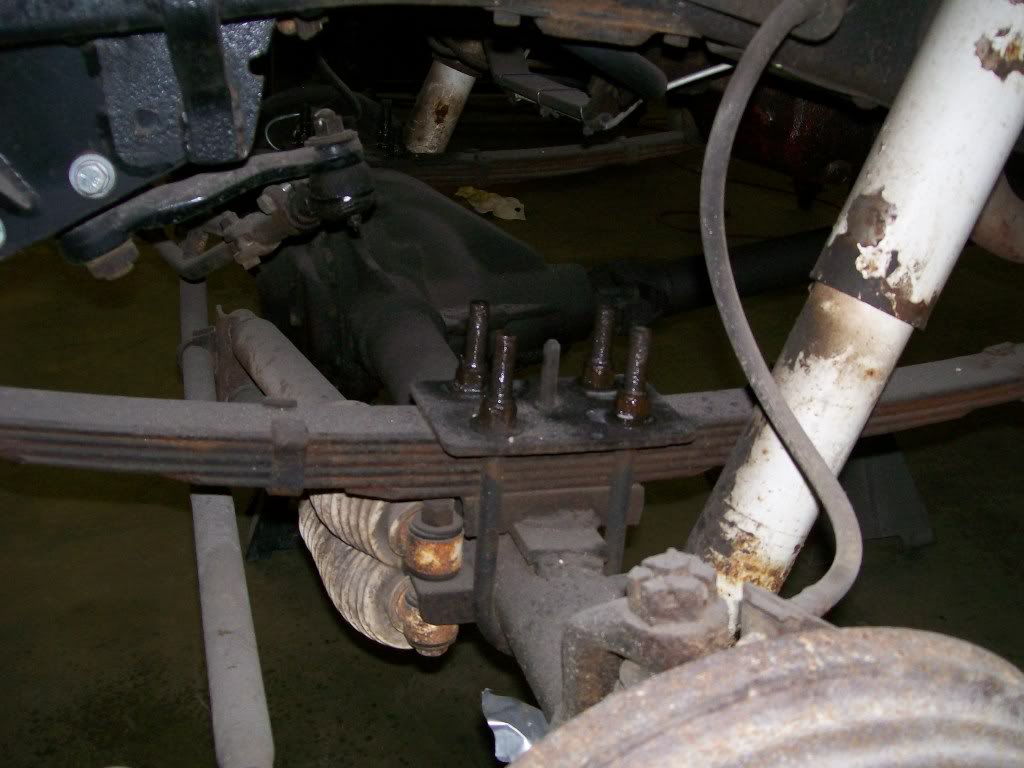
The old set up.
The new set up. Oh, looky there, I didn't forget the upper clover plate. The pieces still need the final grinding around the edges, but the hard part is done.

Ultimate classic truck right there
Posted by CCmyVW on 12/26/20 @ 4:17:42 PM