You must be logged in to rate content!
10 minute(s) of a 620 minute read
10-31-2011
Now we're getting close to the end of the rear bumper attachment. This episode of bumper attachment wasn't so much to show how to mount a bumper as it was to make one think of when we assemble something on a vehicle that we try to consider all the forces and extremes that will be placed on that vehicle over time.
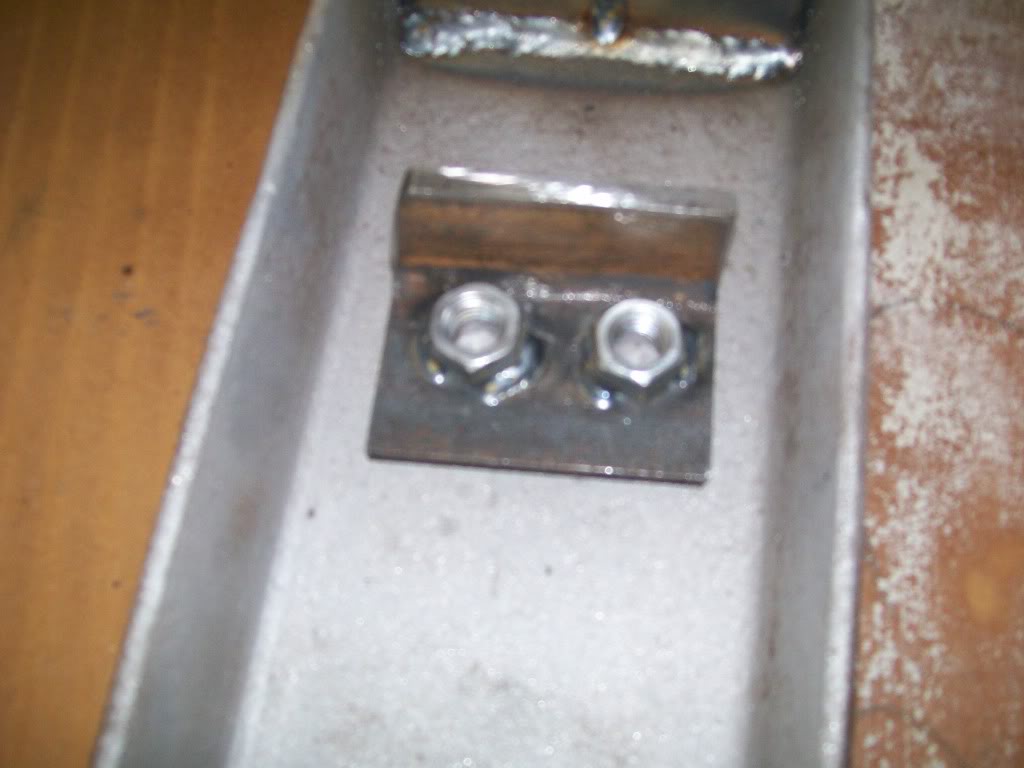
The simple piece of angle iron in this next picture has been drilled and I also welded the nuts in place. Once this piece is welded solid to the rest of bumper mount, the nuts will be enclosed, so welding them in place is the answer. I'm not pleased with the focus of the picture, but it gives the idea what I'm doing here.
Here are all the pieces in place.
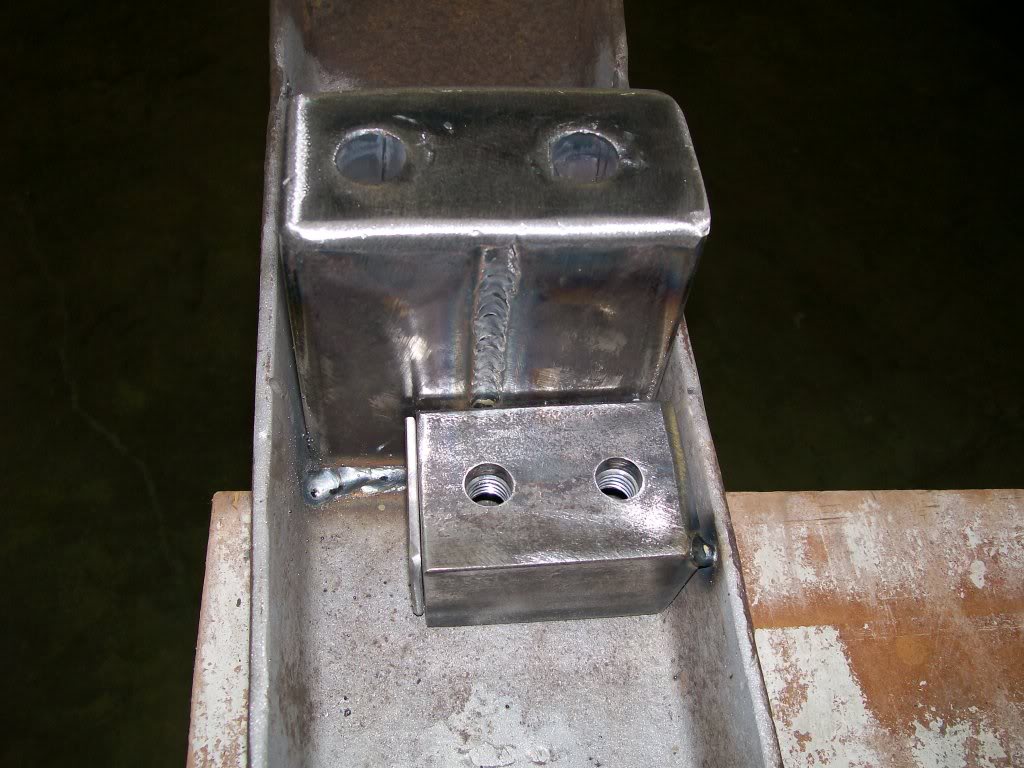
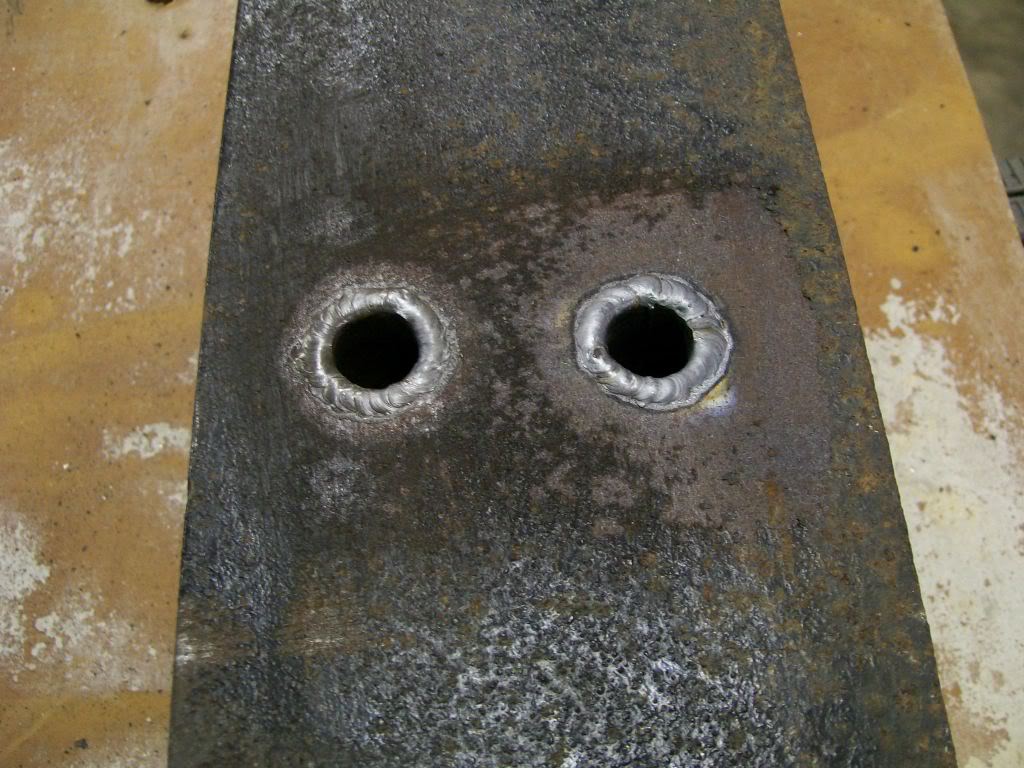
As for the tubes that fit the length of the bumper mount, They were welded to the face of the bumper and to the other end of the bumper mount. I most cases I use the Mig welder, but there has been a couple times I've used the Tig welder. In the case of welding the tubes in place I did'nt want much fill, so the Tig welder is my choice. With the Tig welder I can heat the bumper metal and the tube metal and begin a puddle of liquid metal before I start adding welding rod as a filler. Plus I can control the weld in tighter tolerances so the weld doesn't start to fill where I don't want it to go. As I've said before, I'm not the best at Tig welding, but this will give you an idea of how the tubes are in place. After this, I did grind the weld flush with the bumper.
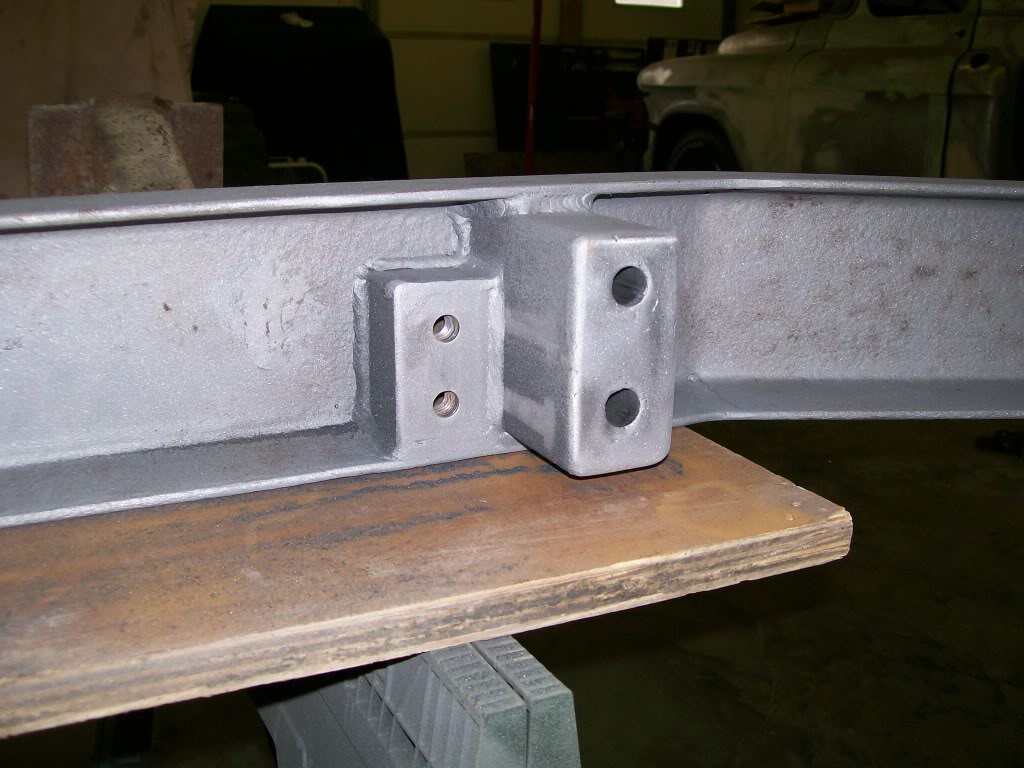
And once again, the end result.
11-1-2011
The rear bumper has made it's way to the primer and paint zone. I did the same with the bumper as I did with the frame. I finished the sandblasting, the metal prep. then the primer surfacer. Then I sanded the bumper to expose the pits and low spots. I then filled the pits and reprimed. Black paint is next for the bumper. I'll get those pics downloaded soon.
I took the old front tires and wheels to the tire shop and had them dismounted, sandblasted, primed, painted, and tomorrow I should spray the clear in the rims. By friday I should have the front end back on it's wheels again.
So far this project has taken 750 pounds of sand. Good thing I have a gravel driveway, the sand will slowly settle into the driveway. It's worth it though, I have extreme confidence with all the steps I've taken that the rust won't be a problem for many years.
Otherwise, concerning the areas that were a problem with collecting all the crud such as where the crossframe met the mainframe, here is how all the sealant did to protect that area. I still have one more spring mount bolt to install so don't worry about the bolt hole. Also I'm gonna apply another coat of undercoating so the bolts will the coated when this is done also.
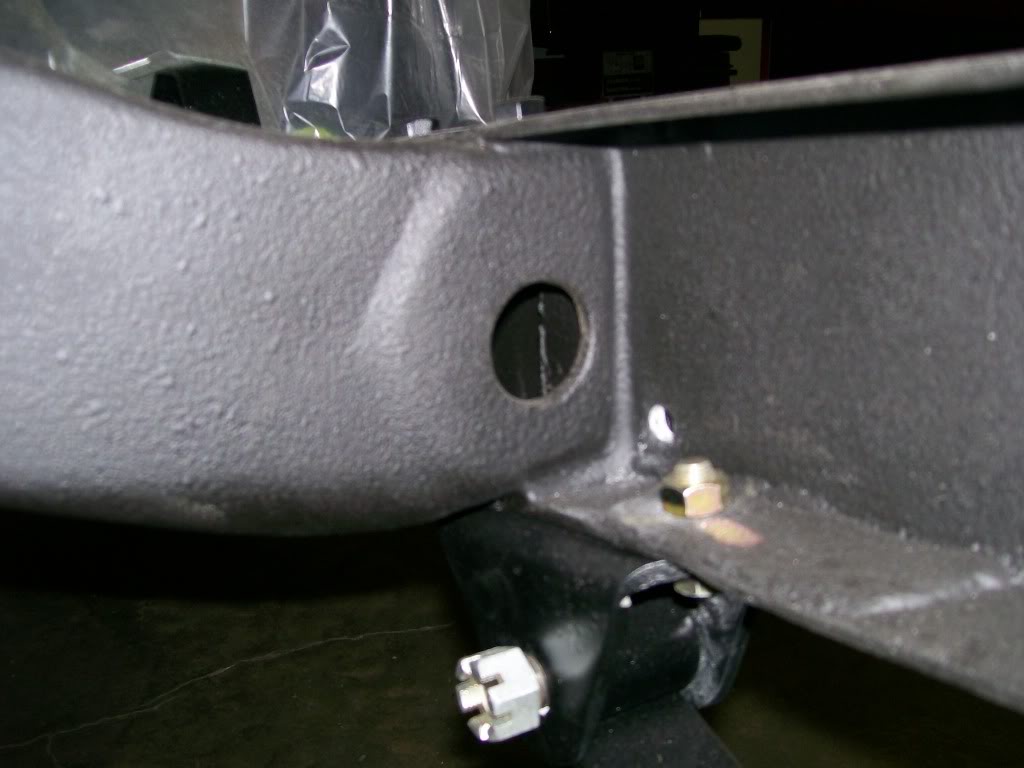
And for the other crossframe it wasn't quite the problem as the other one but I still wanted it sealed.
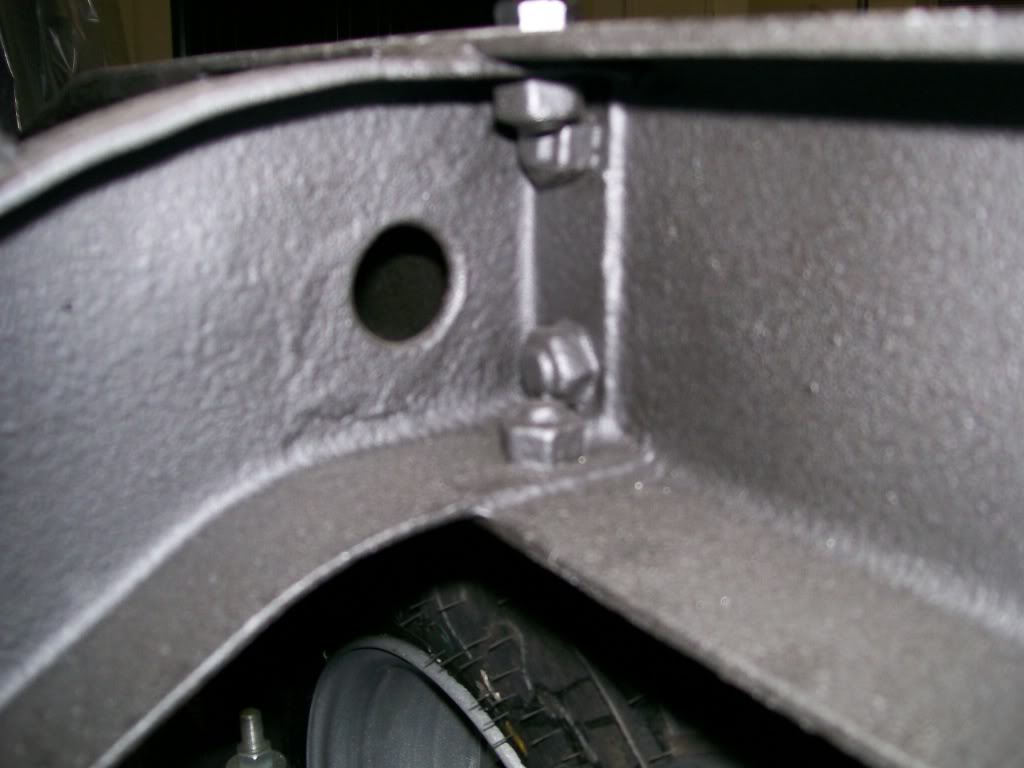
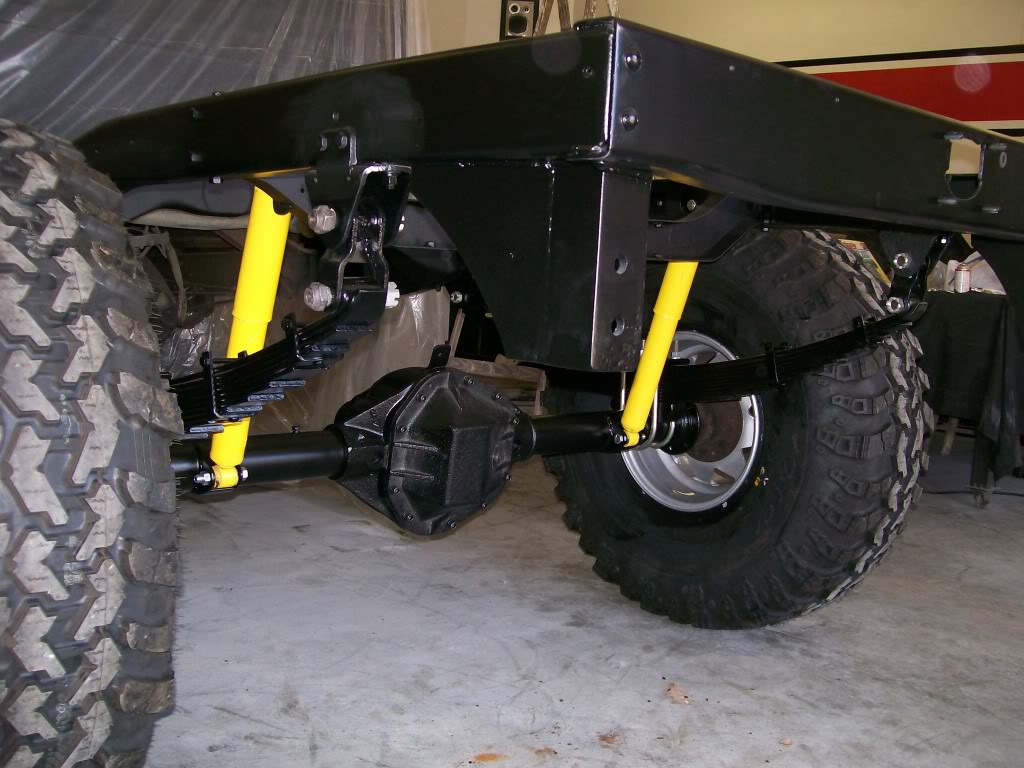
And one more of the after pics. I'm not sure of the color of the shocks. Some say to paint them the silver color of the rims.
 I do want to paint them. The paint on them now never lasts very long, it's just a simple coating of paint. If I don't paint them now I never will.
11-2-2011
Yeah. the more I look at the truck, the more I'm ok with the yellow.
Viper723, I have a couple things I've done with the hammered look. It certainly has it's place. I like how it adds a little character to the finish.
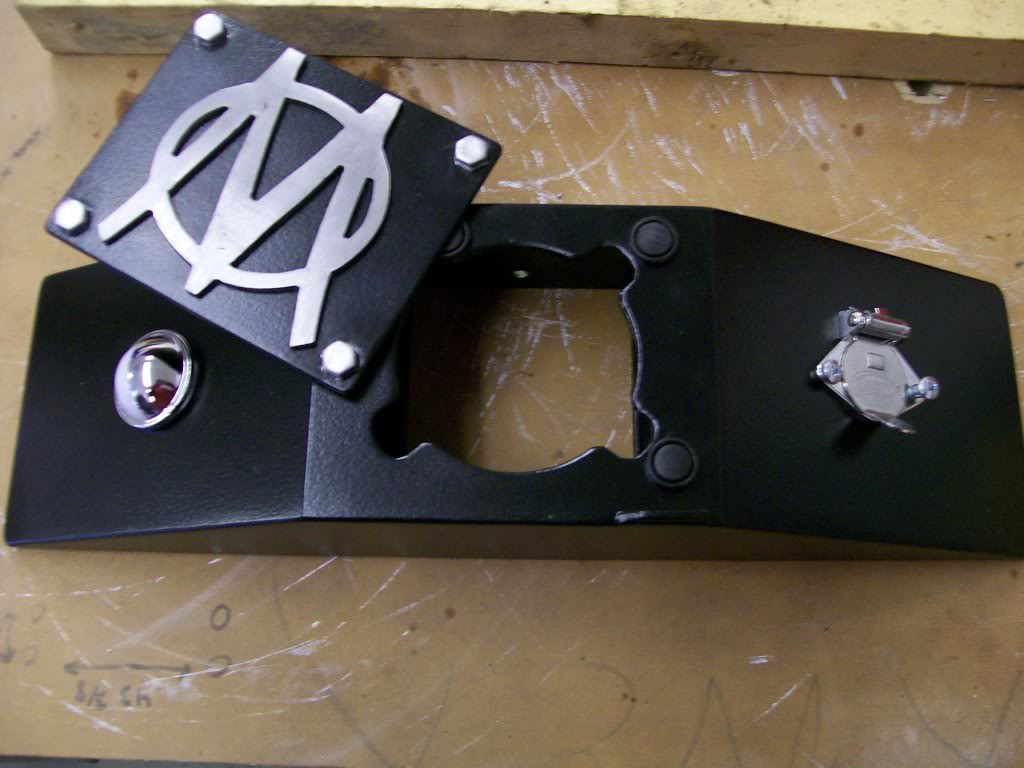
I'm pretty well done with the finishing touches on the rear gas cover. First I knew I wanted the fake bolts to look they were real, and they would stand out to breakup the view of the gas cover. When I was painting the rims silver I quickly taped around the bolt heads and with a model brush I dabbed the silver on the bolts heads.
I also had an issue with the swing up of the cover lid. I still worried about the possbility of the nuts on the backside scraping the paint when opening and closing it. I found some plastic push rivets at the NAPA store that when in place the cover lid can slide on these plastic rivet heads instead of touching the painted suface. I also welded a small tab where the cover lid will stop when closed. Problem solved.
11-3-2011
By now I'm sure everyone knows painting rims is not my favorite thing to do.
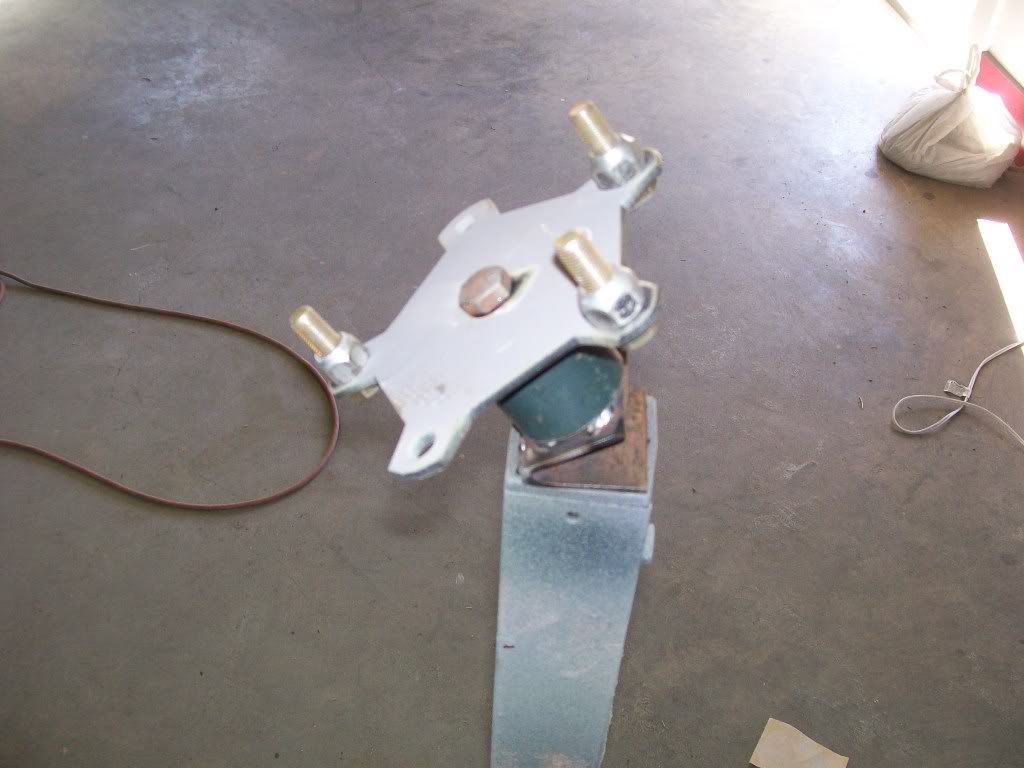
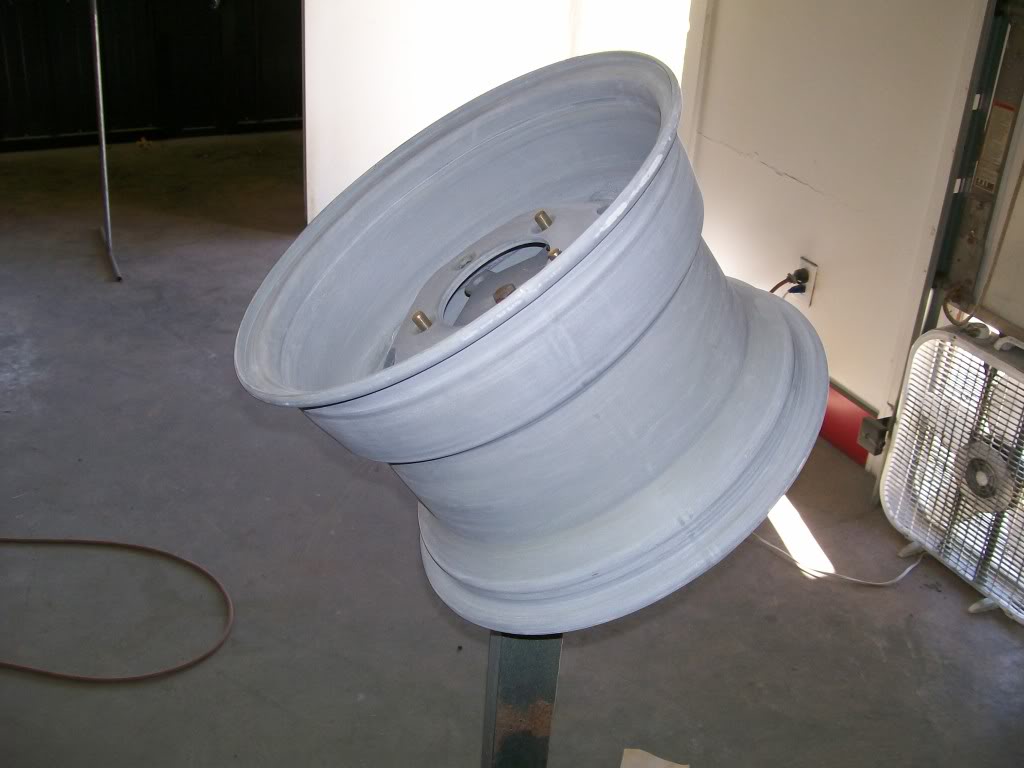
Jim1611 suggested the idea of mounting the rims at an angle and if possible create a way to spin the rim at the same time.
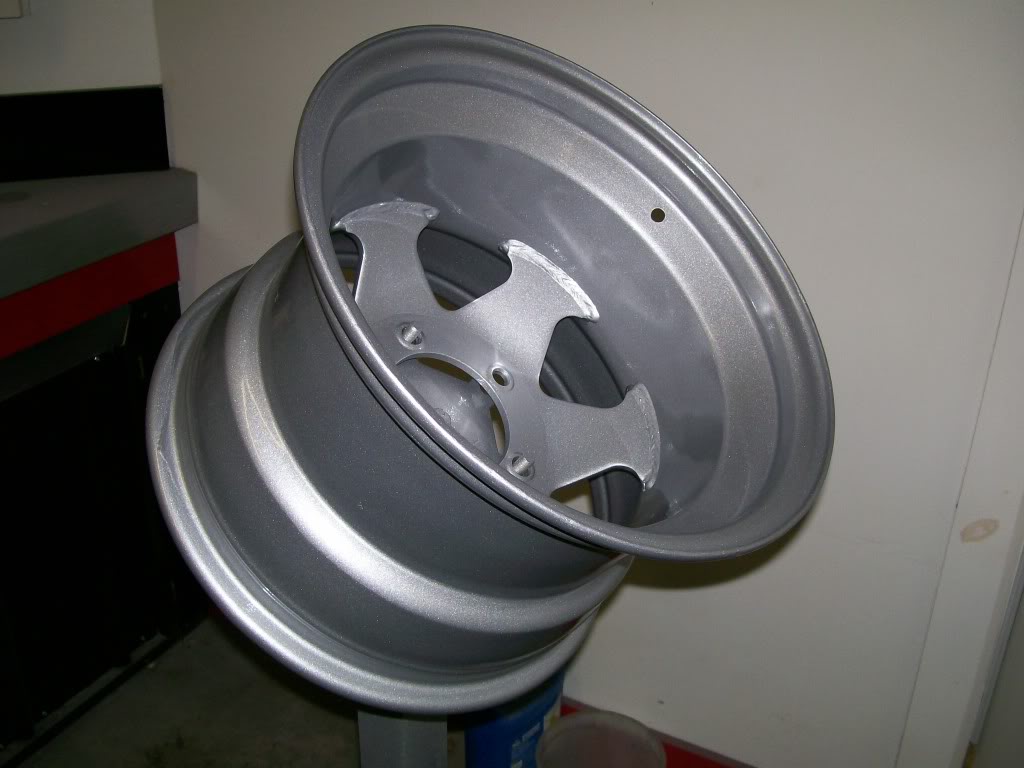
I still had the front rims to paint and I knew the fronts would be more difficult than the rears were. Why? Because all the rims are 10 inches wide, it is the depth or the dish effect, it's the painting into a tunnel and the light reflection that I have issues with.
When I had the rims built many years ago I had the fronts offset more than the rears and that makes the issue even greater. So to try something different is worth it.
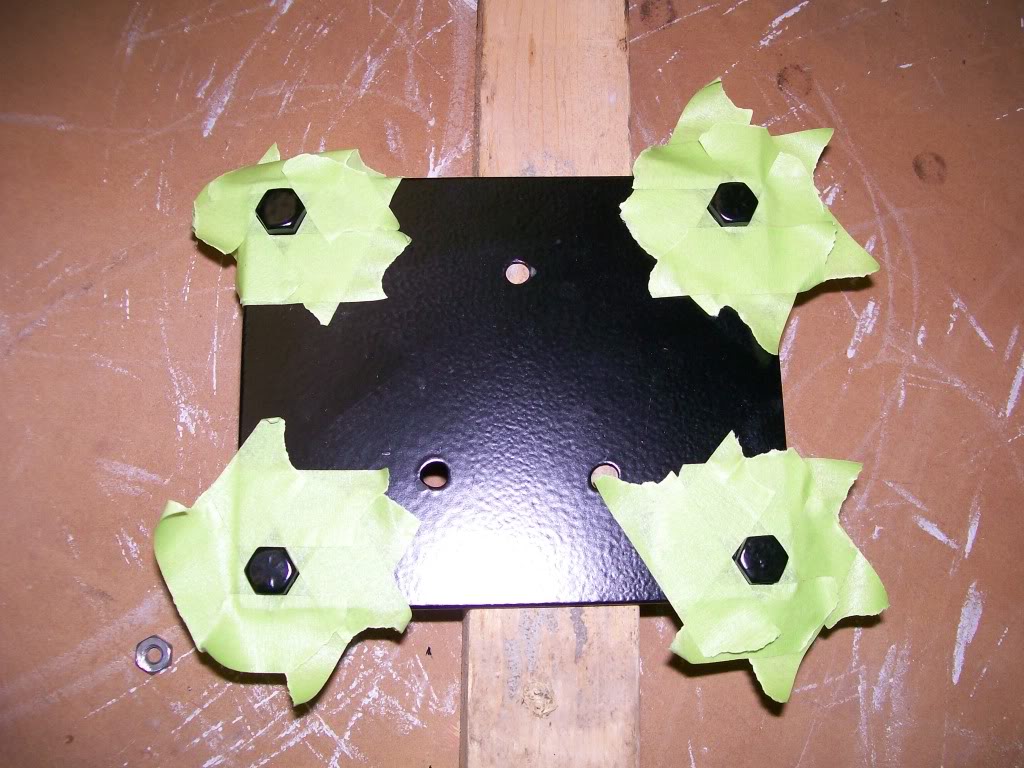
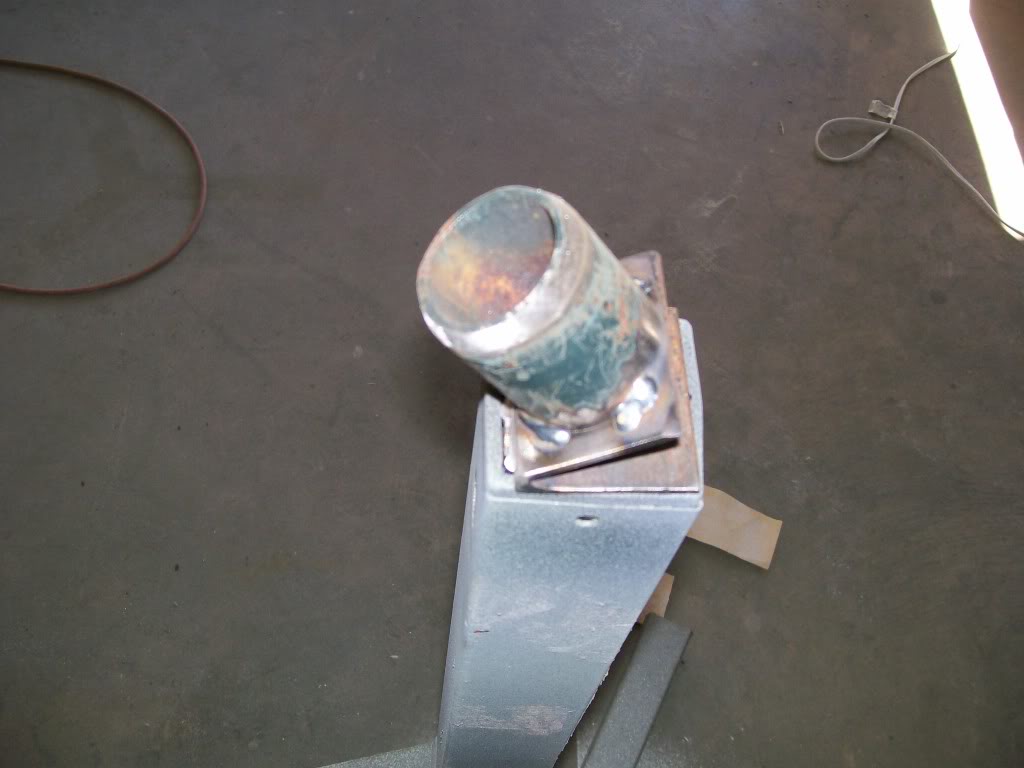
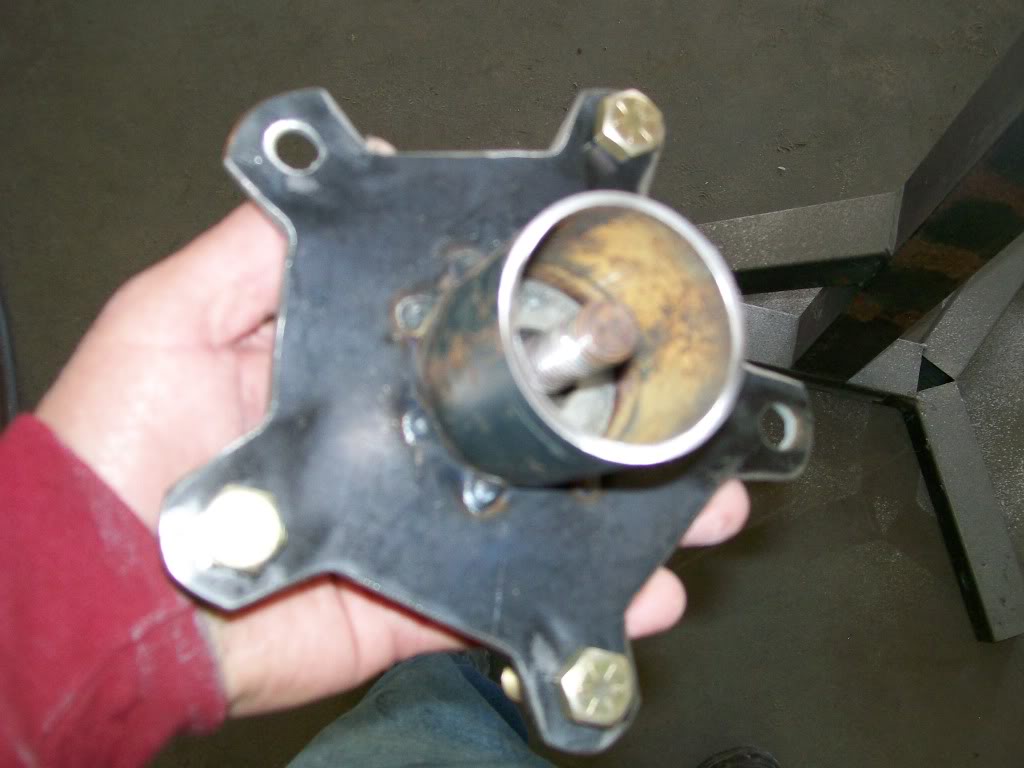
At first I thought of a complicated process of the new mounting system, but that wasn't necessary, just some tubing from an old swingset and a piece of angle iron did the job.
I already cut the bolt pattern plate with the Torchmate and tack welded it to a tube with the inside diameter about the same as the outside diameter as a piece I attached the stand.
Thanks for the suggestion Jim1611.
I believe it's electrostatic painting. The idea of grounding the item being painted and giving a positive charge to the paint, they are drawn together. It cuts down greatly when it coes to over spray as herbiehind mentioned.
Where my issue is.... I'm sure many of you have noticed this situation if you look beyond the shine of a paint job to see the actual texture of the finish.
If you look at a car outside with the sunshine beaming down on the car, the light source is coming from such a large encompassing light. With the light filling all the hills and valley's in the finish, it looks perfect.
Now take the same car and roll it into a garage with only a flouresent light on. Now the high spots in the finish stand out more and the valley's become more shadowed, now the "orange peel" effect stands out.
Same while painting. If the light source comes one direction, say from behind me, as long as the color is uniform, it all looks good. But in fact there can be some very dry spots that won't show but in fact the texture itself is terrible. In the situation of painting deep dish rims, I can't get the angle I need to read the texture of the paint while spraying.
Usually when I paint I hold the light almost at arms length, somewhere in this distance I can find the perfect reflection that tells the story of exactly how heavy the paint is being applied. Going back a few pages in the post where I posted the picture of the section of the frame that I blended the patch in. The picture i took was not straight on, I set up a drop light so the reflection while taking the picture would show the texture of the paint. A straight on picture would have only shown the color but not the texture.
Ok, enough of painting rims.....I'm done. The tires are being mounted as I'm writing this and I pick them up tomorrow. I'm looking forward to putting all the wheels on and seeing this truck with the new tiresand the silver rims.
 Here's the last pictures of the rim painting.
Comments

Great before & after!
Posted by Diggymart on 1/11/20 @ 4:10:28 PM

Gotta love the Willys! Good job...great build!
Posted by Diggymart on 12/10/18 @ 8:34:21 PM

Ultimate classic truck right there
Posted by CCmyVW on 12/26/20 @ 4:17:42 PM