You must be logged in to rate content!
4 minute(s) of a 620 minute read
8-1-2011
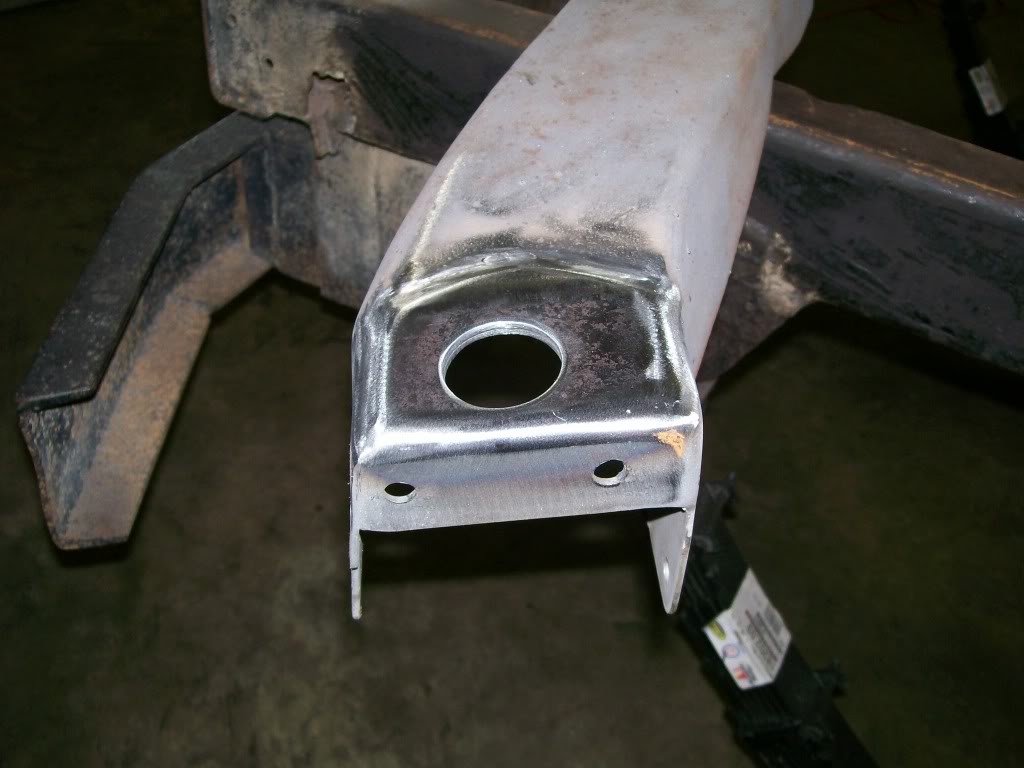
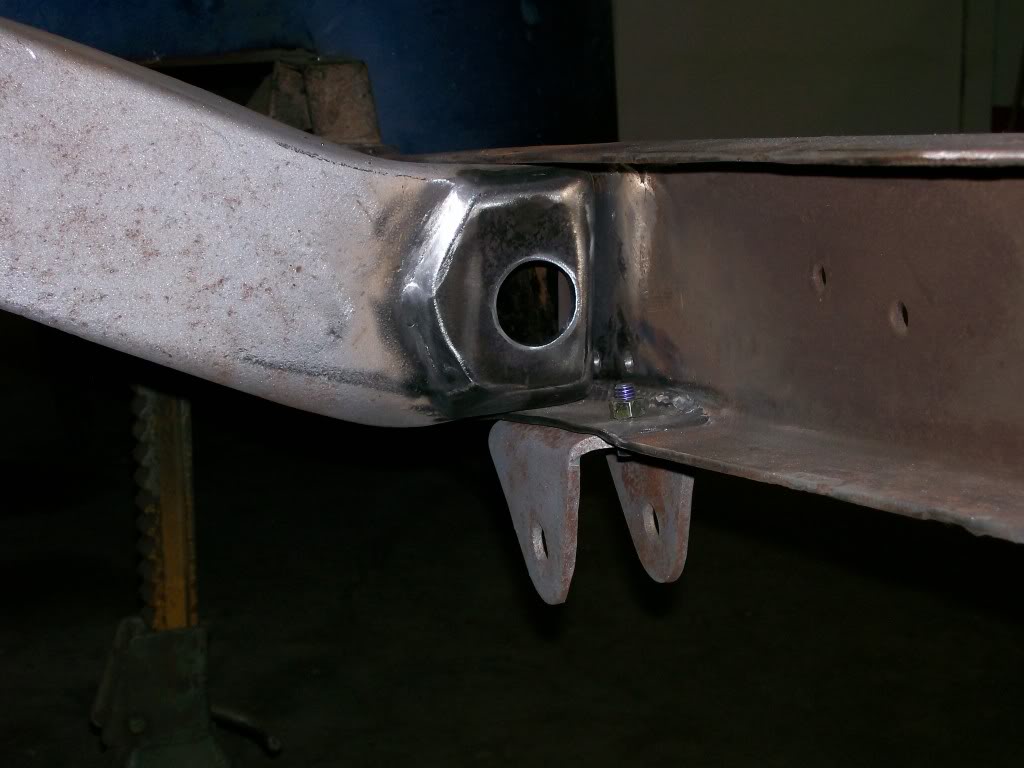
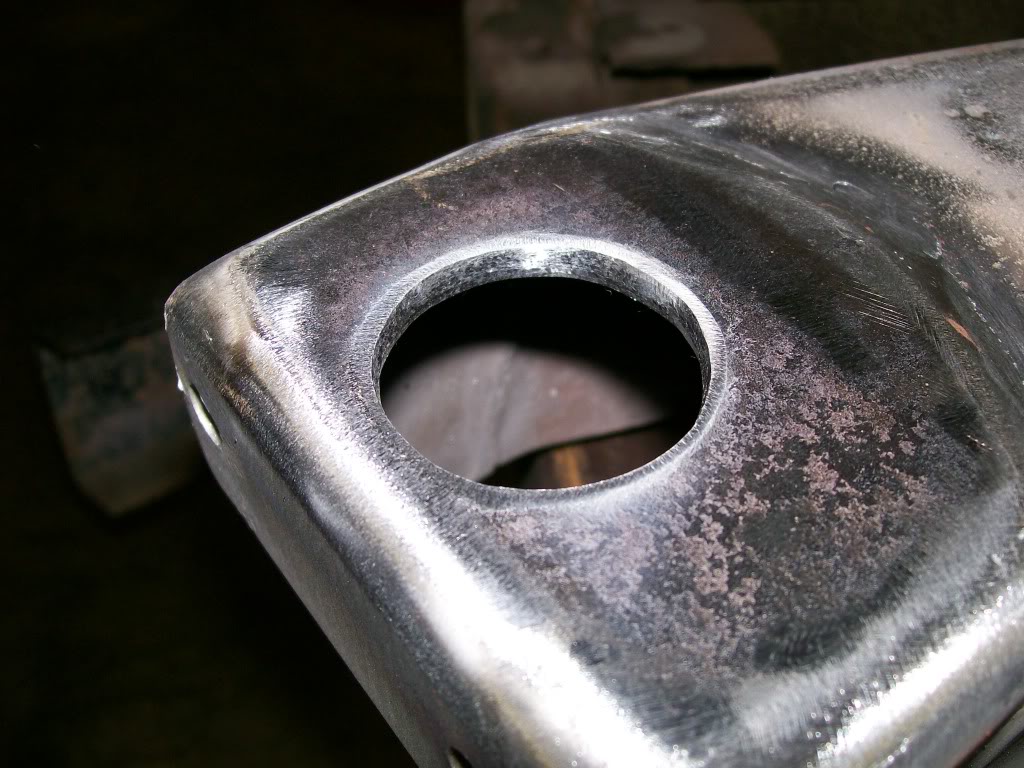
While I'm dealing with the differential, I'm still trying to move forward on other odds and ends. We've taken a look at the holes for the fuel line and wiring to pass through. Here's the finished product.
8-2-2011
Lets focus on the carrier side bearings. When I removed the bearings from the carrier I also had shims behind the bearings. Since there is no adjustment in the axle housing to apply a pre-load on the bearings, such as lets say front wheel bearings on a rear wheel drive car. You pack the bearings, put them in the hub, install the seal, and slide the whole thing on the spindle, first the washer then the nut. Tighten the nut, then back it off just a bit, and install the cotter pin, done. The tightening of the nut and leaving it there would be too much pre-load, so we back it off just a bit. But we don't loosen it up too much, then the bearing is sloppy and doesn't fit into the outer race correctly, we shorten the life of the bearing.
Here in the axle housing we have a fixed space to fit the carrier into, no adjustment. We have to use shims to either space the bearings out farther (tighter fit) or remove shims to bring the bearing inward (looser fit). Once again, just as the front wheel, we want a fit tight enough that the bearing and race make full contact, but not so tight that they bind up on each other, create heat and friction and destroy each other.
Not too loose either, or once again, sloppy fit. Also. we are trying to get the ring and pinion to be within 10 thousands of an inch, and stay there. If we have a sloppy fit, this clearance will change while in use.
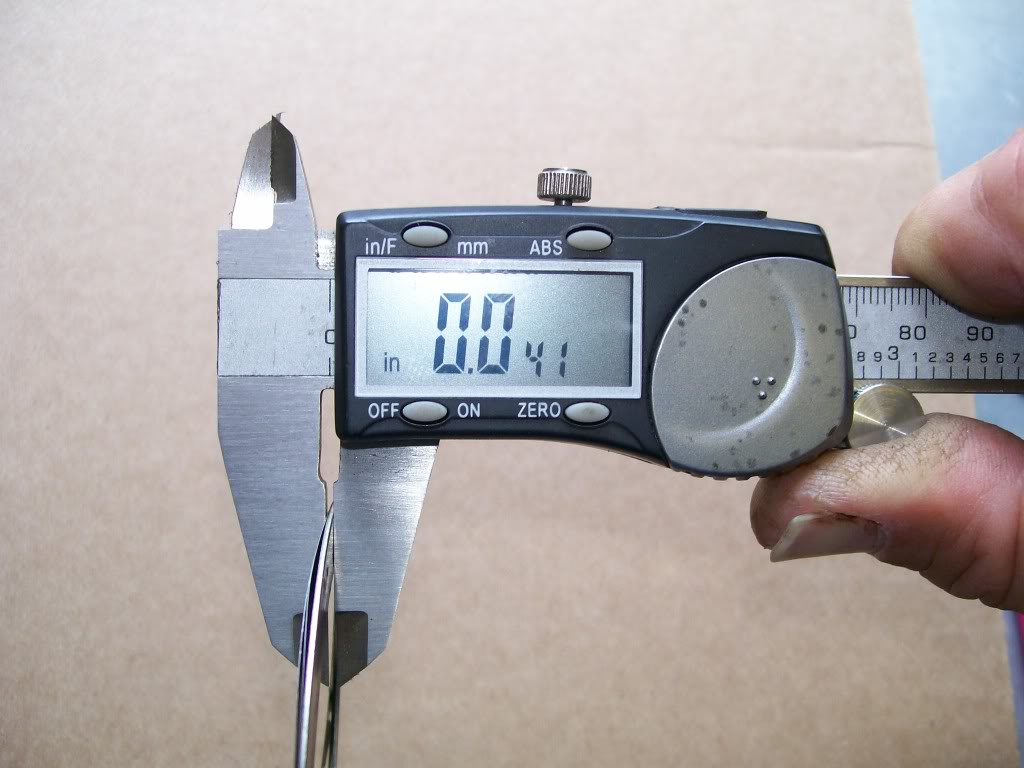
This picture shows the measurement of the original shims on one side. I will replace these shims with new ones. Fortunate for me I'm using the same carrier, I have something to start with. If use use a new carrier, you start from scratch. Mind you, I do have new bearings and races, this can fluctuate slightly from originals.
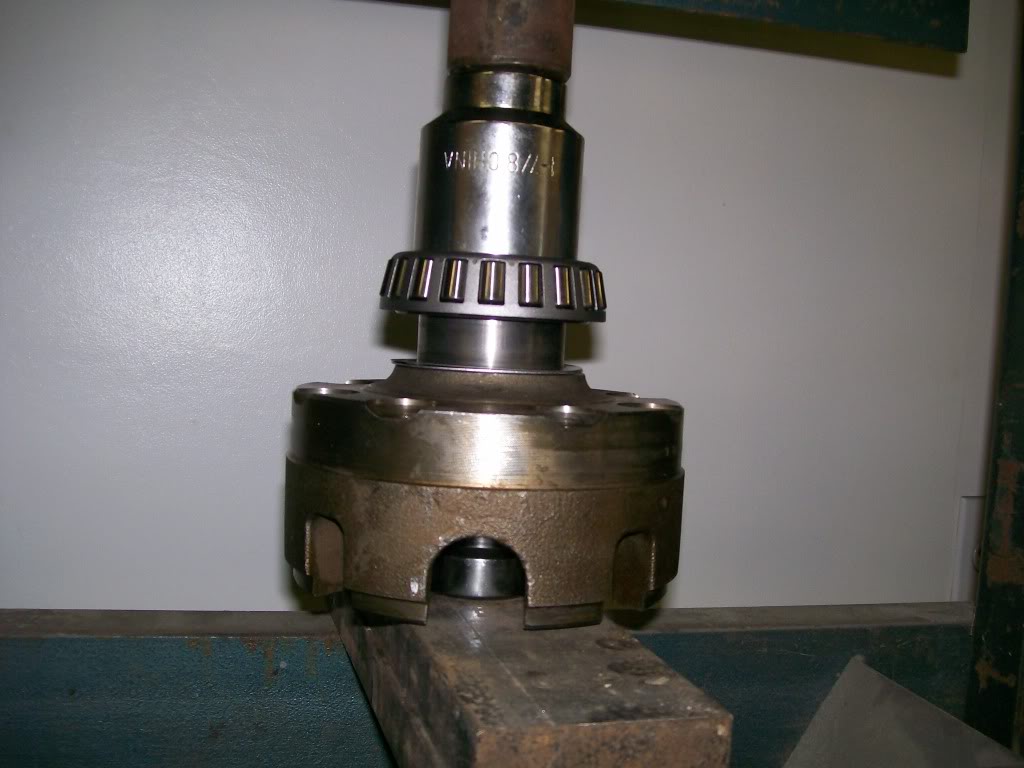
I stuck with the same thickness of new shims. Here I'm pressing on the new bearing. Notice shims in place already. Important... try to place the thickest shim to the bottom. Chances are you will pull these bearings off a few times to recalculate your spacing (shims). The puller jaws will damage the thinner shims easier that the thick ones. Important... when possible support the item you are pressing the bearing onto as close to or right underneath where the bearing is being pressed. You'll notice a large socket in this picture supporting the hub. We're dealing within the thousands of an inch here, we don't want to distort the hub by the pressure of installing the bearing.
Pmoreau, I got the camera out tonight, then I waited an exaustingly long time for dial-up to download some pics, so here it is, the welded then cleaned up opening. I know this seems like a large hole just for a fuel line, it will also have two battery cables going through there also. I mounted the battery under the bed and the cables will pass through here also.
For welding something small like this and I don't want a large build up of welding material so I used a Tig welder. You can control the heat and the amount of welding rod much more than with a wire feed (Mig) welder.

Ultimate classic truck right there
Posted by CCmyVW on 12/26/20 @ 4:17:42 PM